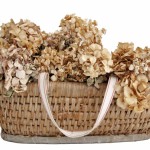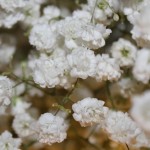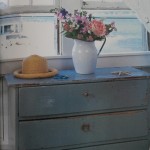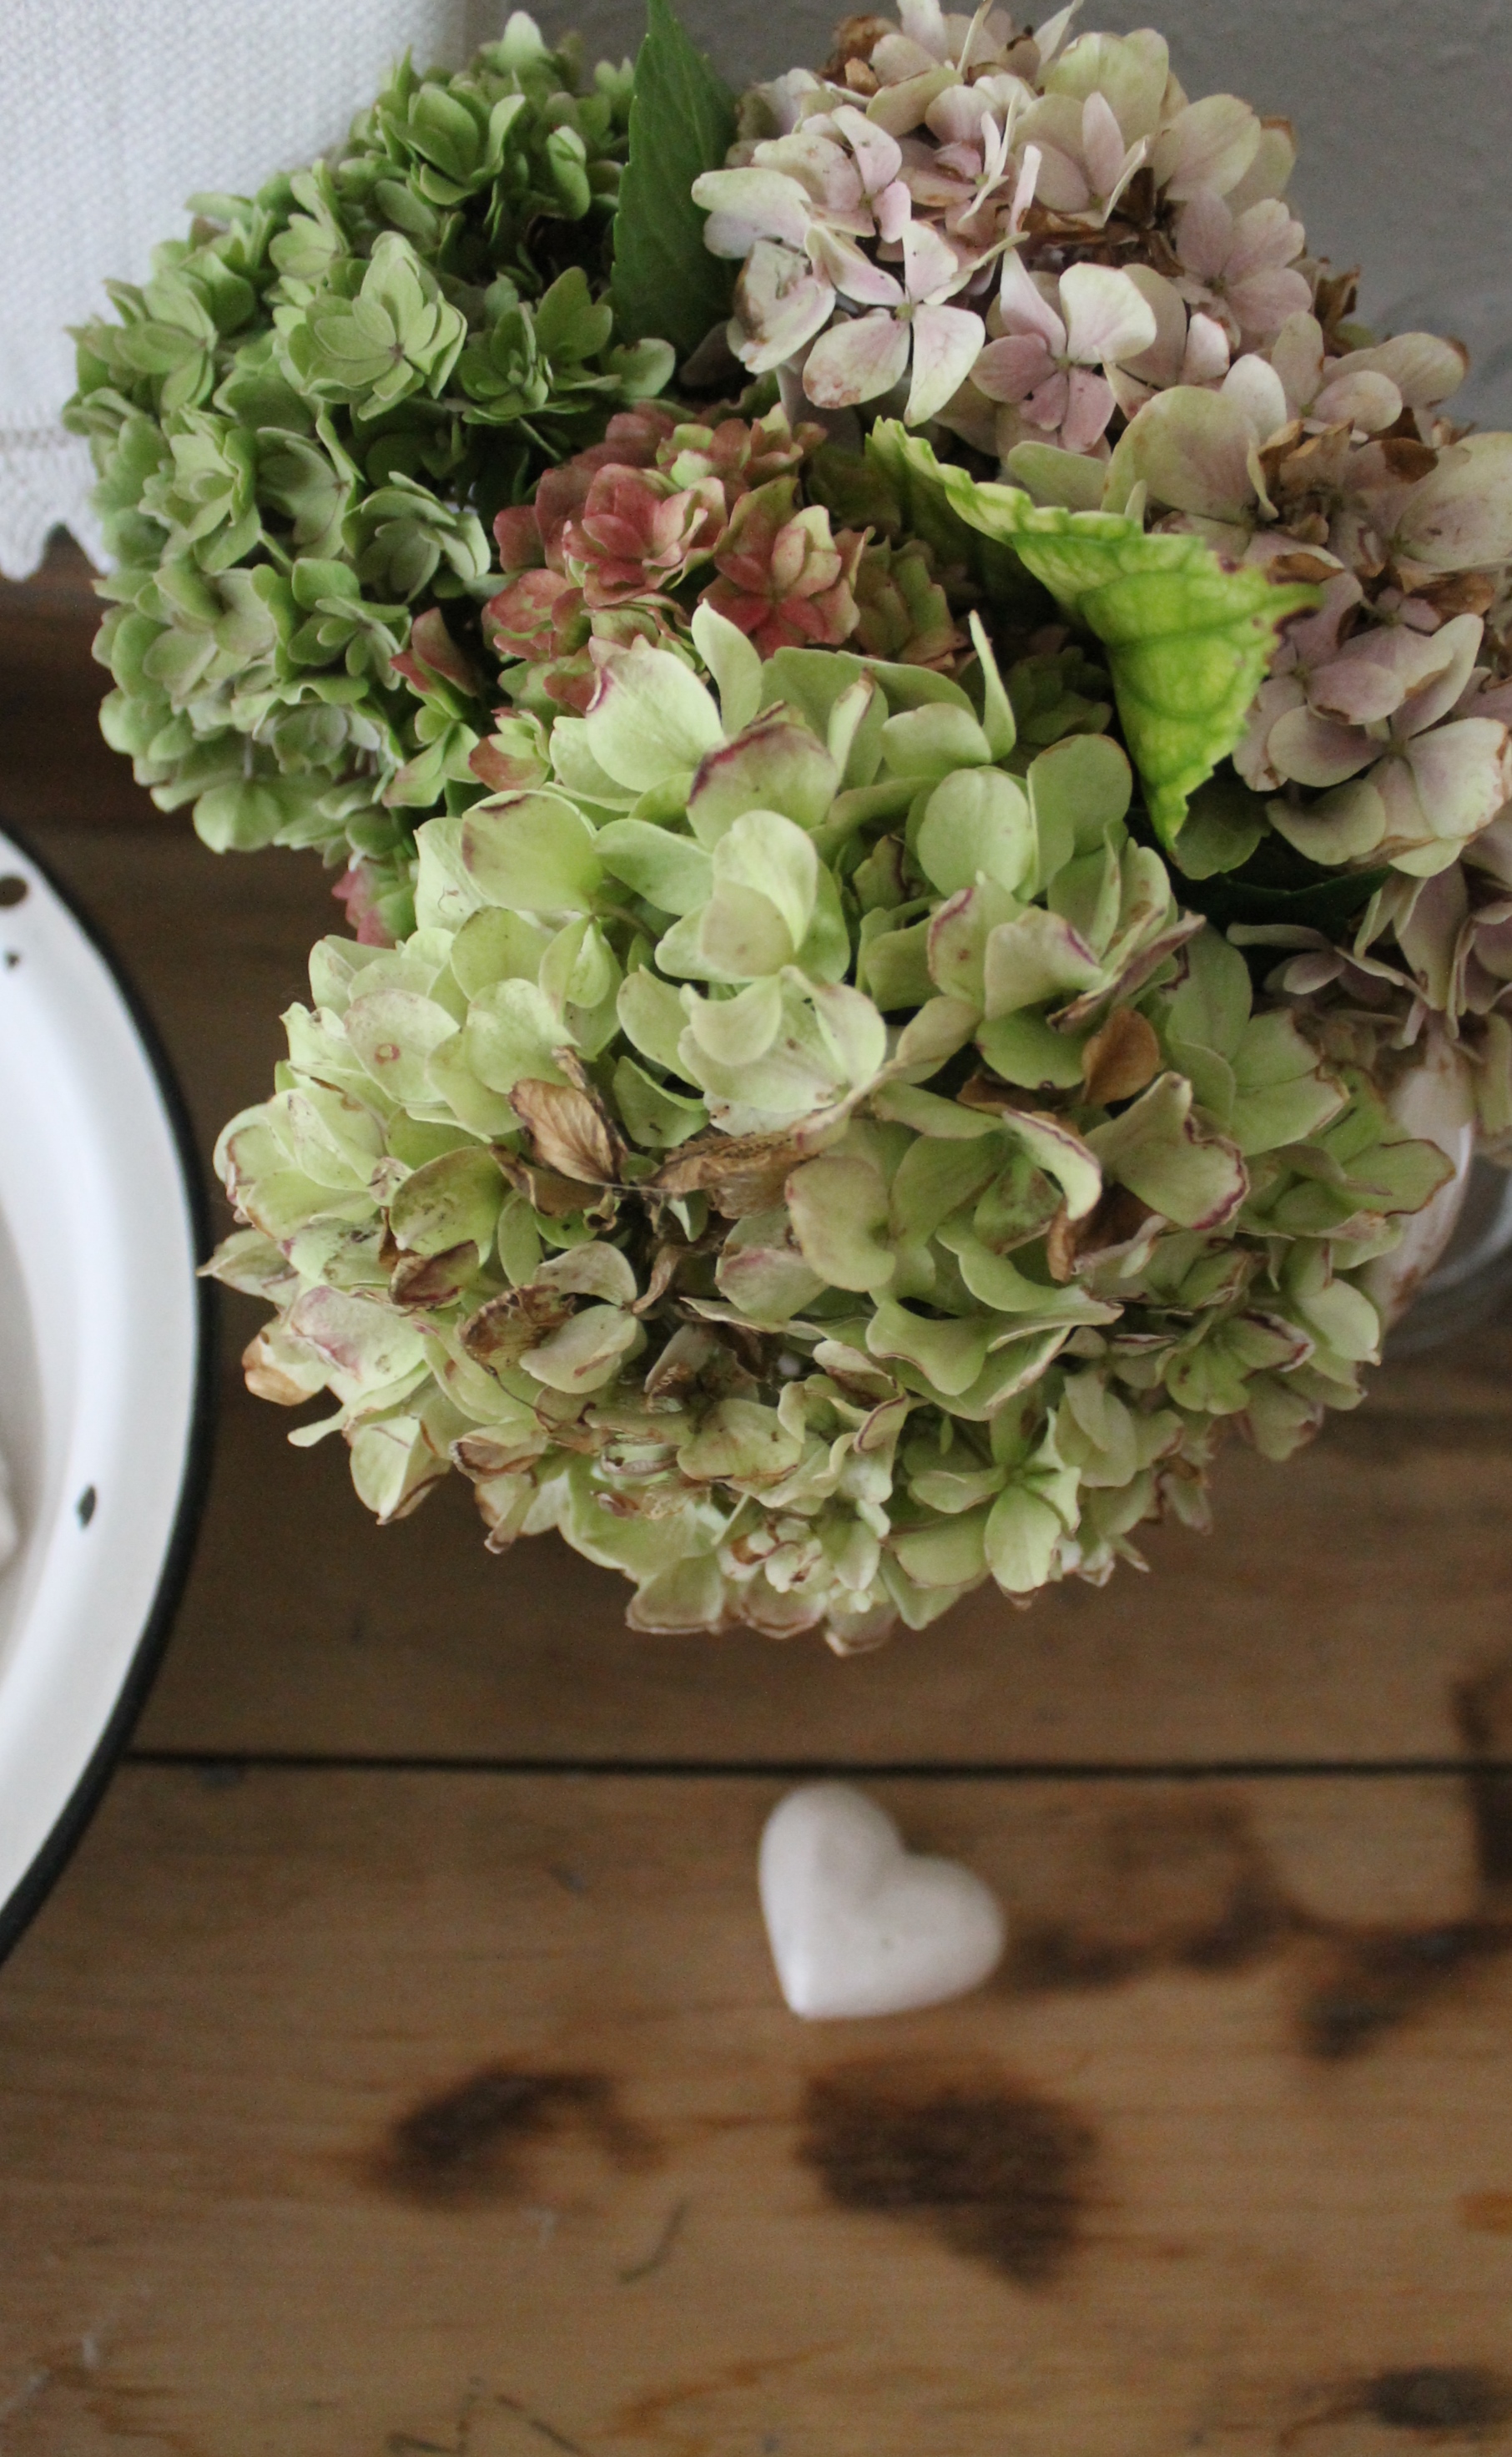
Some end of summer Hydrangeas add the personal touch for the end of summer visit.
Mother Nature had the last word this weekend. The warmest days of the summer were upon us. My hope is that it will segue into a fine, fine fall. I am already thinking about my fall décor and the Round Top Antique Show…two things that bring me an incredible amount of joy this time of year.
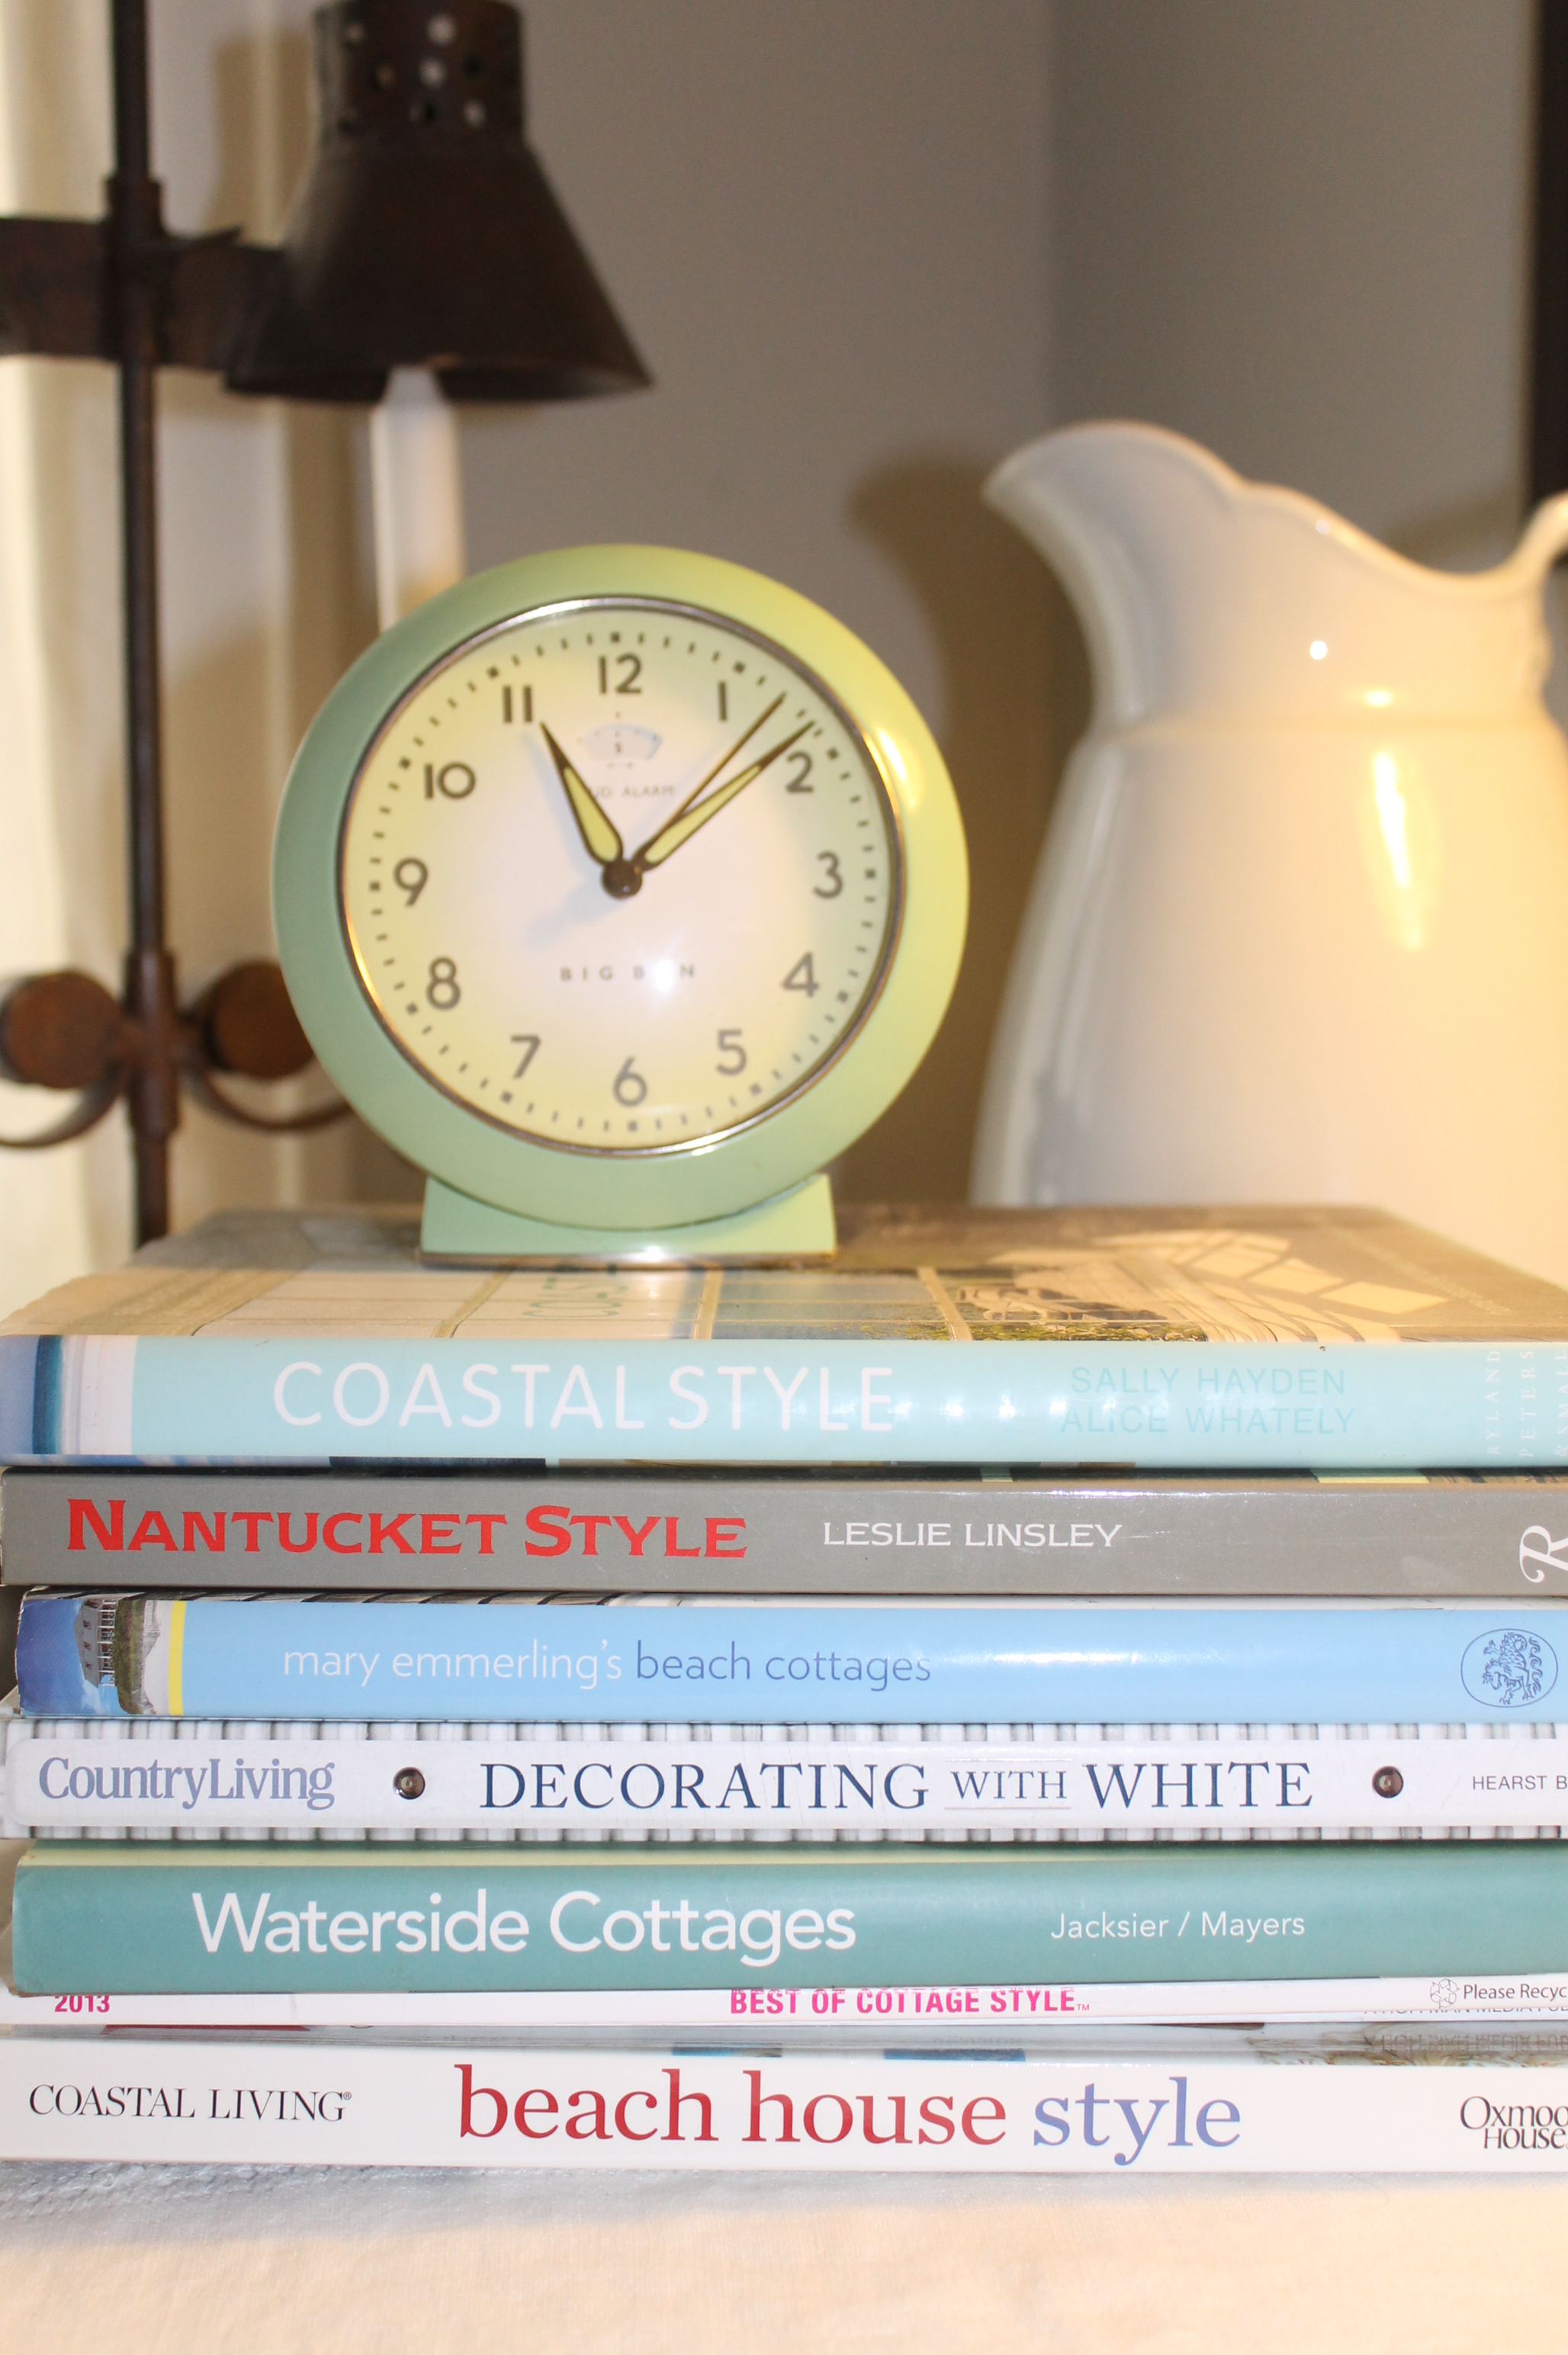
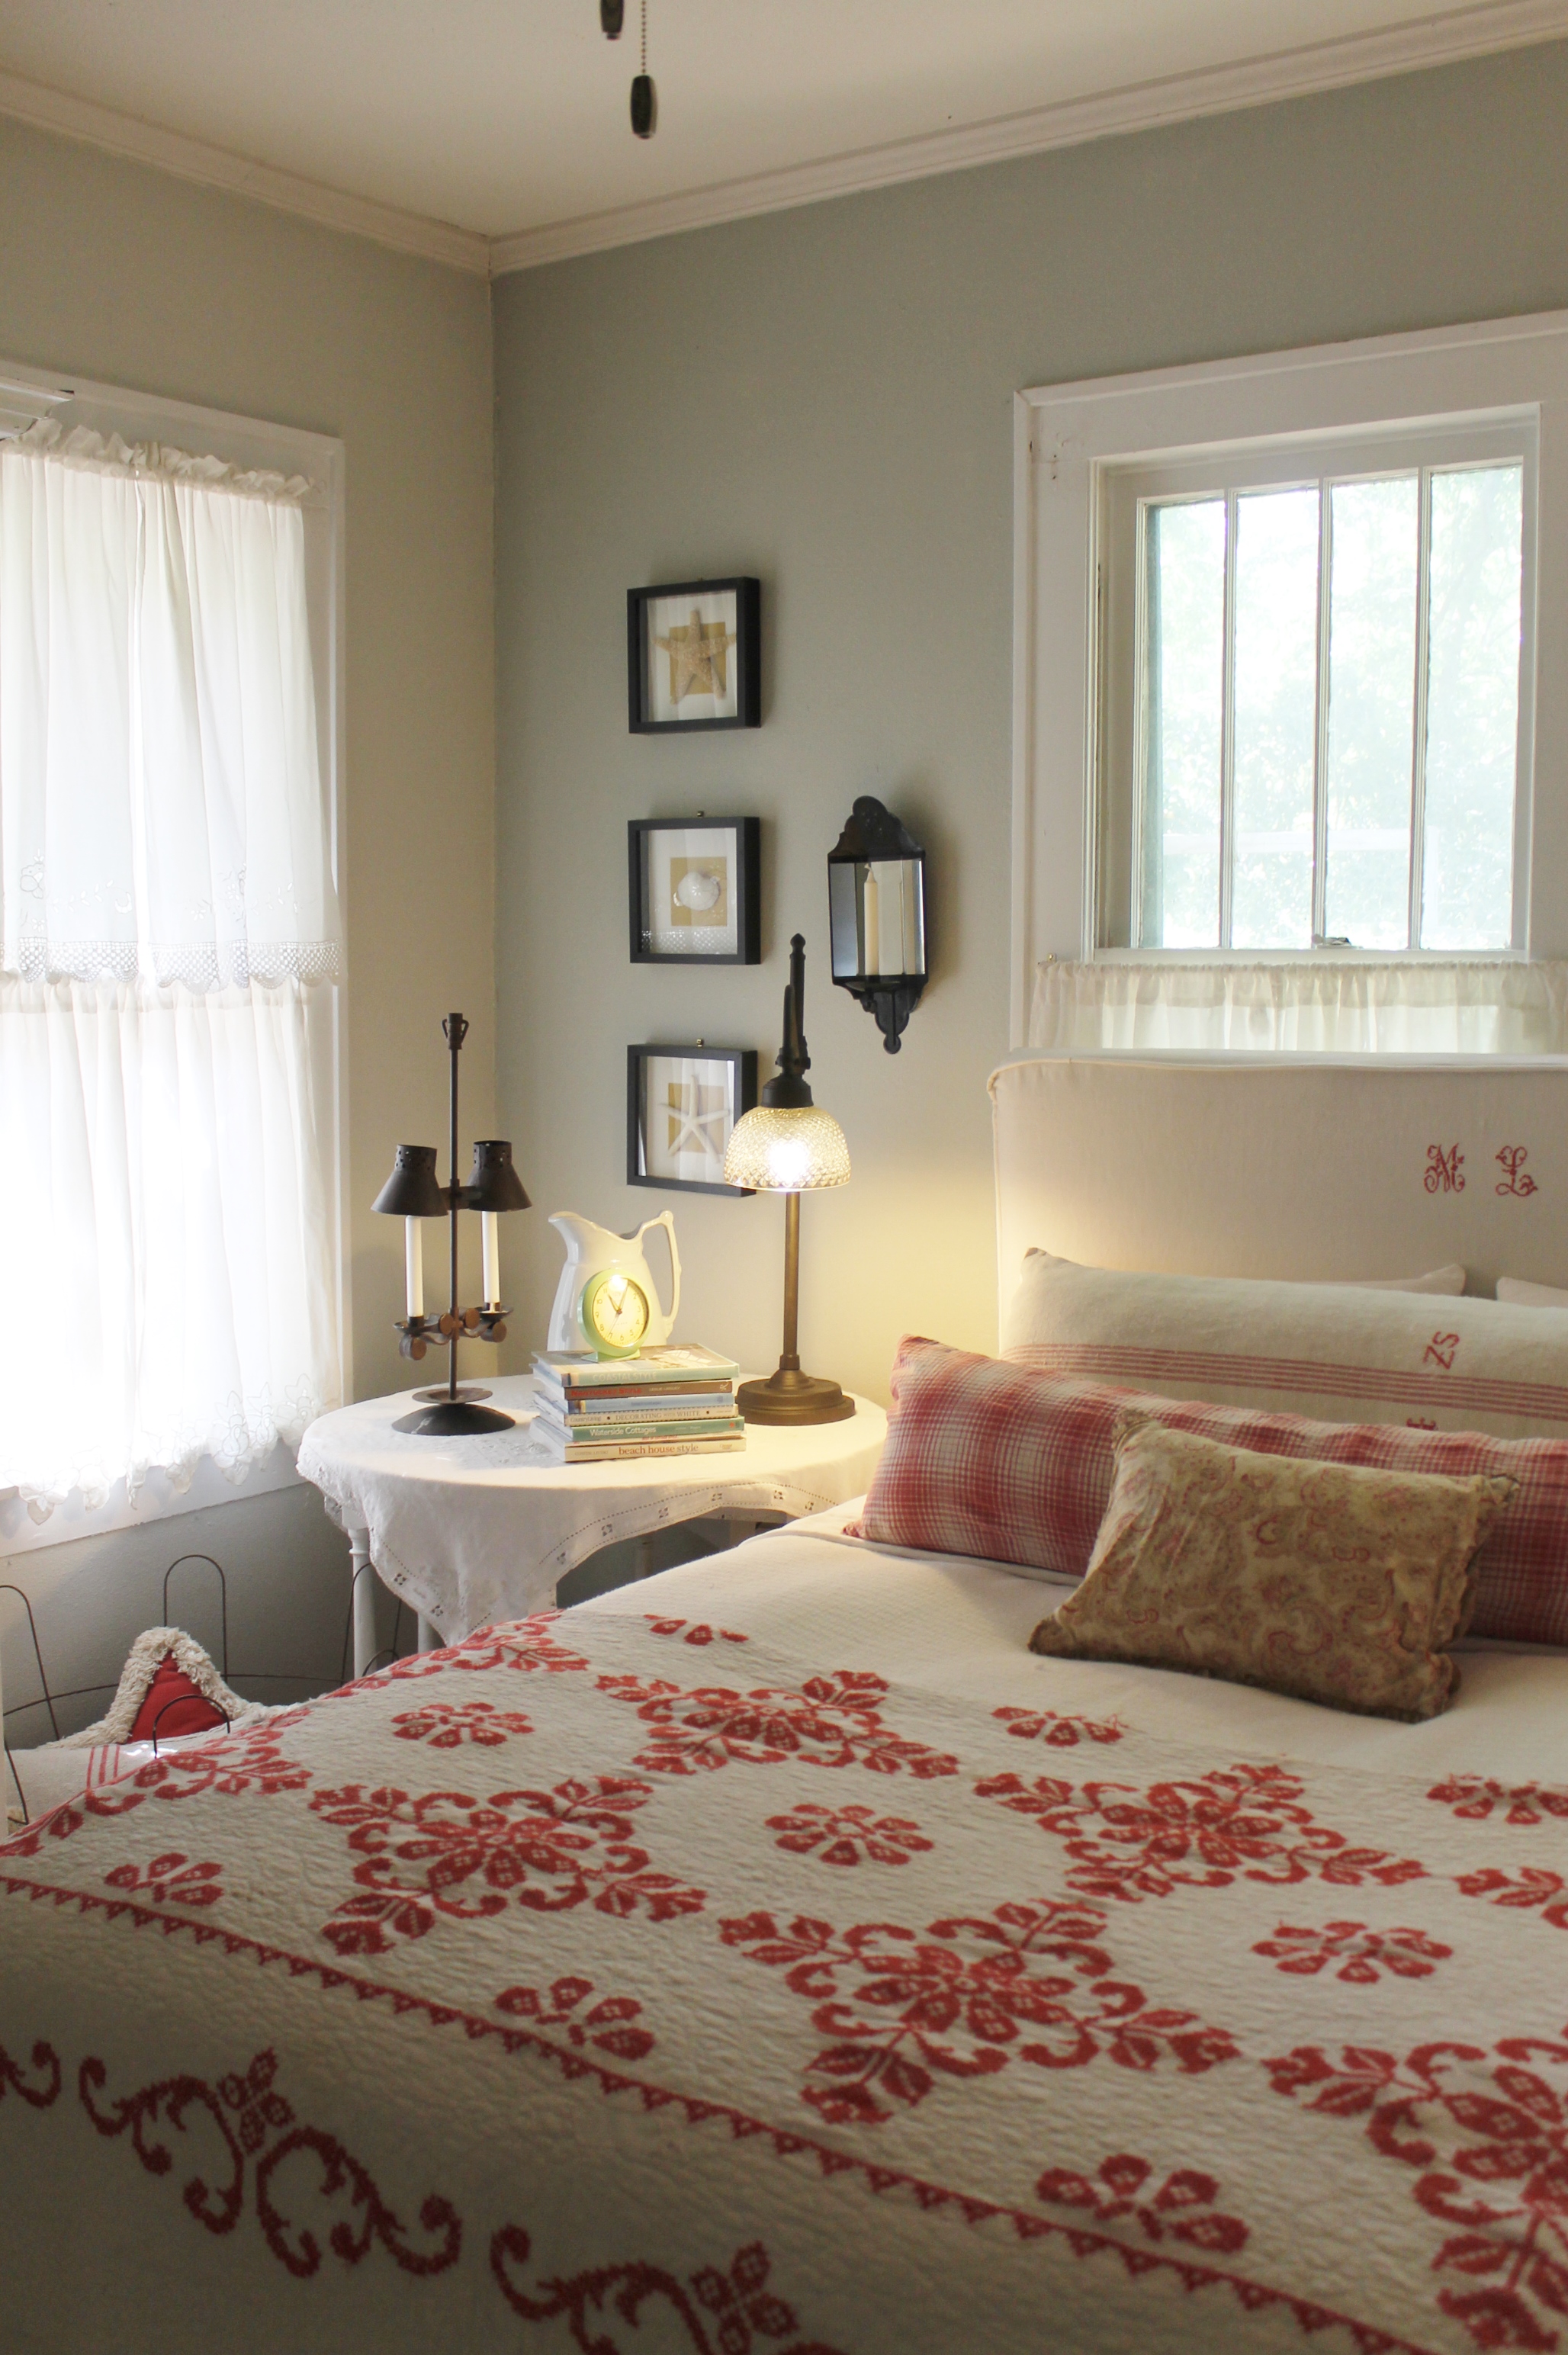
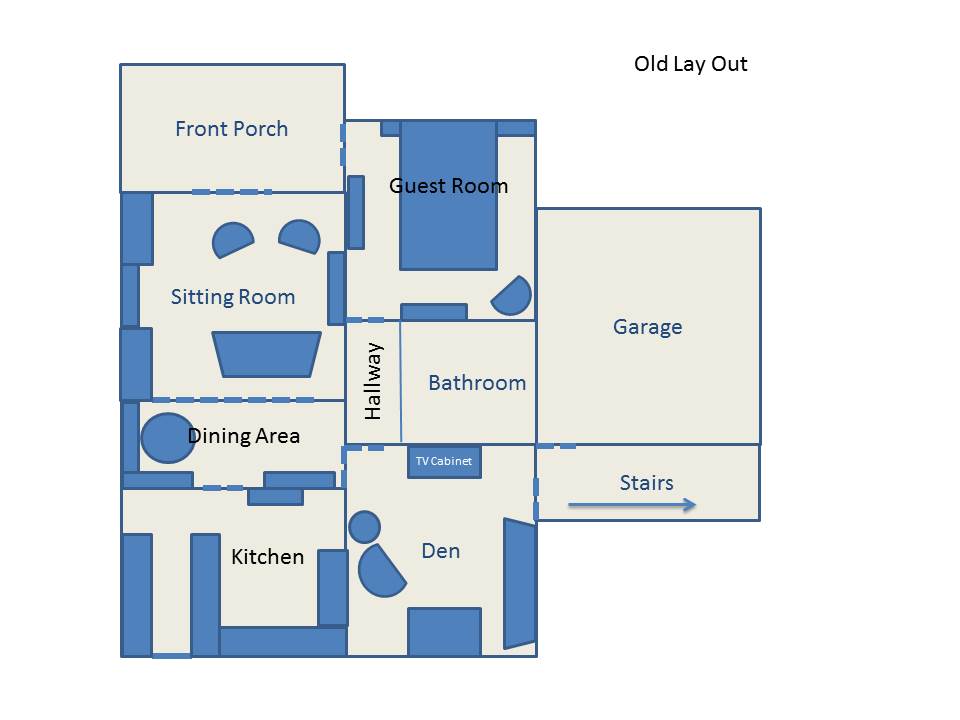
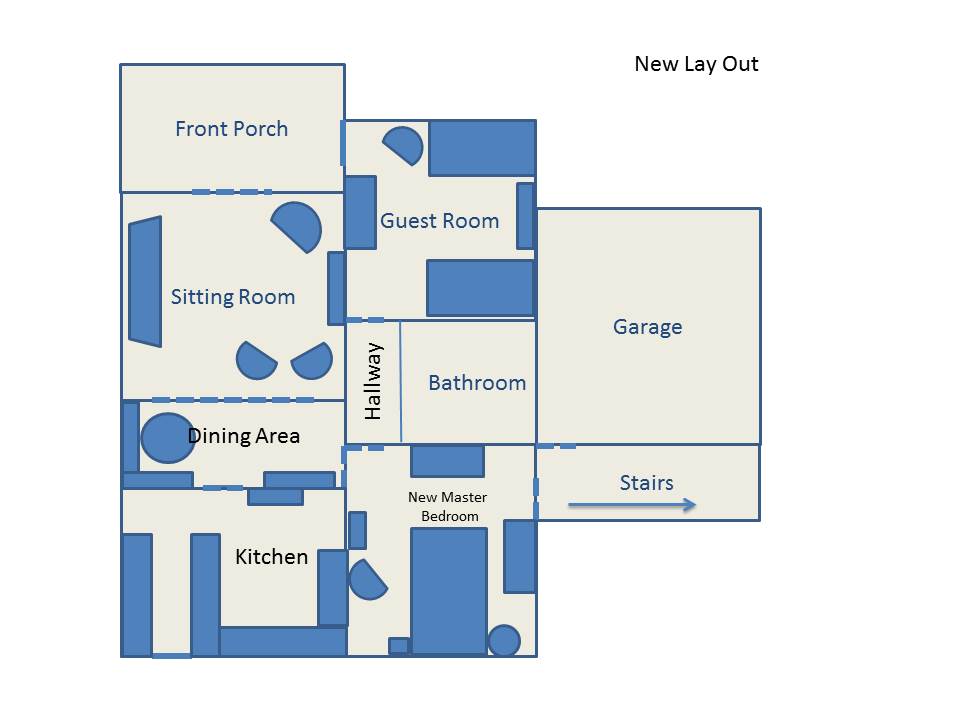
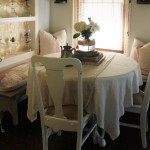
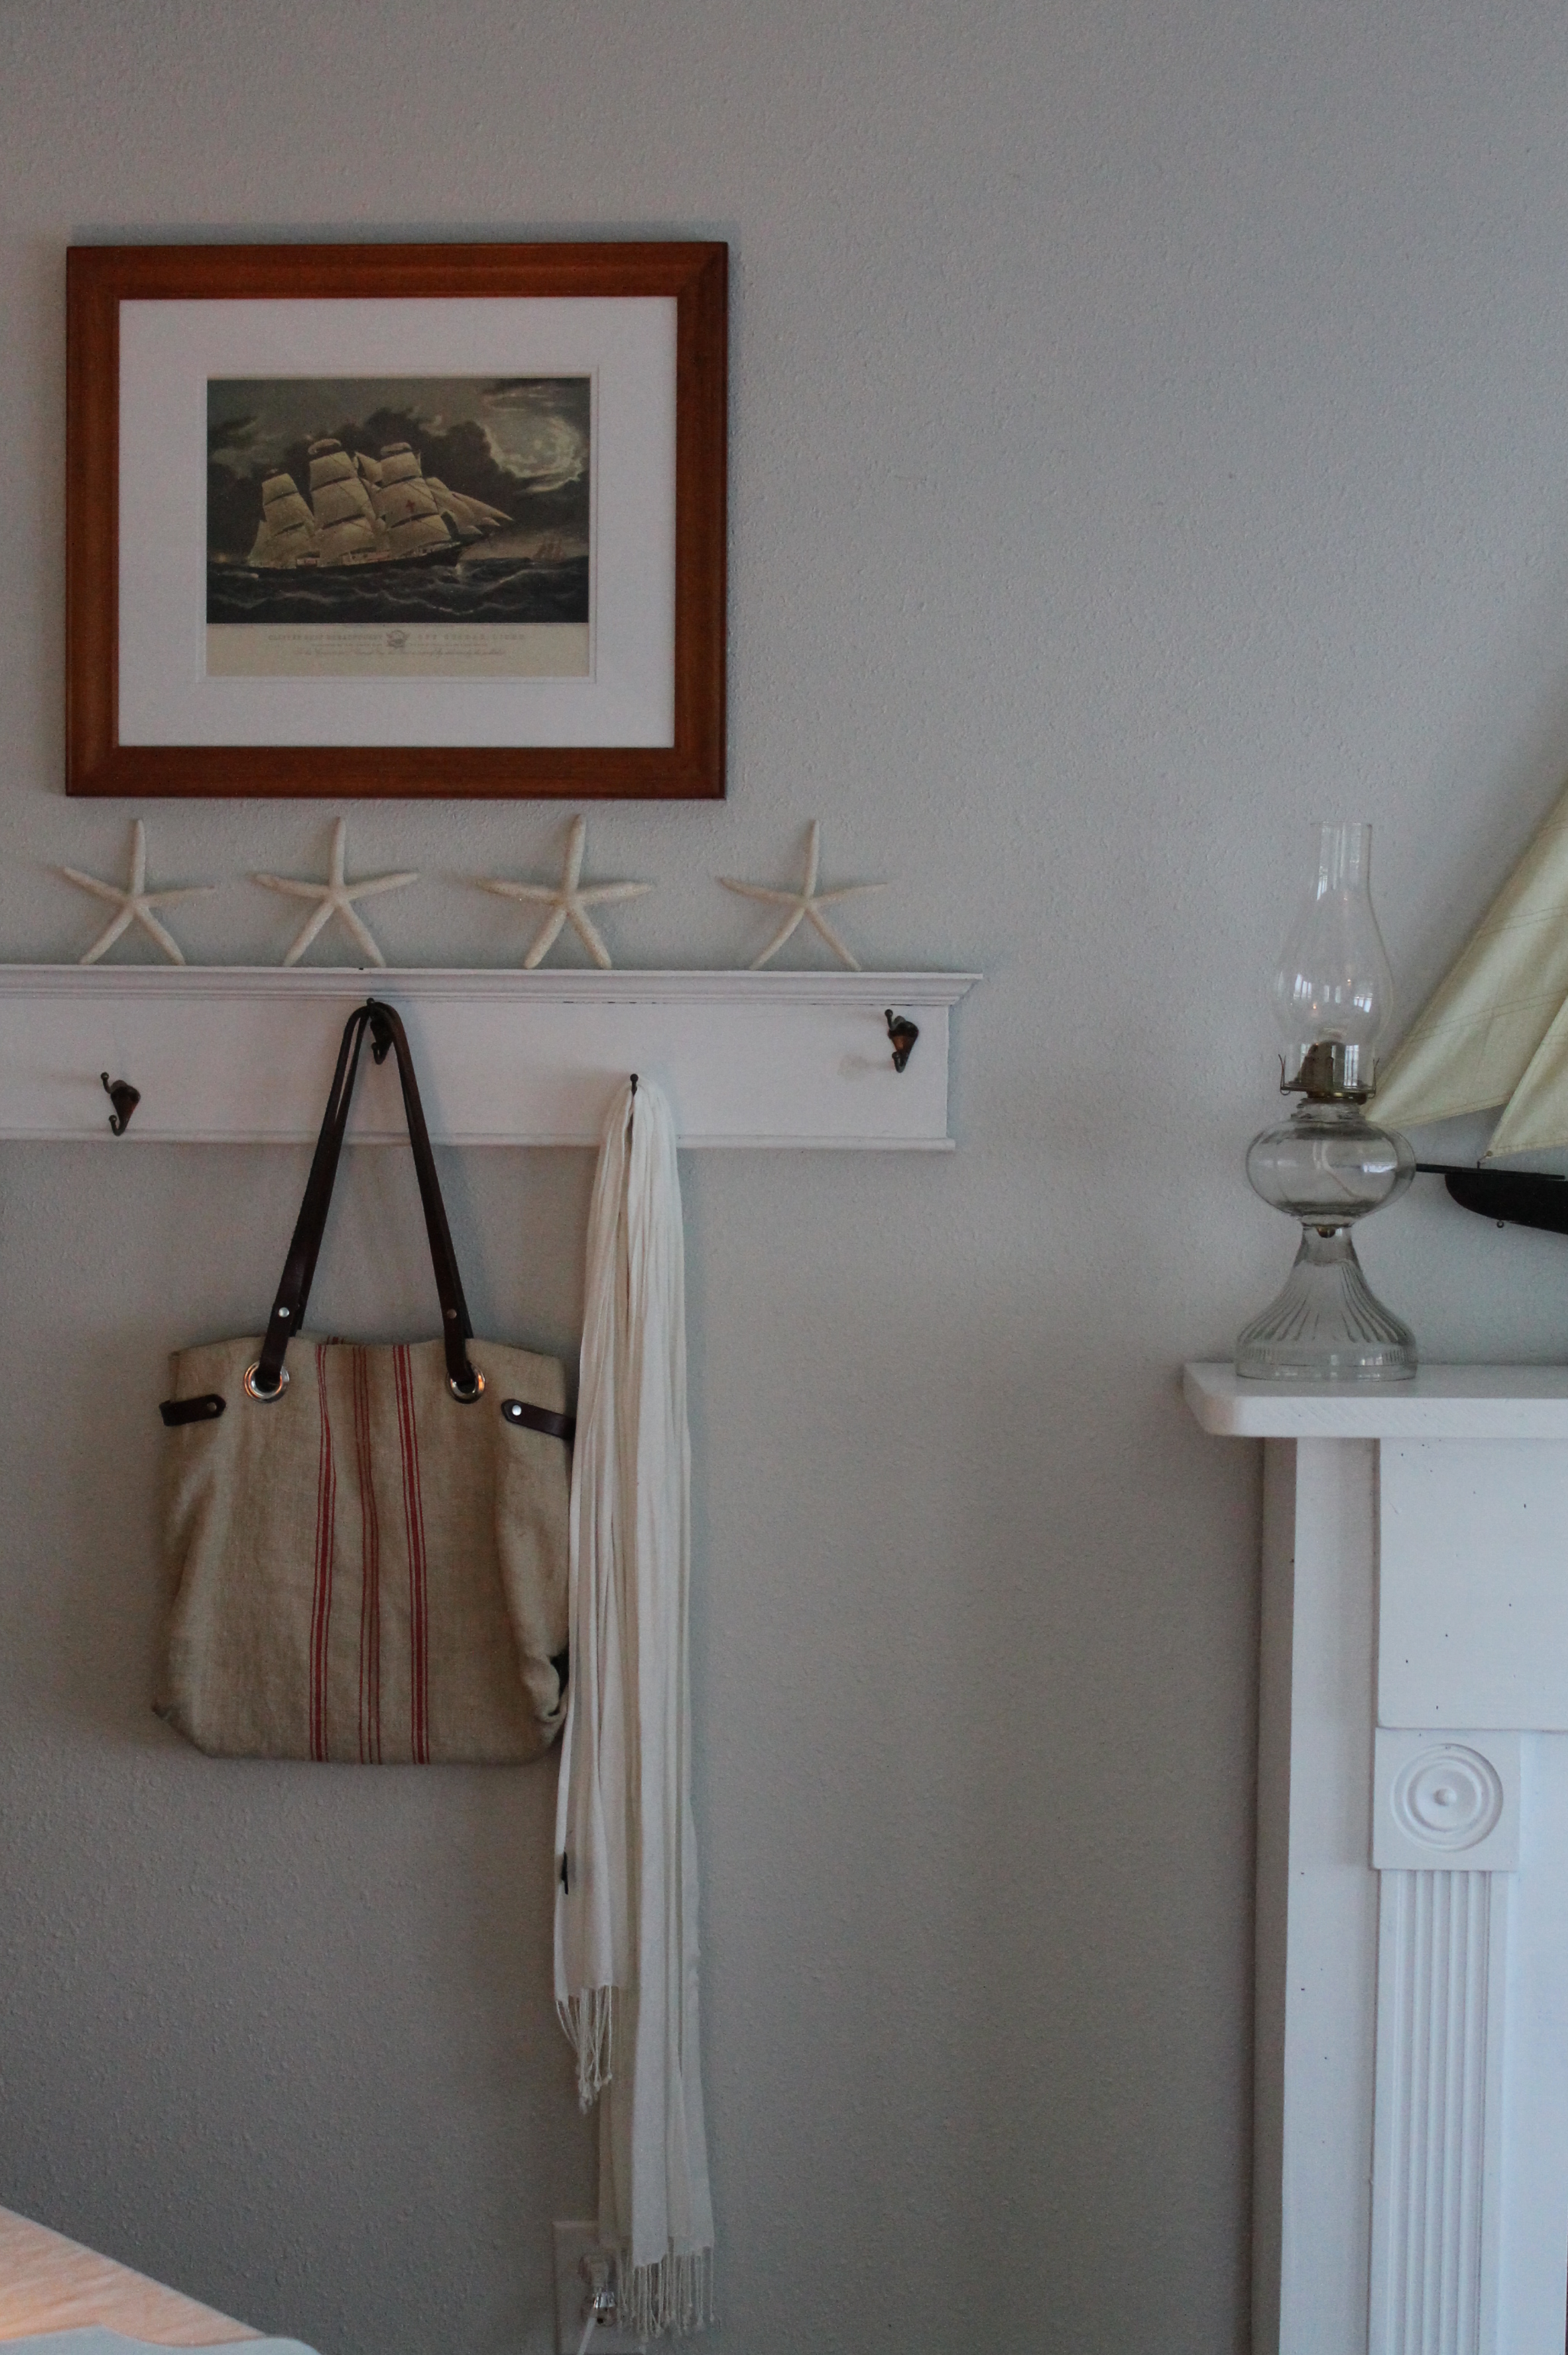
Just one last summer post before we all move on. My house re-design that I have blogged about previously included completely changing my guest room. As I transition my home to a lighter, coastal feel…this room was a great opportunity to showcase the simplicity of my style.
I’ll be the first to say the room isn’t particularly refined…but that is what I like about it. It sort of feels like a room you would find in a beach cottage.
Here are the before and after photos.
I hope you find some inspiration.
Always.
Cindy
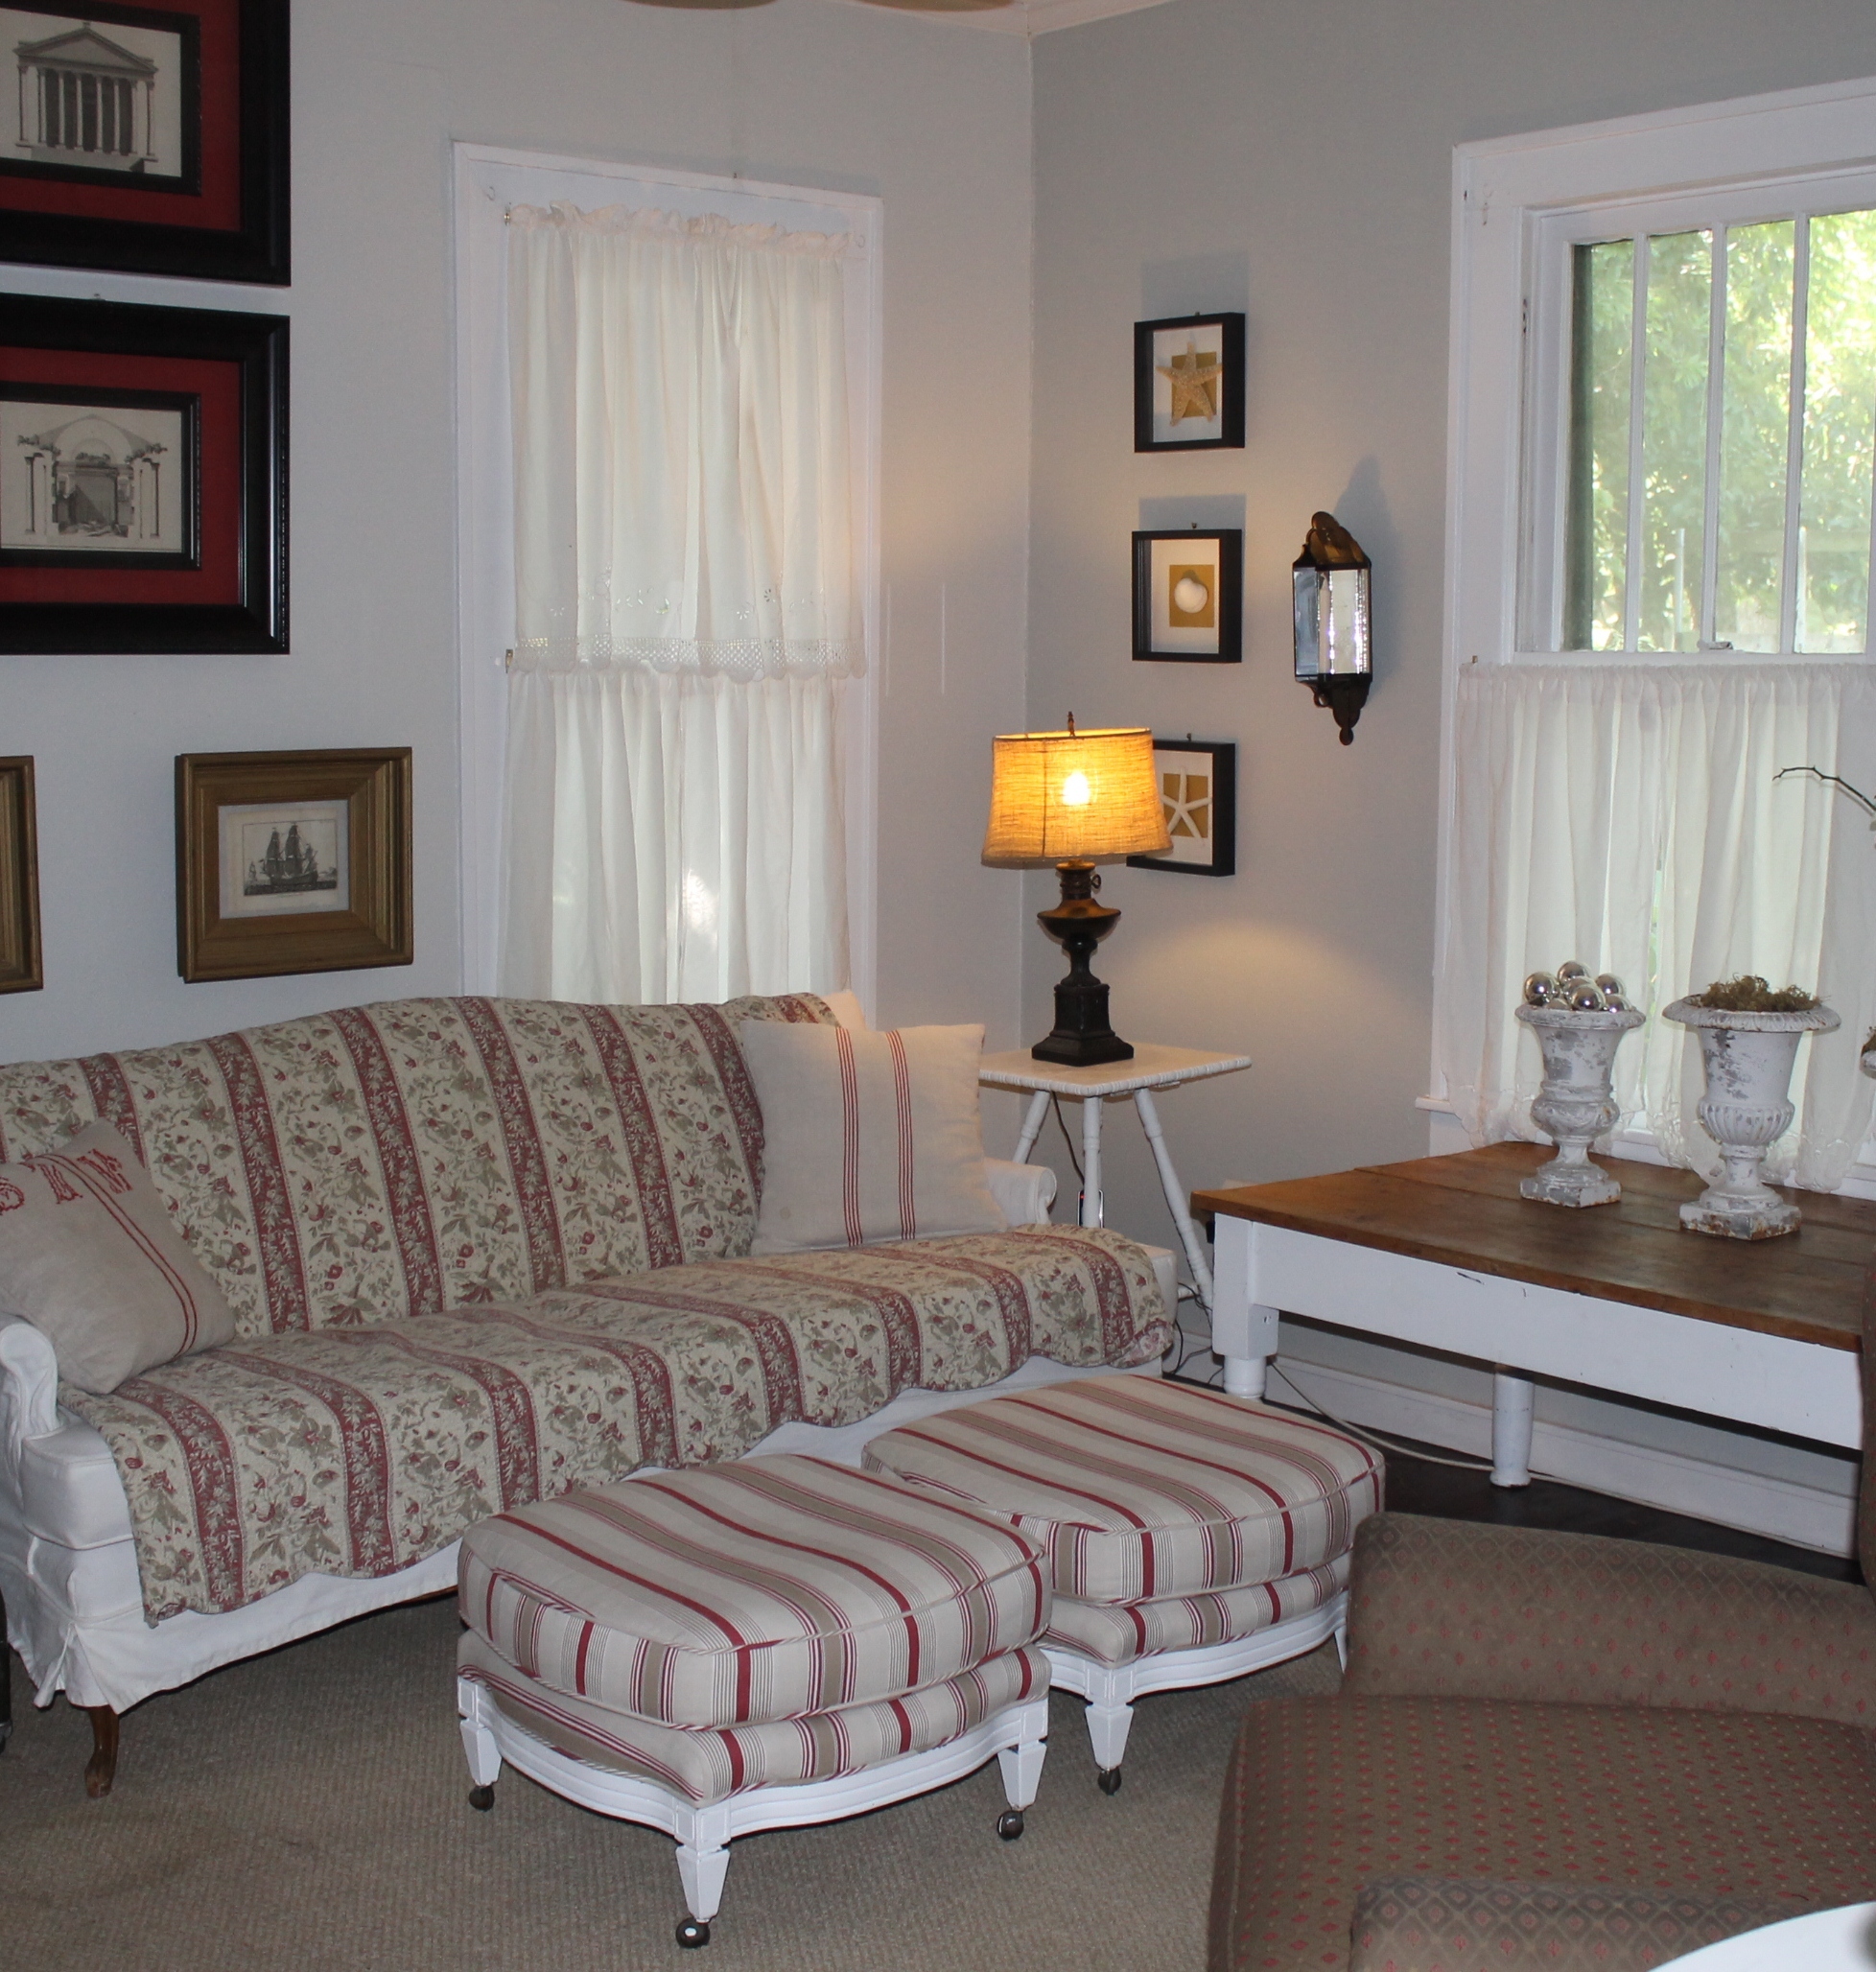
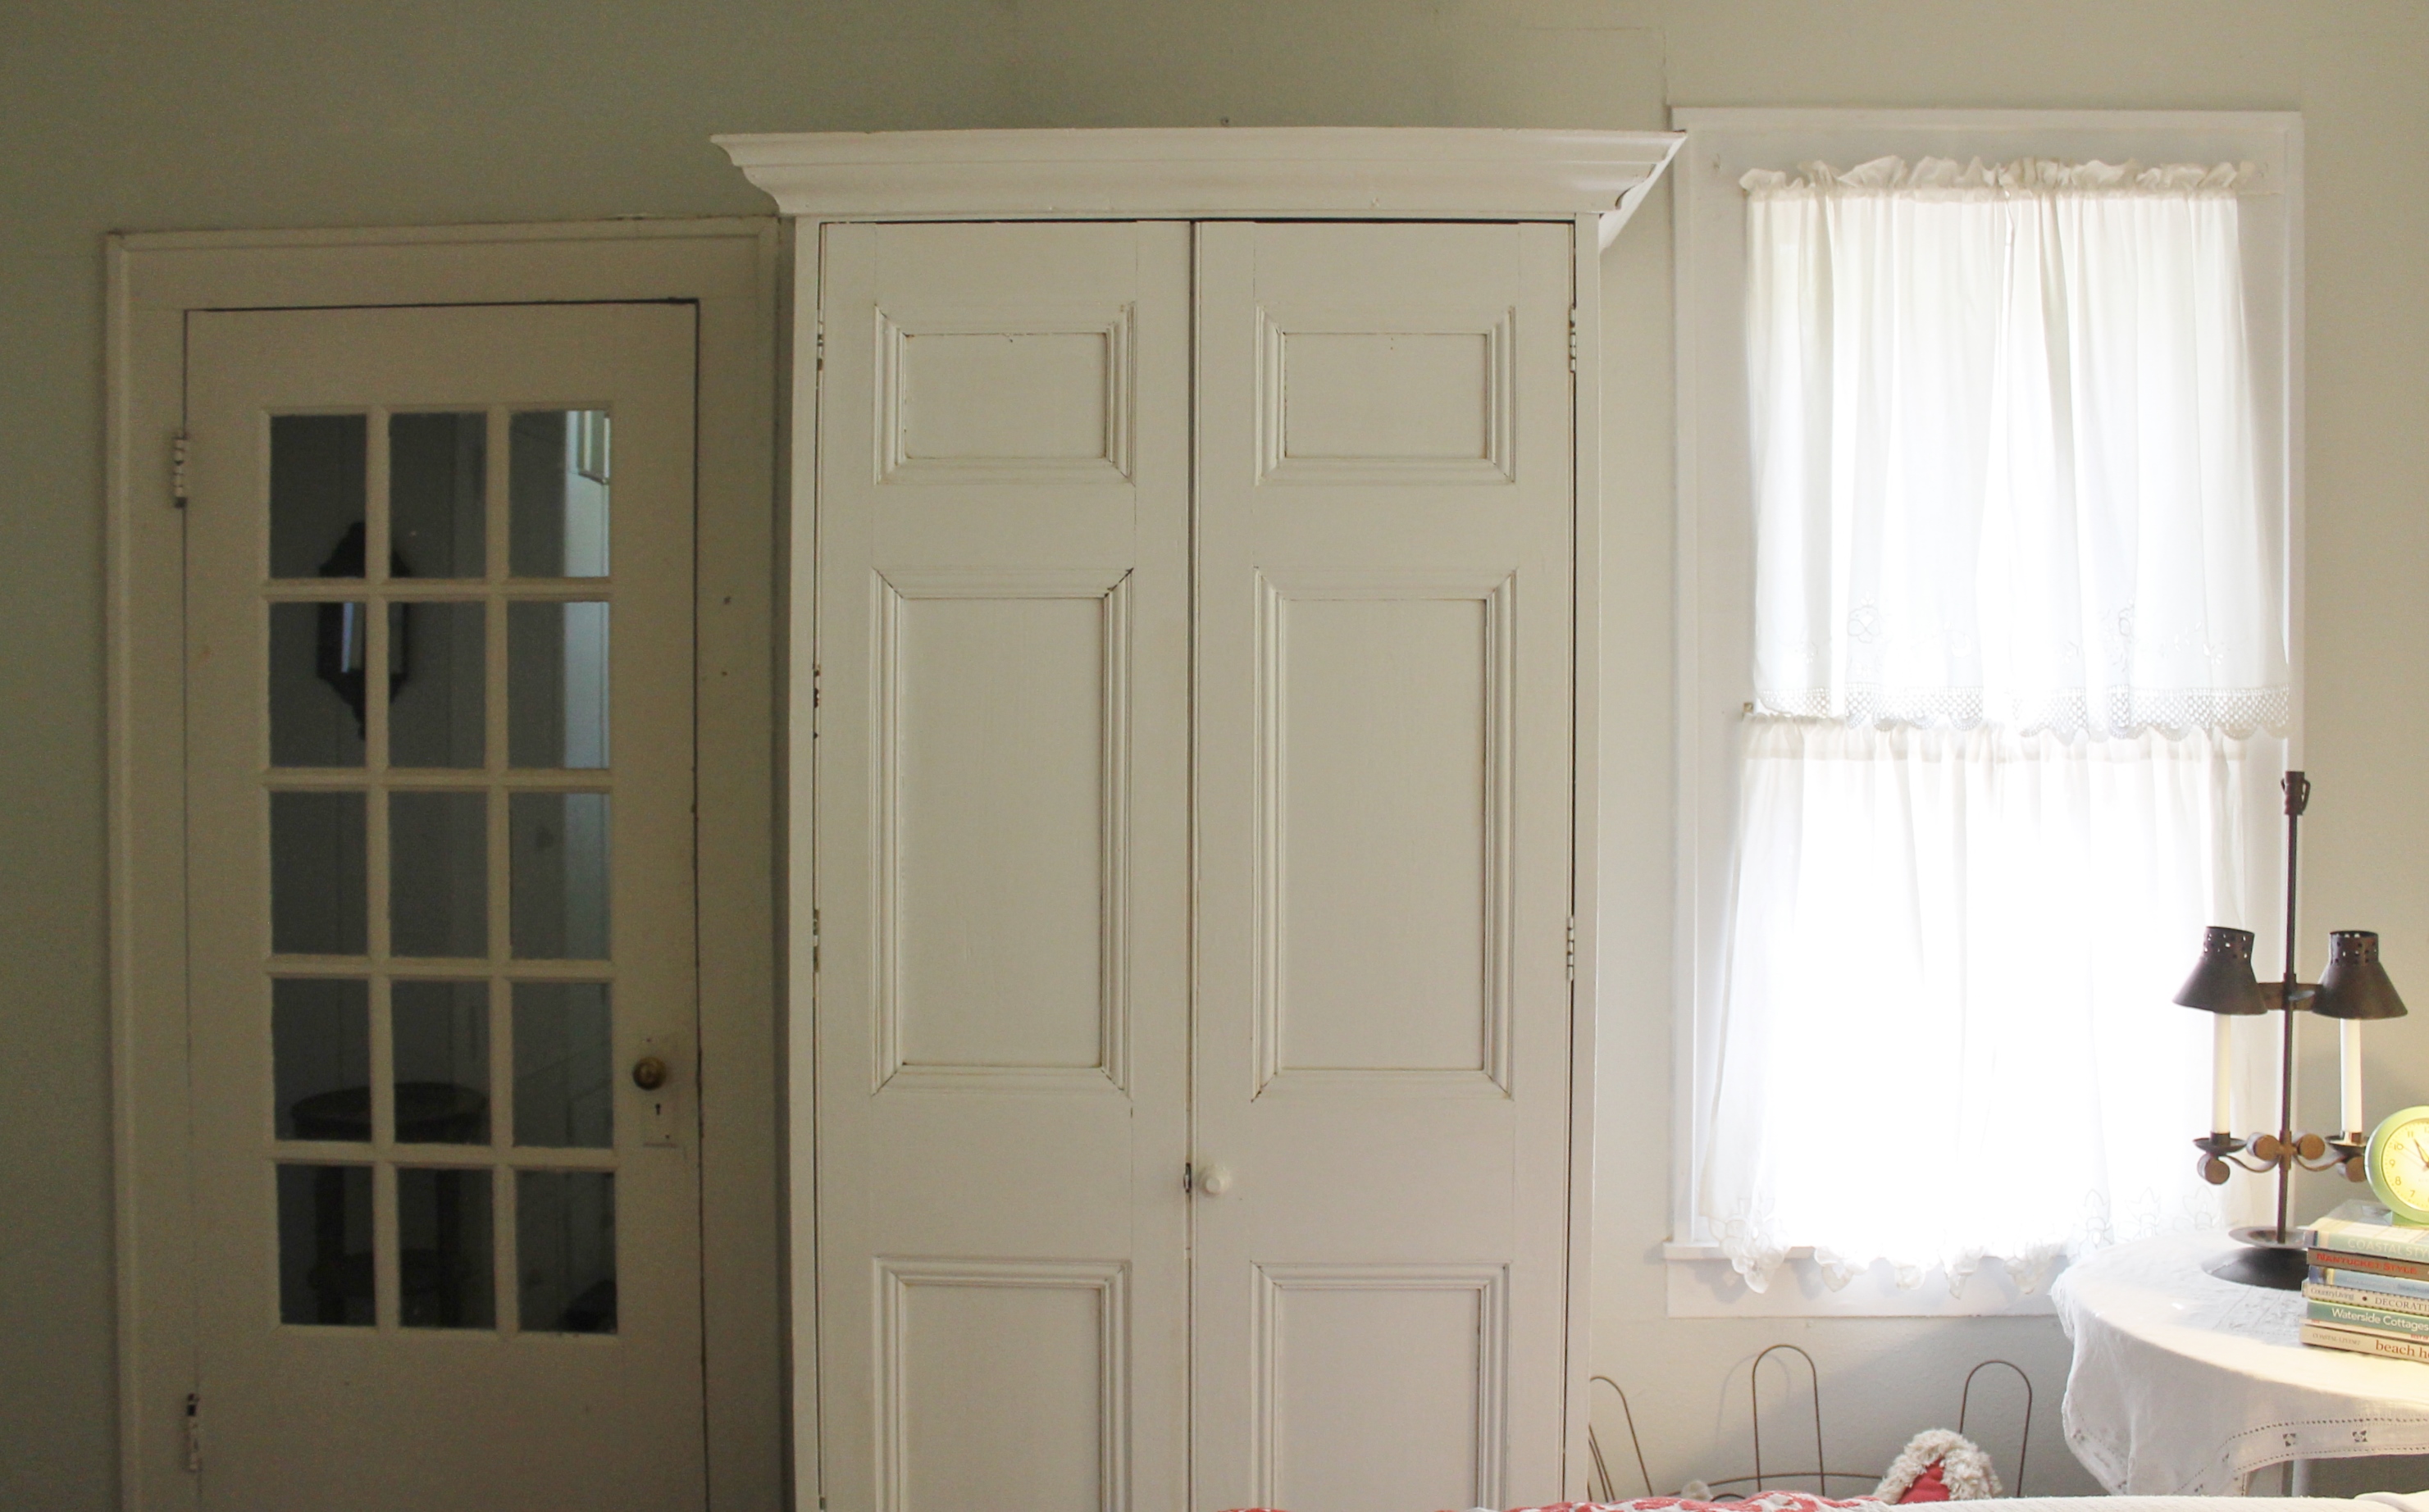
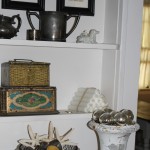
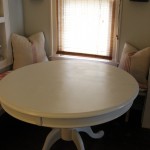
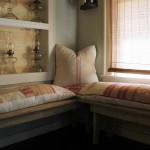
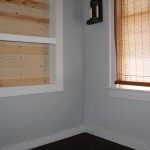
Before.
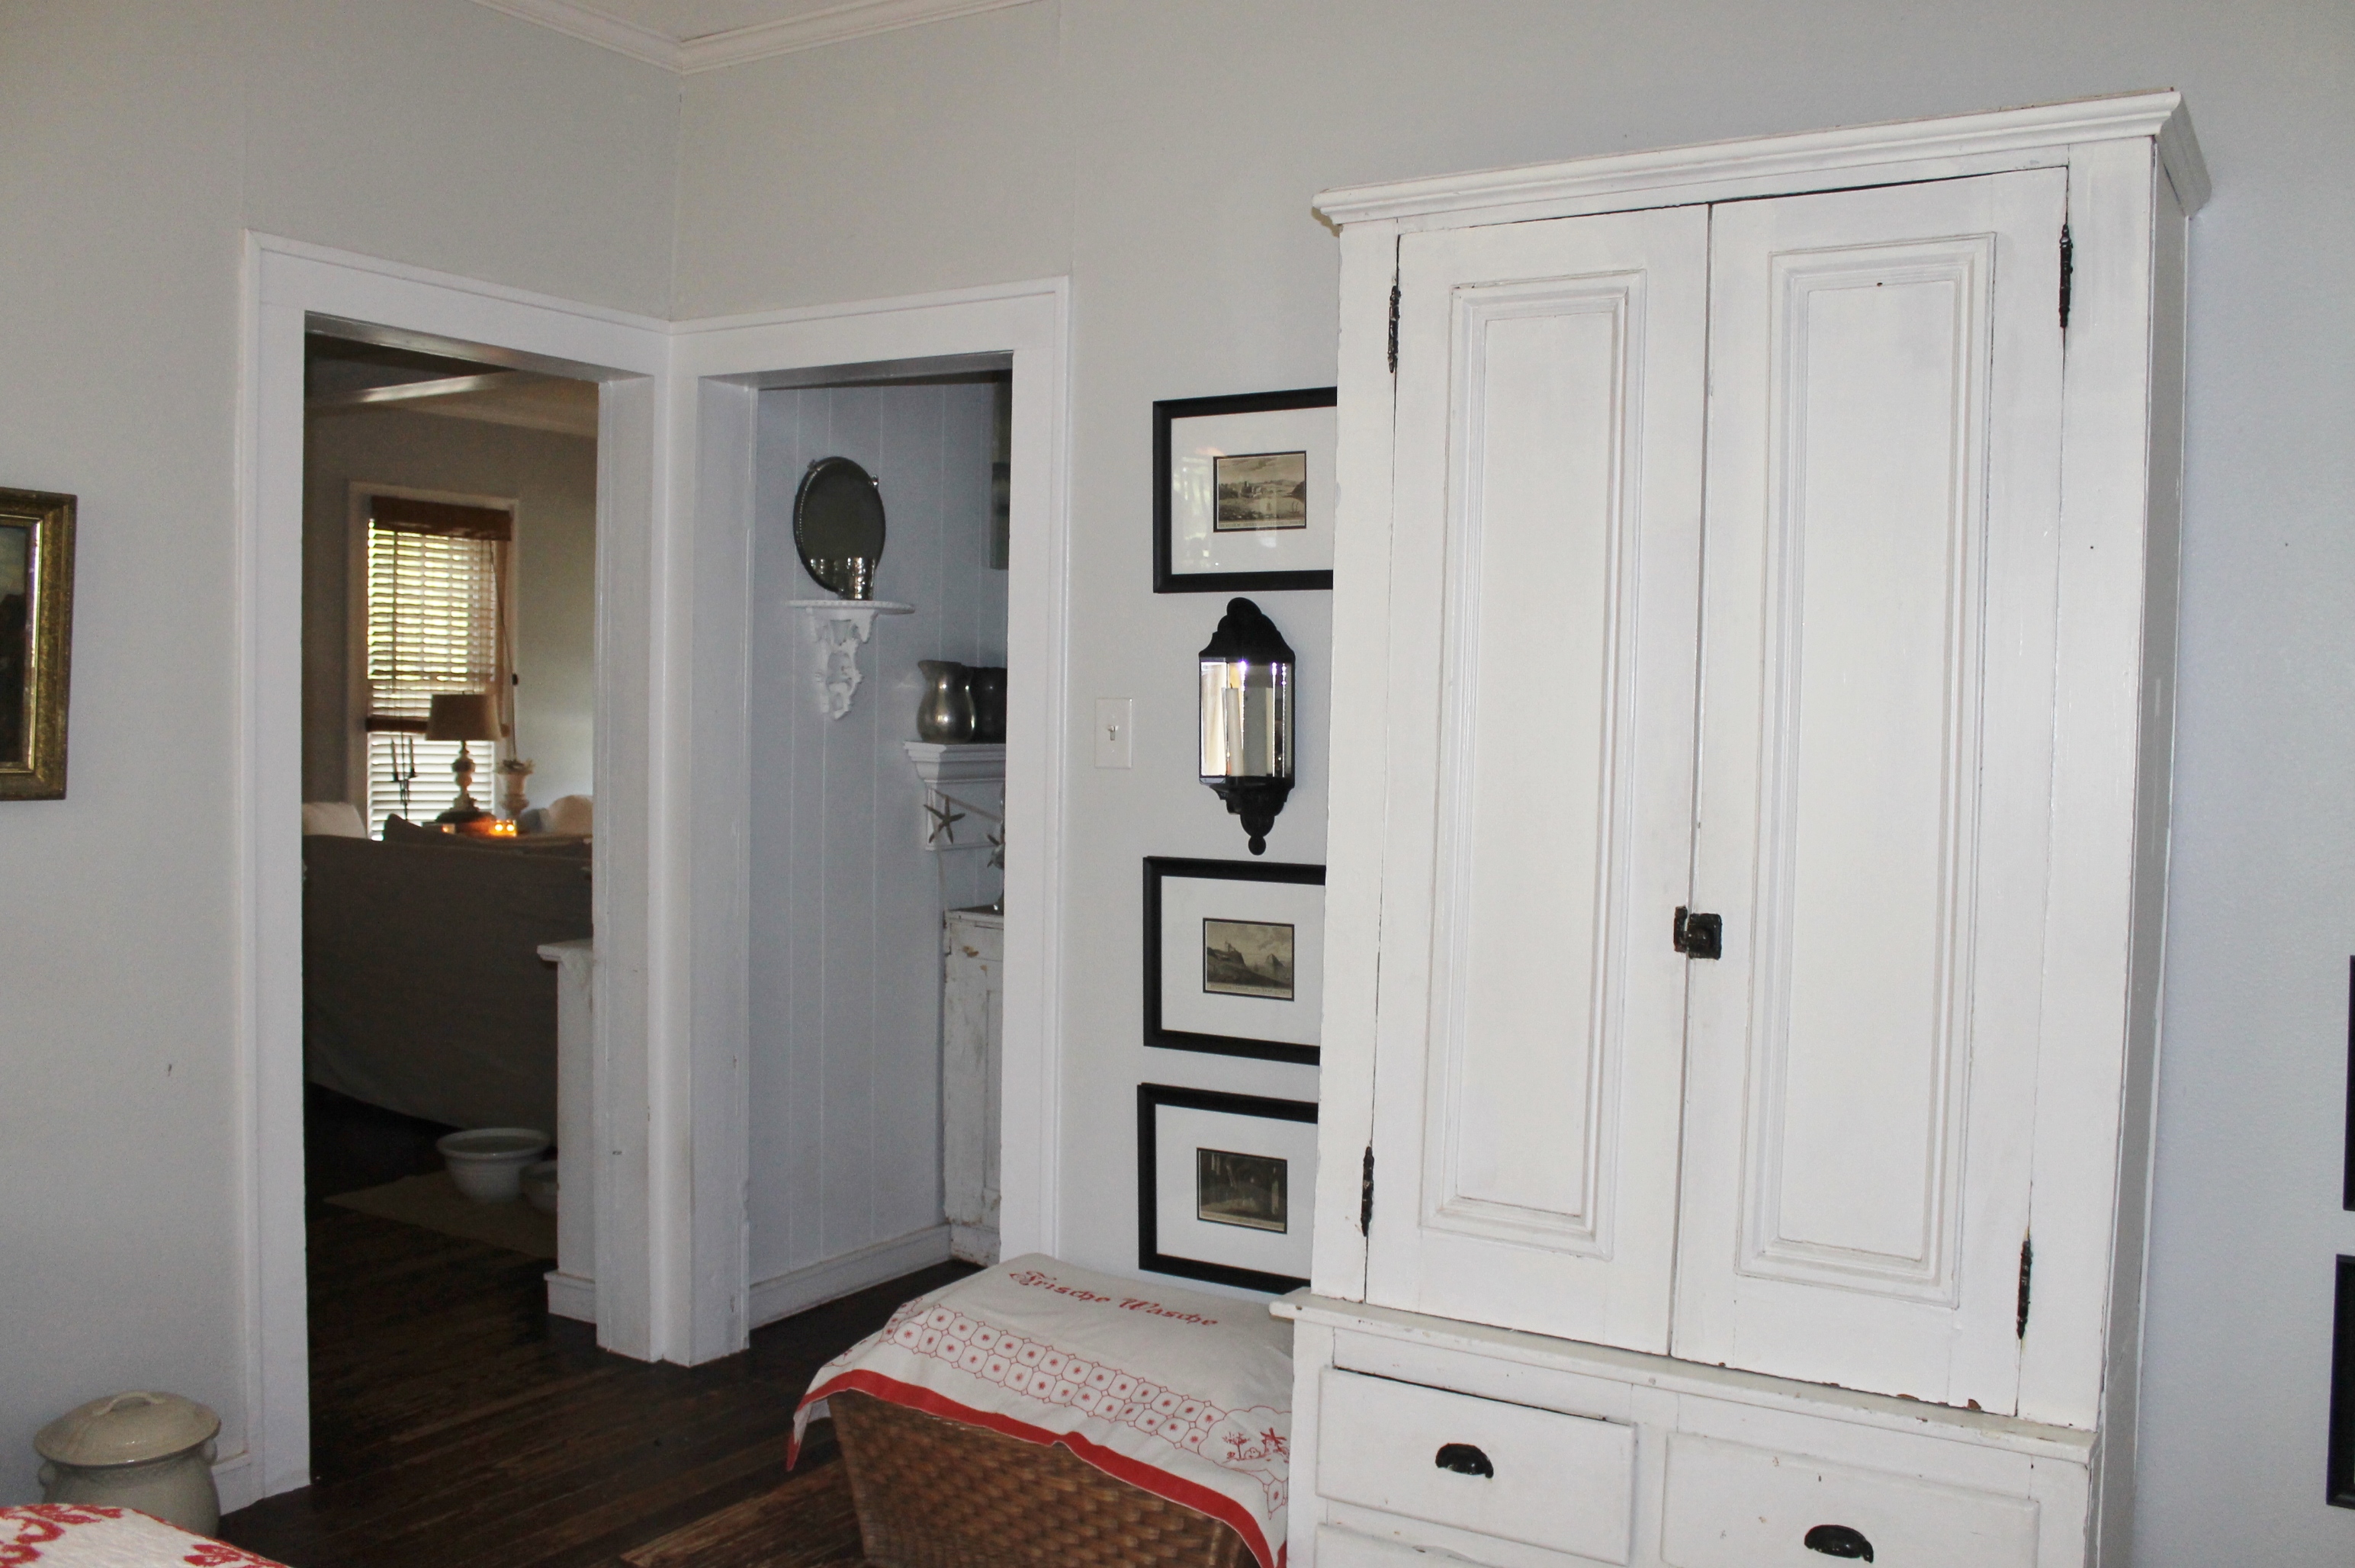
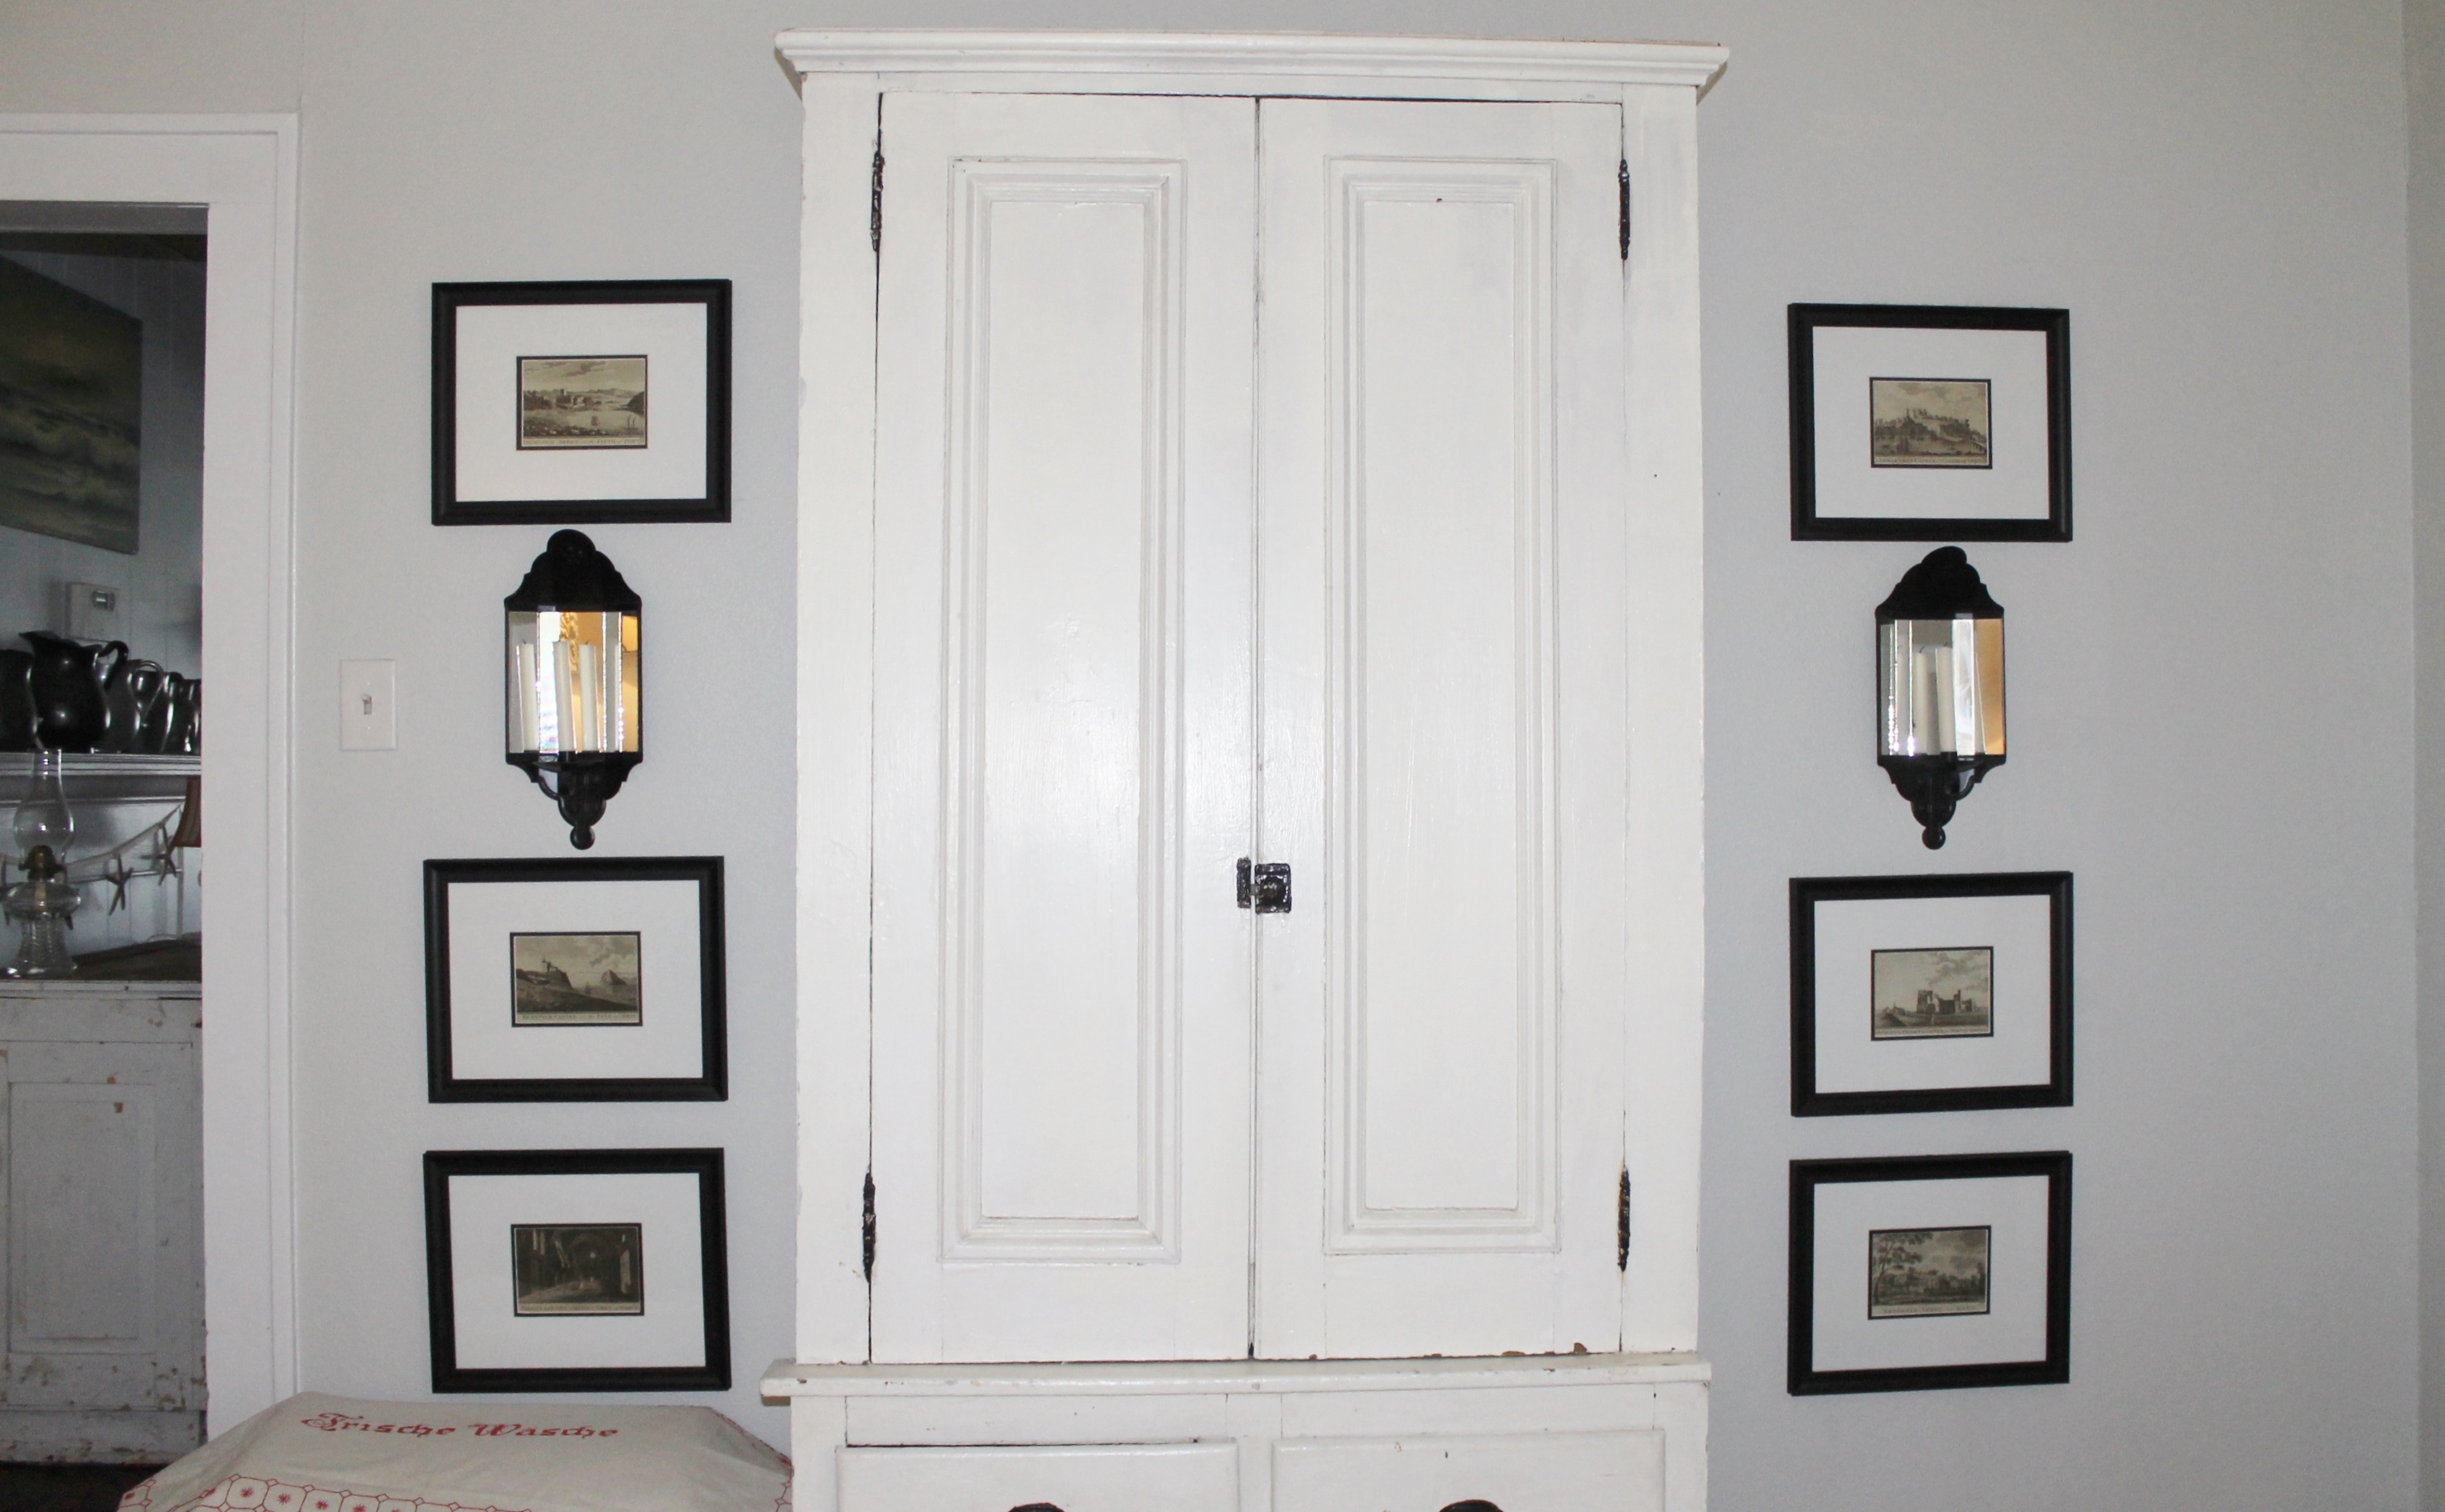
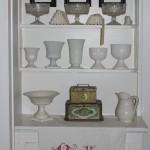
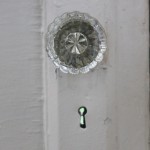
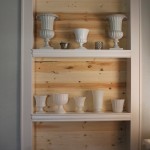
A collection of architectural objects.
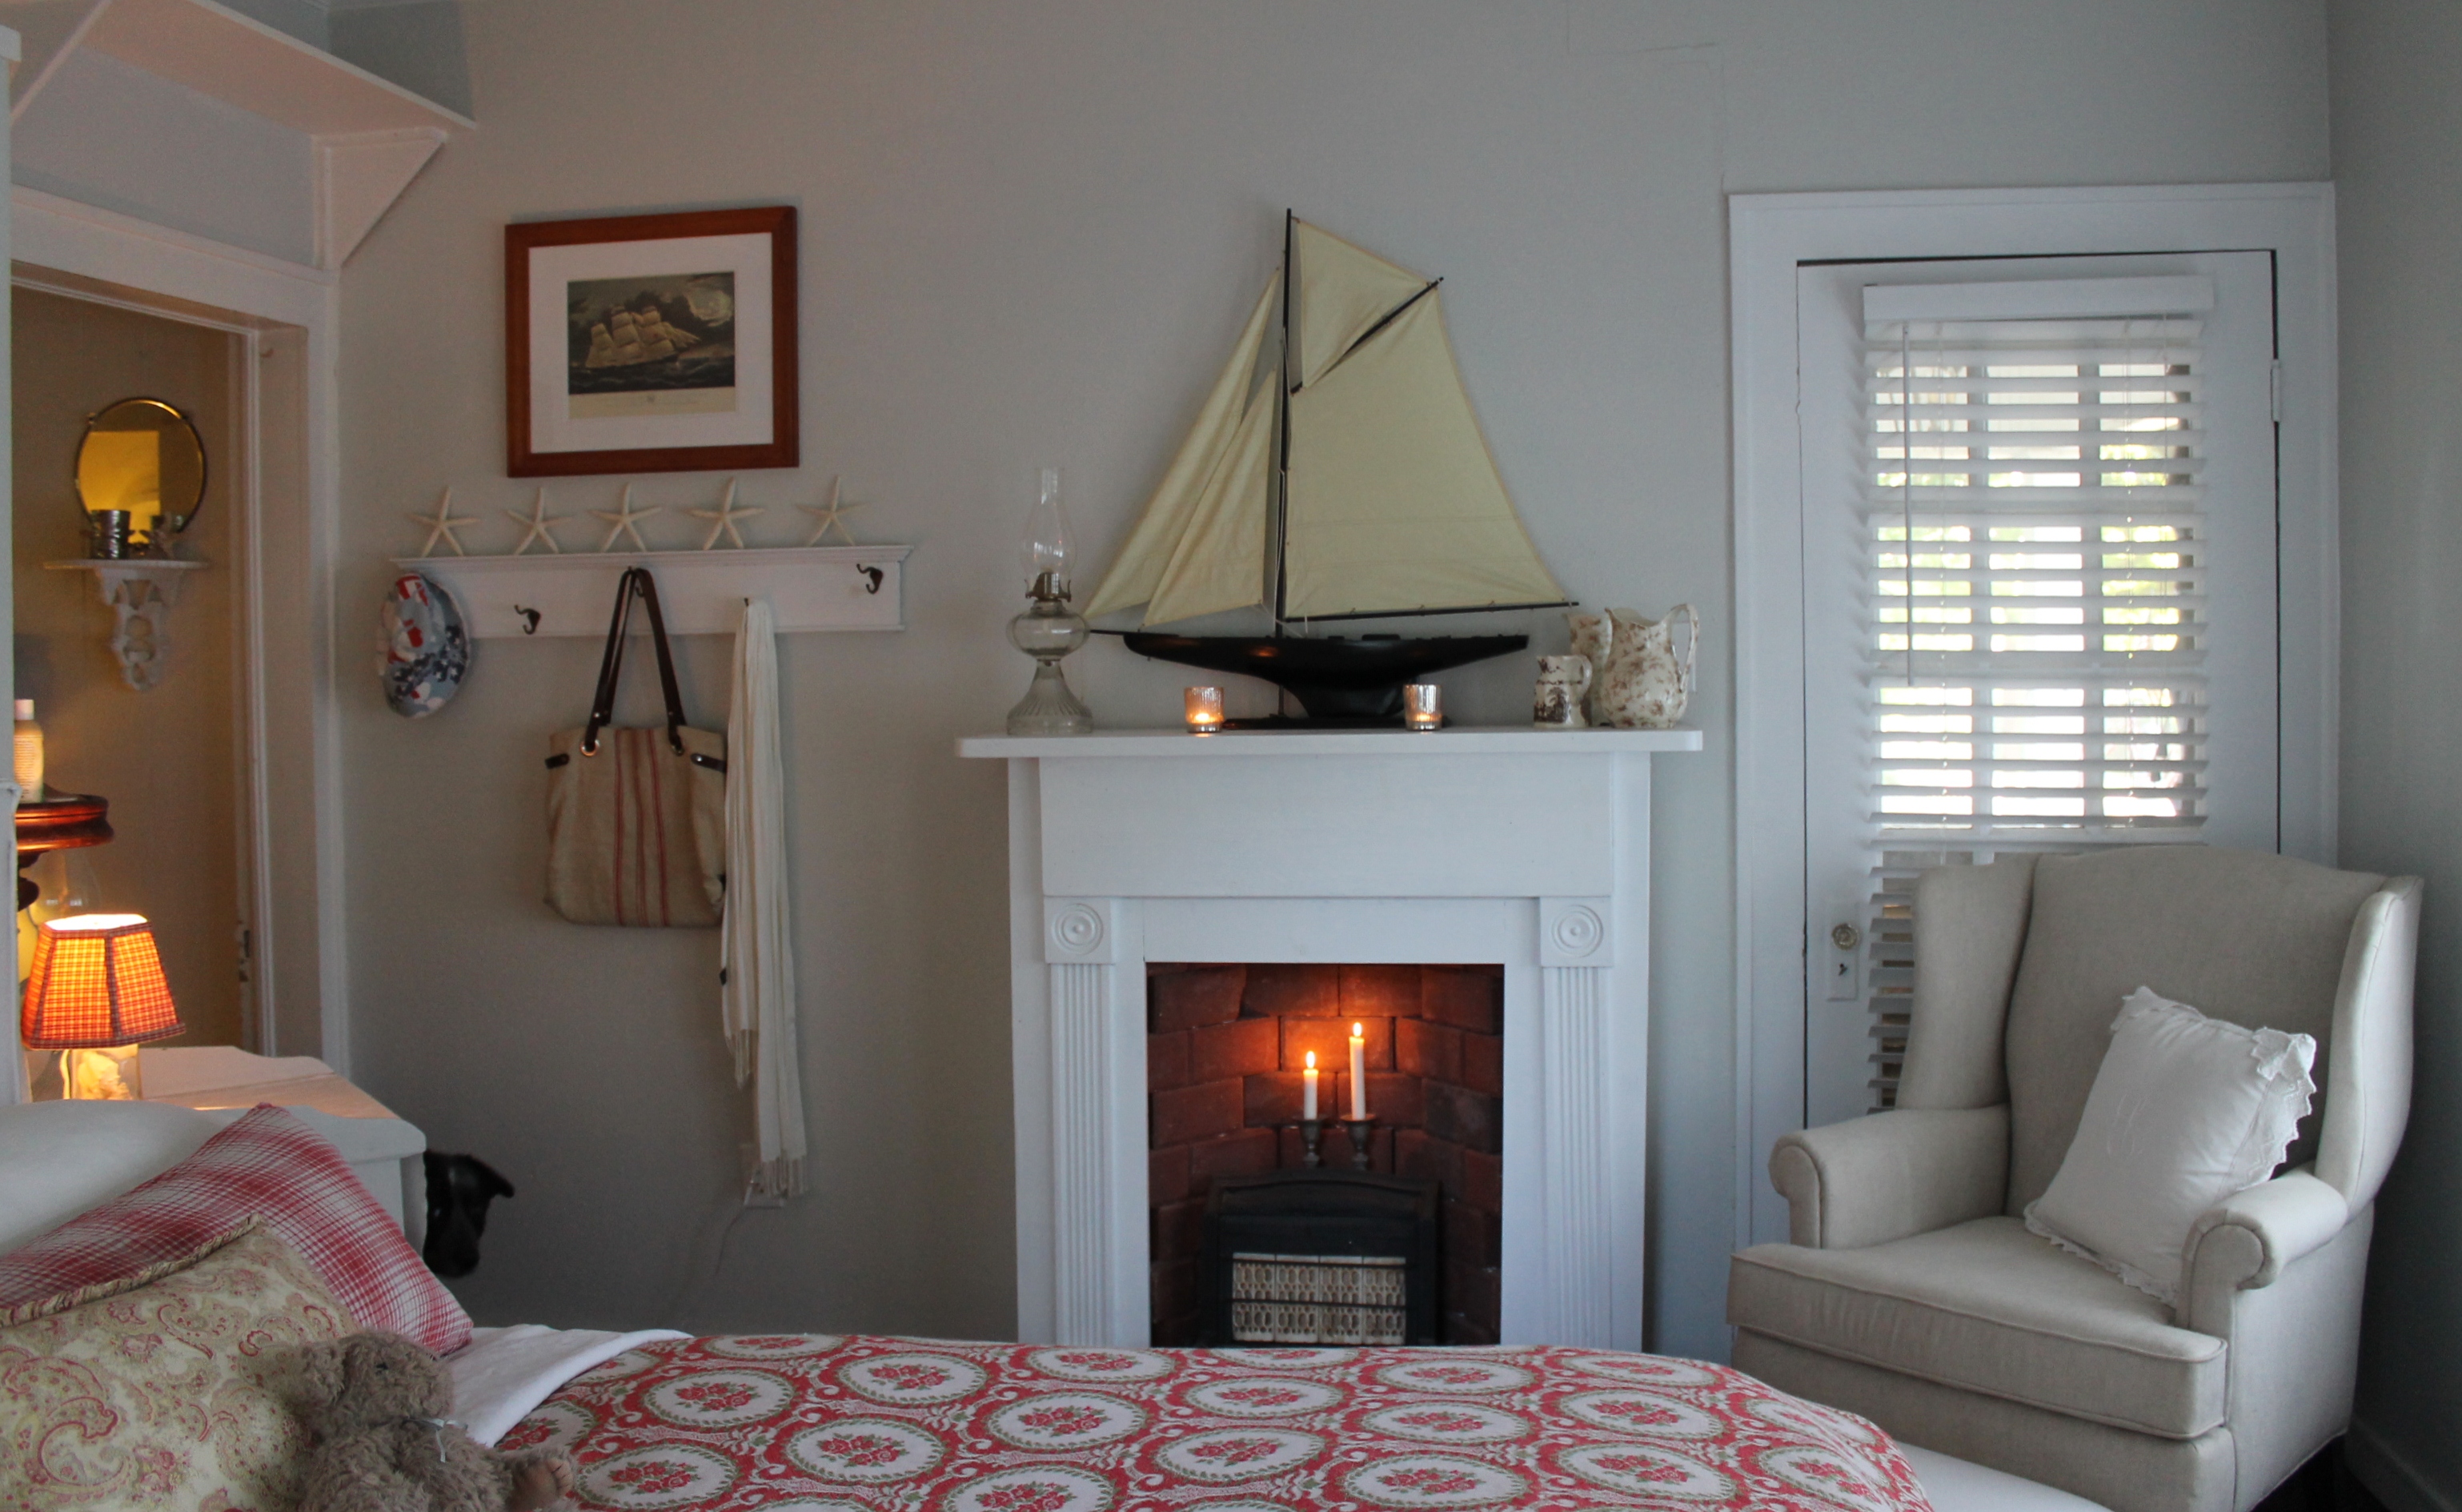
Guest Room.
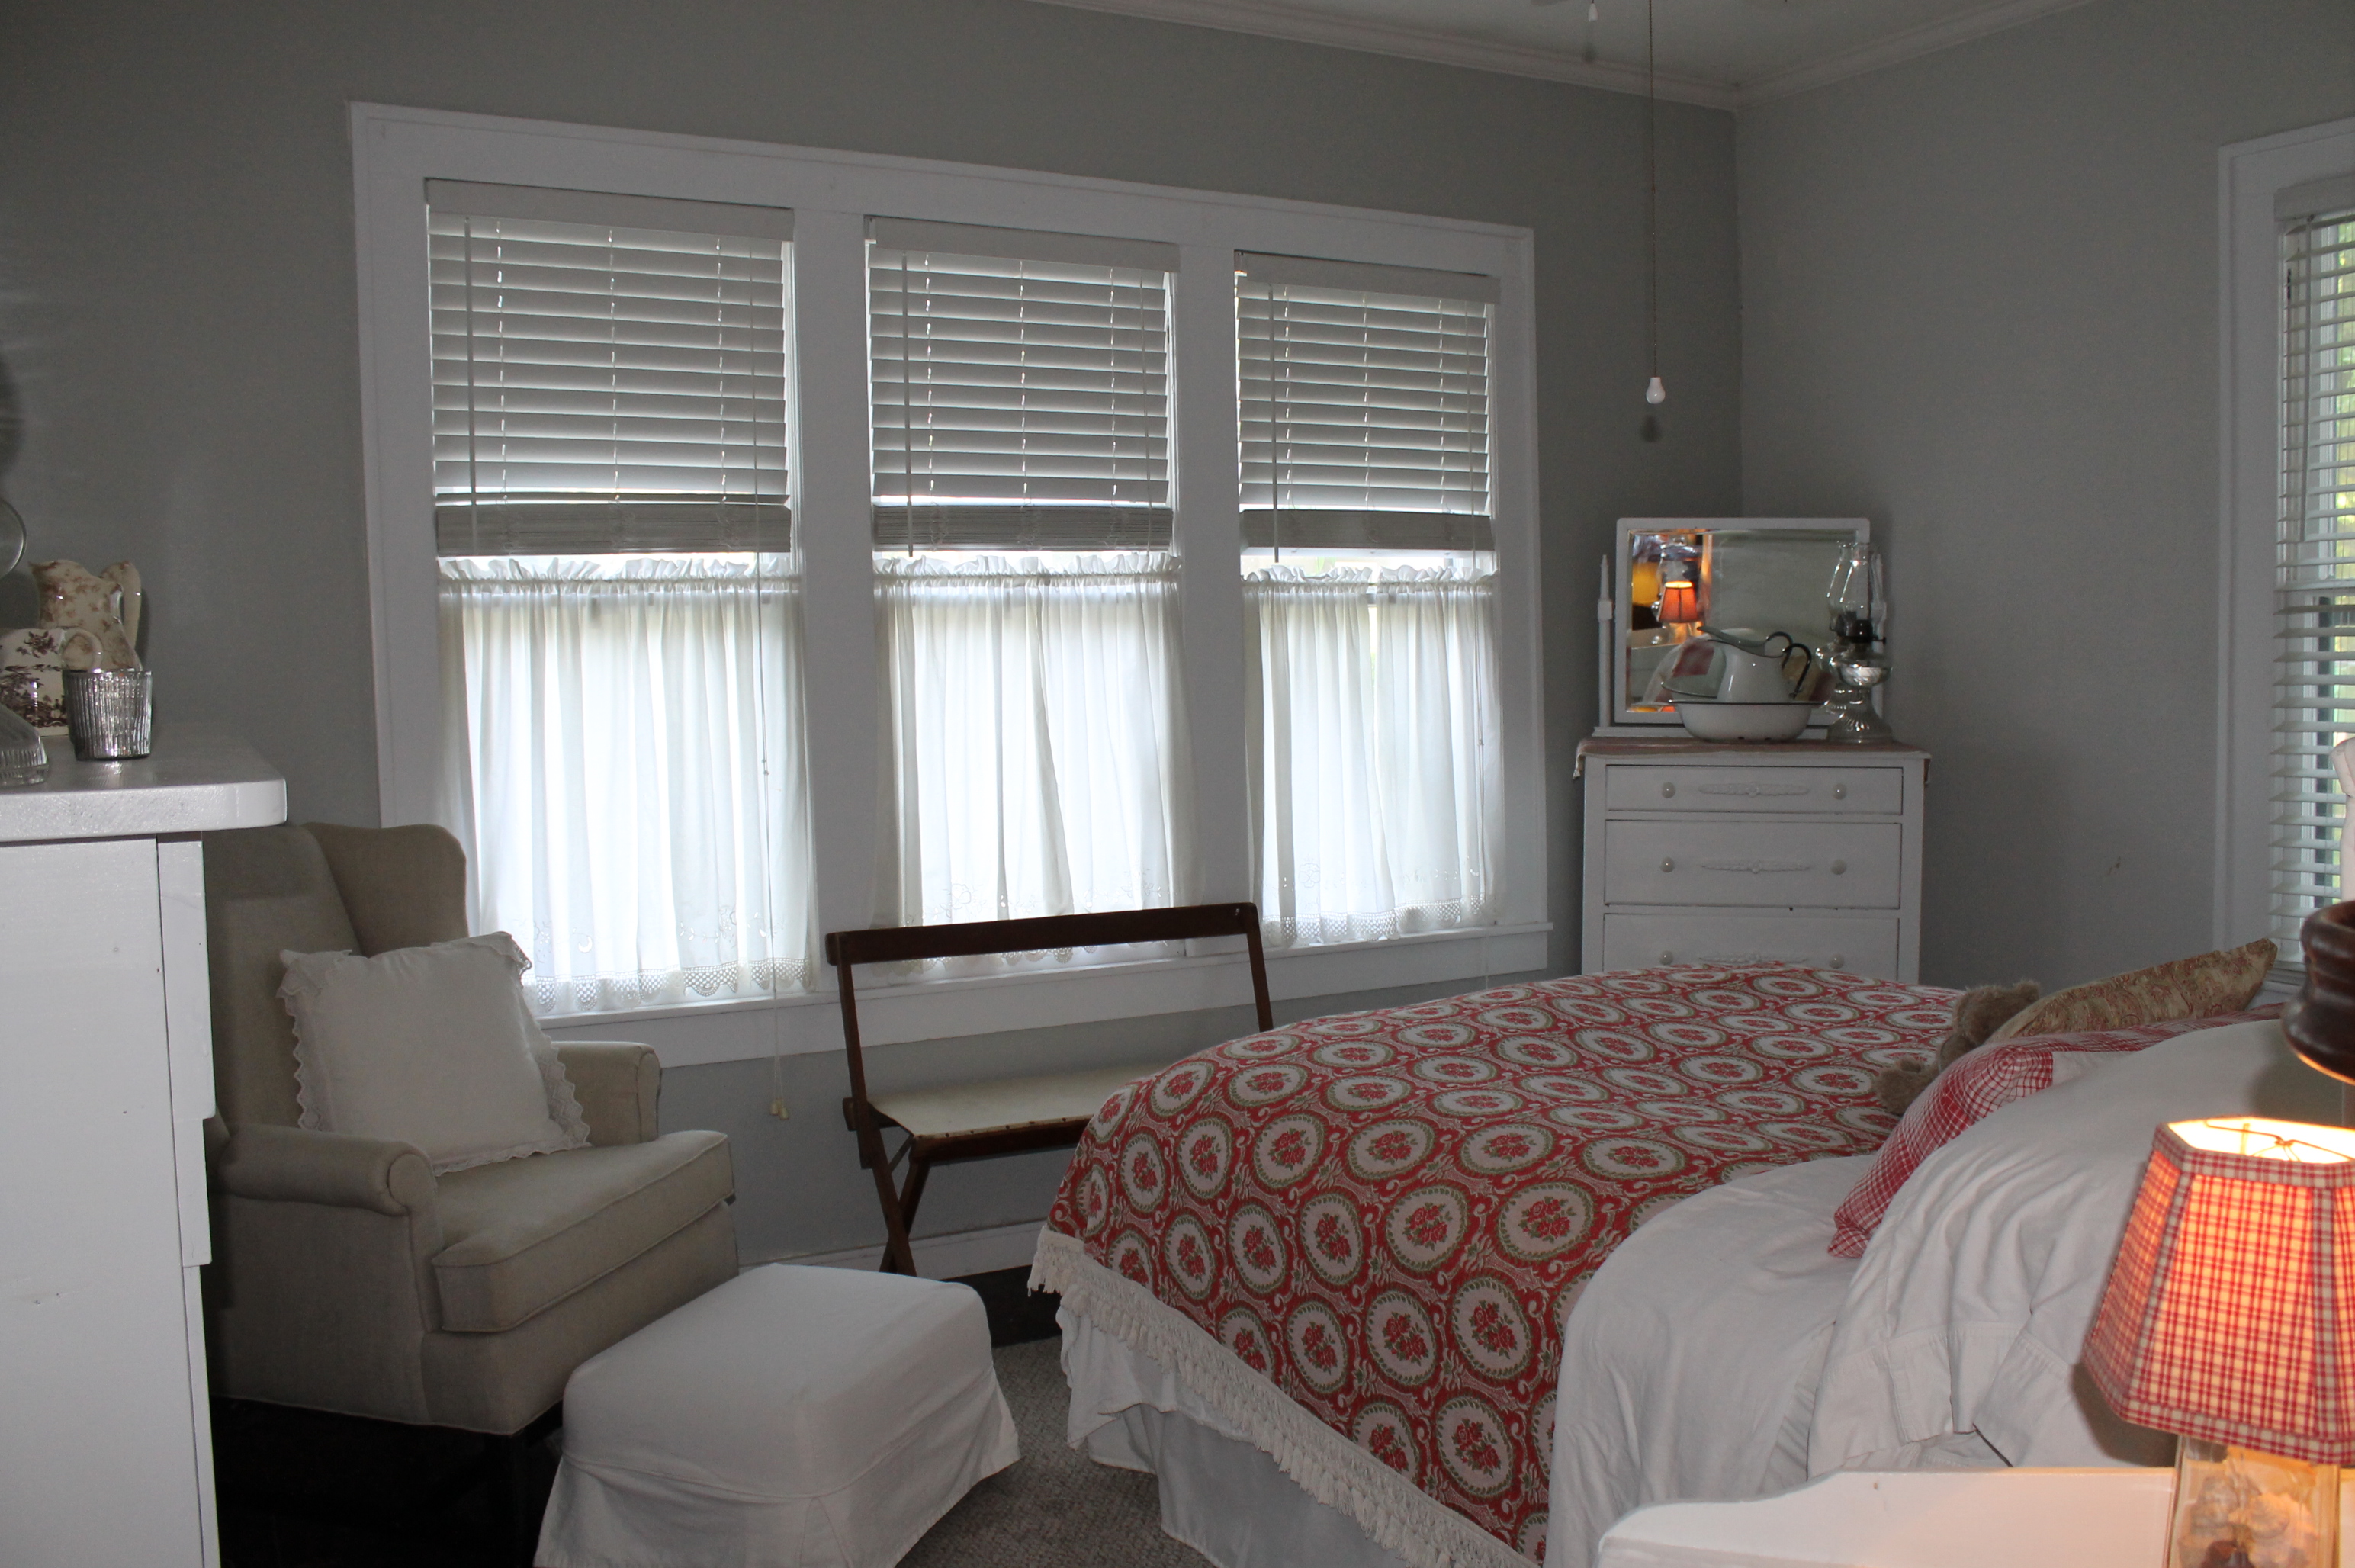
Guest Room.
Guest Room.
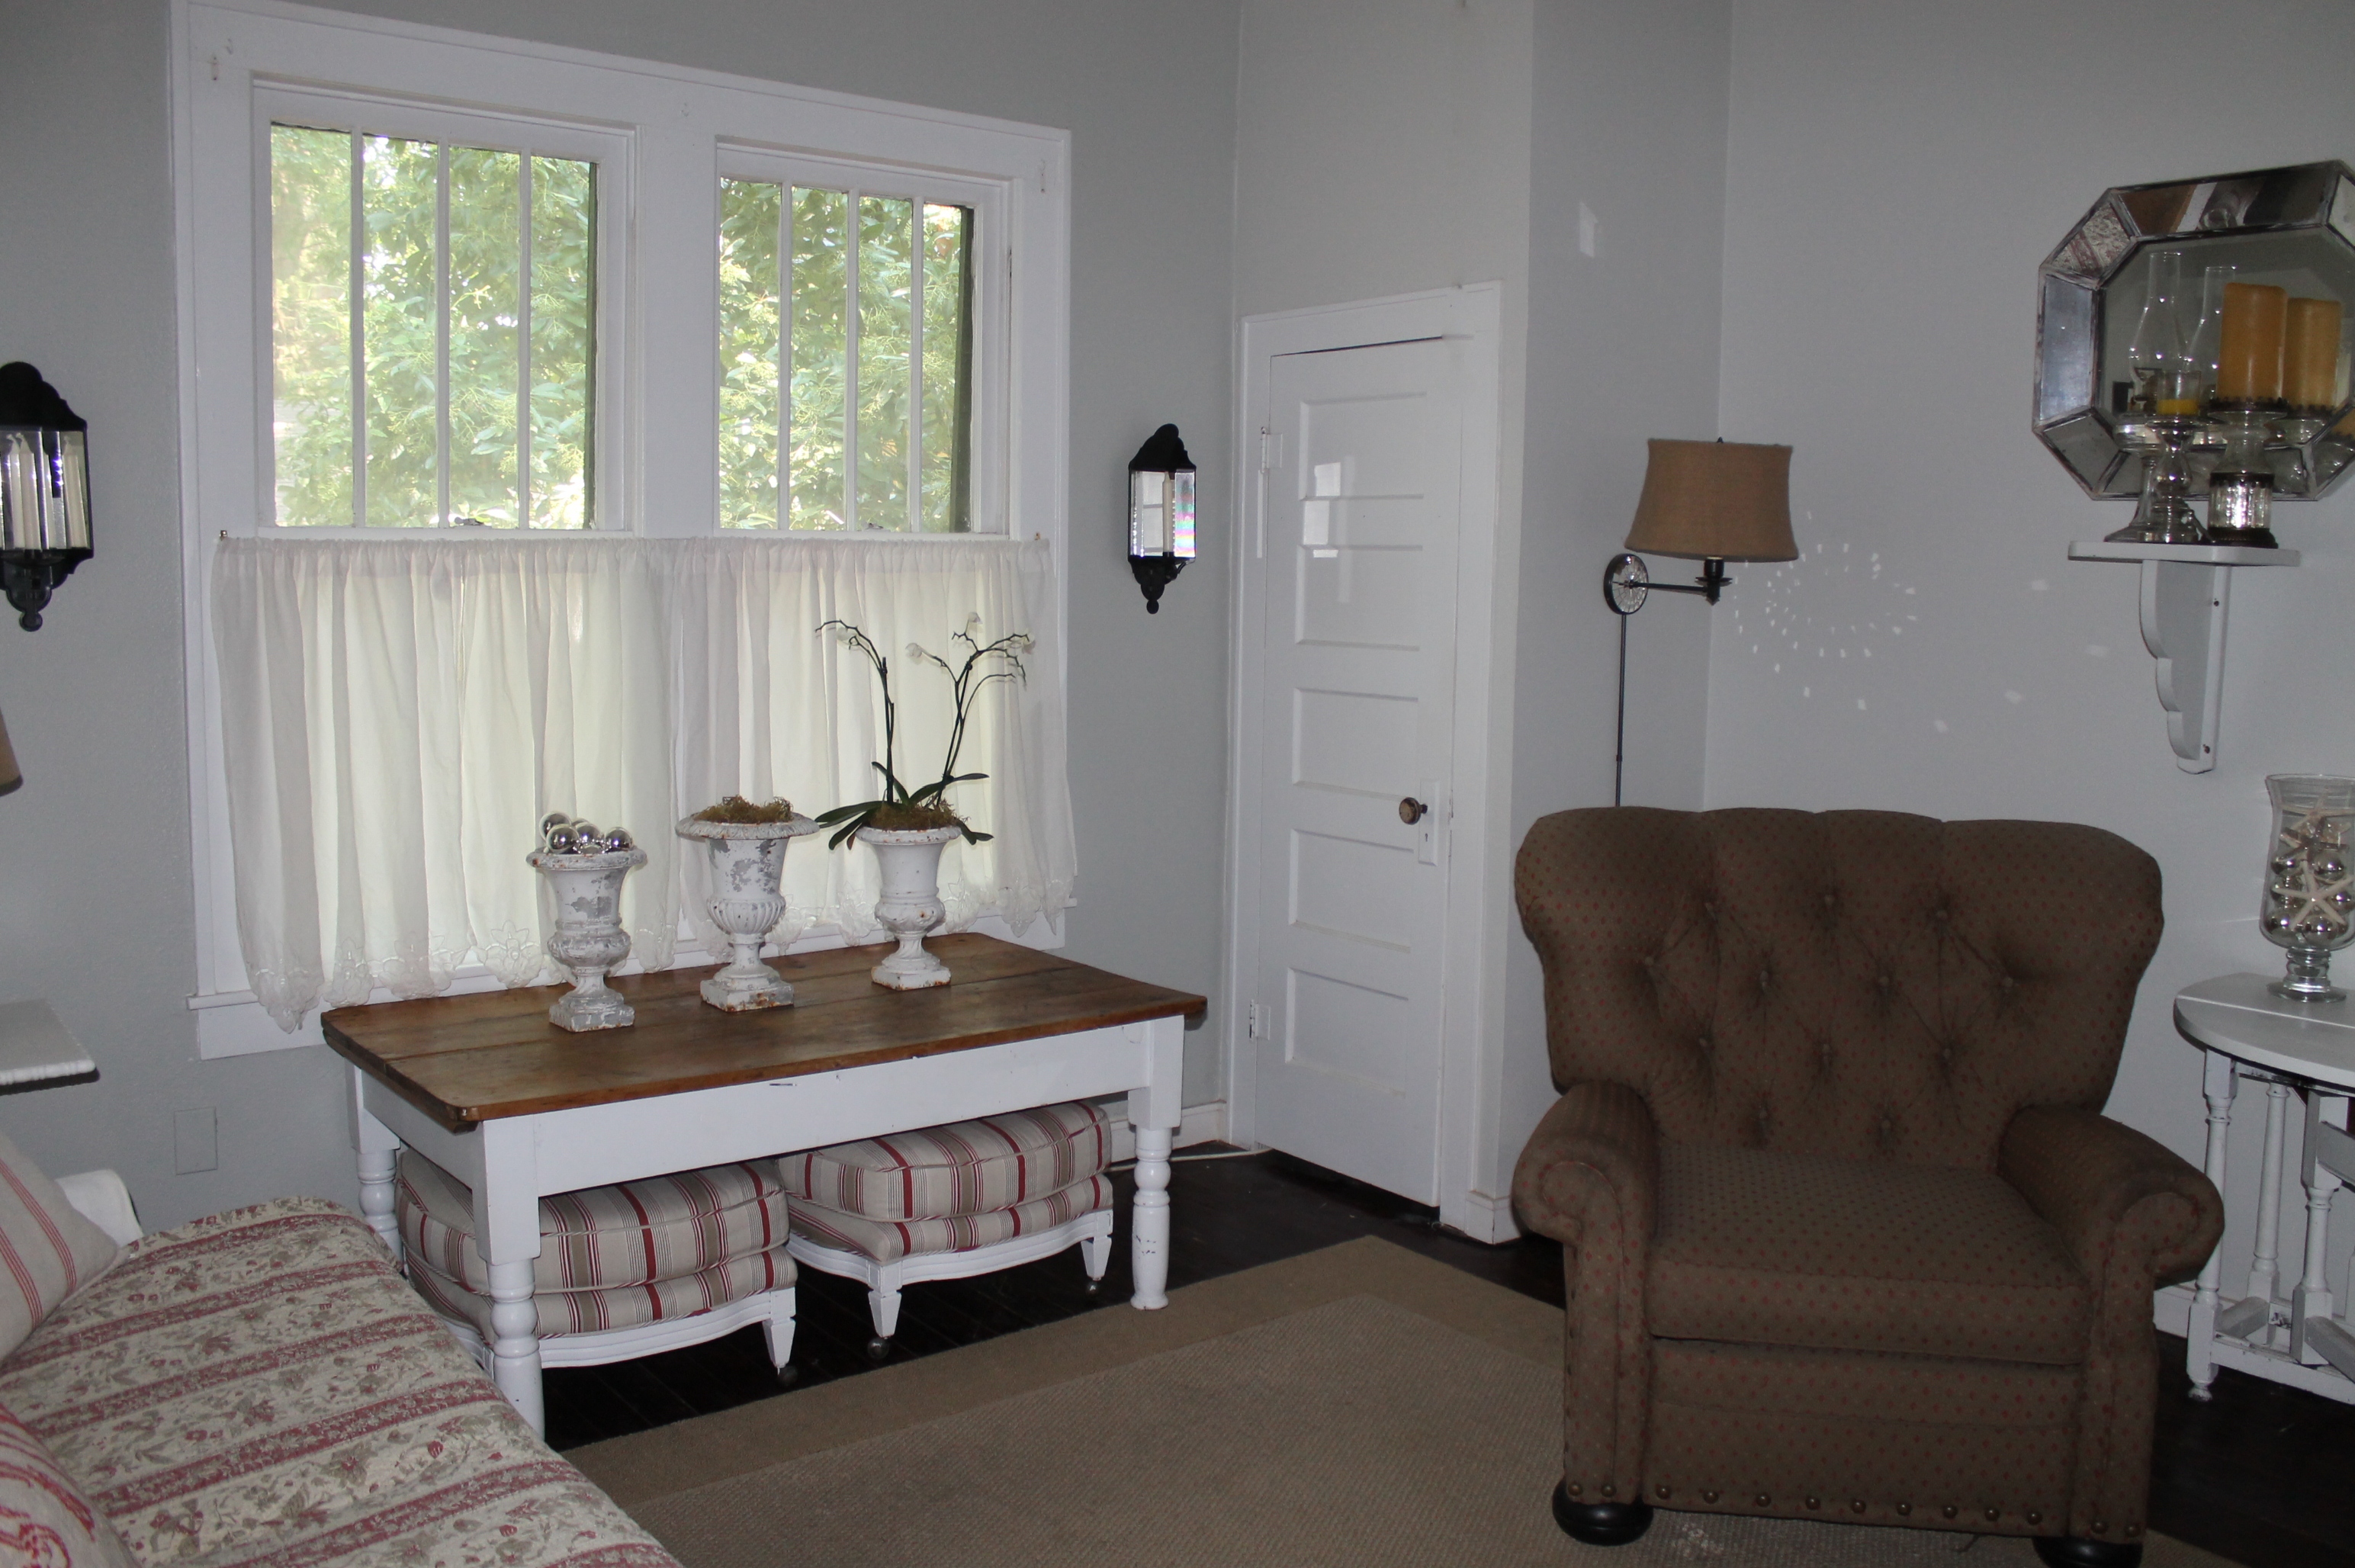
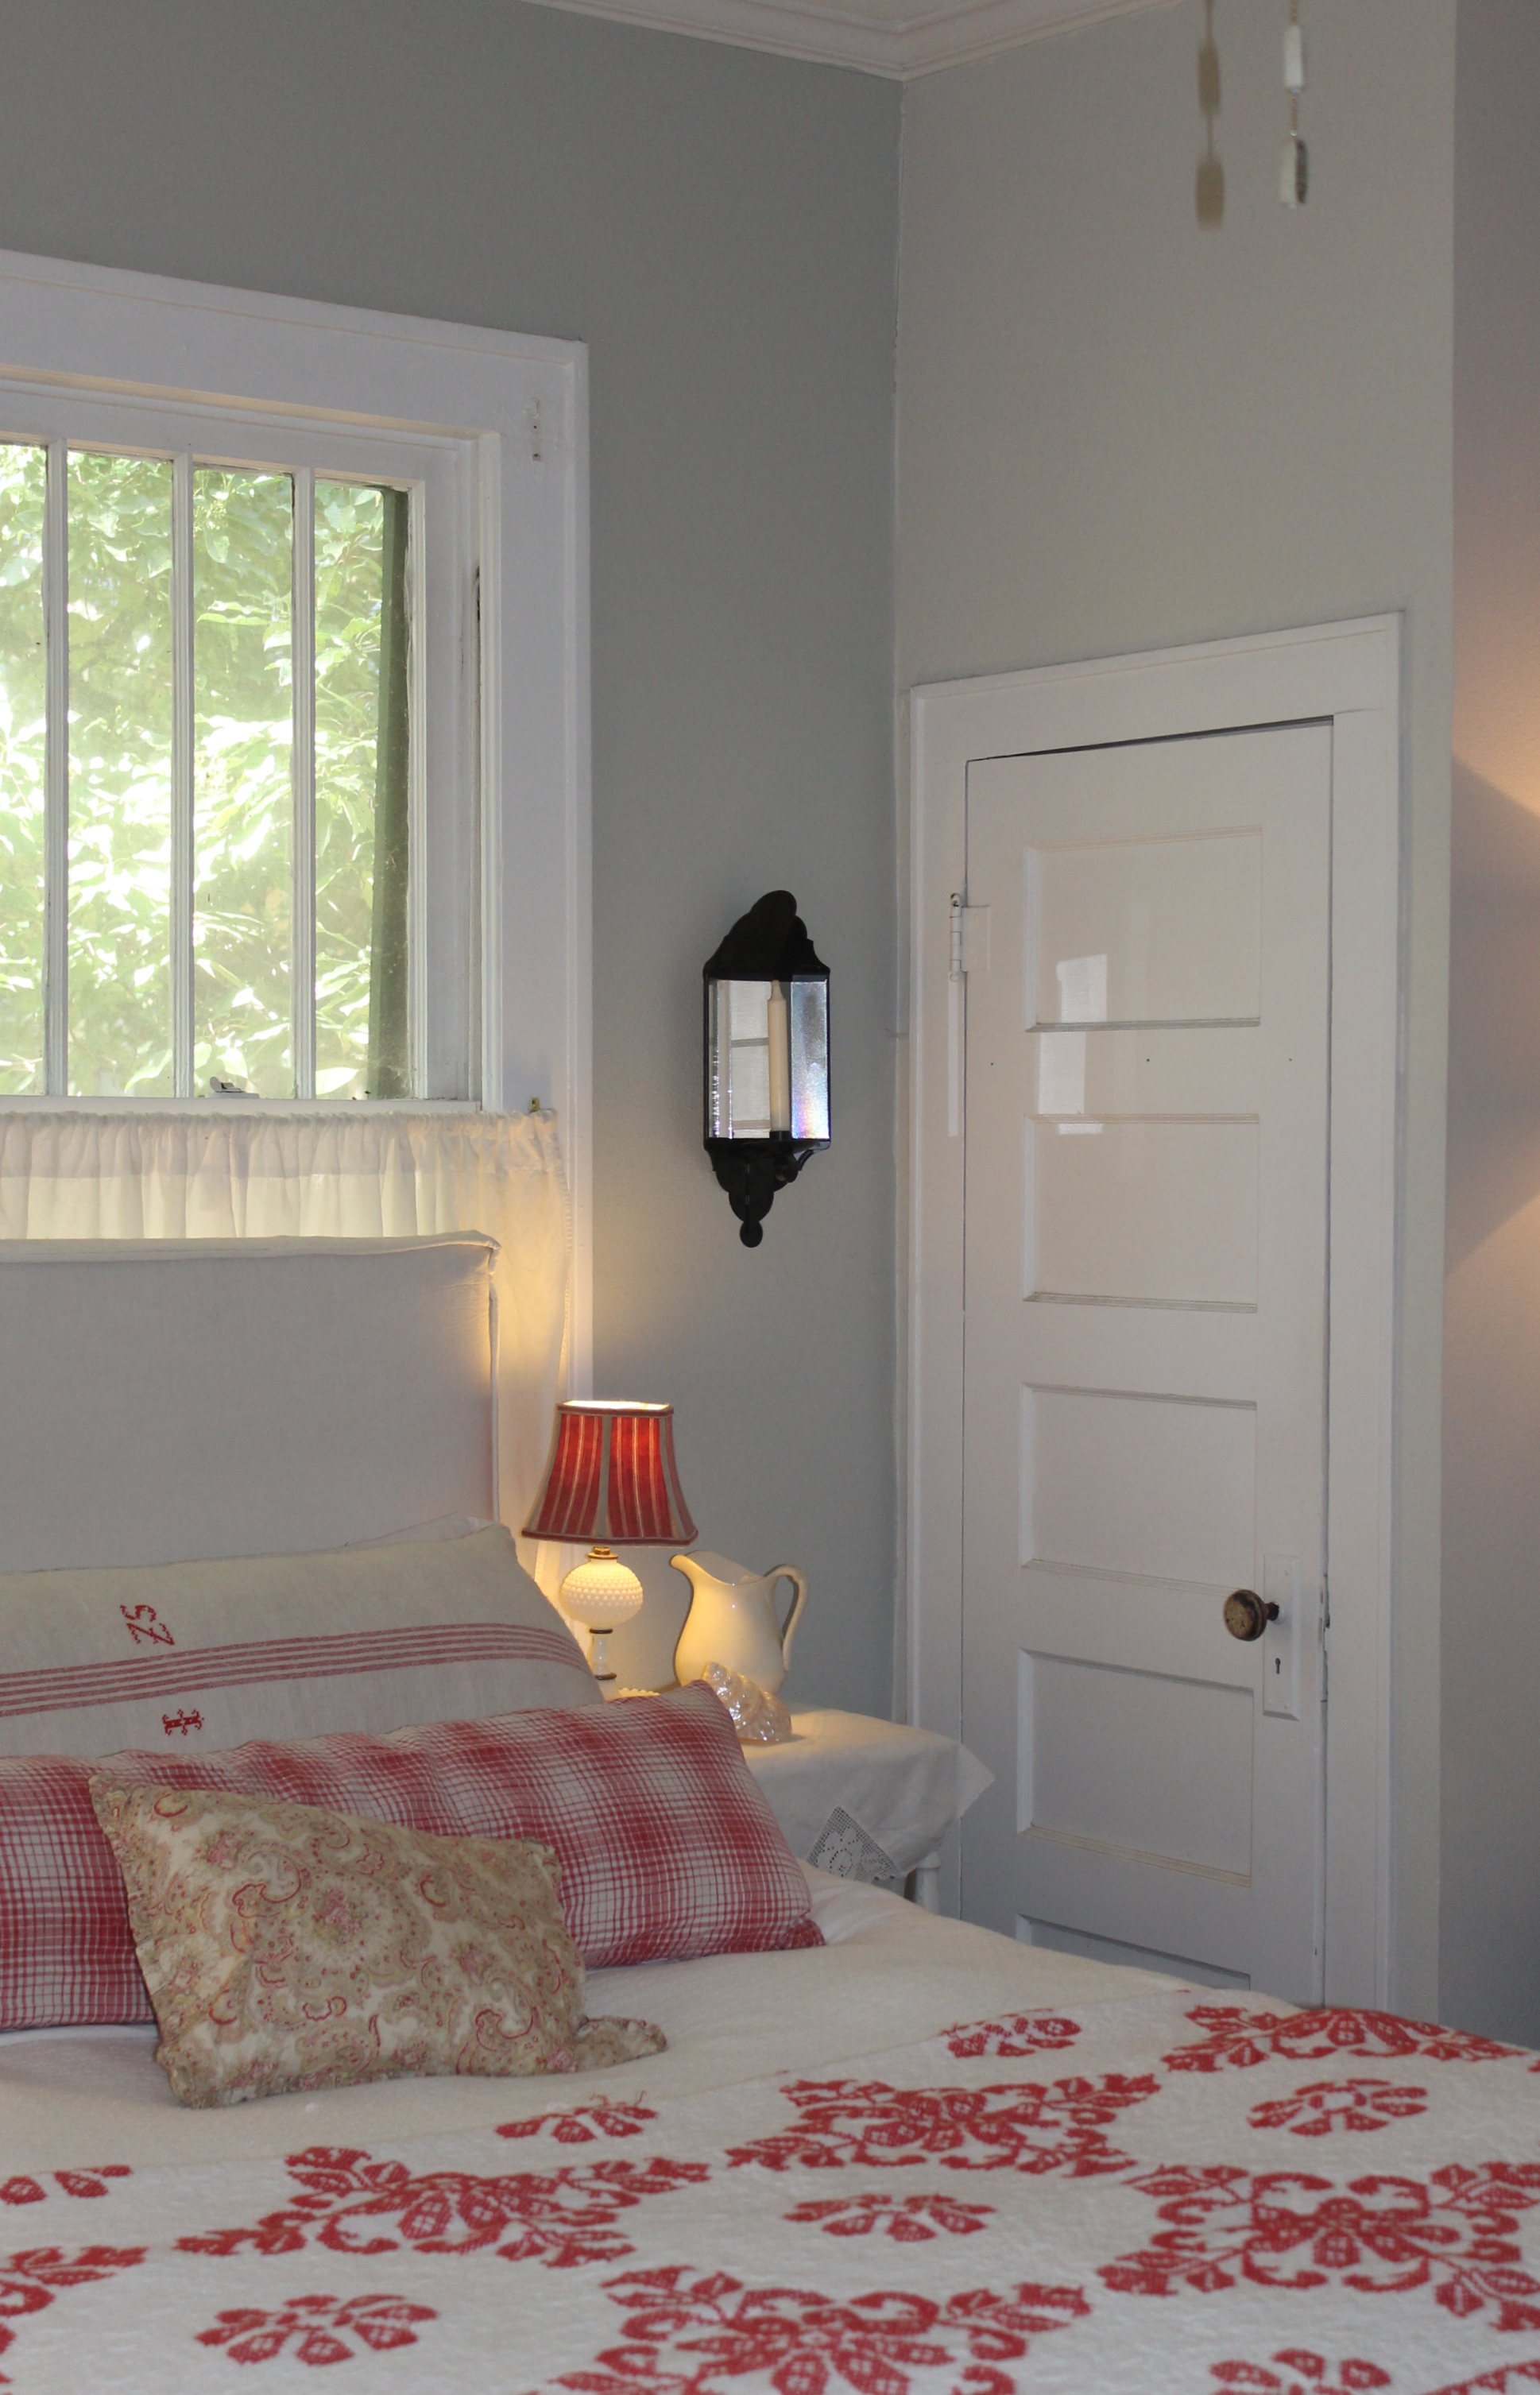
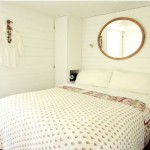
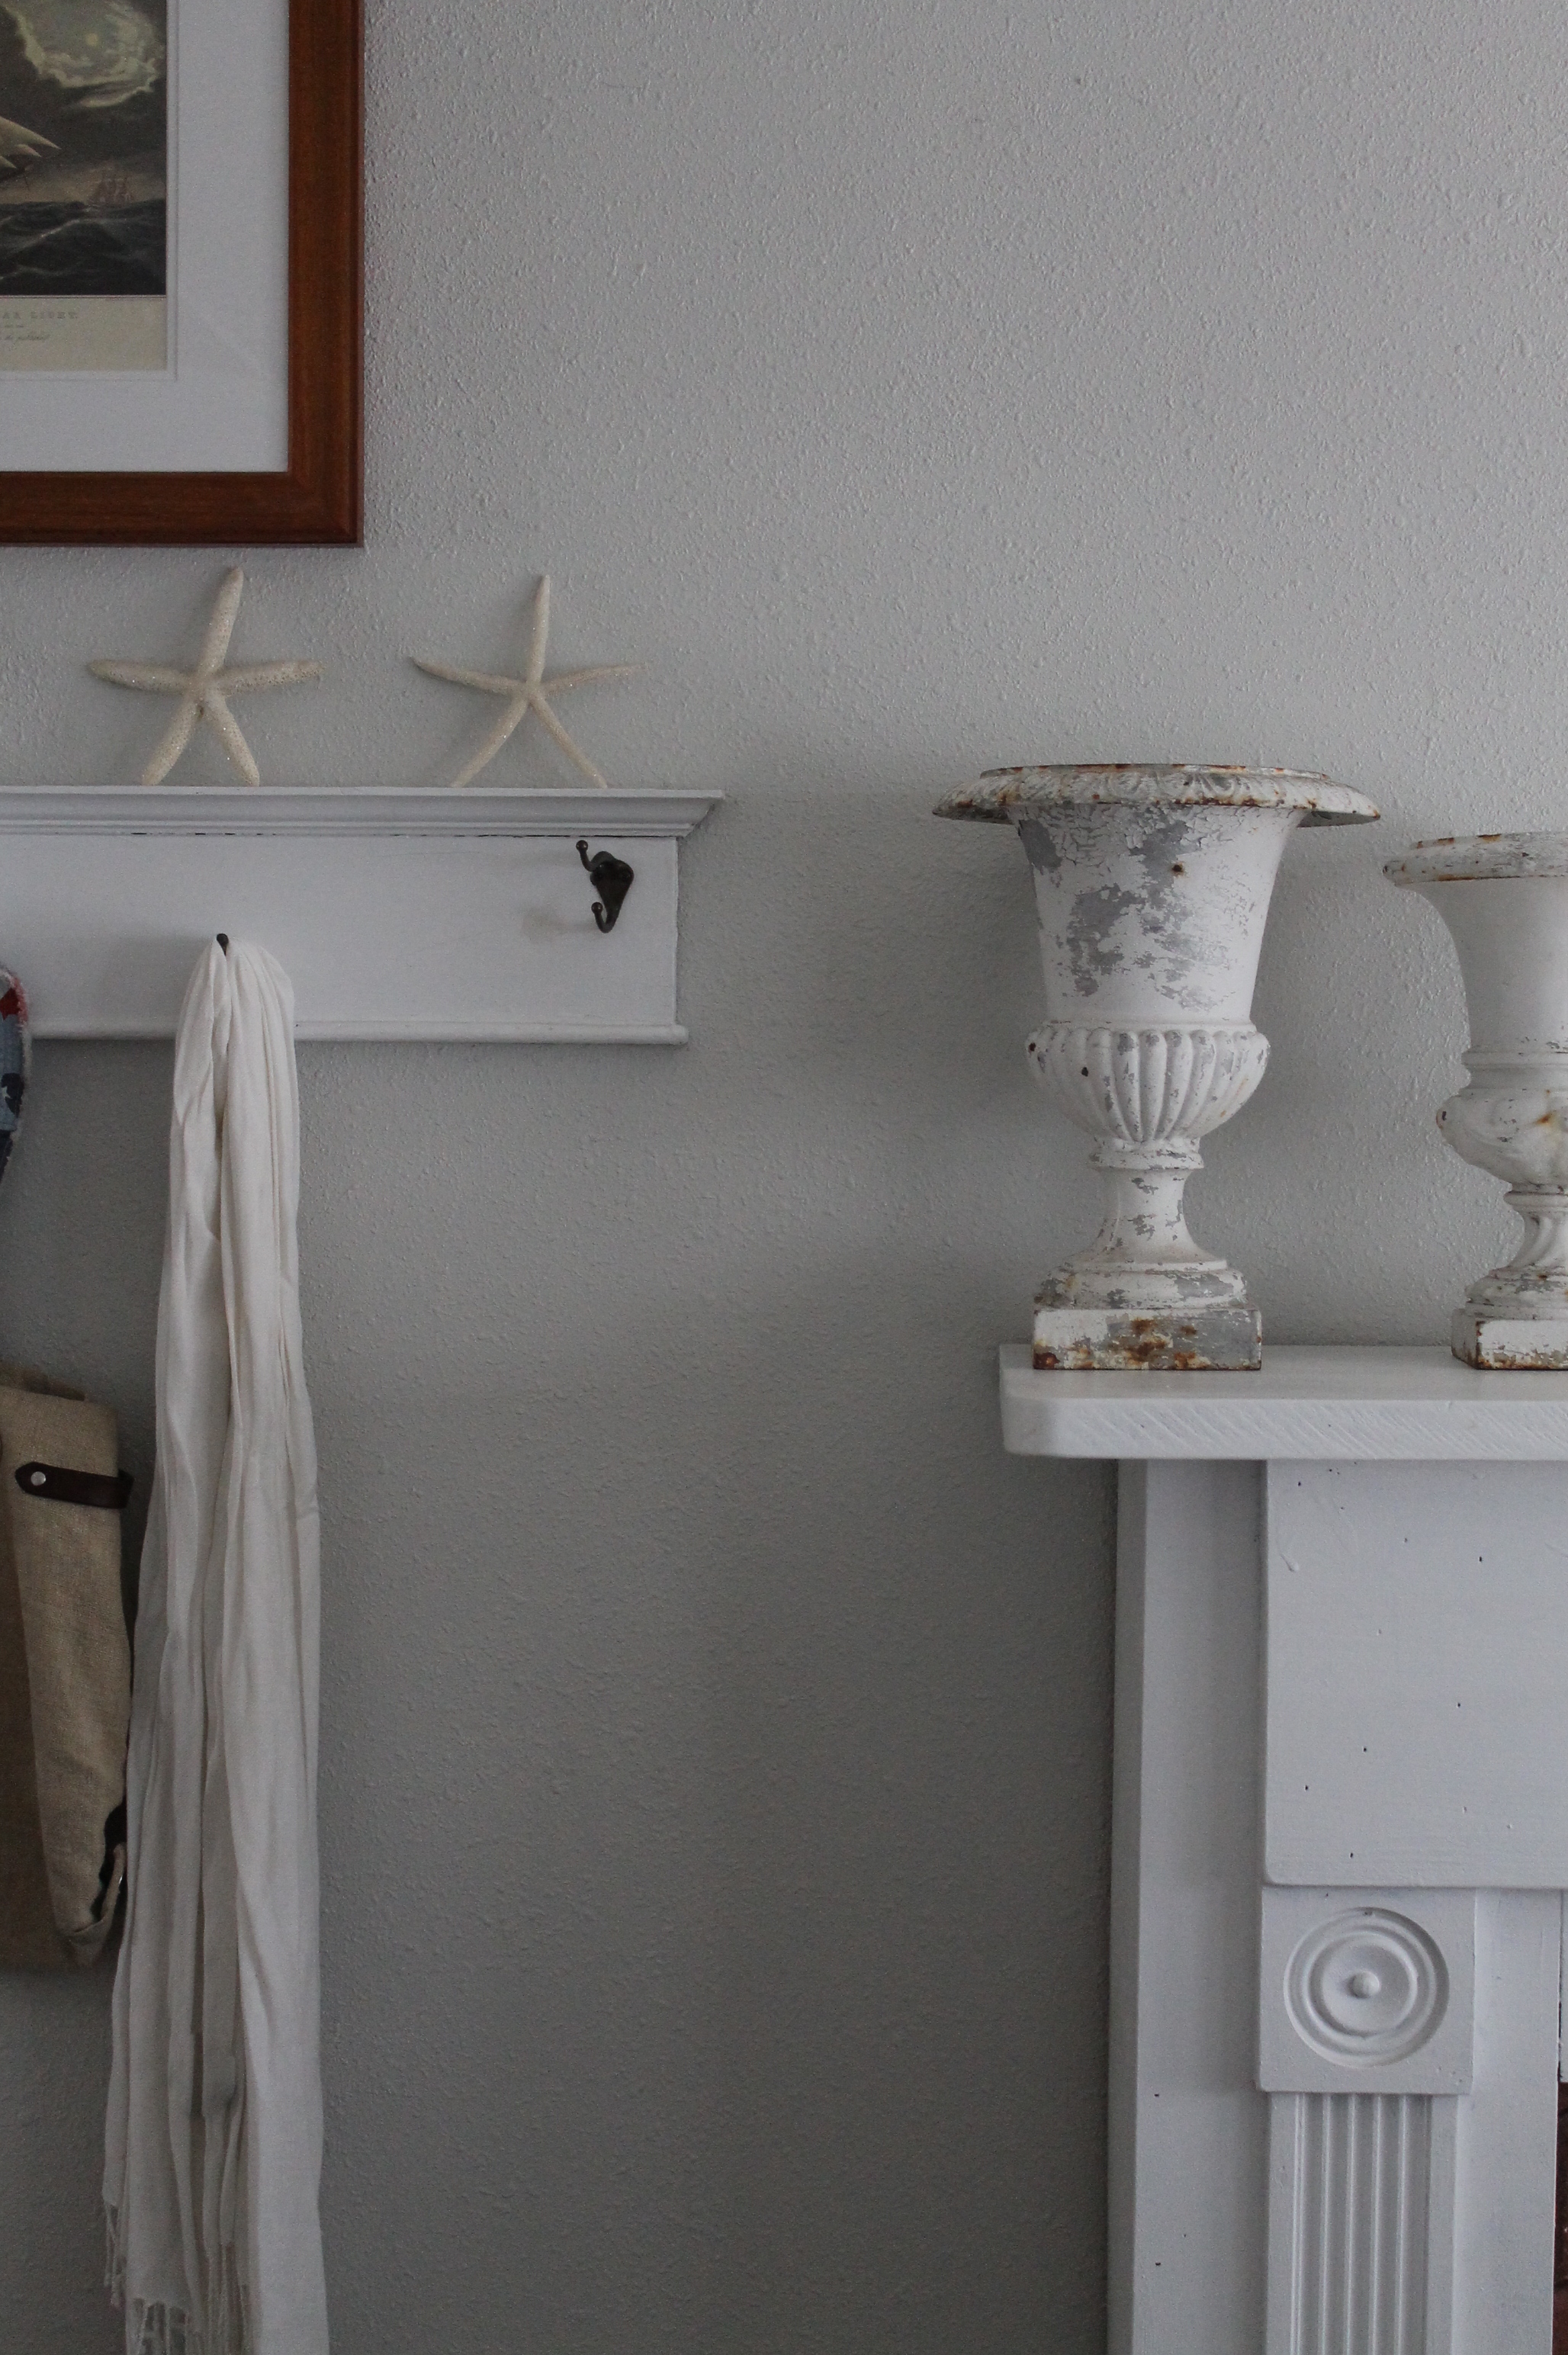
After.
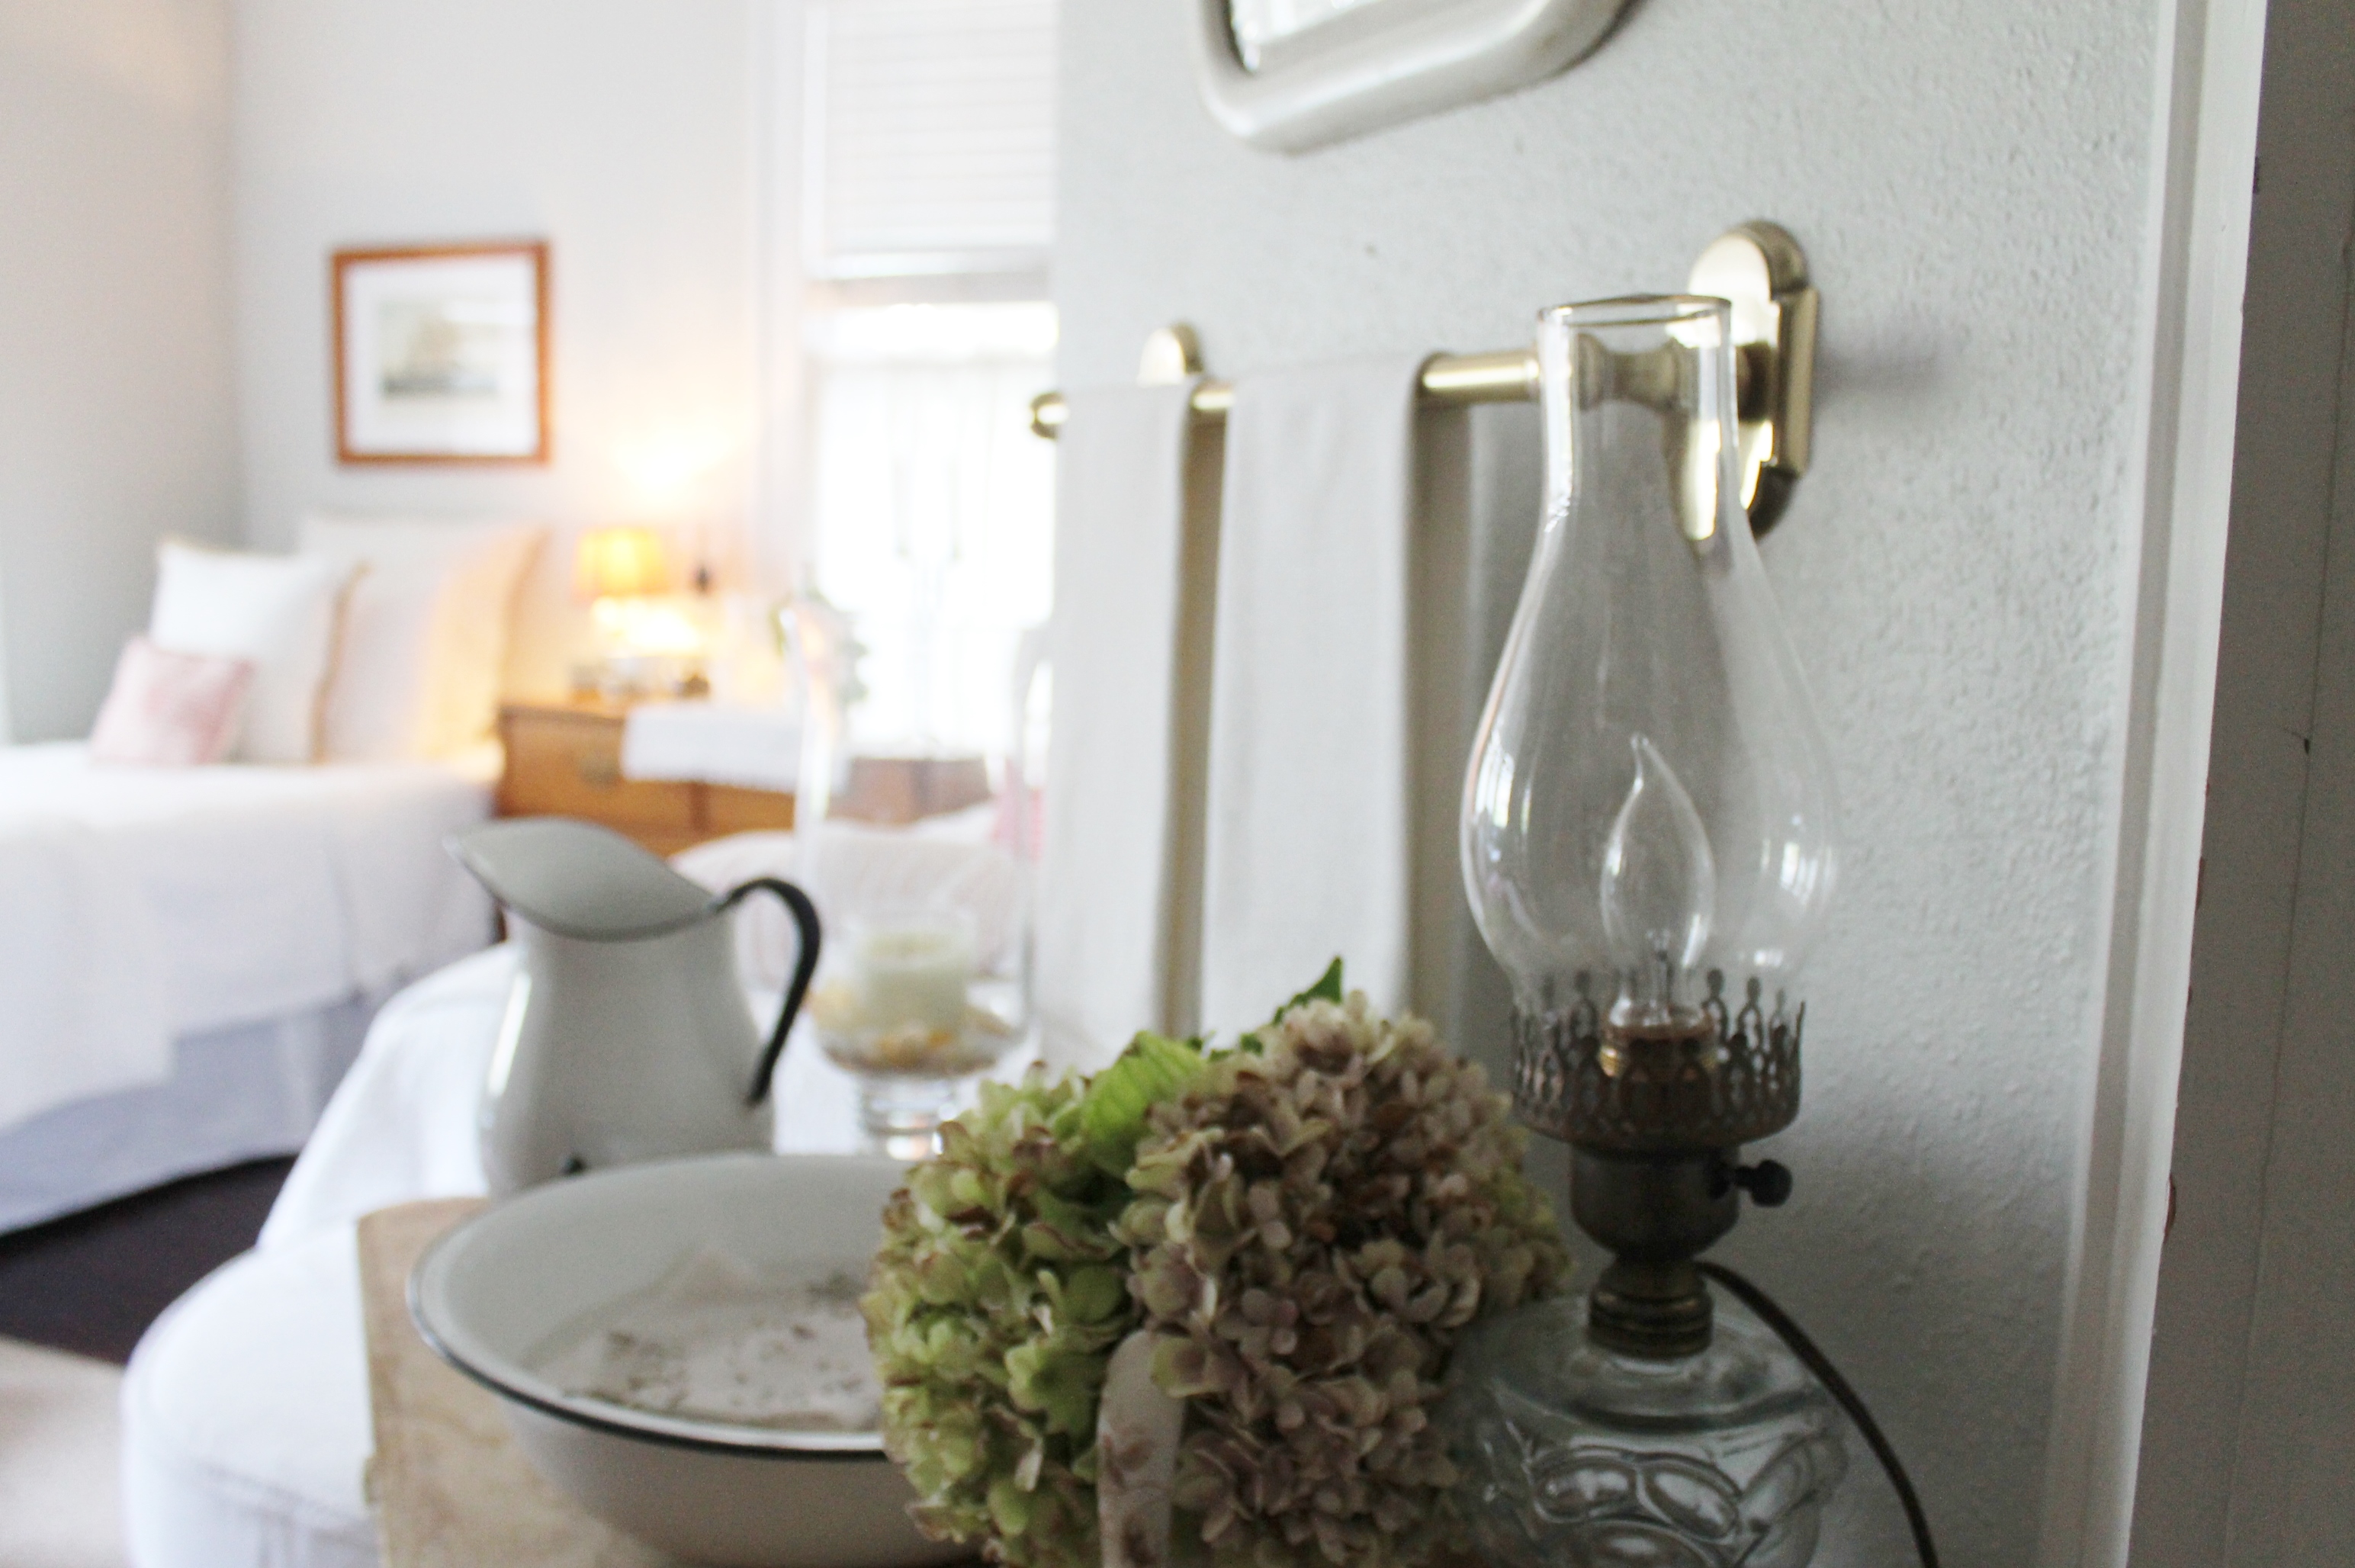
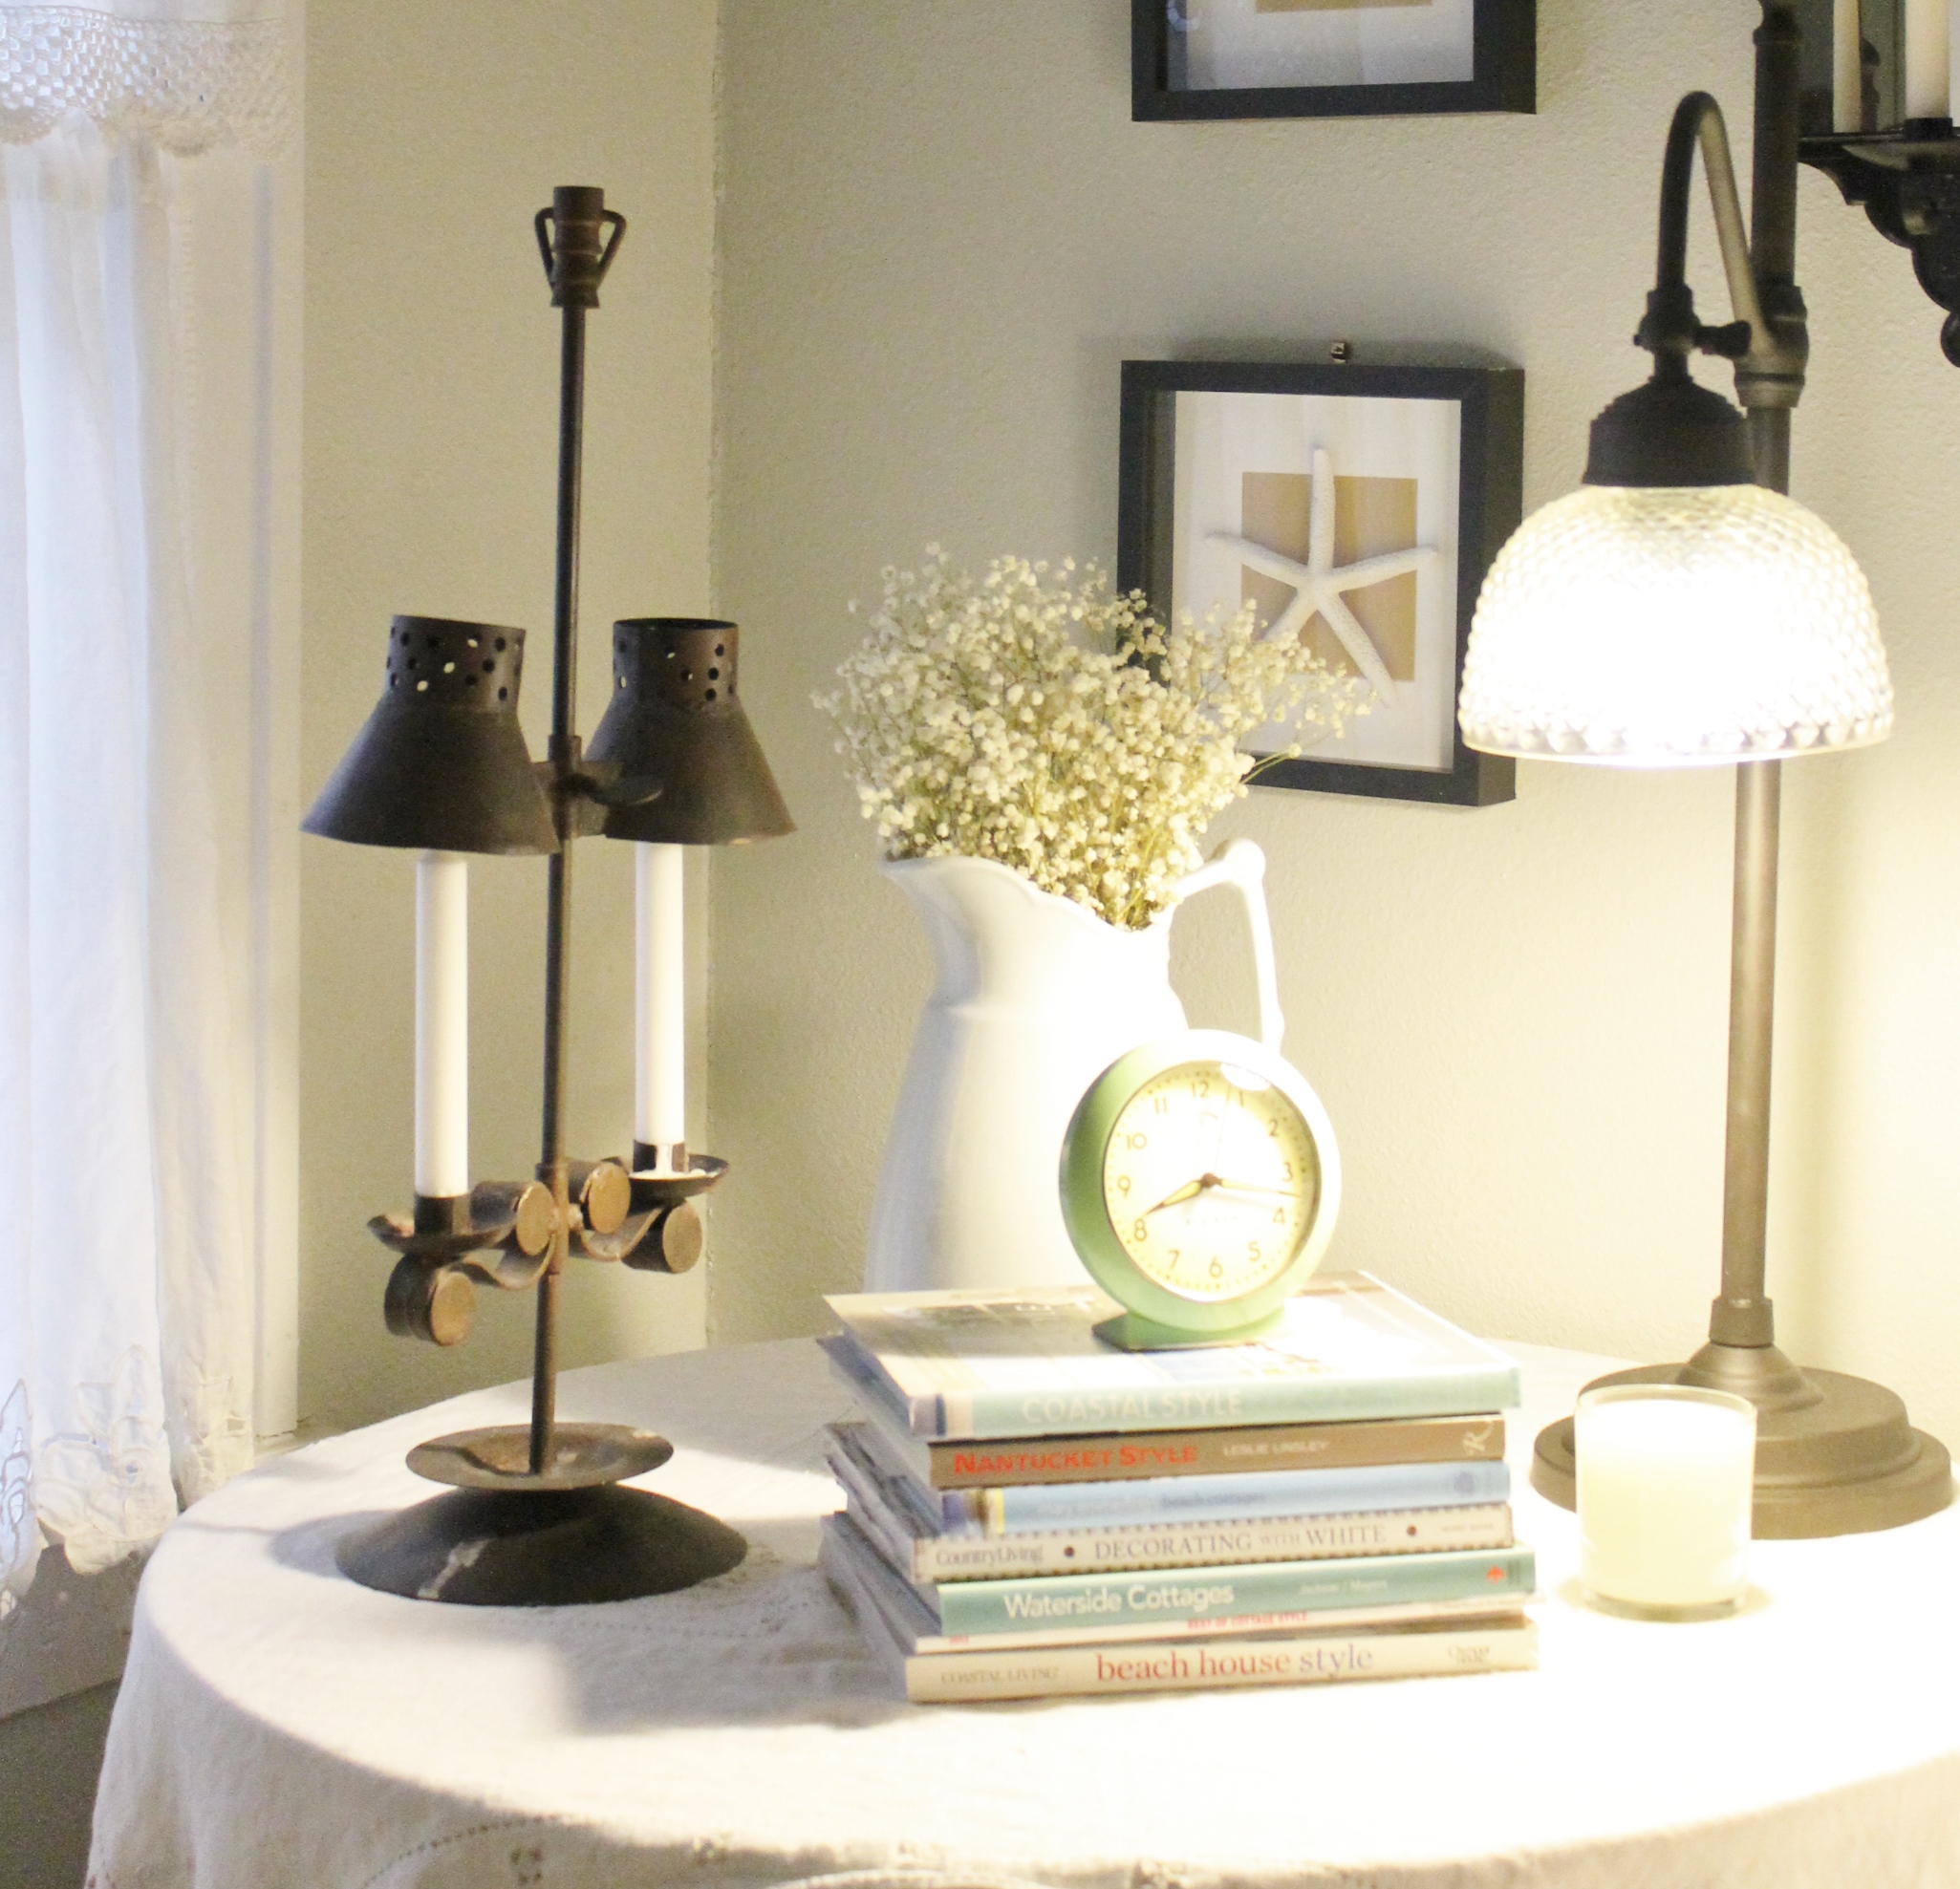
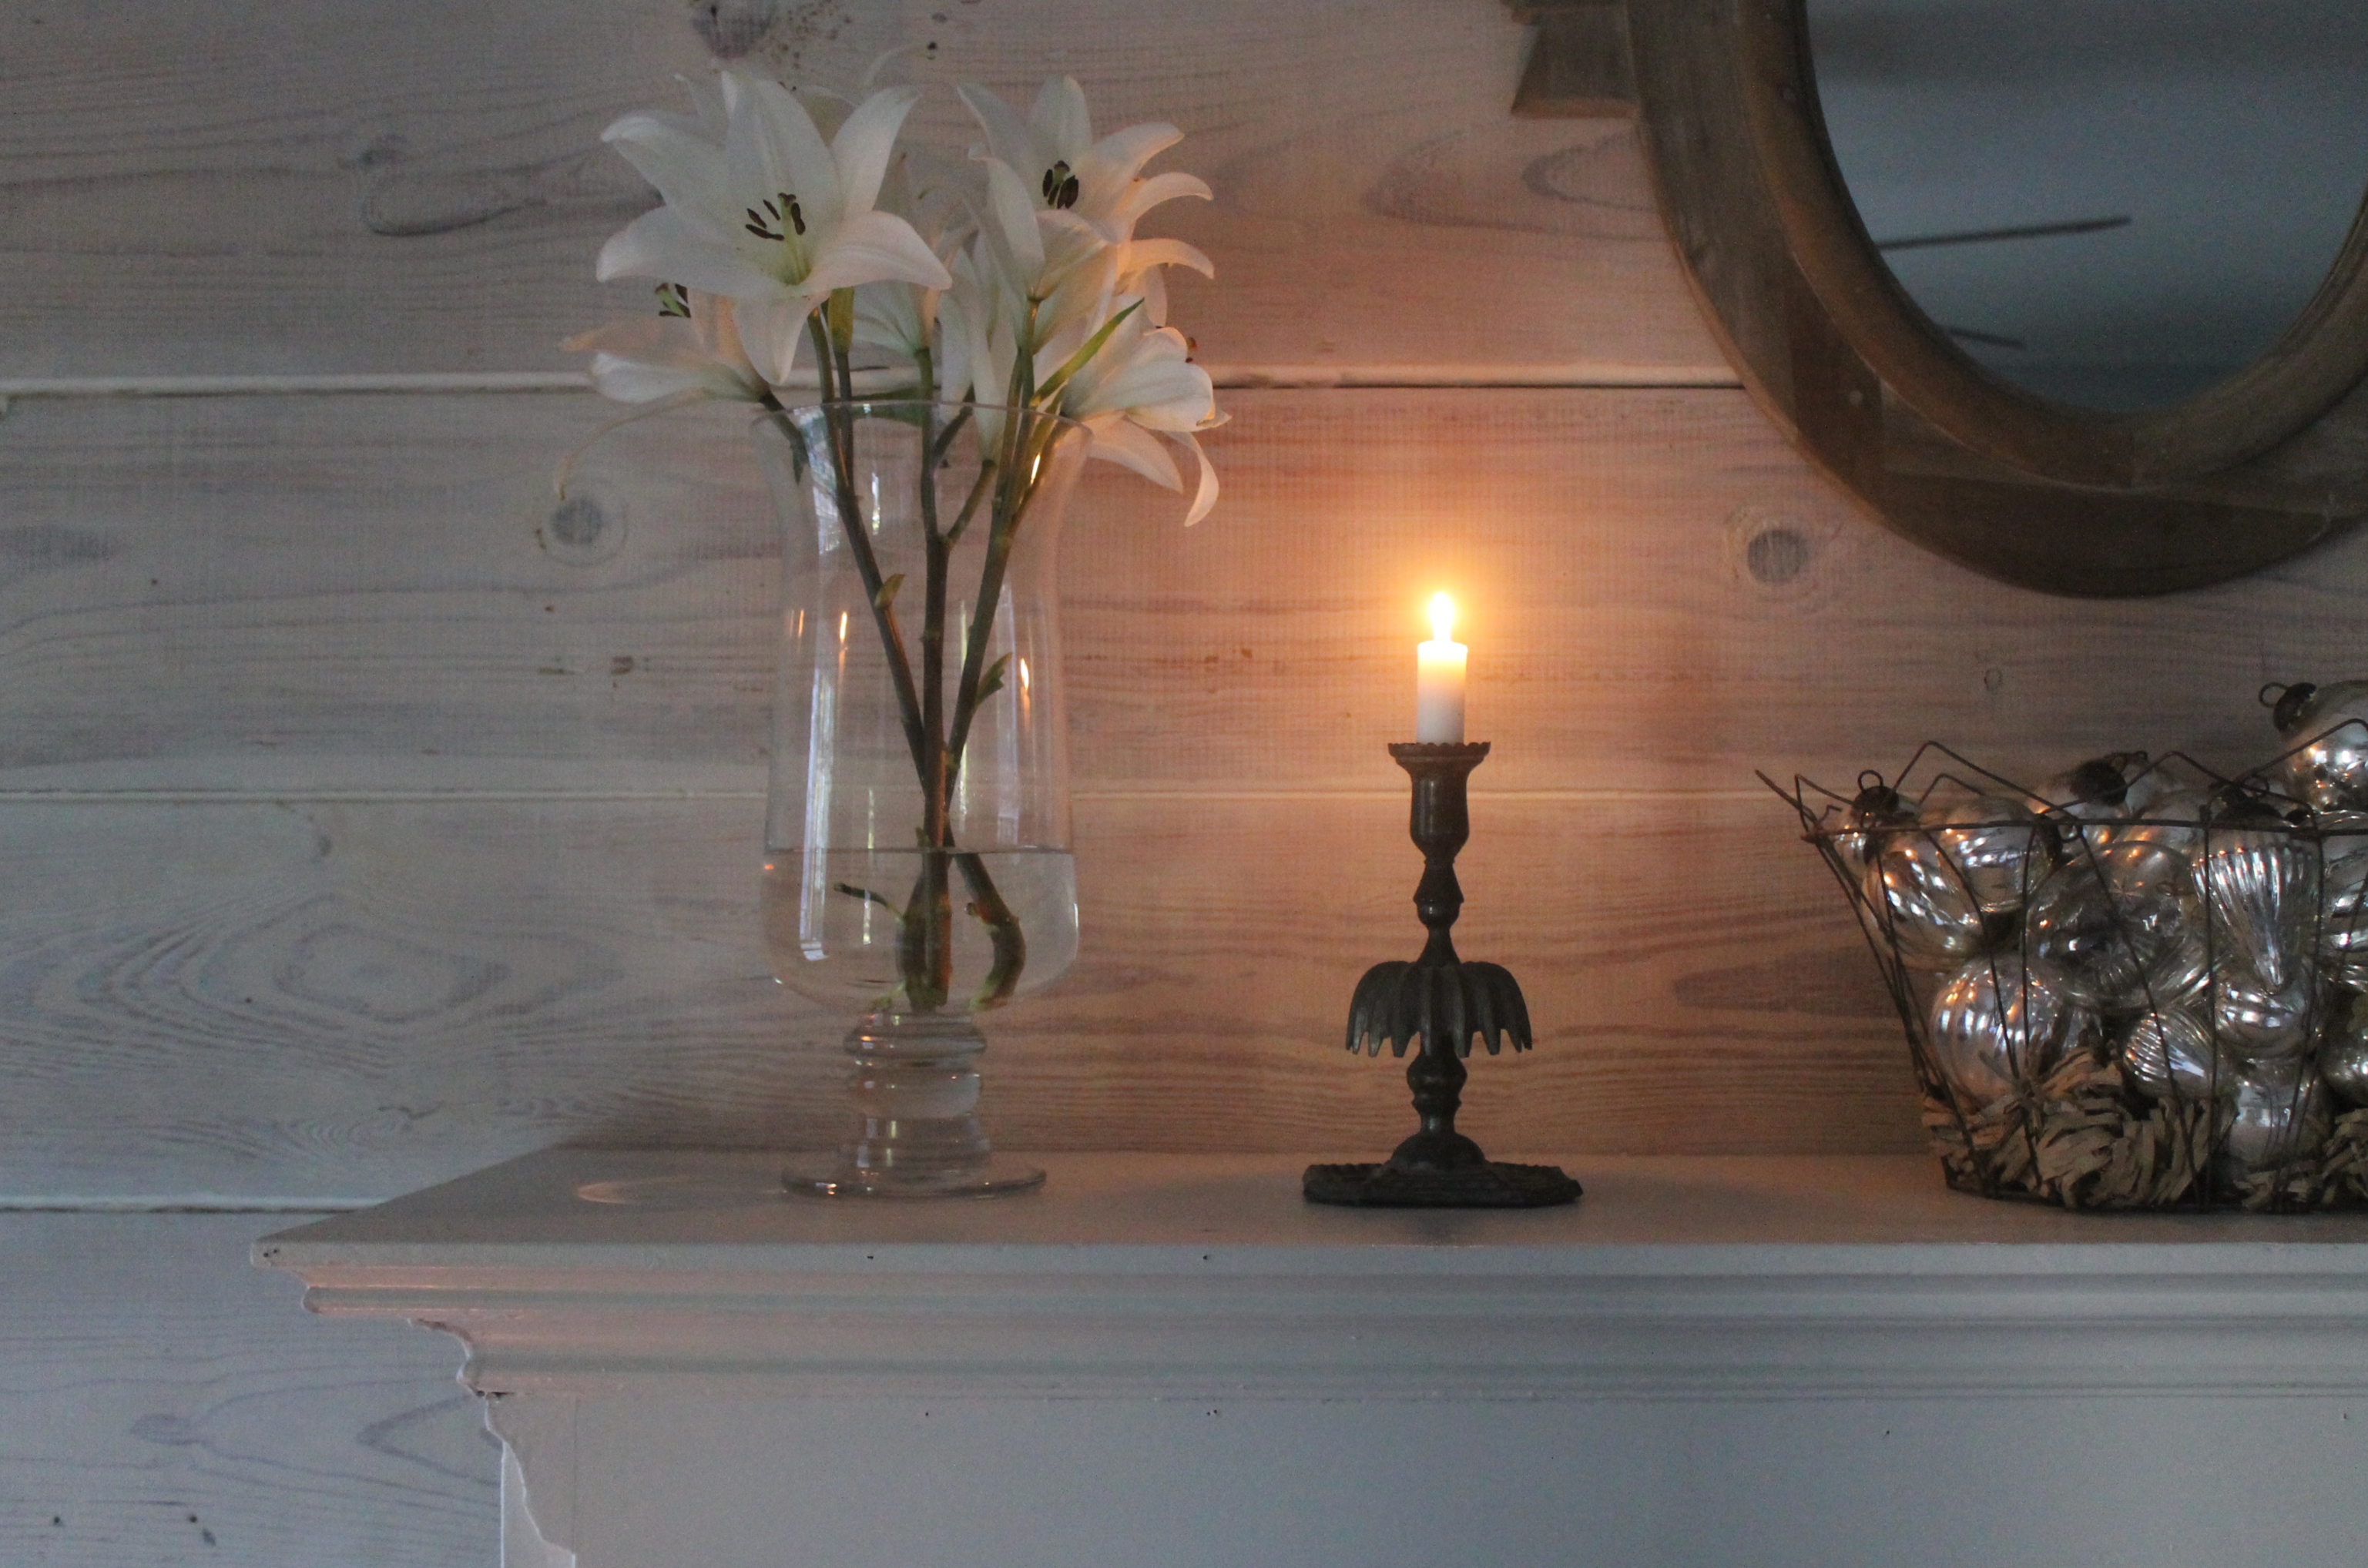
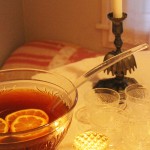
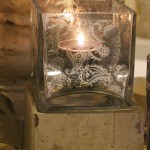
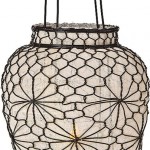
Late summer guests are greeted by lavender infused water, ocean scented candles and simple surroundings.
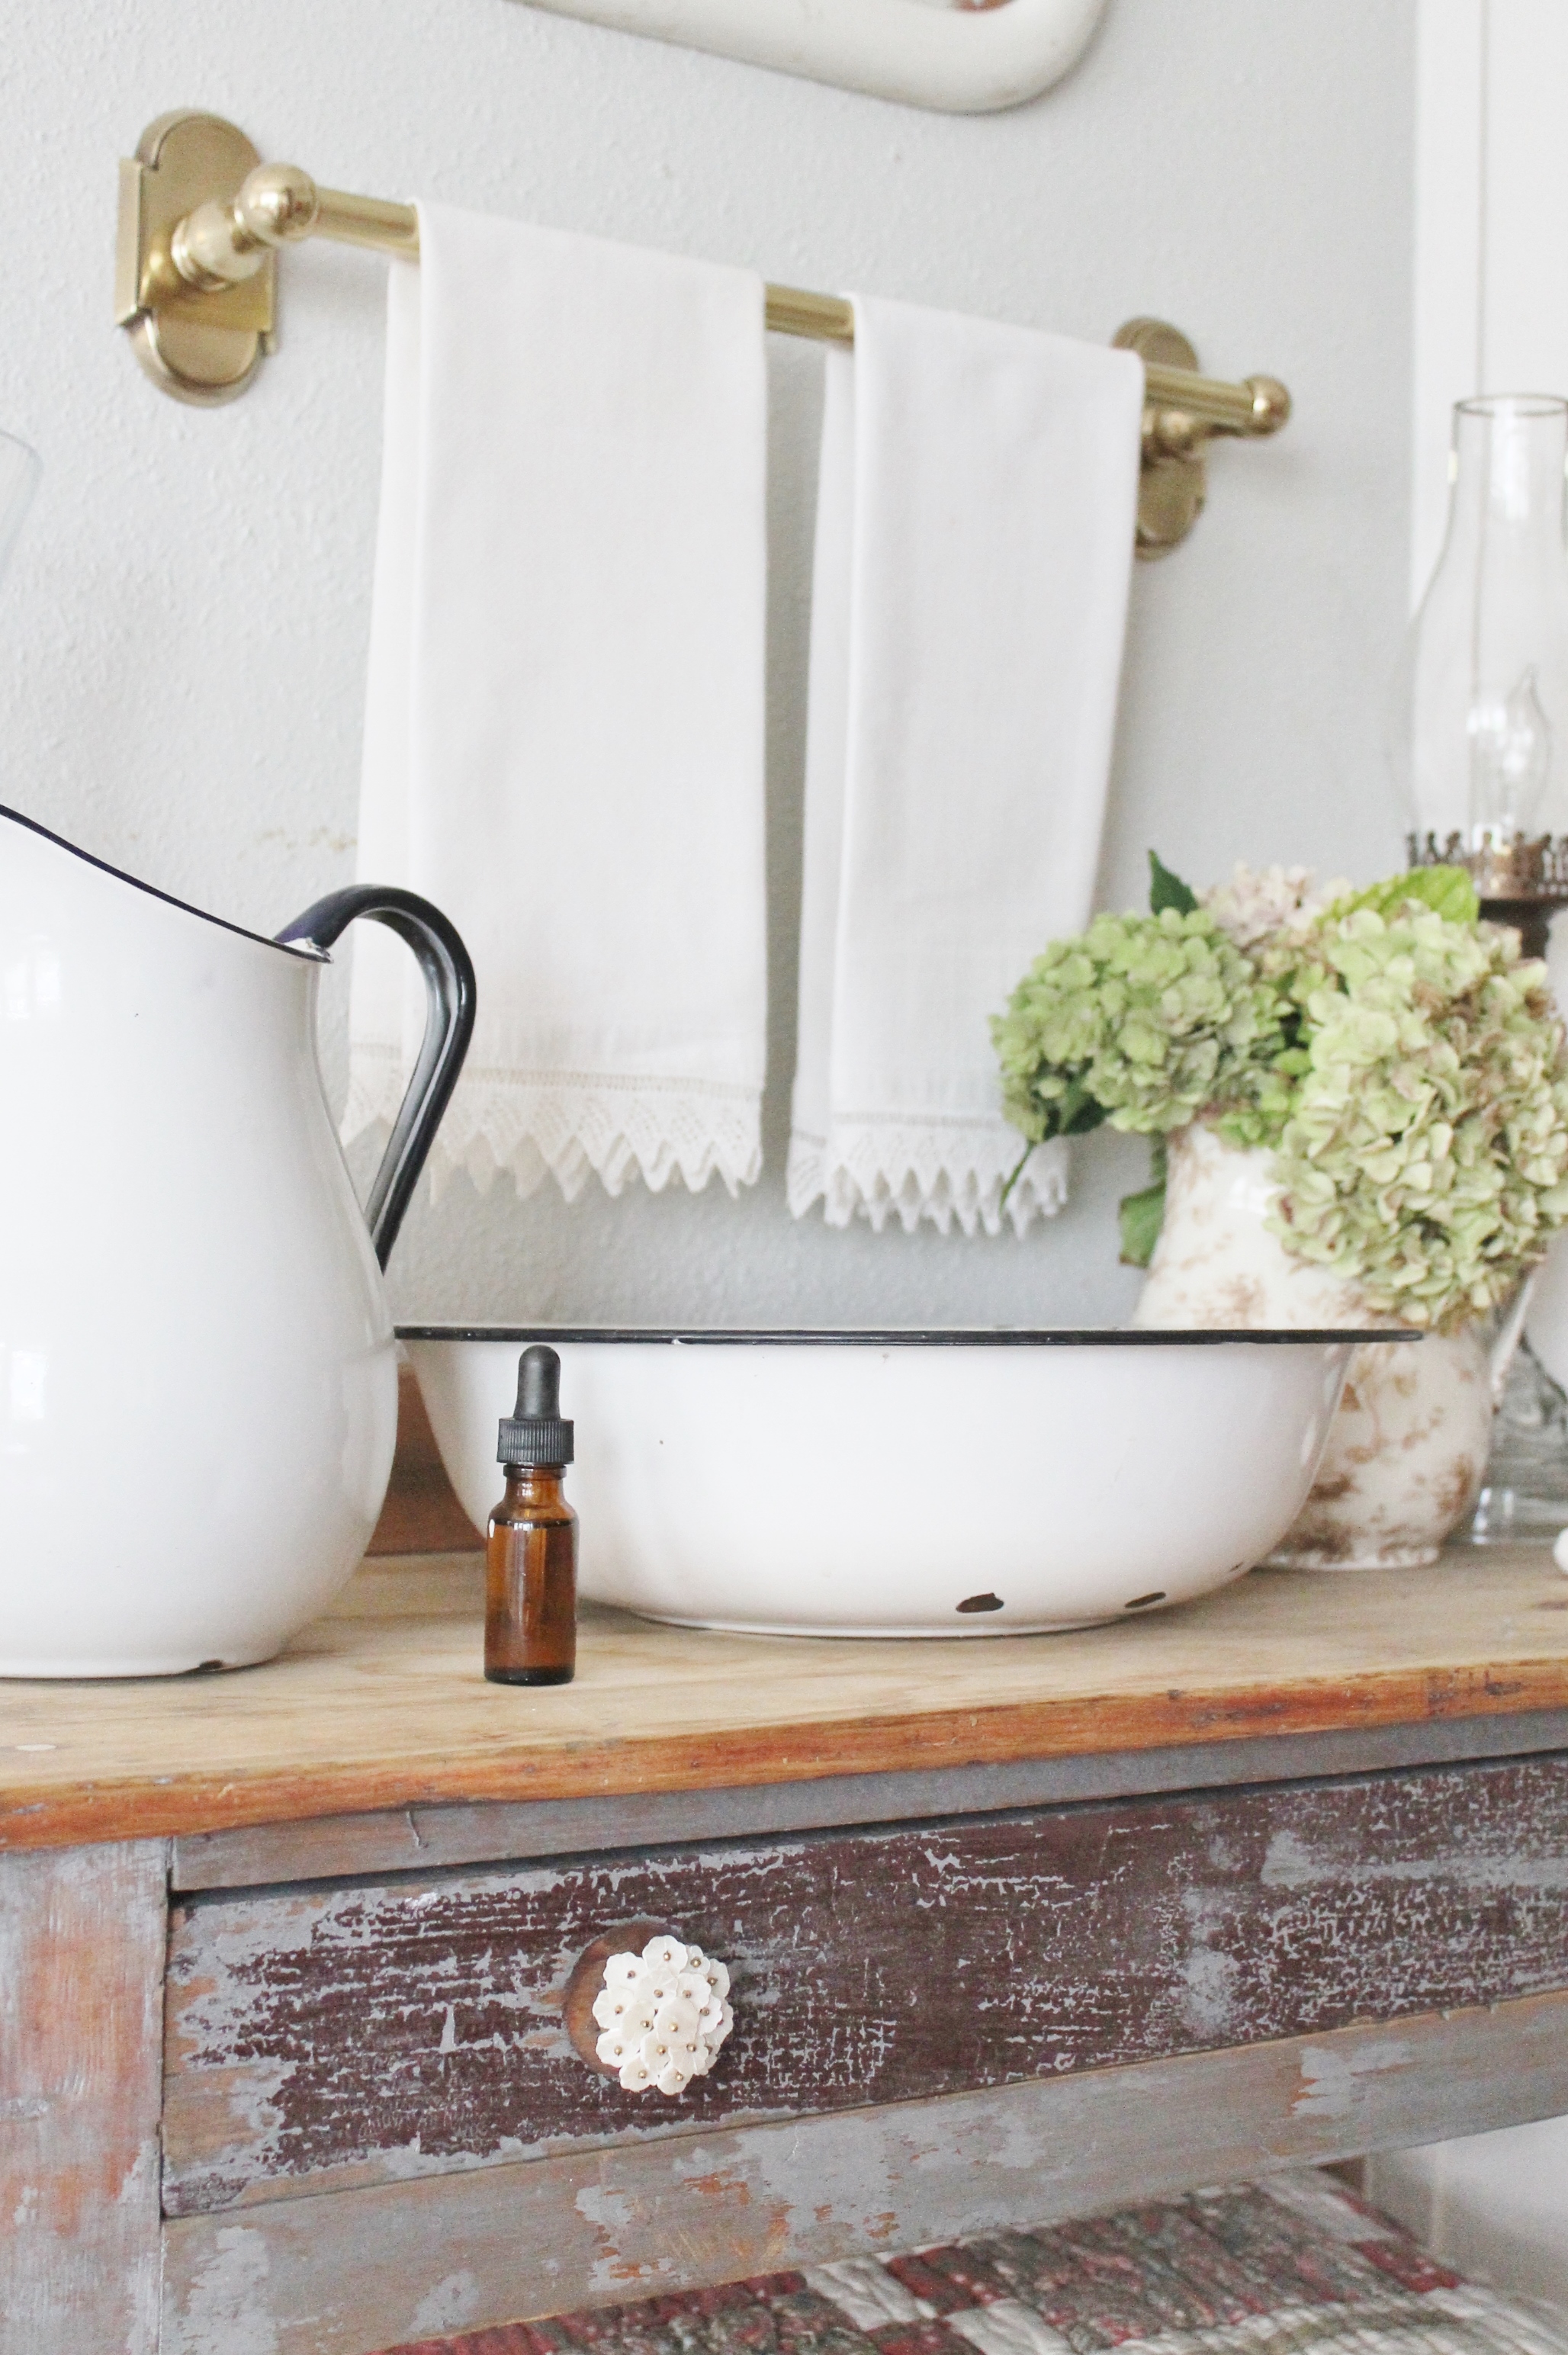
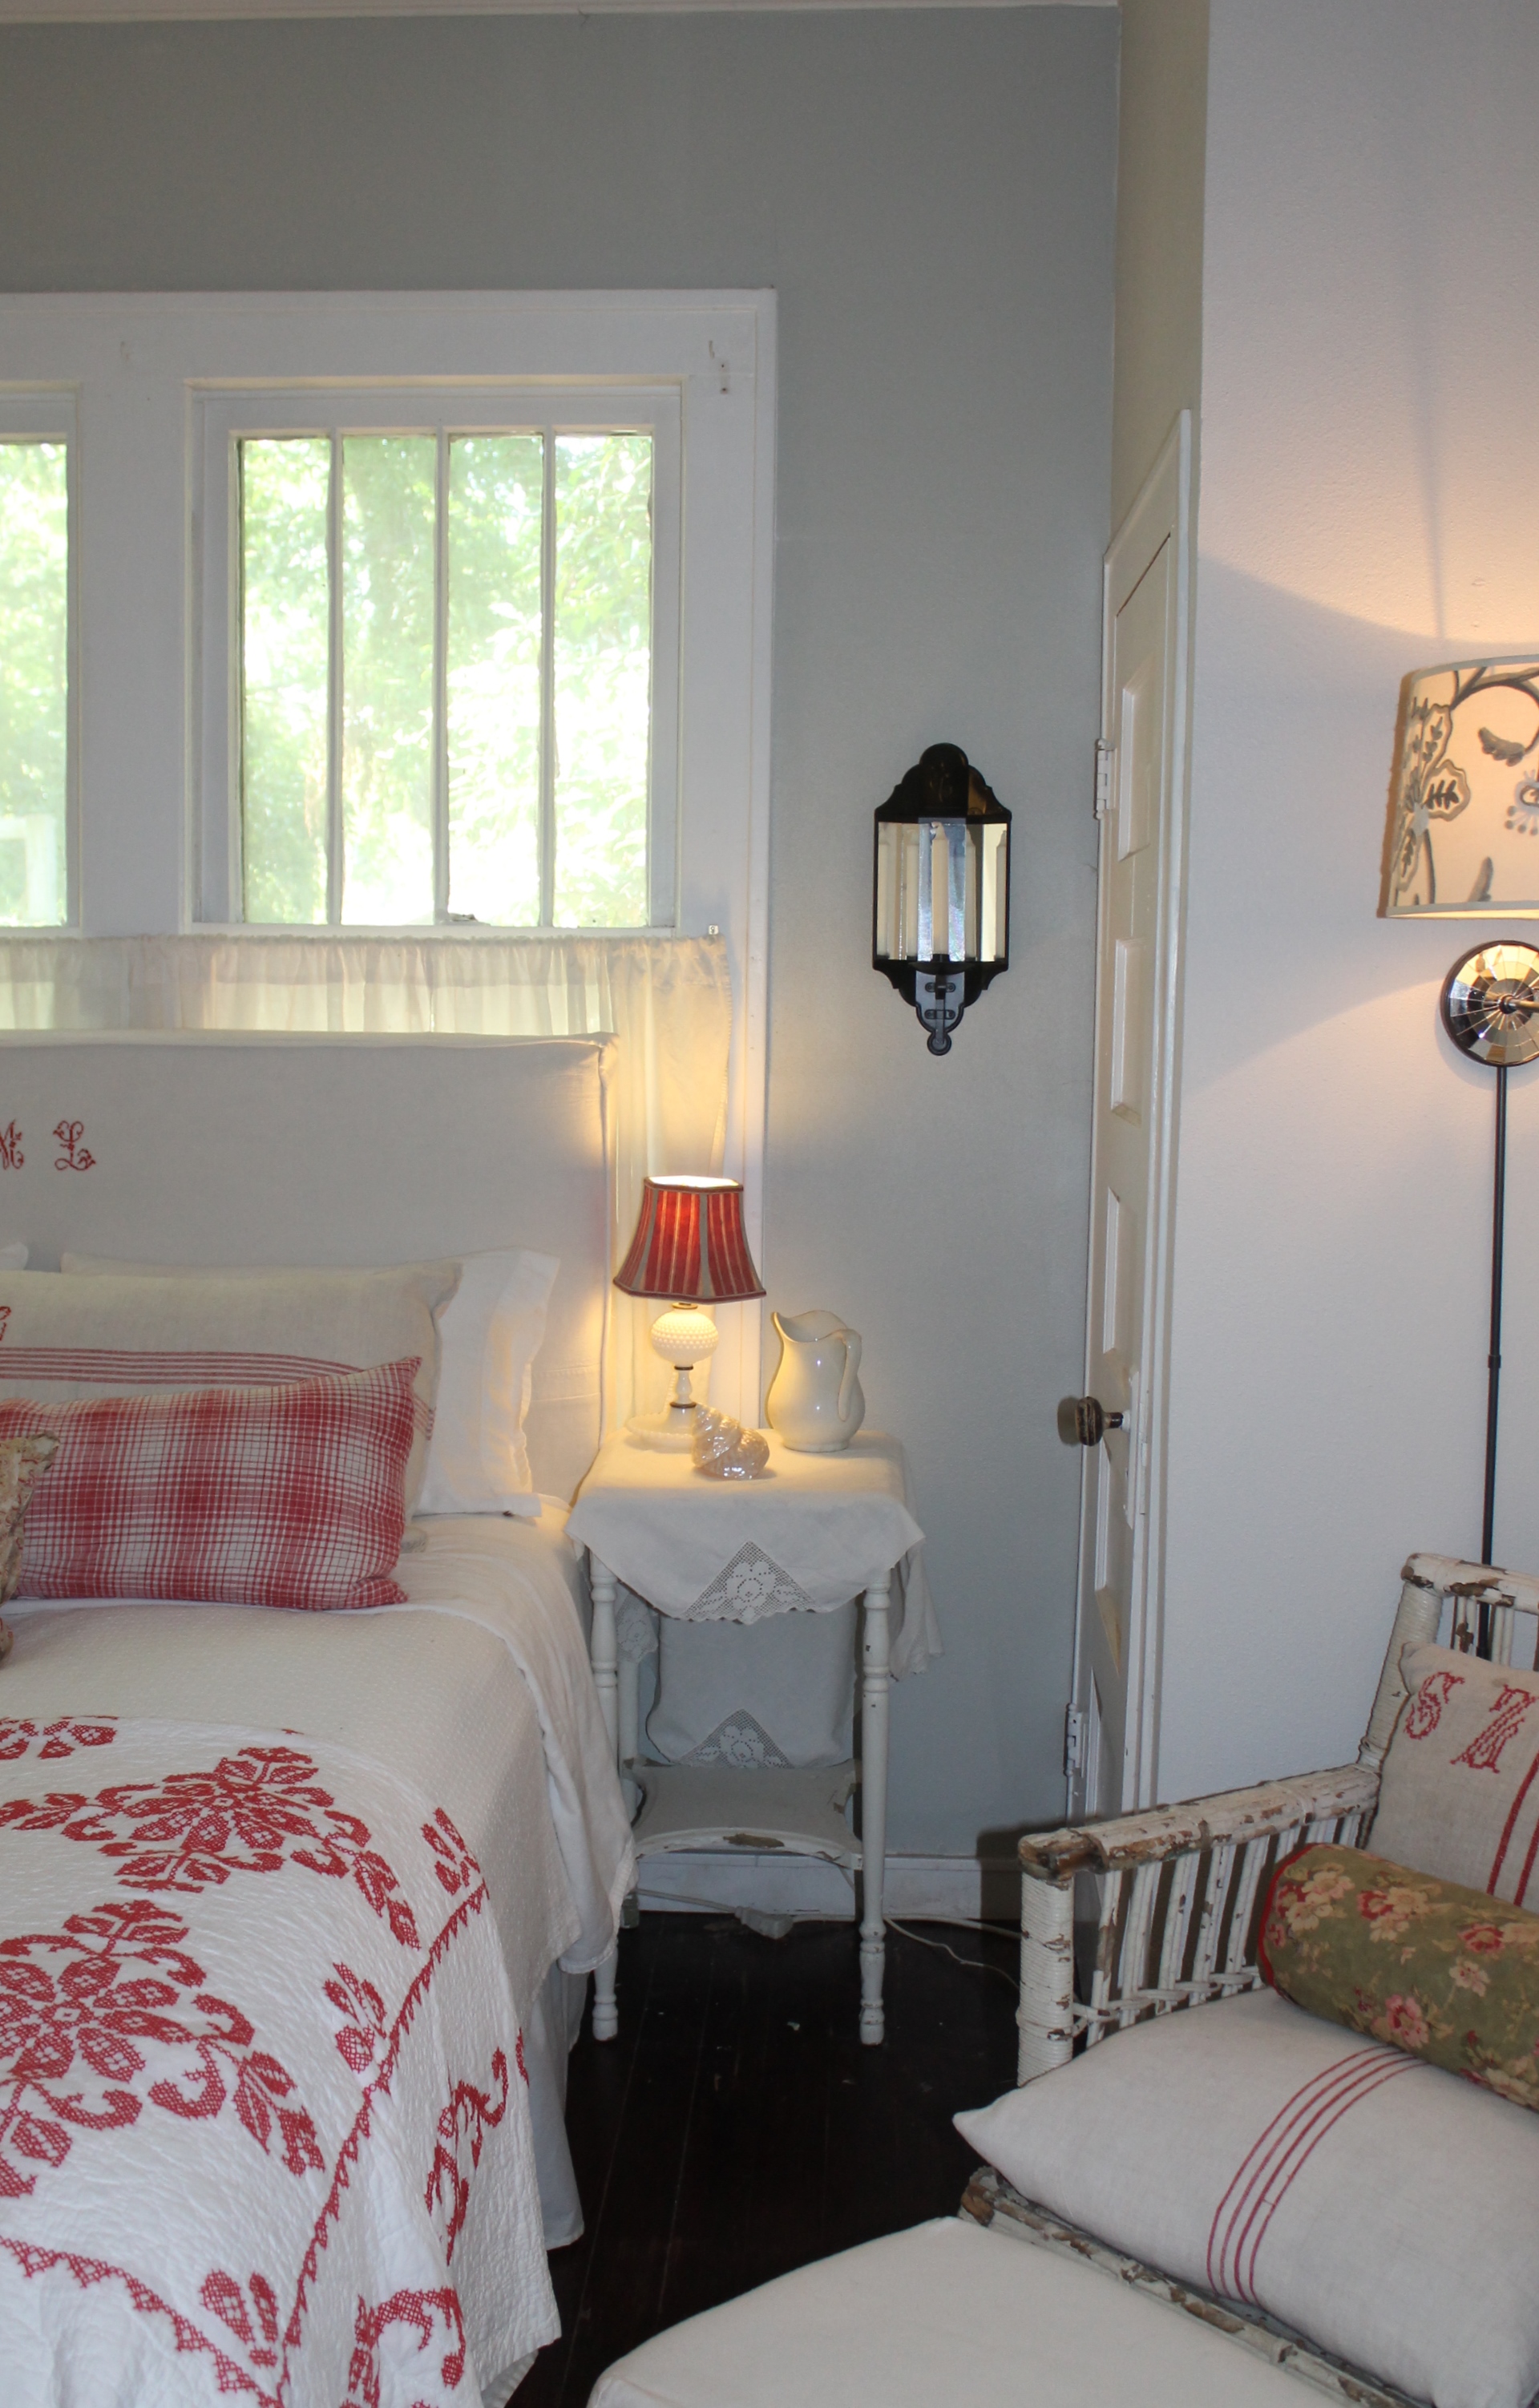
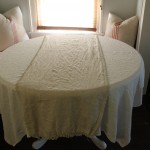
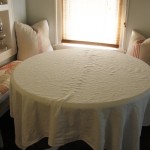
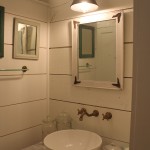
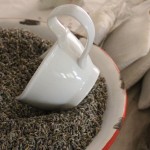
With an antique table, heirloom cotton towels and a vintage enamel pitcher and basin, why not create a modern day wash stand? Still every bit as beautiful and useful as it would have been when my old cottage was built.

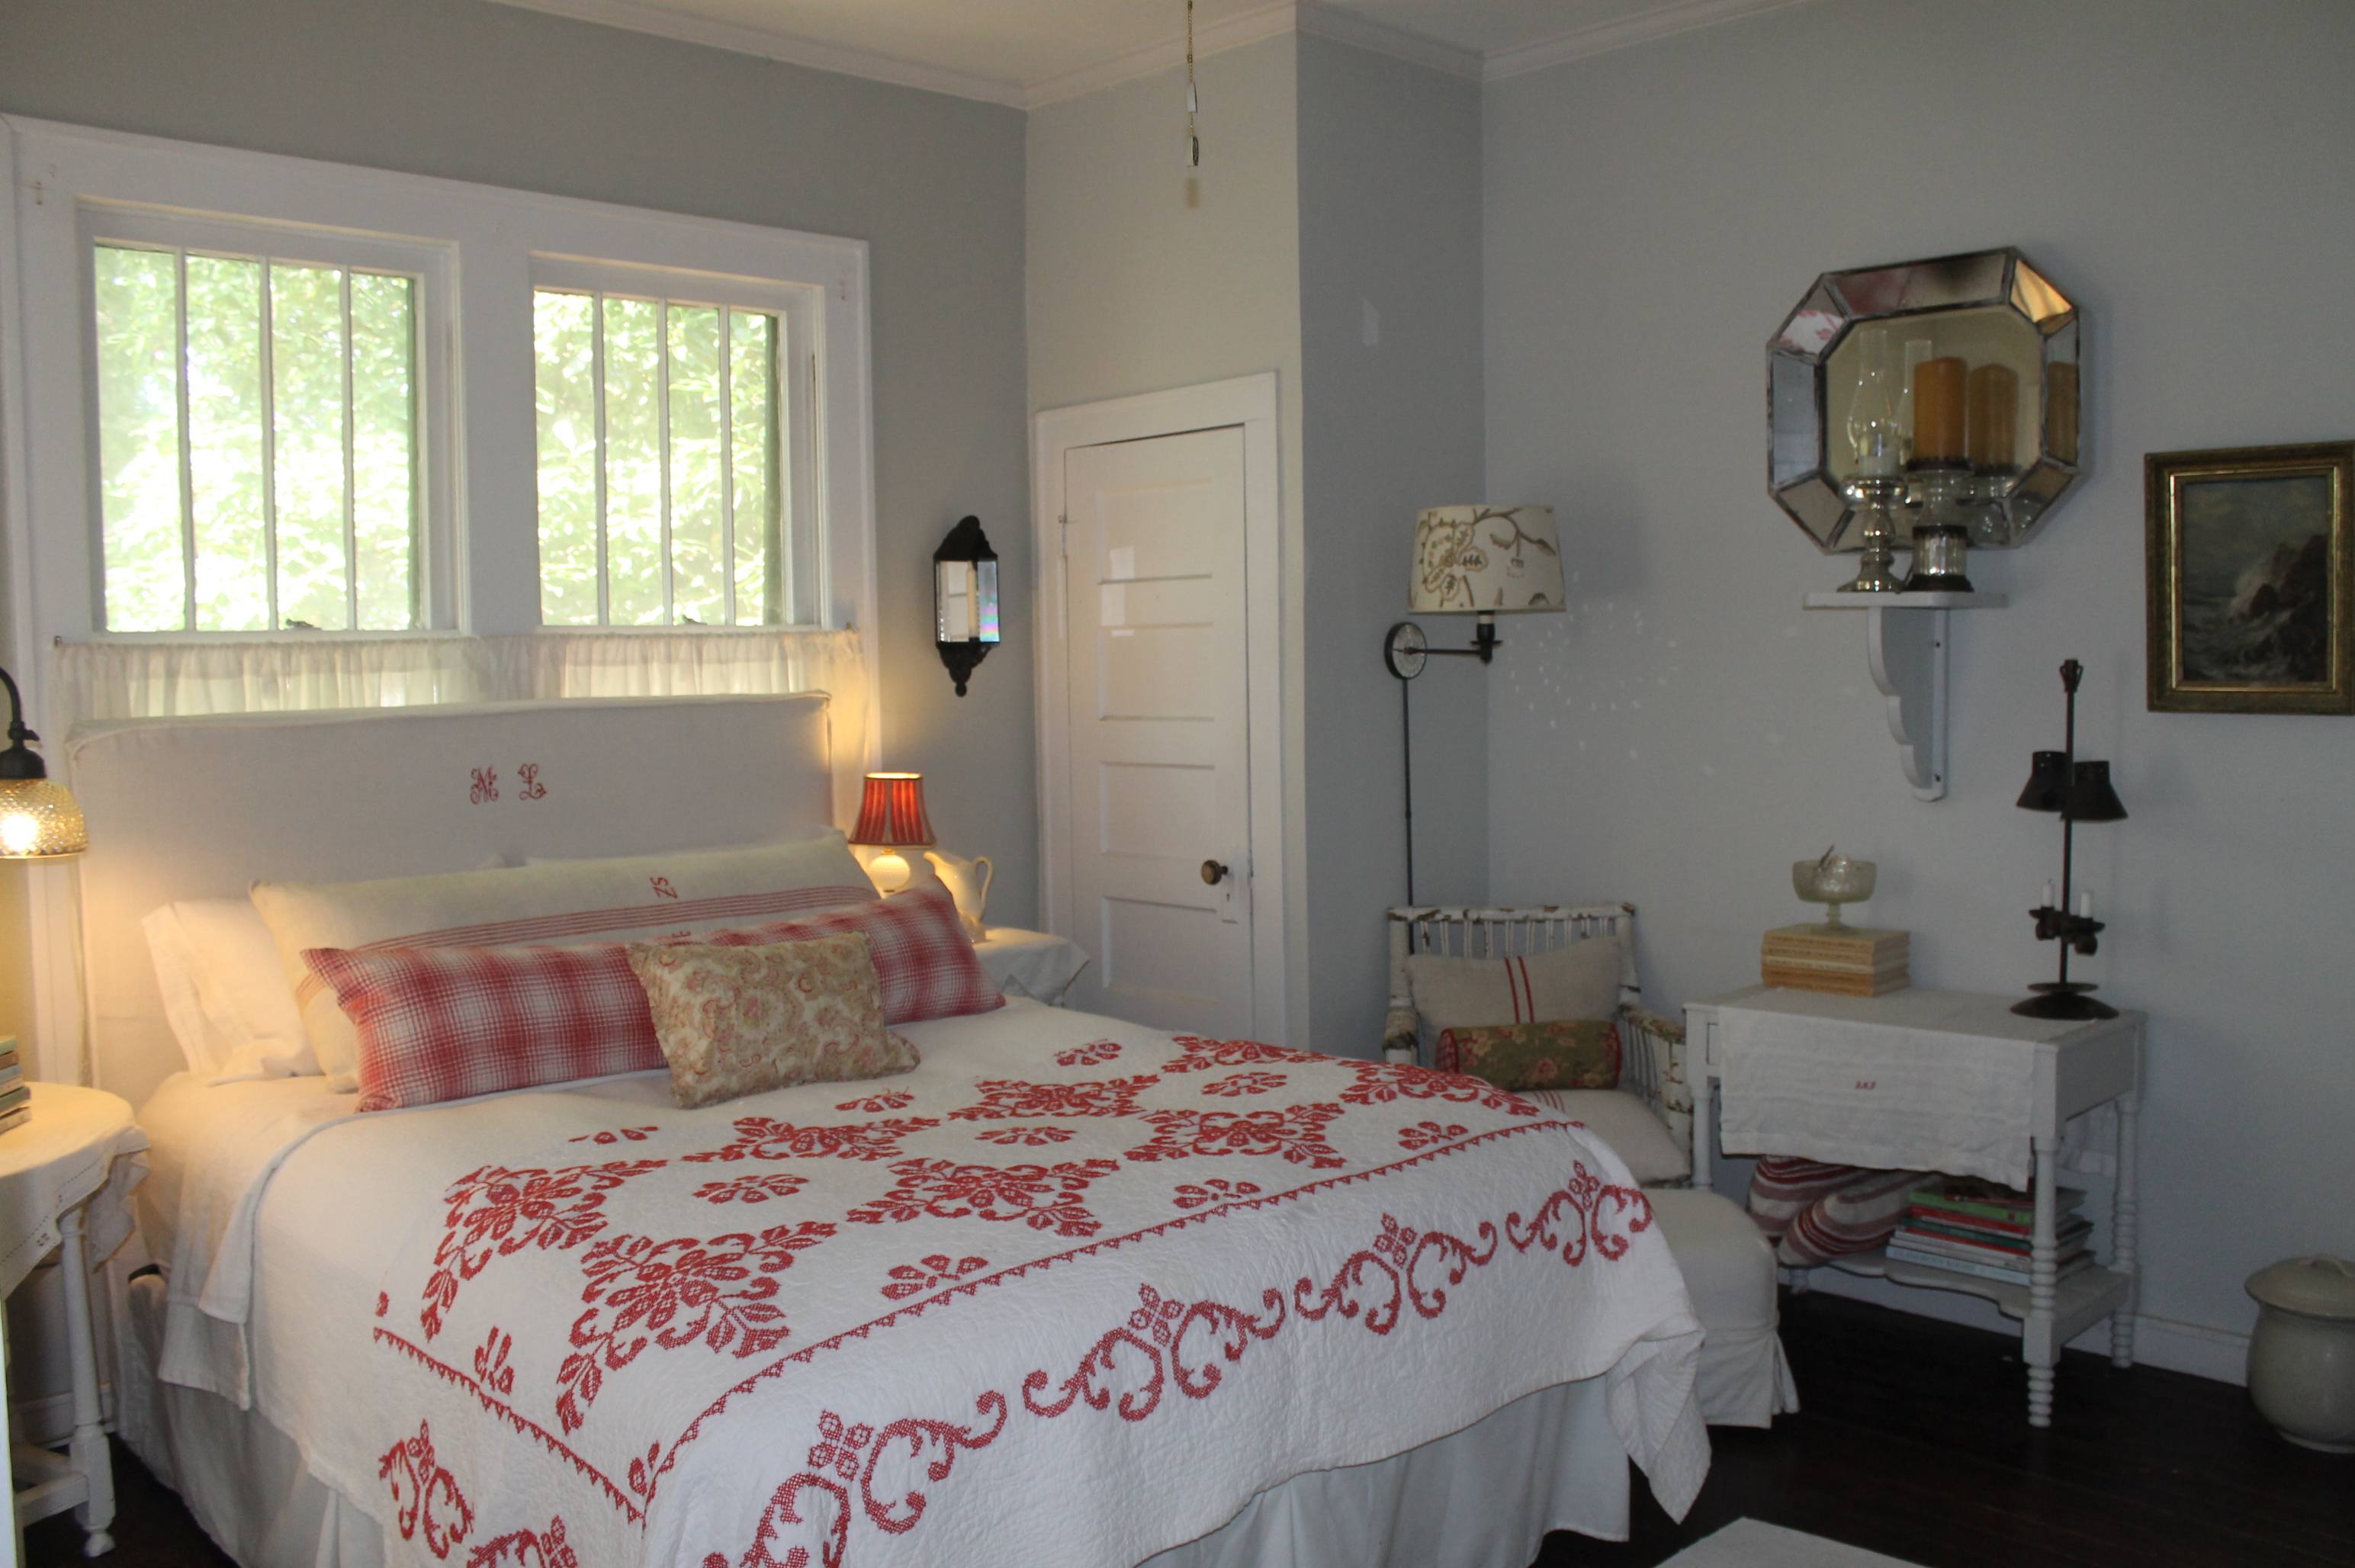
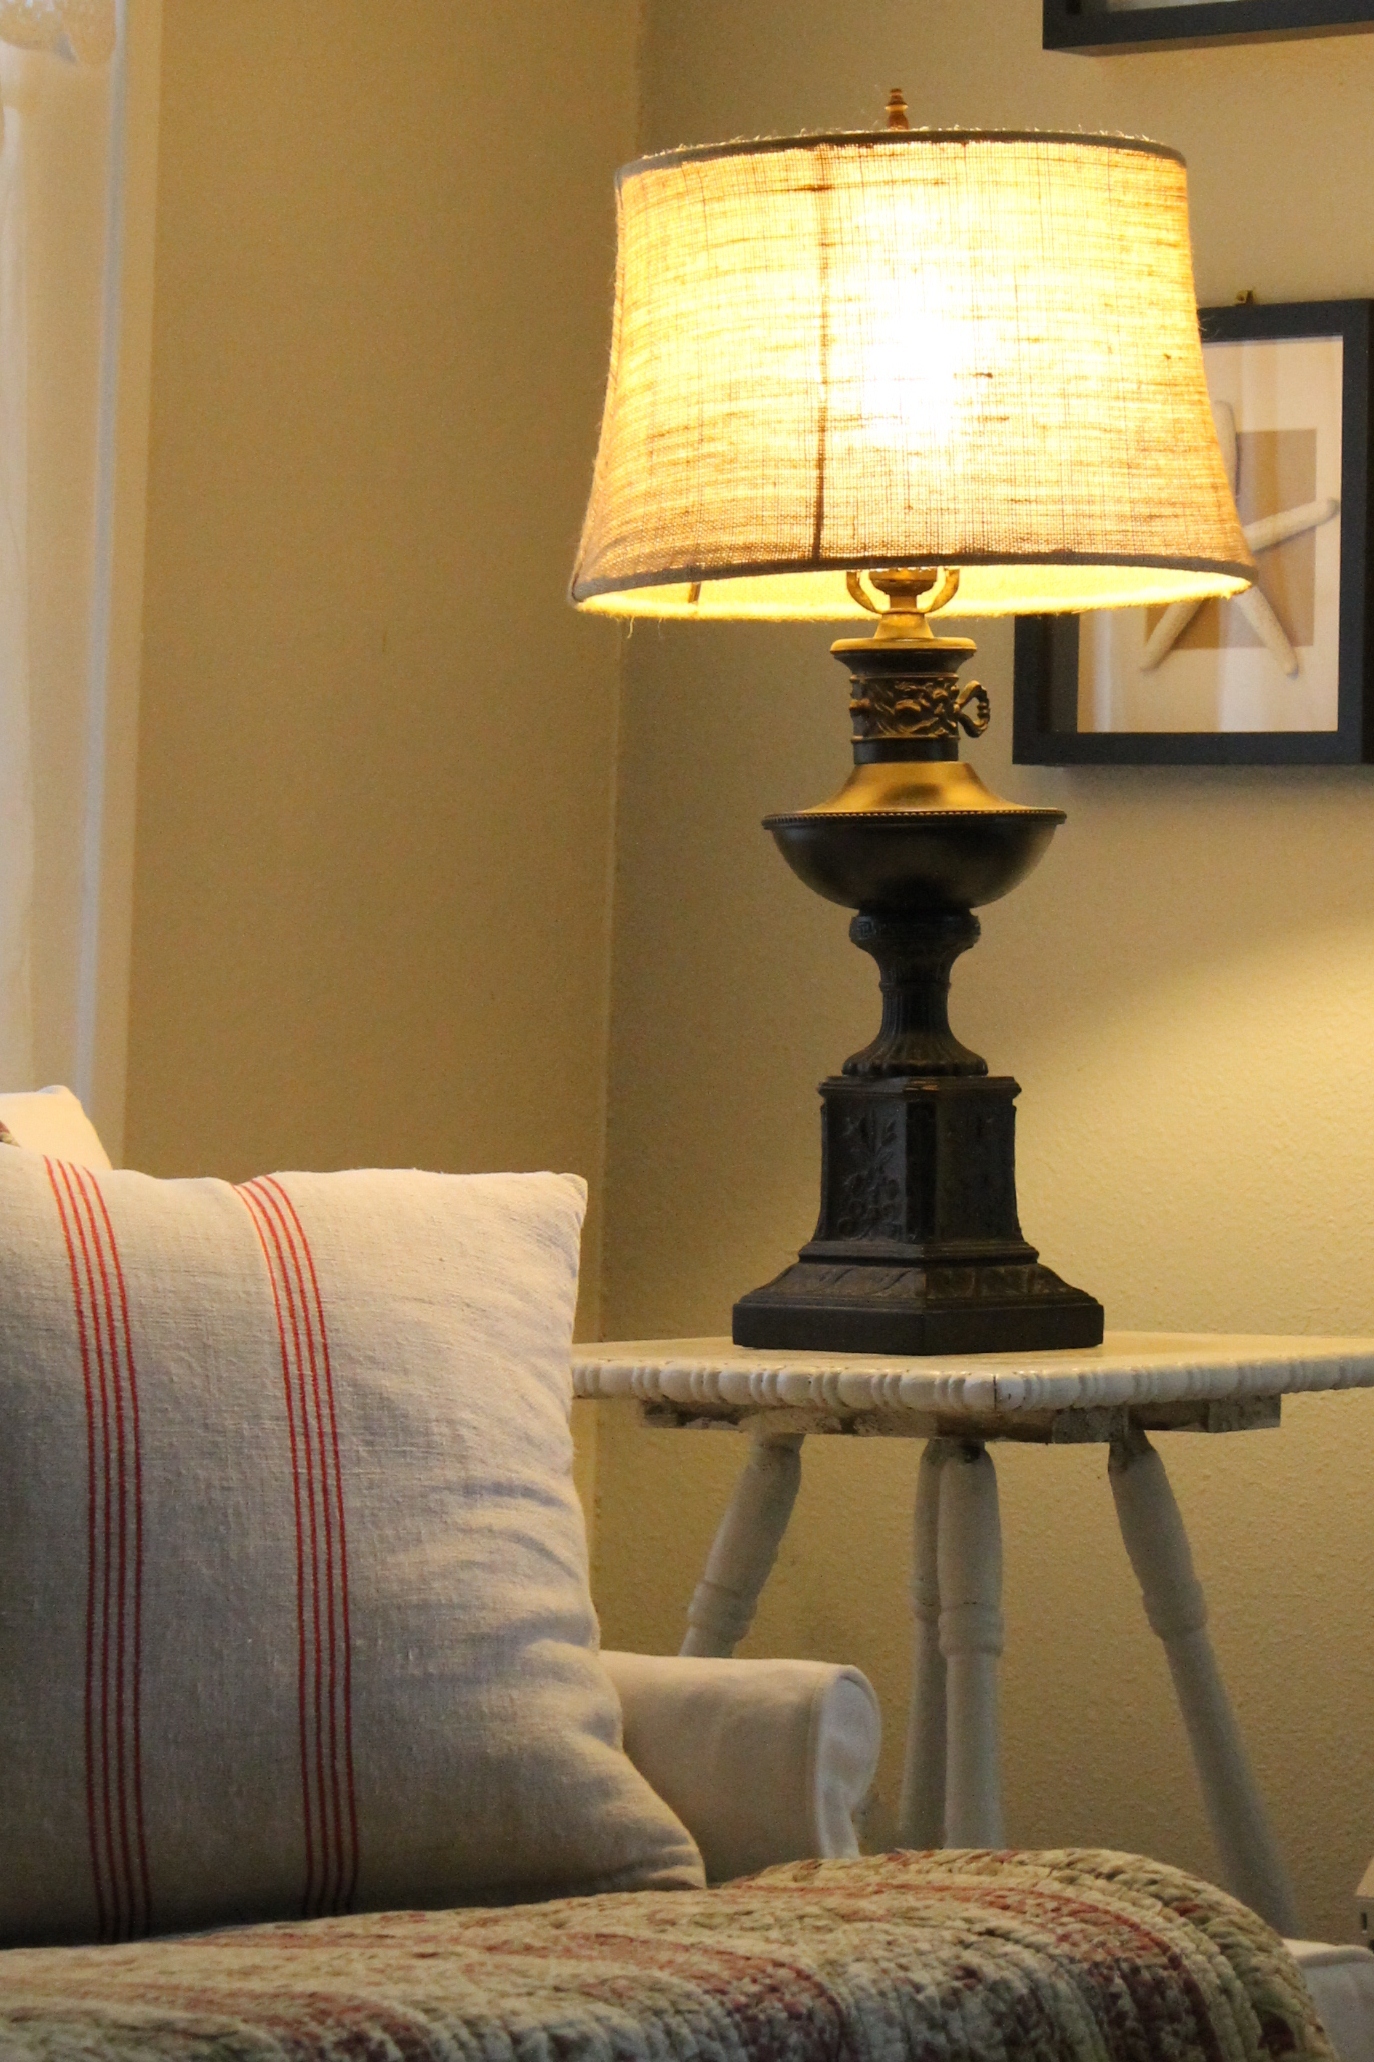
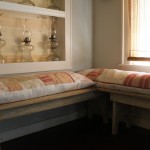
Simple white is my philosophy when it comes to dressing beds. Seasonal quilts, pillows and lampshades are the opportunity for color and change when you want something new and different. These light weight quilts were a steal from Kohl’s at $32 each.
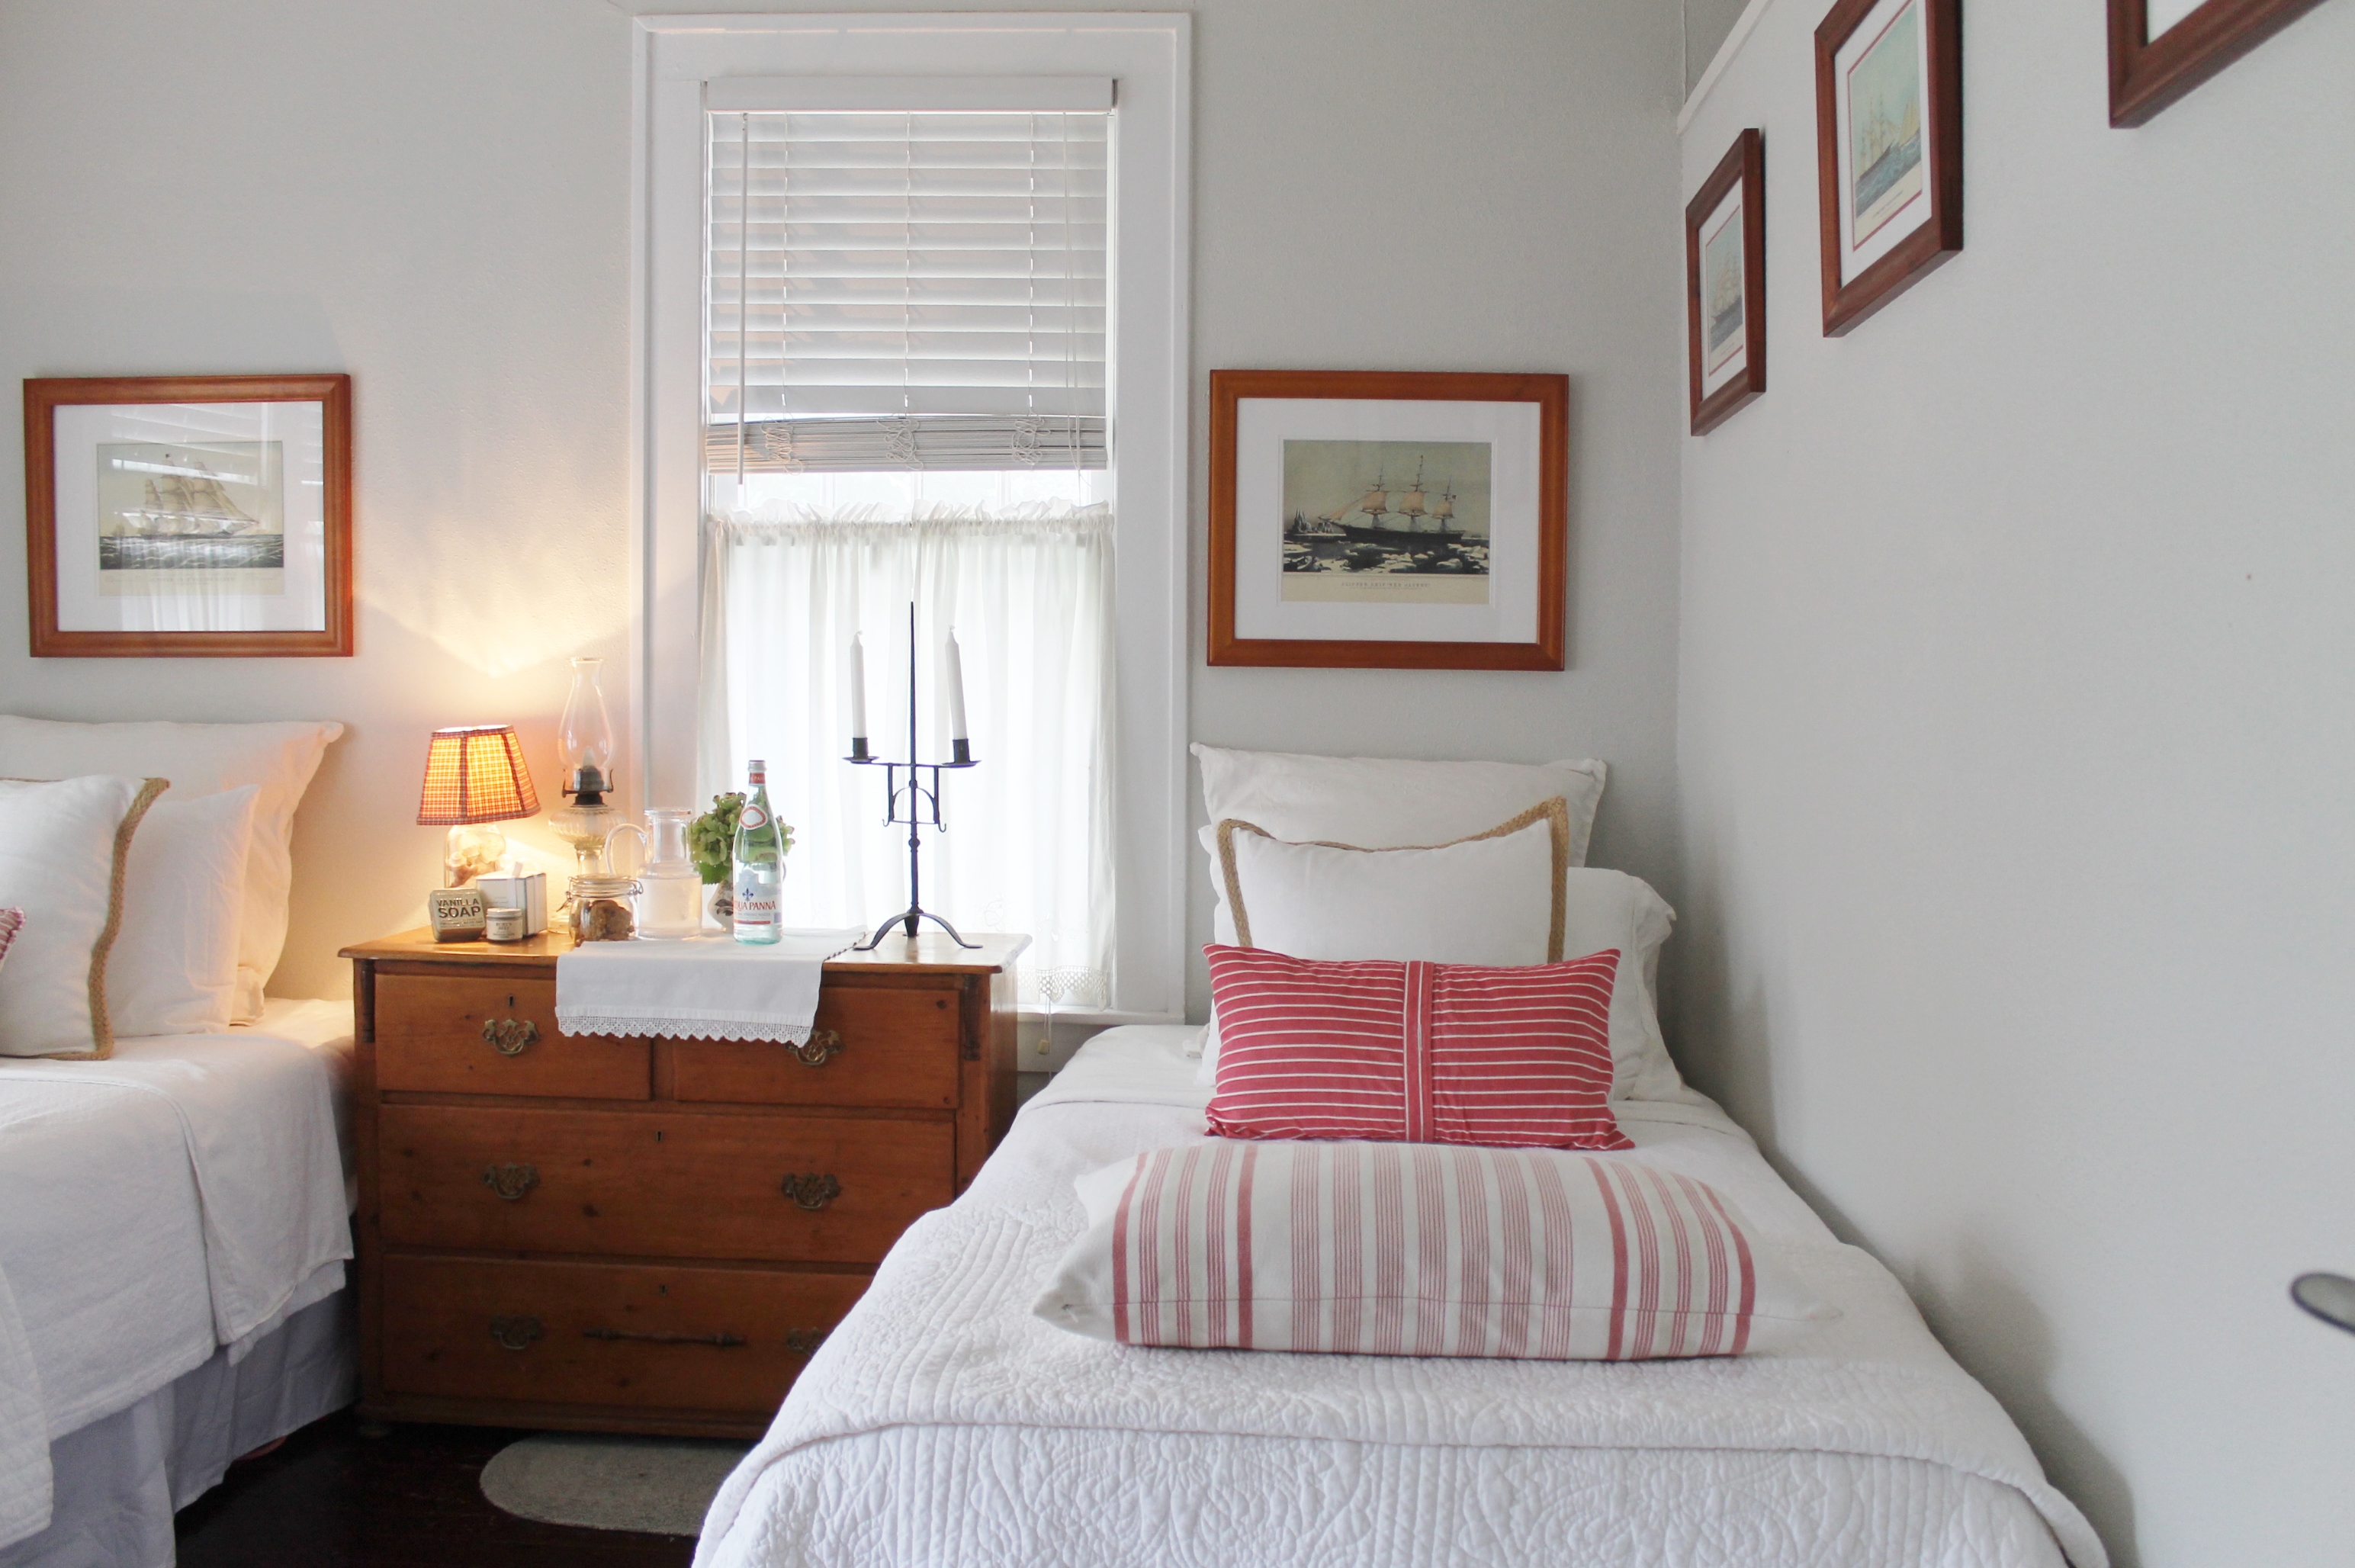
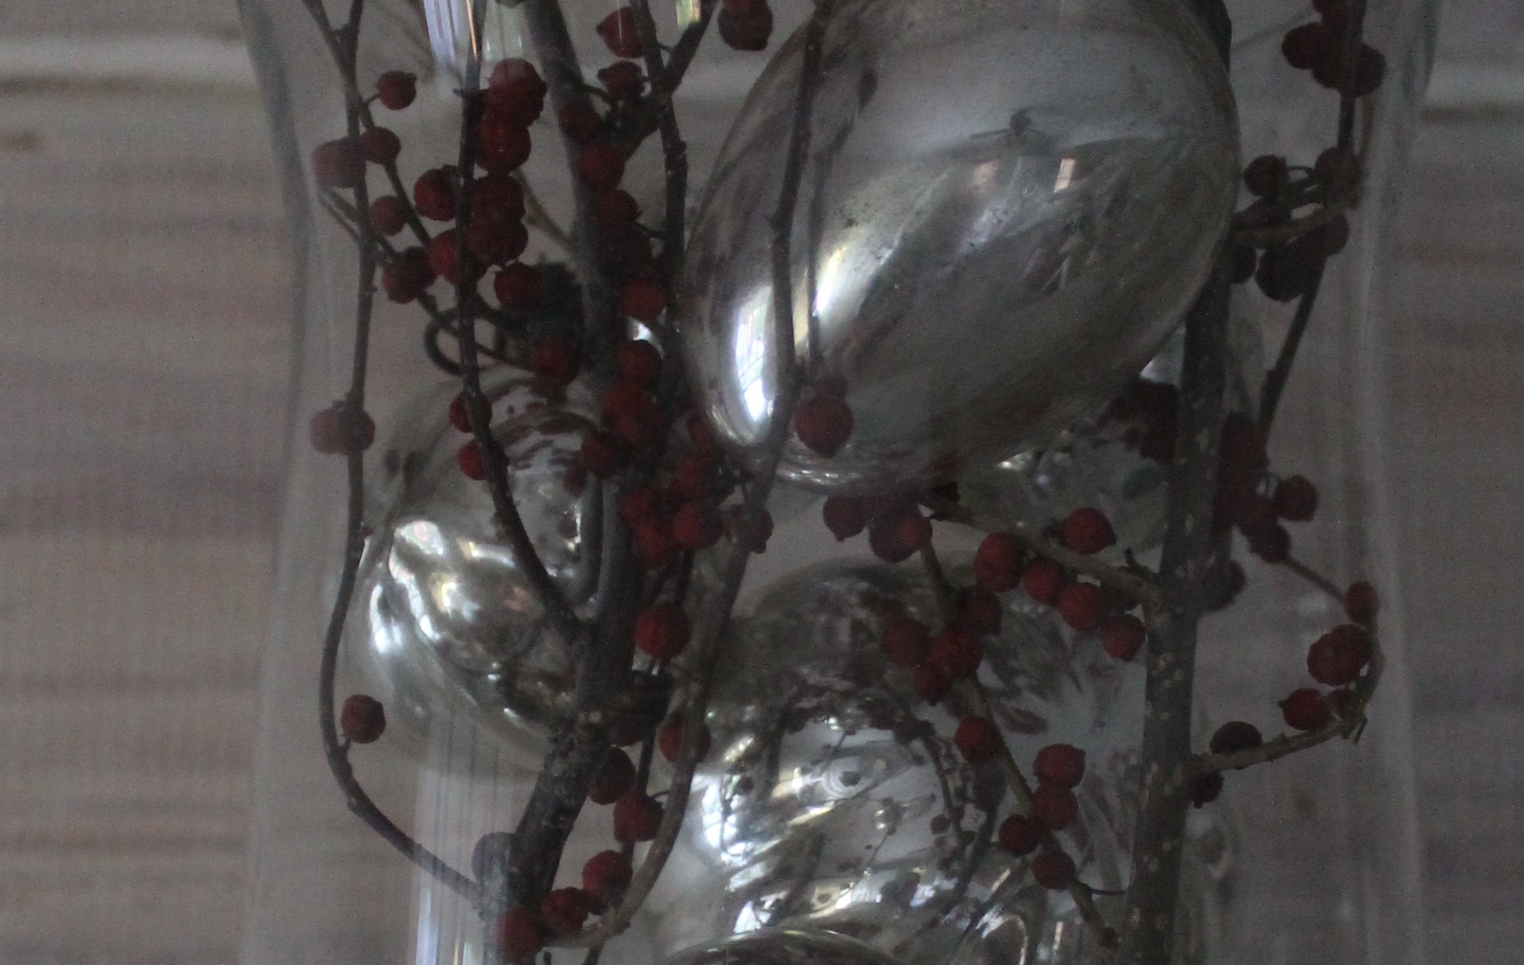
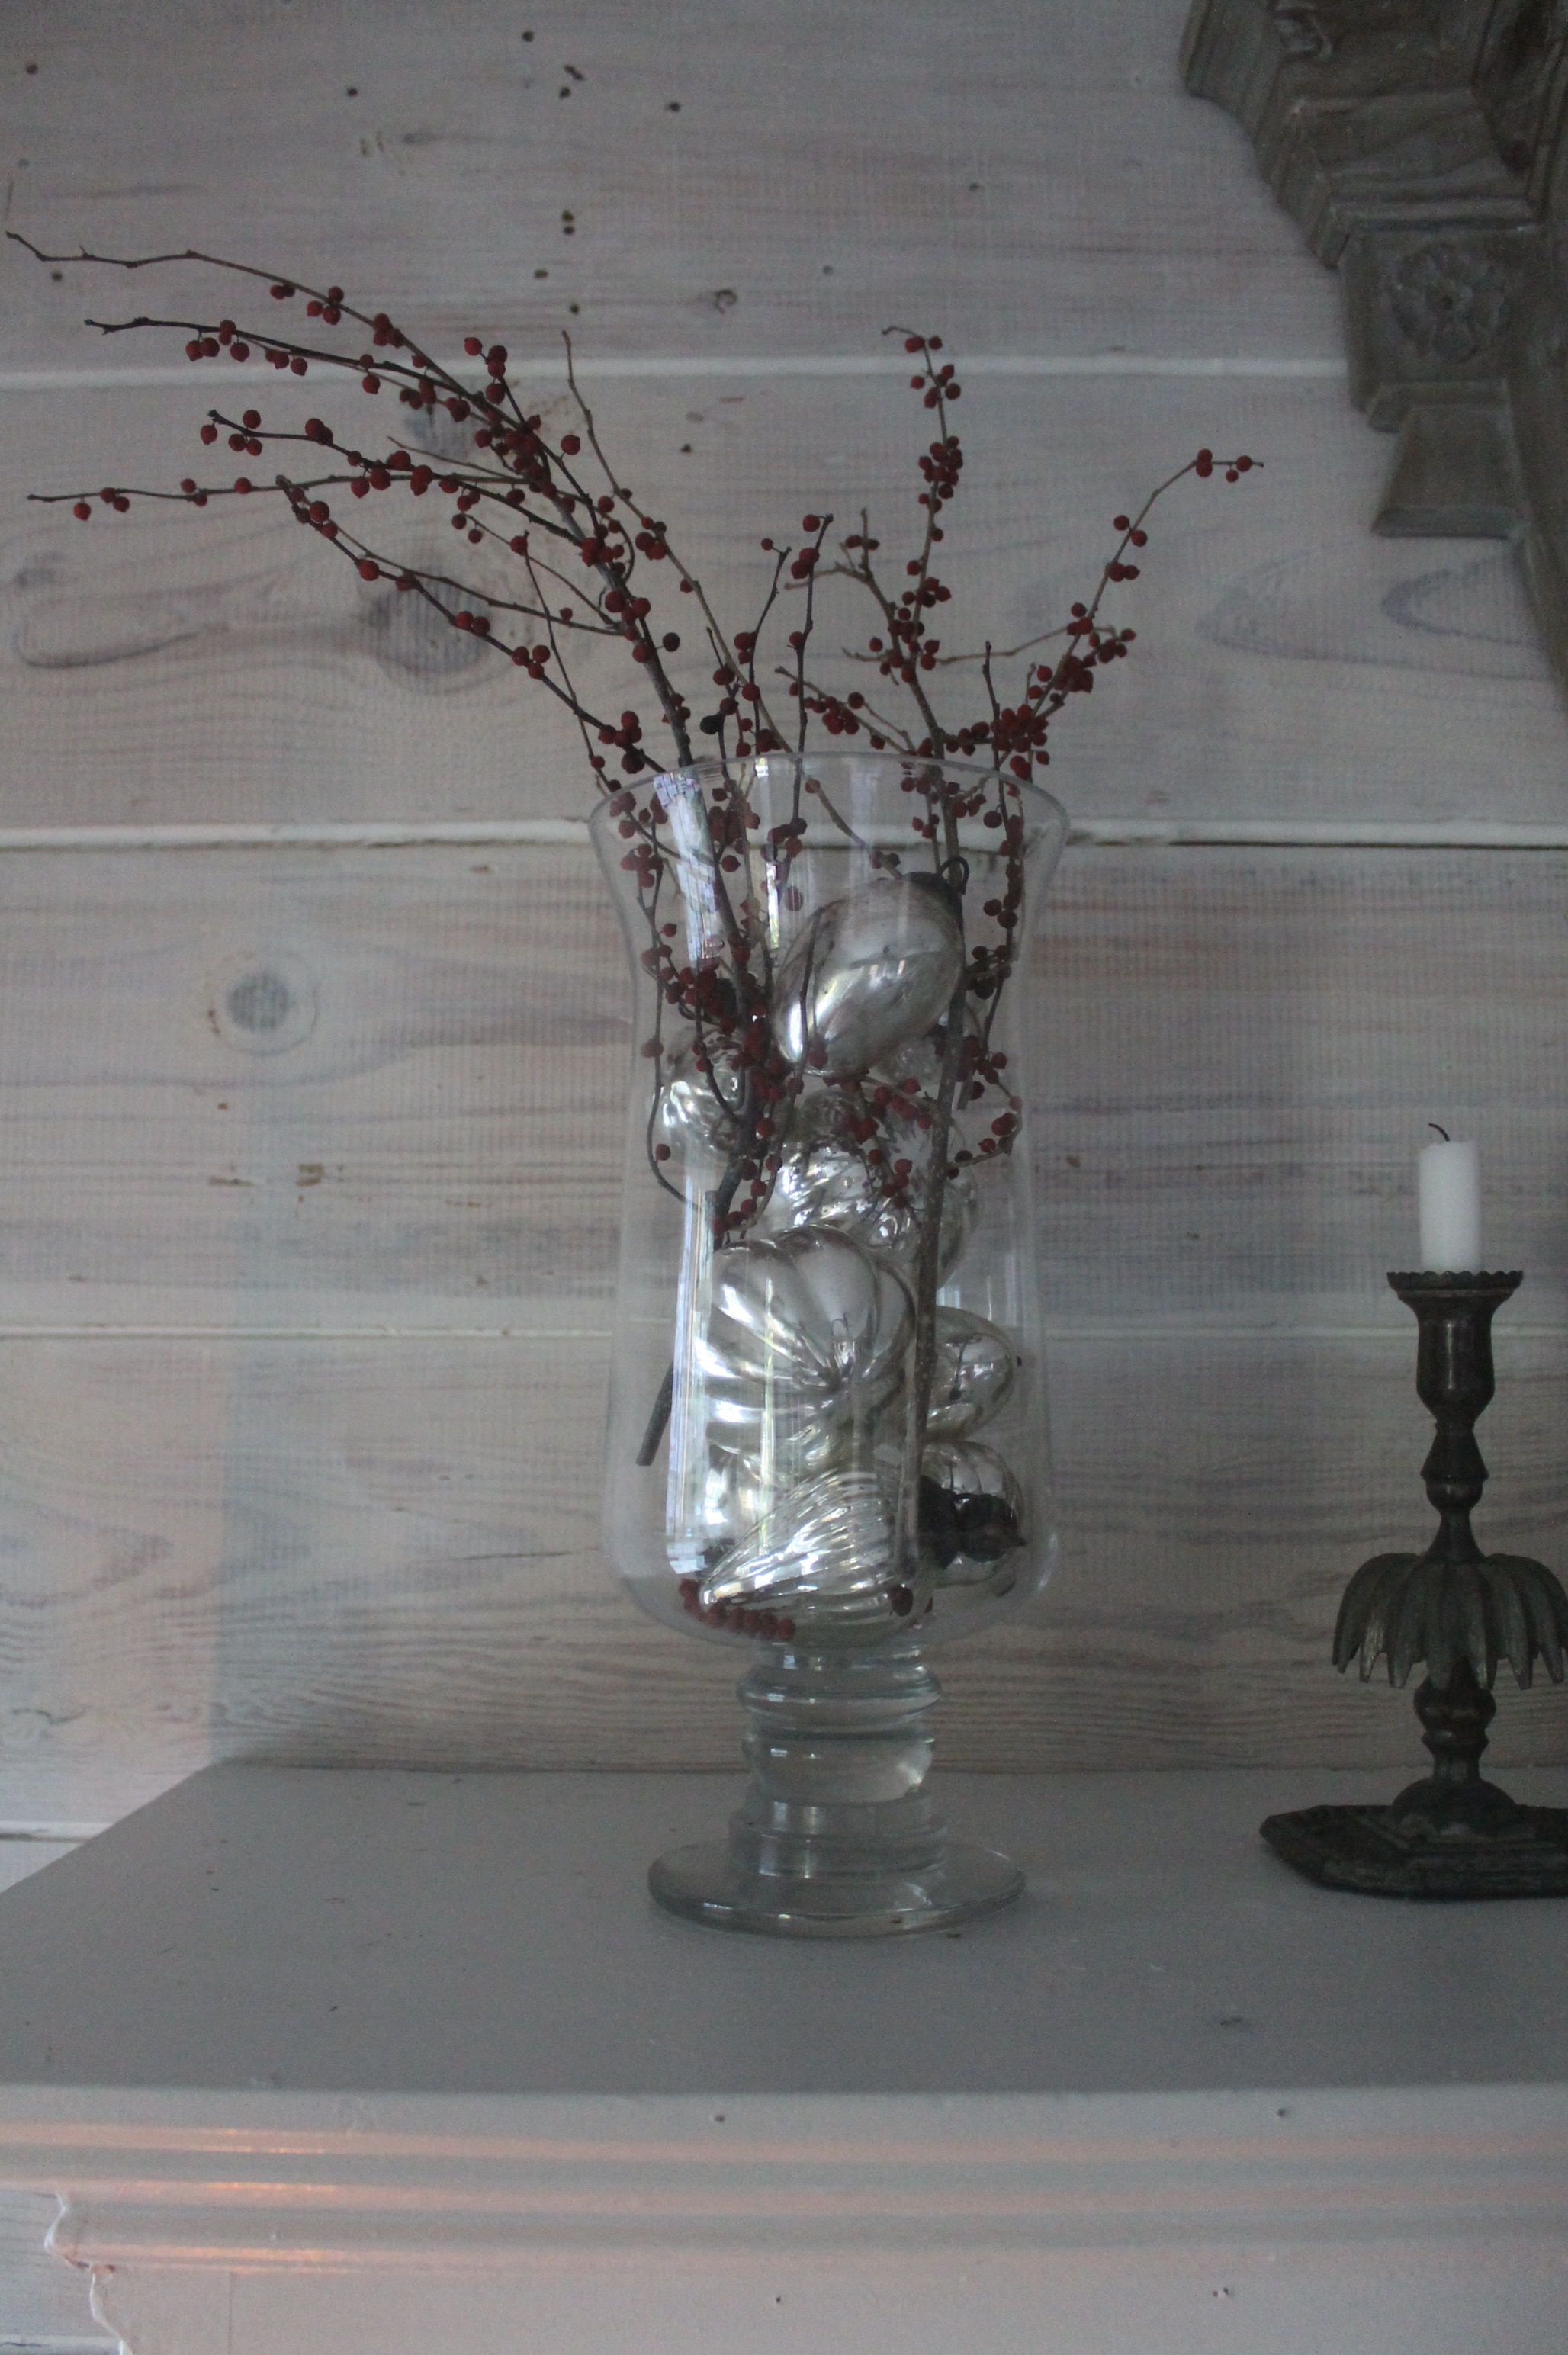
A mostly soothing, white room, I can’t resist well placed doses of my favorite color, red.
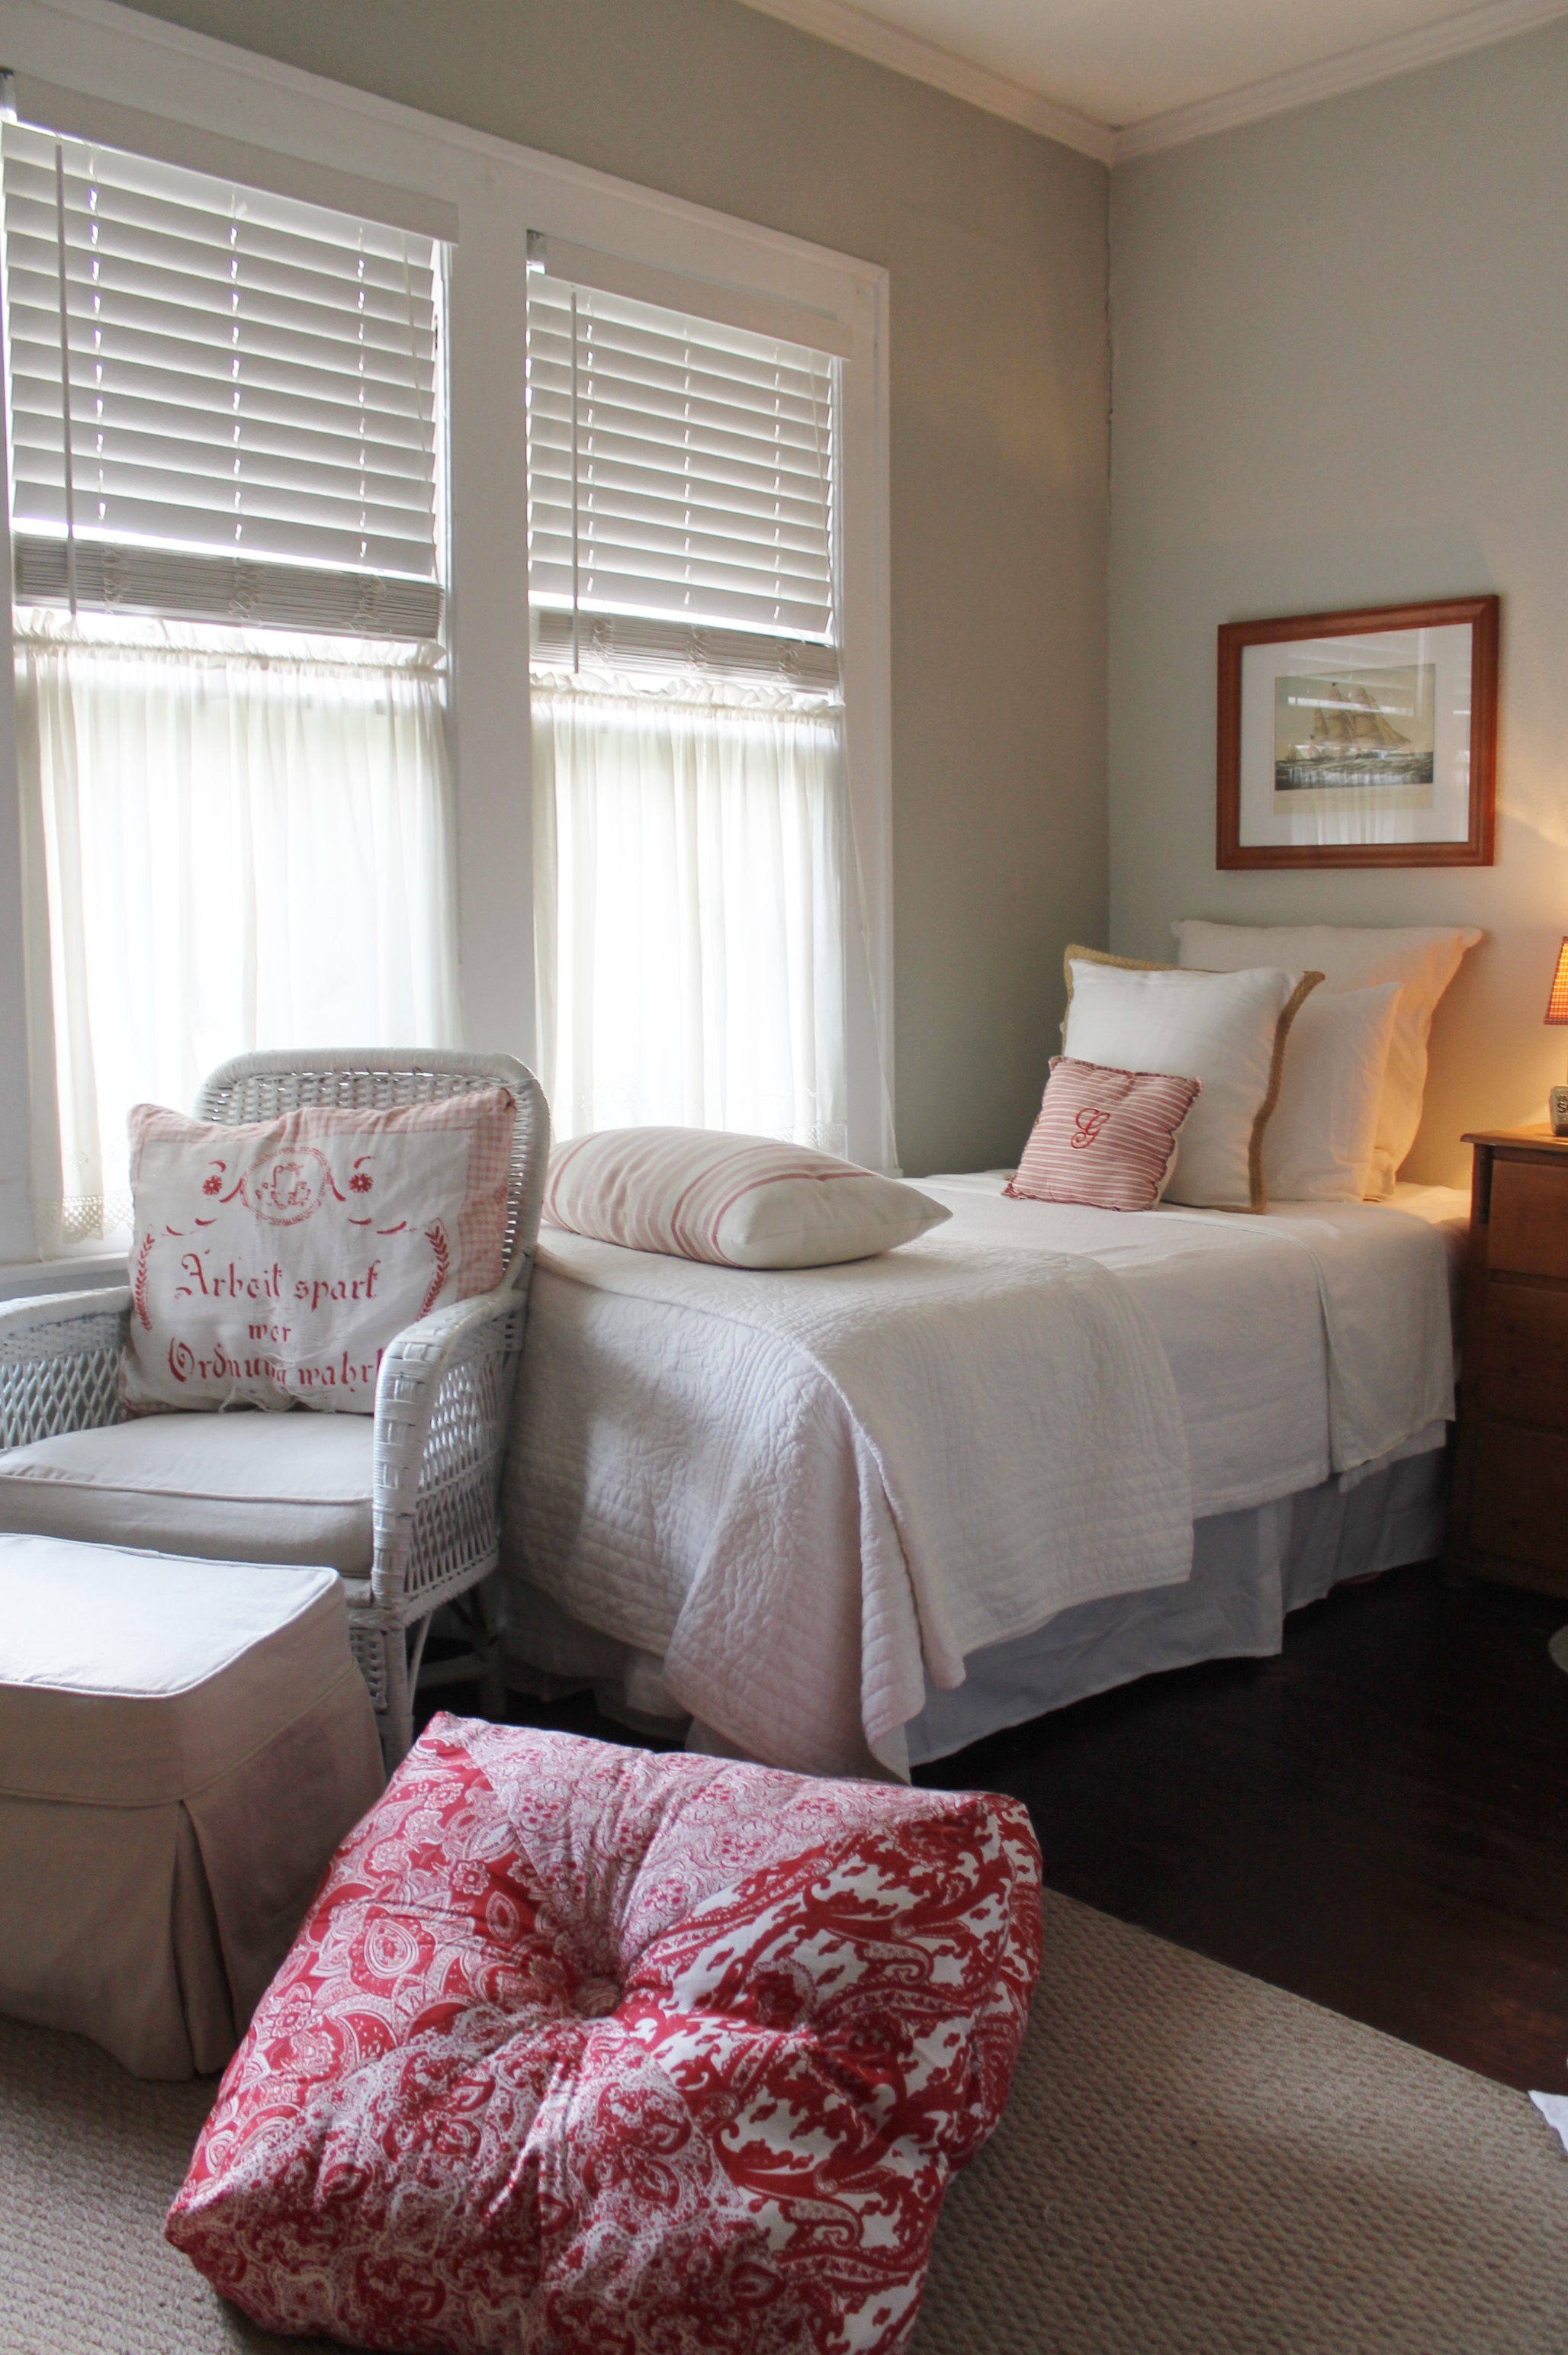
The room formerly had a single queen bed. Now using two twin beds with white cotton sheets and a light, summer quilt for when the ceiling fan makes the room a little chilled, this room has a simple and quiet countenance.
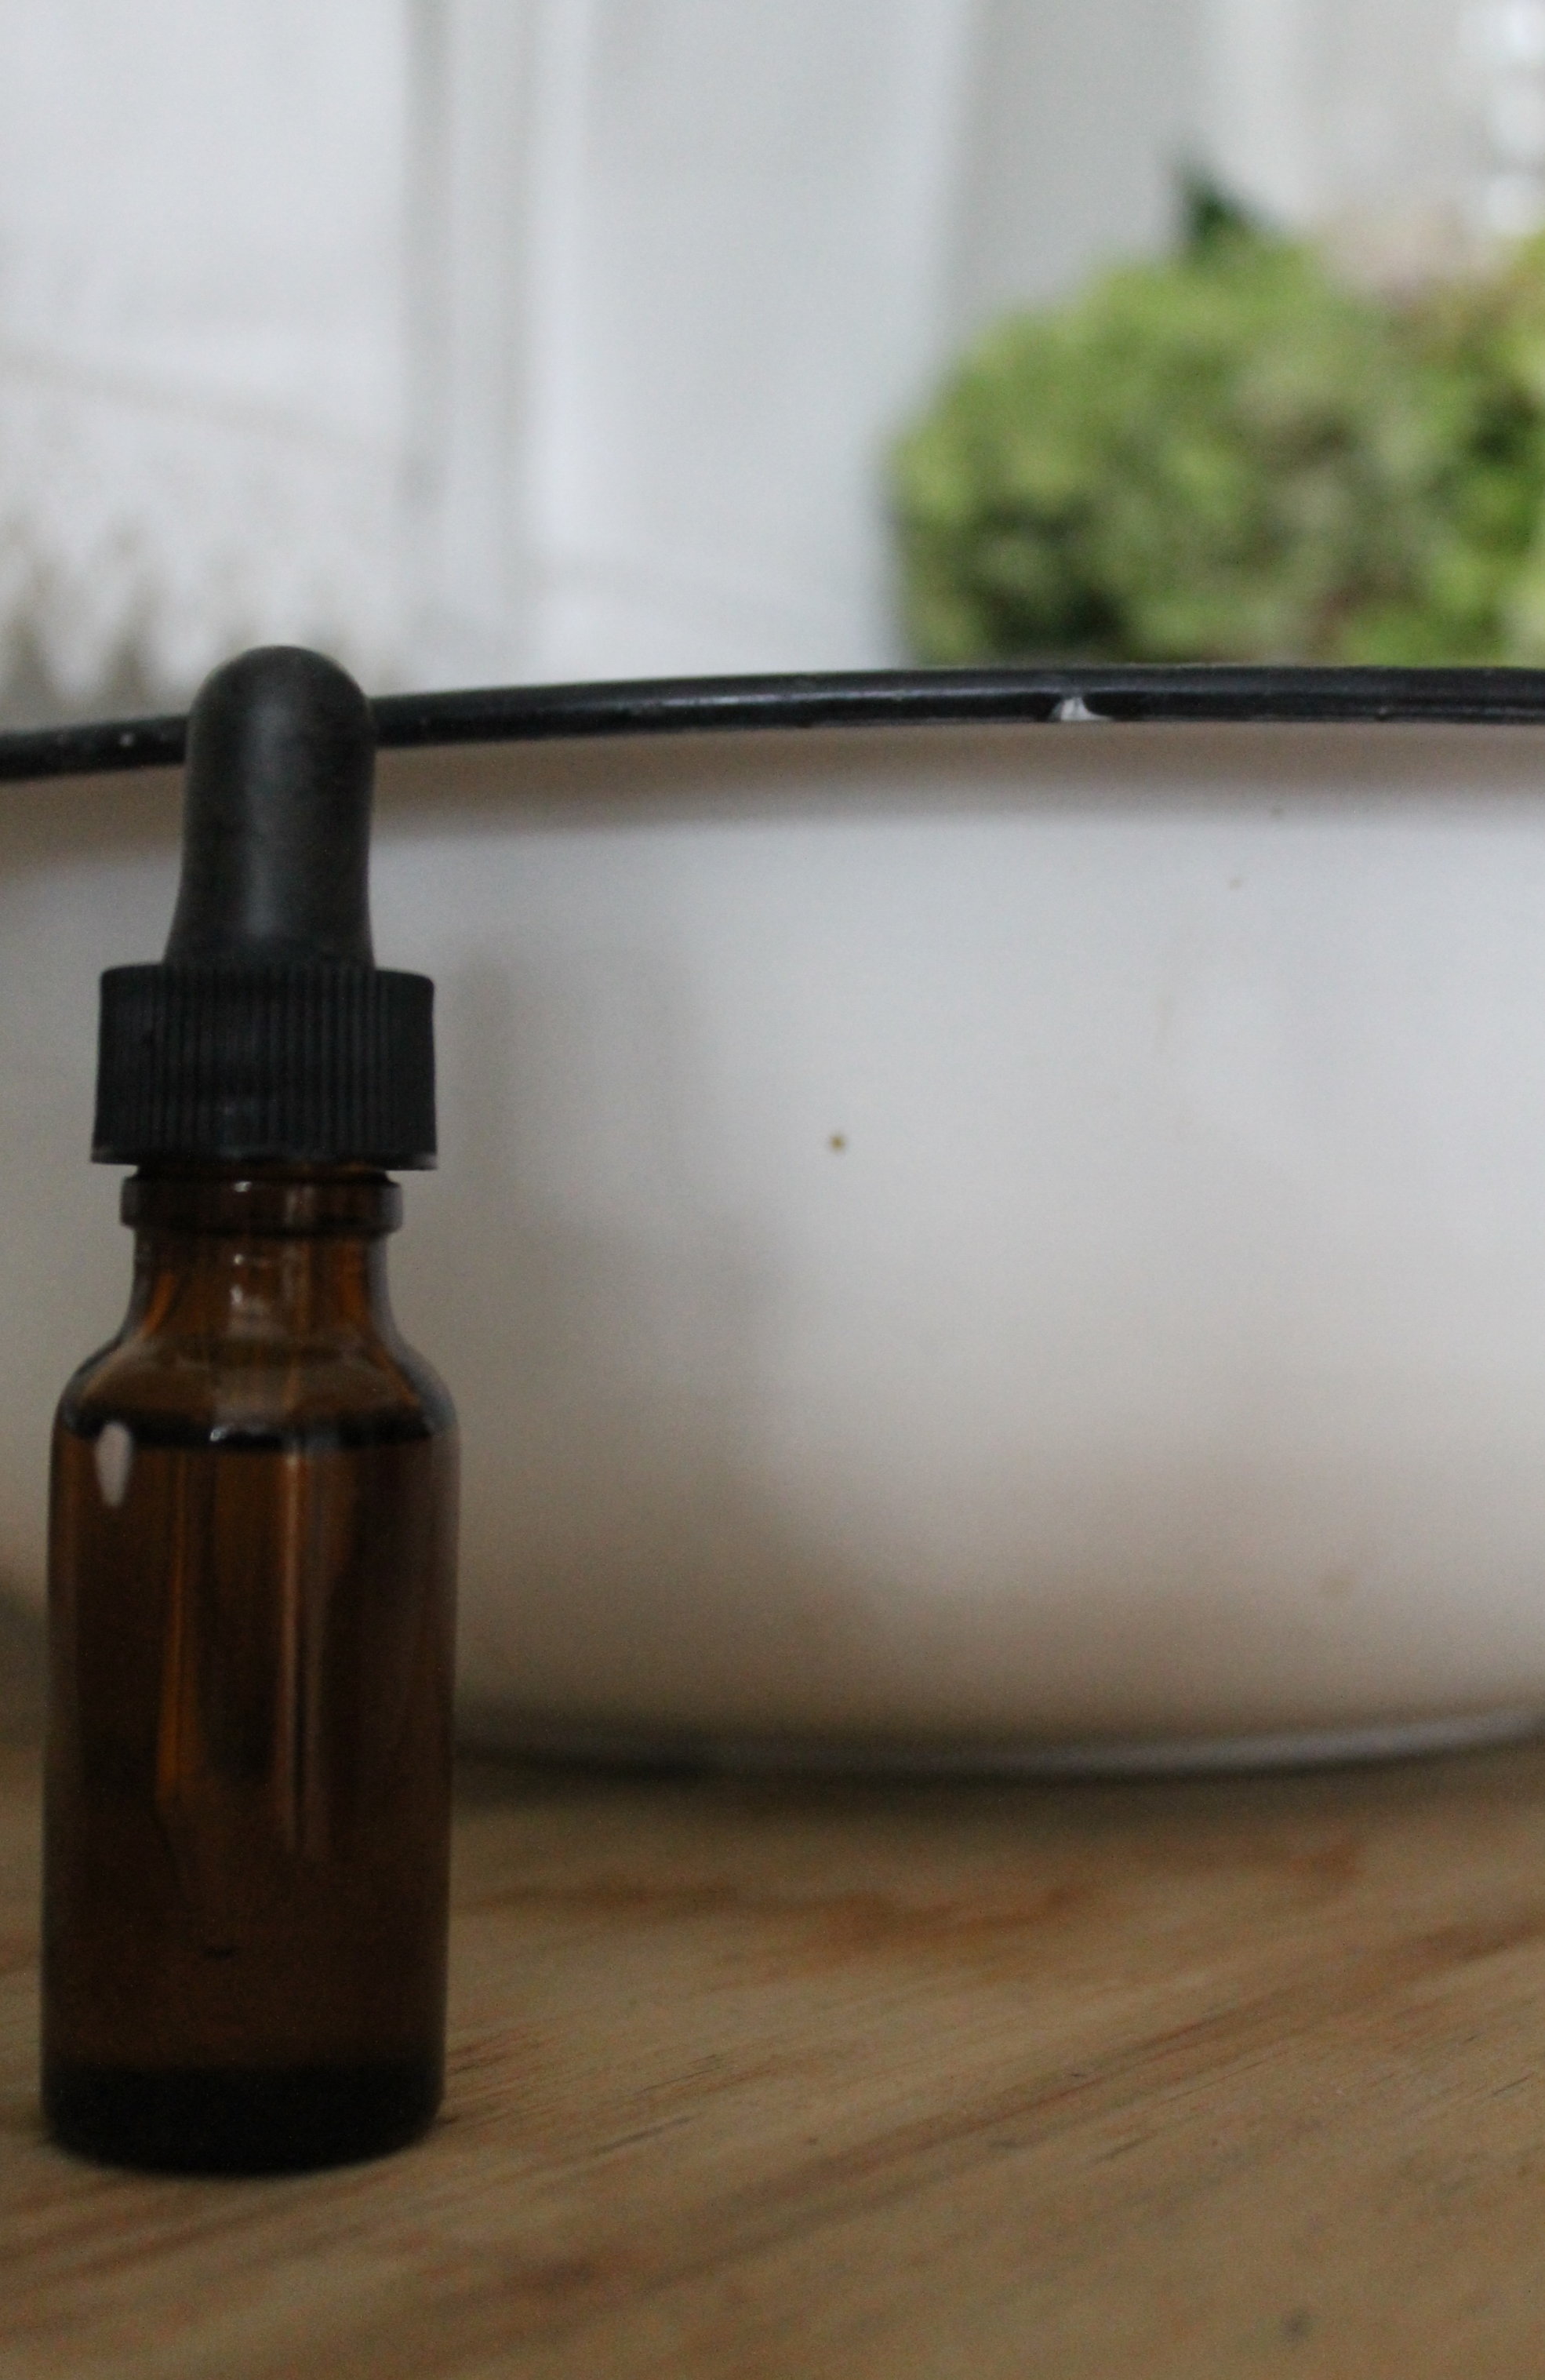
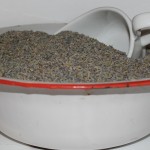
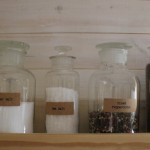
Direct from local lavender farms, this essential oil is a treat for my guests.
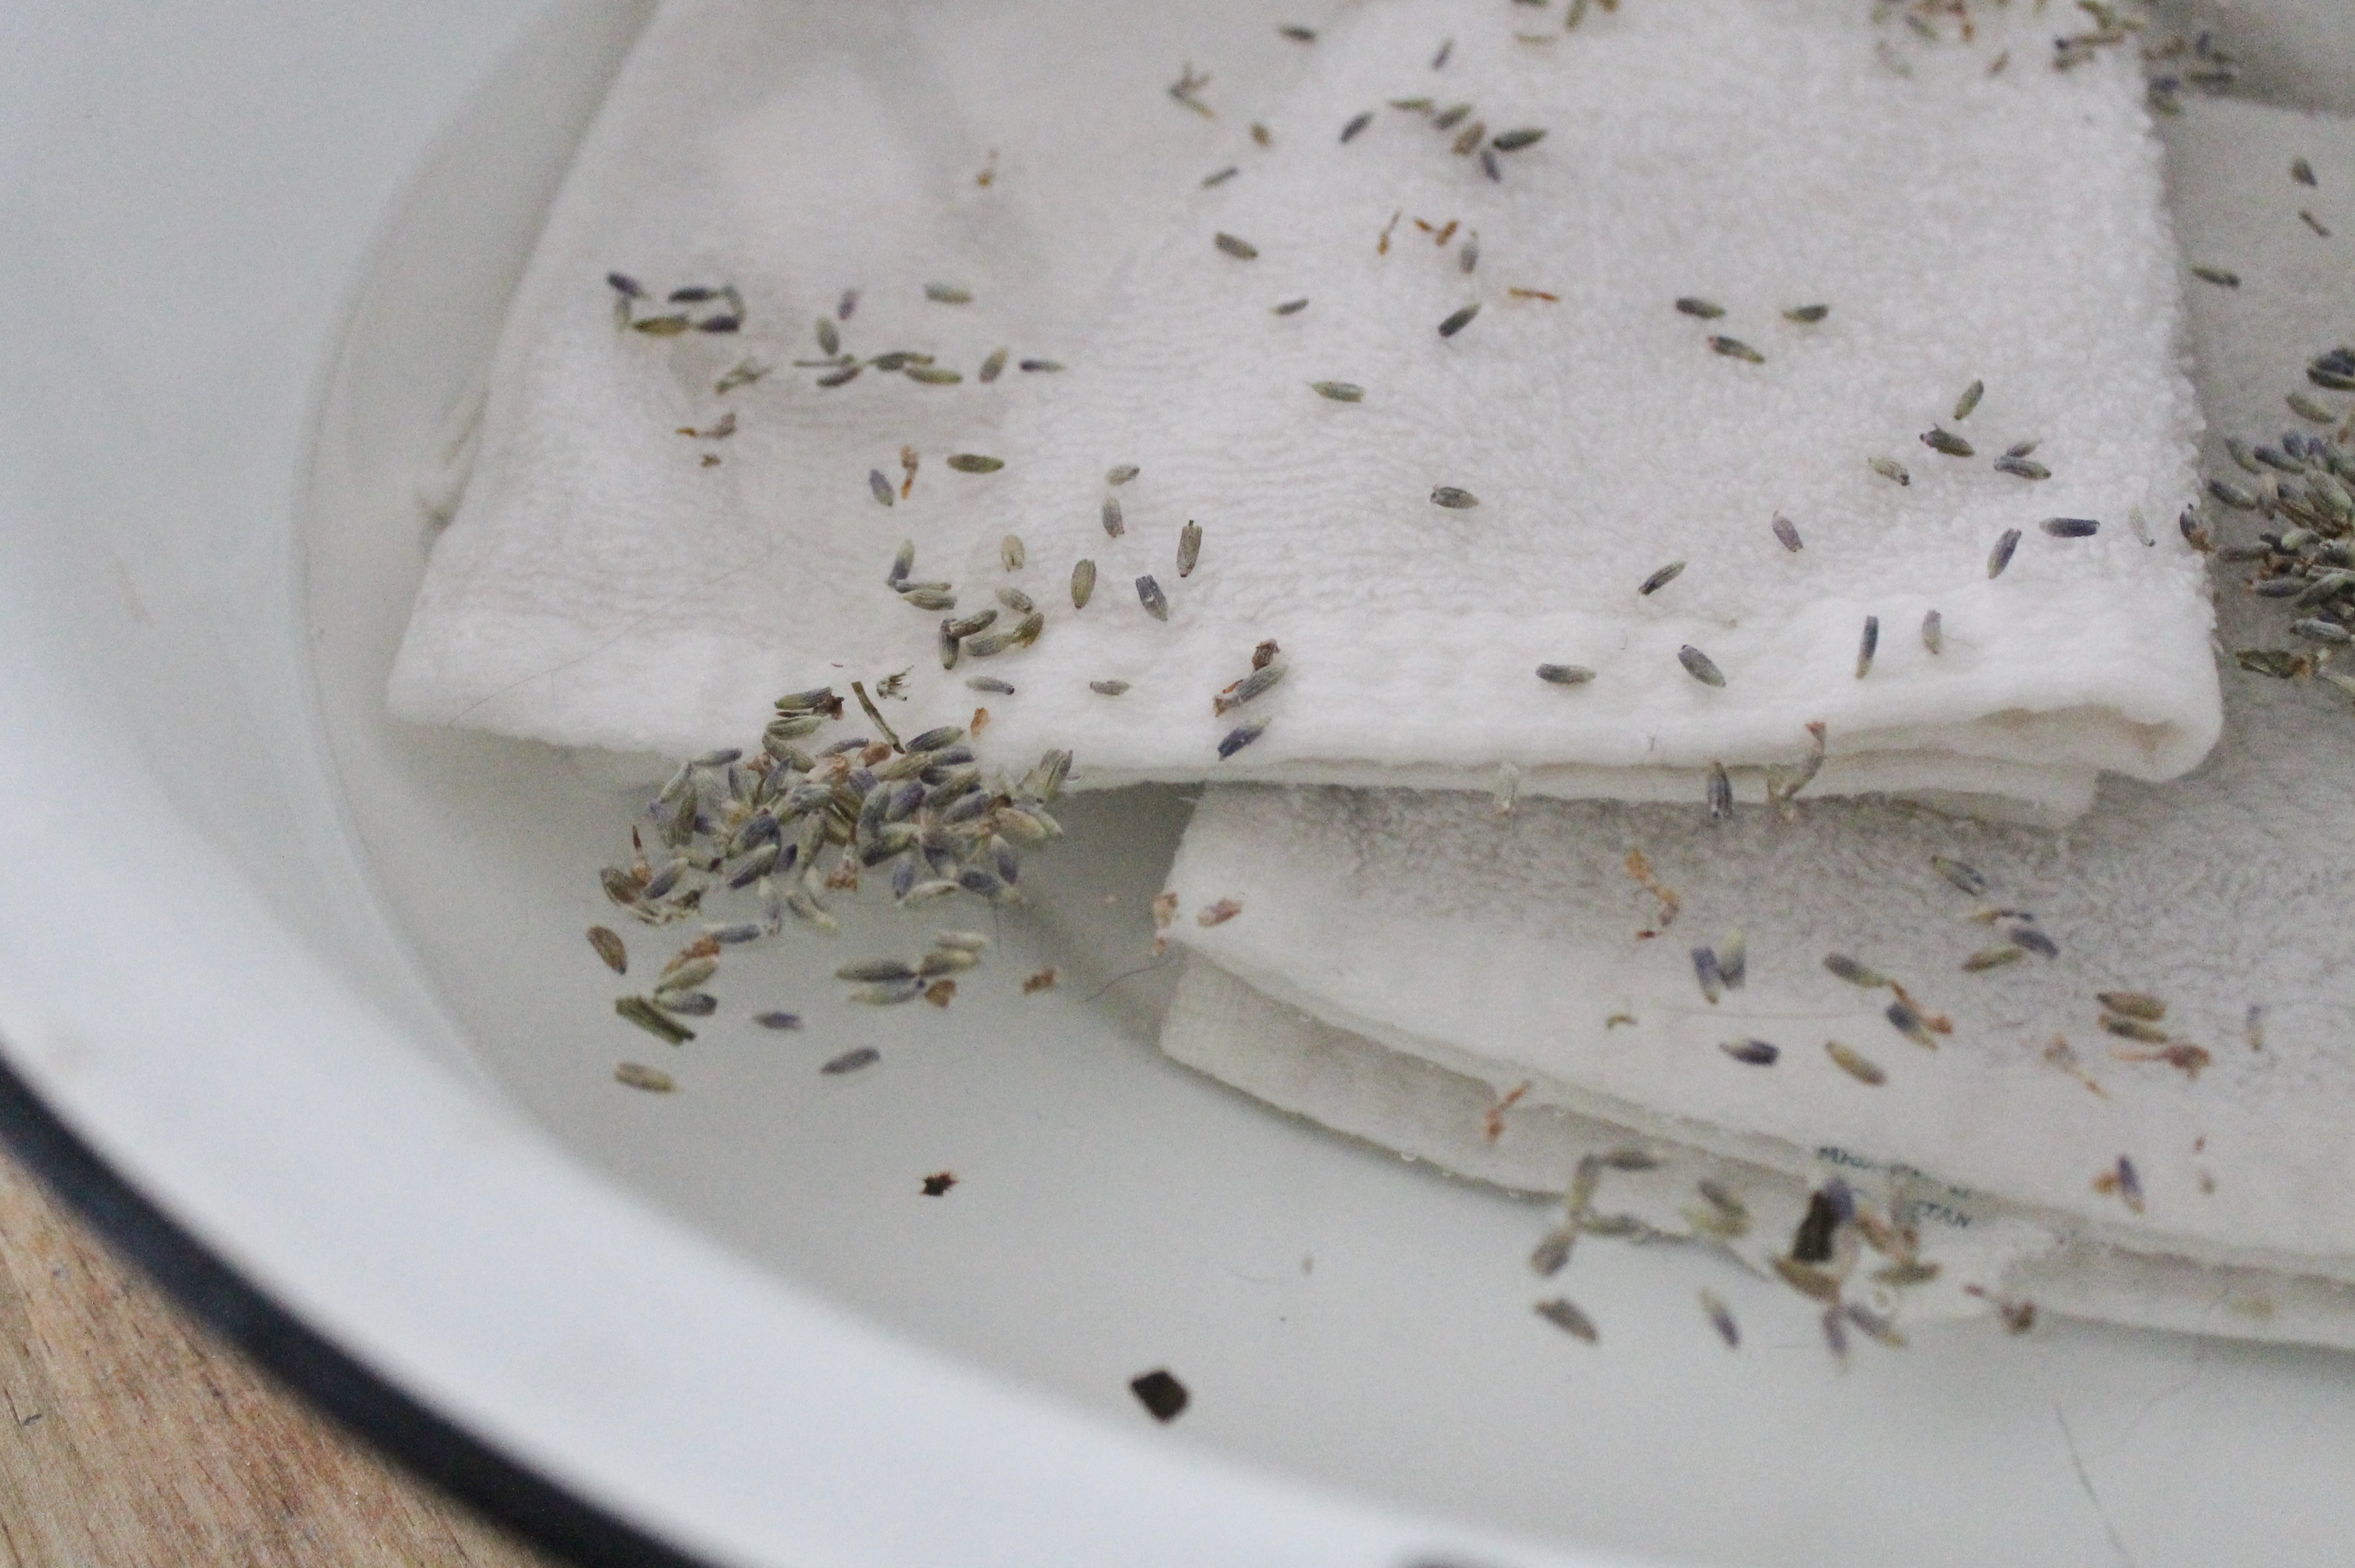
Lavender pods along with Lavender essential oil in a vintage basin ready for summer time guests.
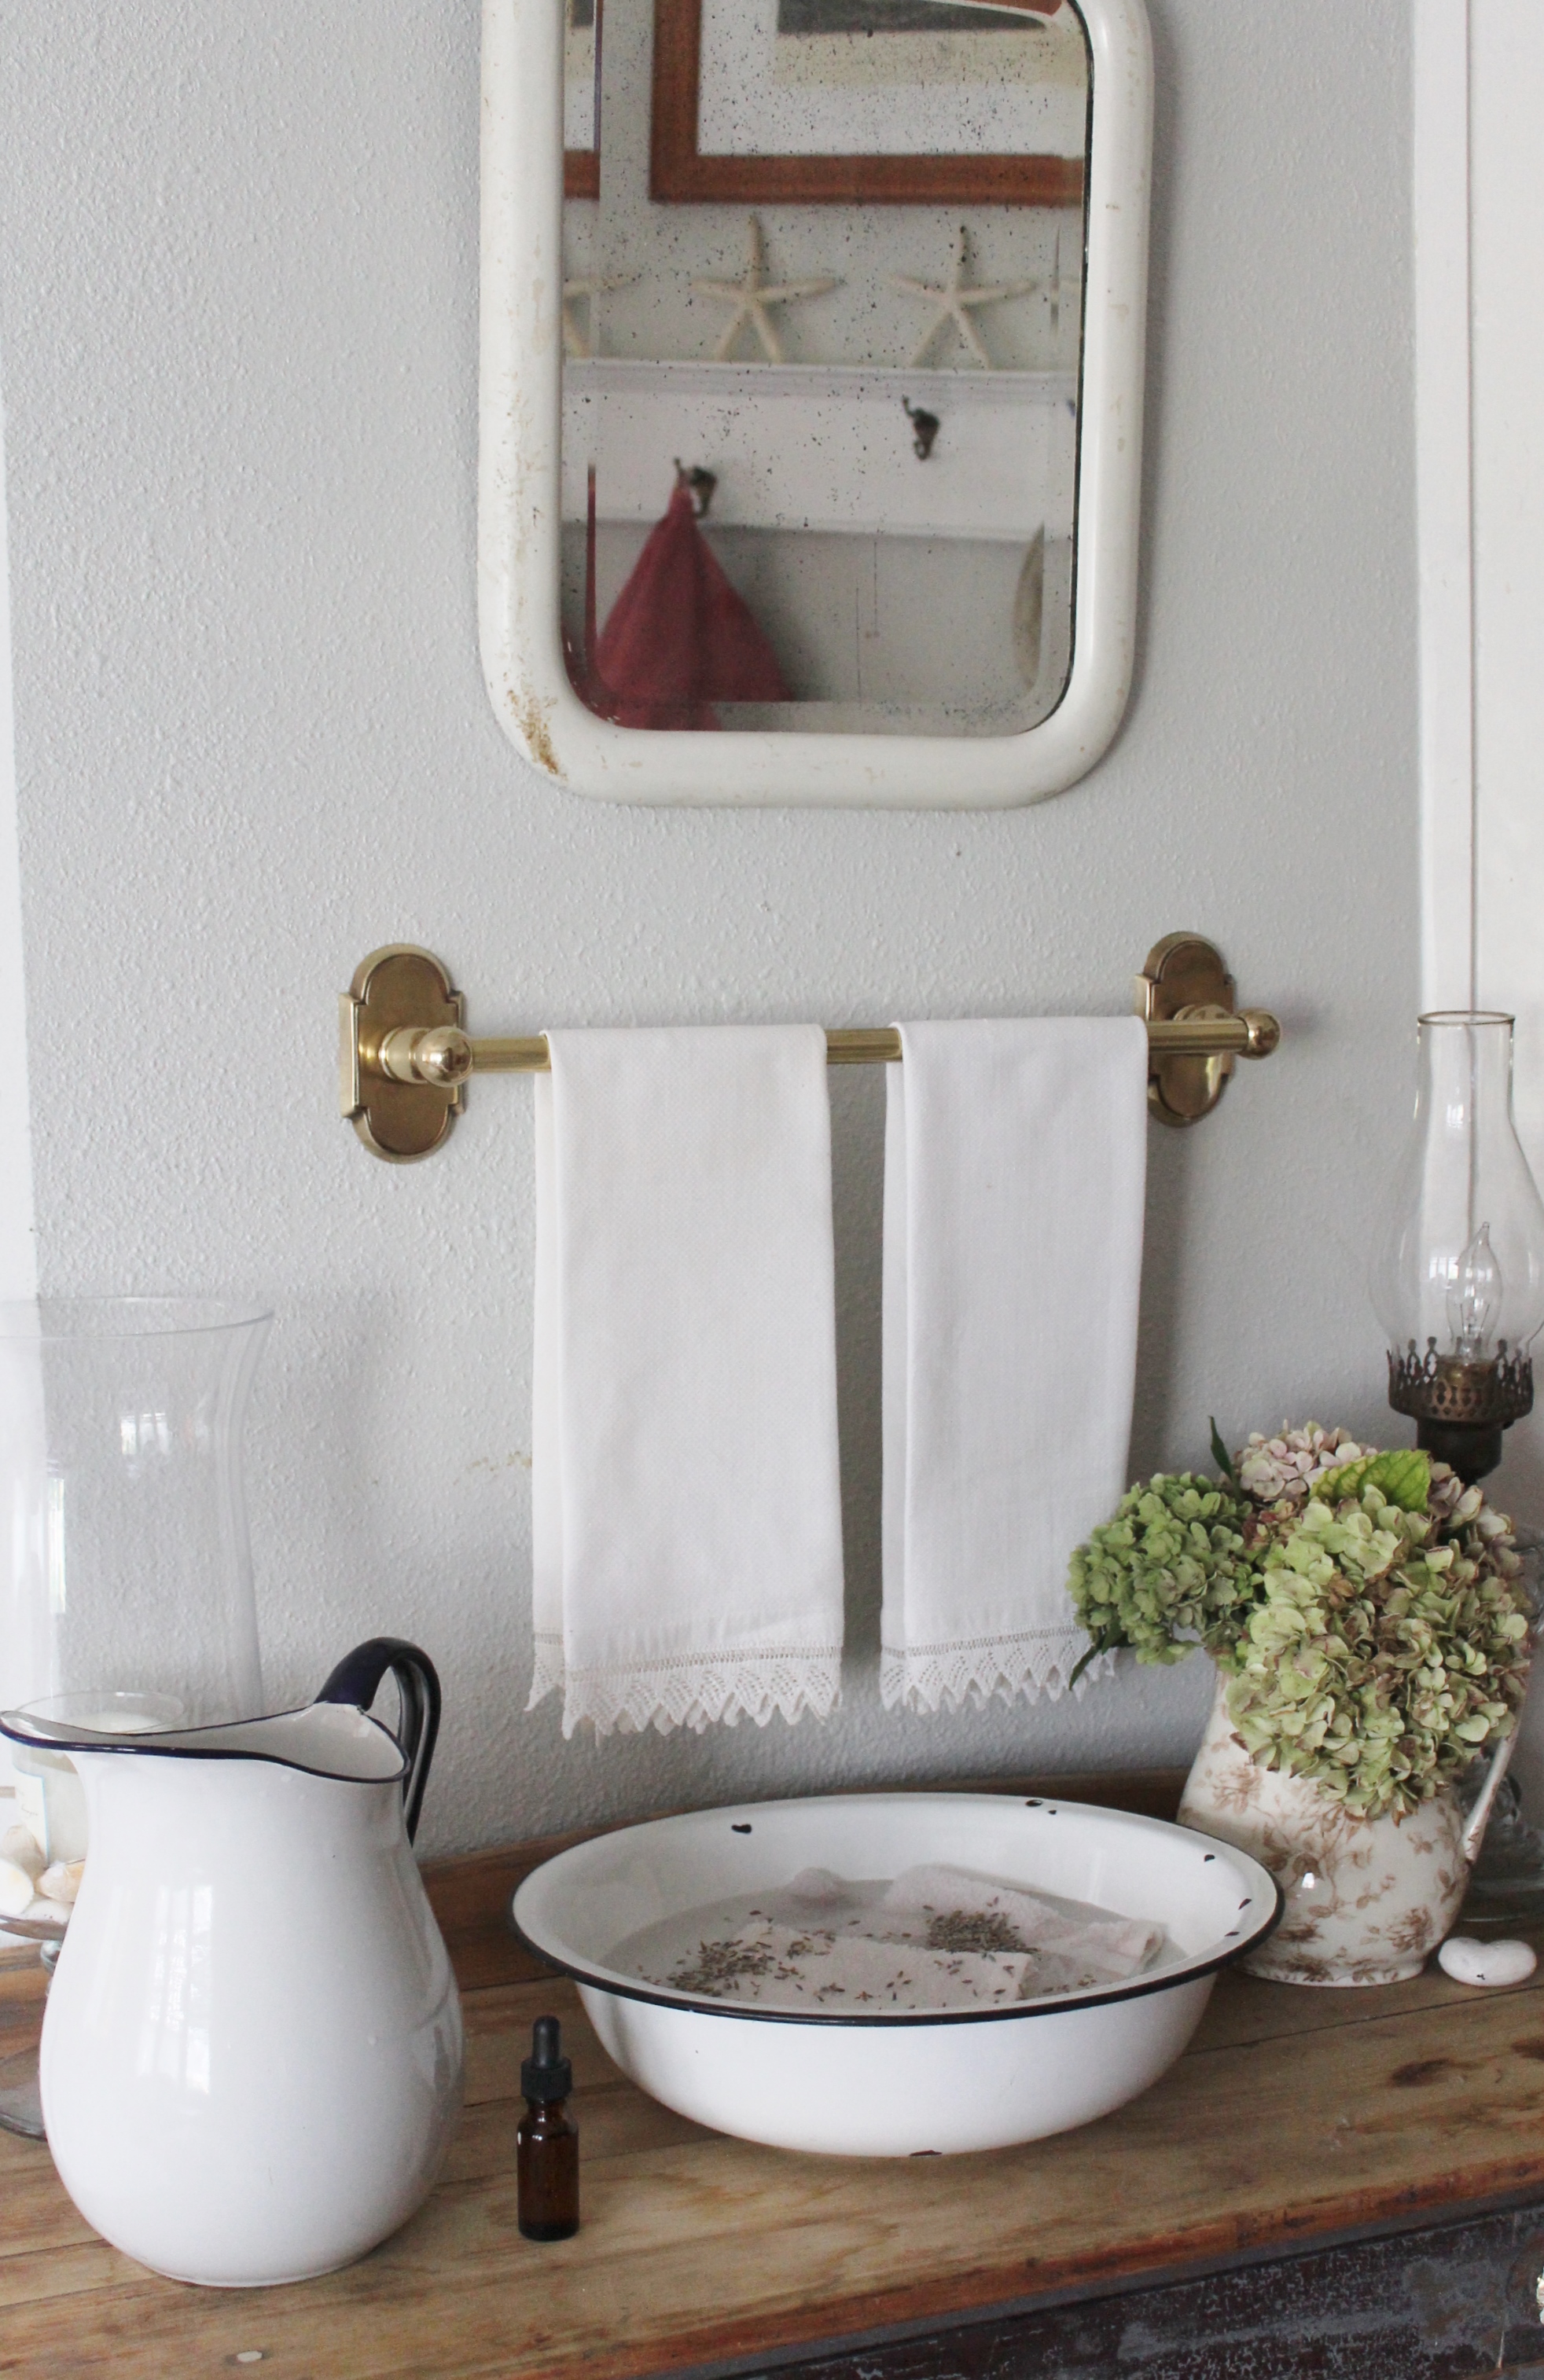
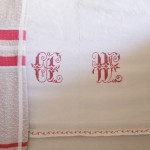
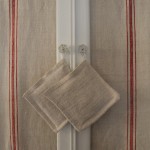
My grandmother’s vintage towels, lavender infused water with thick terry washcloths for a soothing sleep time compress on a warm summer night.
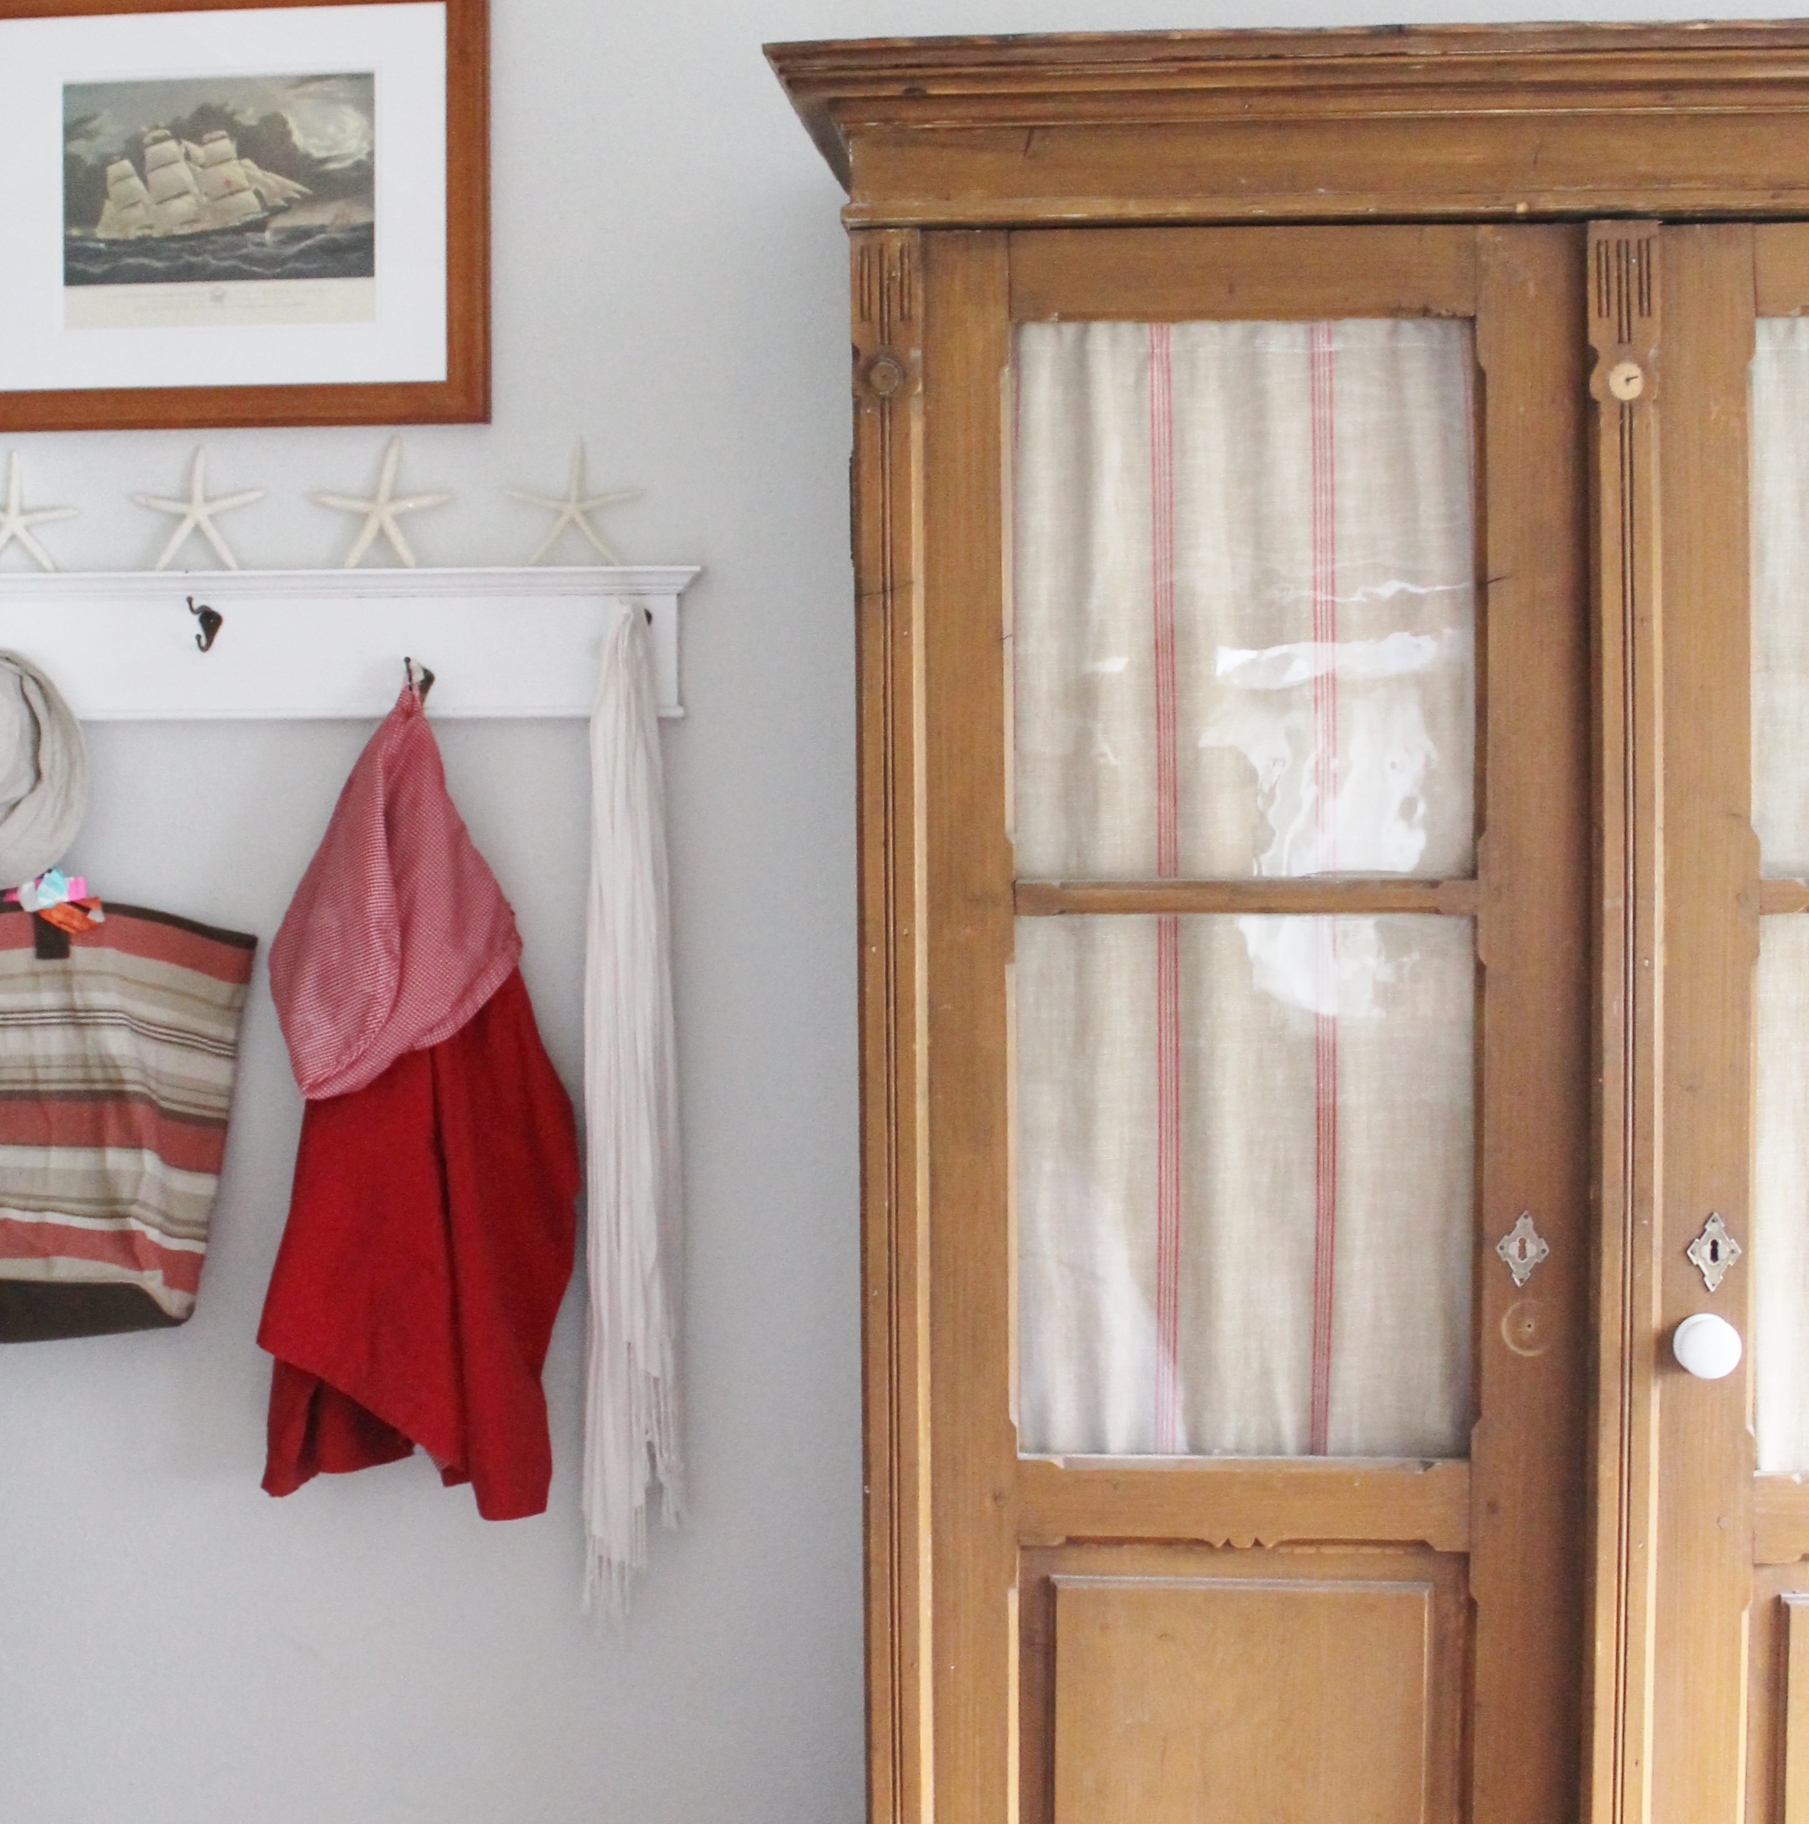
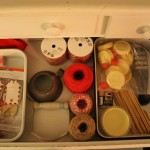
What used to house a television in another room, now stores quilts for cold winter nights and a small flat screen for guests who wish to squire themselves away to relax and watch Pride and Prejudice.
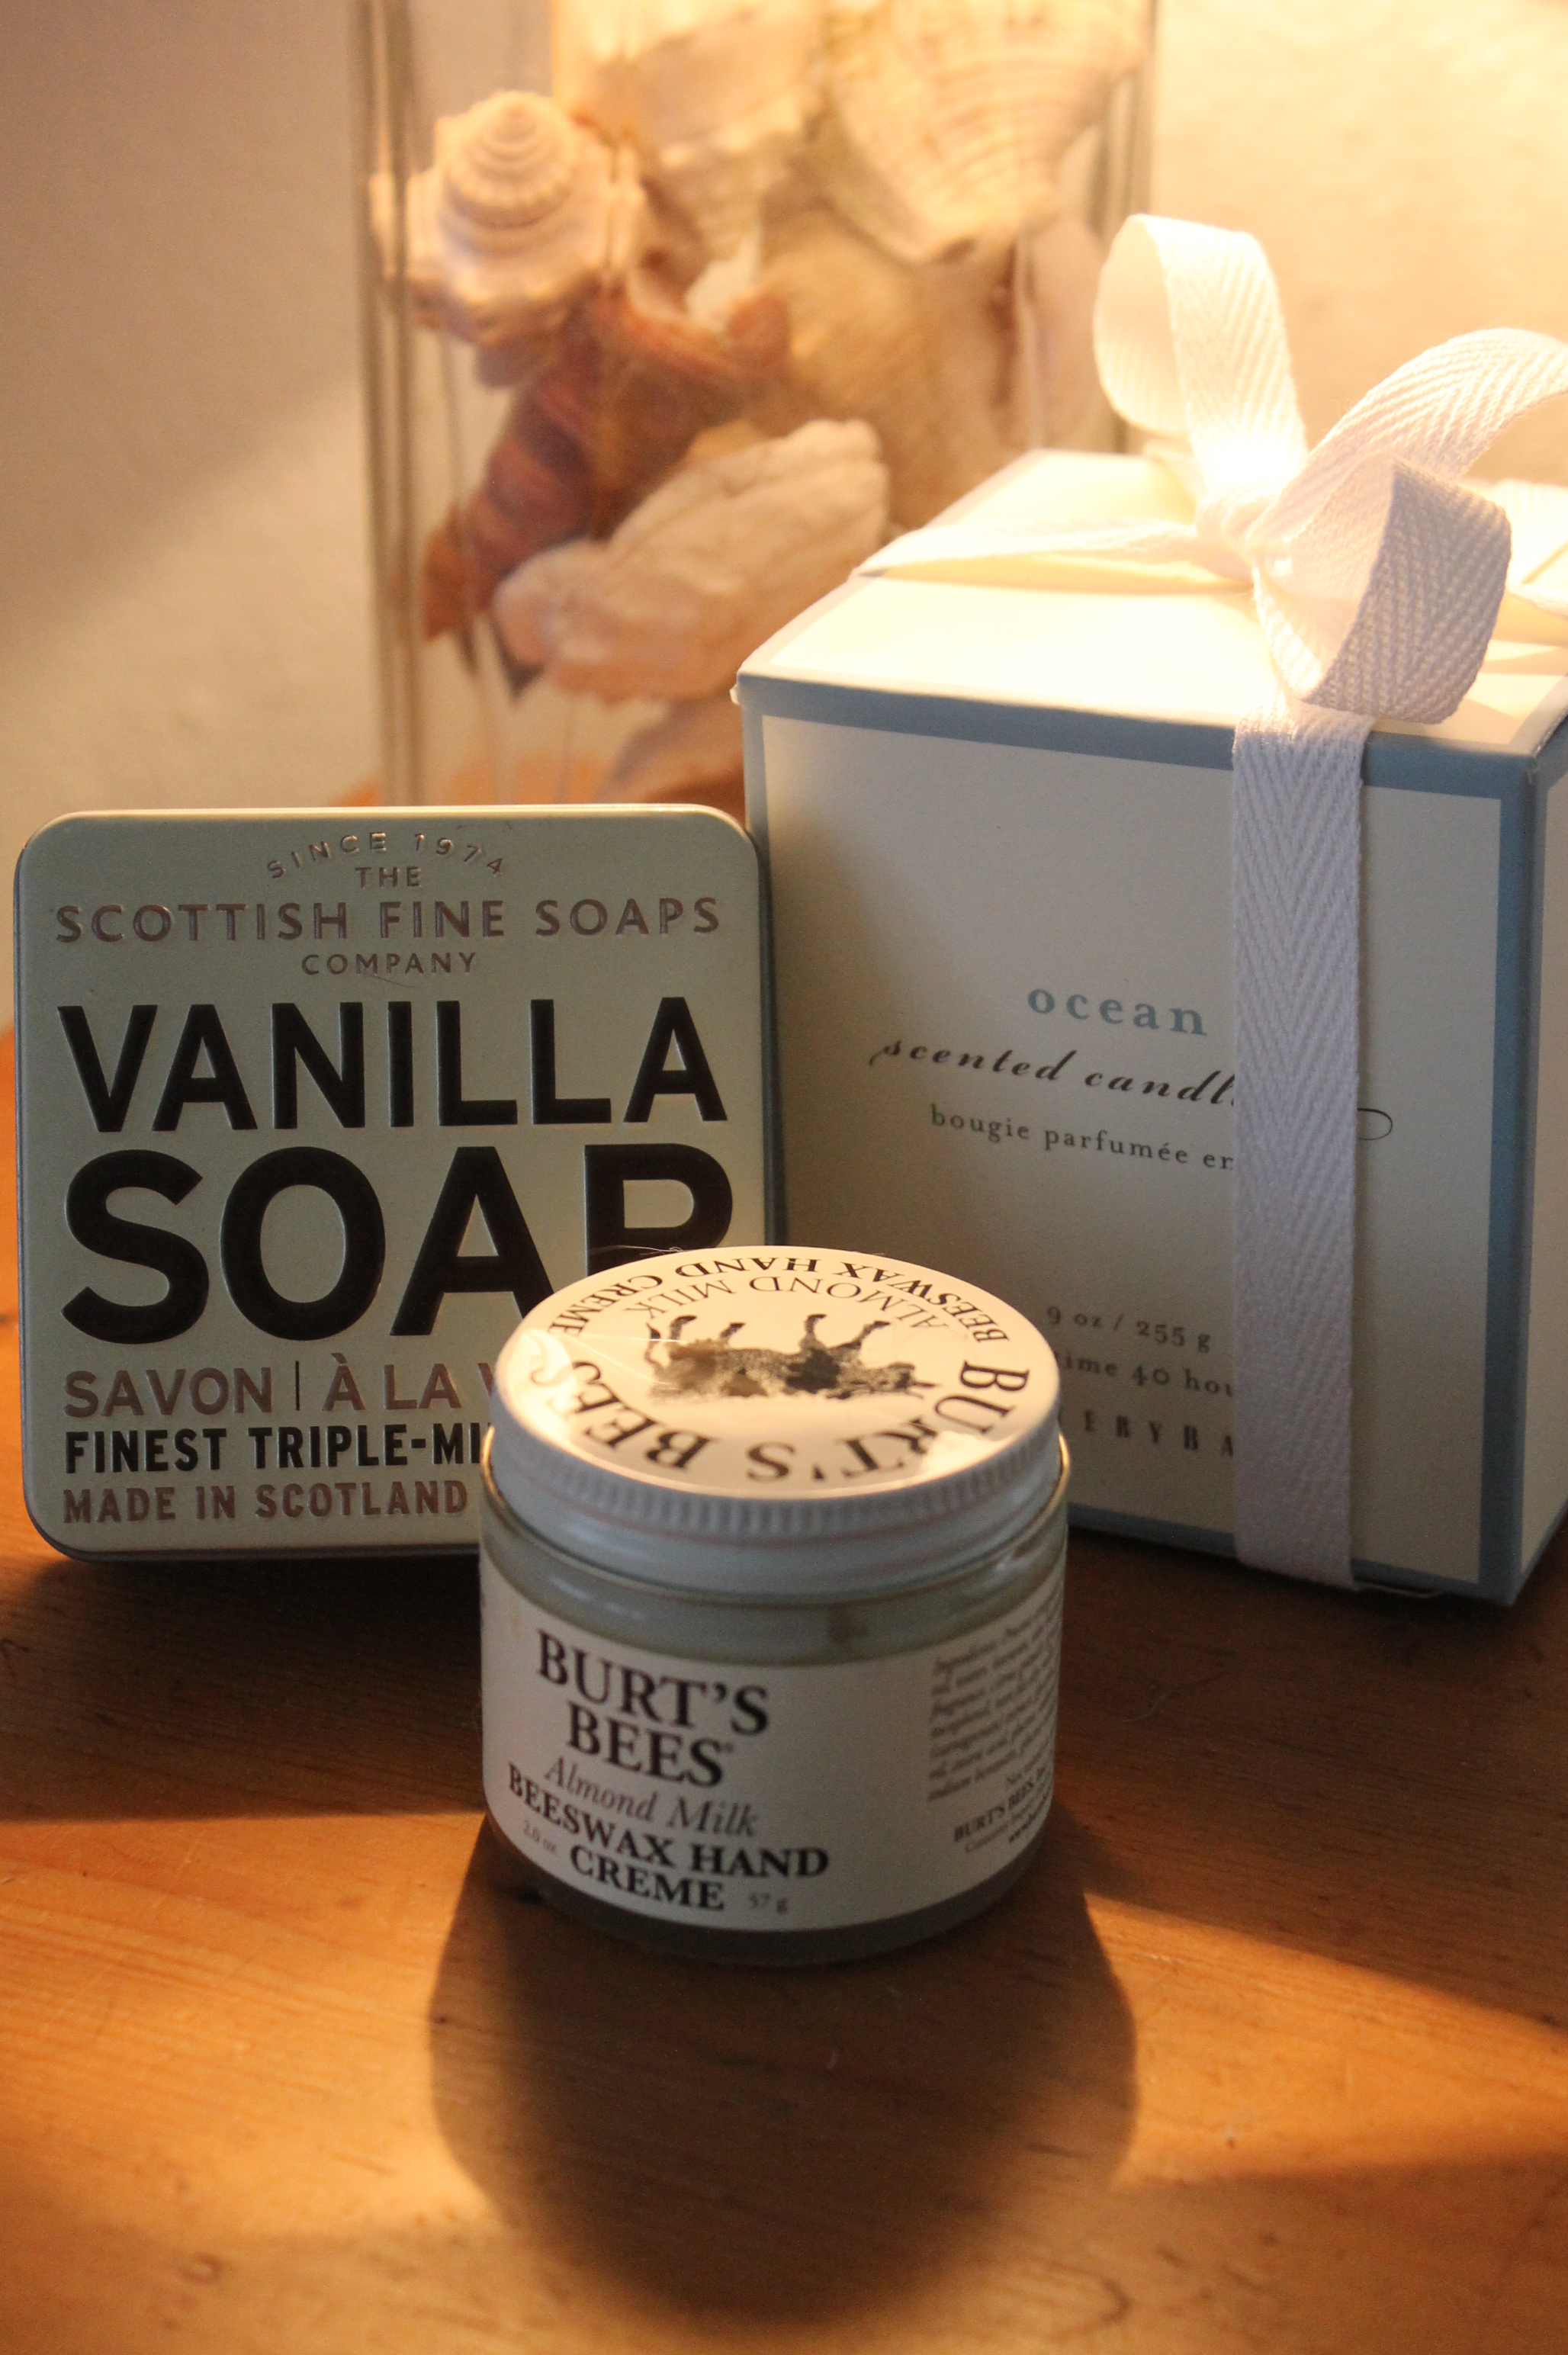
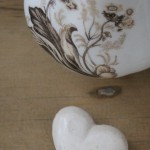
Imported Soap, Burt’s Bees Balm and a lovely Ocean scented candle for pampered guests.
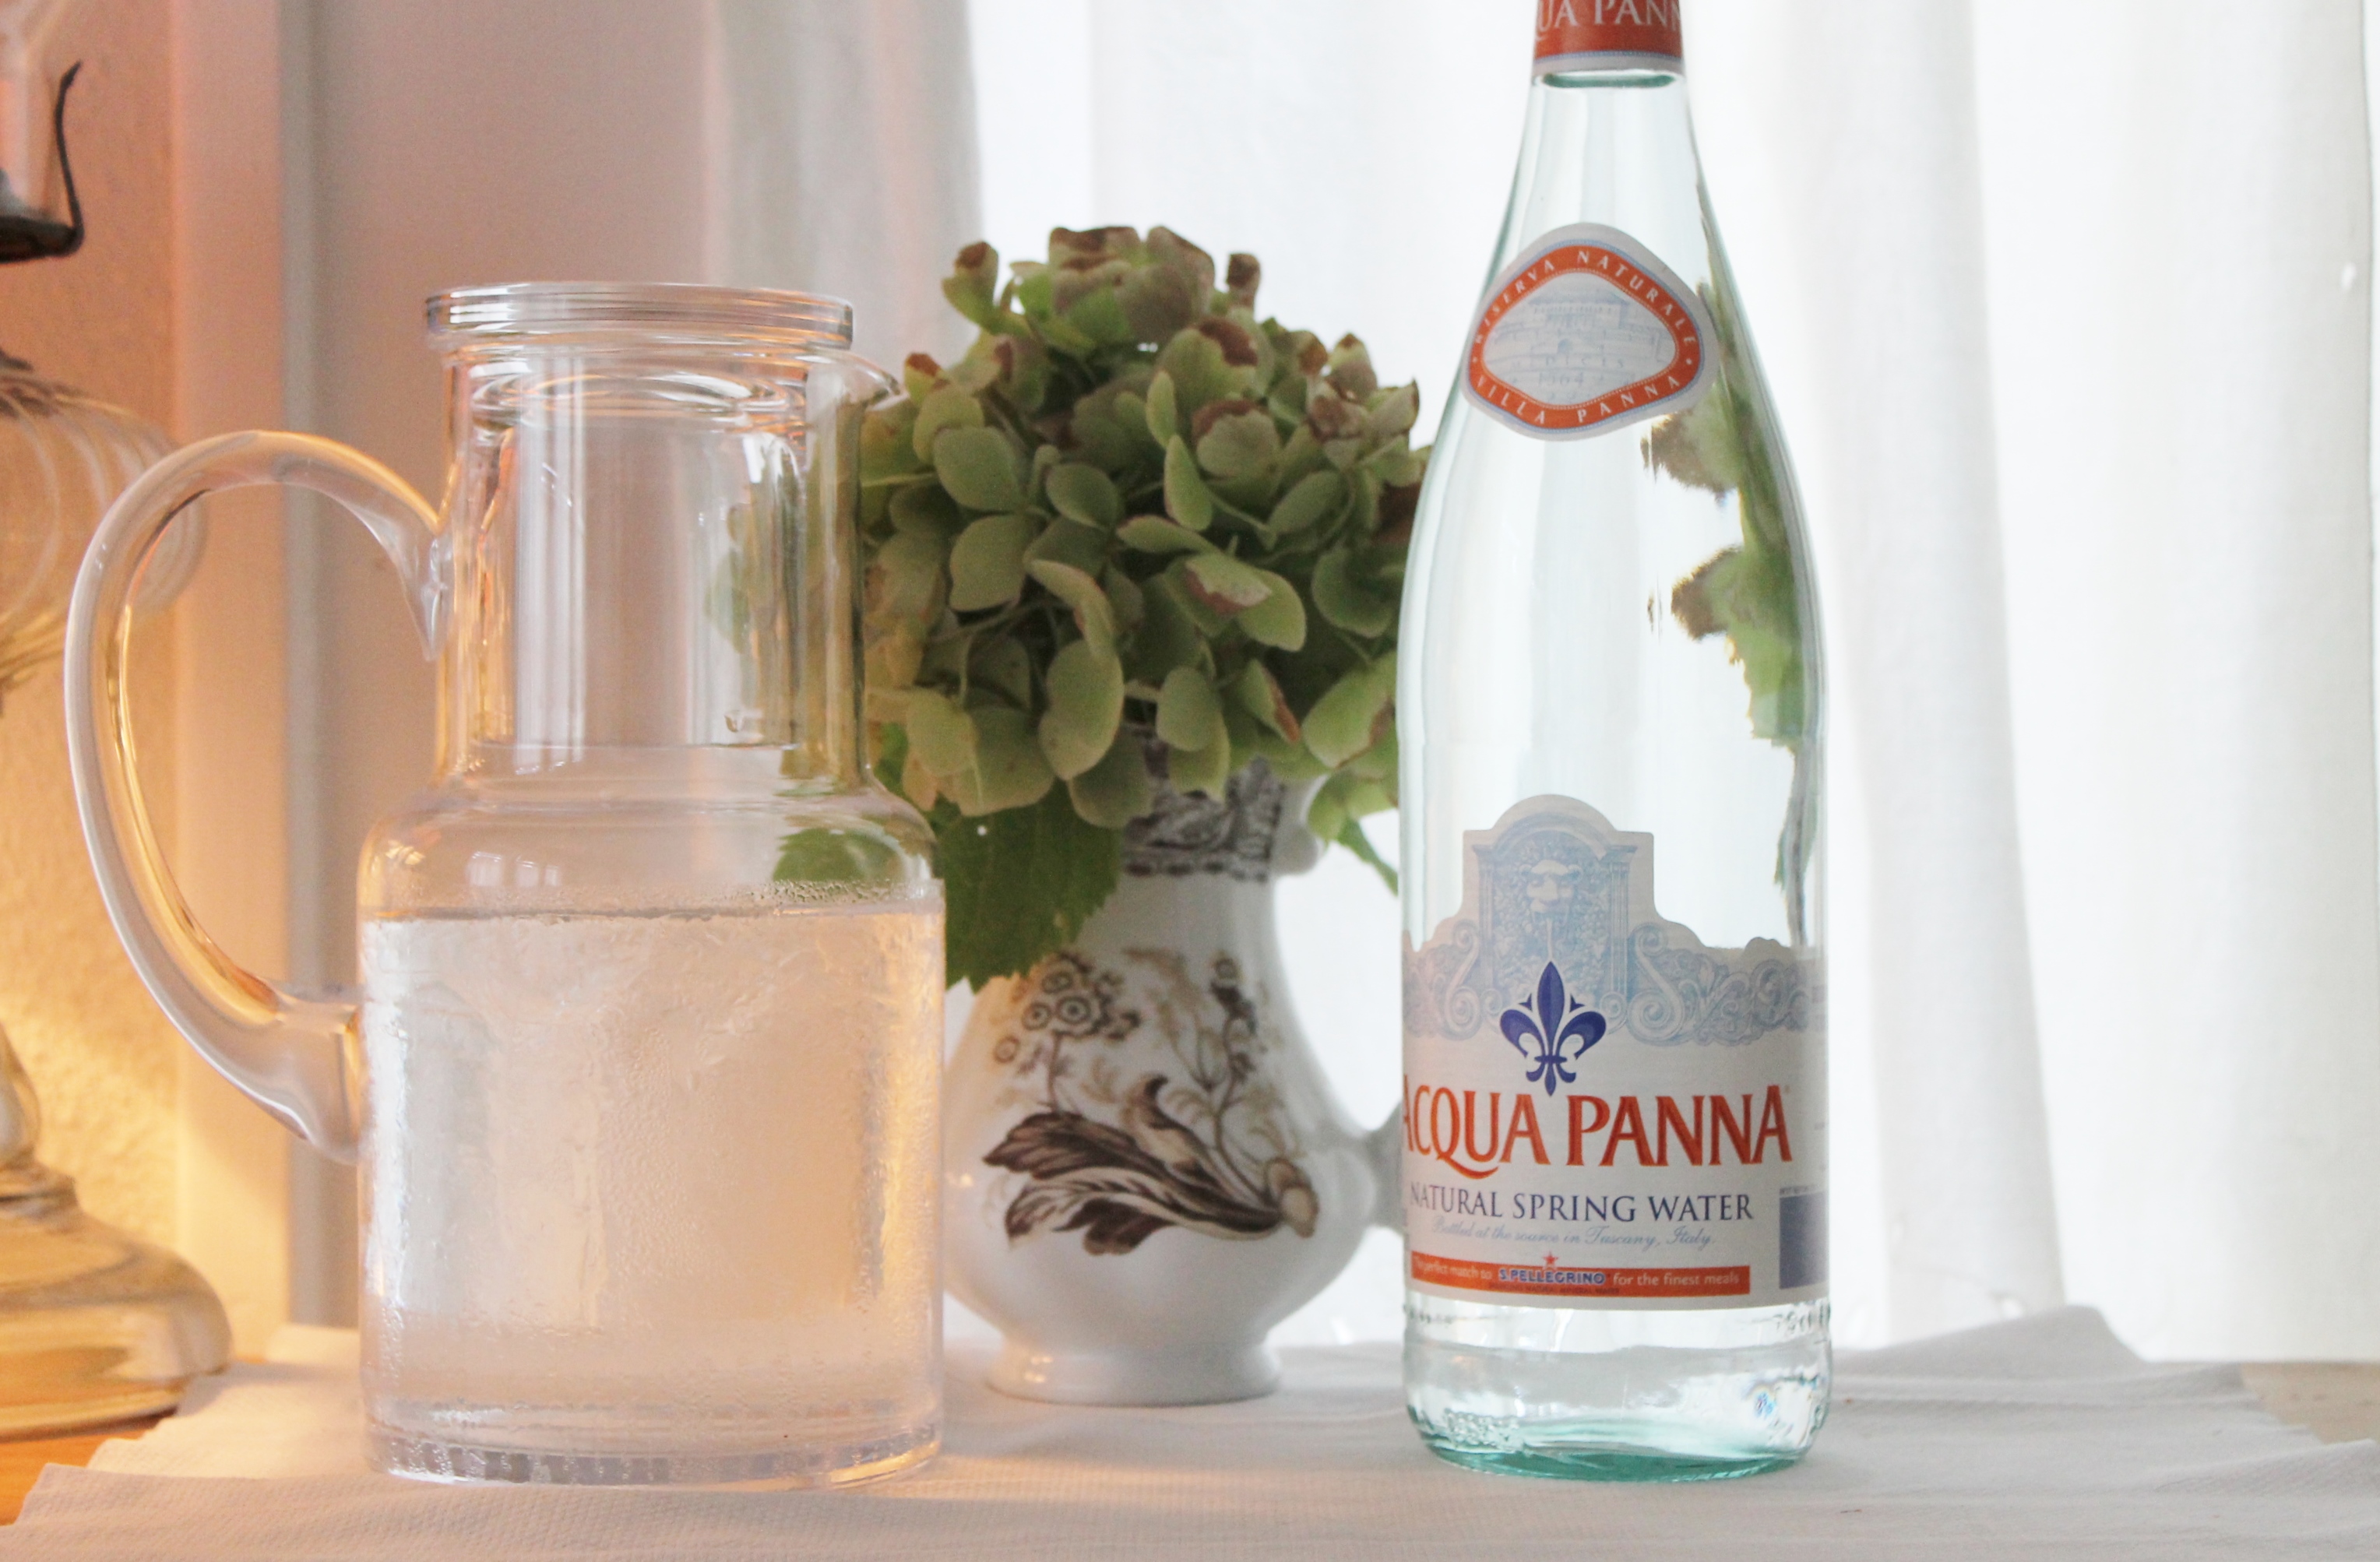
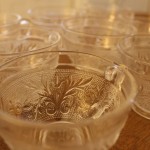
Bedside refreshments for overnite guests. A glass and carafe are left bedside for guests and refreshed every evening.