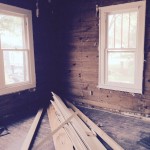
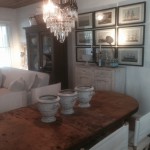
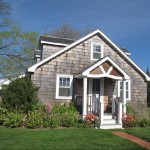
Went by the house this weekend and there has been incremental progress. We have a pile of planks and ships lap from the demolition that we have committed to reusing. The trick is maximizing this very limited resource and minimize waste. This takes time and progress over the last week has been a bit stilted. Having said that, what was completed was choice. The great room is starting to realize the design. Contractor Pete, as I like to call him, has been able to clad the pantry and the fireplace completely with harvested, salvaged ships lap and it looks amazing.
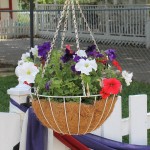
Just a couple of pictures to show the progress. As if that wasn’t enough good news, some pictures of my budding hydrangeas, mint leaves and rosemary from the garden. I love the transition to Spring. It means the Winter hibernation is over.
I hope you find some inspiration.
Always,
Cindy
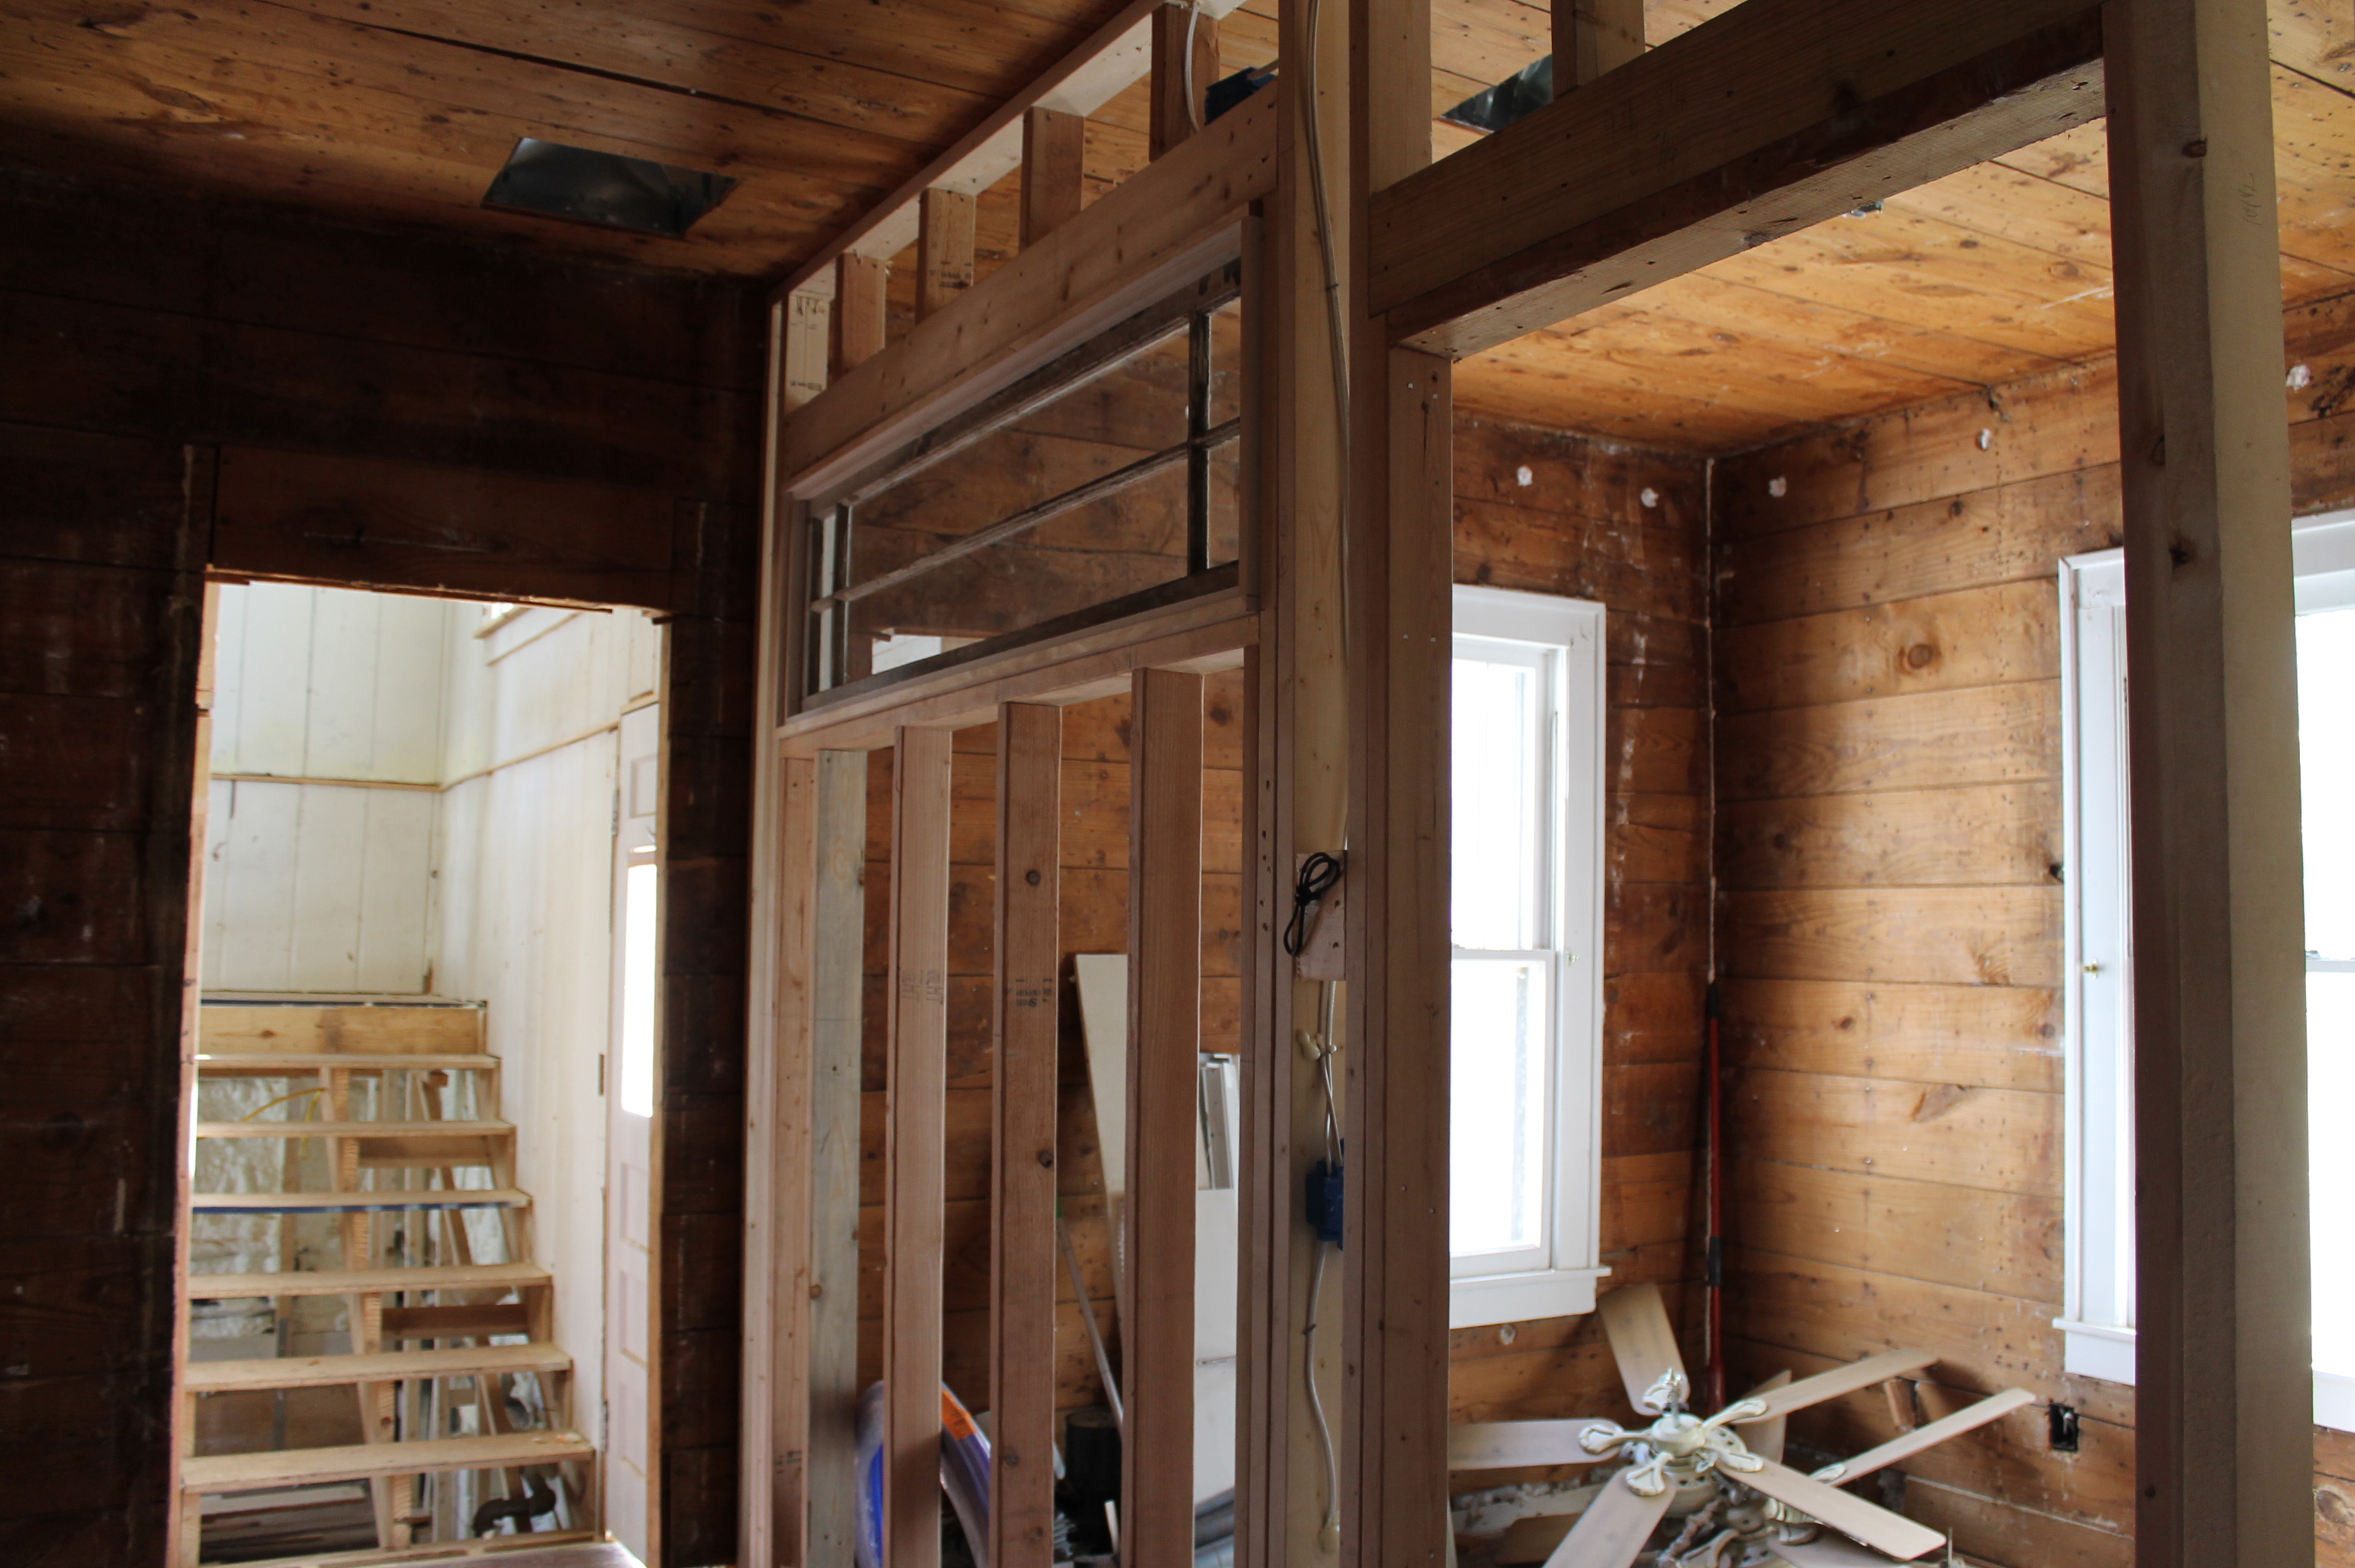
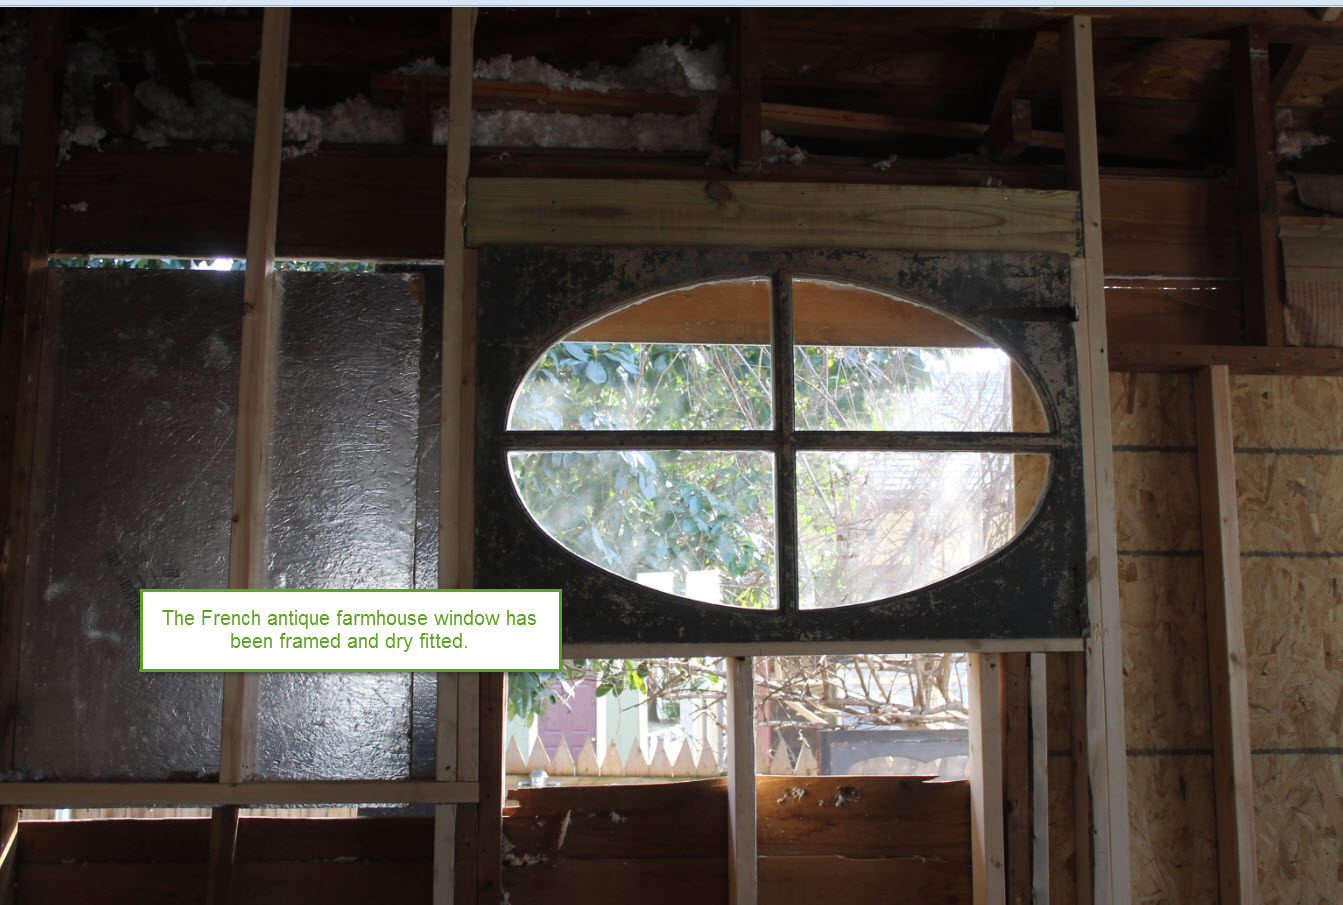
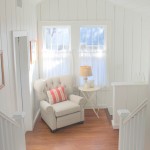
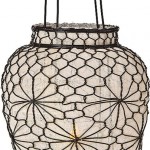
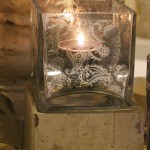
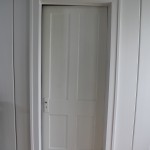
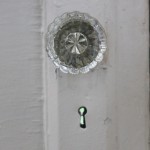
New wall with an old side light, oriented horizontally. It will act as a transom and allow natural light into the new hallway.
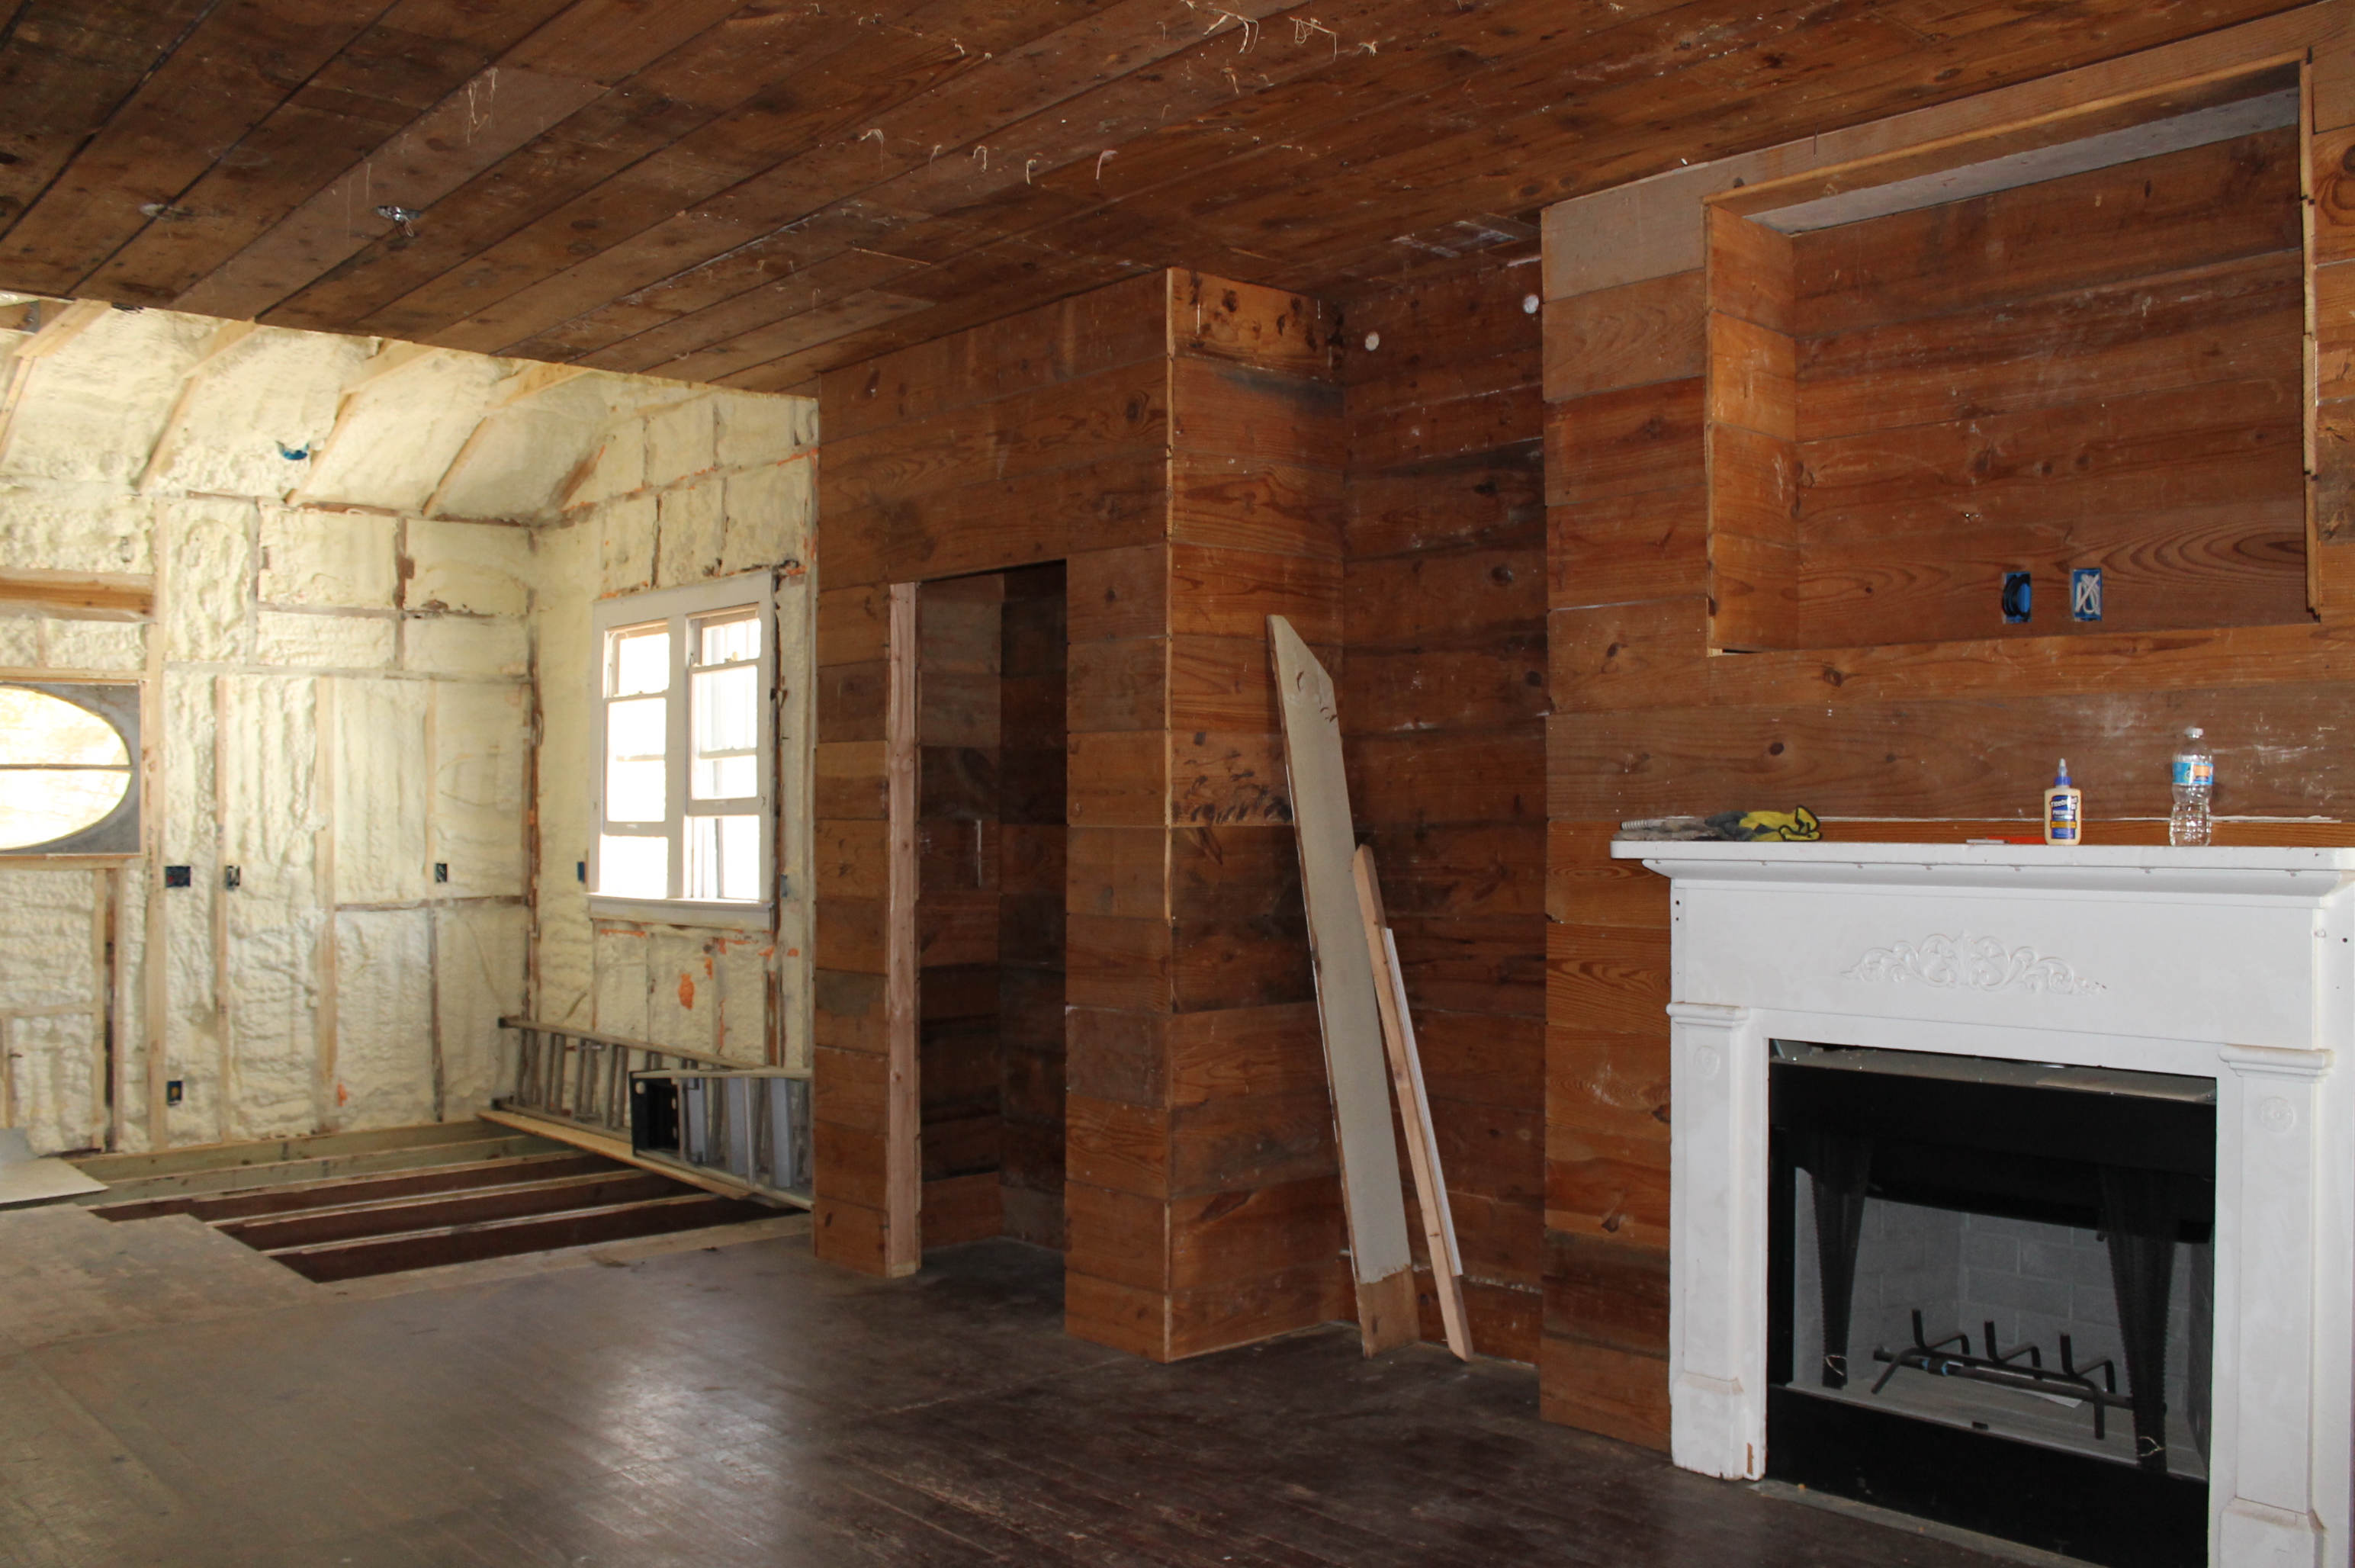
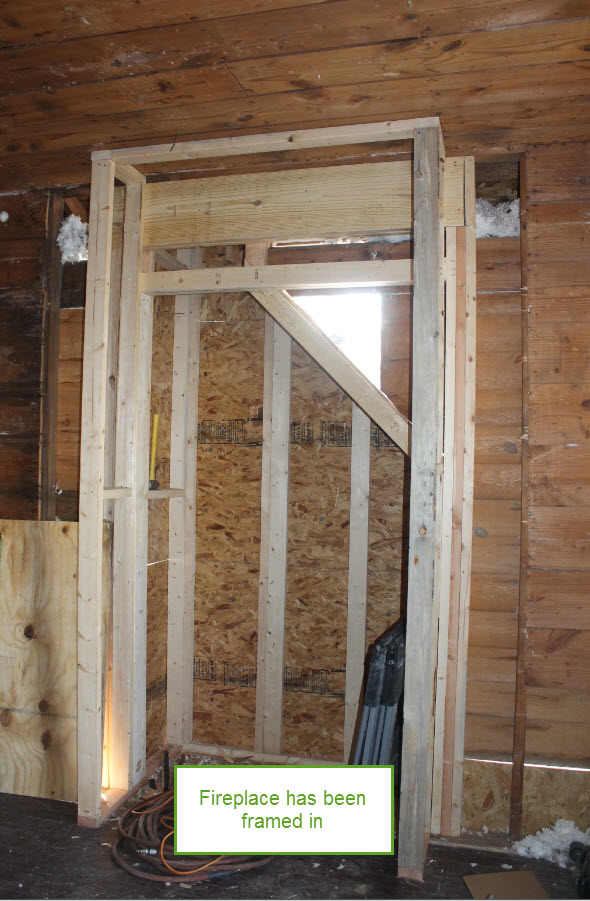
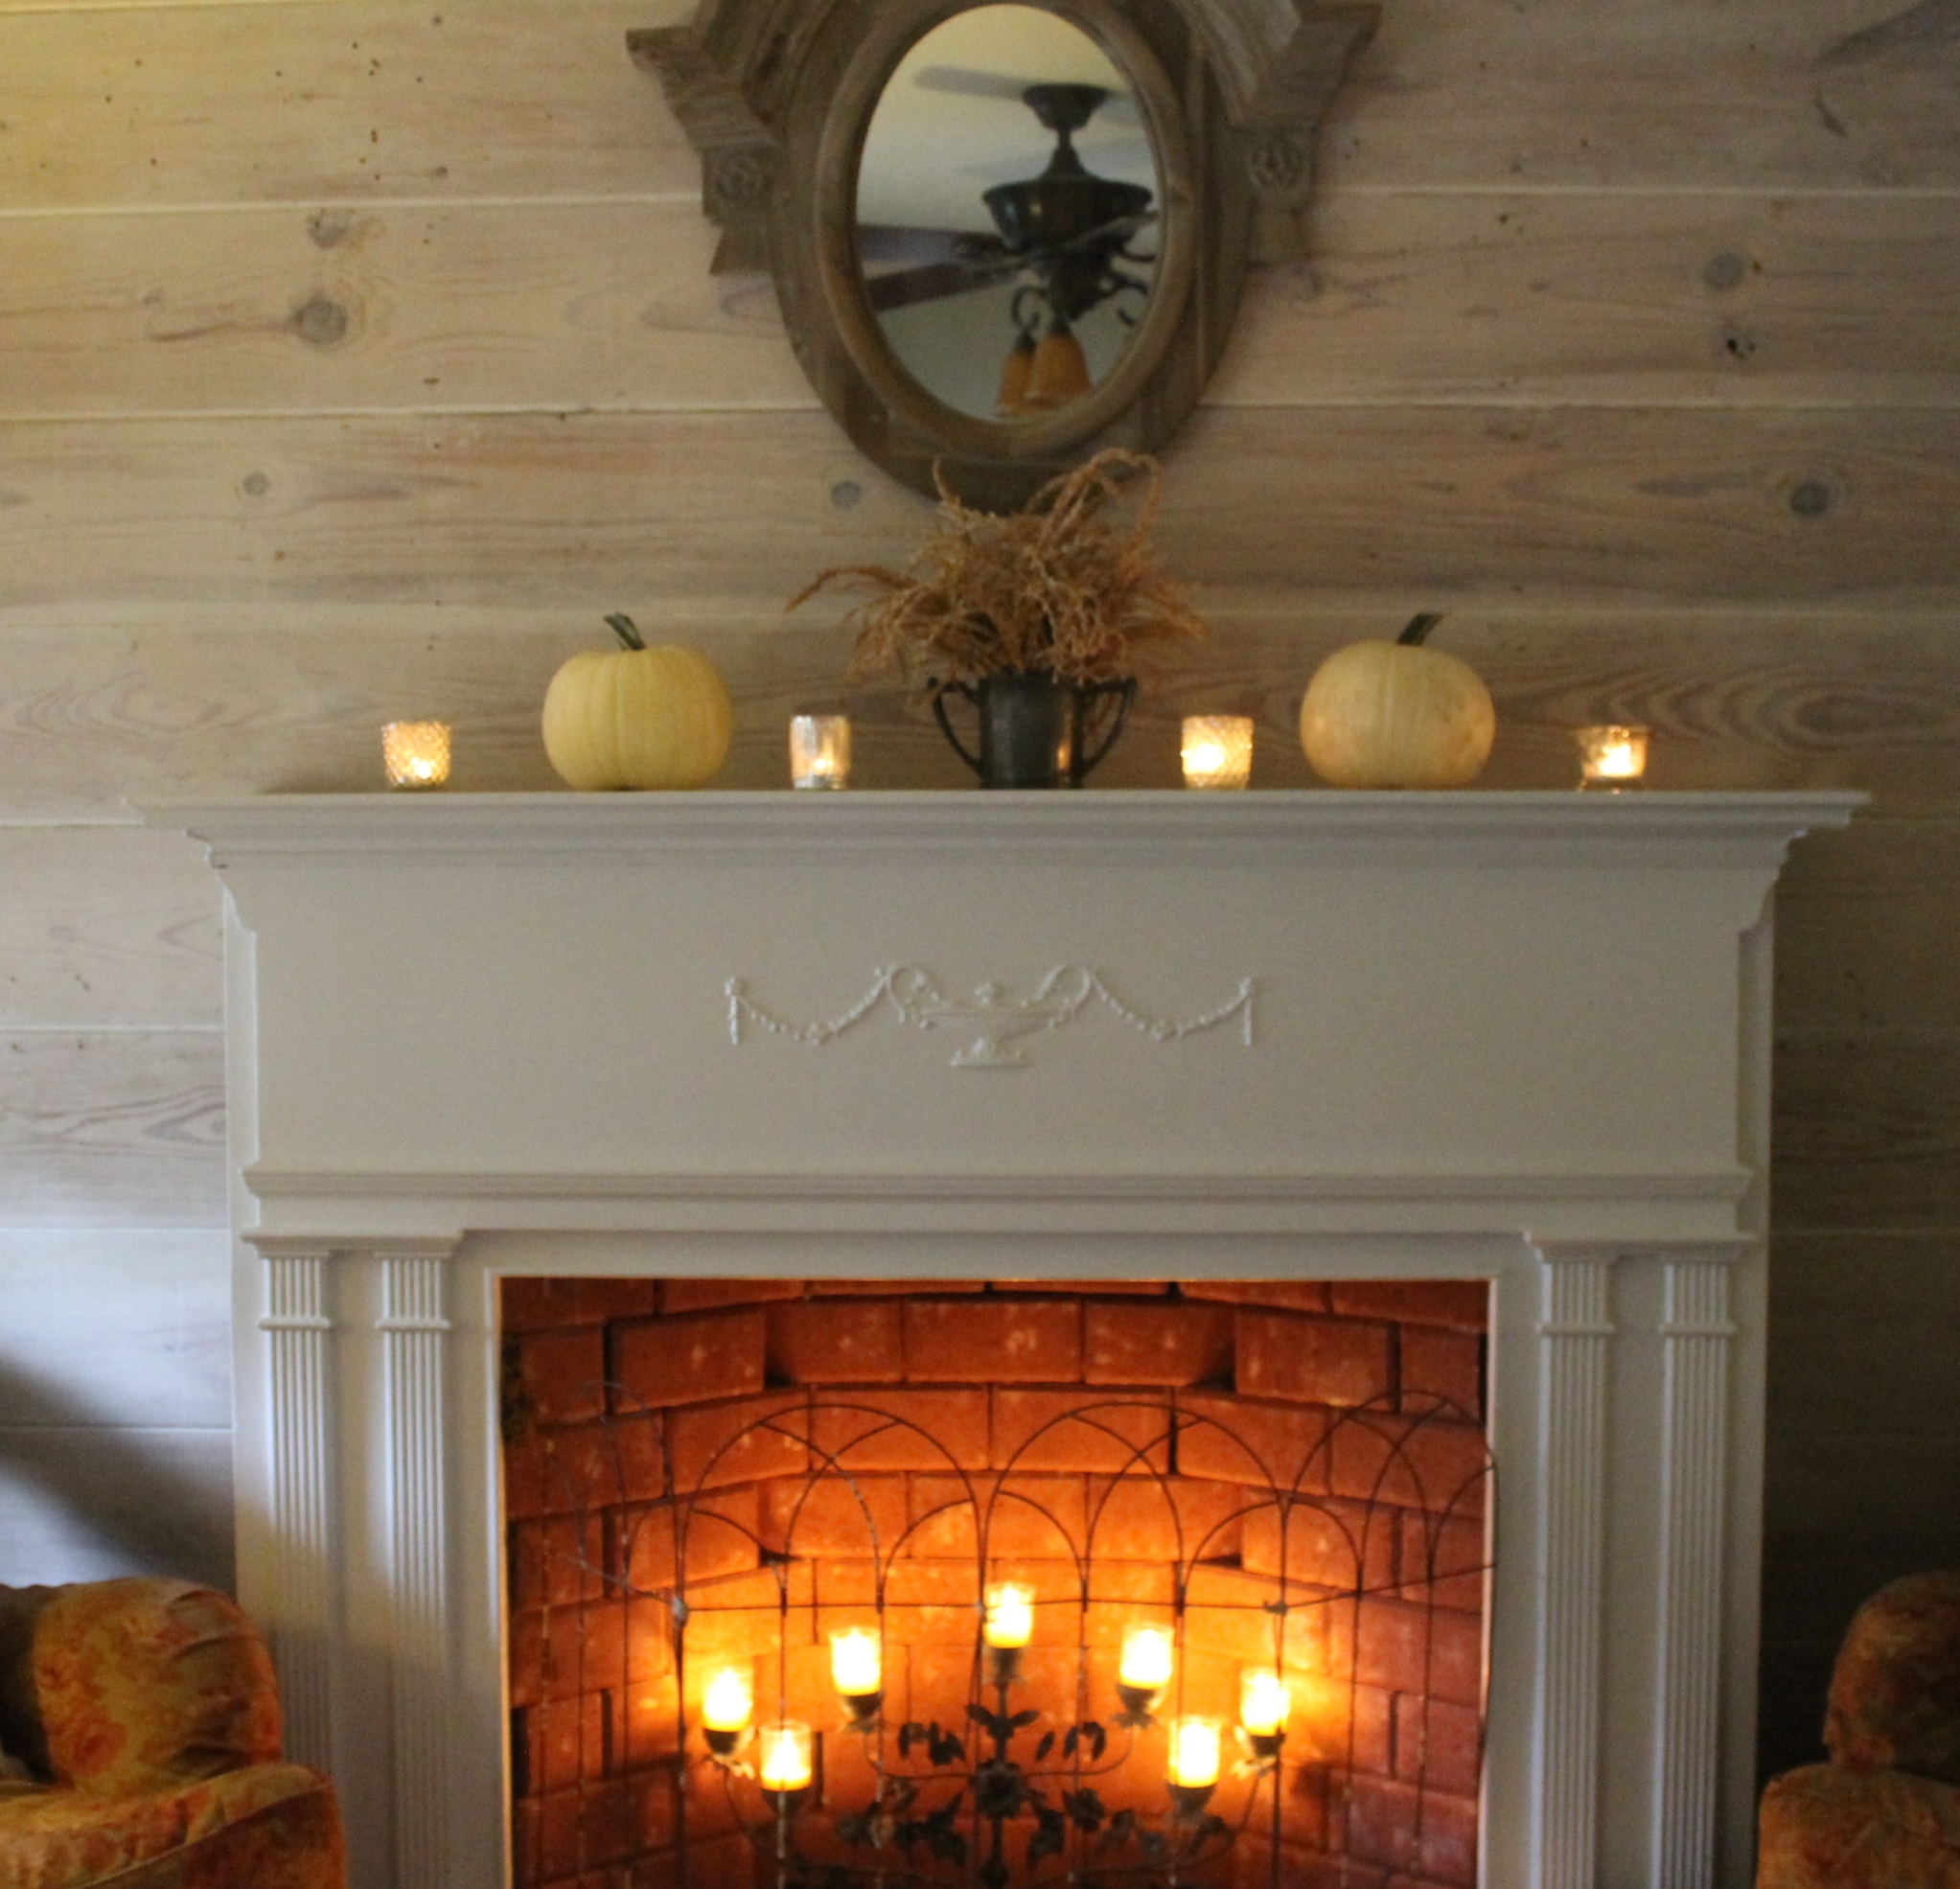
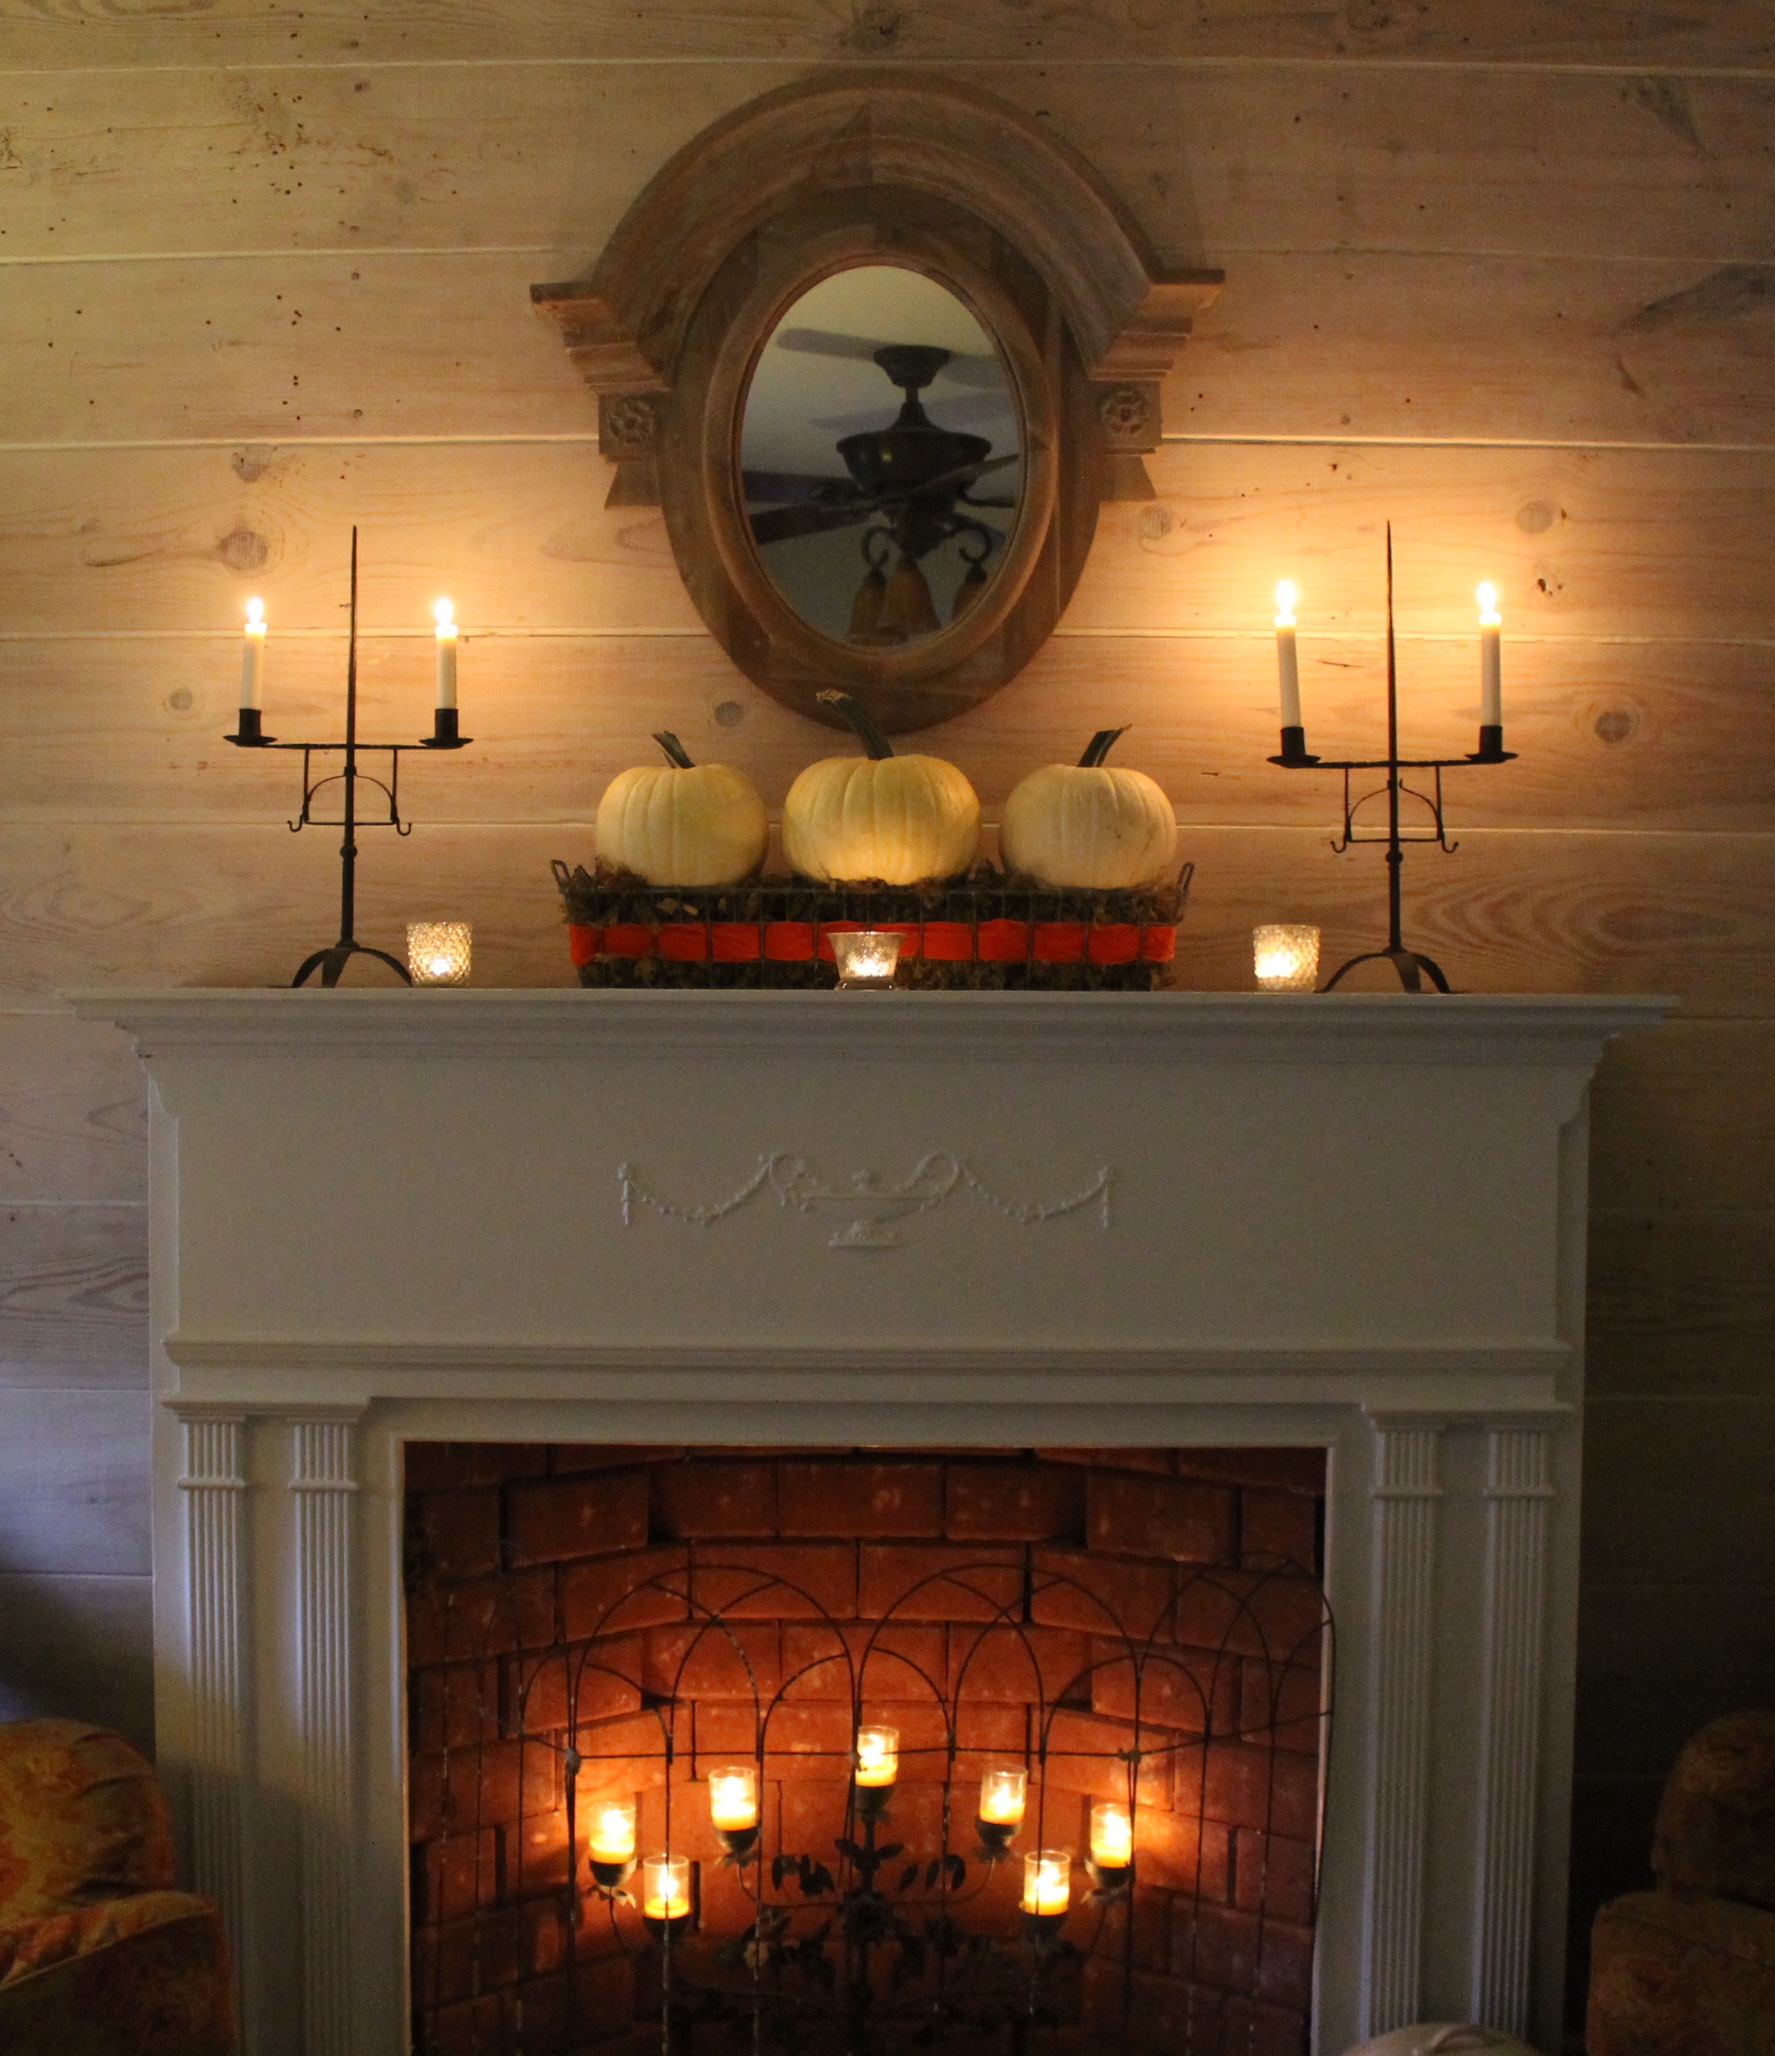
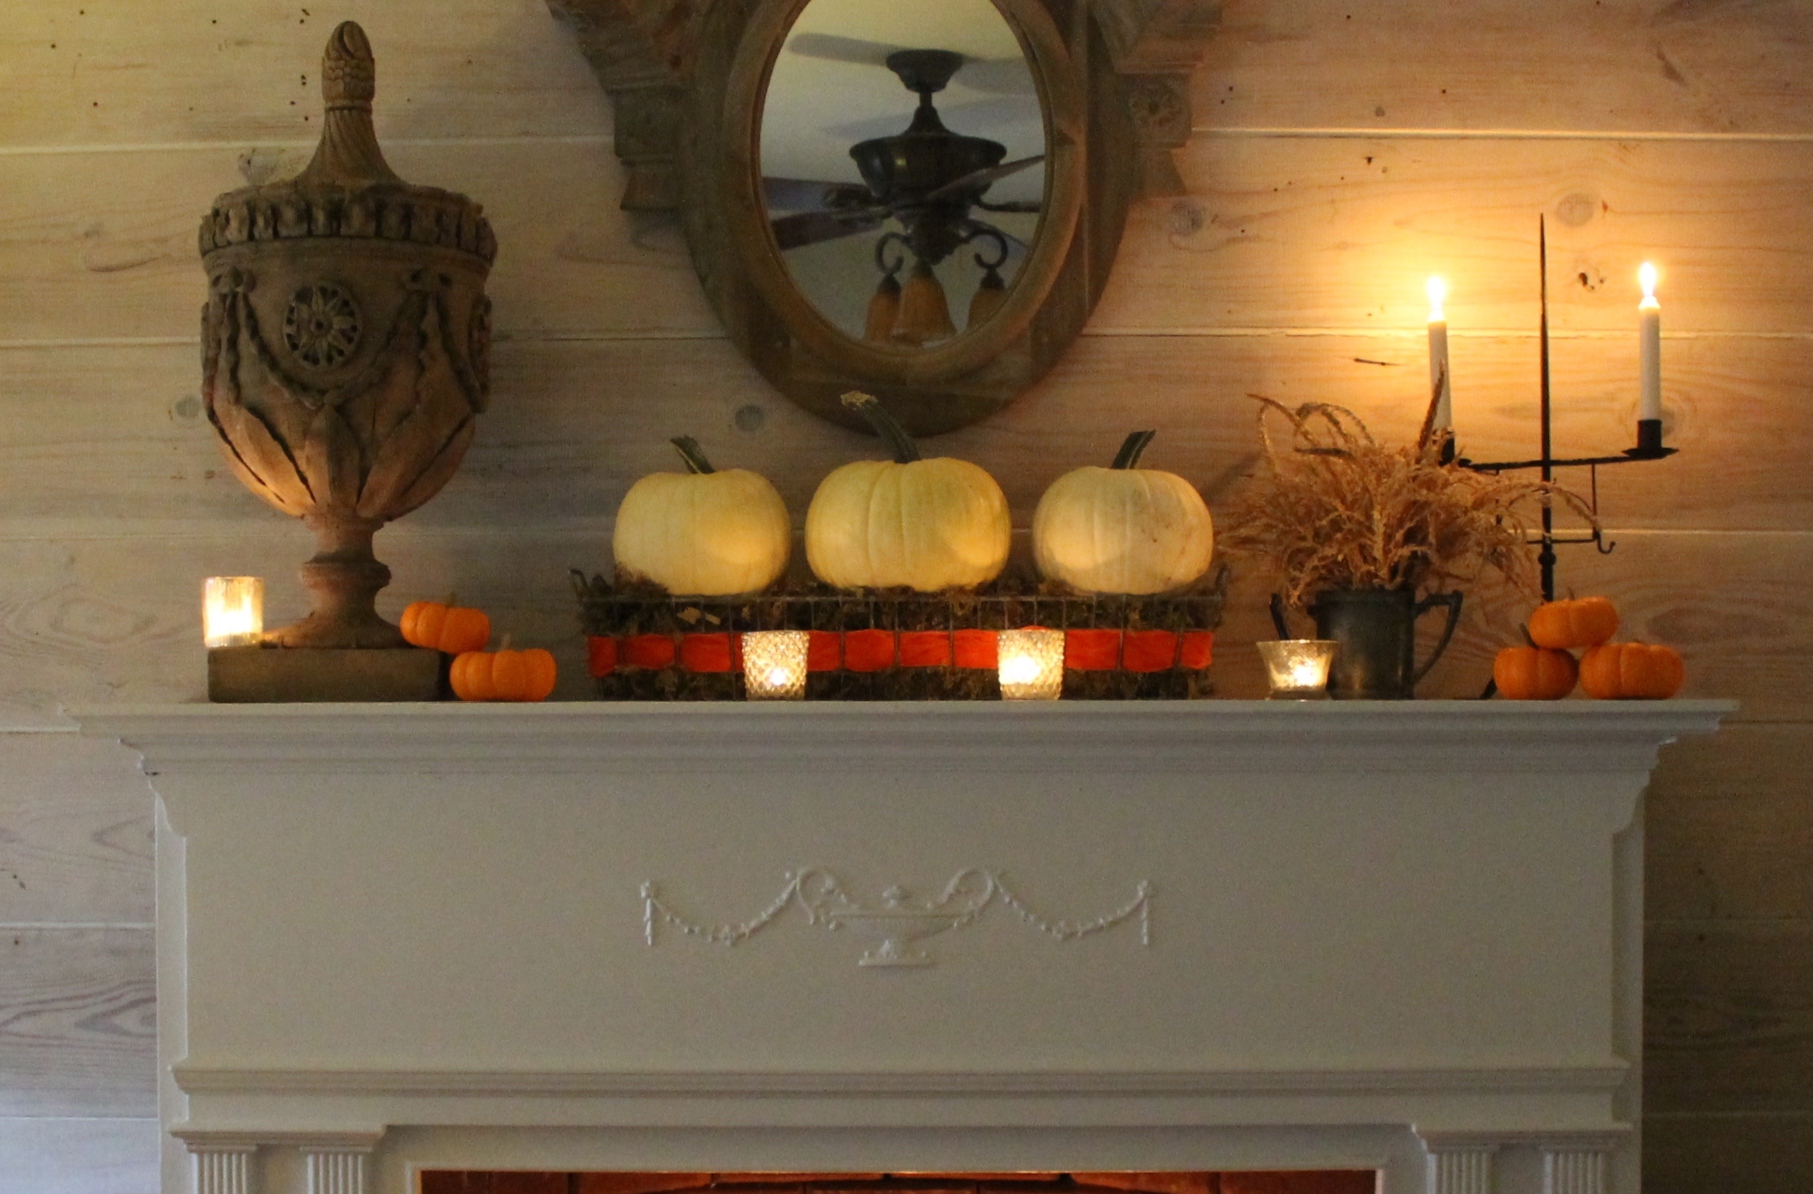
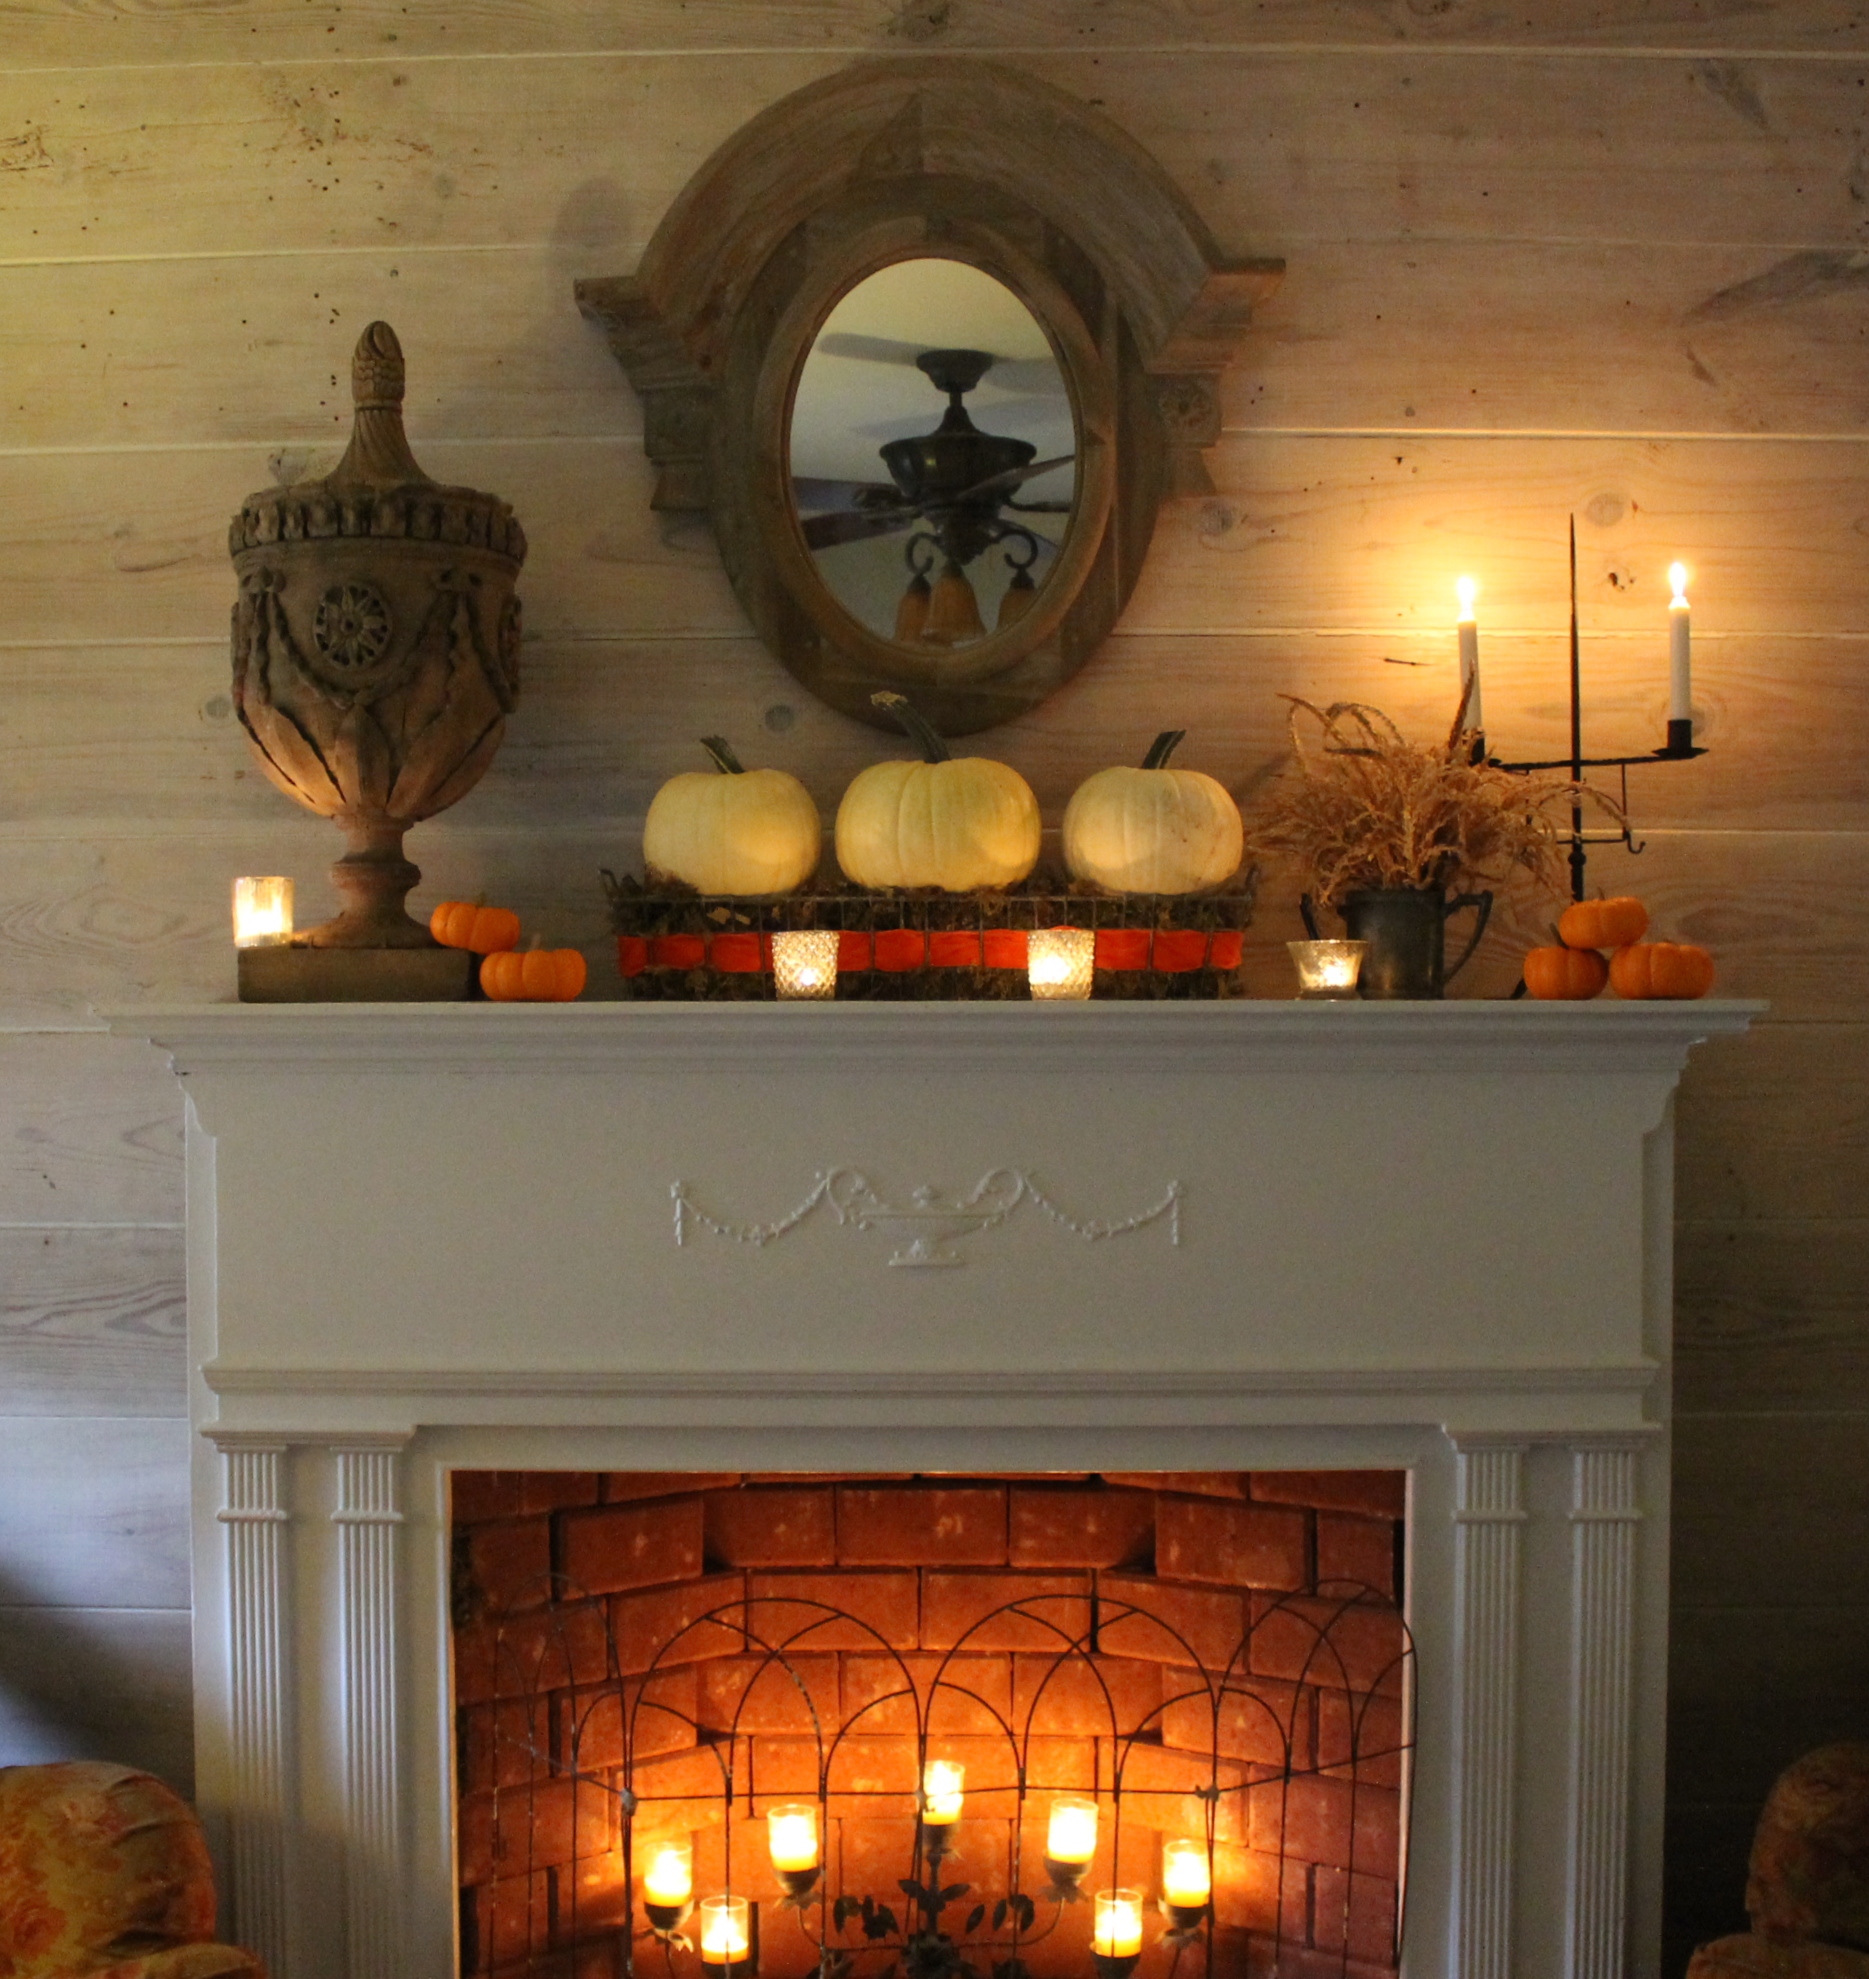
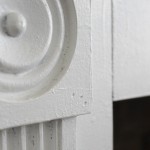
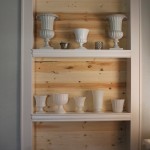
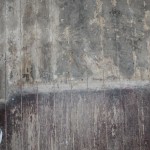
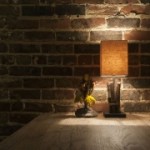
Pantry and Fireplace clad in old ships lap.
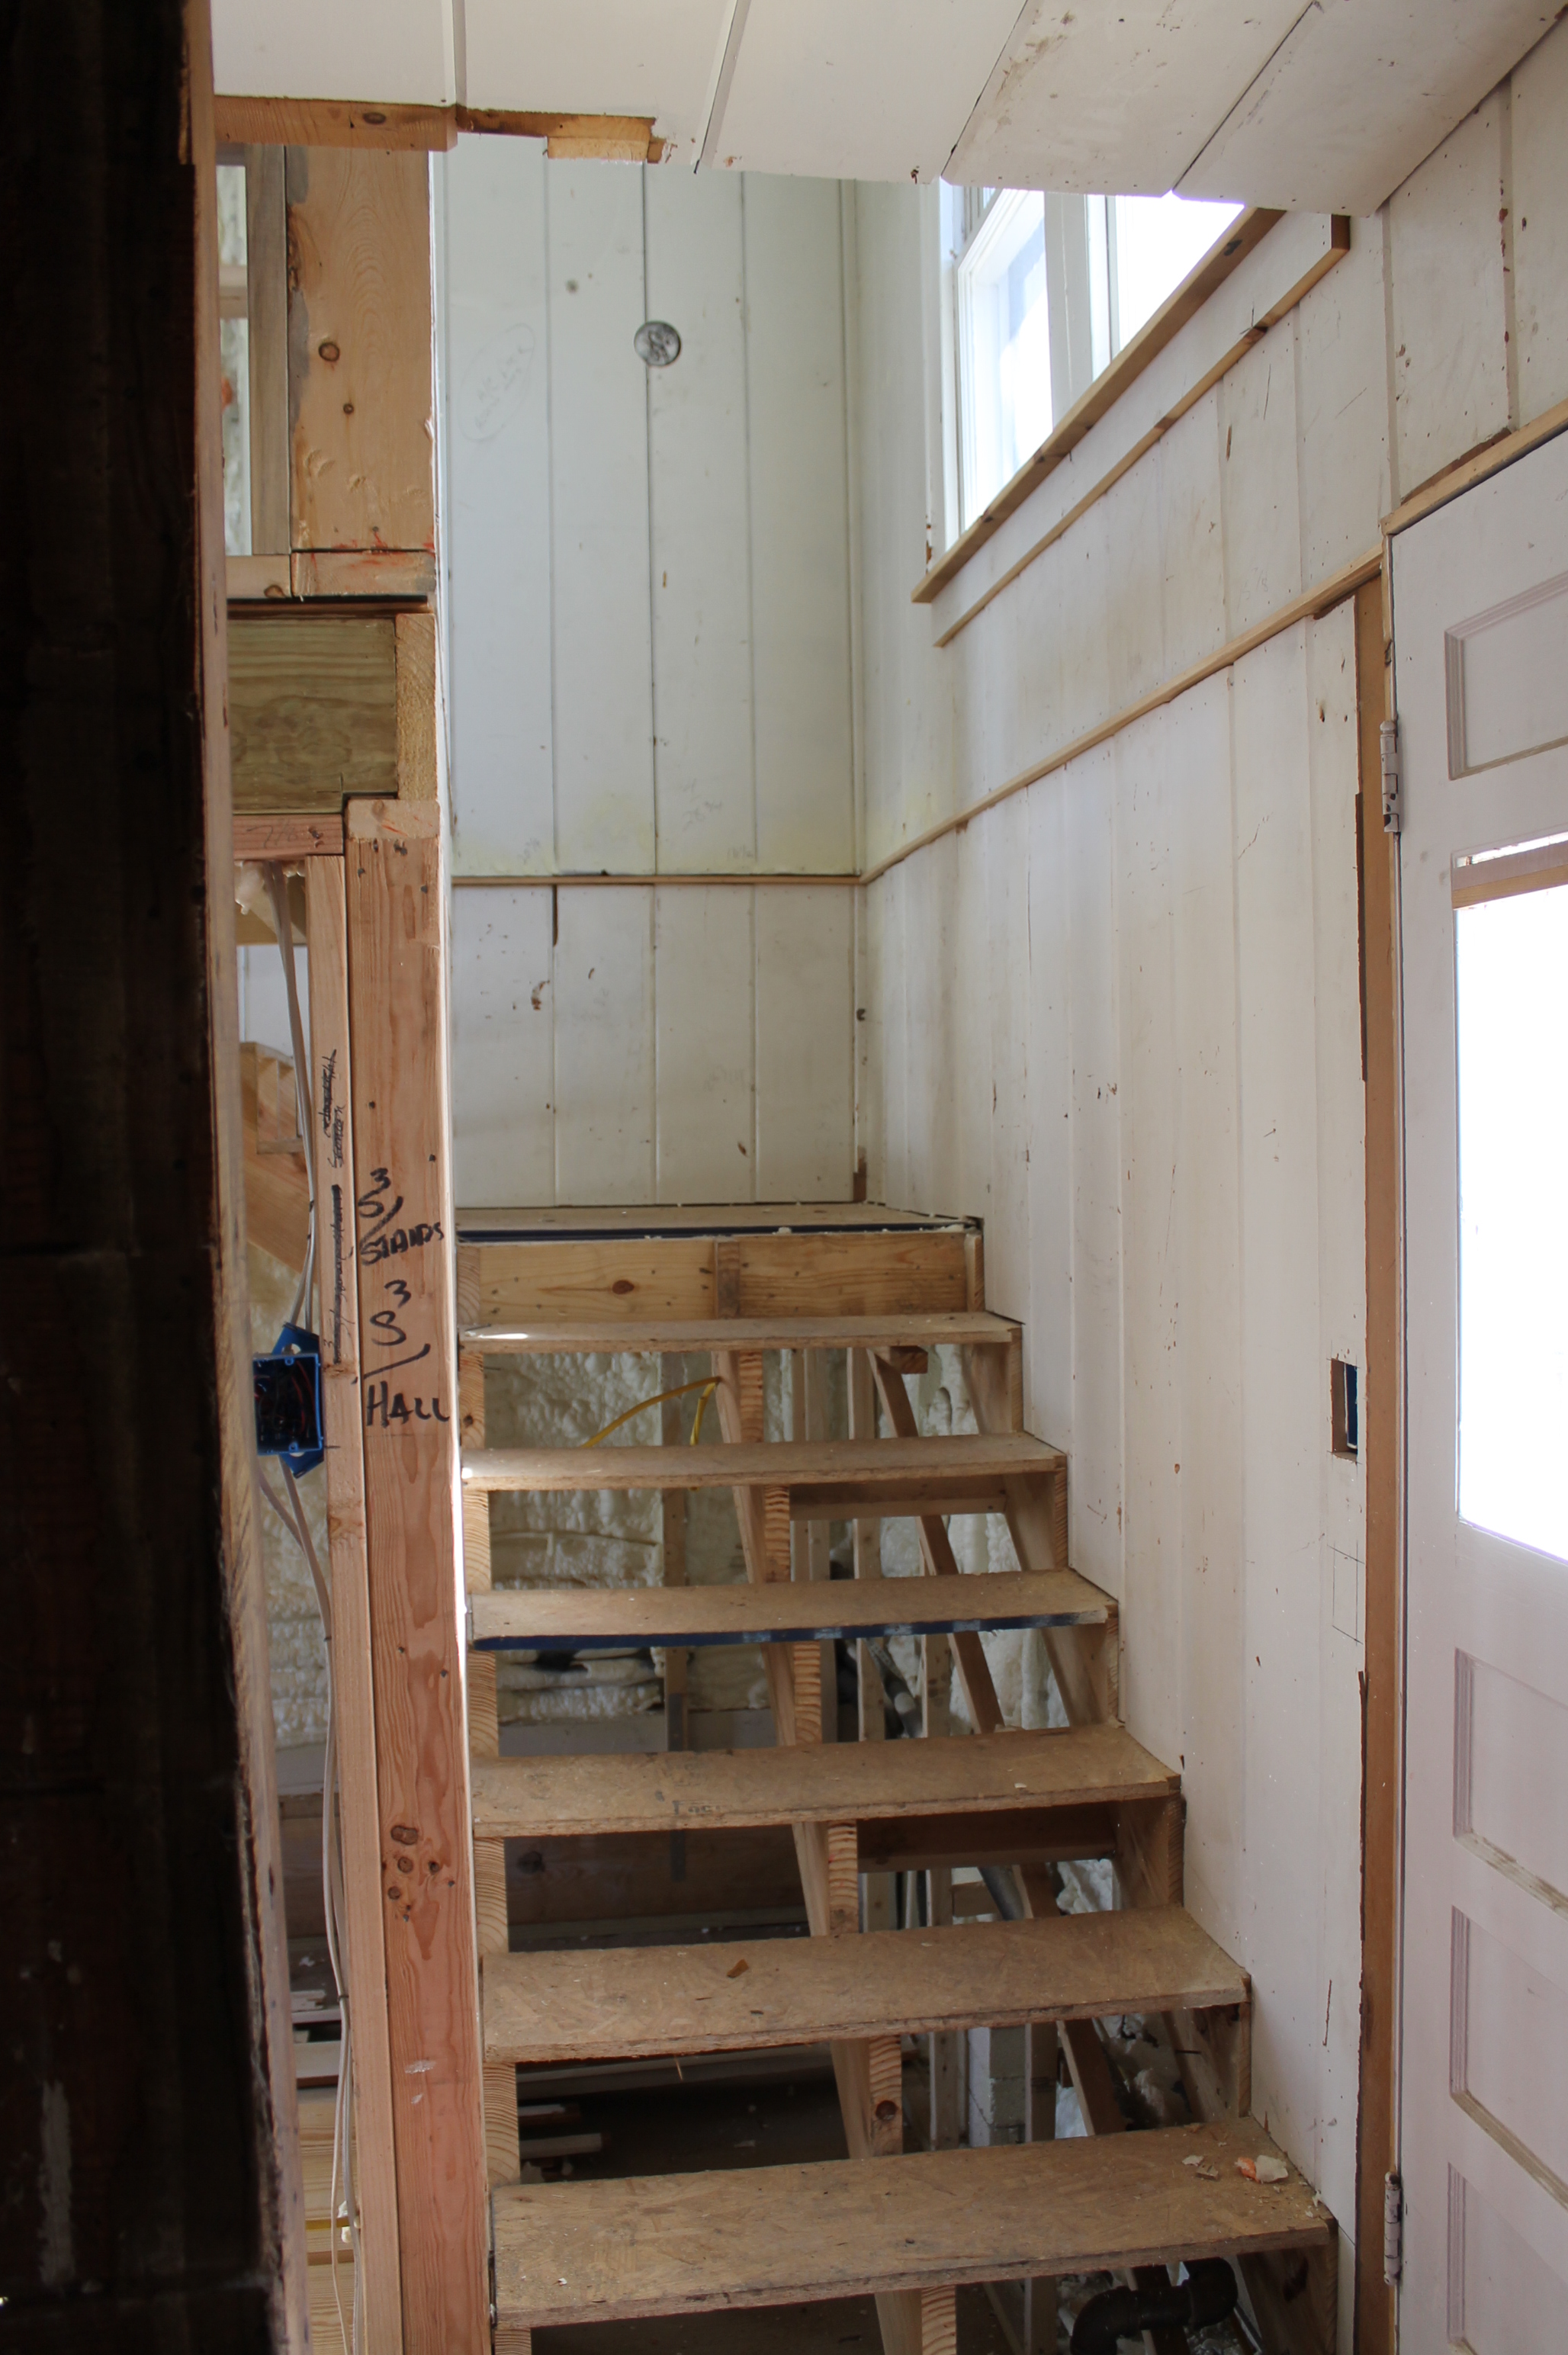
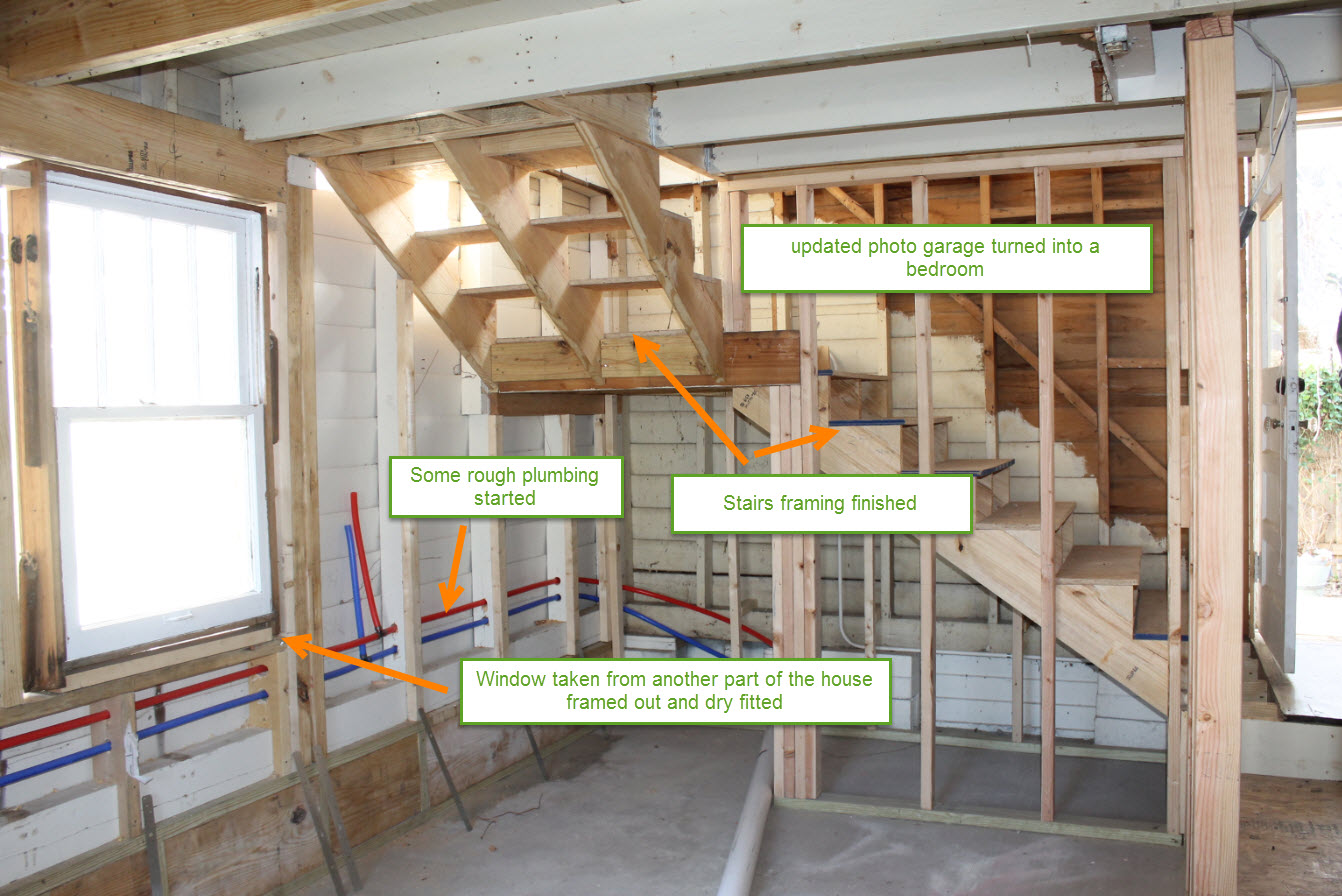
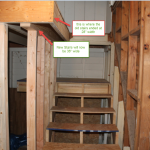
Paneling in the stairway with paneling taken from our salvage pile.
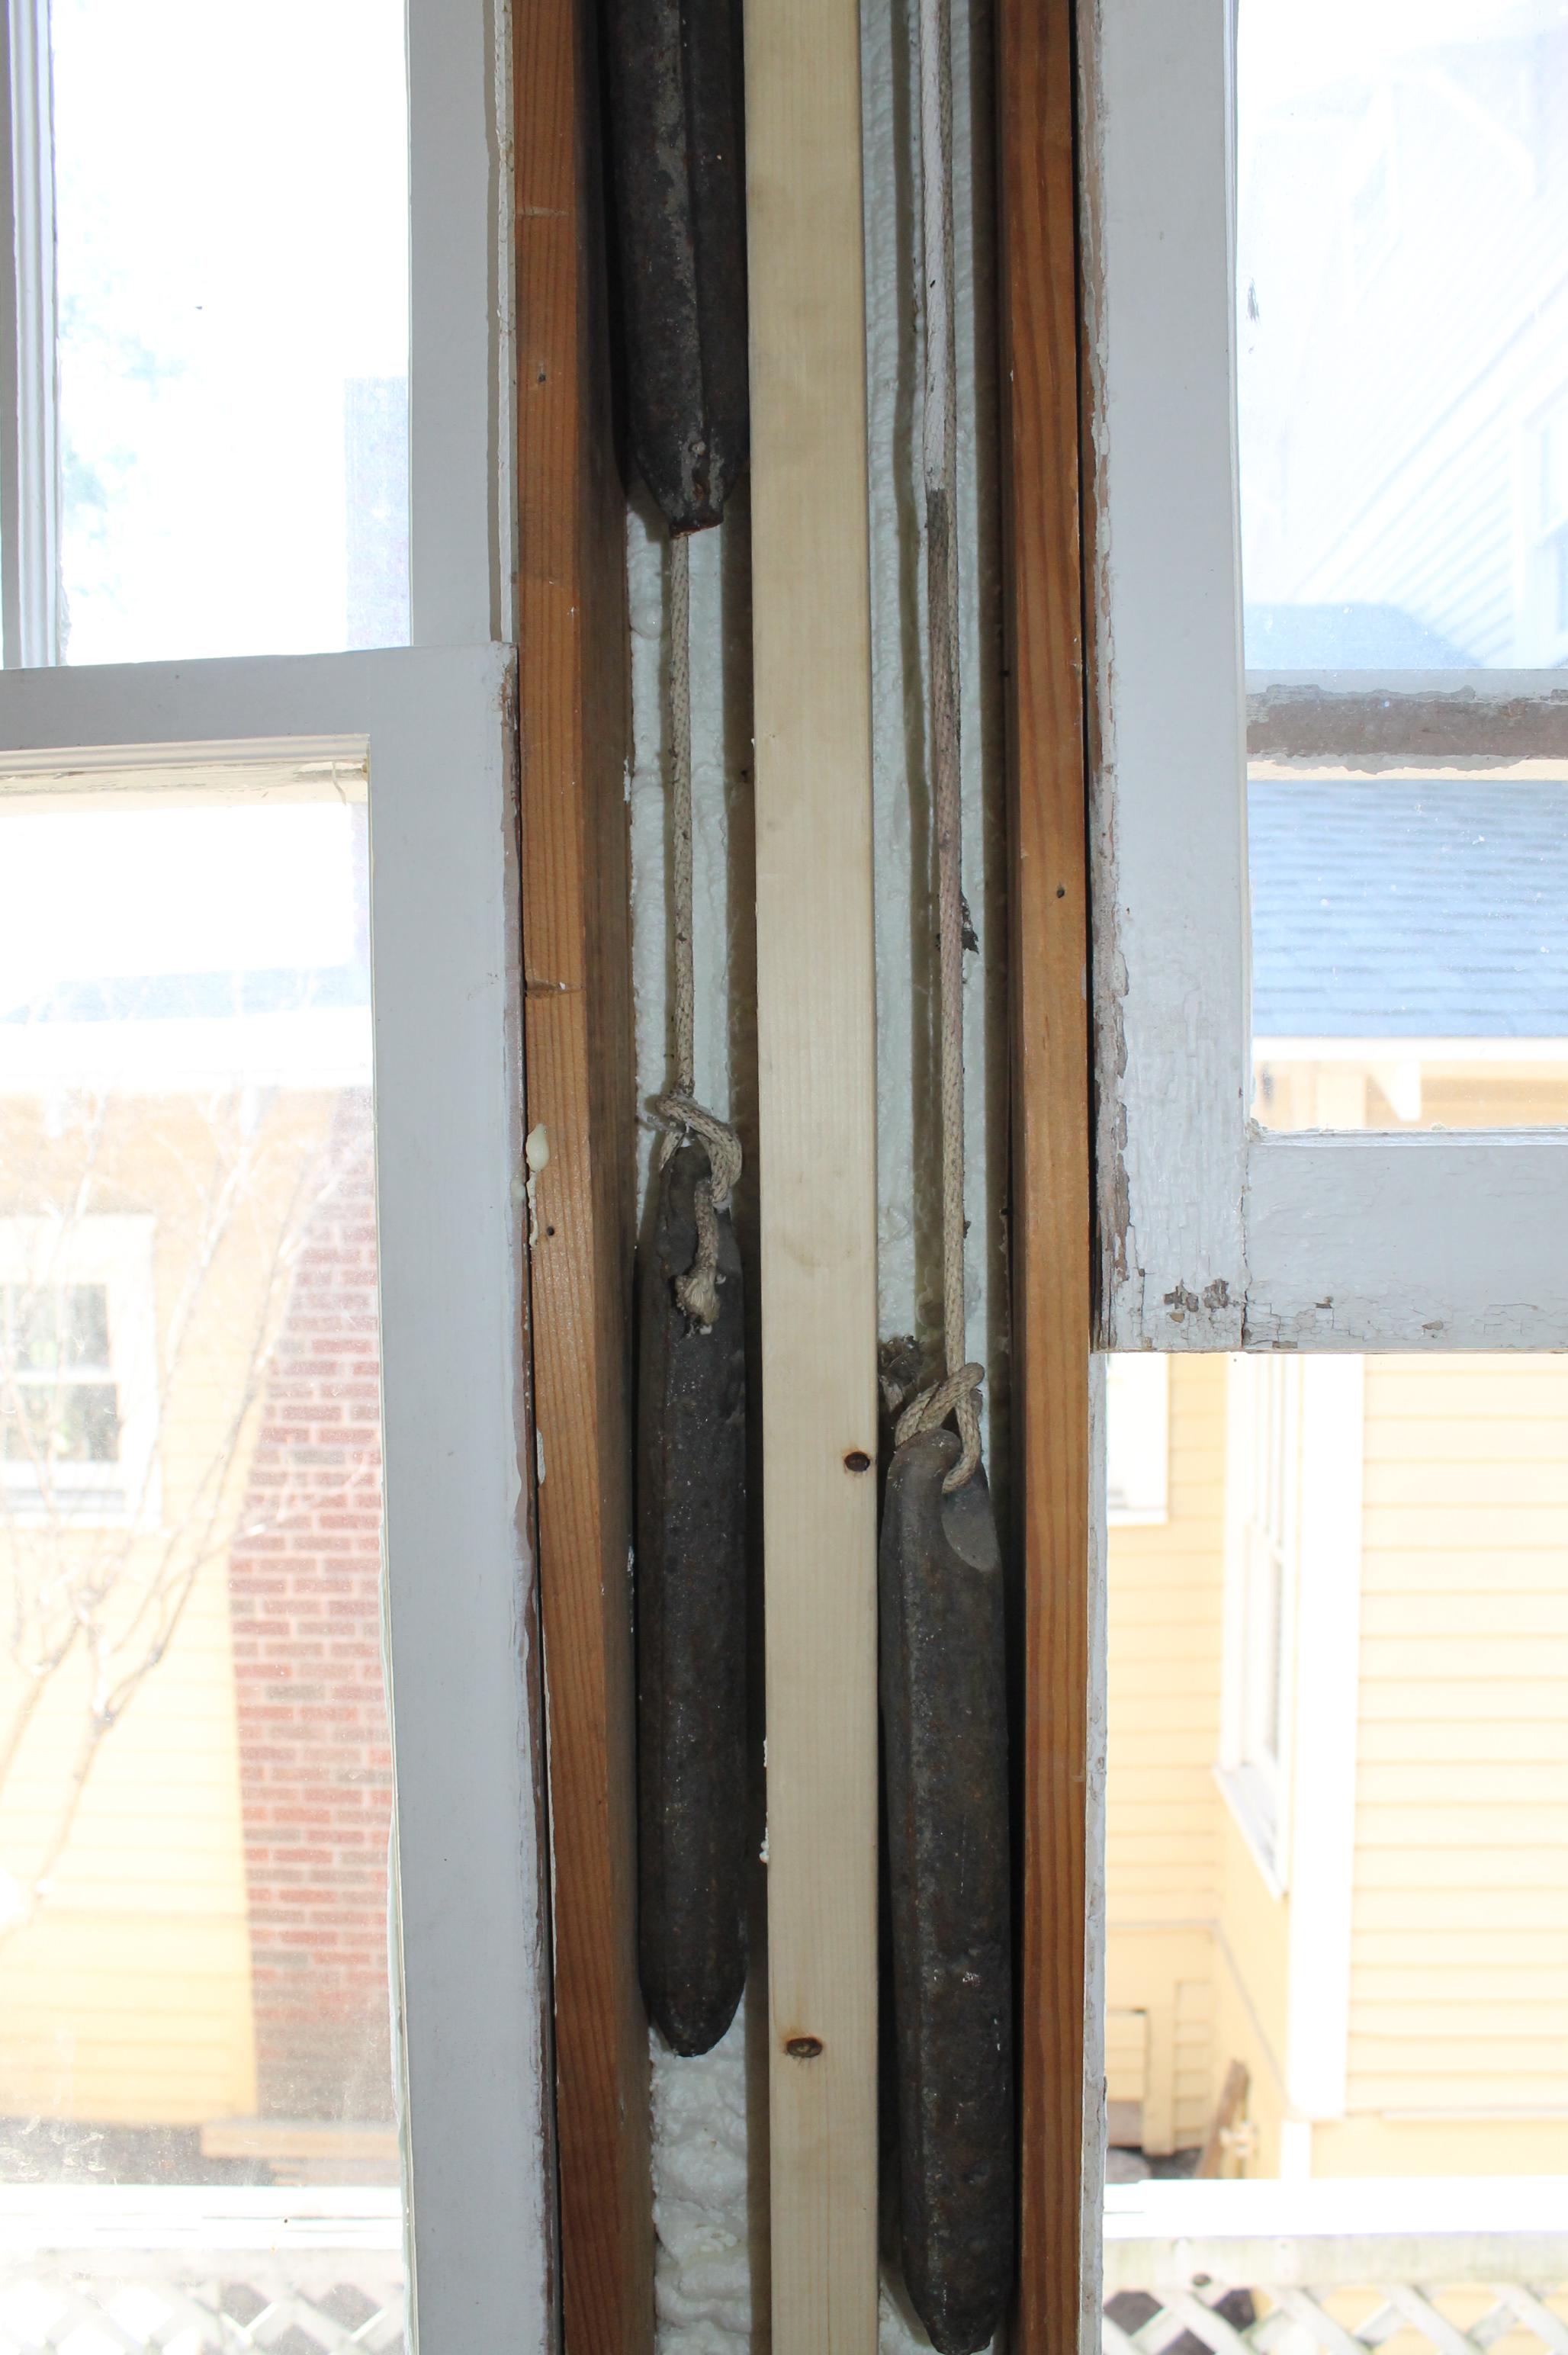
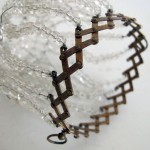
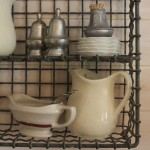
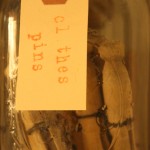
With the trim removed, the old window weights are revealed. I love old houses.
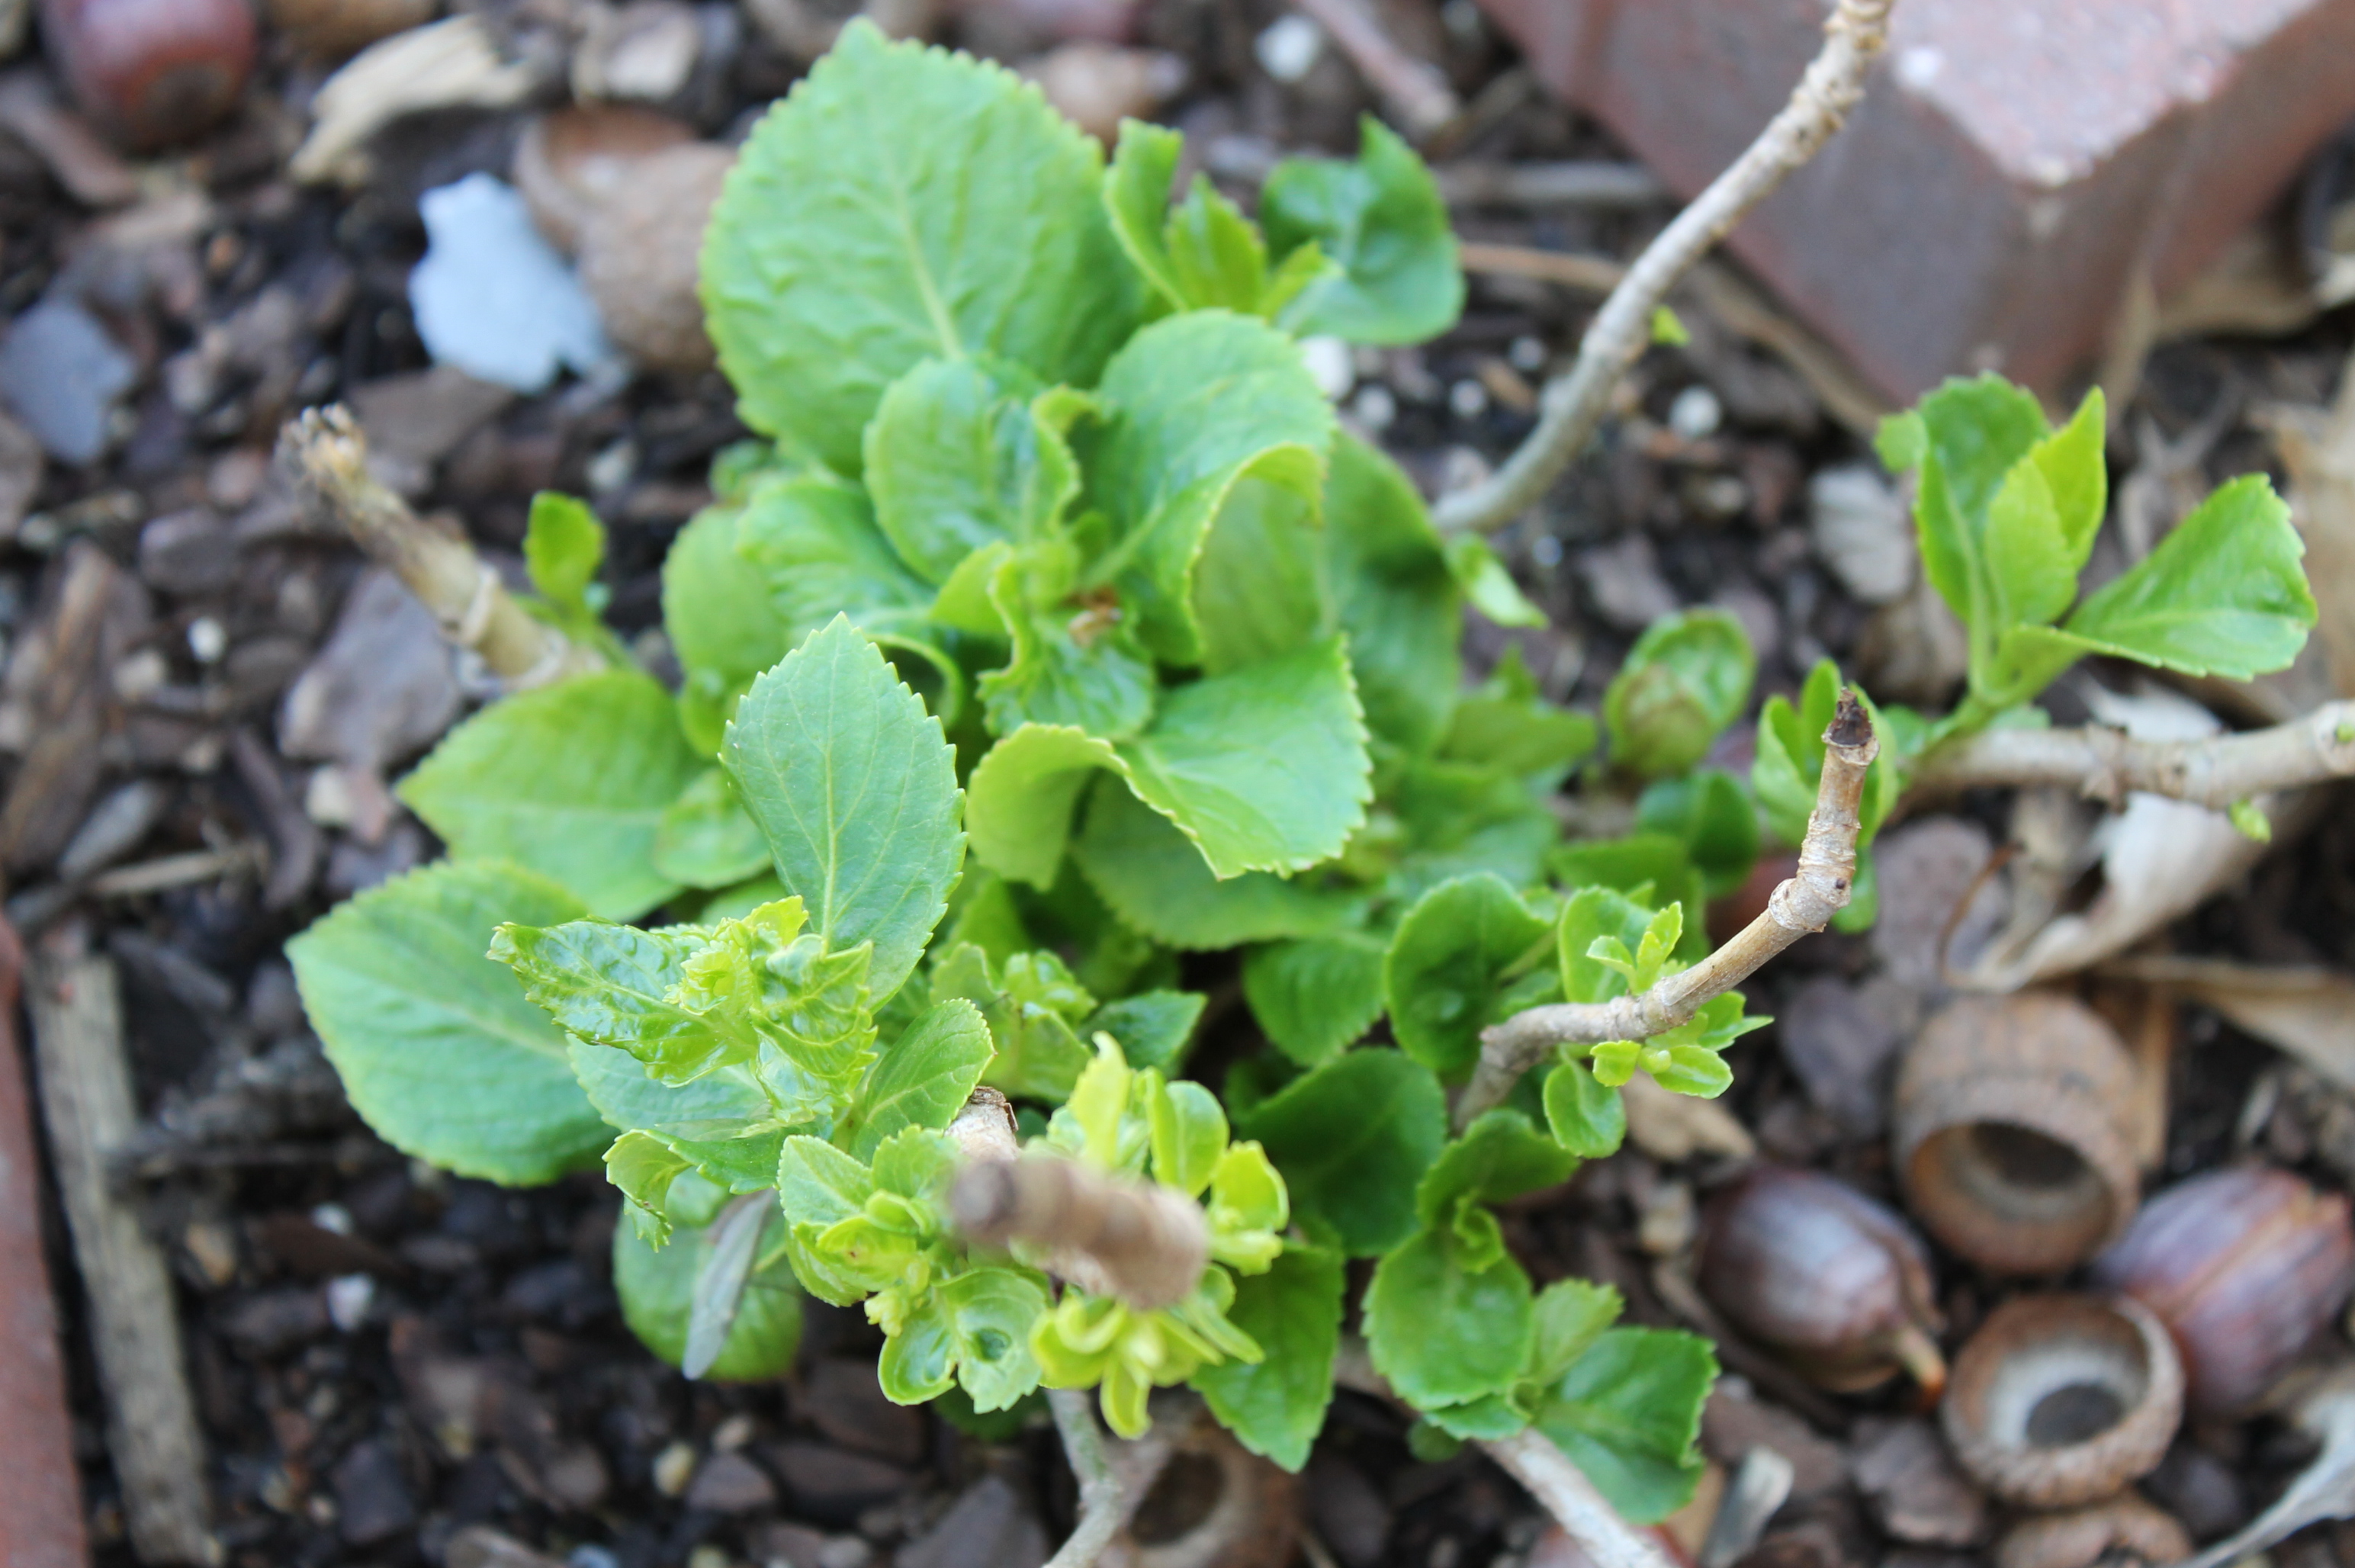
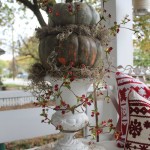
Leaves coming in on the Hydrangeas.
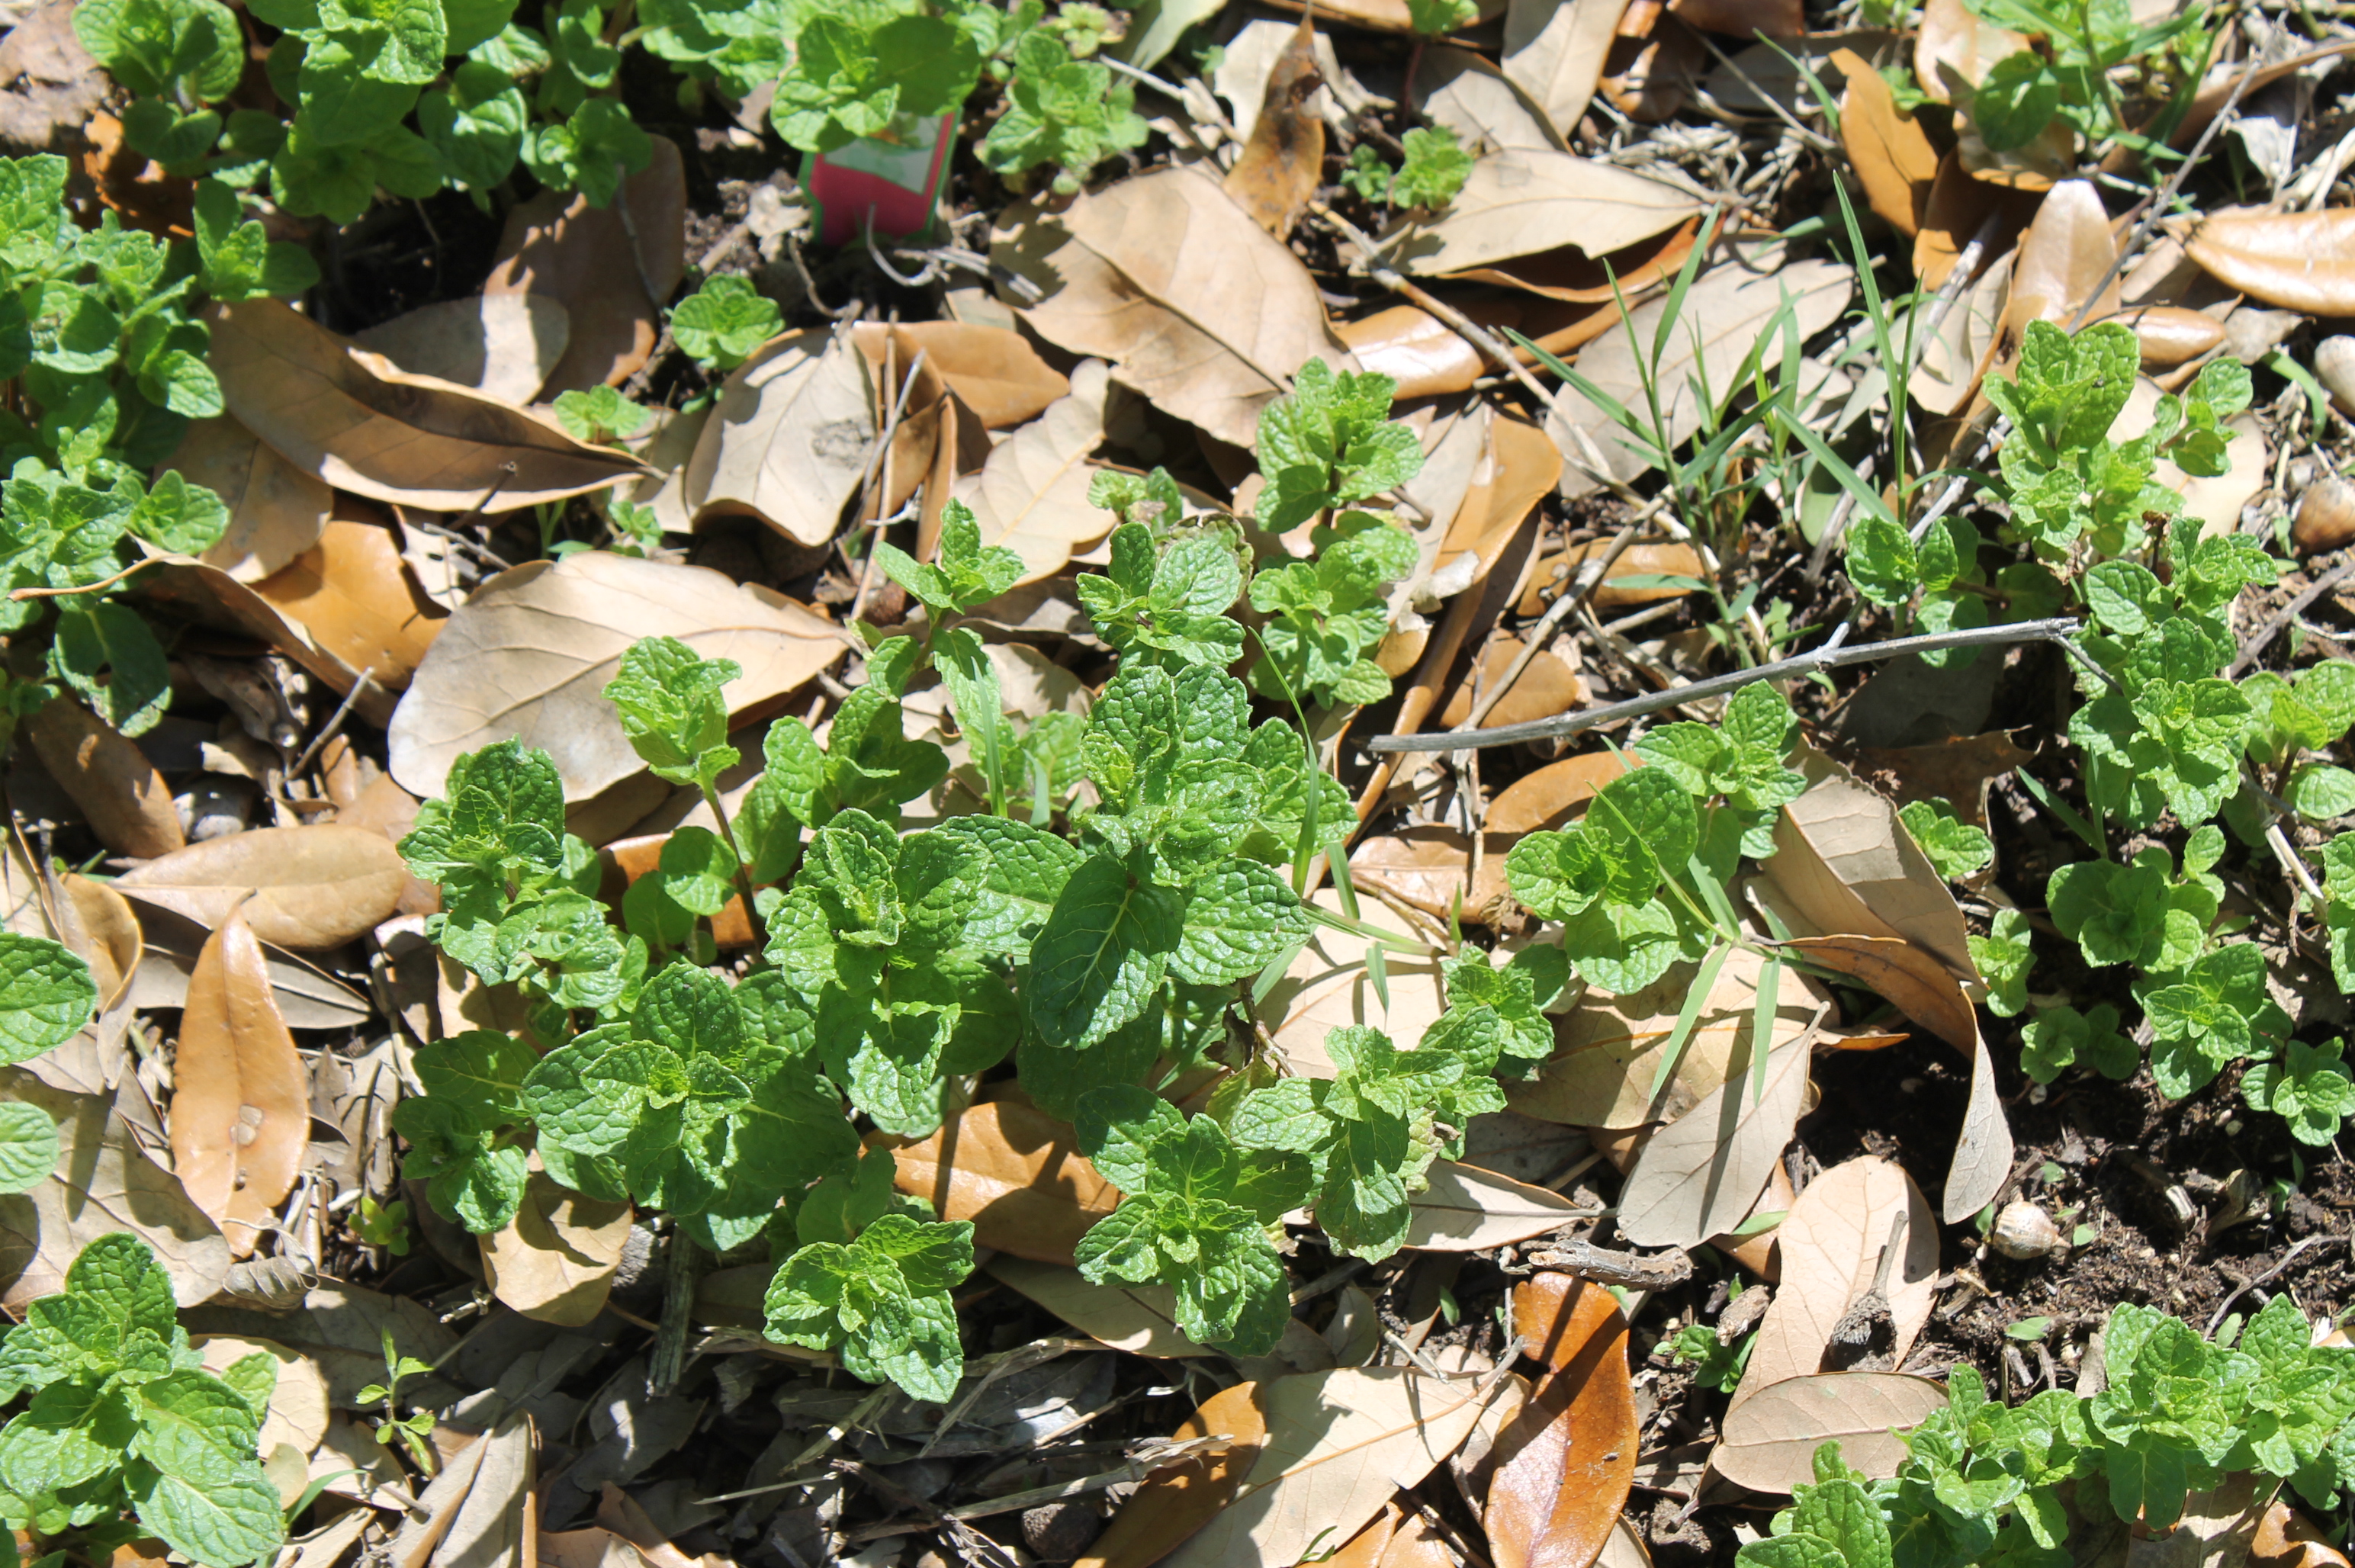
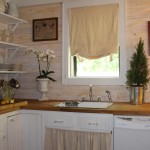
Mint springs up from the ground for harvesting when I am back in the house and cooking up a storm in my new kitchen.

Hardy rosemary plants, evergreen throughout the seasons.