Simple shades for a few dollars from Lowes, simply covered with the twill tape and tied off on the interior.
A lifesaver indeed. I had four lampshades that needed to be replaced. Two were for some vintage boudoir lamps and two were for a pair of wall sconces. All four were in both my bathrooms. I wanted something refreshed, not precious.
I looked online, but finding neutral shades in the right scale at the right price that weren’t 50 shades of boring became a larger task than you would think.
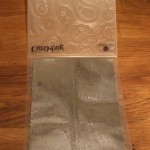
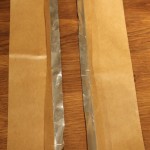
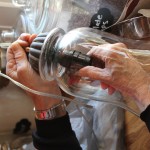
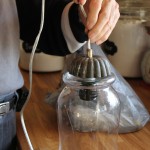
Then I had an epiphany. I had a 100 yard spool of 1 inch wide white cotton twill tape that I had ordered from Amazon by mistake. It occurred to me there may be some DIY synergy if I could somehow find a way to use it to re-purpose the shades I already had. At $29 for the twill tape, it would be incredibly cost effective and maybe, dare I say it…clever.
Judge for yourself.
I hope you find some inspiration.
All the best~
Cindy
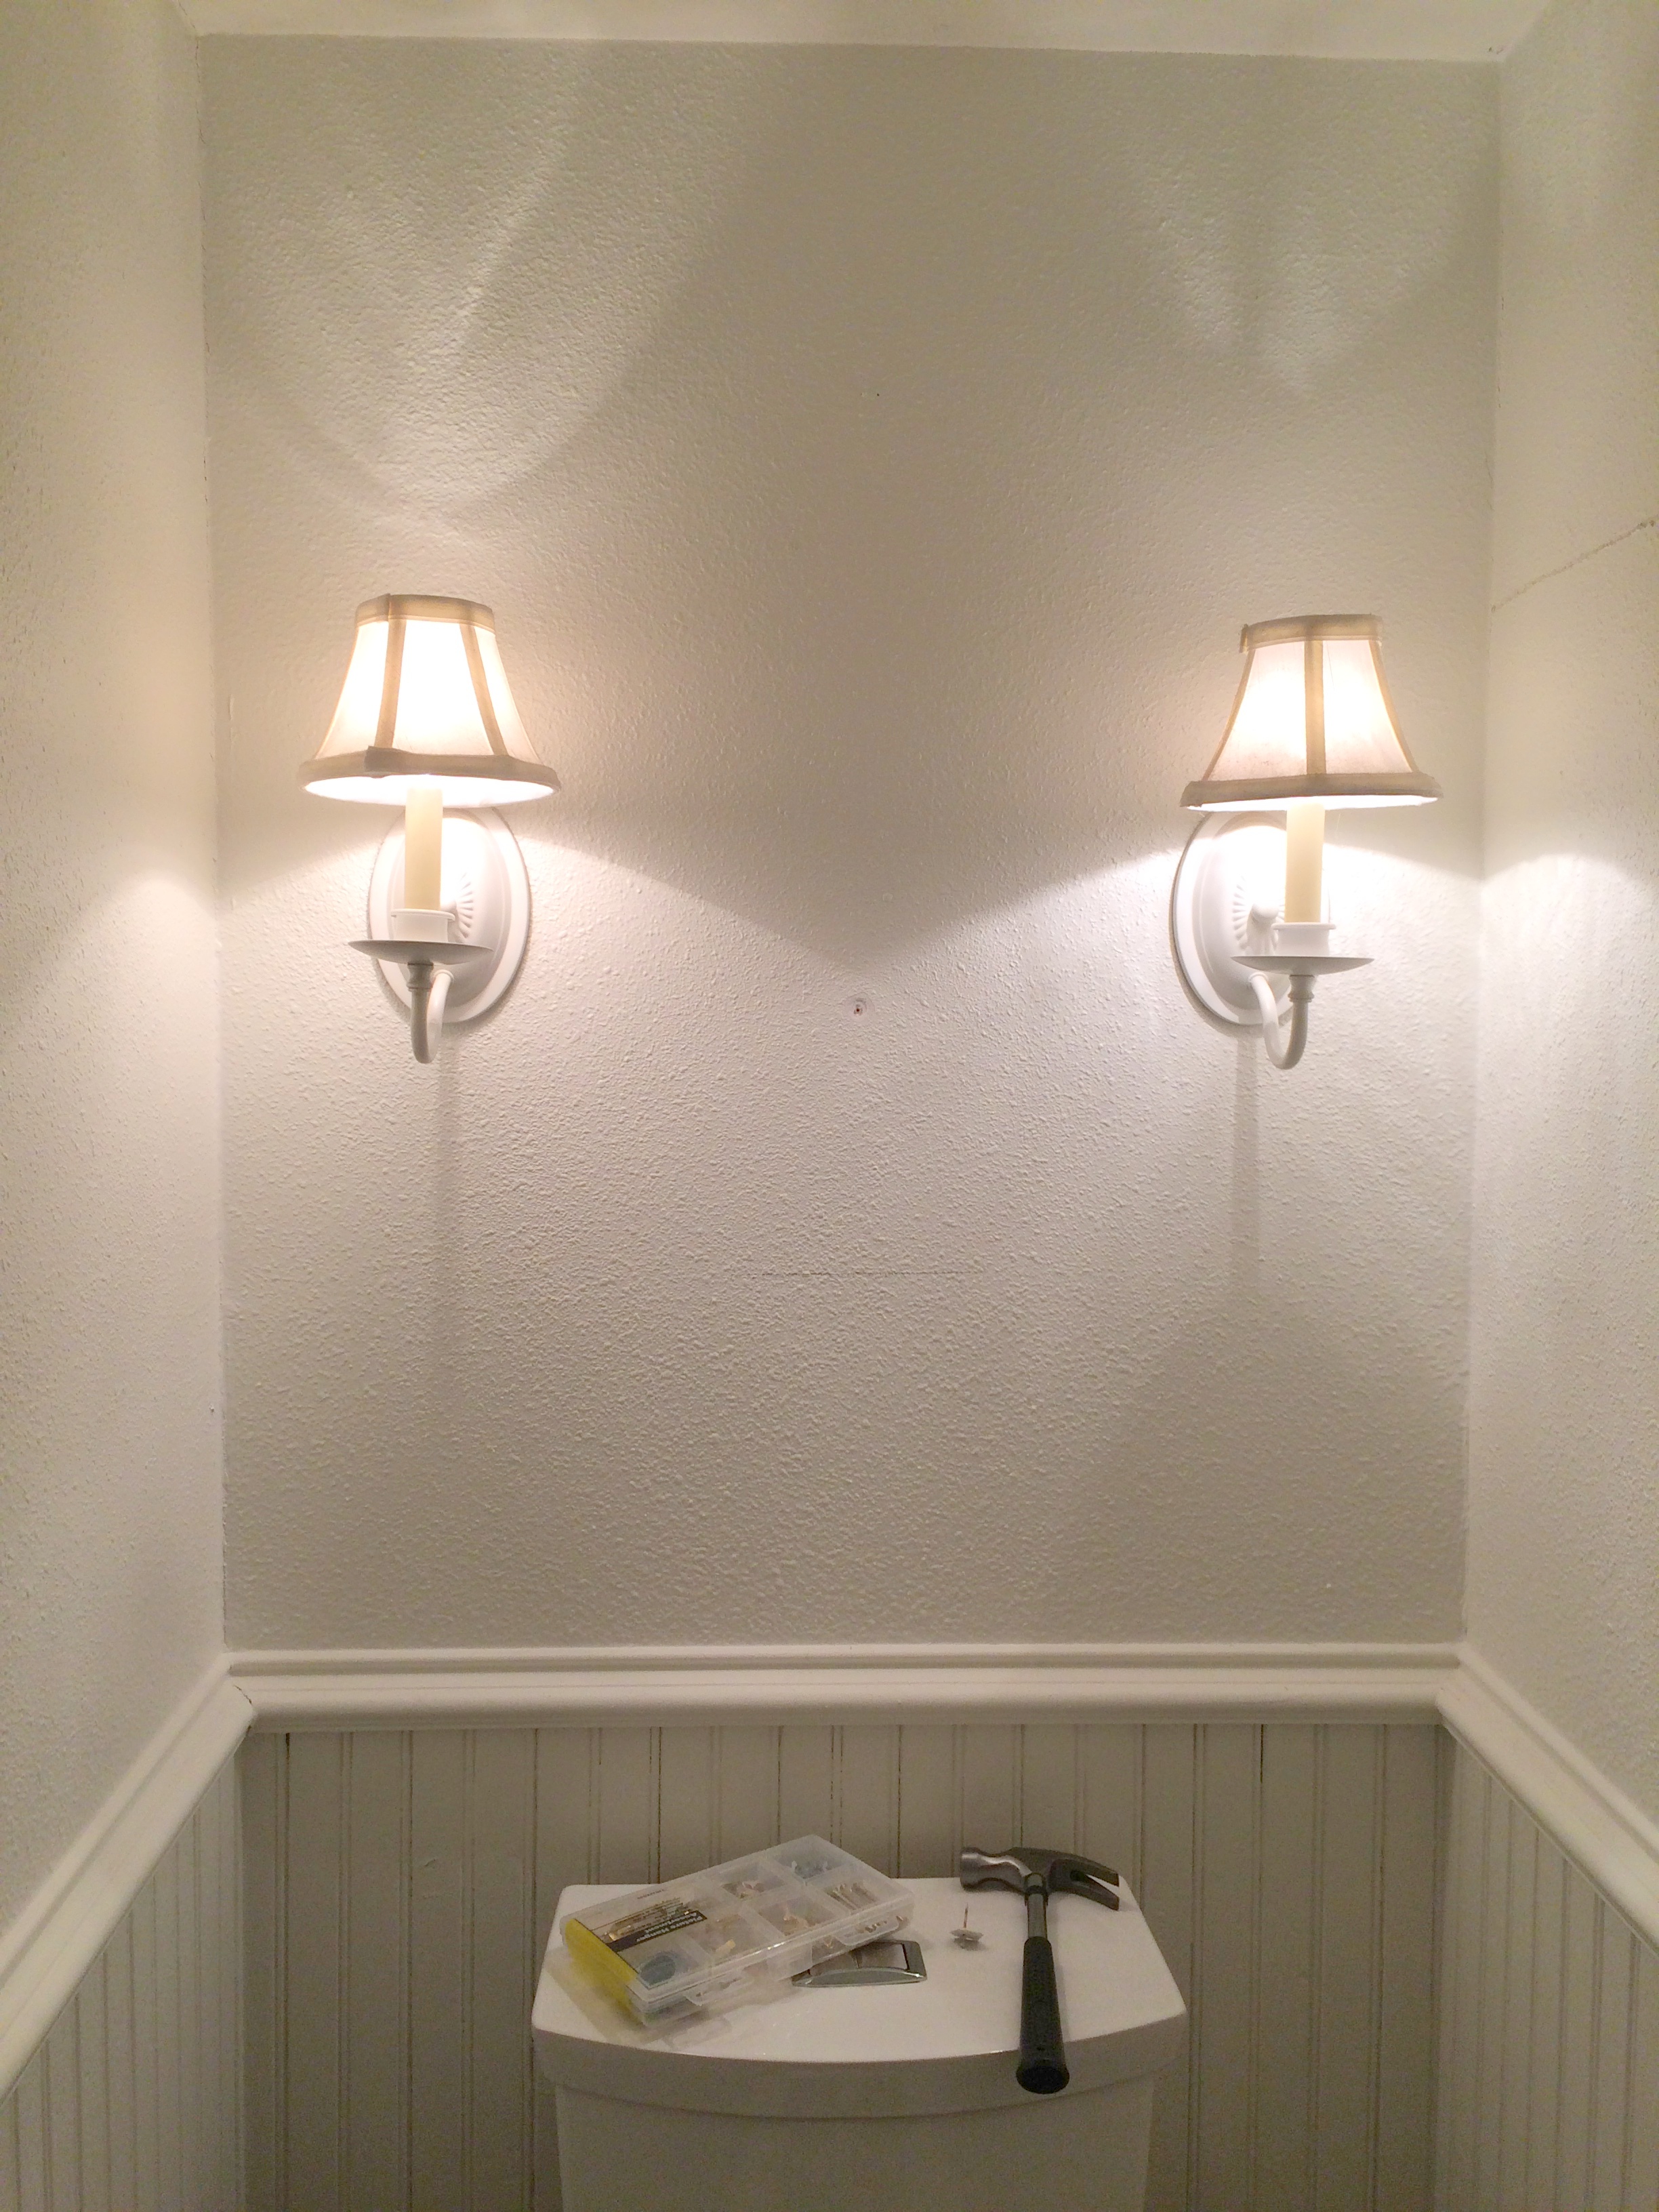
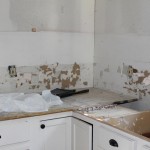
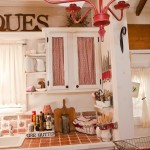
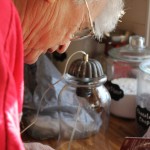
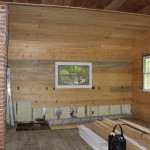
Downstairs bathroom – Before. Sconces that weren’t in the budget to be replaced and needed some updating. The old shades were full of debris from the renovation and really couldn’t be salvaged so I had to come up with something.
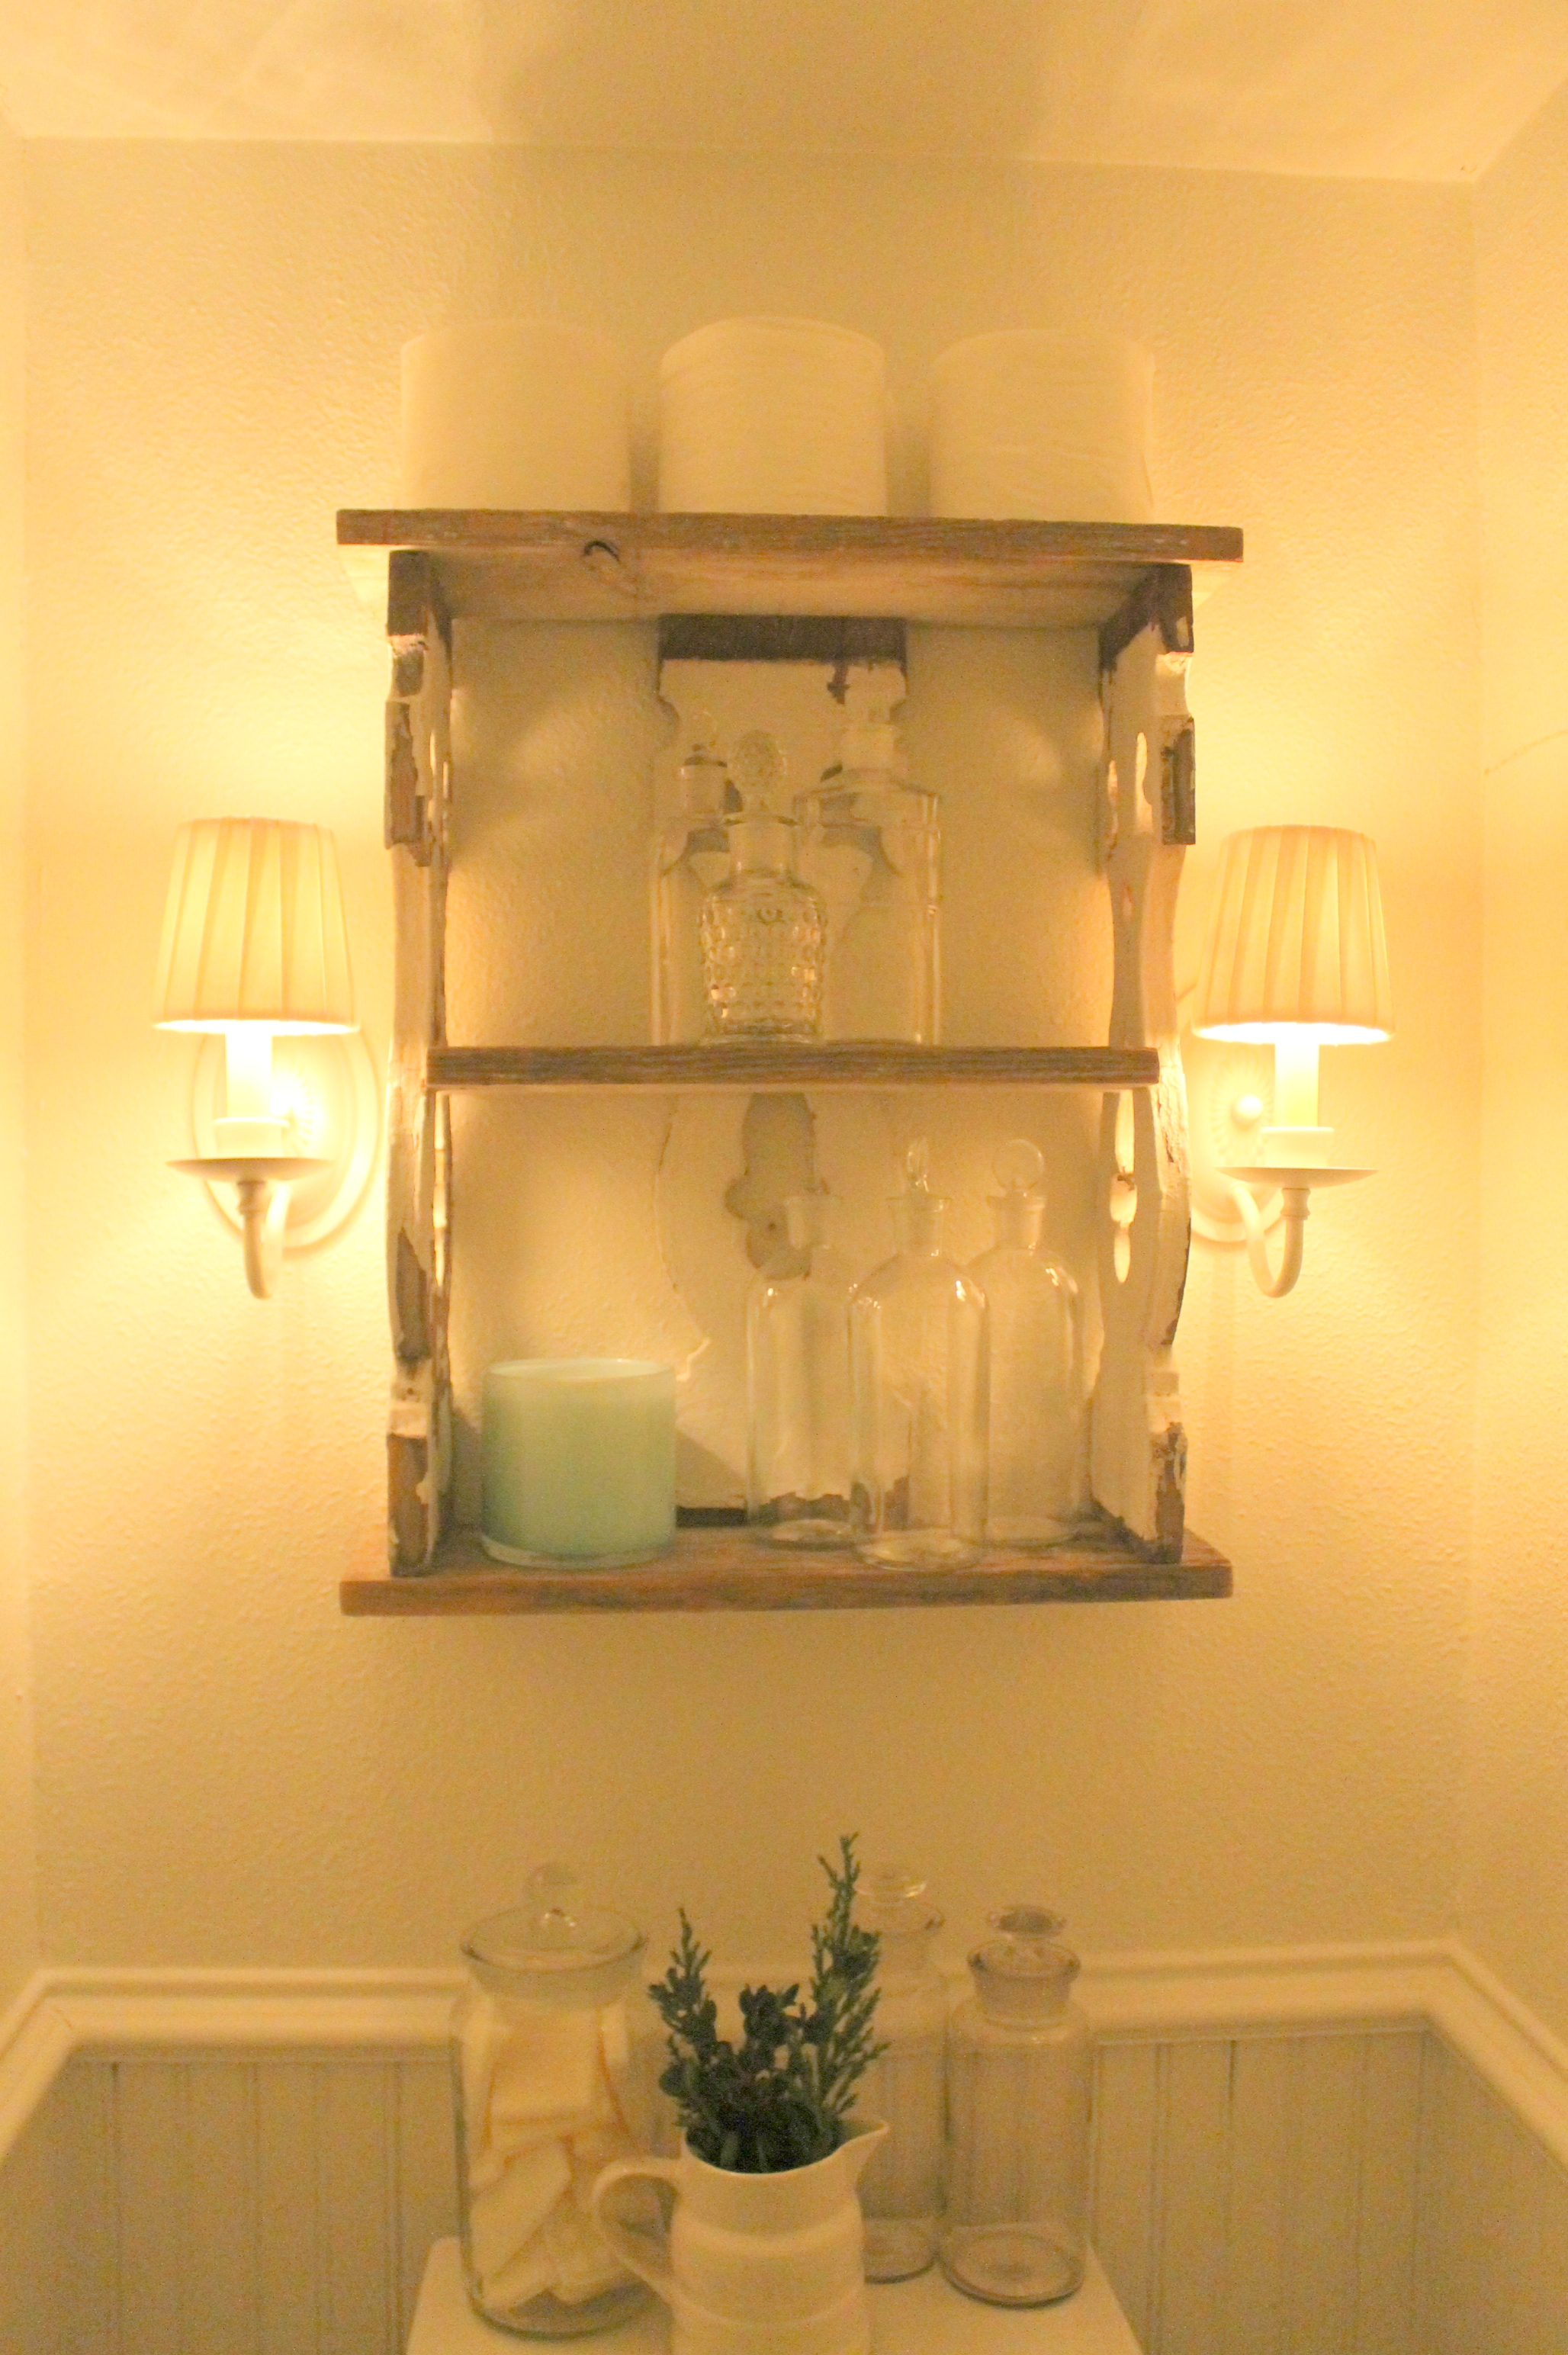
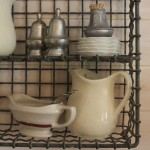
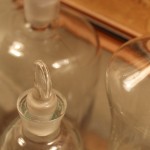
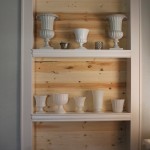
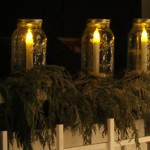
After. New shades, an old shelf and my collection of antique apothecary jars.
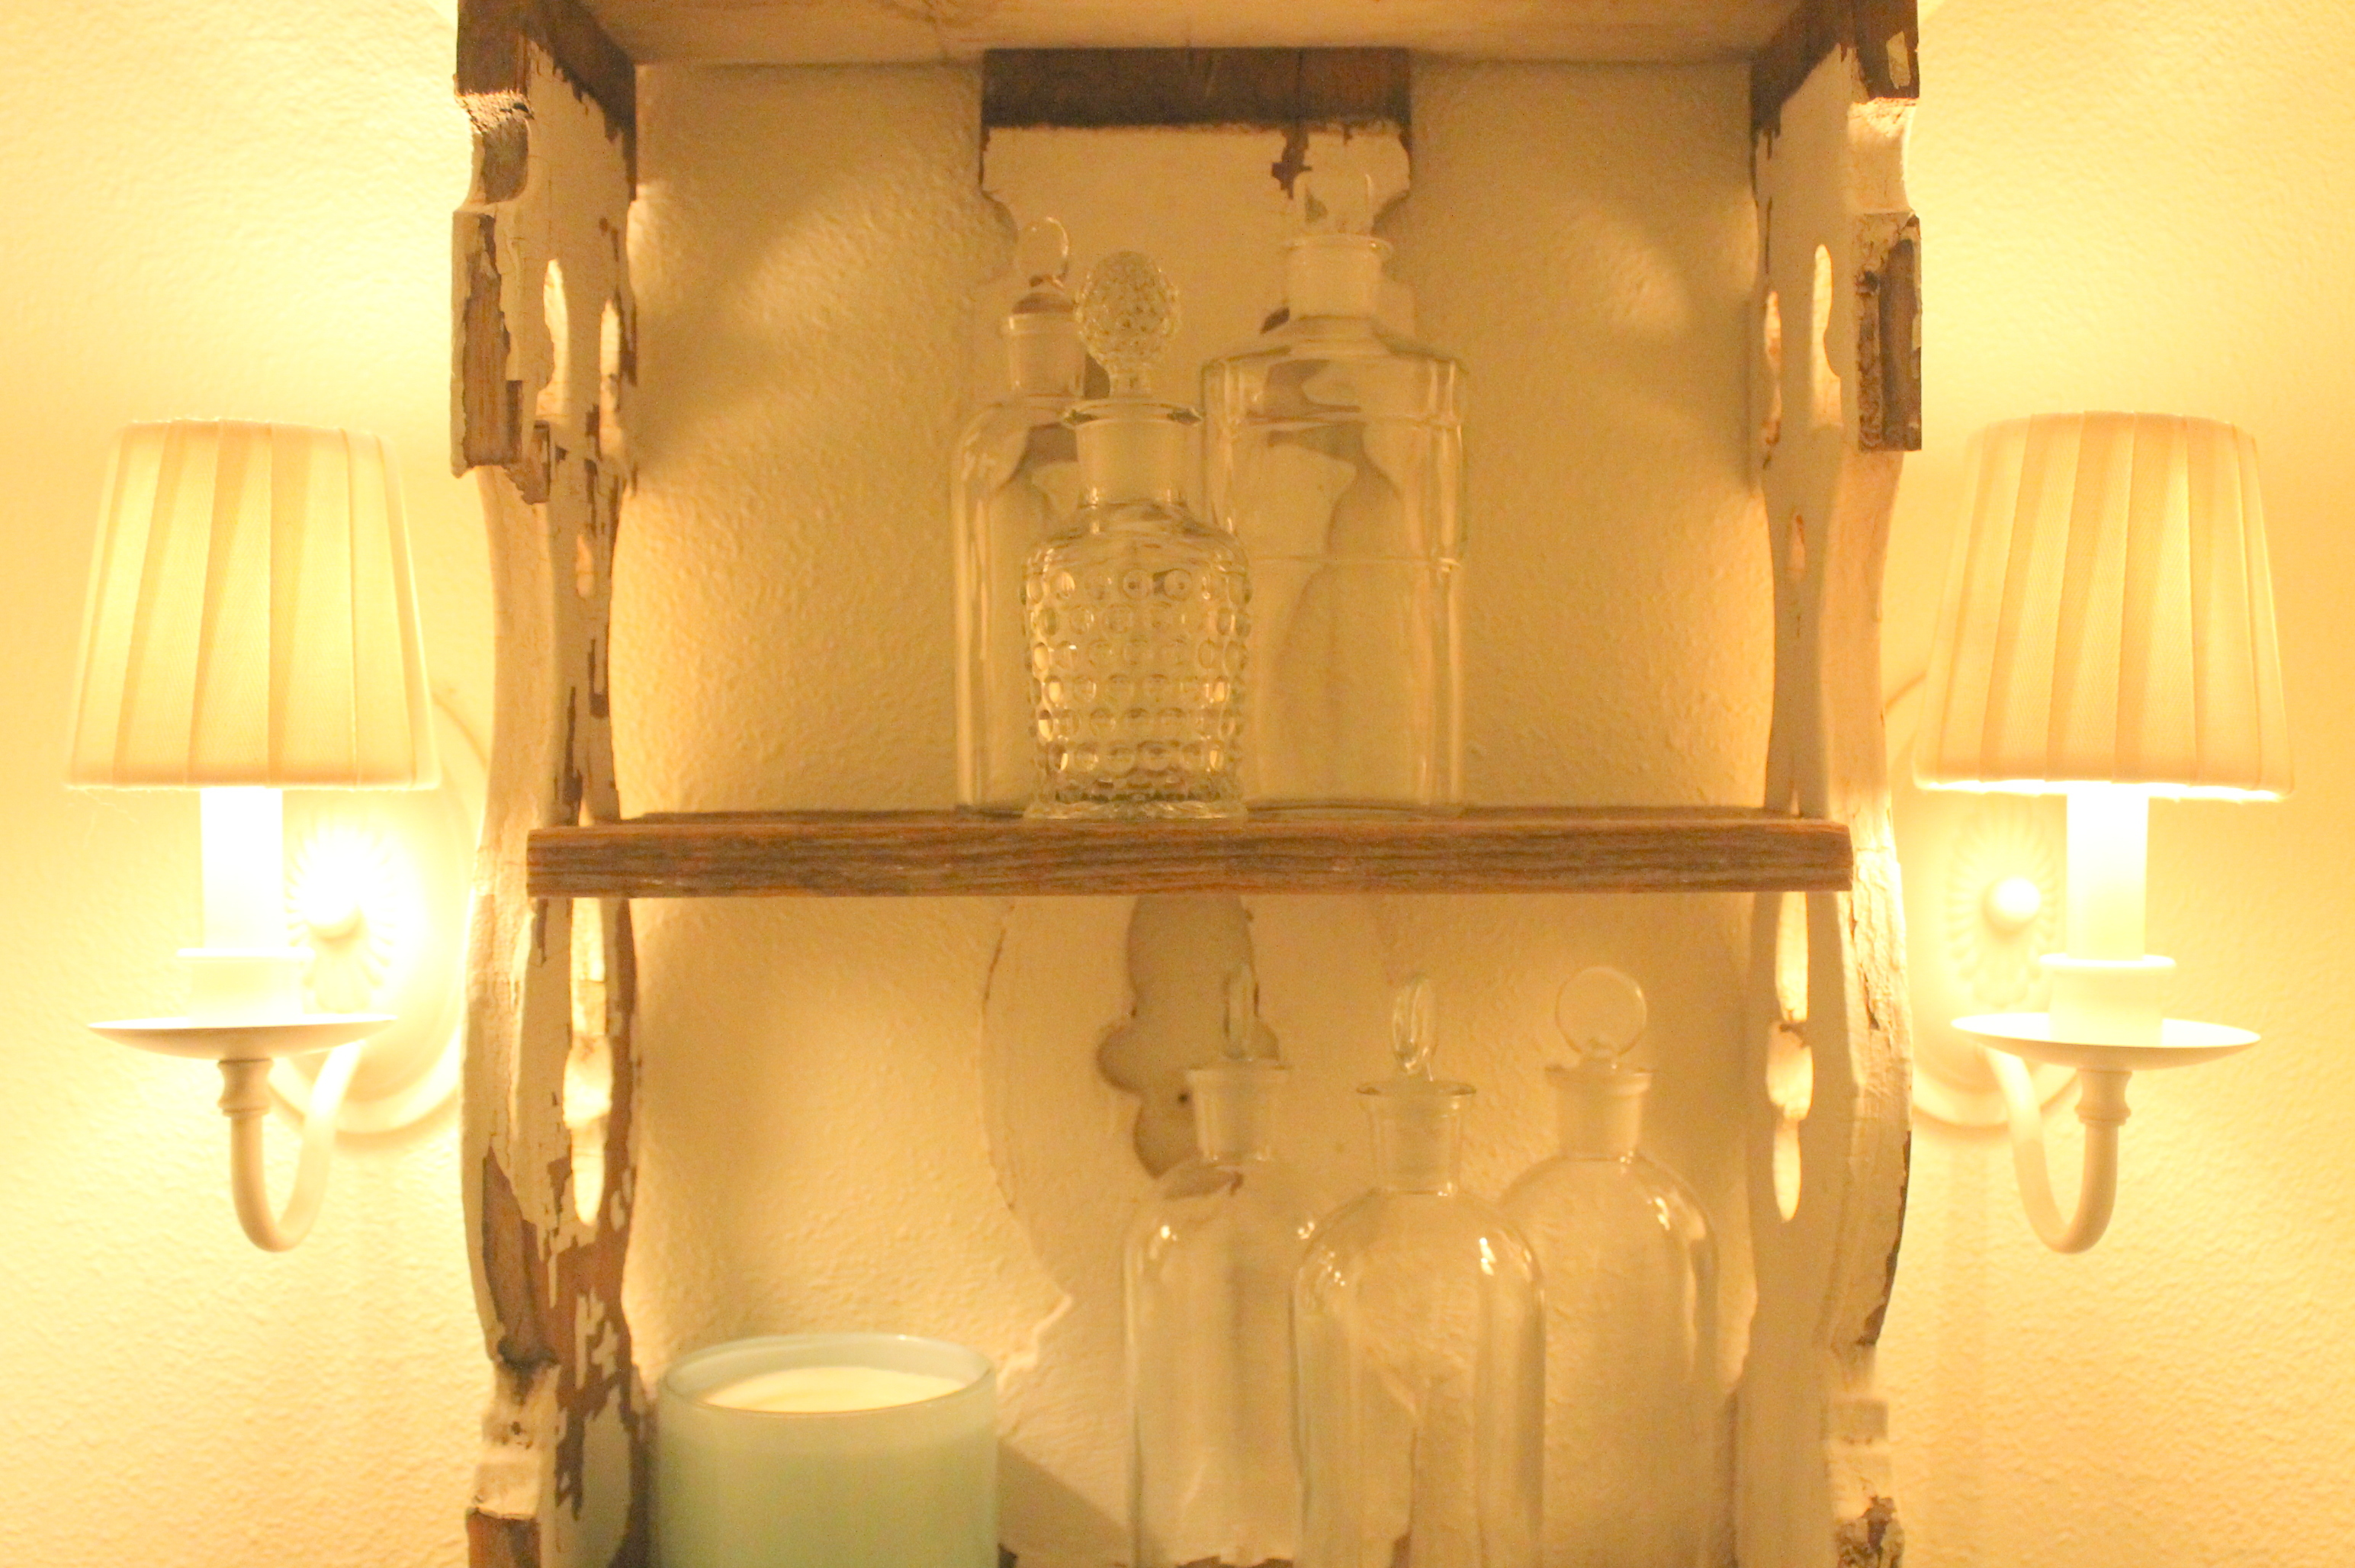
Still trying to get the hang of proper arrangement. It’s an art, for sure and I haven’t mastered it yet.
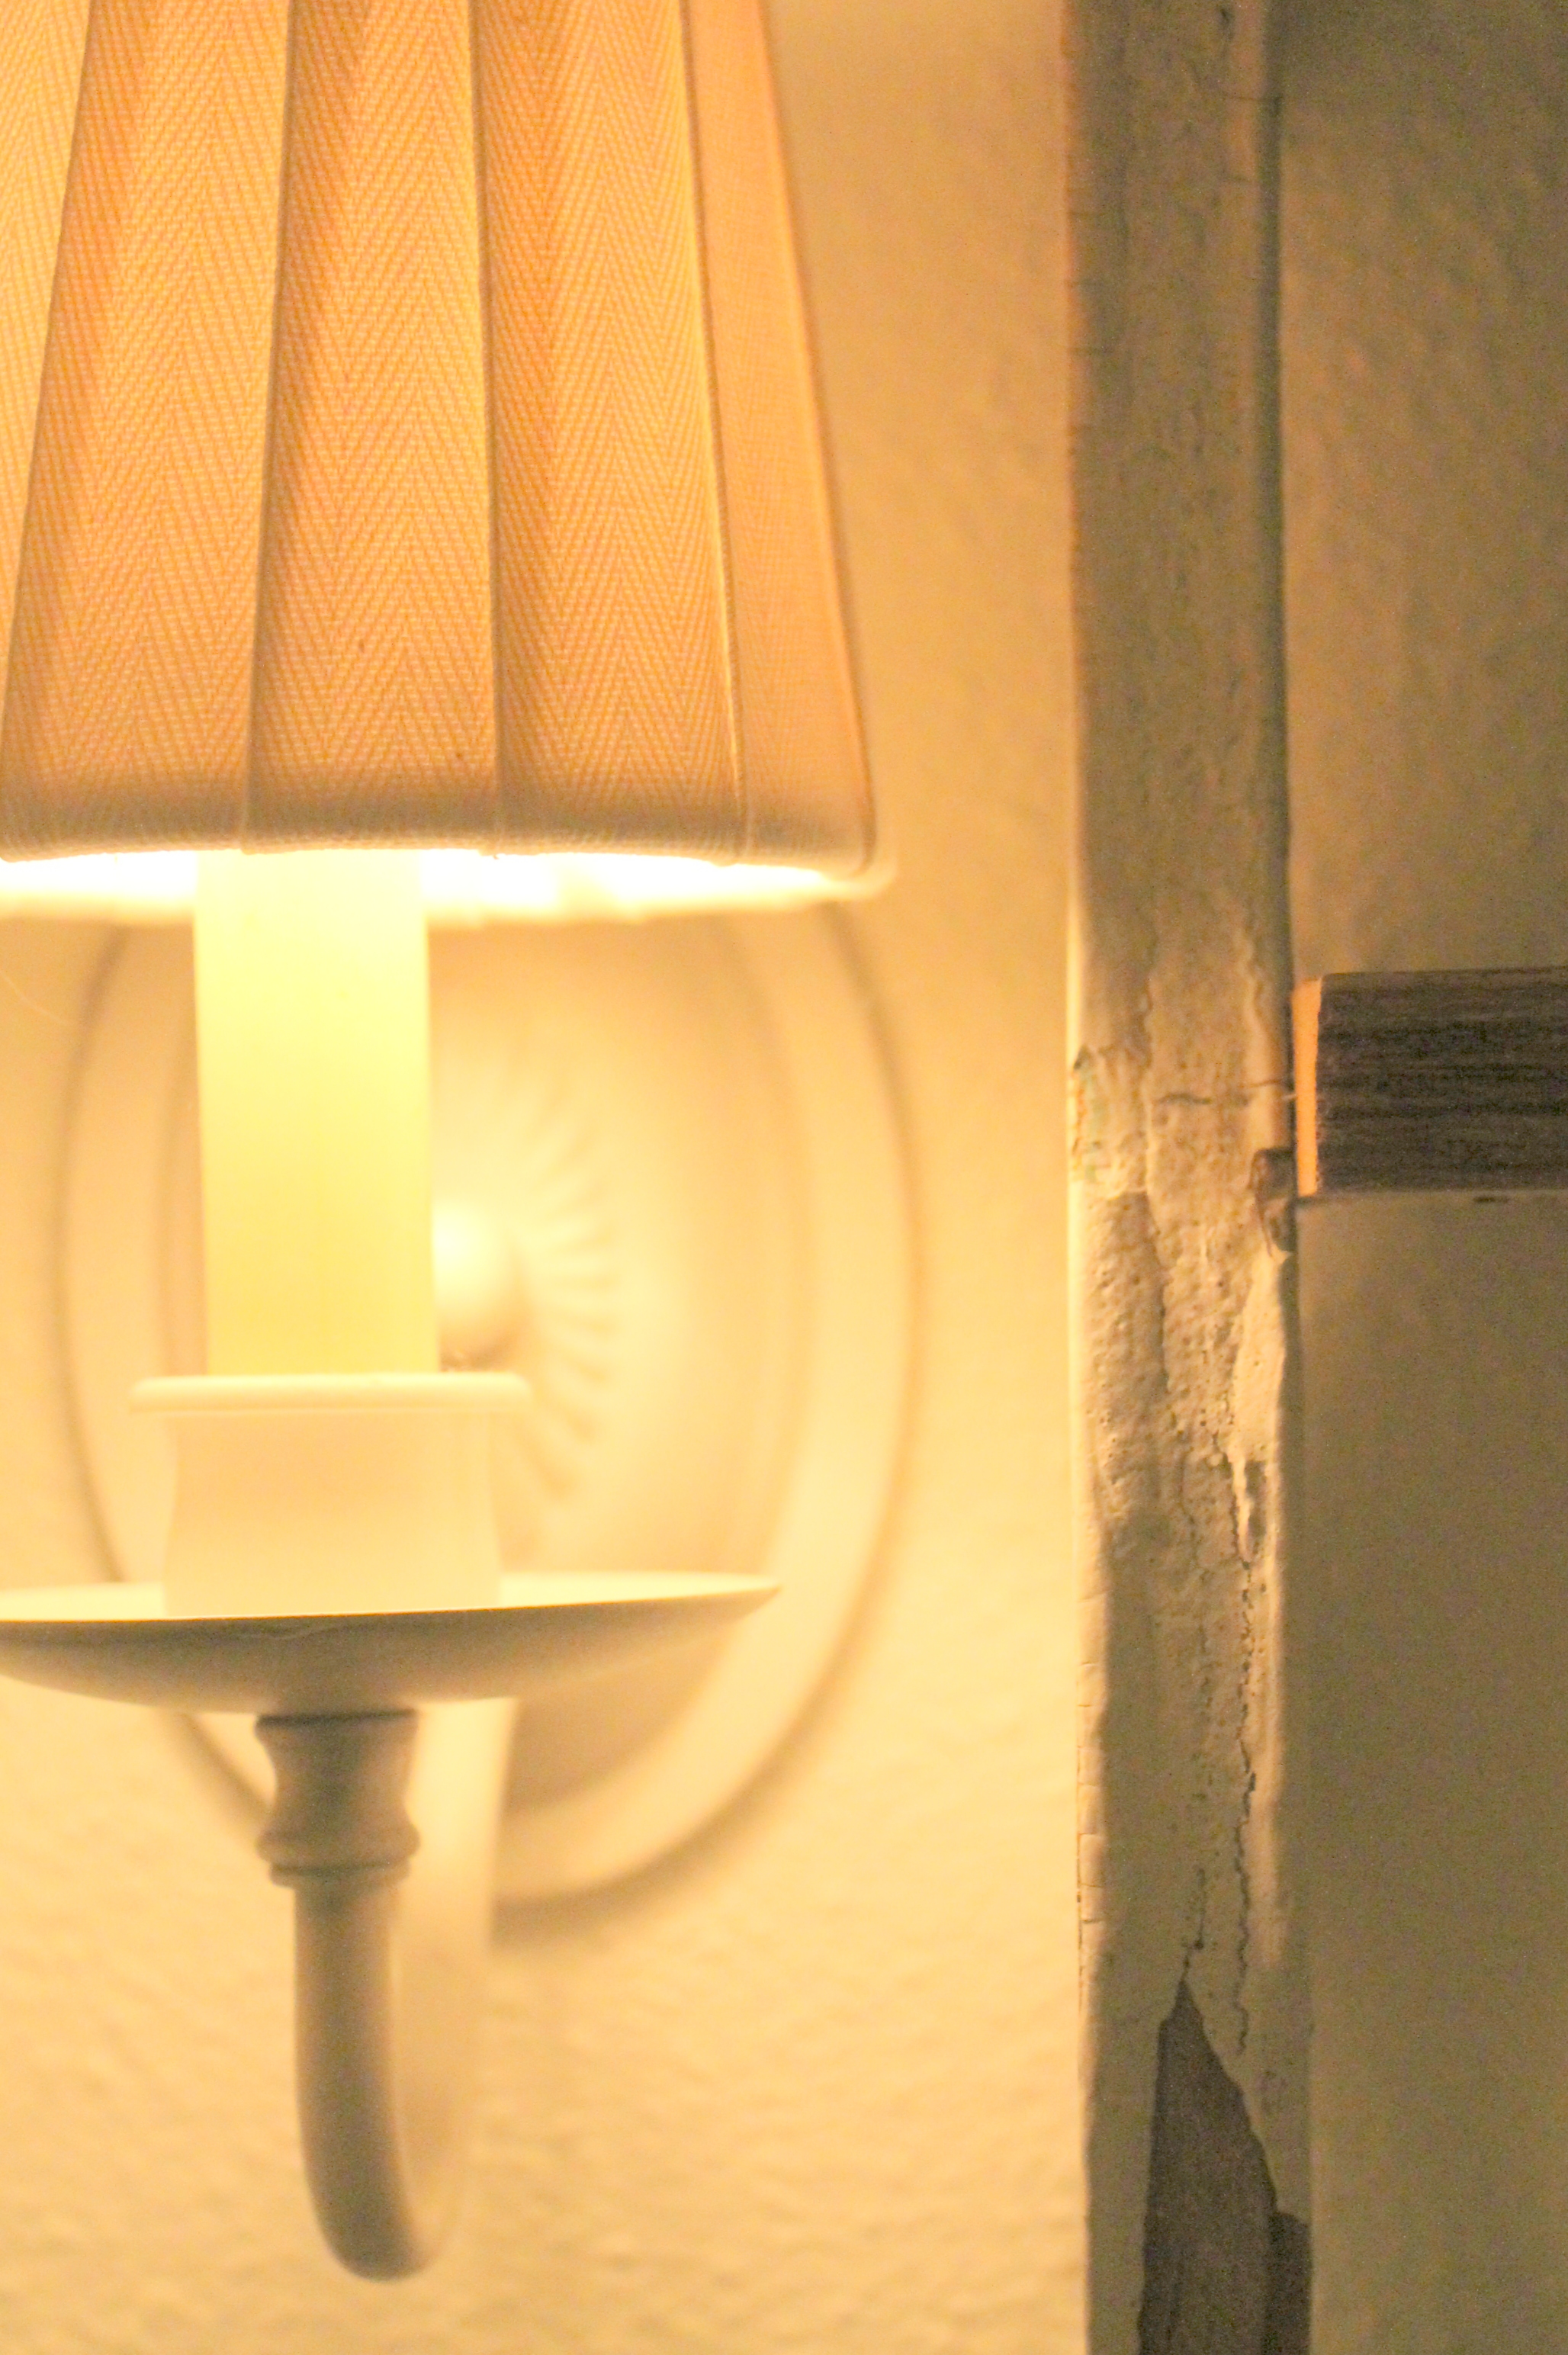
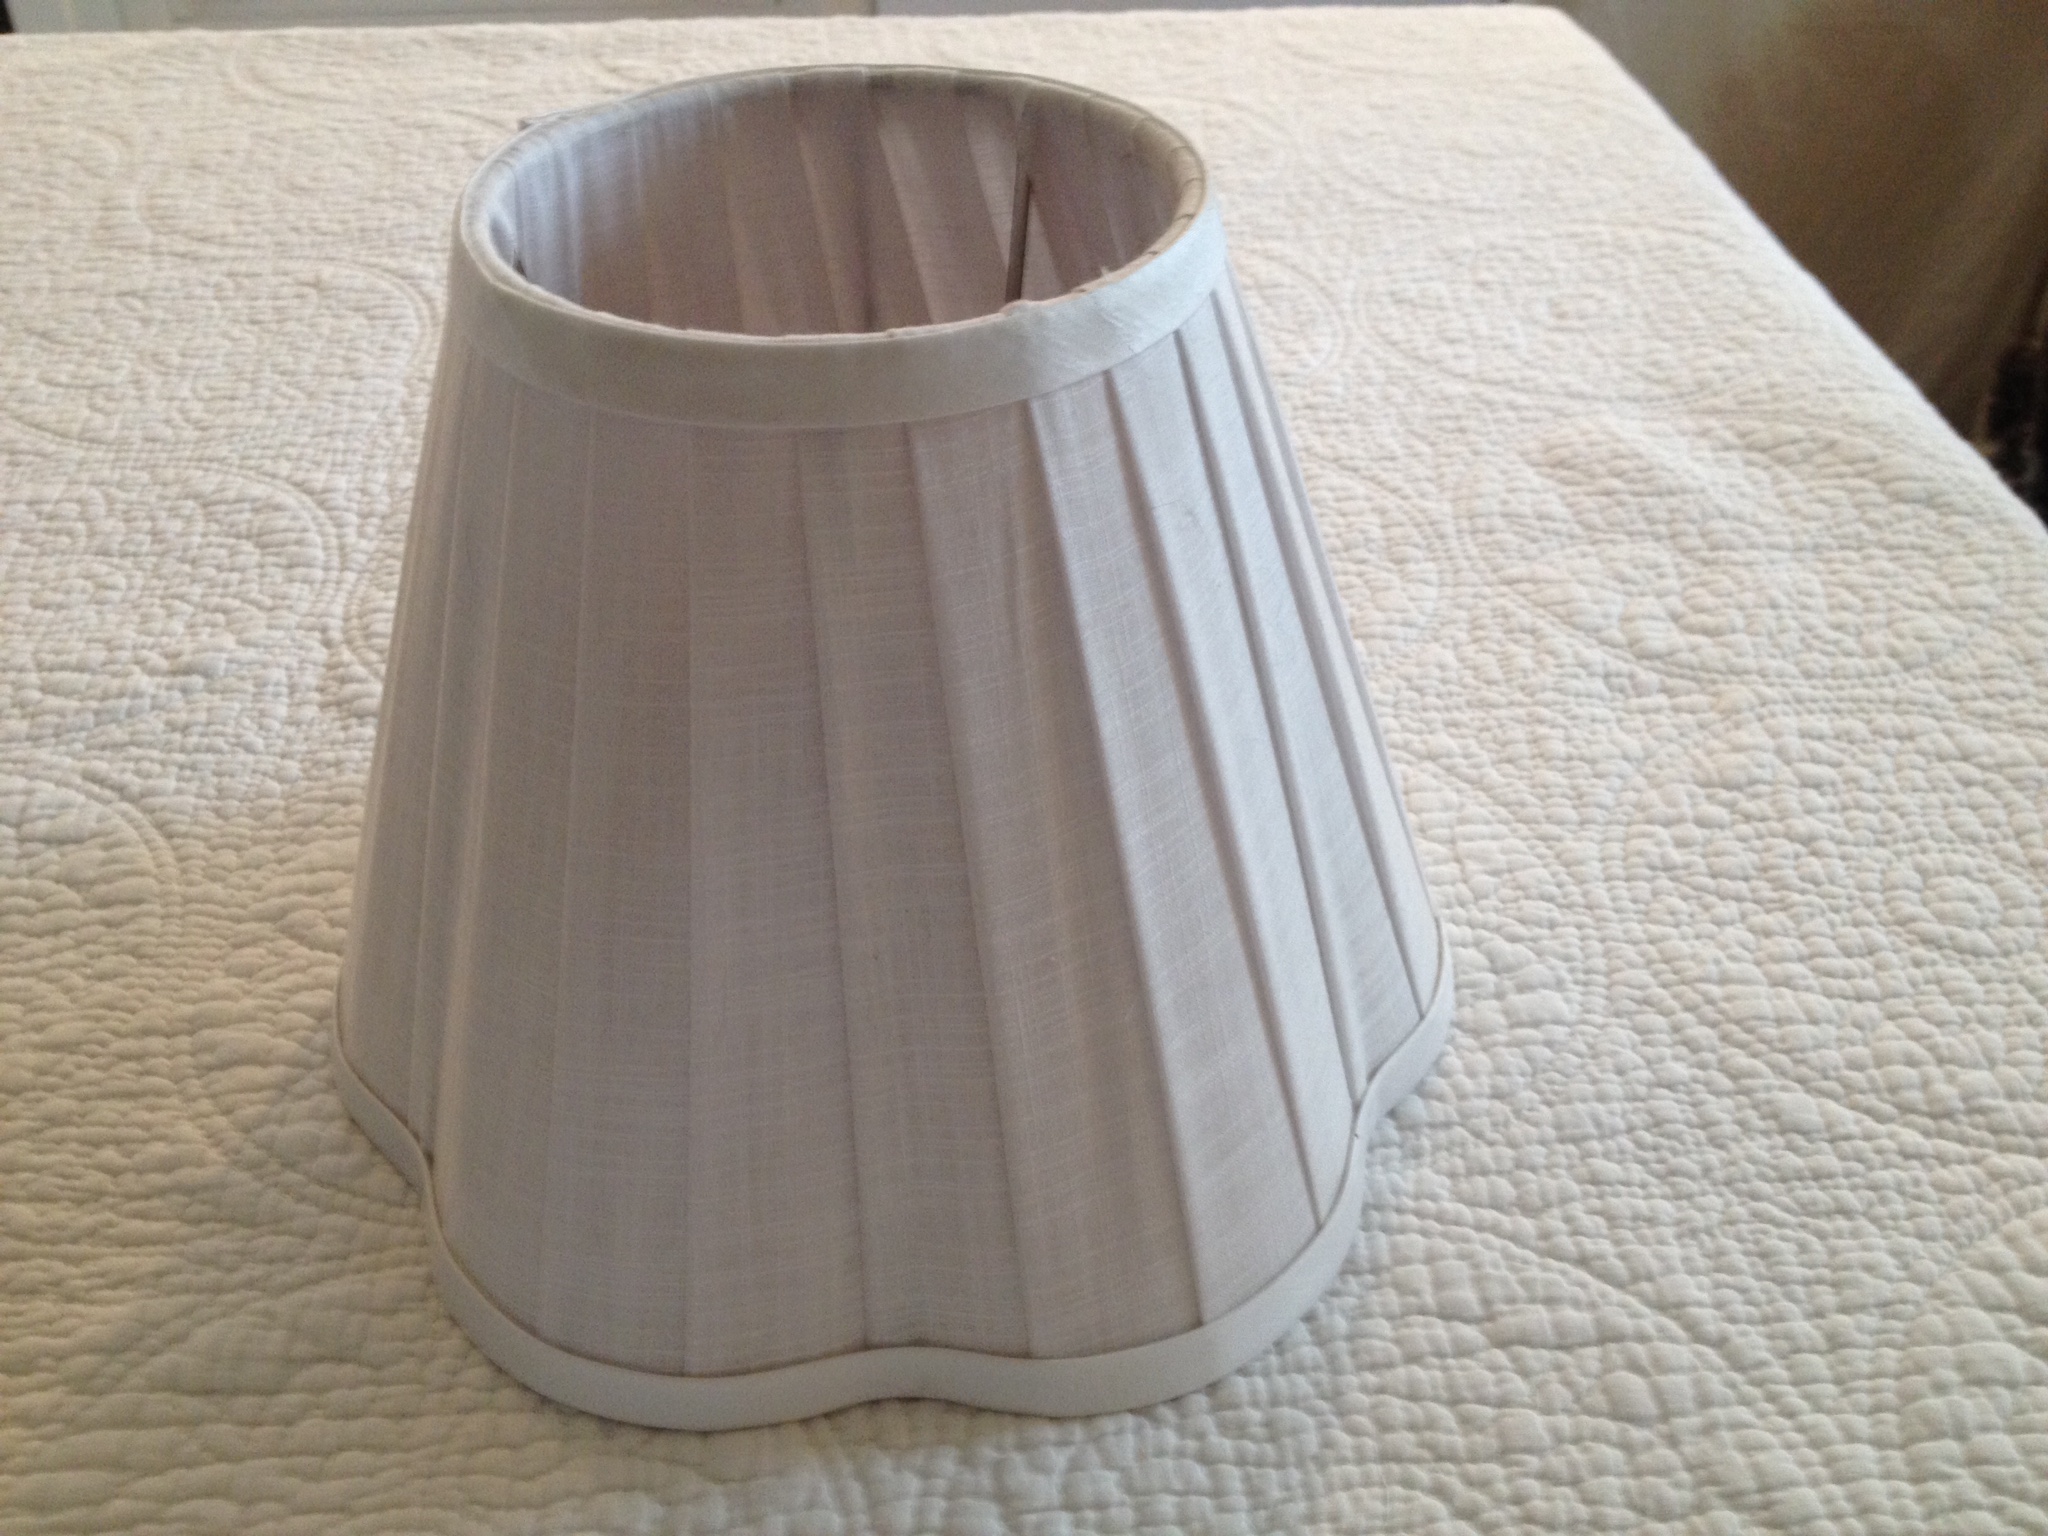
Oval Scalloped Shade – Before.
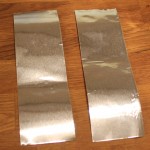
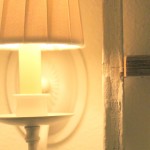
Downstairs sink – After. This vintage shade required a bit more work (Thanks, Mom). A few hidden basting stiches to keep the twill tape in place around the curves. It diffuses the light well.
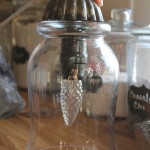
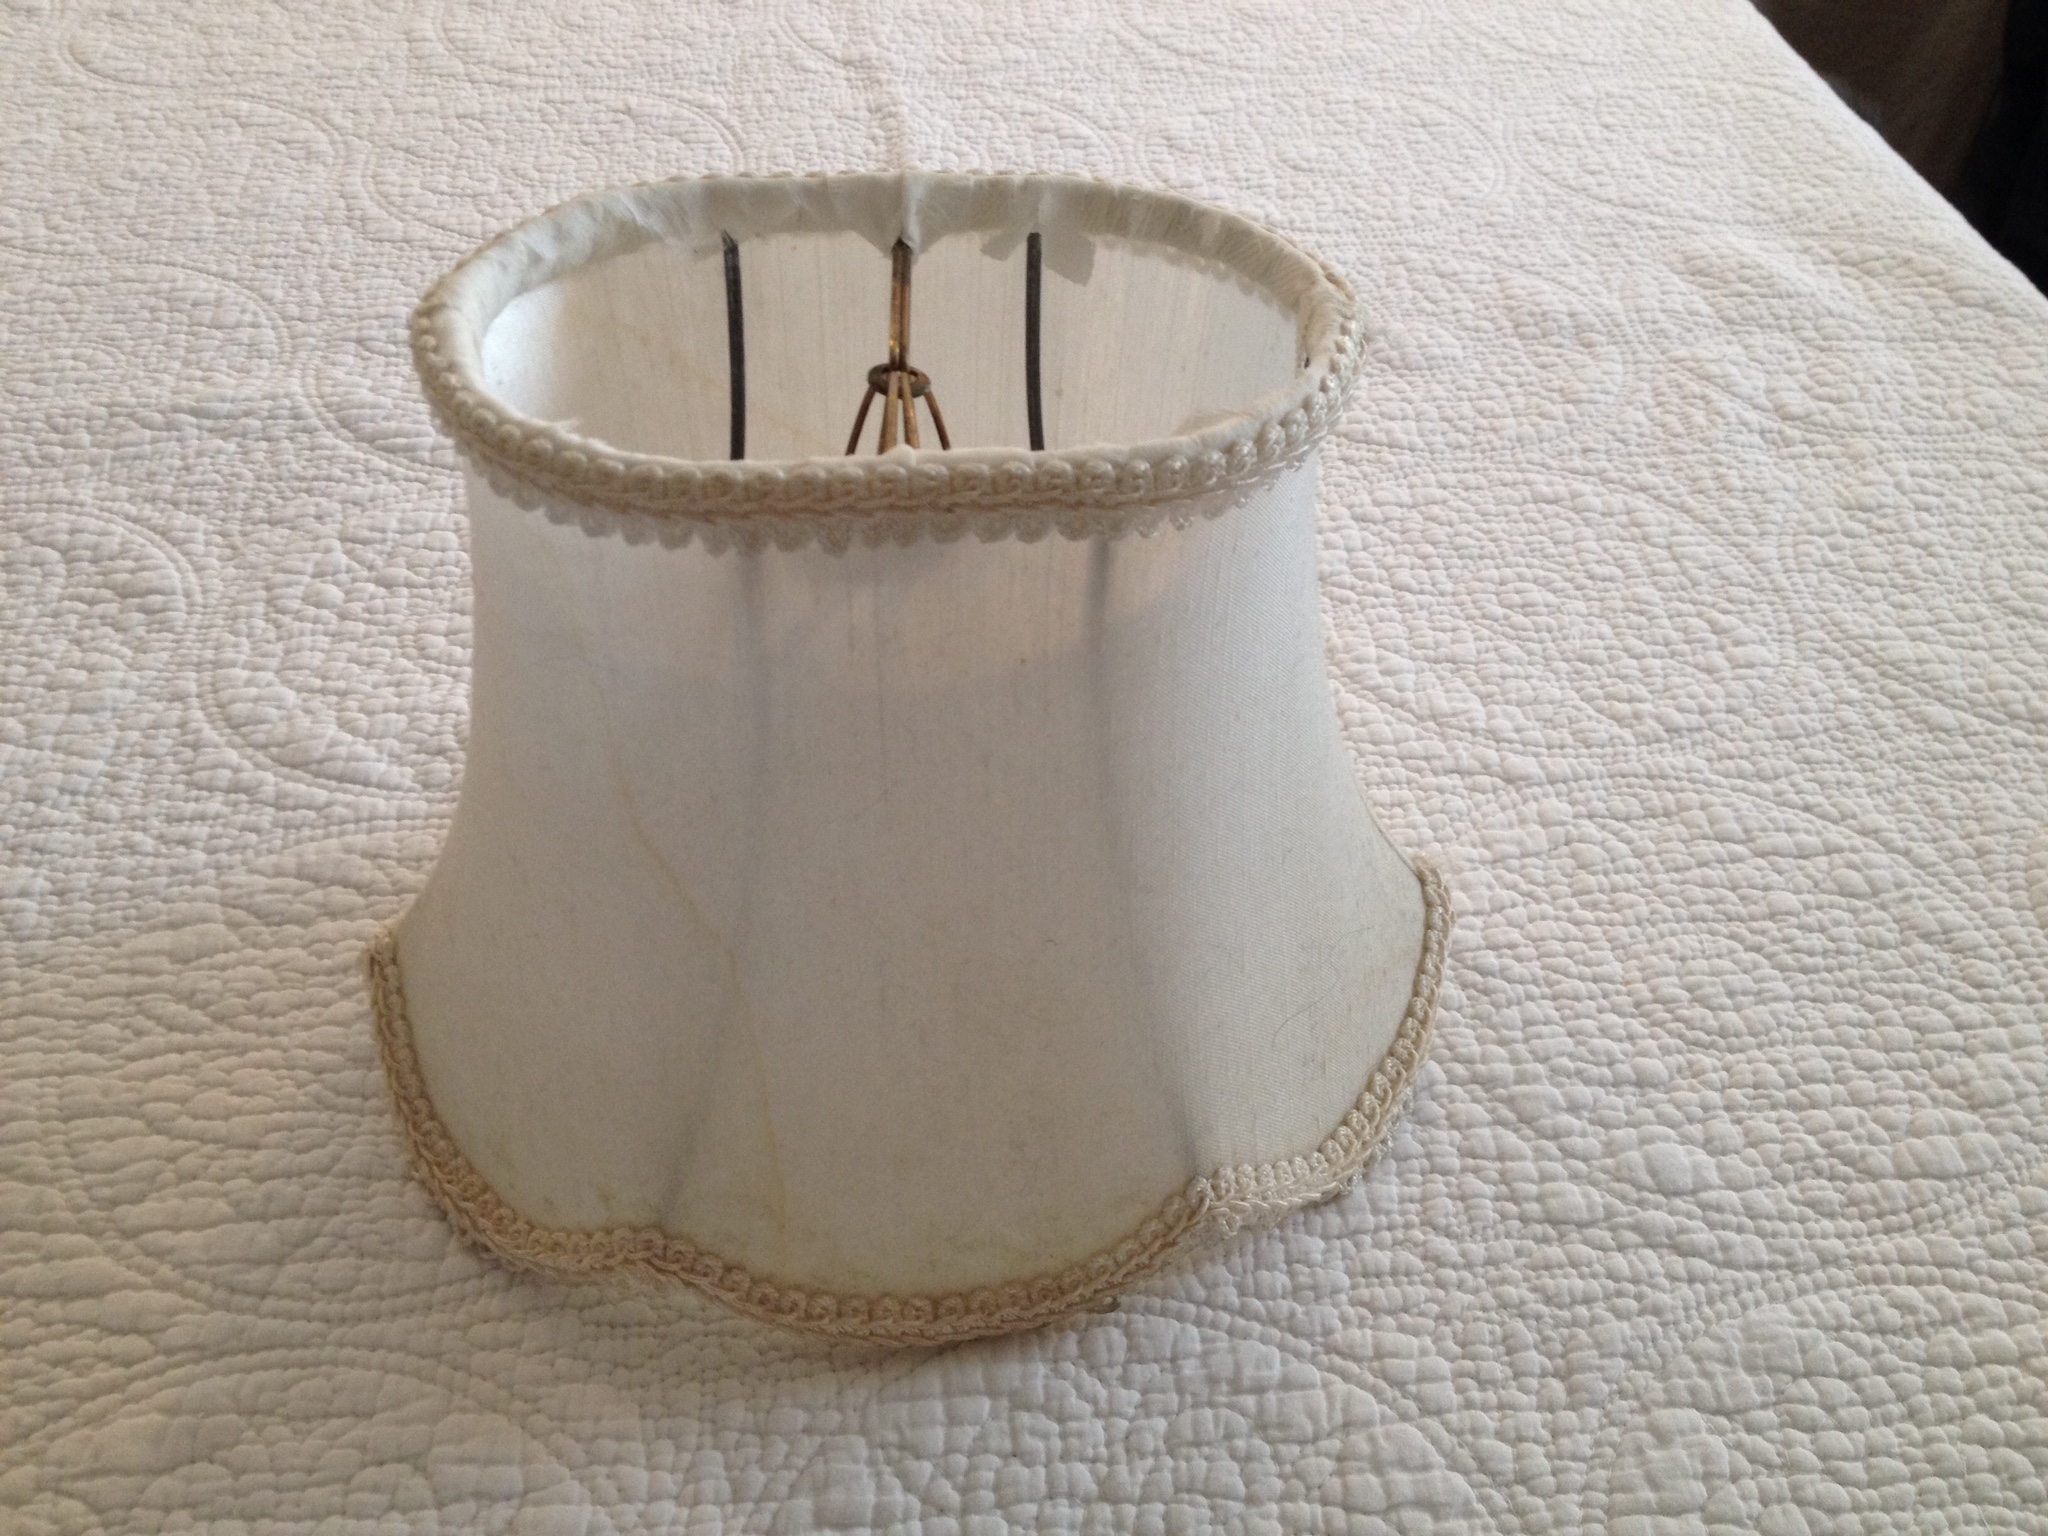
Round Scalloped Shade – Before.
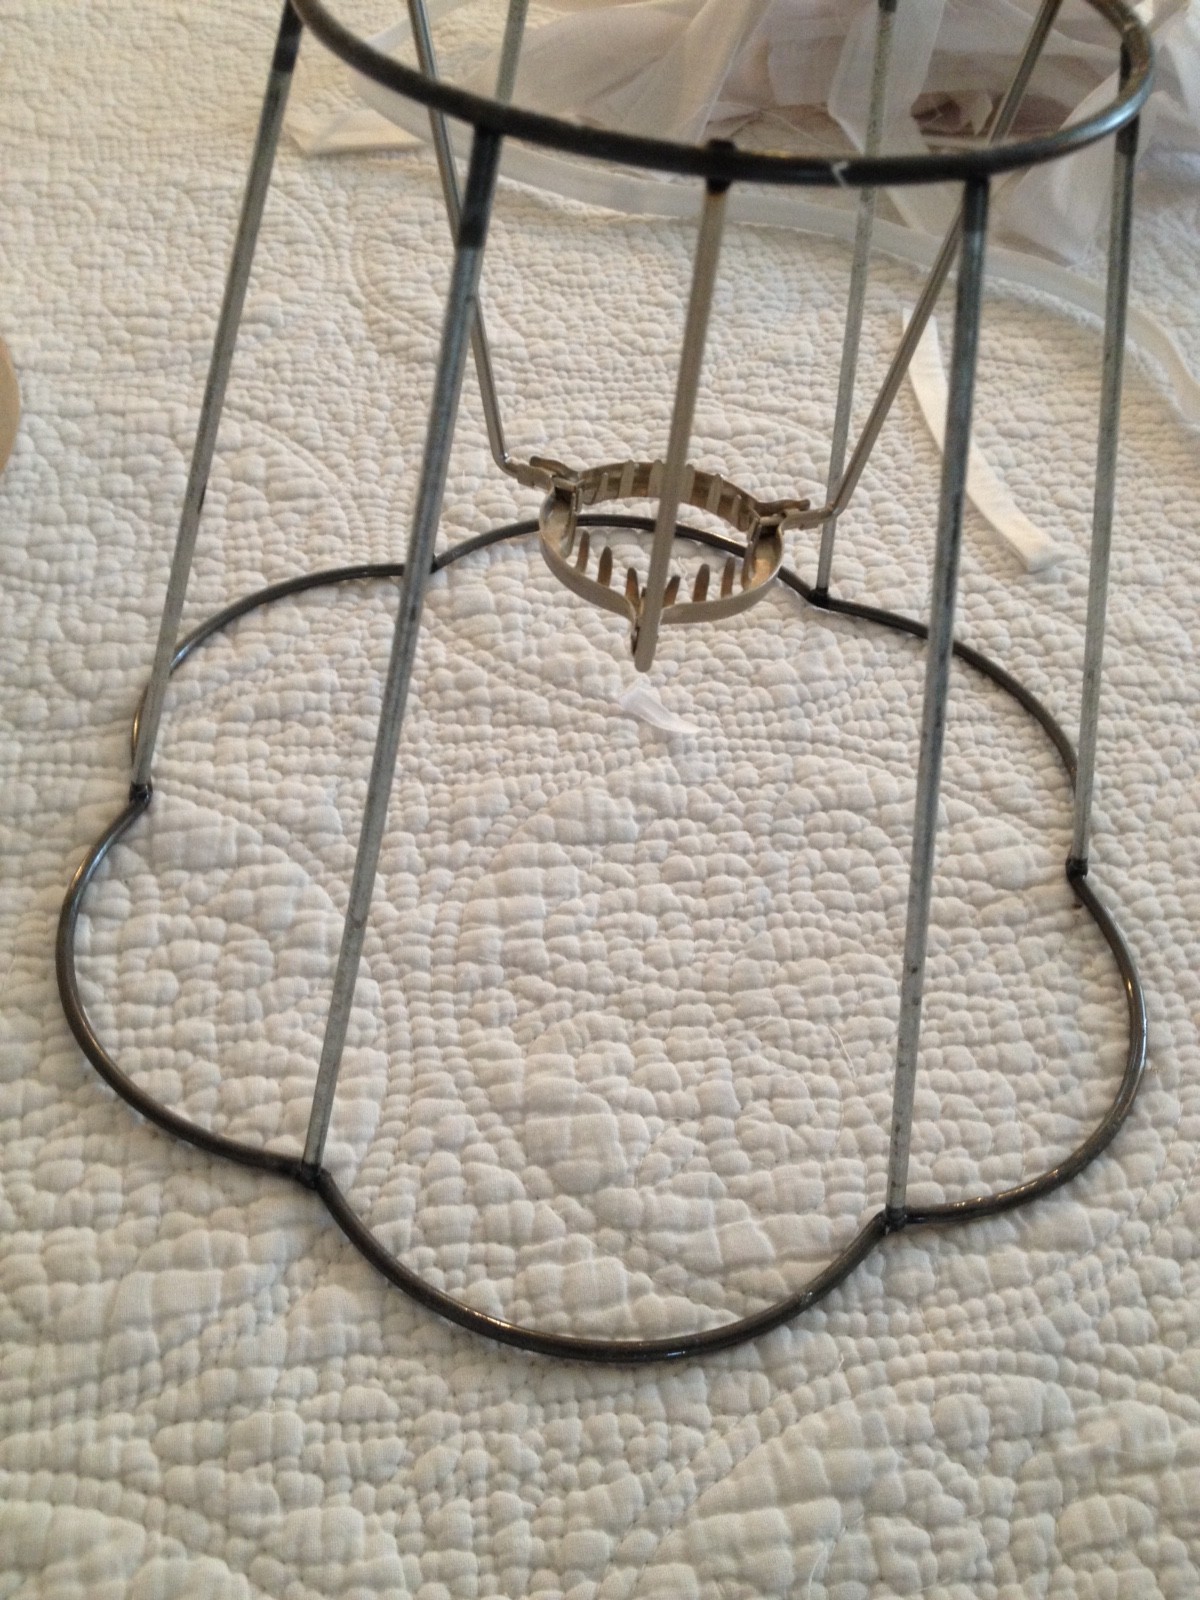
Round Scalloped Shade without it’s original covering.
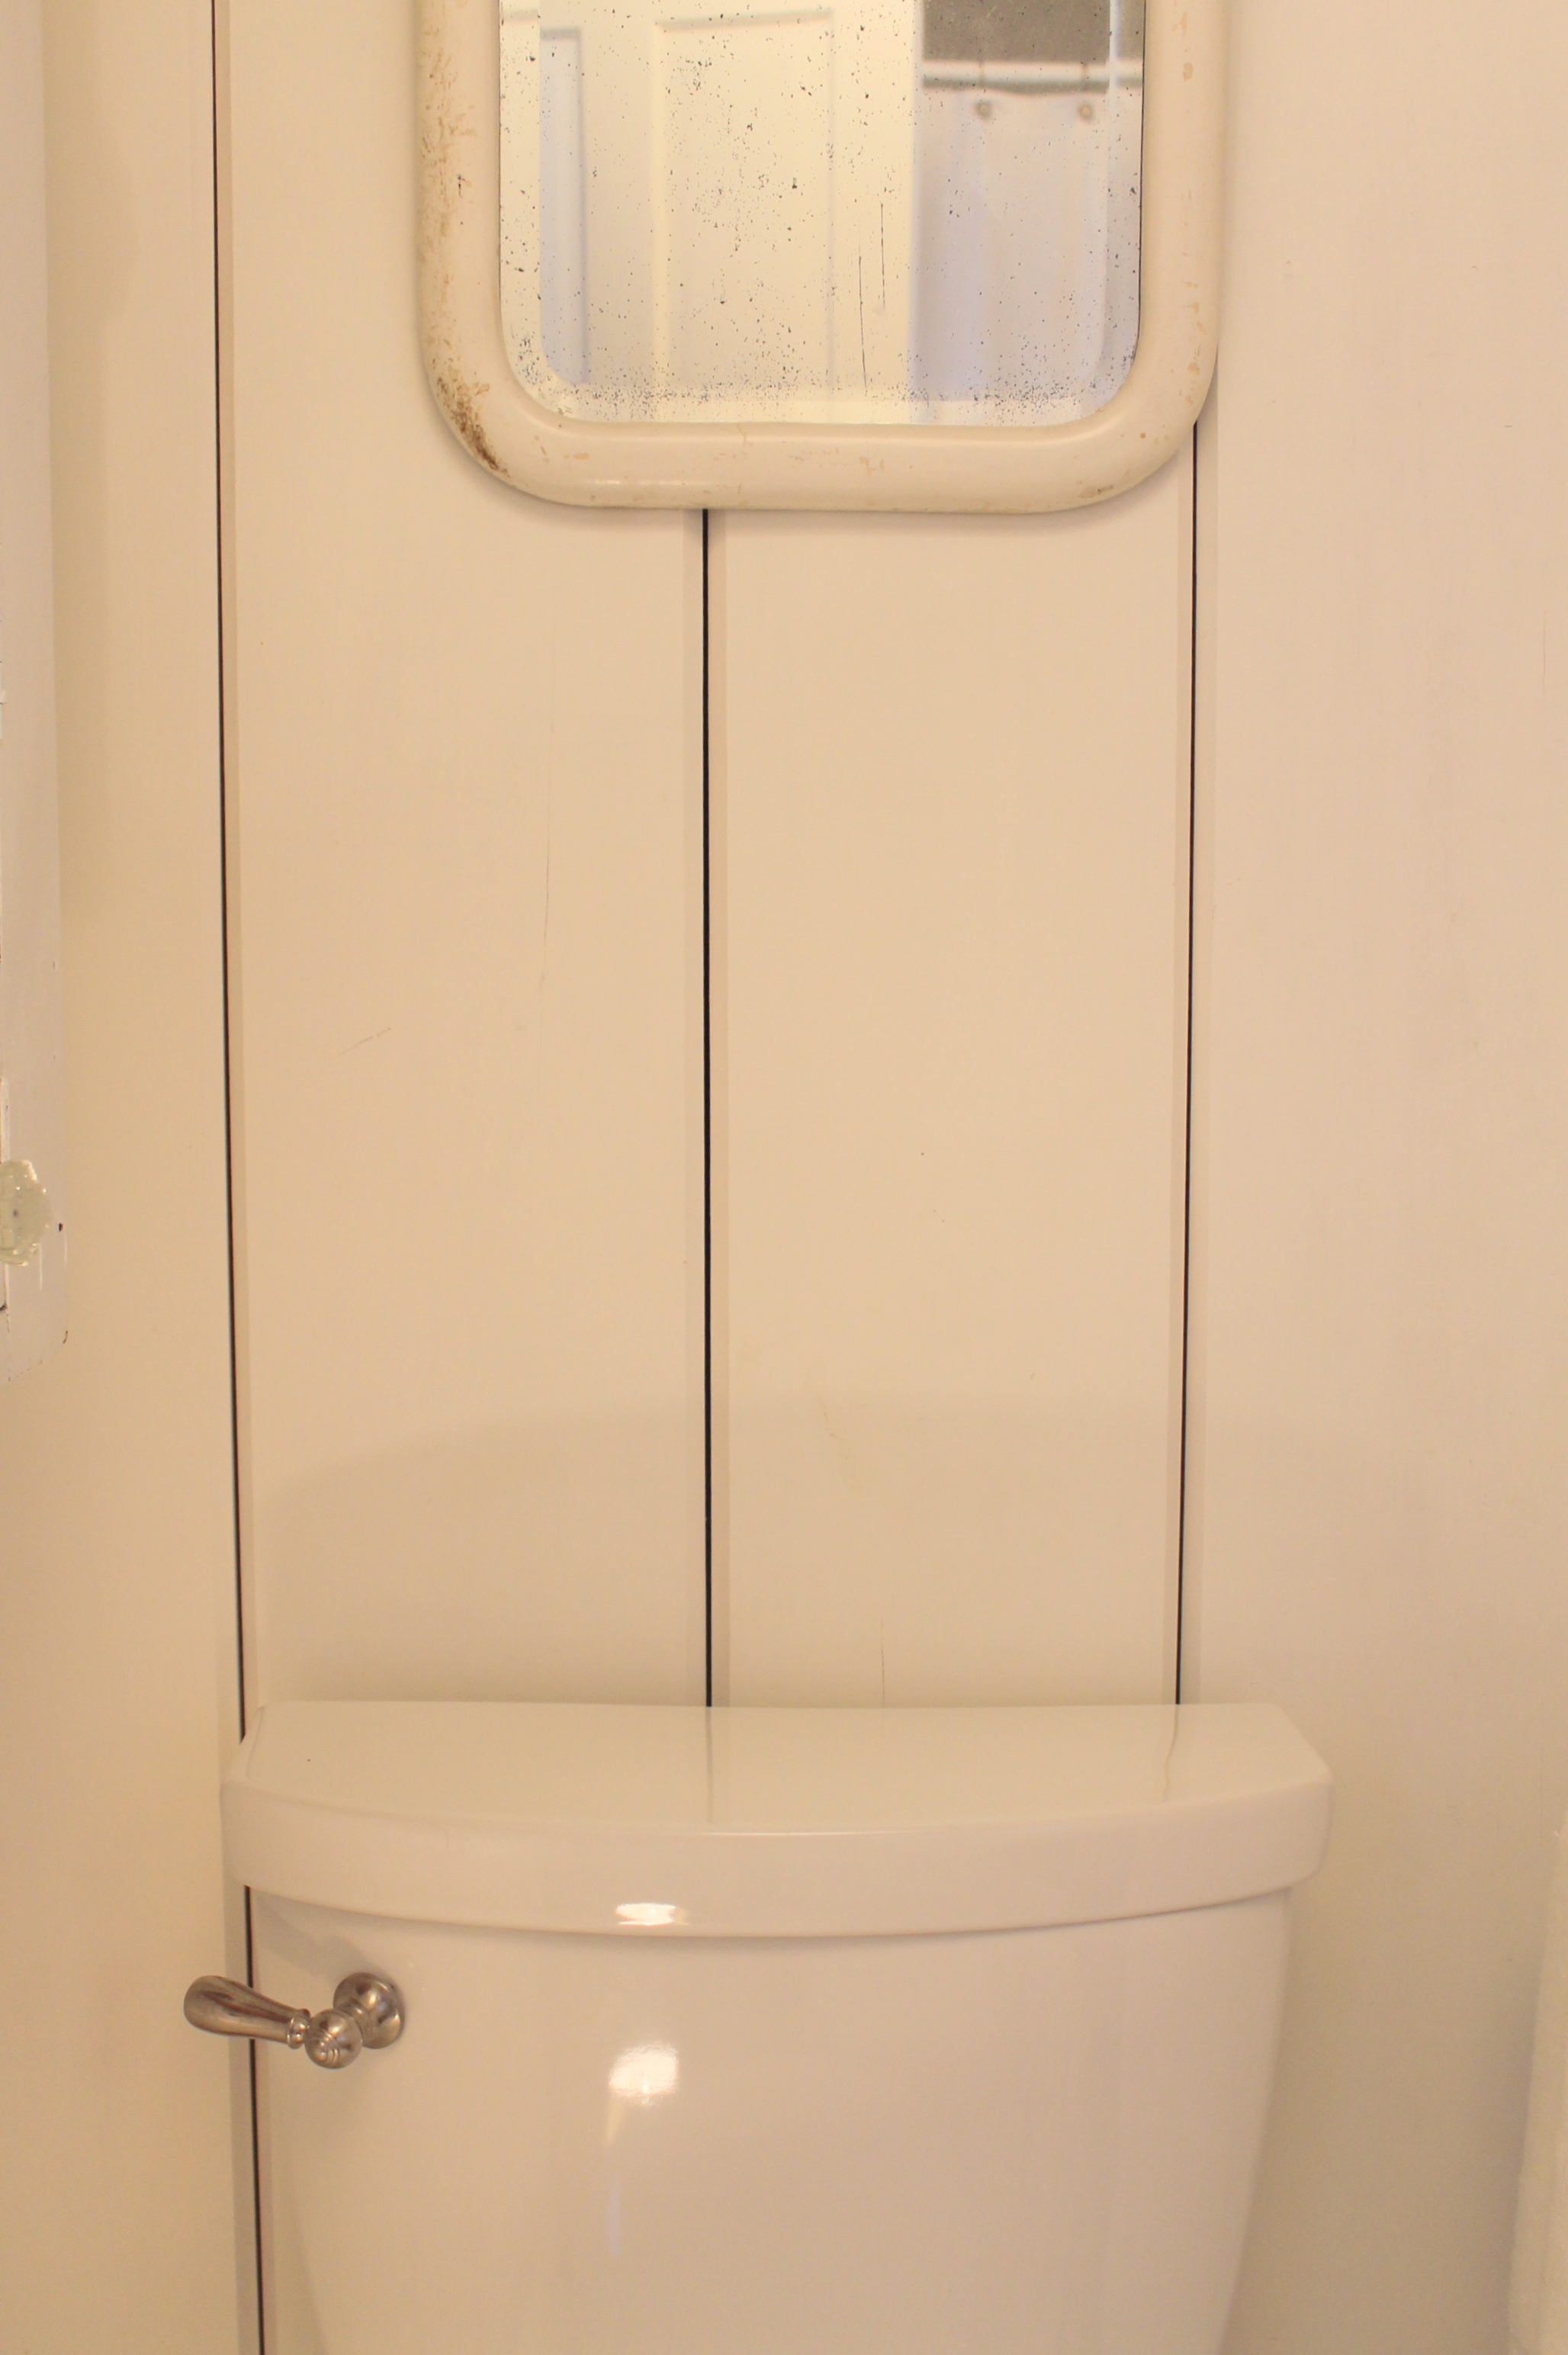
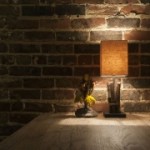
Upstairs bathroom Before.
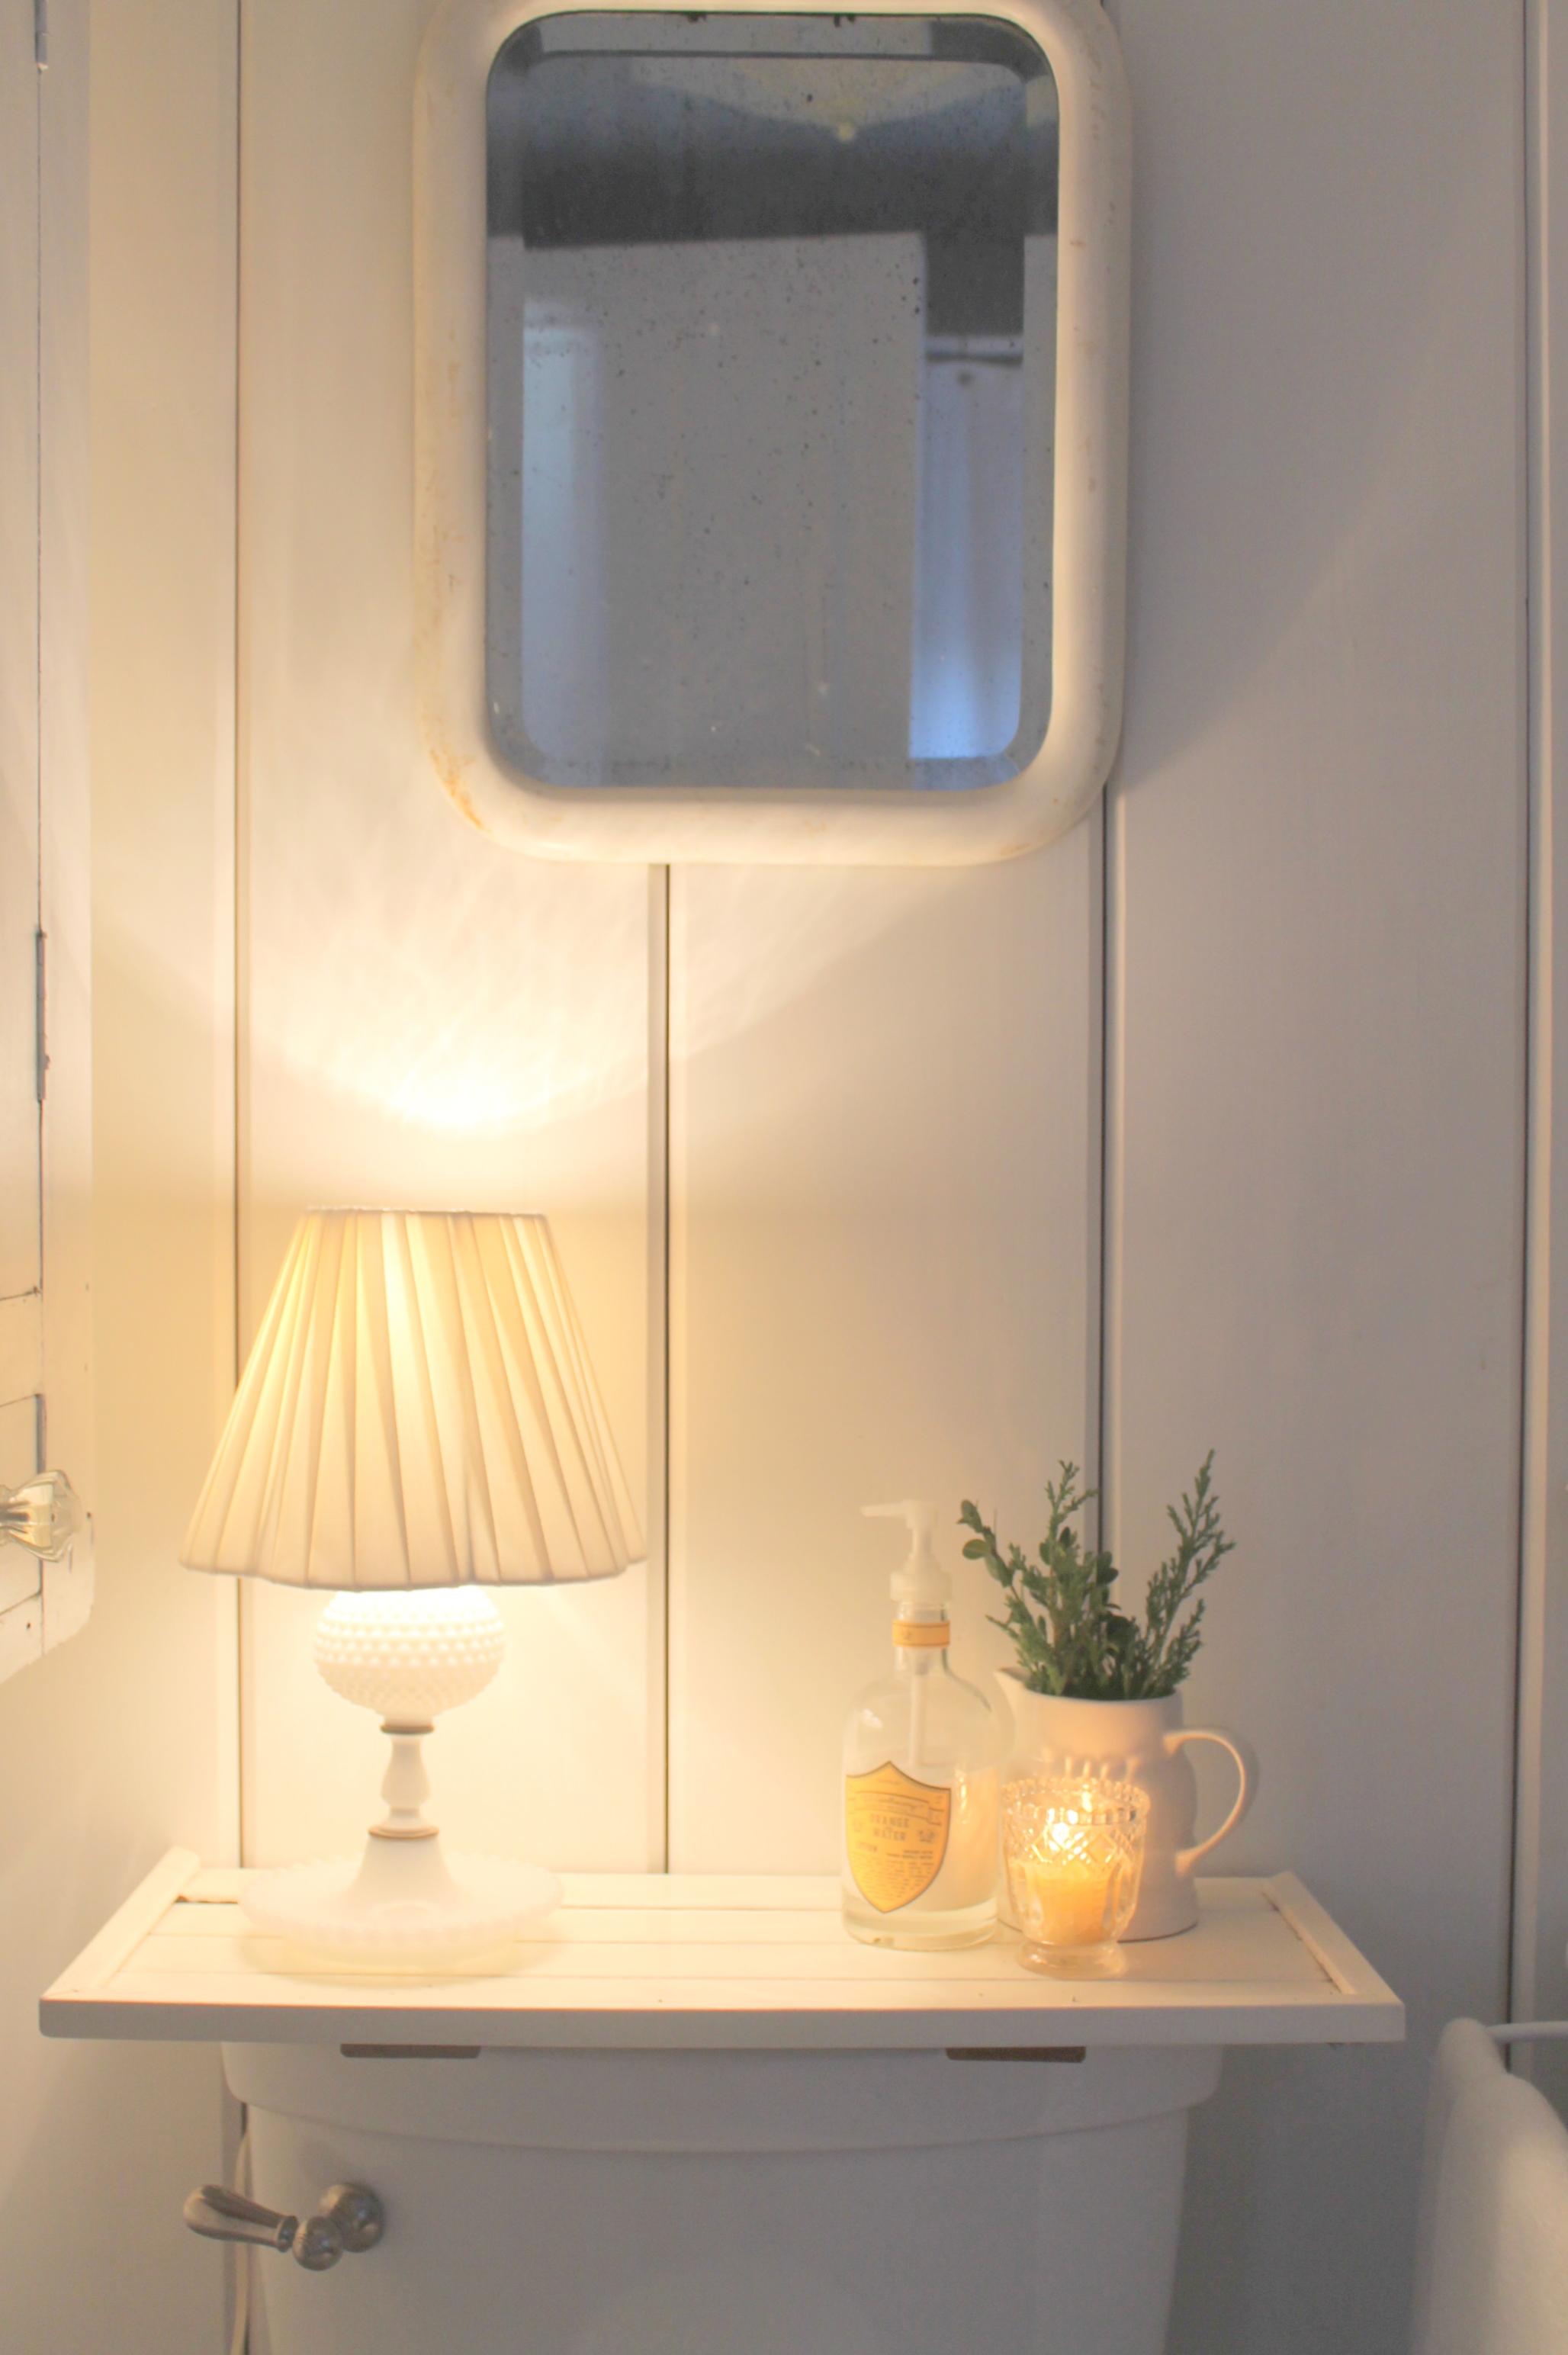
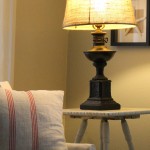
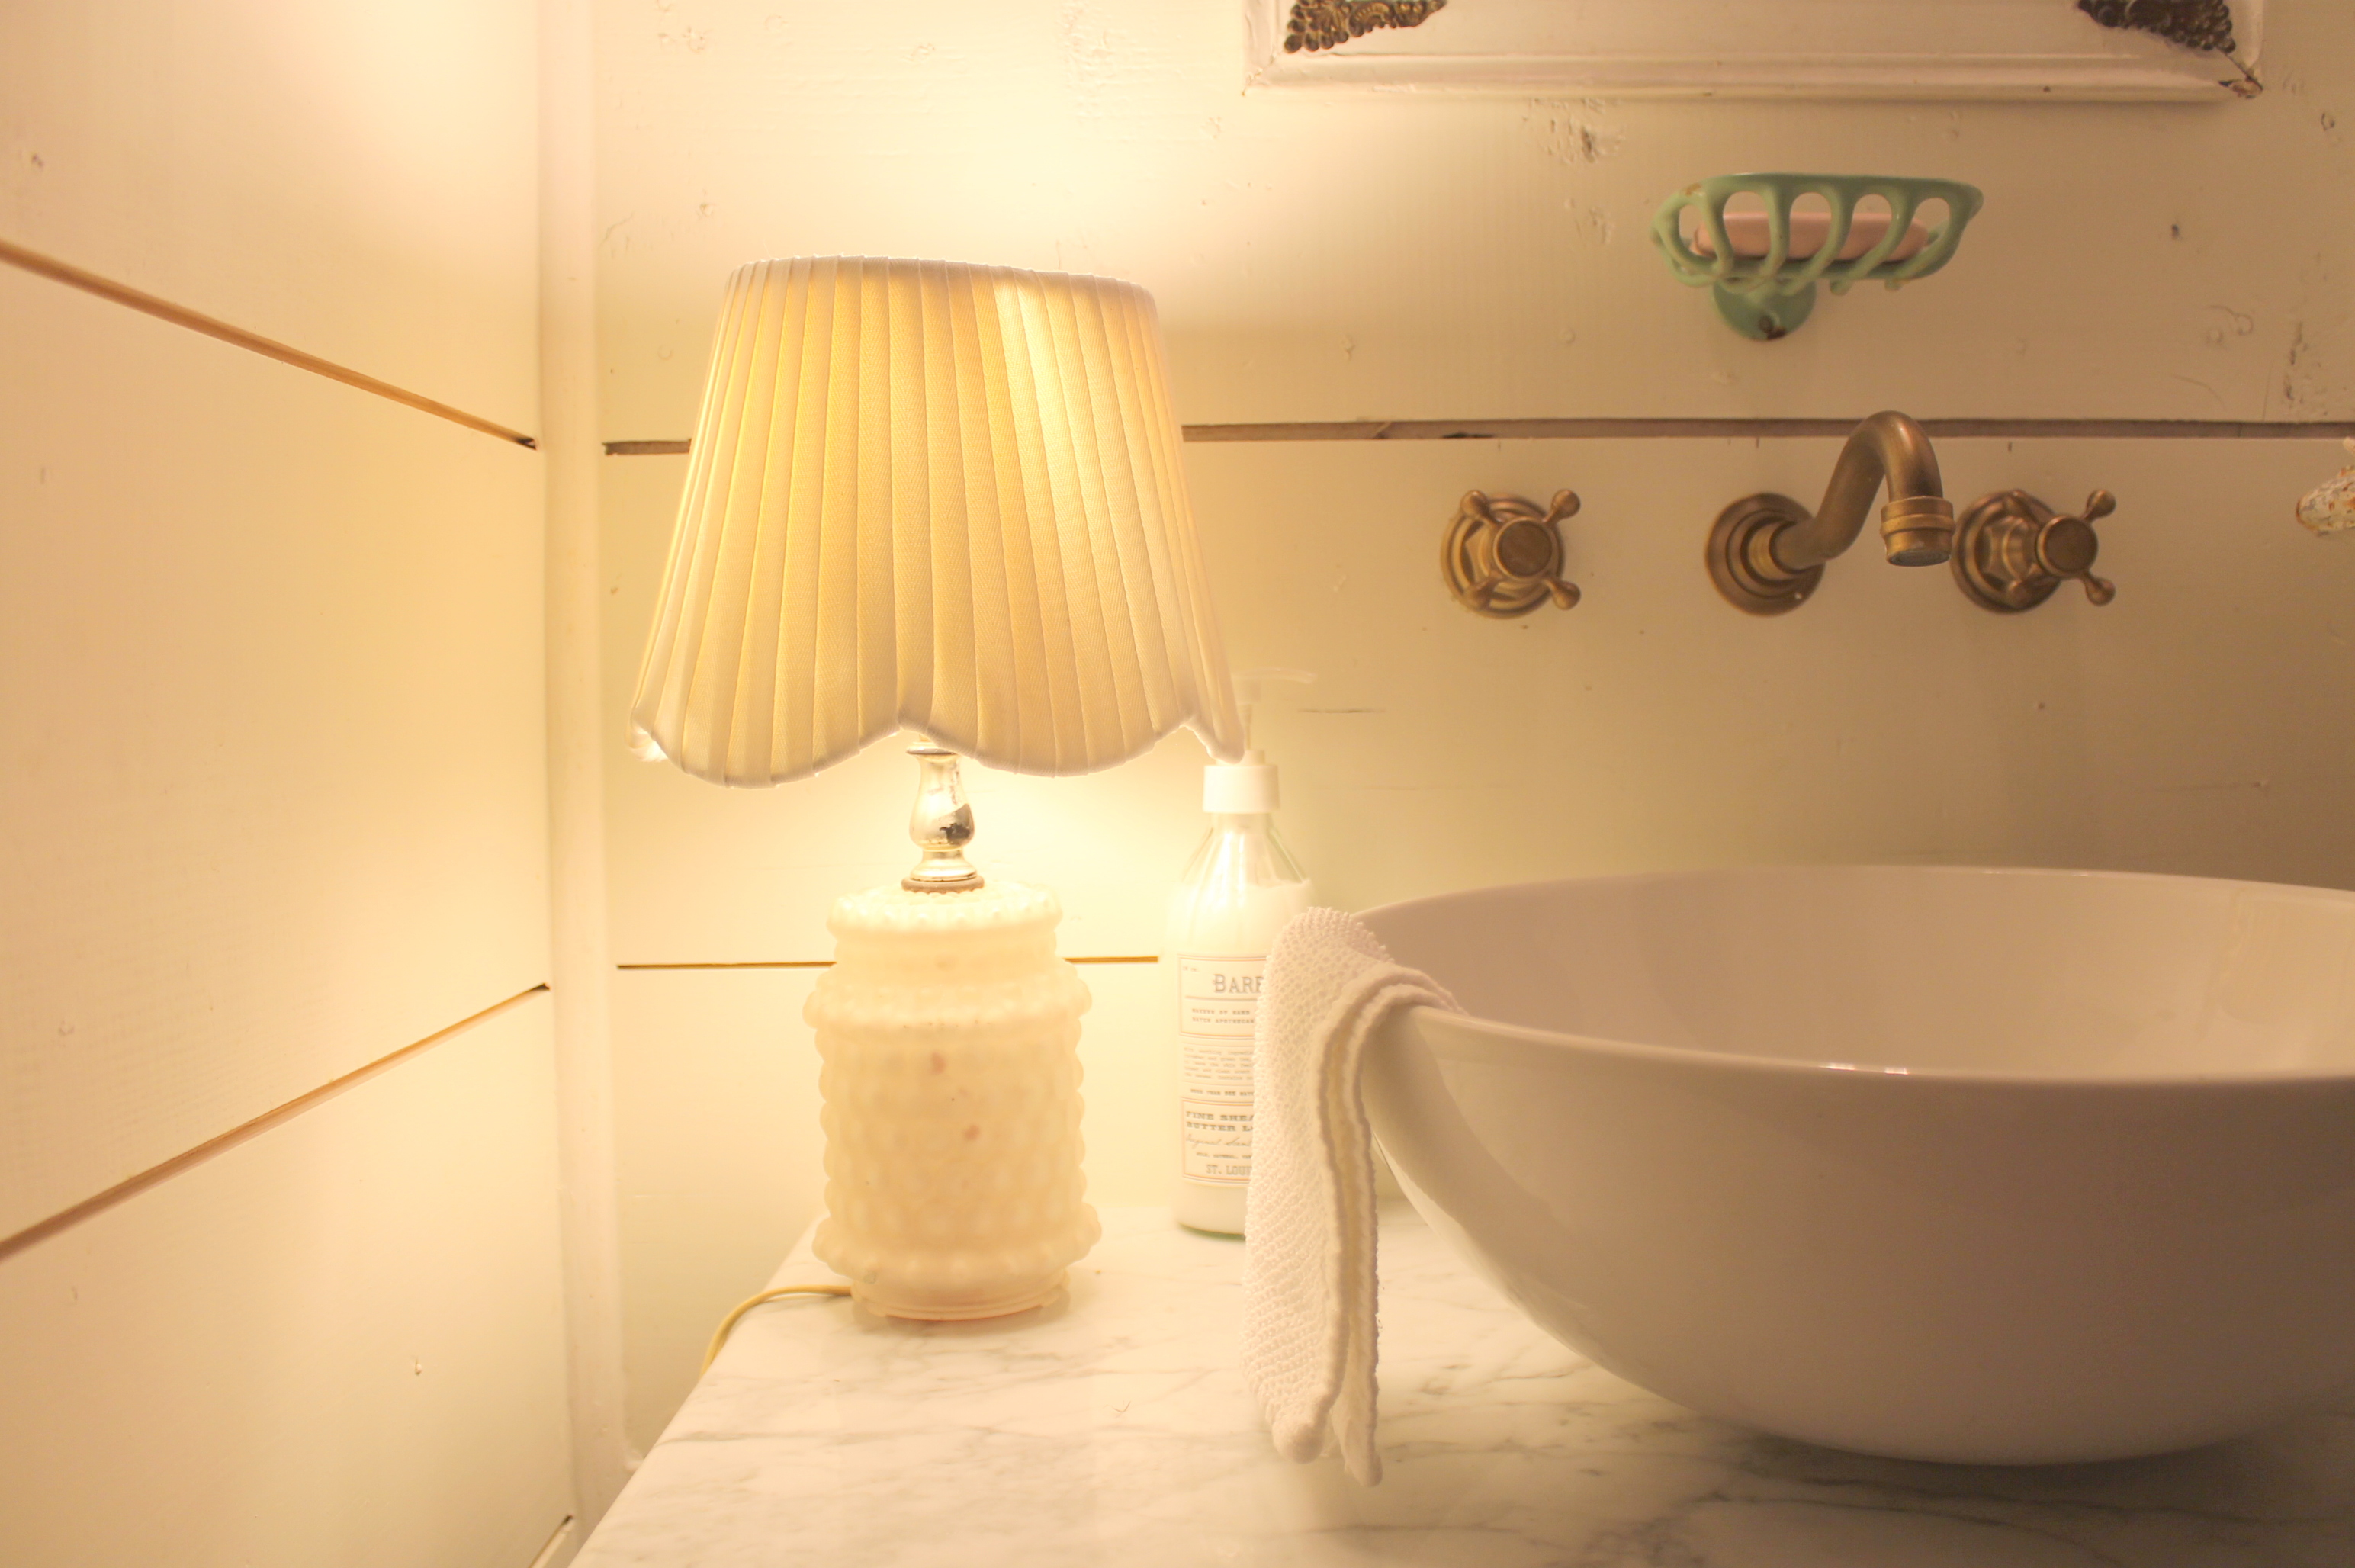
After. The lovely scalloped shade was a perfect foil for this treatment. Adds some panache to the vintage white hobnail lamp.