I have become quite keen on a new cooking show on Food Network, Farmhouse Rules. Basically, anything with the word Farmhouse always catches my attention. In one episode, they made cocktails using a mason jar cocktail shaker. I was hooked…I had to have it. A little mining the internet and voila. I found the website: http://www.masonshaker.com/
With this new gadget, I am looking forward to experimenting with simple syrups and flavor components to create really great cocktails.
I hope in the New Year, you find some inspiration.
Always,
Cindy

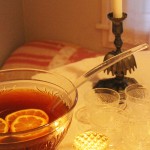
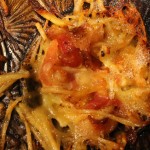
Savory and refreshing.

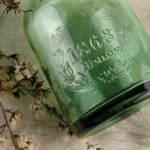
Mason Cocktail Shaker.