Pie with sprinkles? To be or not to be? That is the question. Answer: Sure. Why not?
Funny thing happened this weekend. My washing machine broke and I found myself with extra time on my hands. Until now, I had no appreciation how much laundry I do on the weekends.
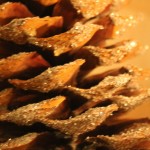
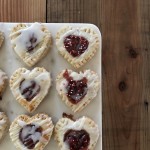
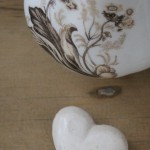
So I decided to make heart shaped hand pies as an experiment. Turned out pretty well. In life as in hand pies, sprinkles are optional, but I thought they added a festive touch.
No big secrets here. I used a pie crust recipe from Martha Stewart, canned cherry pie filling, almond flavored glaze and of course, sprinkles.
If I had to pinpoint any upgrade, it would be the almond flavored glaze. It added the right amount of sweetness to make this palm sized treat smile worthy.
I hope you find some inspiration.
Always,
Cindy
xoxo
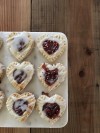
Hear Shaped, Cherry Filling. Almond Glaze. Classic.