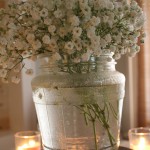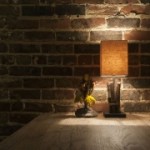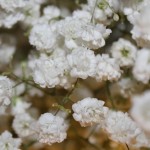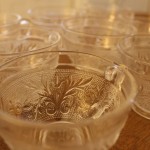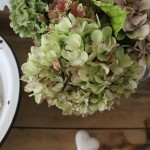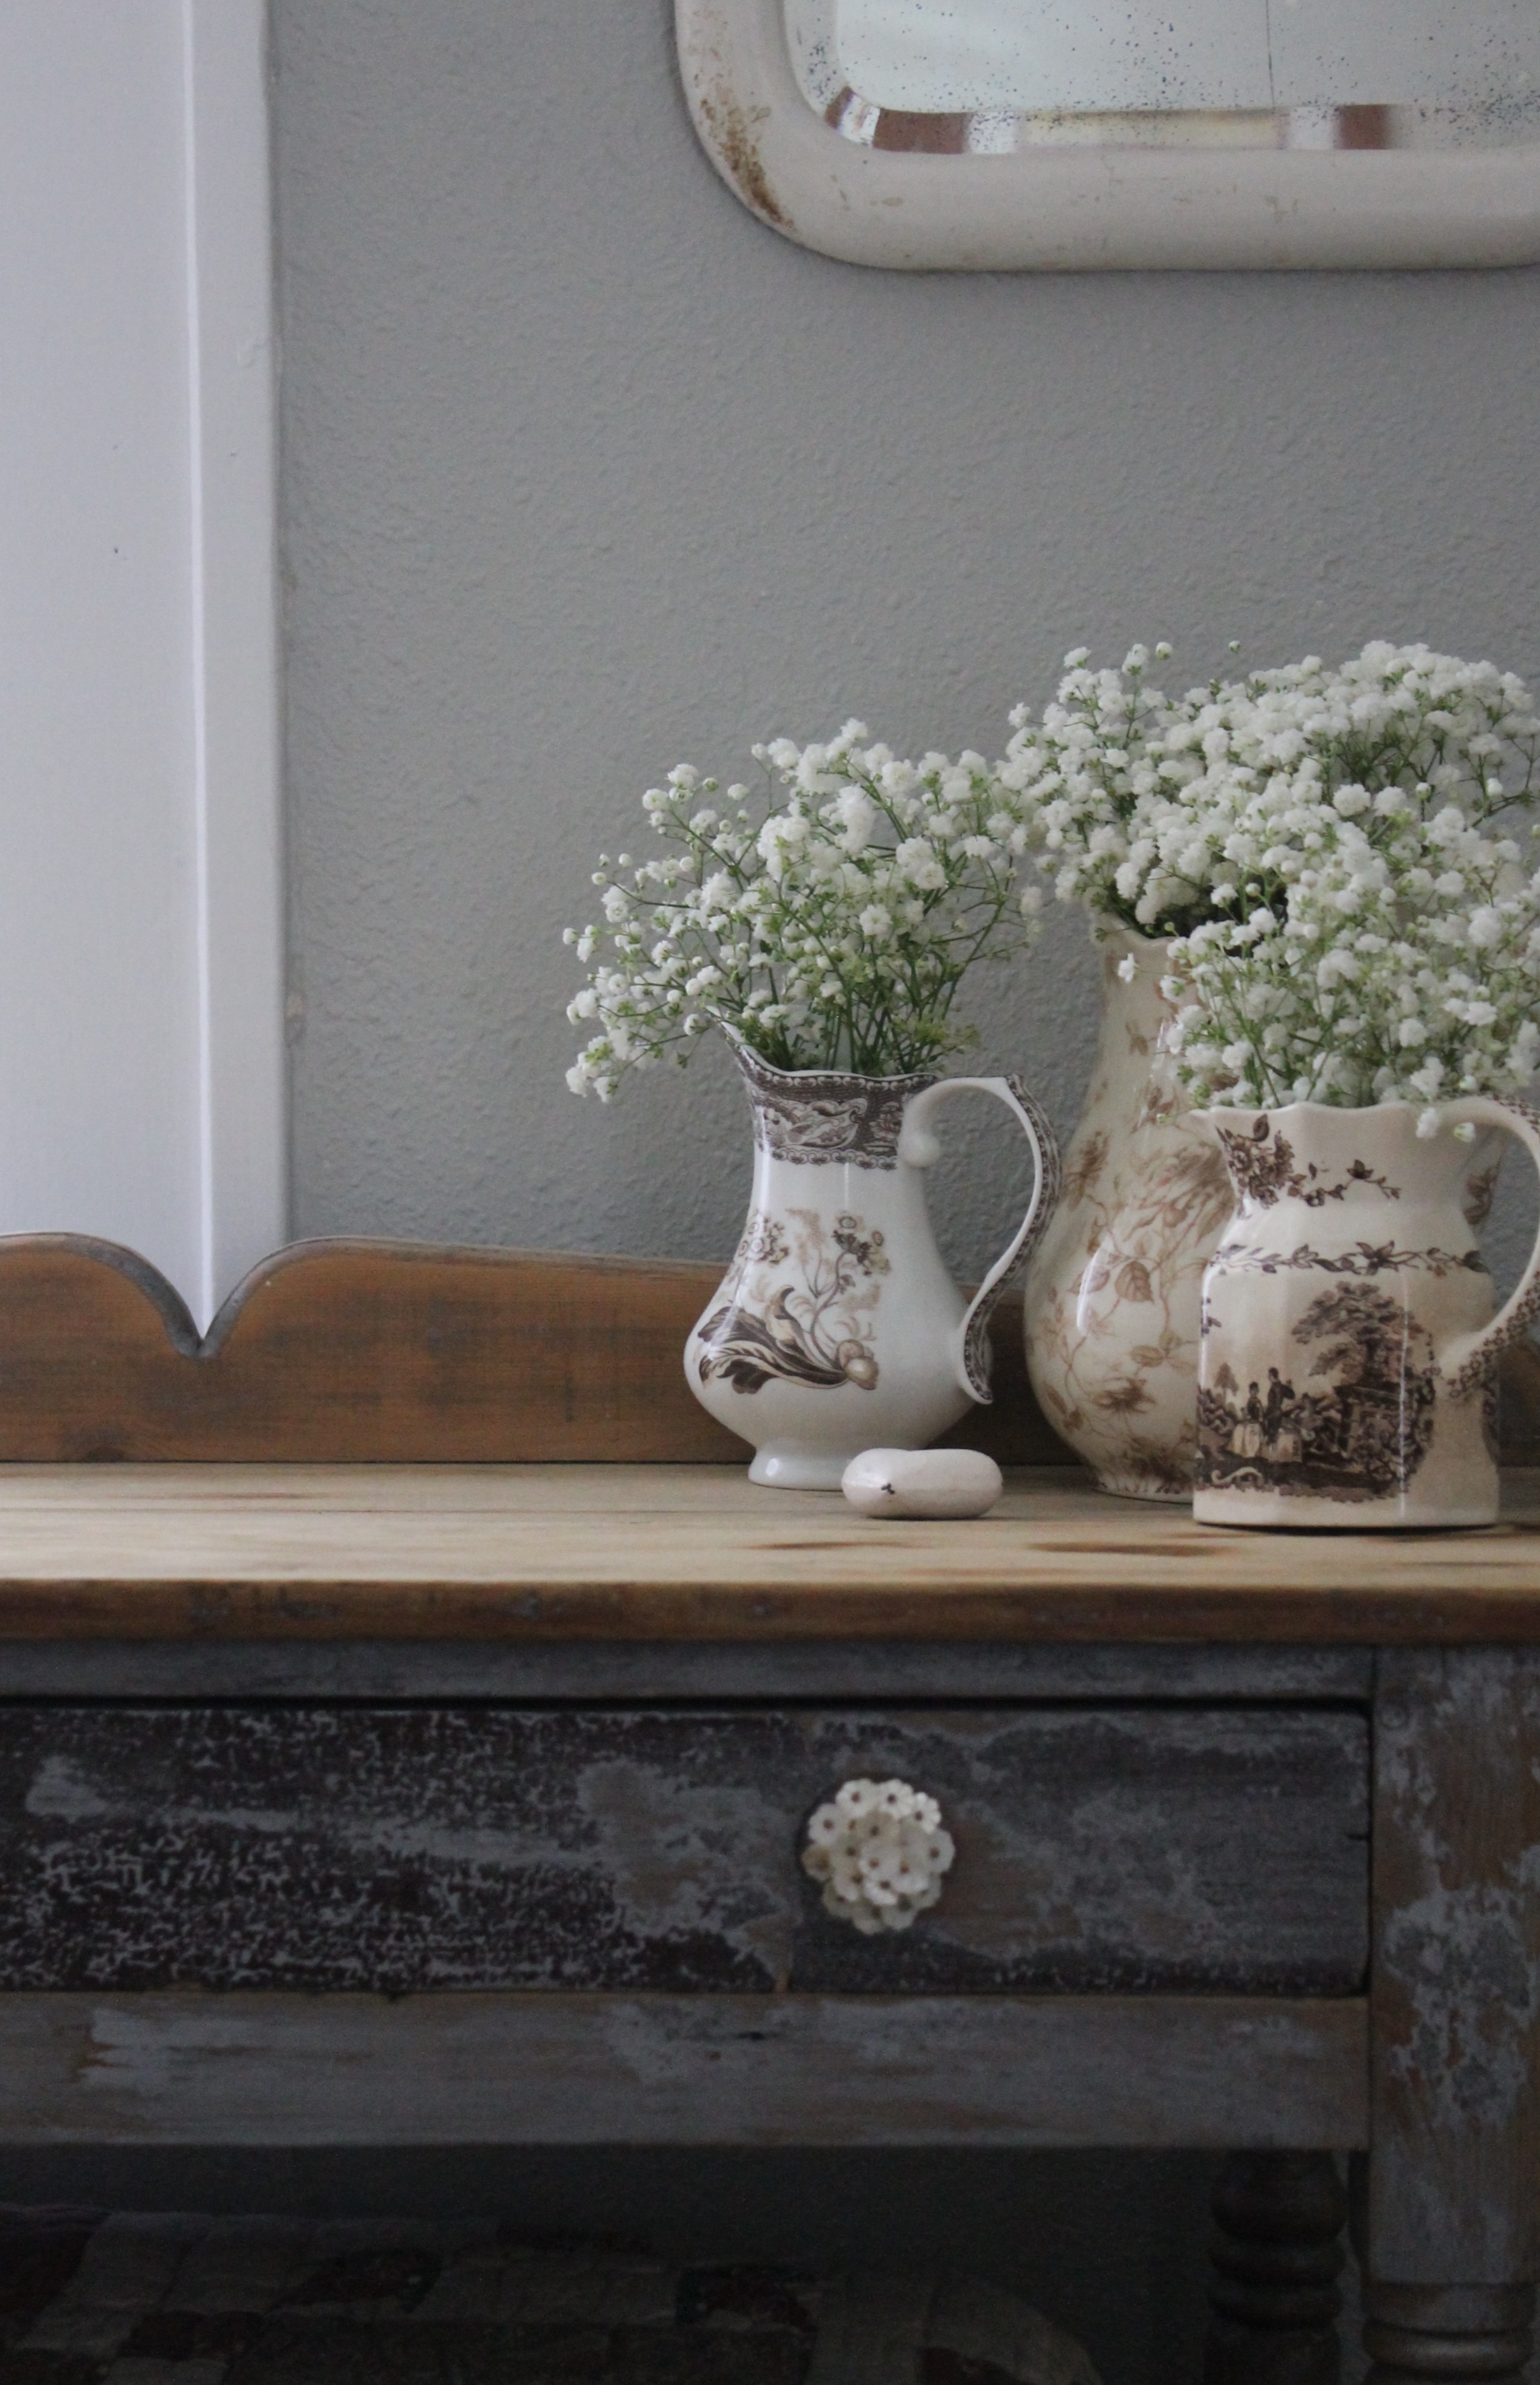
Baby’s Breath in antique vessels.
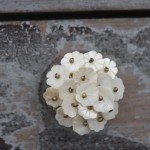
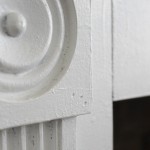
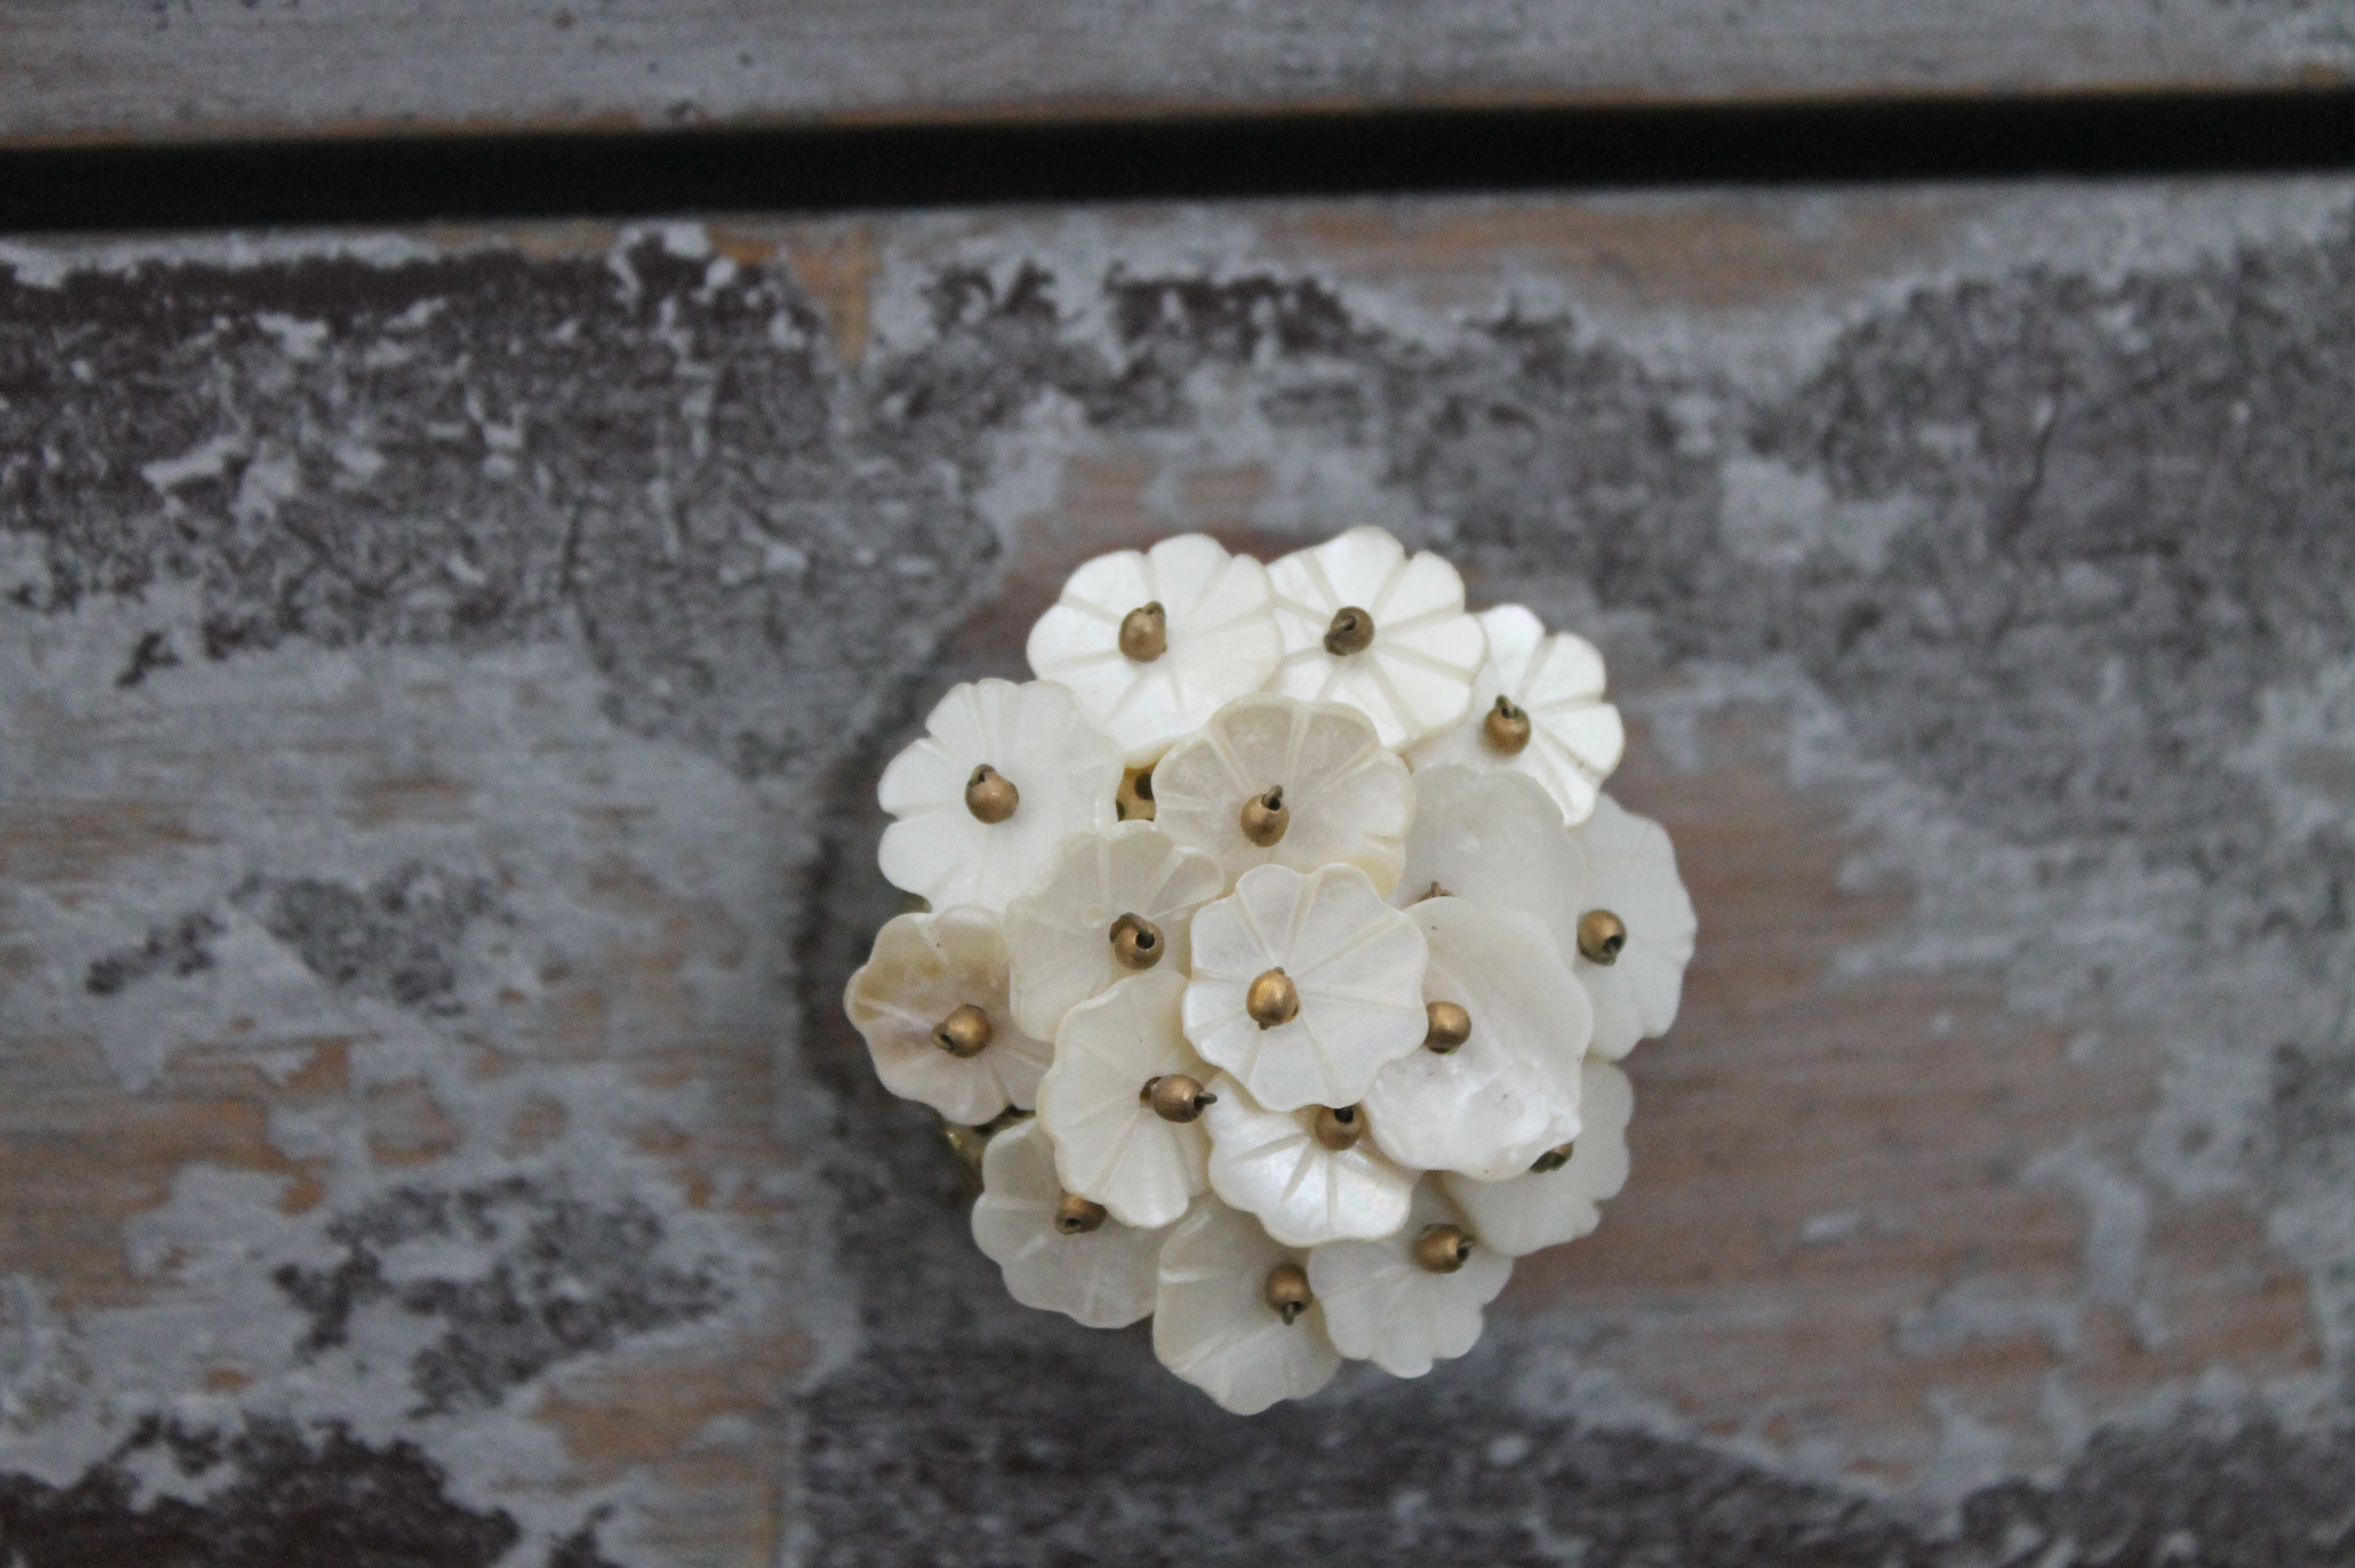
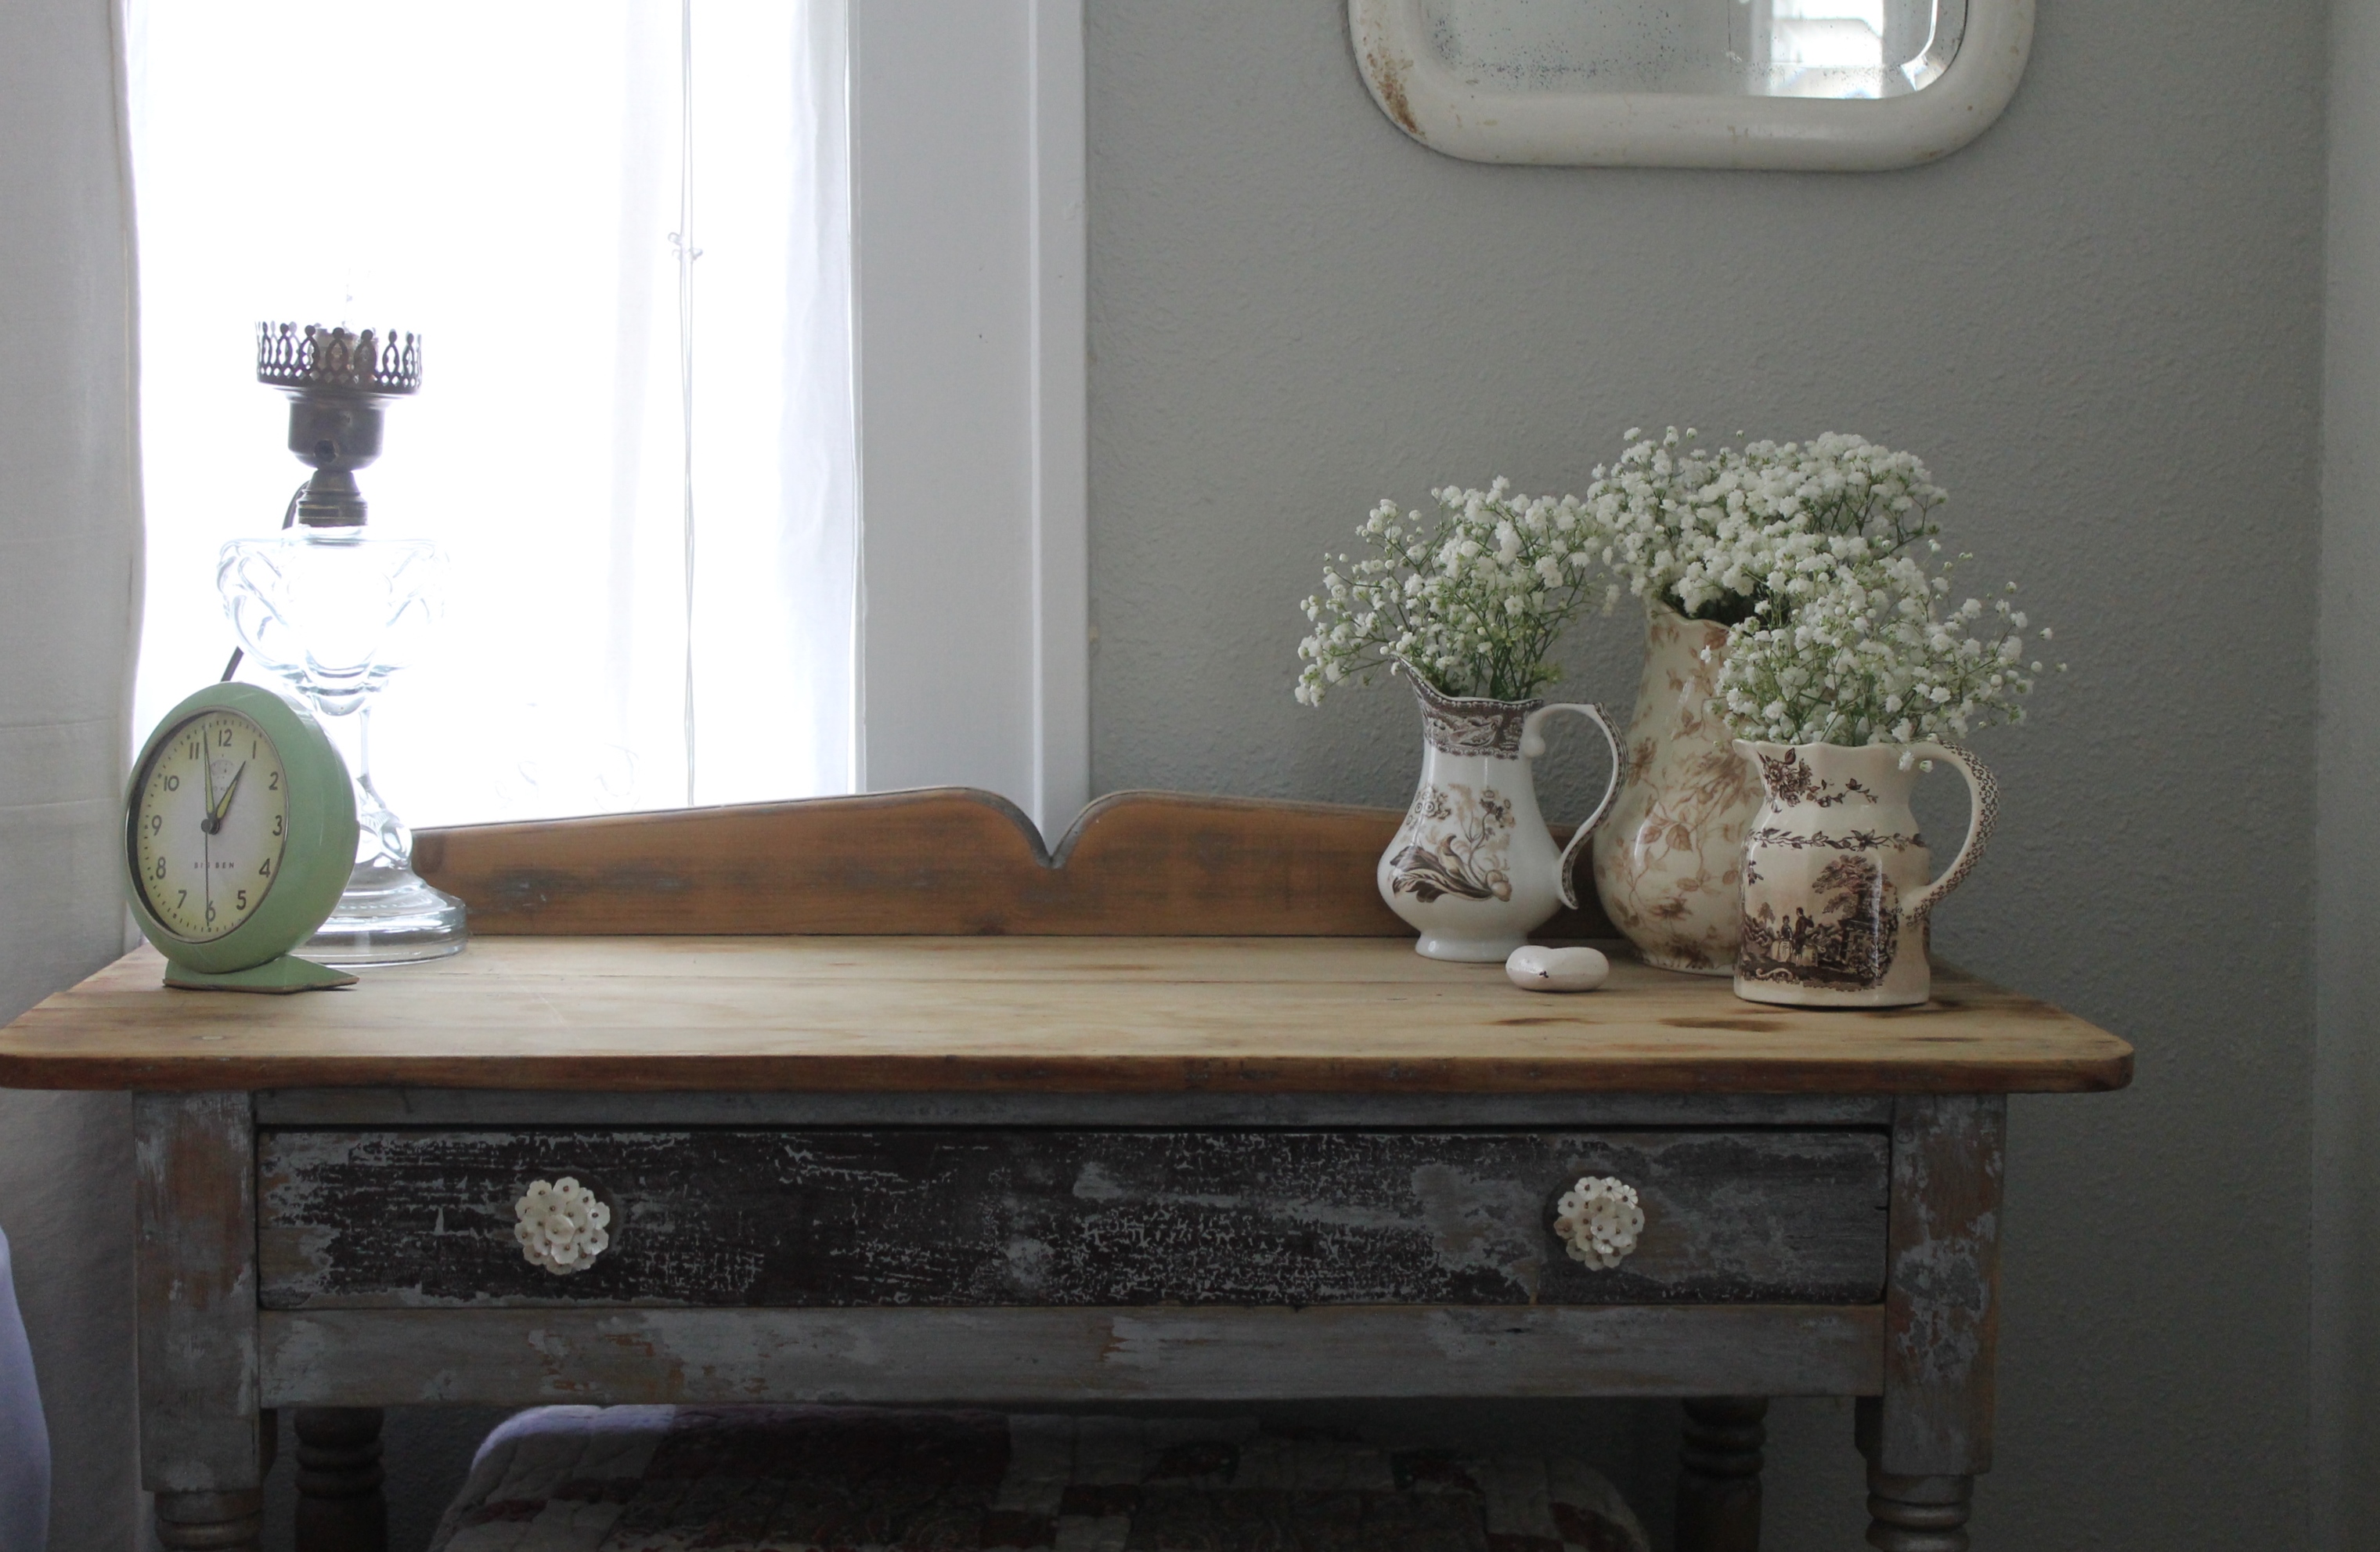
I’m not prone to fill my house with market items, as I prefer to fill my home with antiques and vintage items. But sometimes when you find a market item with the right vibe, it doesn’t matter that it isn’t old. These mother of pearl drawer pulls with brass centers is just such an item.
Waiting in line to pay for my merchandise at Home Goods, no less…standing by all the impulse buy displays, I spied these lovely little drawer pulls that amount to mother or pearl flowers with a brass bead for a center.
Bunched together, they look like a lovely bouquet of Baby’s Breath. The neutral tone of the mother of pearl flowers against the somewhat tarnished brass makes for a perfect foil of the rustic against the refined….my favorite style approach.
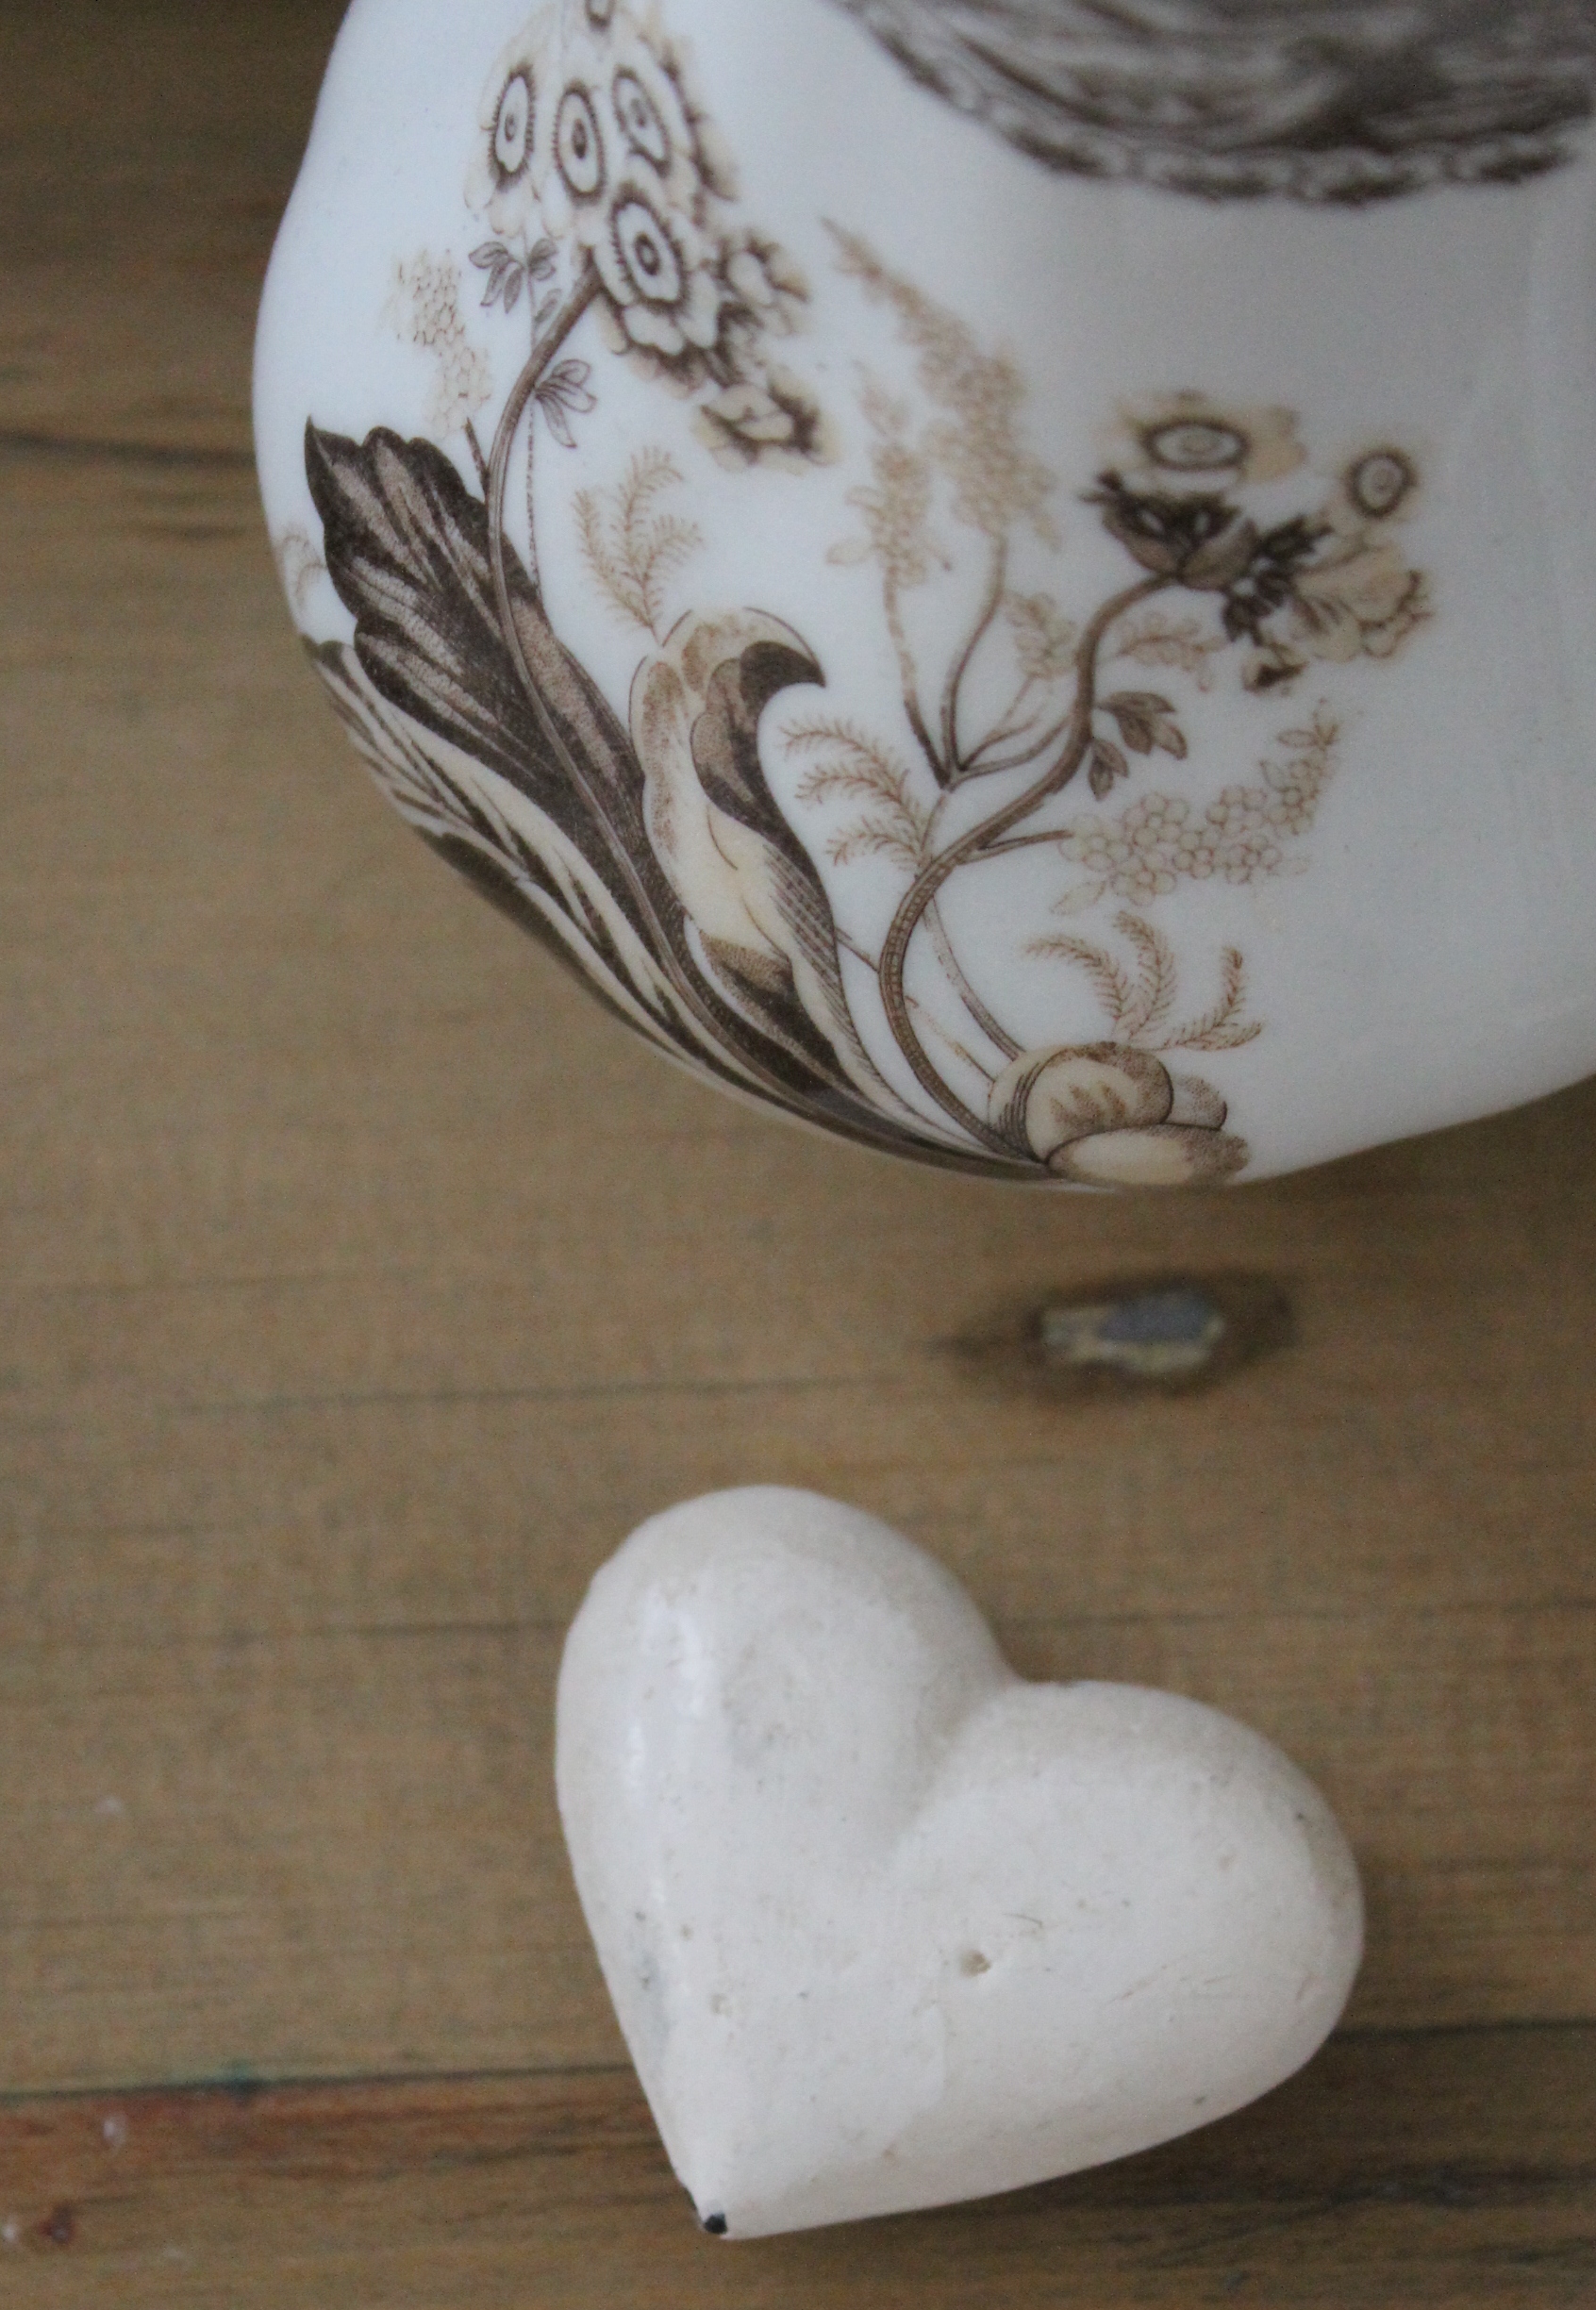
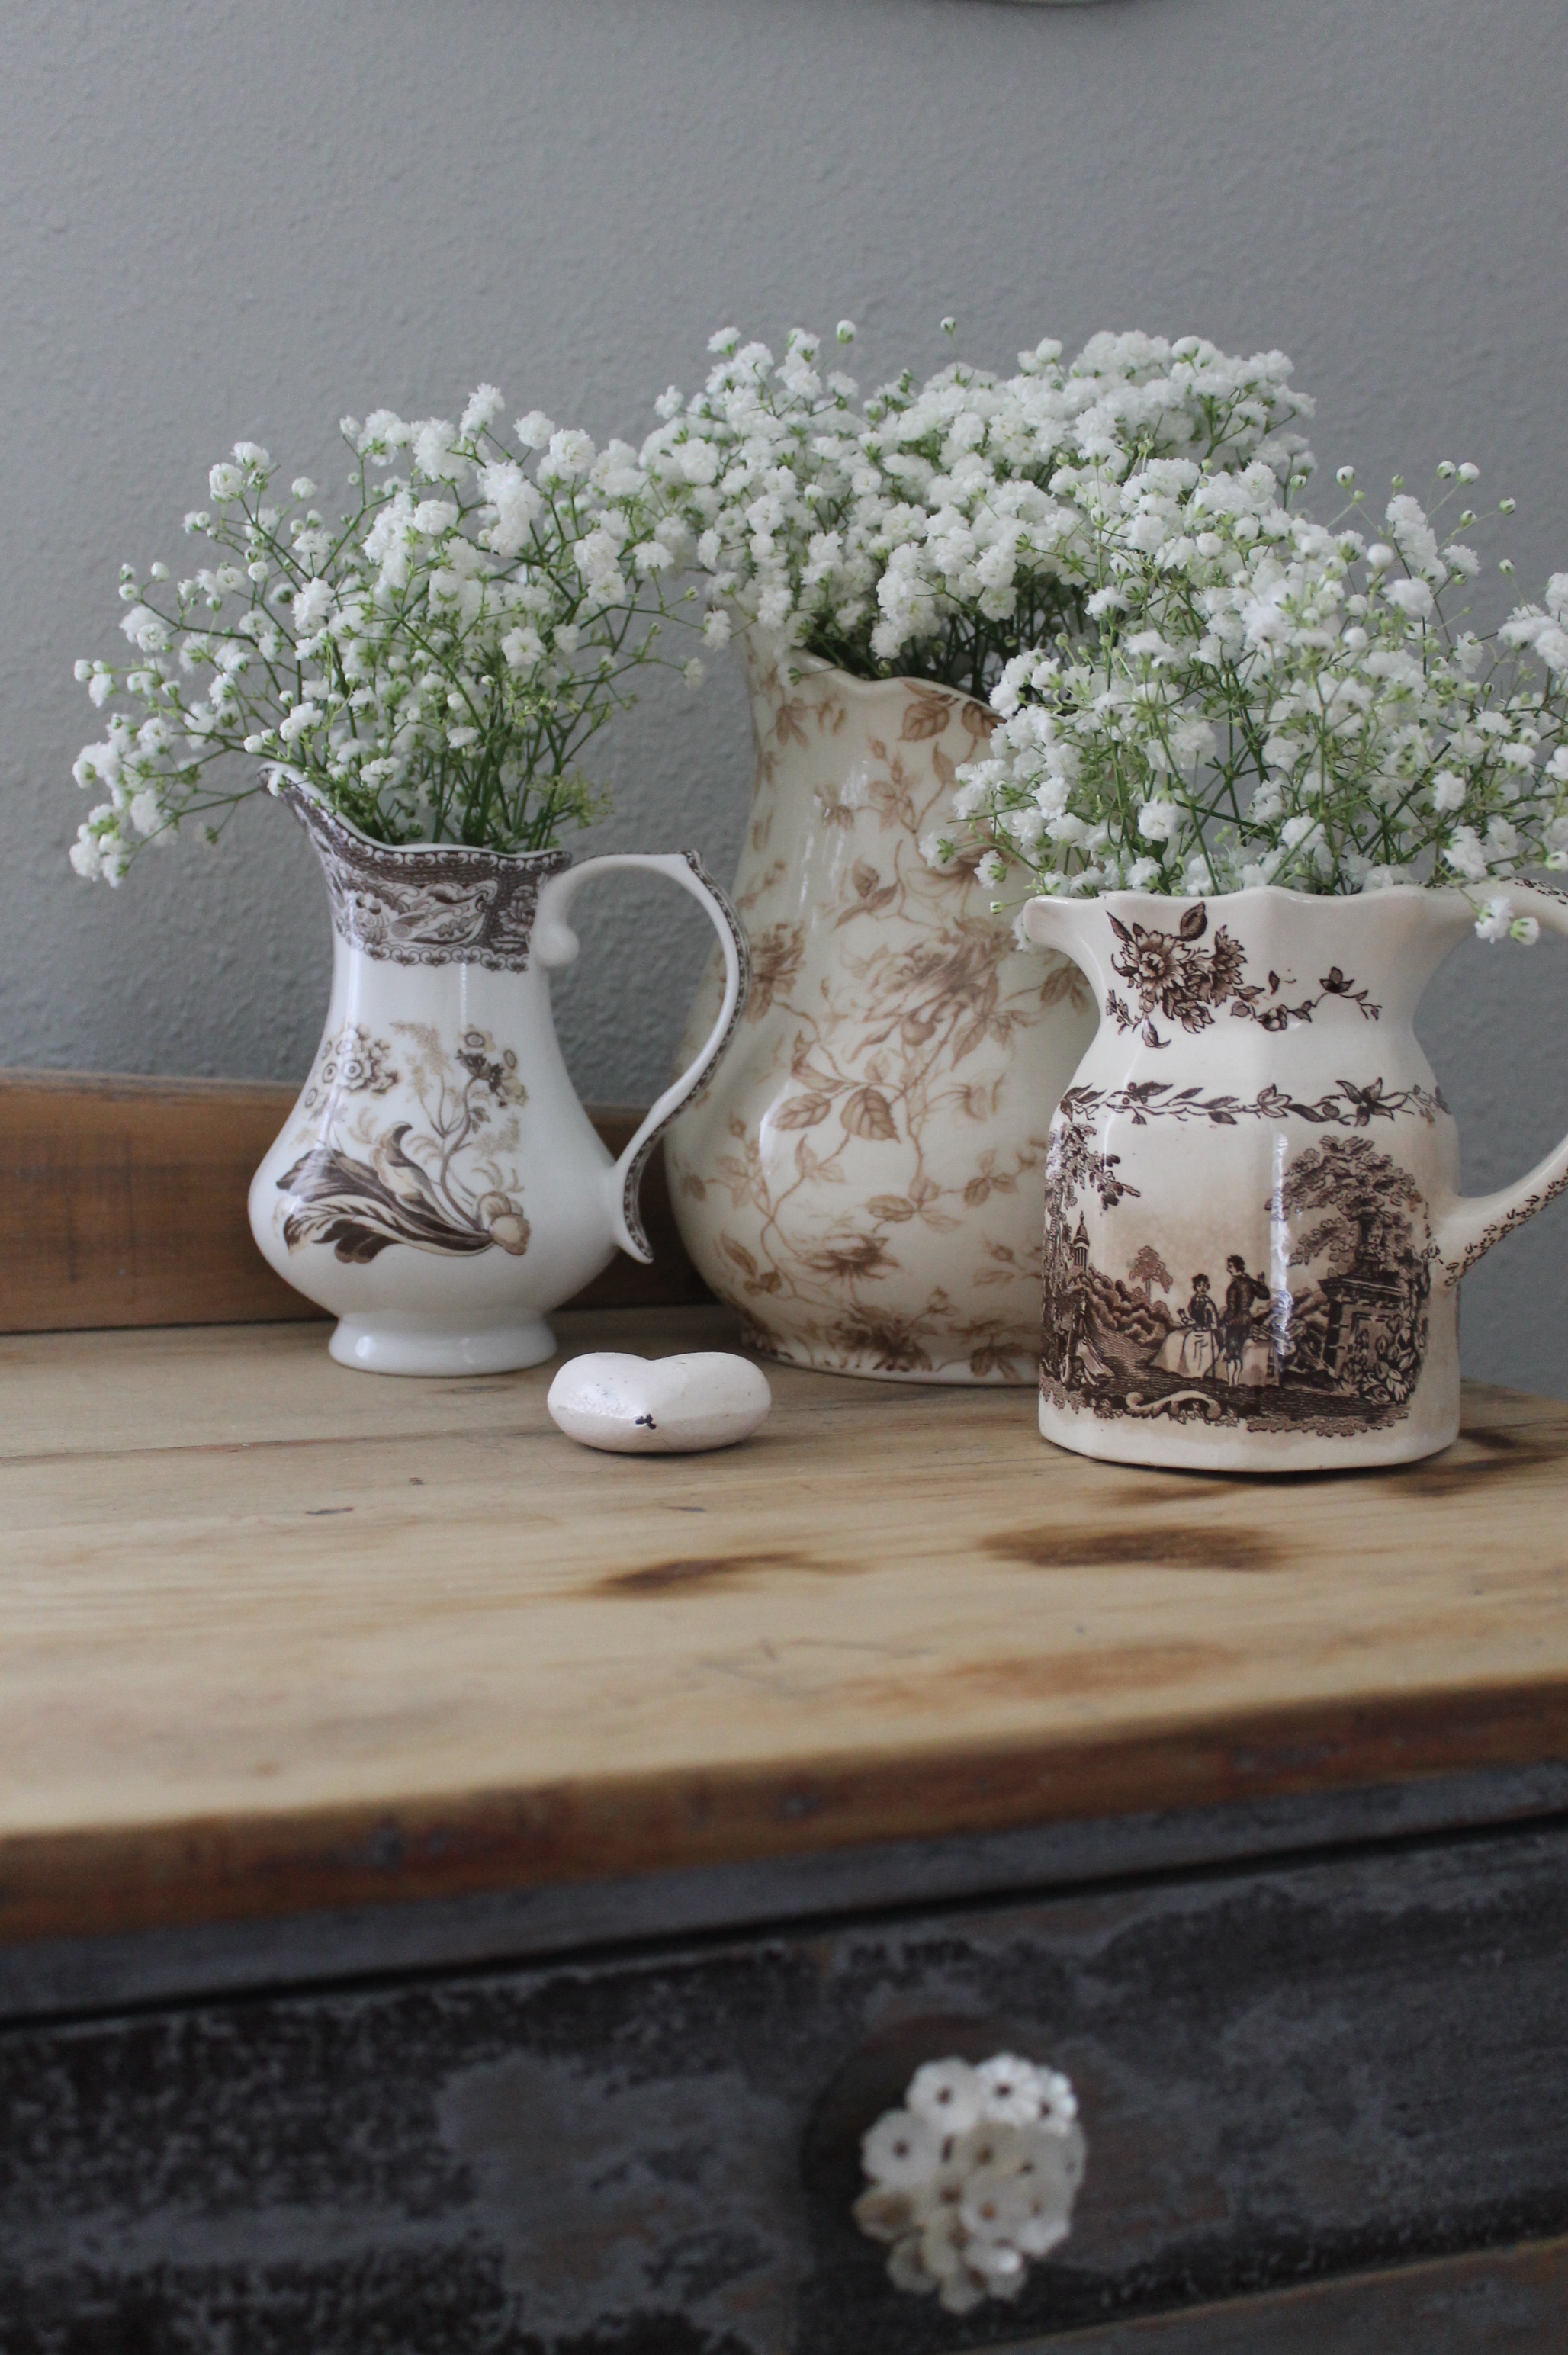
Trying to find the best place for them proved rather easy. I chose a bedside table where some vintage and antique brown transfer ware reside. There seemed to be a parallel between the cream and brown tones of the antique pitchers and the drawer pulls. It didn’t take much convincing…I was sold that this was the right place to put my great little market finds.
I hope you find some inspiration.
Always,
Cindy
Delicate little mother of pearl petals refine the old, crackled paint finish.
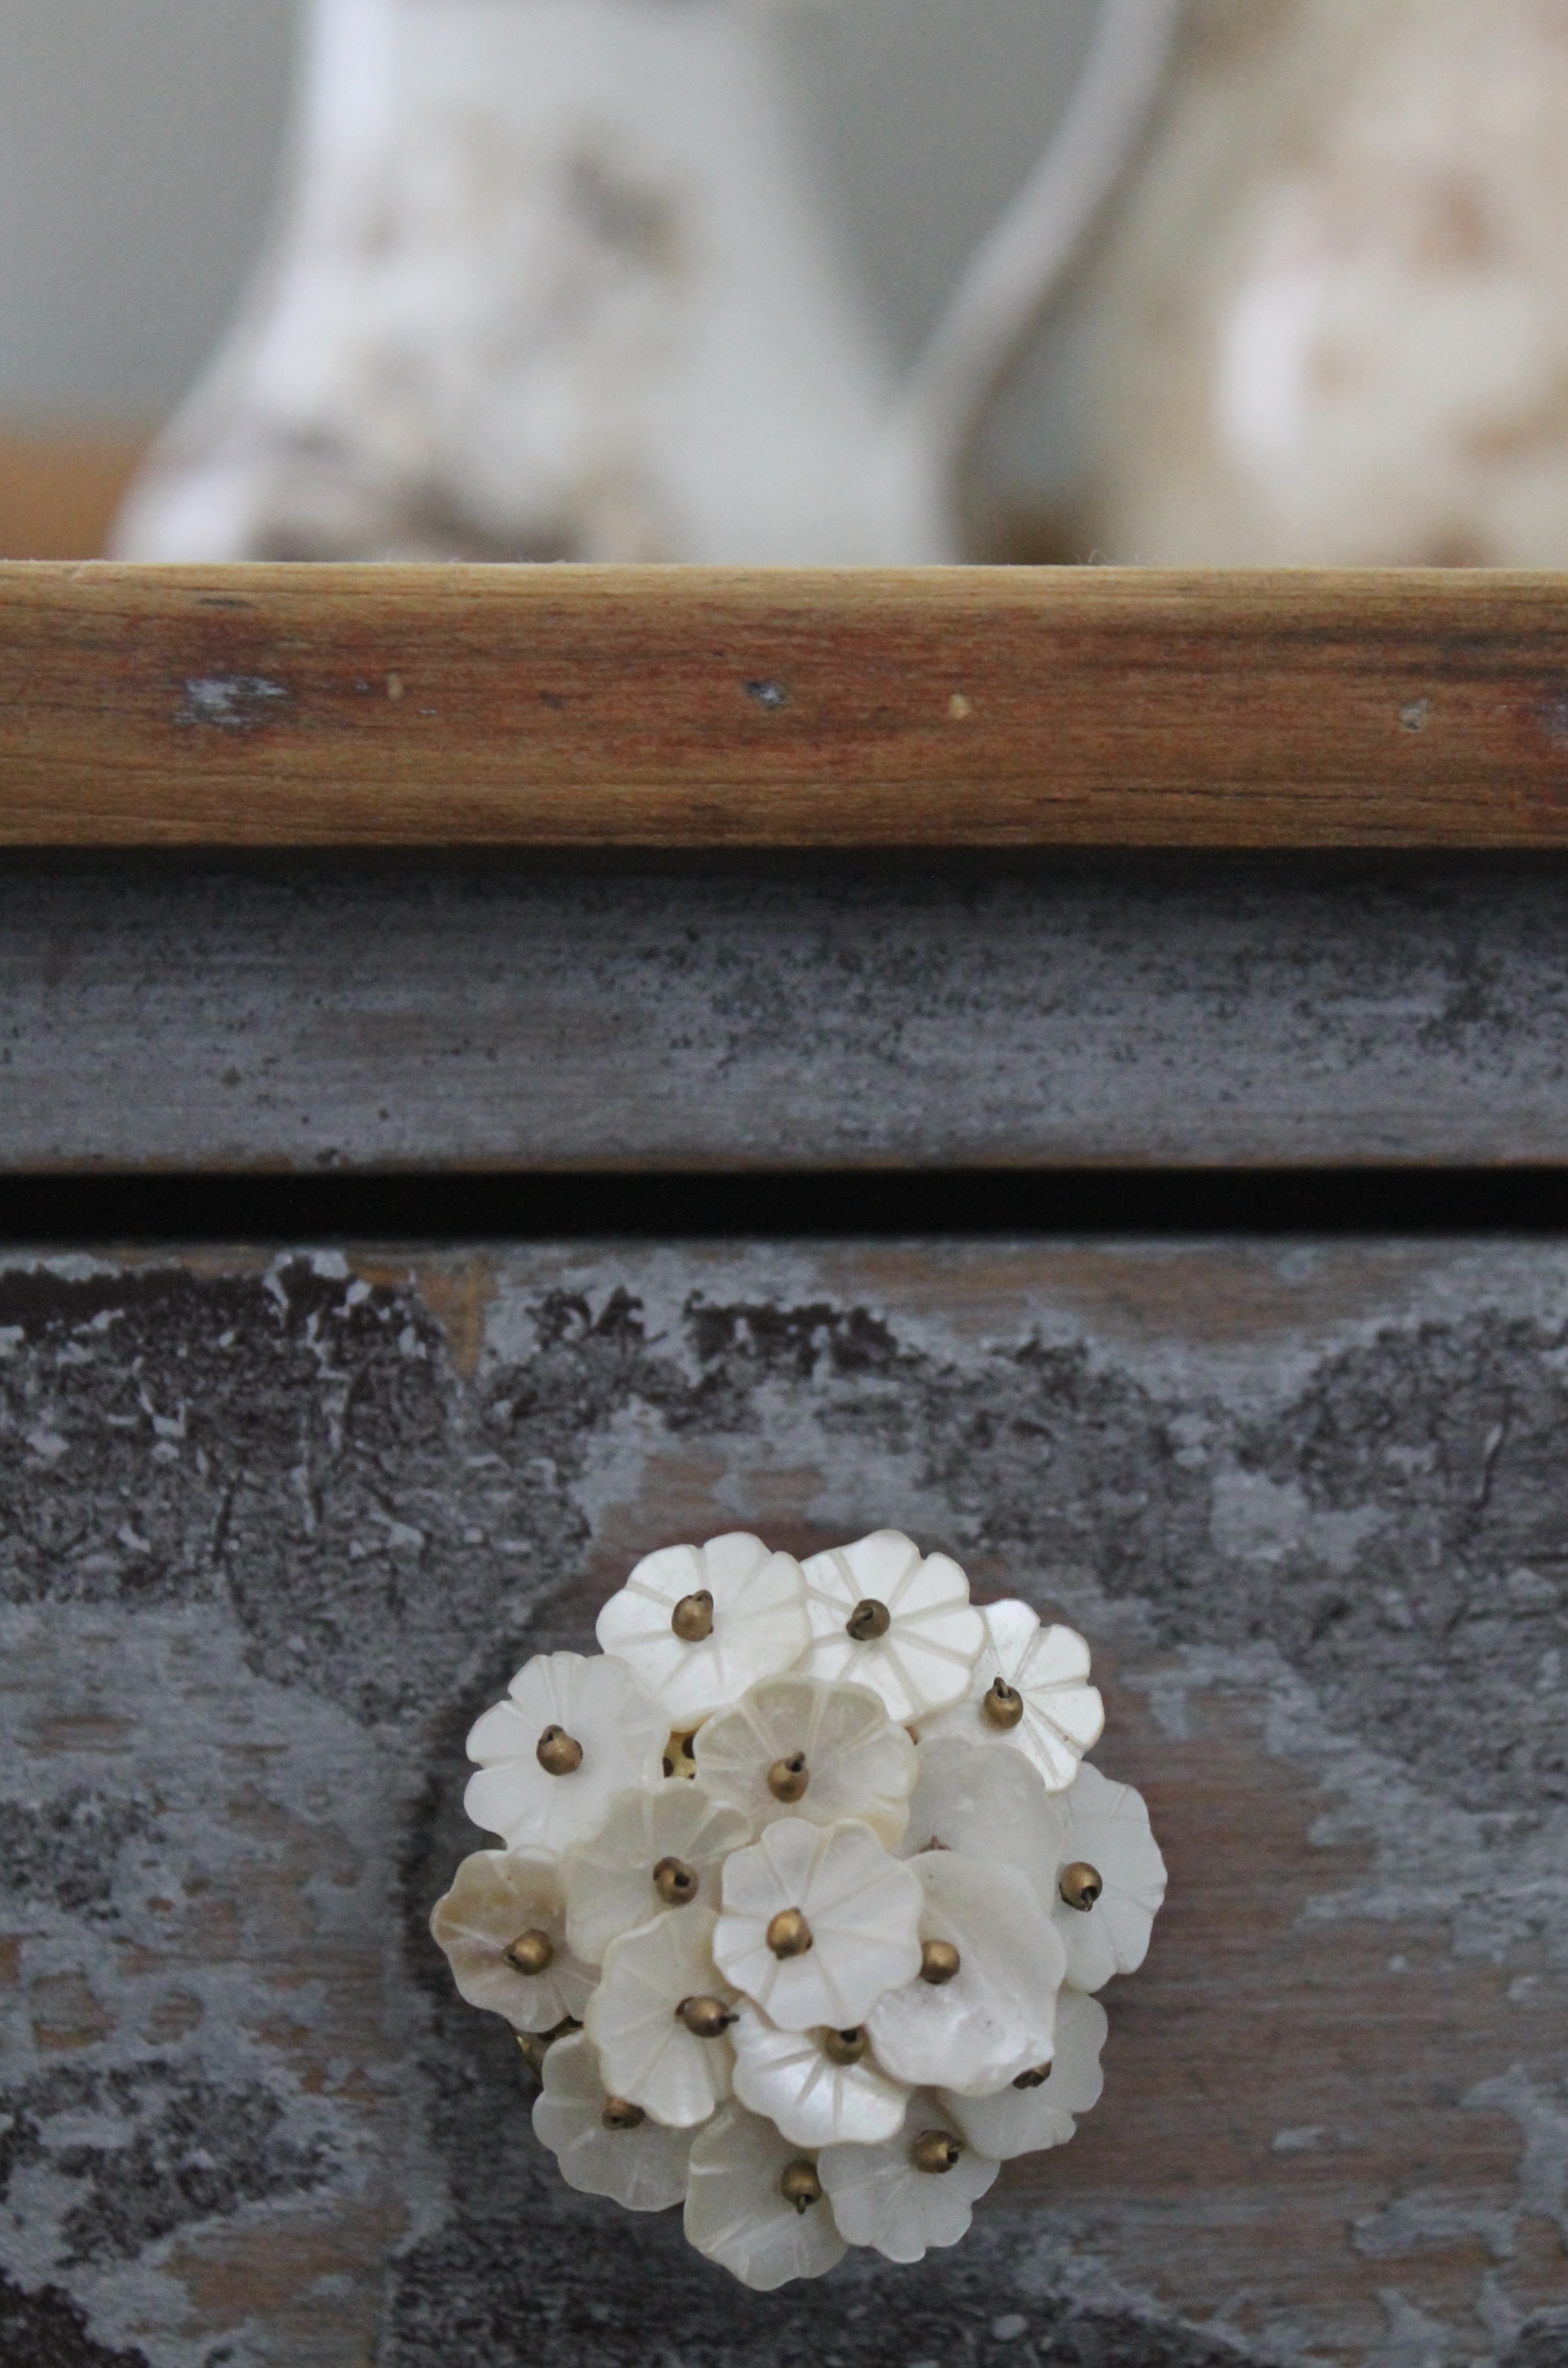
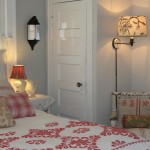
The rustic against the refined; beautiful inexpensive drawer pulls add to the charm of an old, antique table.
The drawer pulls reminded me of a bouquet of Baby’s Breath.
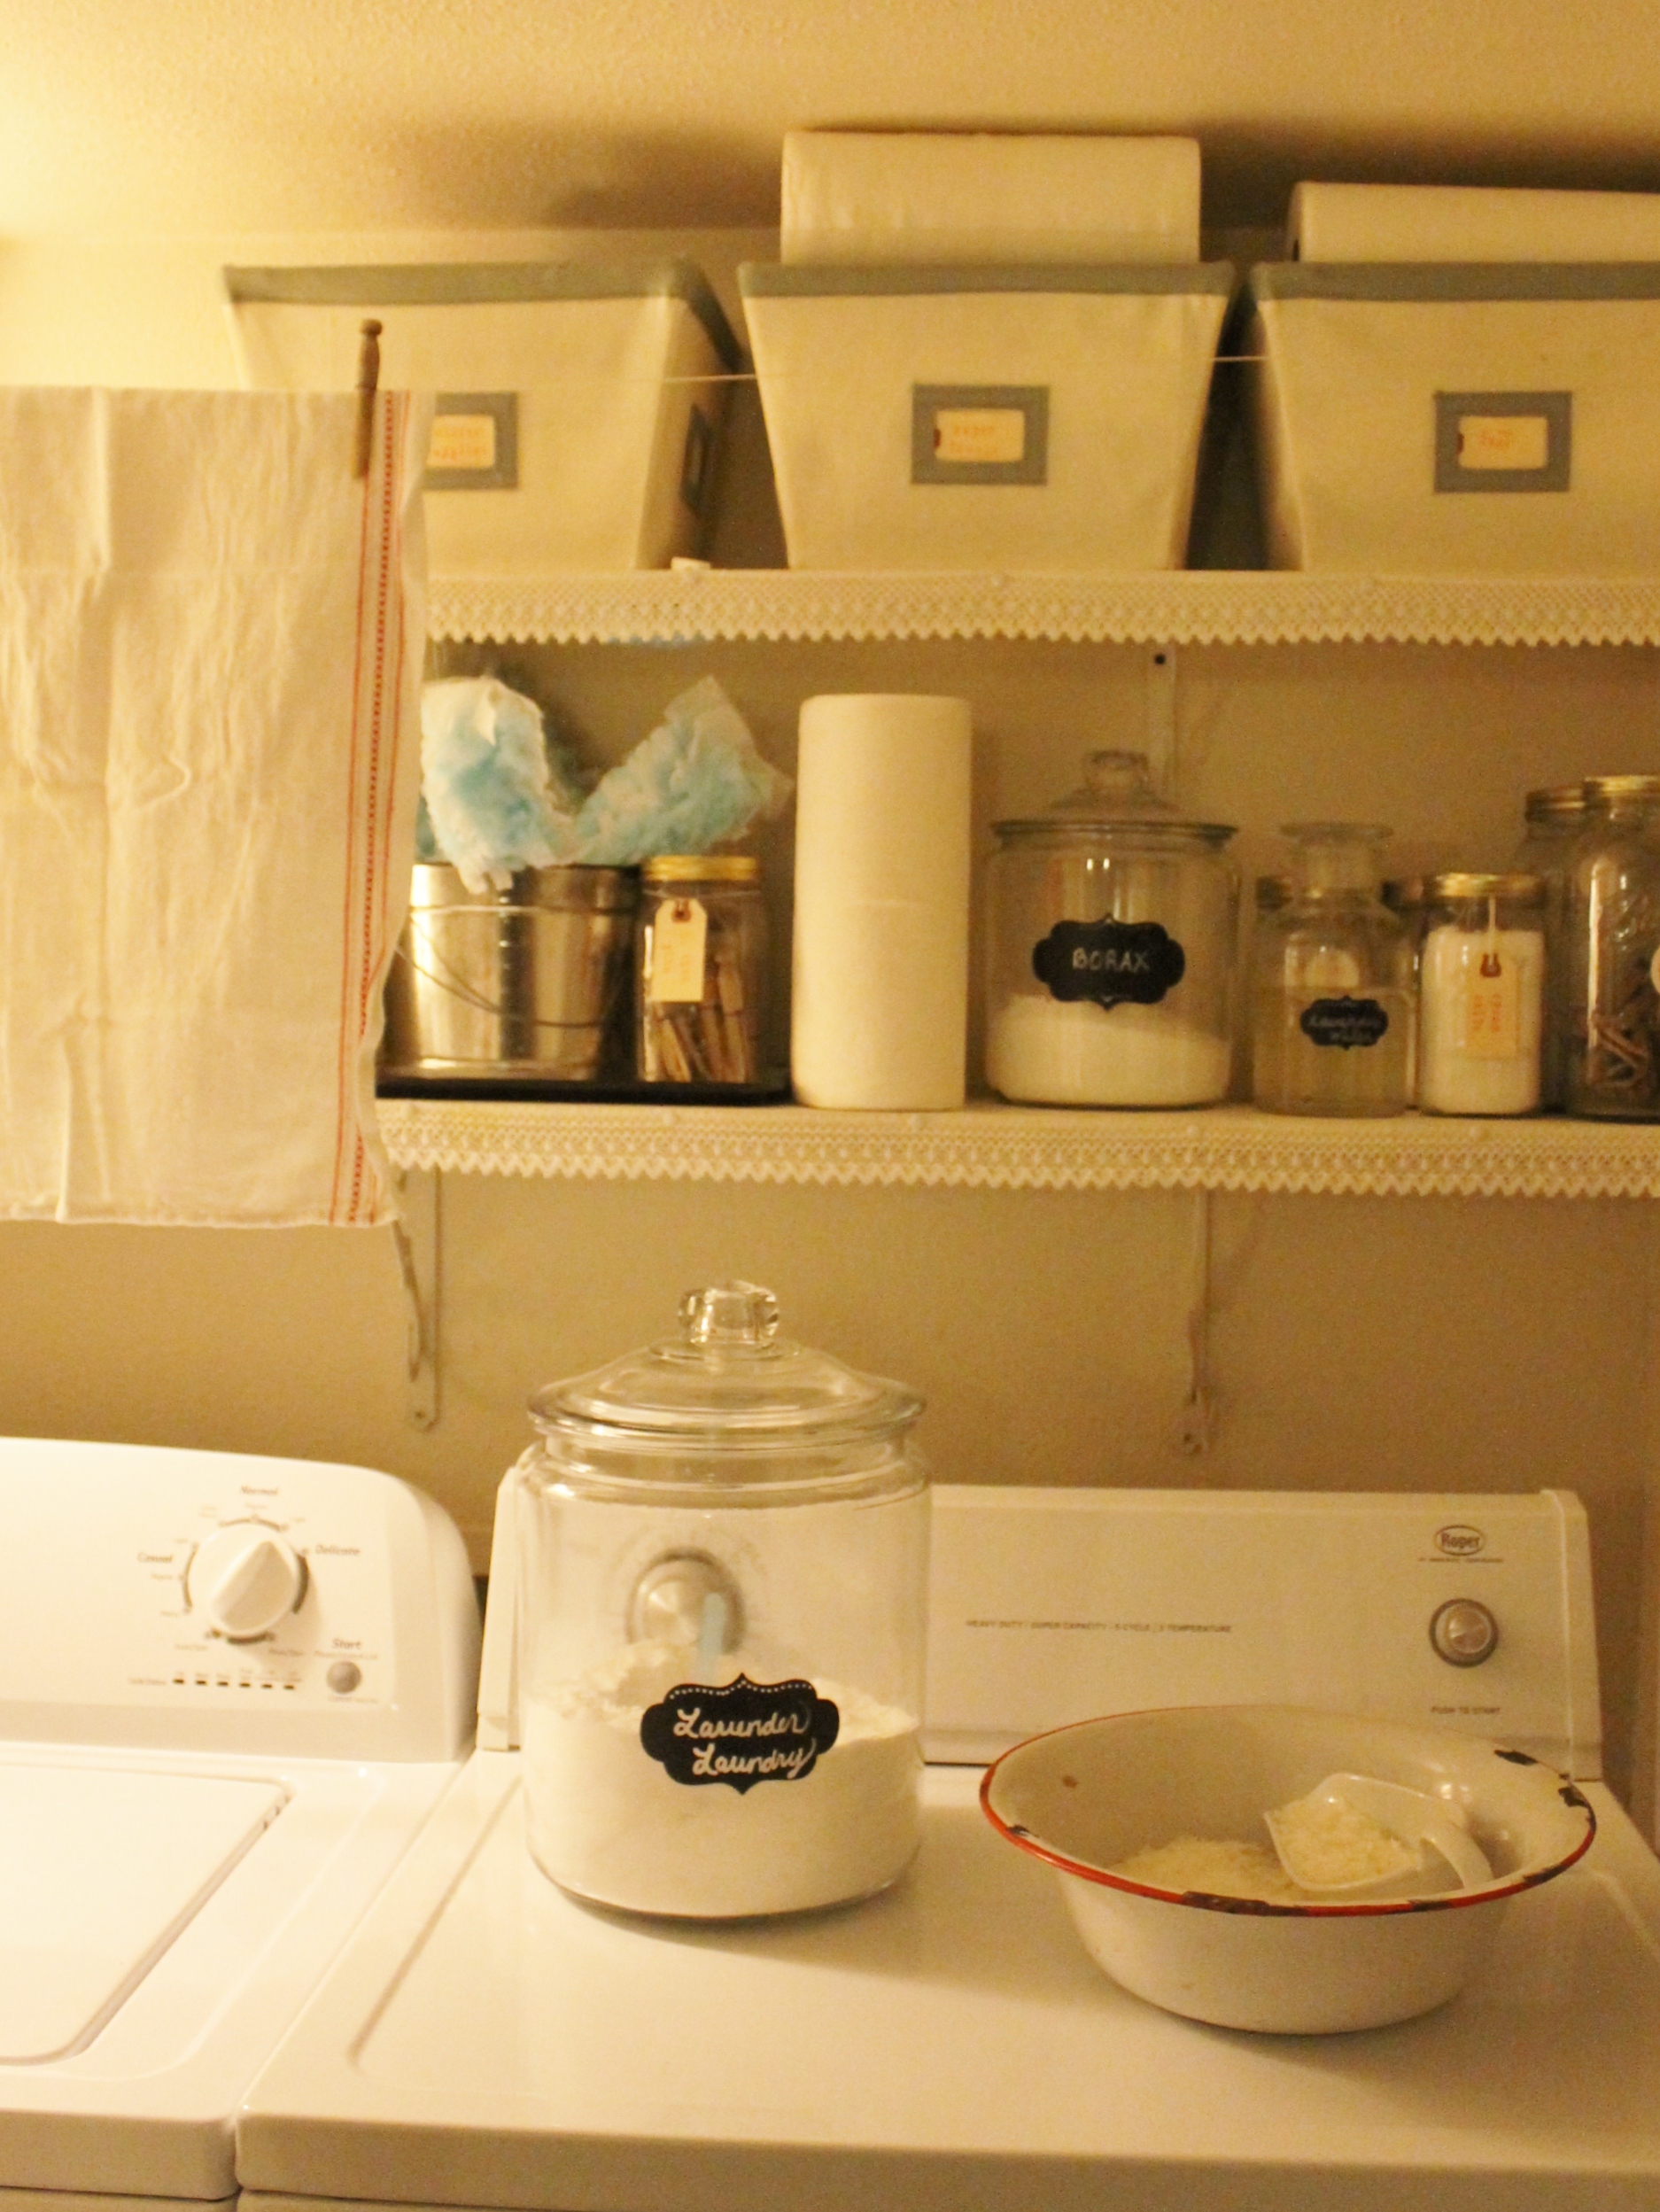
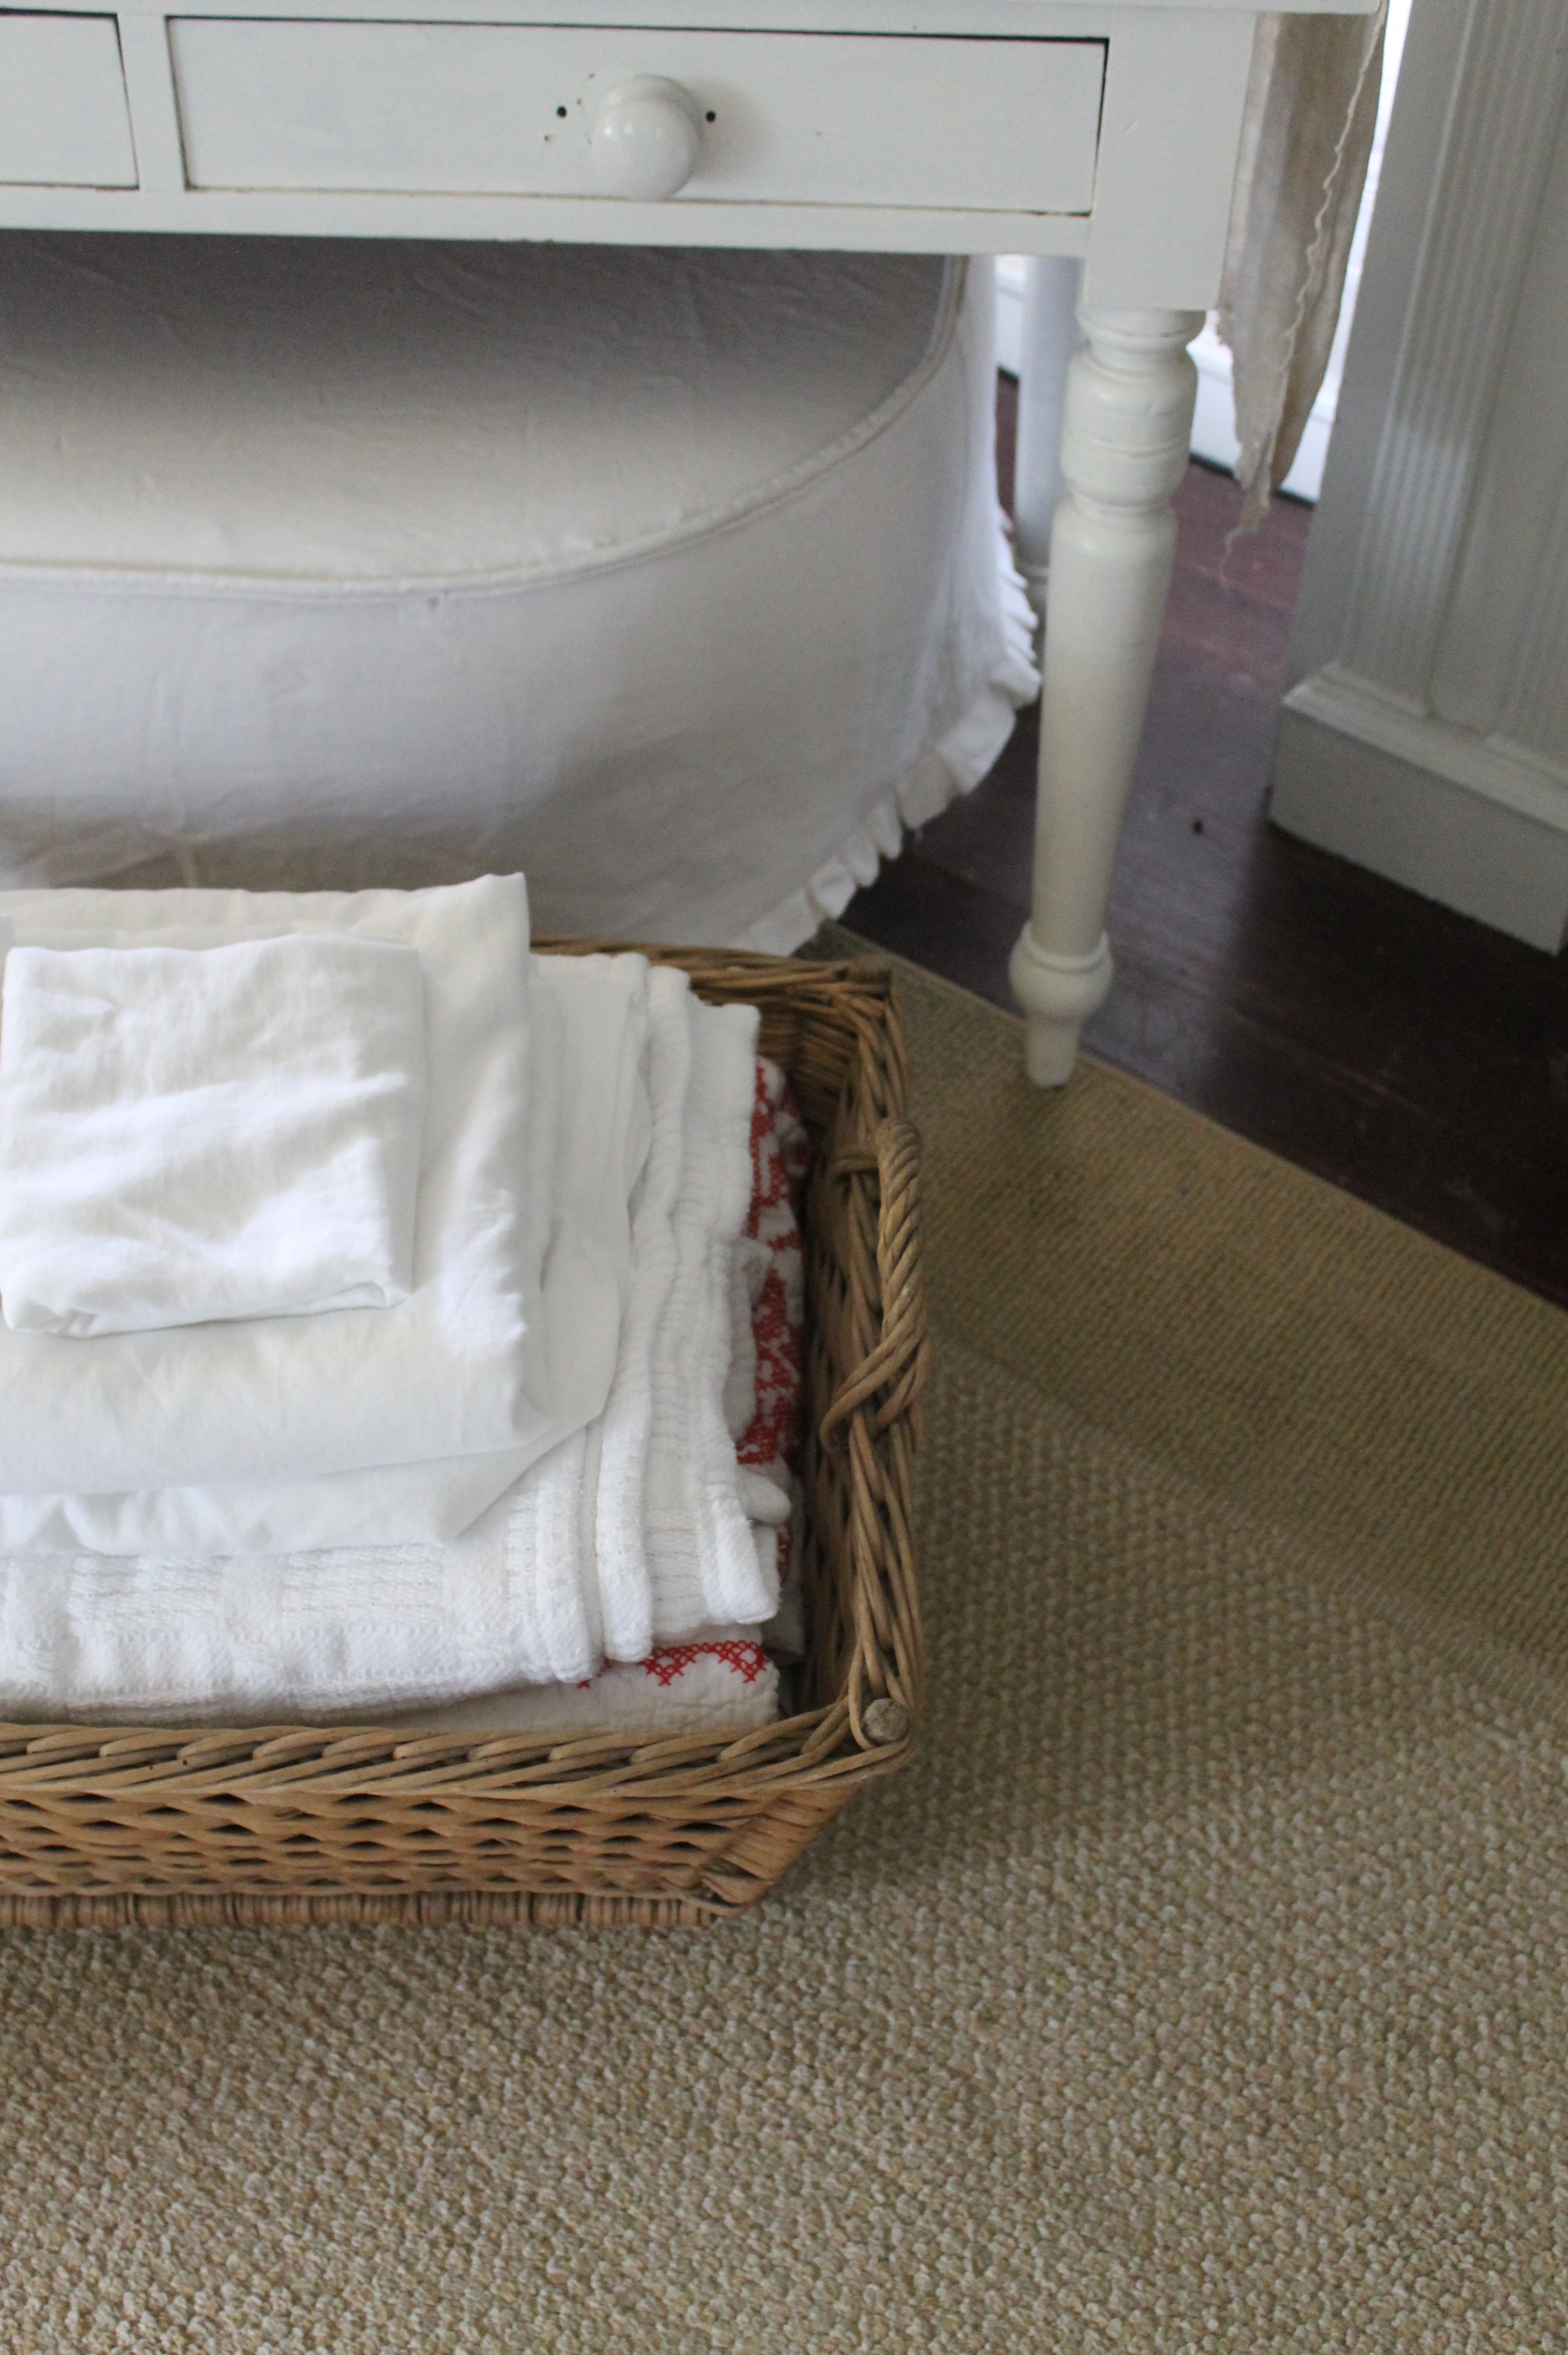
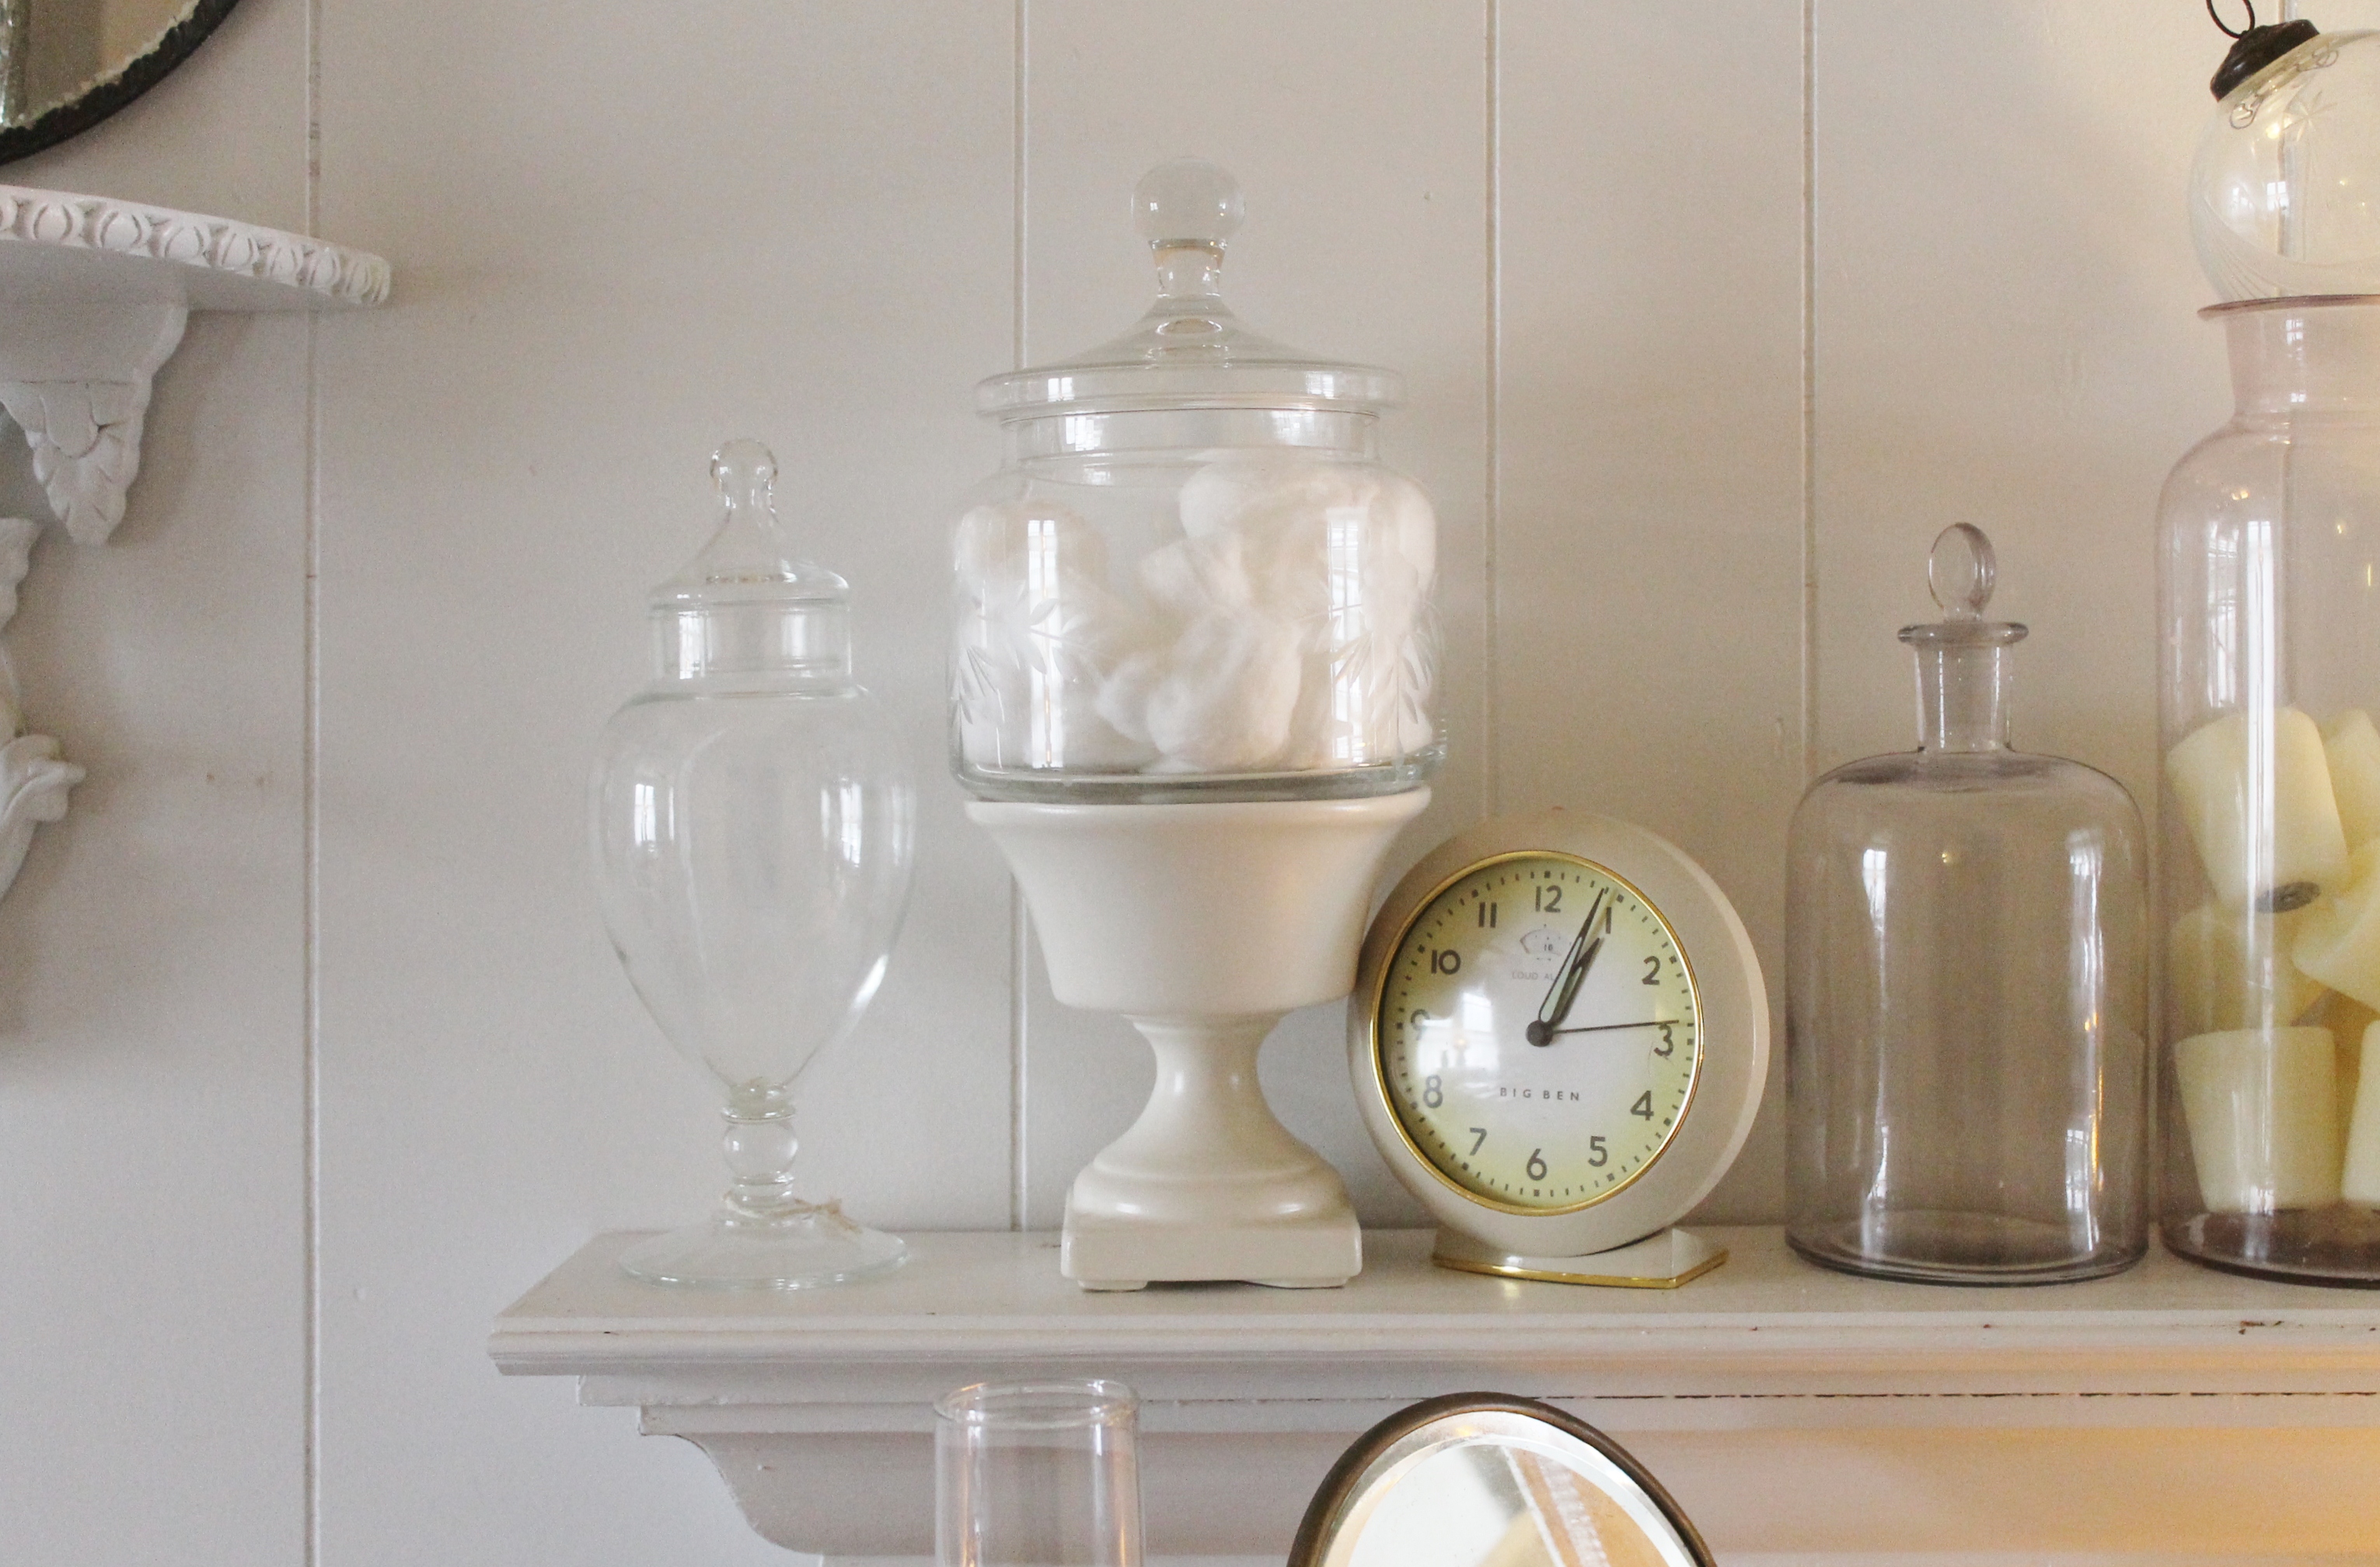
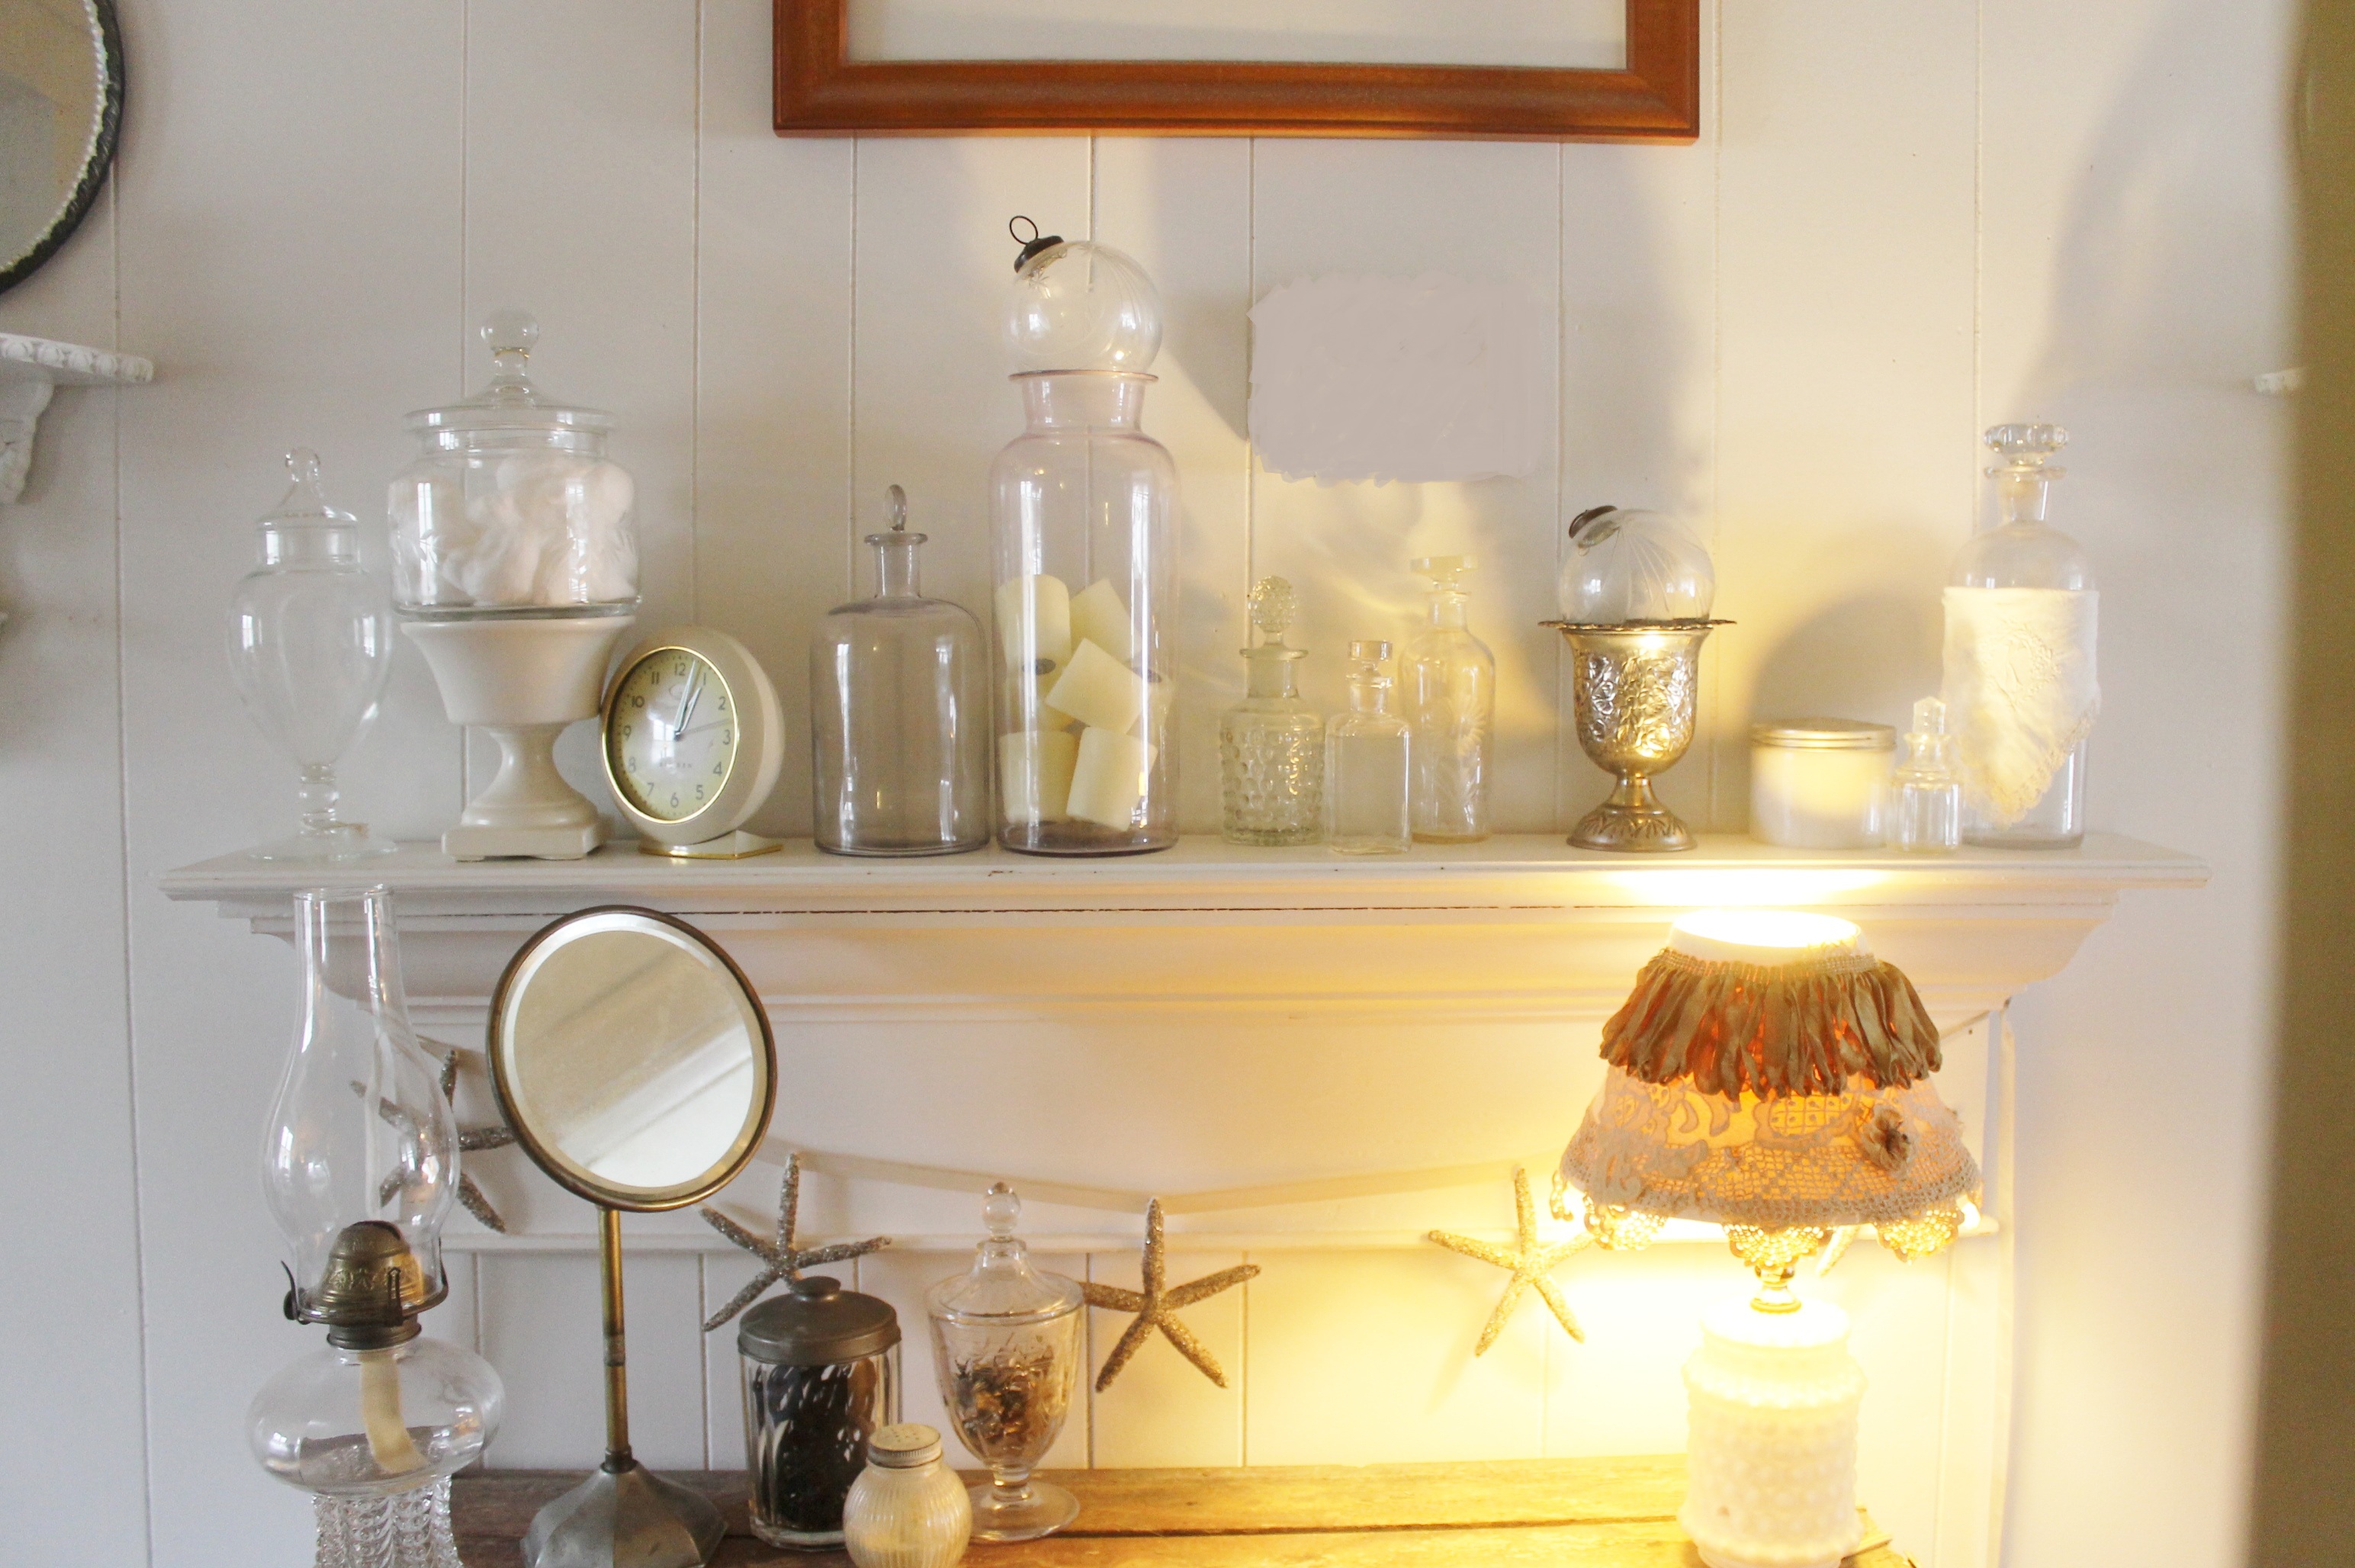
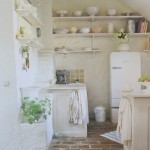
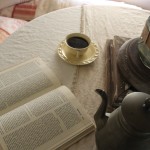
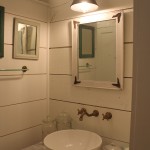
The little touches that make this little space pretty and useful