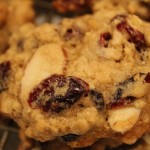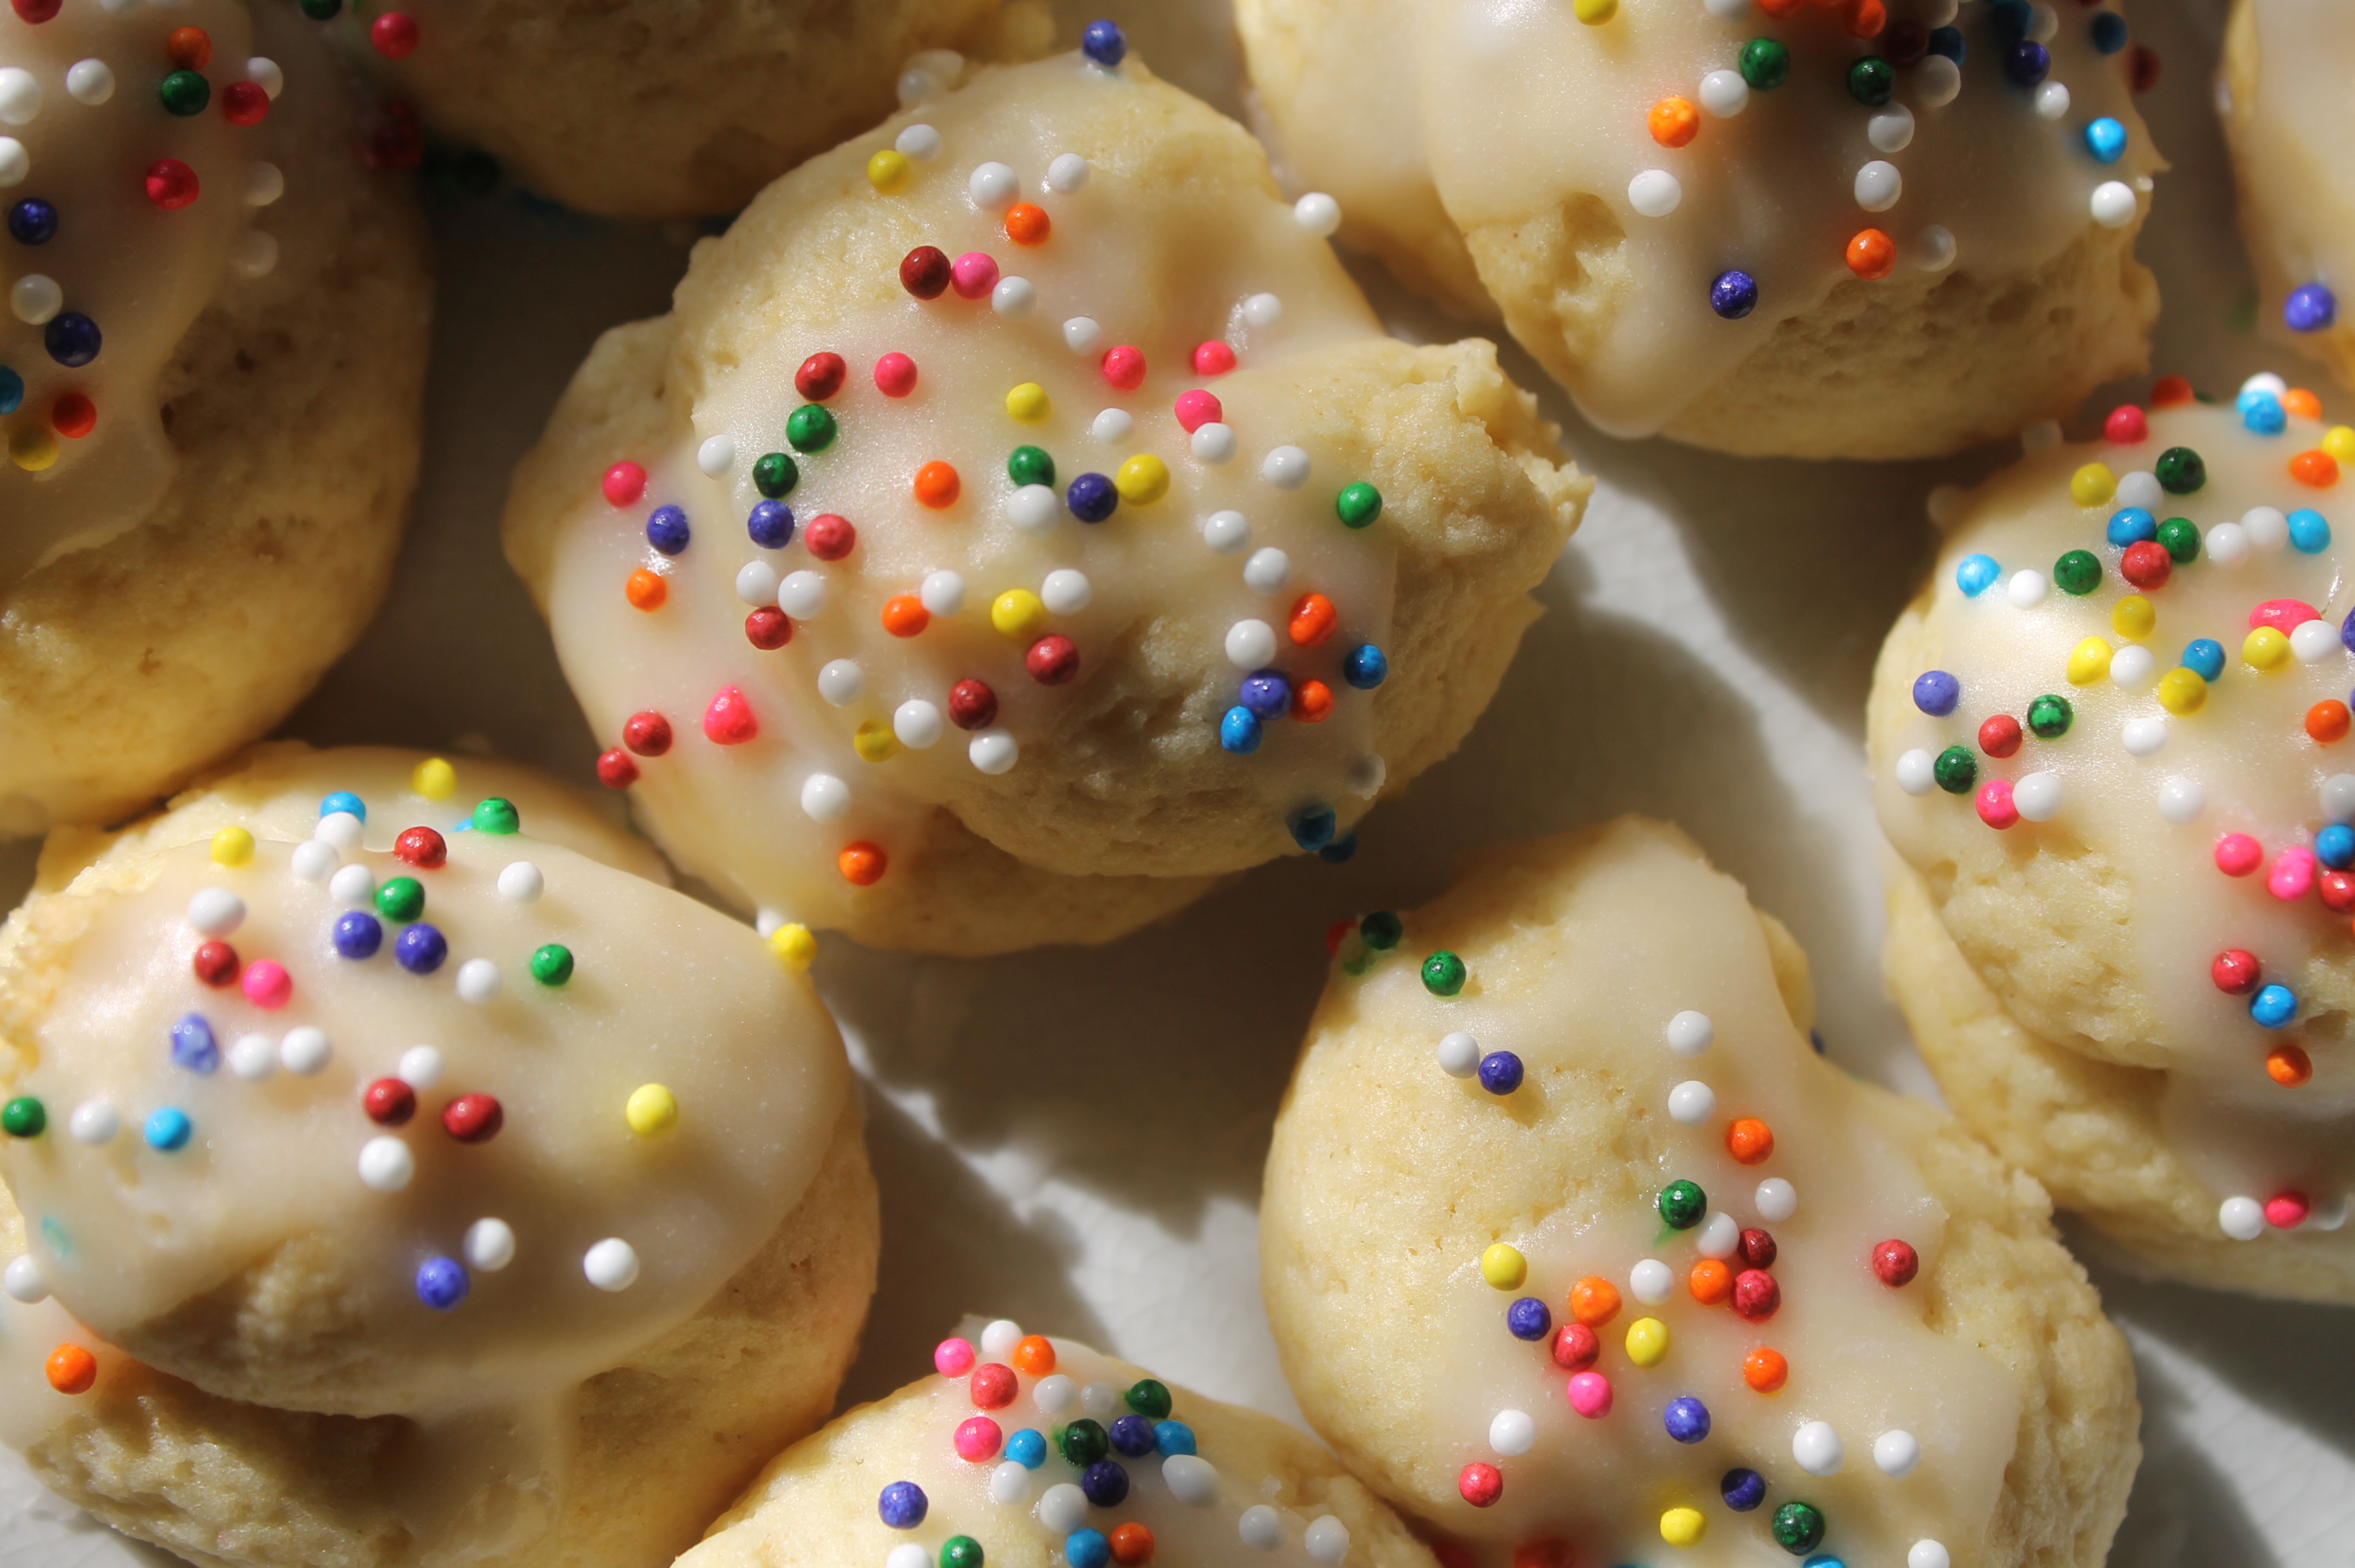
No one can eat just one.
Every year, my mother makes what our family collectively believes is THE quintessential Italian cookie, called the Rosette. They can be labor intensive, so they generally are not a cookie you can make often but they are worth every bit of effort.
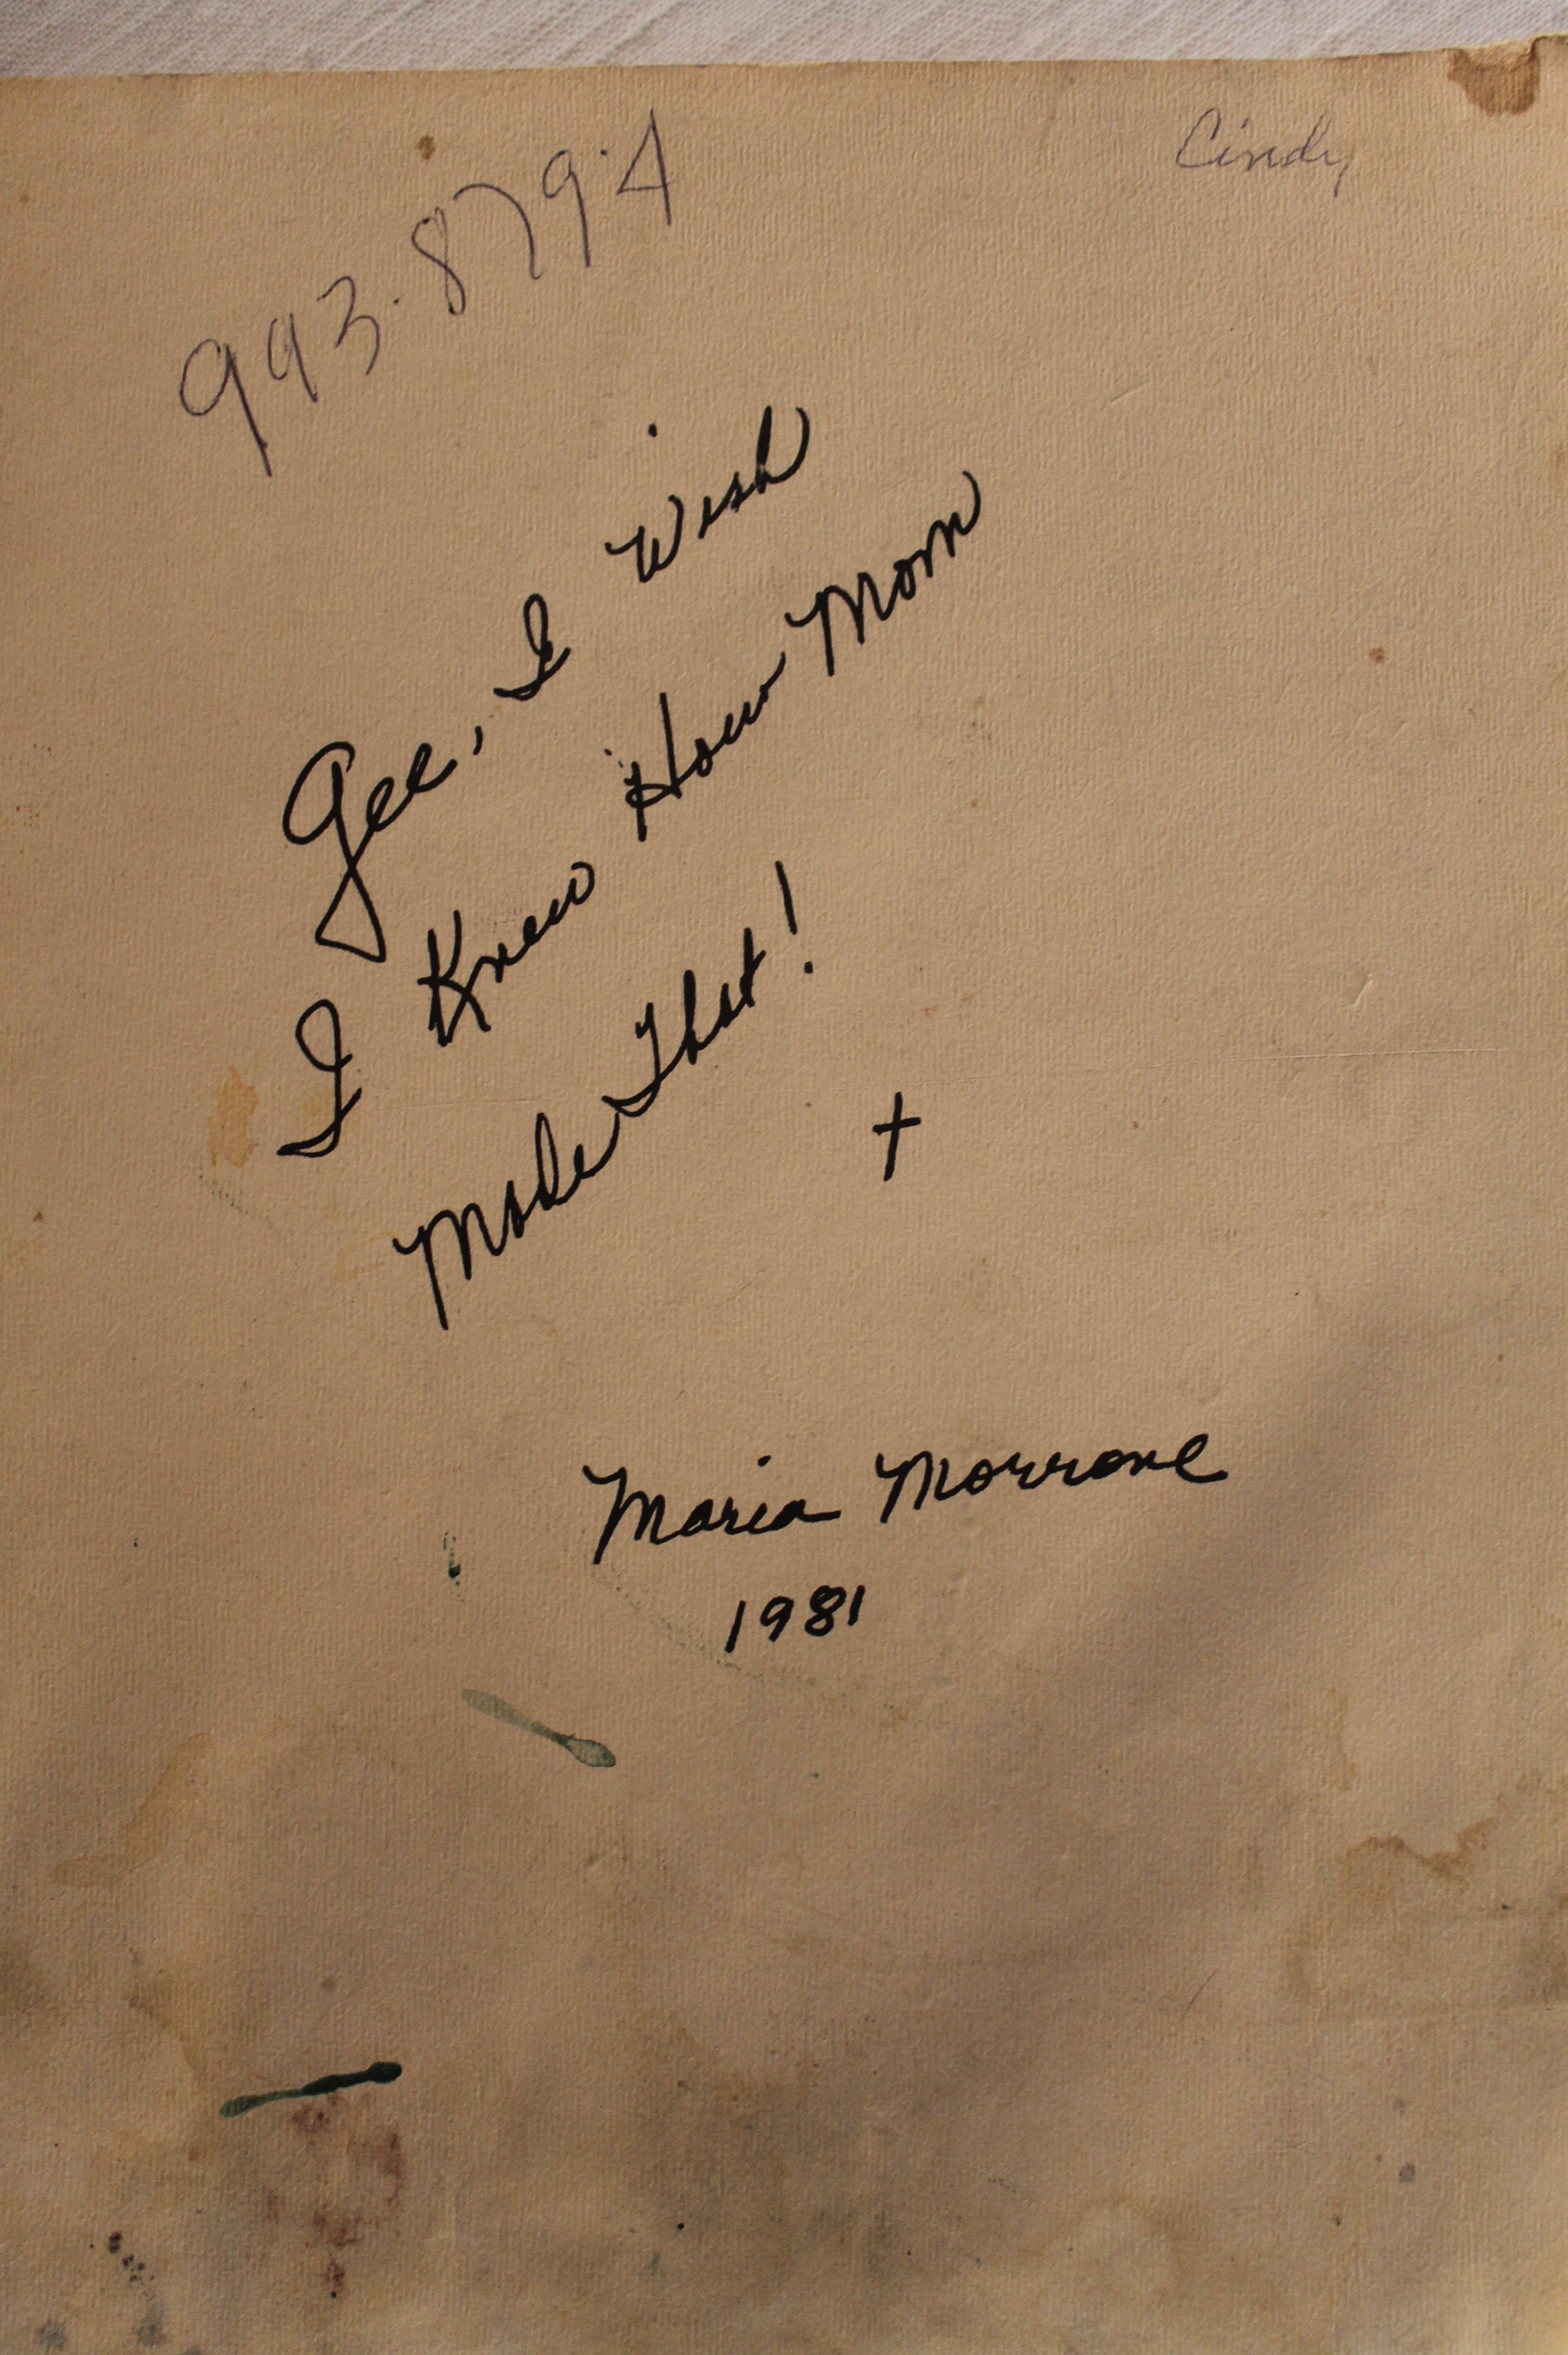
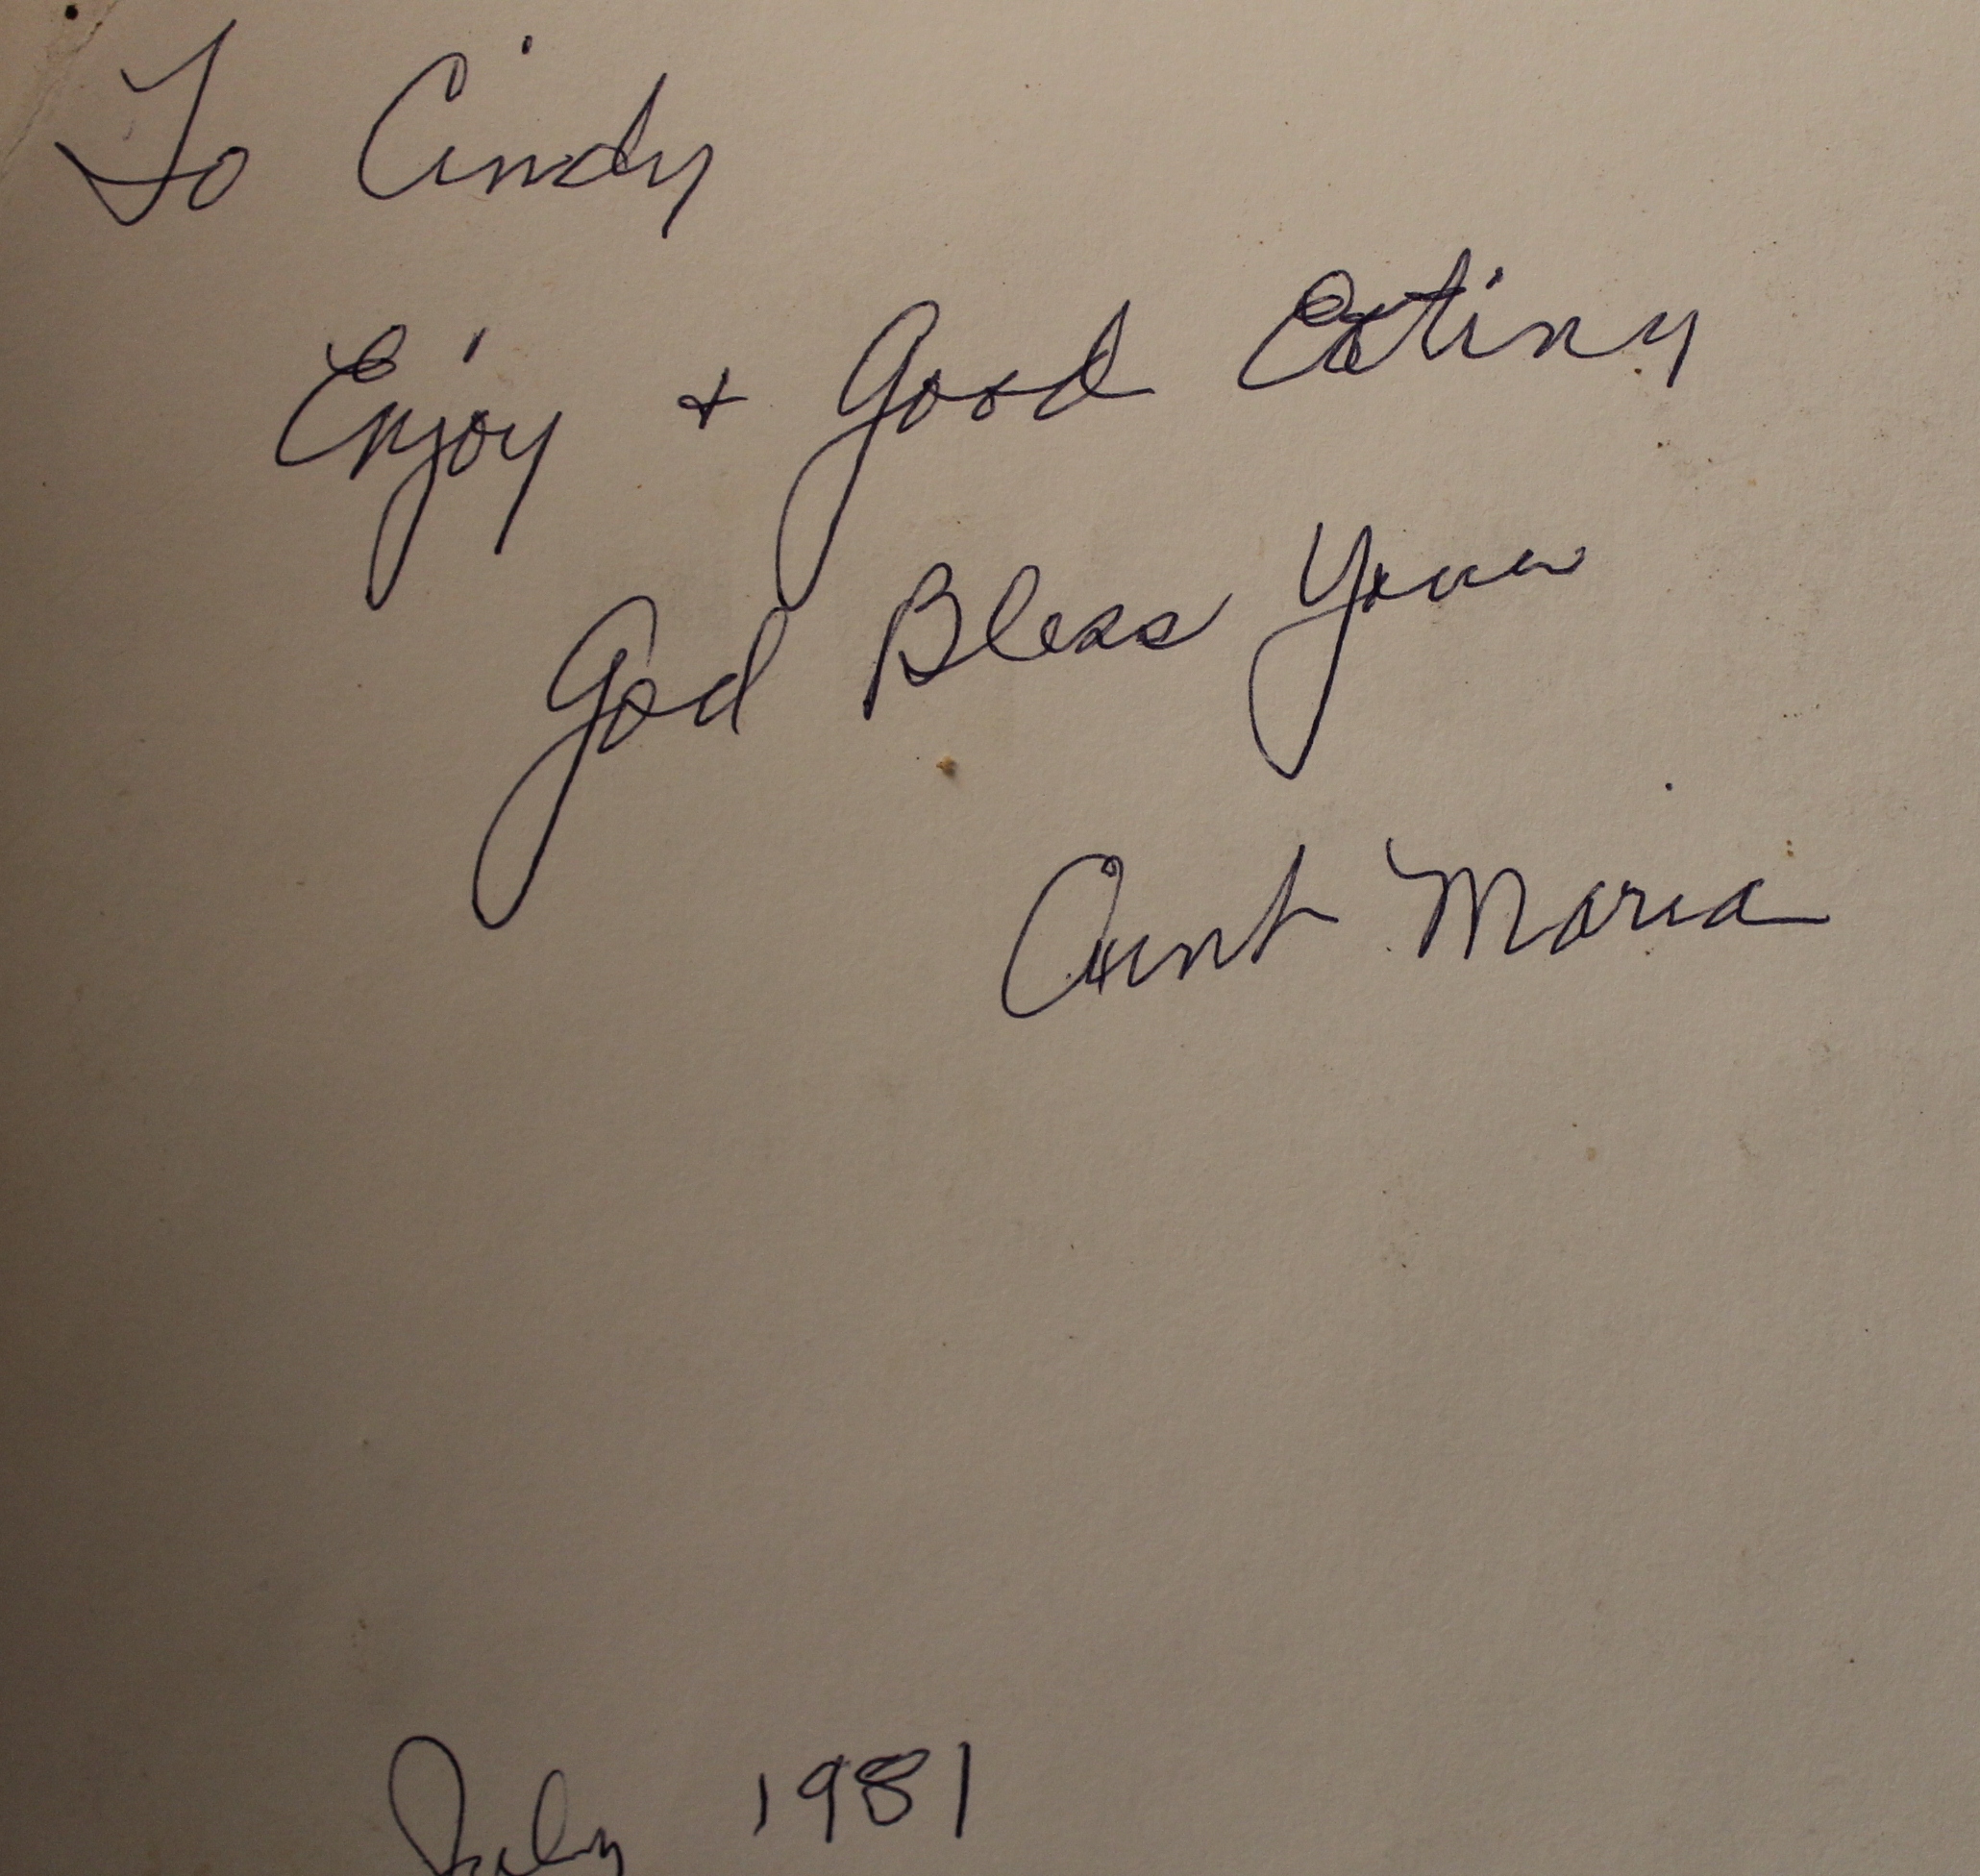
According to my mom, it took her twenty years to perfect the recipe. As best I know, the origin of the cookie came from my late Aunt Maria Morrone. She passed away many years ago at a very early age. As a gift to her family, she created a cook book full of all of her tried and true recipes. I was very young, but remember her as a terrific cook and in addition to being a mother to five rambunctious kids, she did some catering on the side which was a testament to how delicious her food was and what a good juggler she was:)
I don’t know how she ever found the time to cook and cater because there was a time each summer where the kids from one family would stay with the other family, which meant there were ten kids of varying temperaments and ages and a handful at any rate so how she found the time to make homemade food every night was beyond me, but then again, the talented cooks always make it look very easy.
I still have that cook book and have made several of her original recipes. She hand typed the book (computers weren’t around back then) and had them professionally bound. Whenever I look at it, I always thing of it as such a lovely and personal gift and I suppose, that is what a legacy is all about.
I hope you find some inspiration.
Always,
Cindy
A gift from the heart from a woman who knew her time was short.
Every time I use the book, I think of her. I think she would be very proud of the women her children and nieces have become.
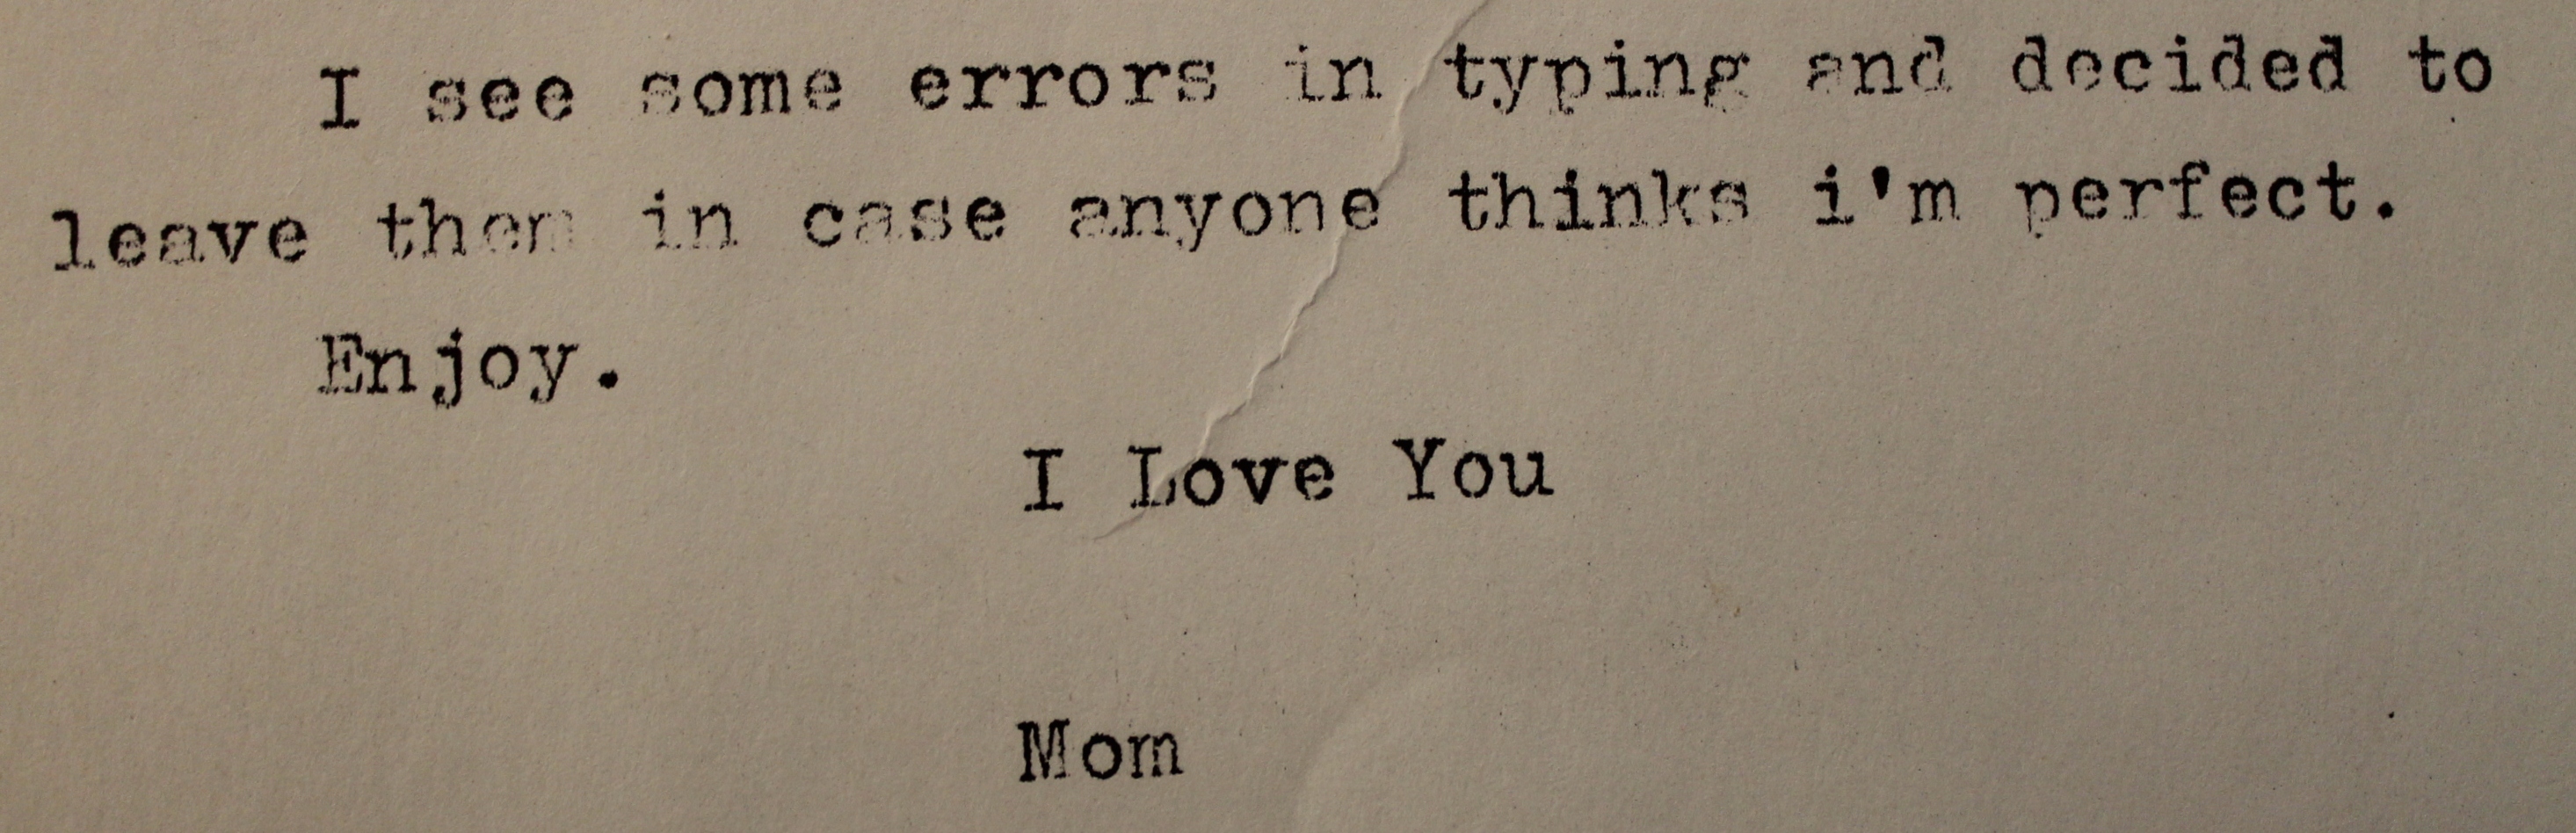
A reminder that life is more memorable when you color outside the lines. Everything doesn’t have to be perfect.
Rosette Cookies Recipe
1 c. butter ( you can use a combination of Crisco and butter for a slightly different texture)
1 c. sugar
3 eggs (room temperature)
2 t. vanilla extract
1 t. almond extract
3 c. of flour
1 c. cake flour
1 T. baking powder
1 t. salt
1/2 c. of whole milk
Glaze:
1 c. of confectioners’ sugar
1 t. almond extract
Low Fat butter milk, enough to get the desired consistency (usually 3 – 4 tablespoons)
*note: the original recipe calls for more flour in order to create a dough that is less sticky. Then the cookies are rolled and formed by hand. In order to allow the dough mixture to be more easily extruded from a piping bag, this recipe pulls back on the flour a bit since flour only affects texture, not taste.
Pre-heat your oven to 350 degrees.
Mix butter, sugar until combined. Add eggs, one at a time and vanilla and almond extract. In a separate bowl, sift together the dry ingredients (both flours, baking powder and salt) and add incrementally to the wet ingredients alternating with the milk until all ingredients have been added and are combined. The dough will be slightly sticky.
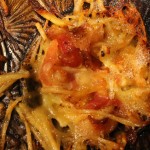
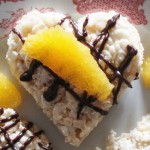
Load the dough into a piping bag with the tip snipped to approximately a half to three quarters of an inch hole. You will pipe the cookies into a coiled snake shape, with two rows. No worries…it does not have to be perfect…as you can see in my pictures…no two are the same. You just want them close to the same size so they cook evenly. It takes some pressure to extrude the dough out of the bag and some assistance will be required to break the dough from the piping bag when you are finished piping each cookie. Cook for 15-20 minutes until the bottom is golden brown.
Allow cookies to cool, then drizzle glaze on them, remembering to add the sprinkles before the glaze dries. Show some restraint with the sprinkles…it is easy to over do it.
Enjoy!
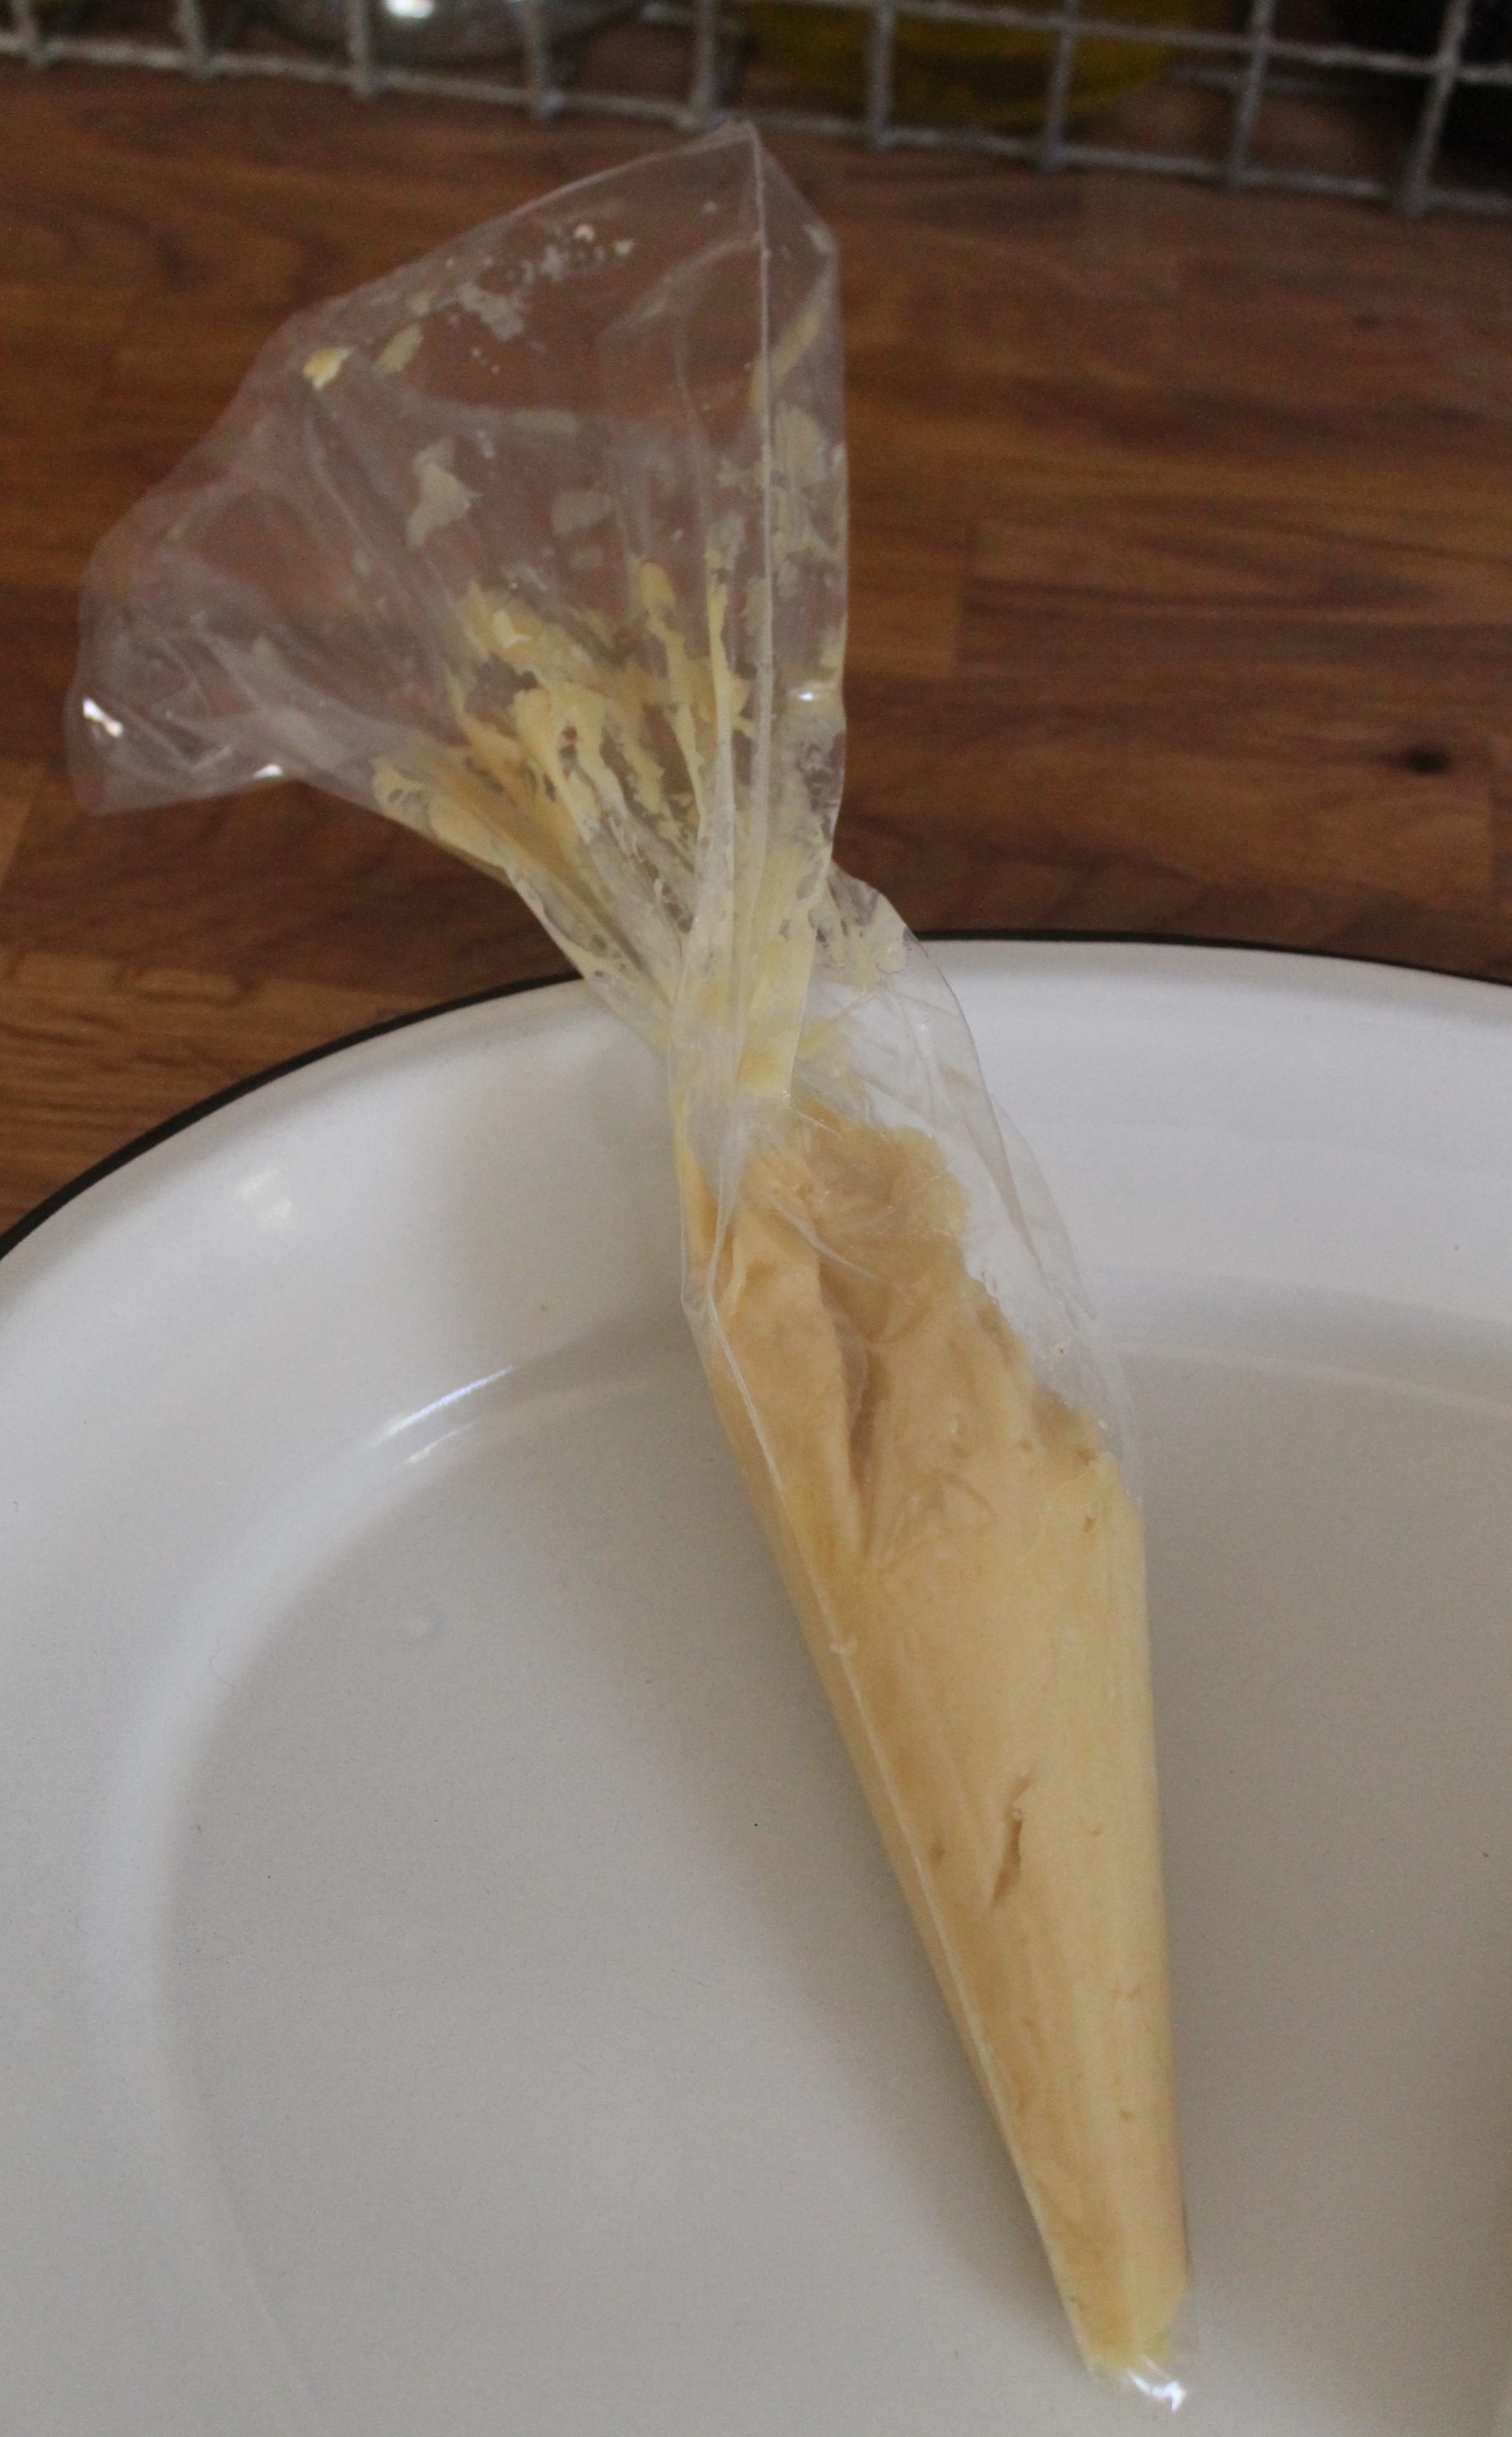
I modified the recipe so the cookie dough can be extruded with the use of a piping bag which makes them much, much easier to make.
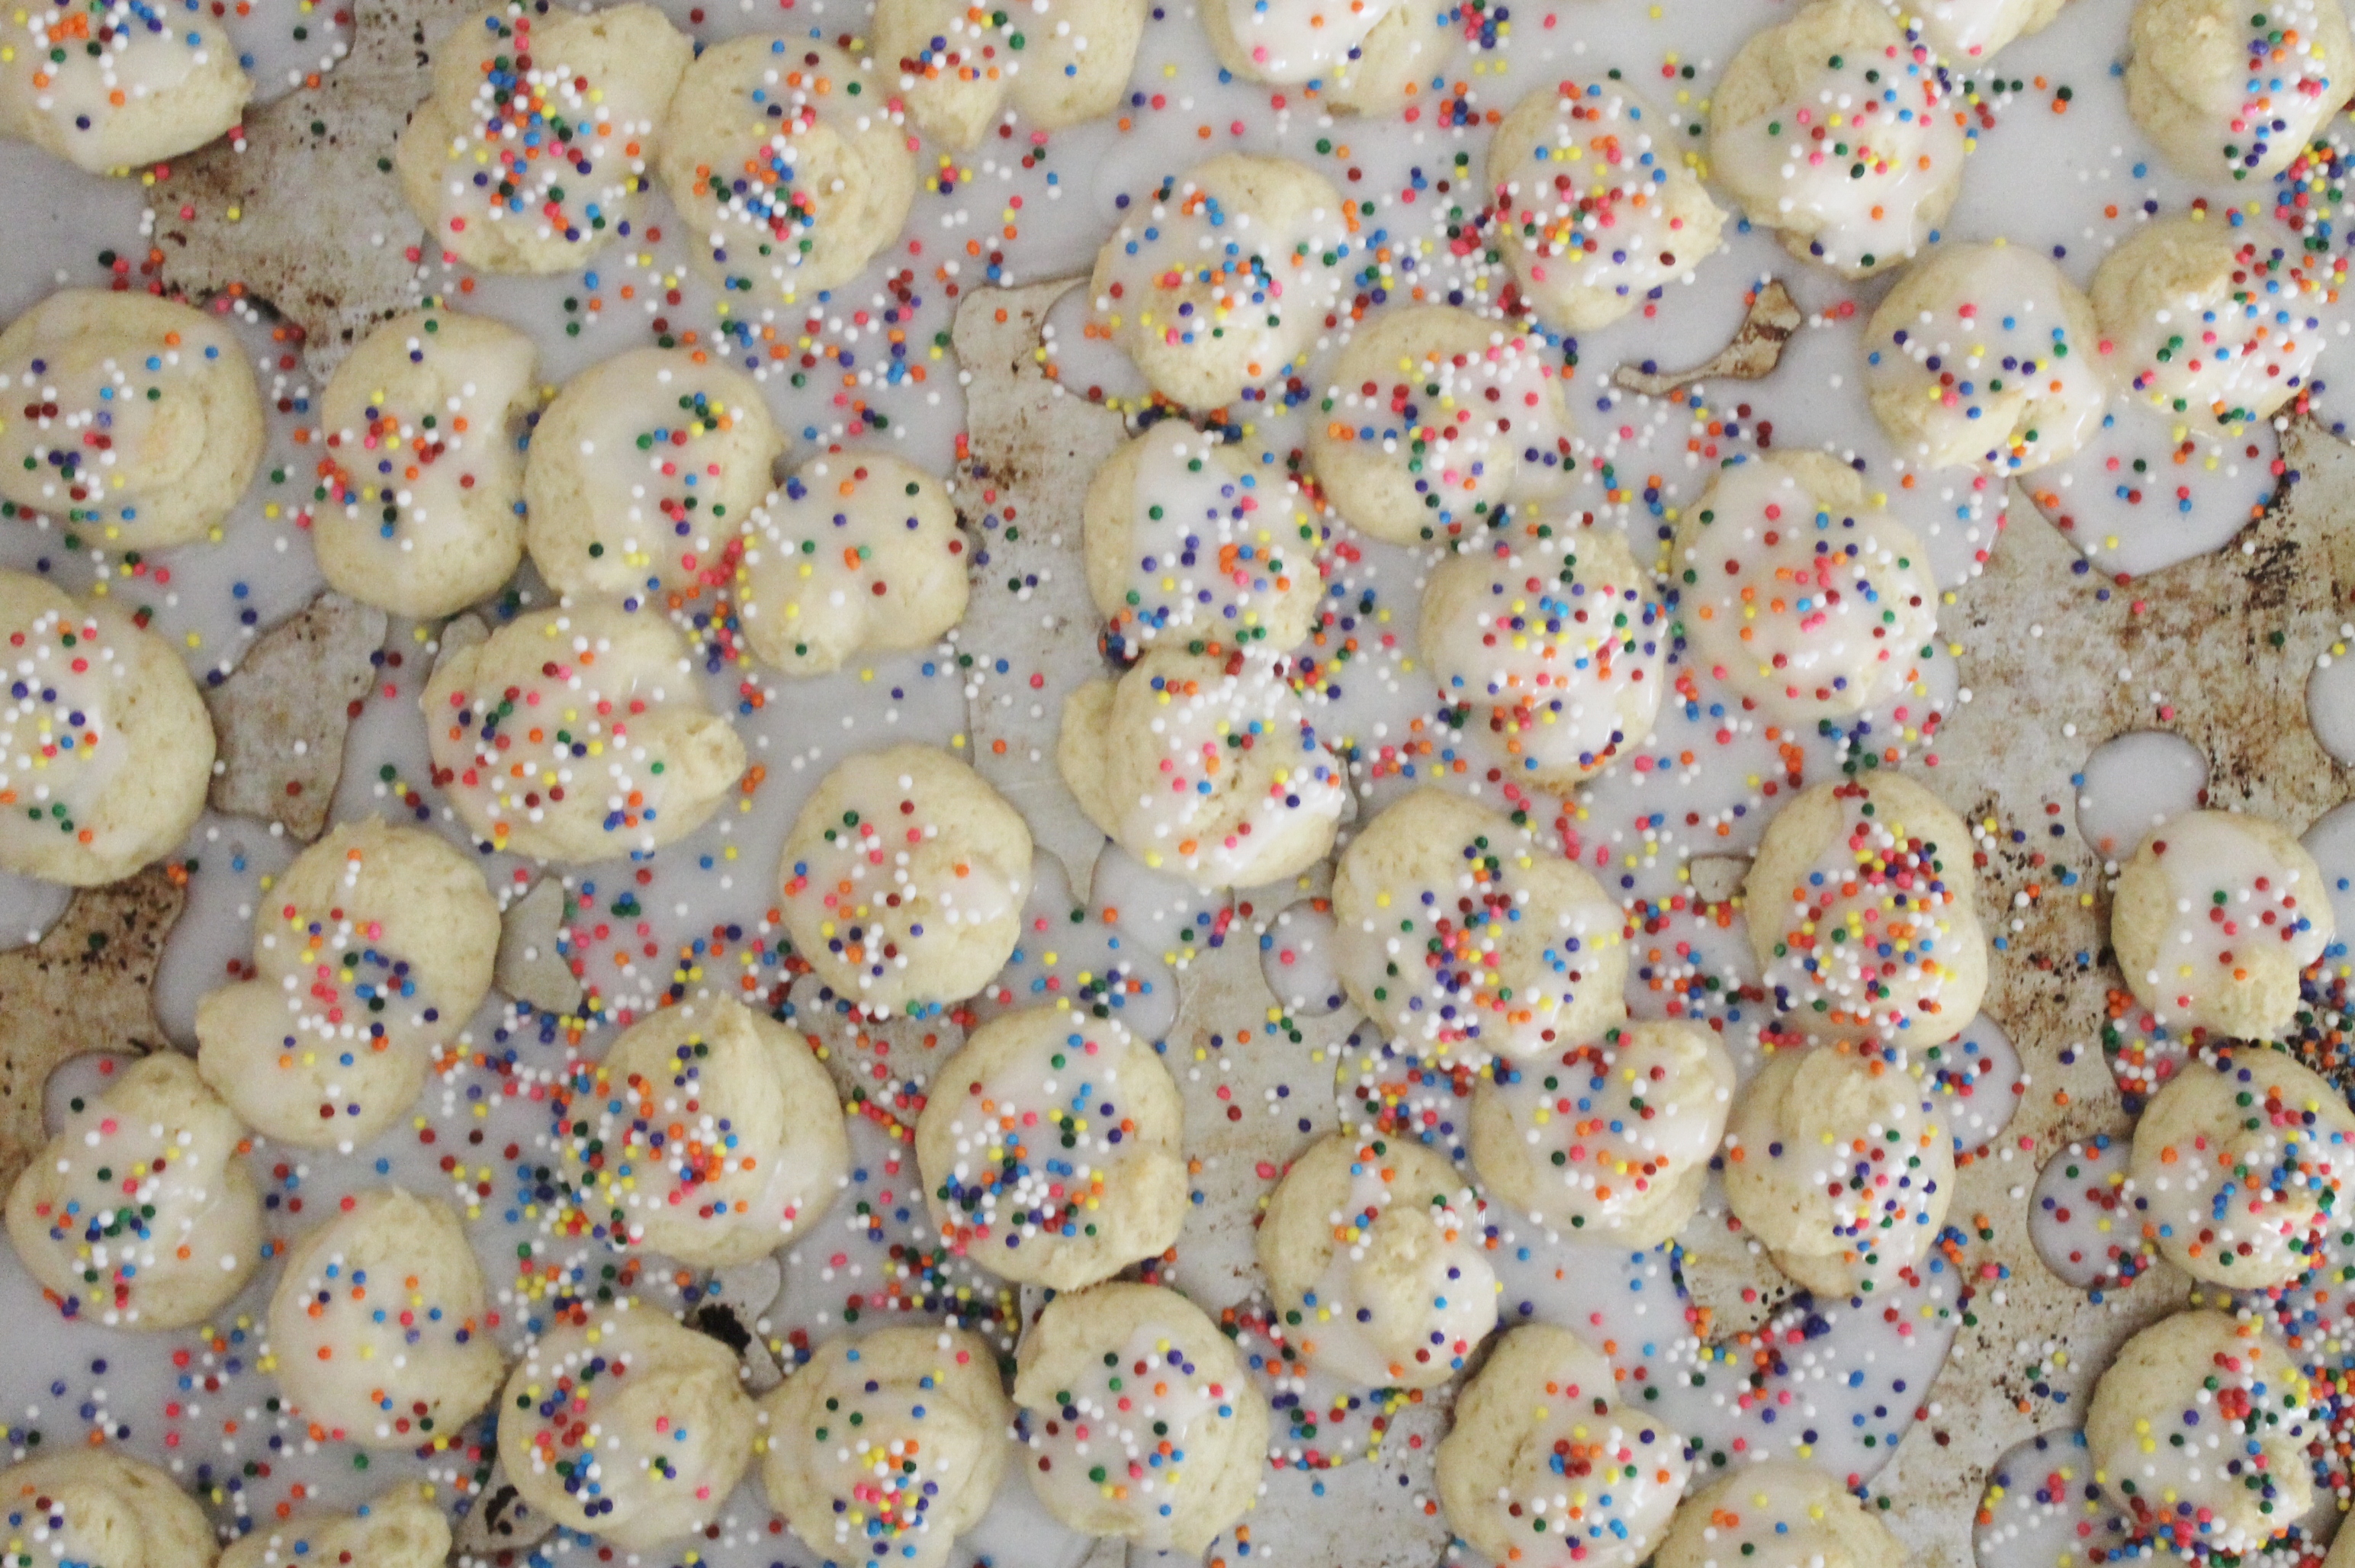
The glaze and sprinkles can be messy, so I add them once the cookies have cooled.
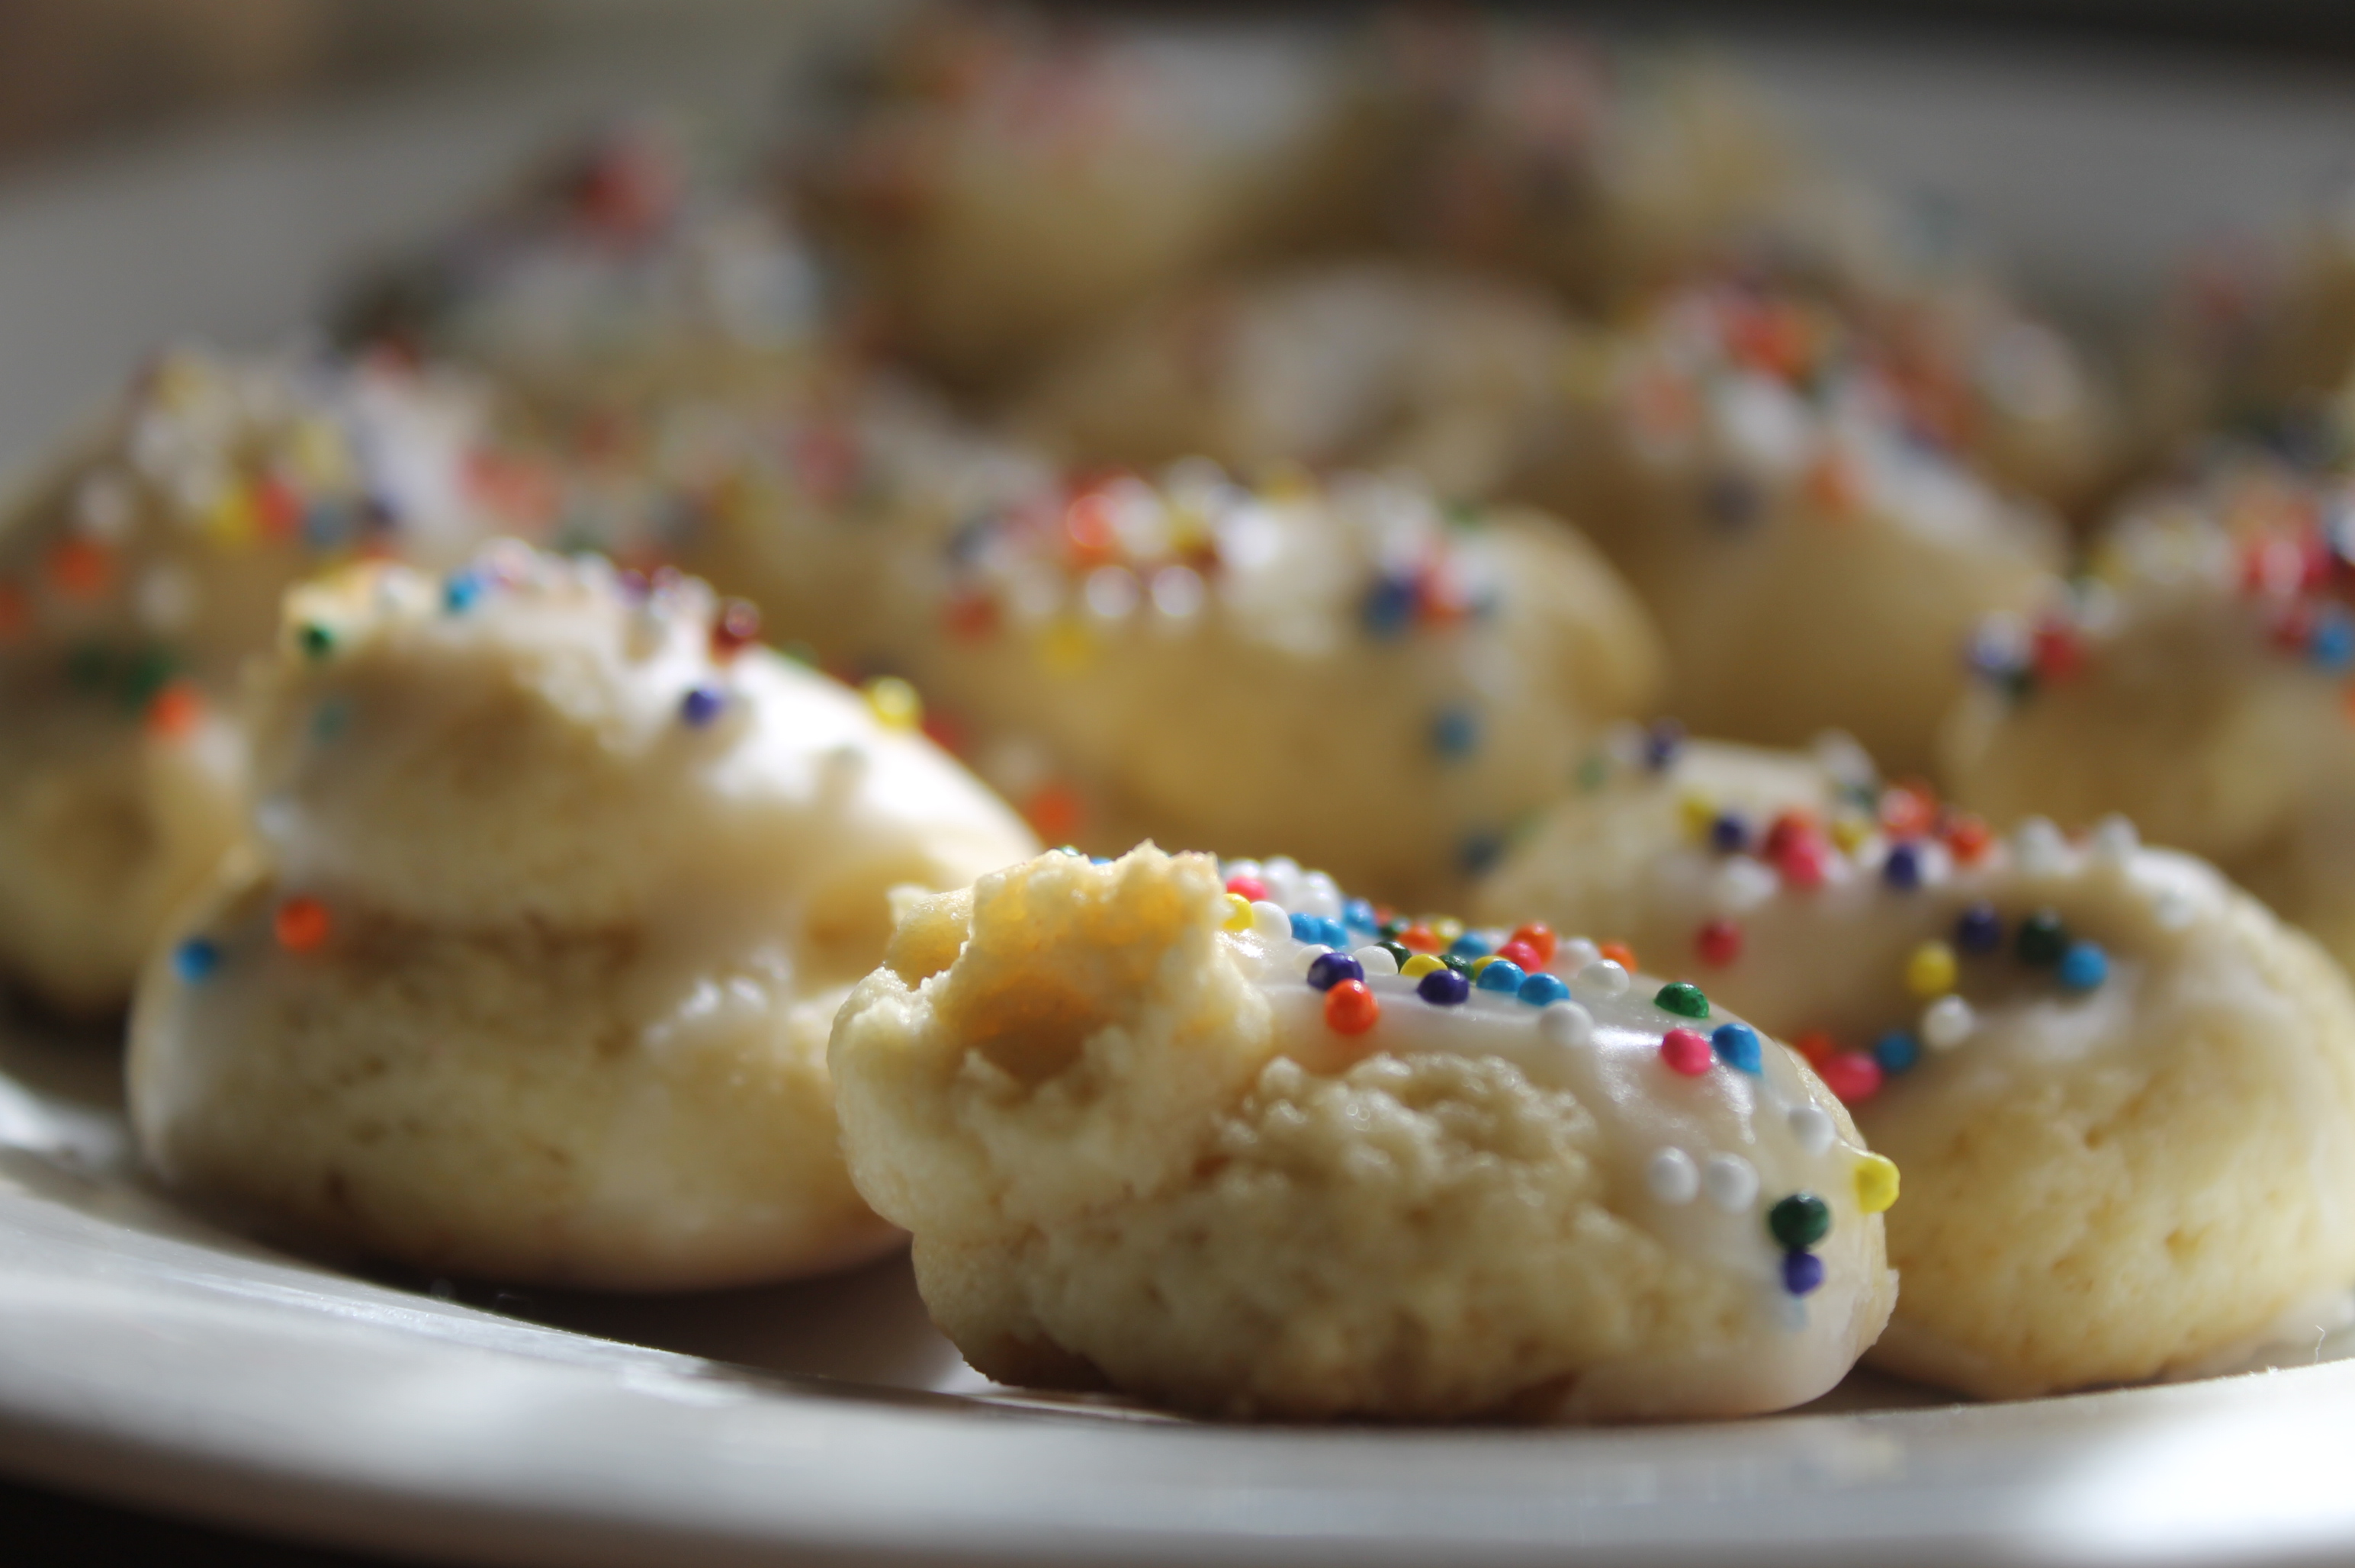
Fair warning…you can never eat just one.
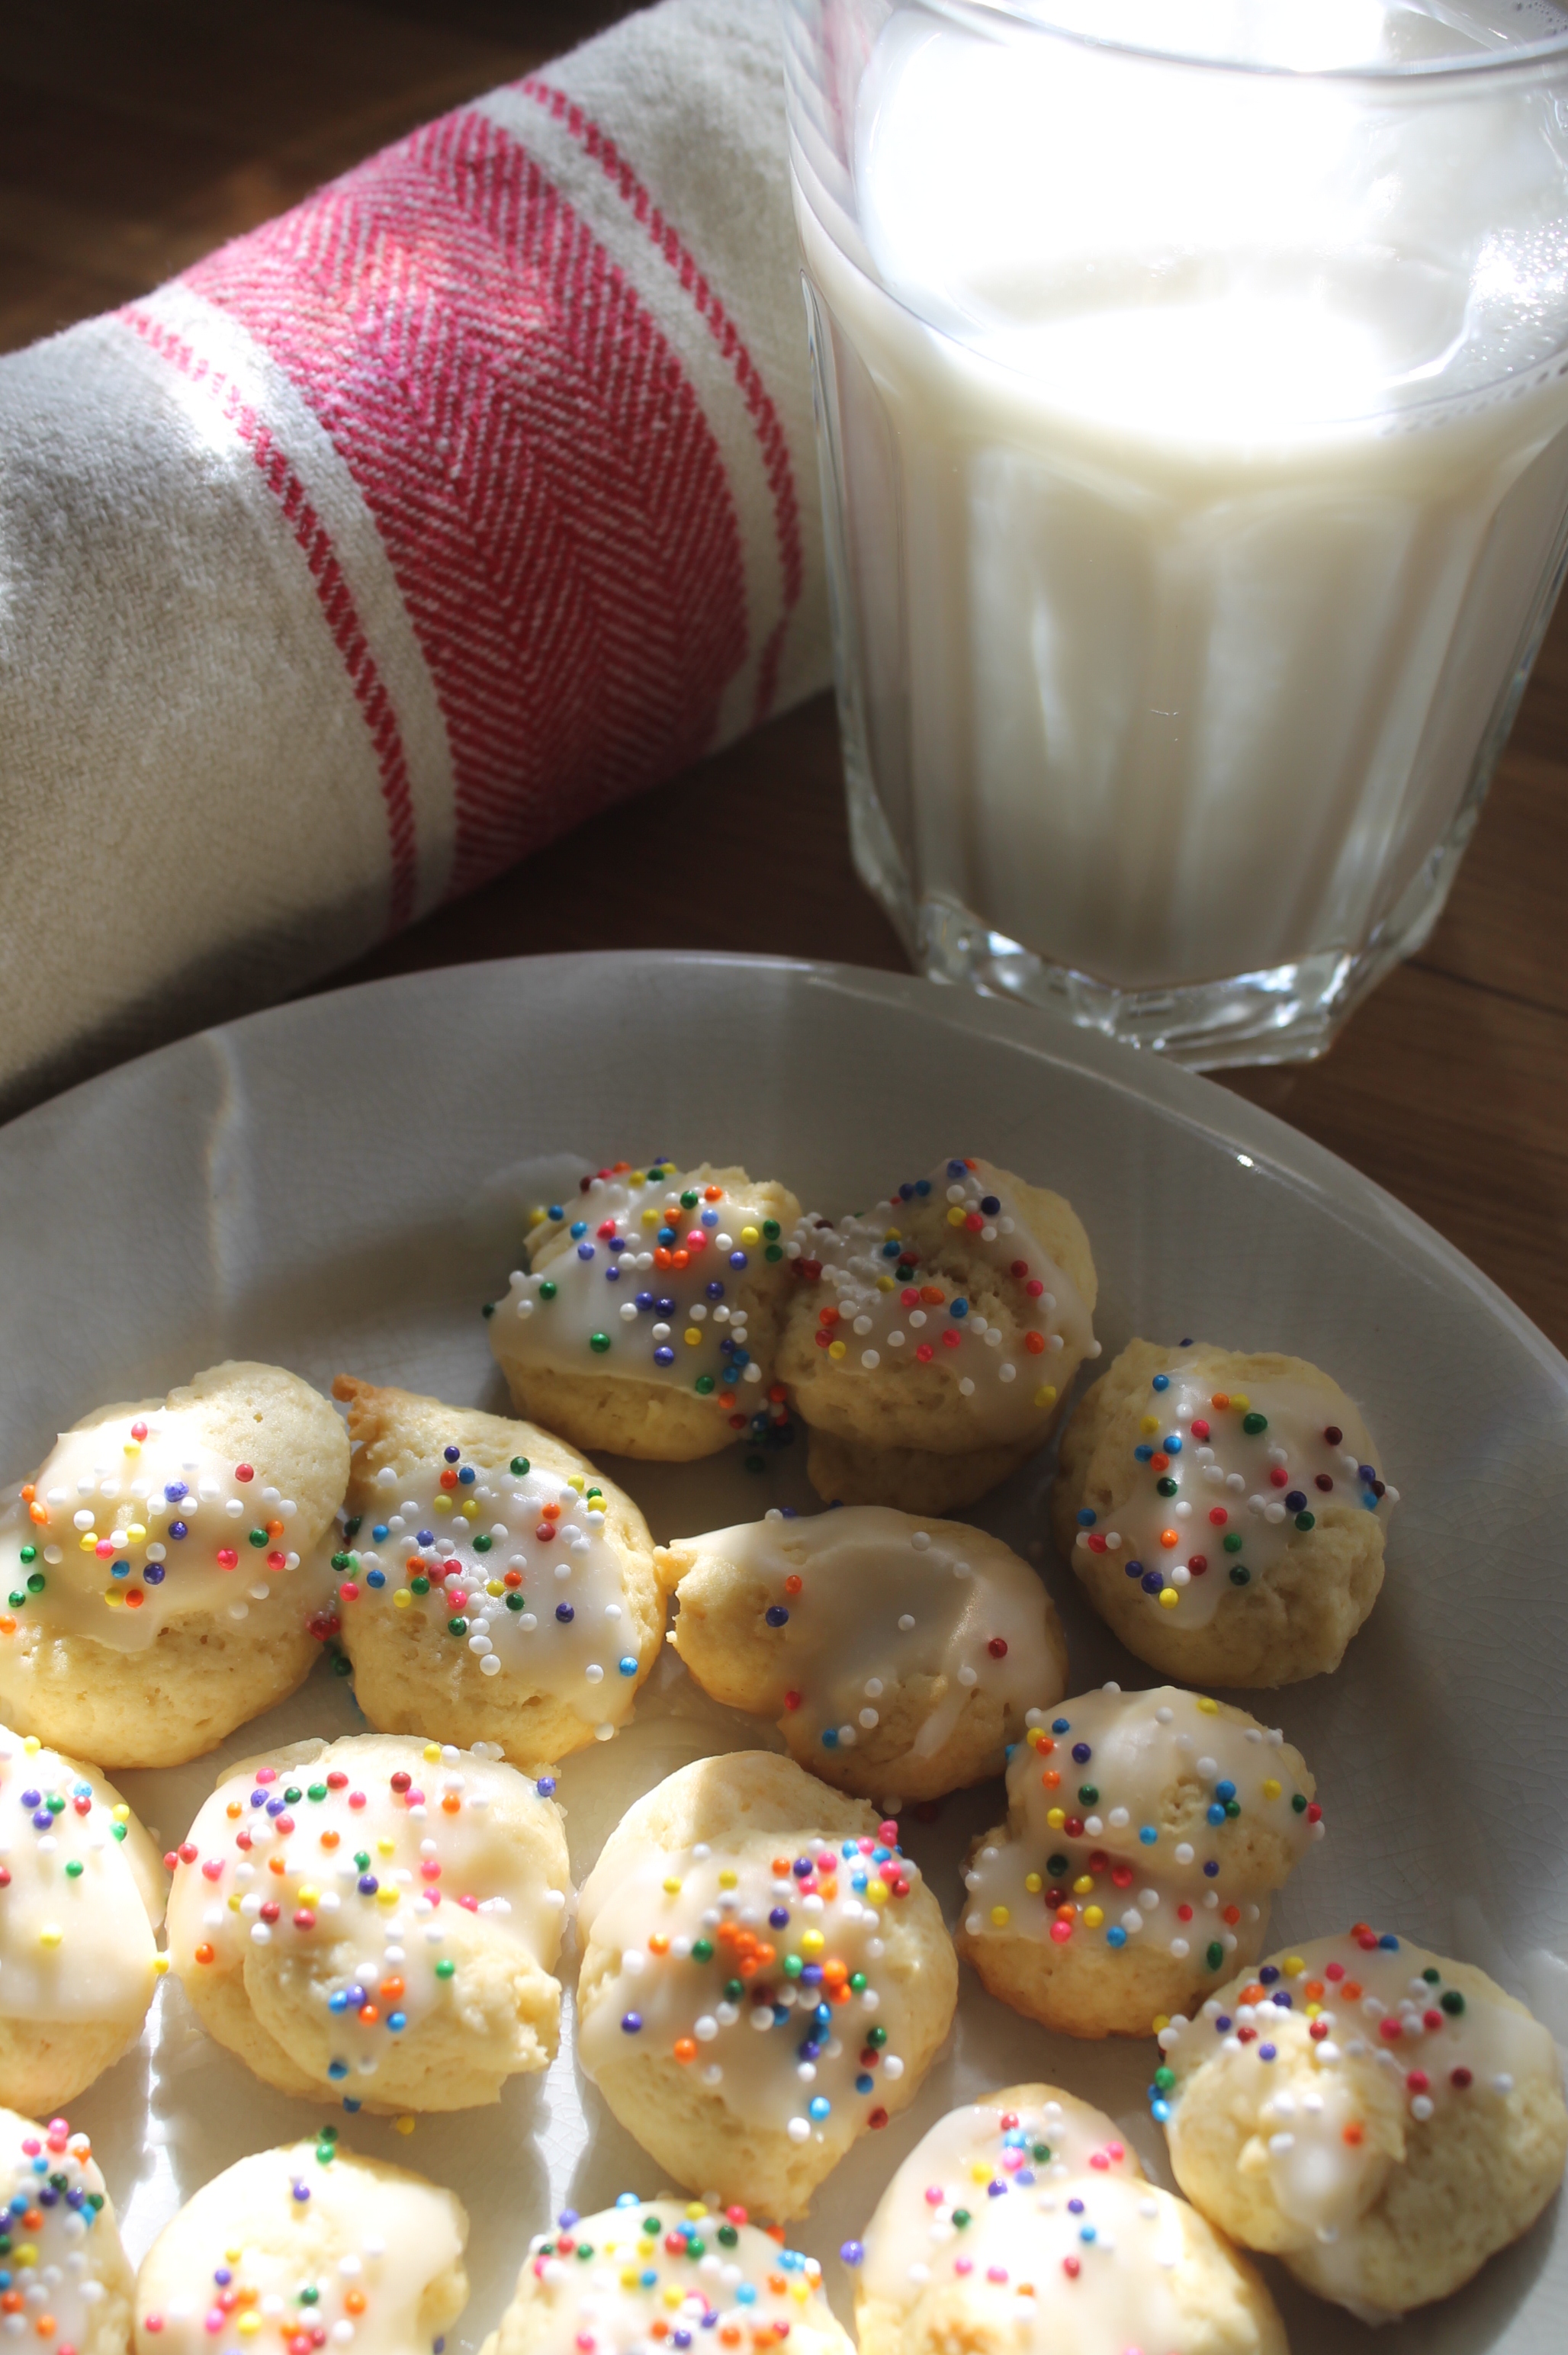
These cookies are slighly dense because of the addition of milk, which by the way, is the best way to accompany the cookies unless you have some prosecco around!