Classic Butter Almond Cookies


-- Download Classic Butter Almond Cookies as PDF --


IMG_0316

IMG_0317

IMG_0318

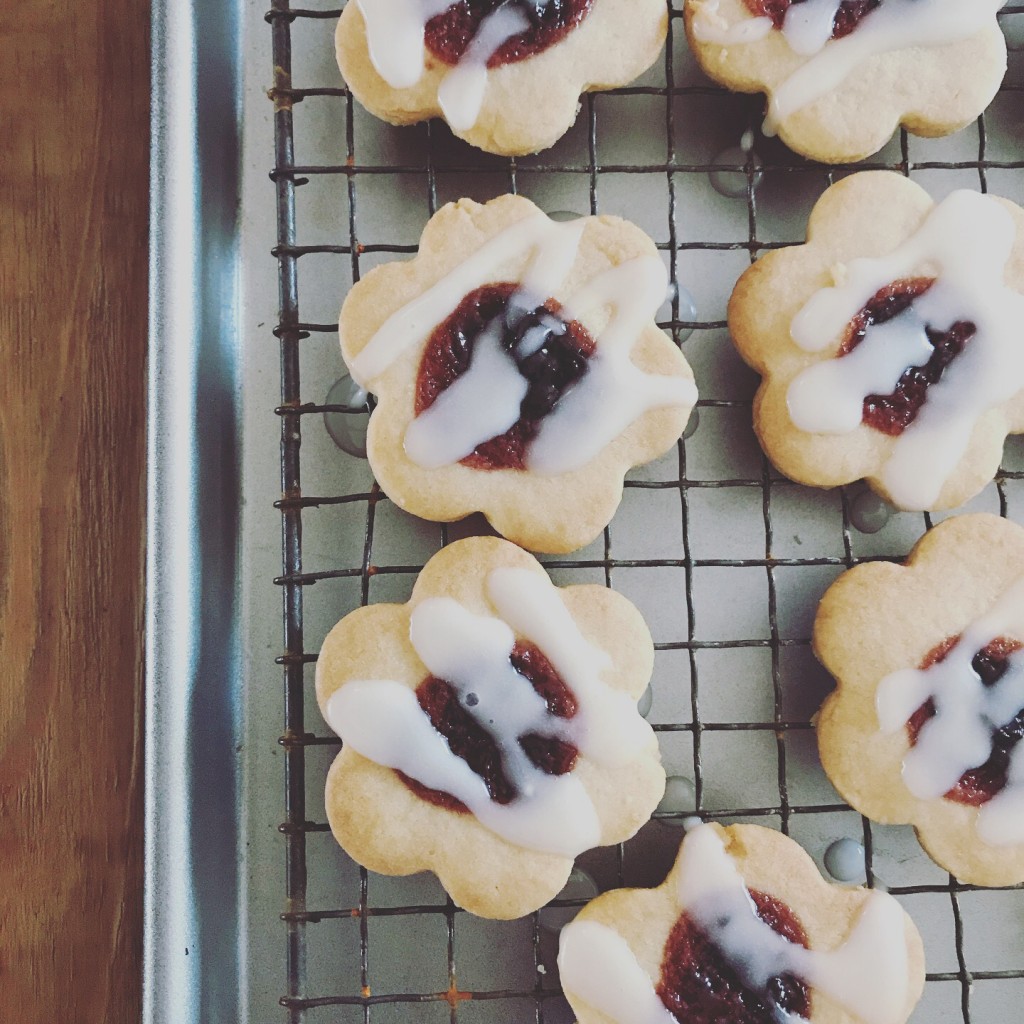
Almond Cookies with Cherry Preserves and Almond Glaze


Equipment:

Rolling Pin

Small cookie cutter (1 and ½ to 2 inches and preferably symmetrical)

Parchment Paper

Cookie Press (Optional)


Ingredients:

2 sticks of unsalted butter

¾ c. sugar

4 oz (weighed) almond paste

½ t. almond extract

½ t. vanilla extract

2 ¼ c. flour

½ t. baking soda

¼ t. salt

1 jar of store bough cherry preserves or jam (or the preserve flavor of your choice, homemade or store bought)


Almond Glaze:

1 ½ rounded cups of confectioner sugar

3 – 5 T. of milk

¼ to ½ t. of almond extract


  1. Cream butter and sugar in bowl of mixer fitted with paddle attachment until well combined.
  2. Break almond paste into small pieces and add to the creamed mixture. Beat on med to med high until the almond paste is broken up and well distributed throughout the mixture. (2 – 3 minutes)
  3. Add vanilla and almond extract, mix until incorporated.
  4. Place flour, baking soda and salt into a bowl and whisk to sift.
  5. With the mixer off, add flour mixture into the creamed mixture. Turn mixer on low (so as not to send flour flying everywhere) once reasonably combined, tick up the speed to med and mix entire mixture until just combined.
  6. Mixture will look crumbly but will come together when pressed together in the palm of your hand. (Option A: at this time, you can place the dough in a cookie press for spritz cookies. However, once chilled, the dough isn’t malleable enough to use in a cookie press)
  7. Place the mixture onto a breadboard or other surface and bring together with your hands. Divide into two equal portions.  Shape each portion into a round disk and wrap with cling film.  Place in fridge to chill for two hours.
  8. When about ready to roll out the dough and bake, pull out of fridge. Let come to room temperature (about an hour)
  9. Pre-heat oven to 325 degrees.
  10. Working with small batches, roll dough out to ¼” thick. I find it helps to roll the dough between two pieces of parchment paper.  Cut shapes out with your cookie cutter, gather the scraps, re-roll and cut more shapes until you have gone through all the dough. (this dough keeps in the fridge, so if you only want to roll out one of the two disks, it will be fine)
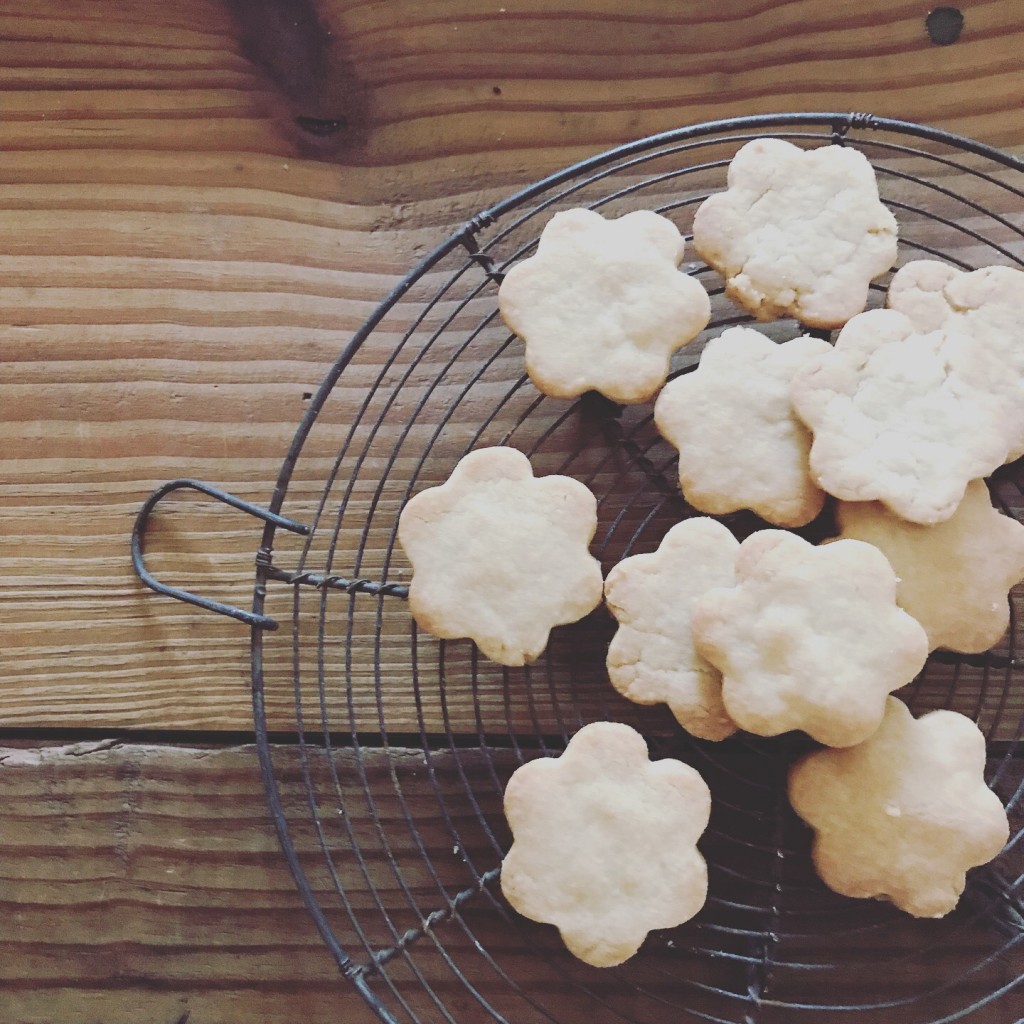
  11. Place the cut-out shapes on an ungreased sheet pan. (Option B. Bake at this point, without executing the additional steps. This will give you a plain, baked cookie that can be eaten with or without a sweet jam topping of your choice)
  12. Take approximately half a cup of the preserves and place in a sauce pan. Heat over medium heat until the viscosity changes from thick to thinner. Generally, when it starts to bubble, it is ready.  Stir the mixture while over the heat and re-heat of the preserves or jam cool while you are placing it on the cookies.
  13. Using a quarter teaspoon, spoon a quarter teaspoon of the thinned preserve mixture onto the center of the cut-out shape. Try to keep the shape of the preserve round as you are dolloping the preserves in the center.
  14. Place in the oven and cook for 10 – 12 minutes, until the edges are a light golden brown. Rotate the sheet pans halfway through the bake to ensure even baking.
  15. While the cookies are baking, begin your almond glaze. Sift the confectioners’ sugar into a bowl. Add three tablespoons of milk and stir.  If the glaze is thick (like peanut butter), add more milk, one table spoon at a time.  You are looking for a drizzling consistency.  Add a quarter teaspoon of almond extract.    If stronger flavor is needed and/or desired, add the additional quarter teaspoon.
  16. Remove the cookies from the oven and allow to fully cool.
  17. Using a fork or a squeeze bottle with a small nozzle, drizzle each cookie with the glaze. It is important to be more conservative with the glaze versus over glazing.  Less is better in this case.

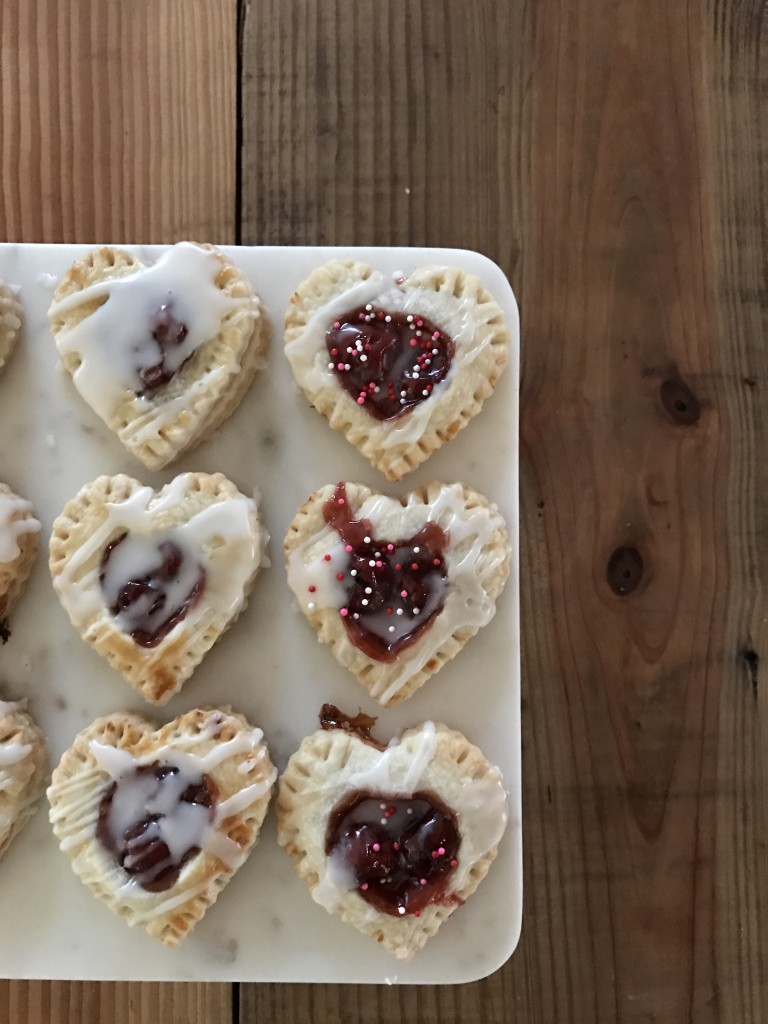
Heart Shaped Hand Pies – Oh My.

Pie with sprinkles?  To be or not to be?  That is the question.  Answer: Sure.  Why not?

Funny thing happened this weekend.  My washing machine broke and I found myself with extra time on my hands.  Until now, I had no appreciation how much laundry I do on the weekends.

So I decided to make heart shaped hand pies as an experiment.  Turned out pretty well.  In life as in hand pies, sprinkles are optional, but I thought they added a festive touch.

No big secrets here.  I used a pie crust recipe from Martha Stewart, canned cherry pie filling, almond flavored glaze and of course, sprinkles.

If I had to pinpoint any upgrade, it would be the almond flavored glaze.  It added the right amount of sweetness to make this palm sized treat smile worthy.

I hope you find some inspiration.

Always,

Cindy

xoxo


Hear Shaped, Cherry Filling. Almond Glaze. Classic.

Hear Shaped, Cherry Filling. Almond Glaze. Classic.

The Little Paris Kitchen

Rachel Khoo, literally in her Little Paris Kitchen

Rachel Khoo, literally in her Little Paris Kitchen

I stumbled on a lovely little show on the cooking channel, hosted by Rachel Khoo.  She lives in a little (and I mean little) Parisian flat and hosts a cooking show from her kitchen which is literally the span of her arm’s length deep and wide.

I would imagine that out of necessity, she would naturally gravitate towards simple cooking because she doesn’t have the storage for kitchen gadgets and a plethora of cooking accoutrements.  Rachel is probably a better version of my younger self.  I love the way she uses an old chippy, antique enamel bowl to do a lot of her mixing.  She has used it in several episodes.  She doesn’t even have a proper stove or oven.  She has two burners and a counter top oven and she manages to use them very well.  Not only that, she ran the smallest restaurant in Paris from her apartment.  French dinner for two by an English girl.  Brilliant.

She is confident enough and refreshing enough to show a clip in her show of a French Butcher who didn’t particularly like her version of steak tartare.  I really appreciate someone who knows the best things in life are often the things that fall outside the lines.

So intrigued was I, that I purchased her cookbook on Amazon (here is the link) and have made five recipes so far.  Three turned out great, two…not so much.  But the recipes that didn’t turn out were my errors and I will try them again, until I get it right.

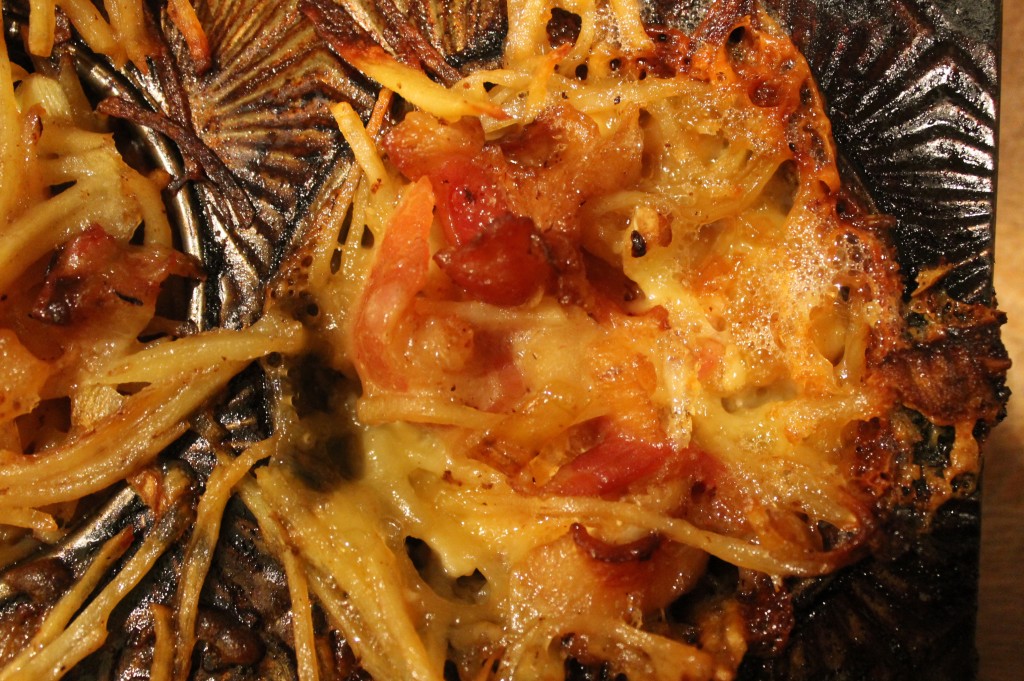
One recipe I tried was “Nids de Tartiflette” or Cheese and Potato Nests.   A simple and rustic recipe with wine and french cheese, it was really lovely and easy.  Rachel Khoo is really onto something if she is determined to de-mystify French cooking and do it the way the French do at home.  I had great fun with these recipes and great result.

The mystery out of French Food prepared simply.

The mystery out of French Food prepared simply.

 Nids de Tartiflette

Click on the title for a link to the recipe.  Here is a snap of my result. Insanely delicious.

Cheese Potato Nests (Nids de tartiflette)

Cheese Potato Nests (Nids de tartiflette)


That Simple Moment of Happiness…

IMG_7298 (2)

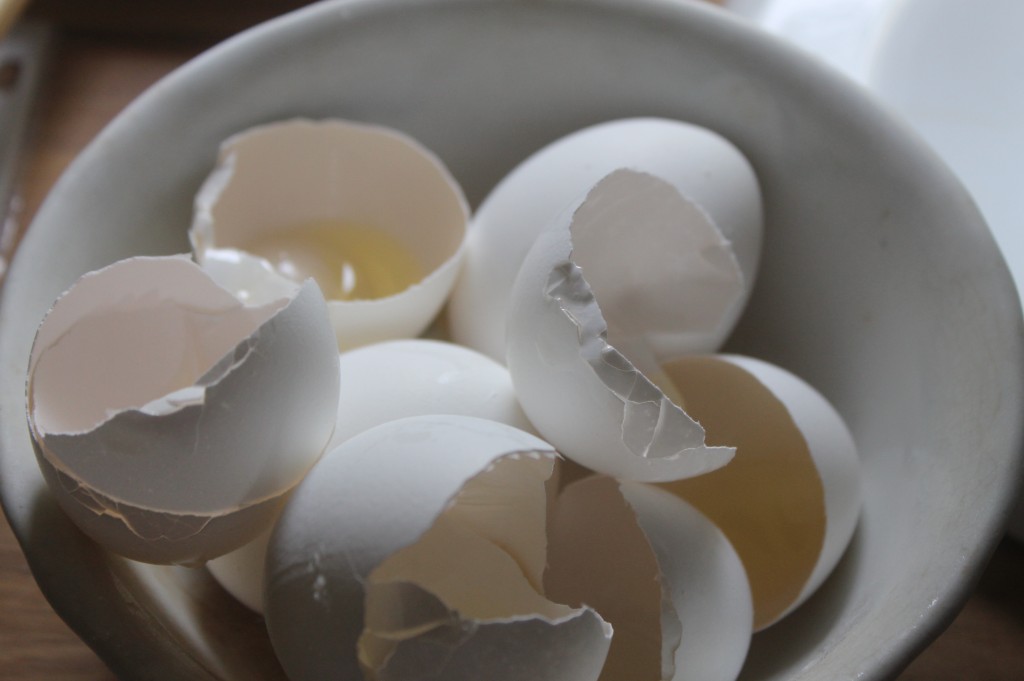
Farmer’s Market Eggs.

IMG_7299 (2)

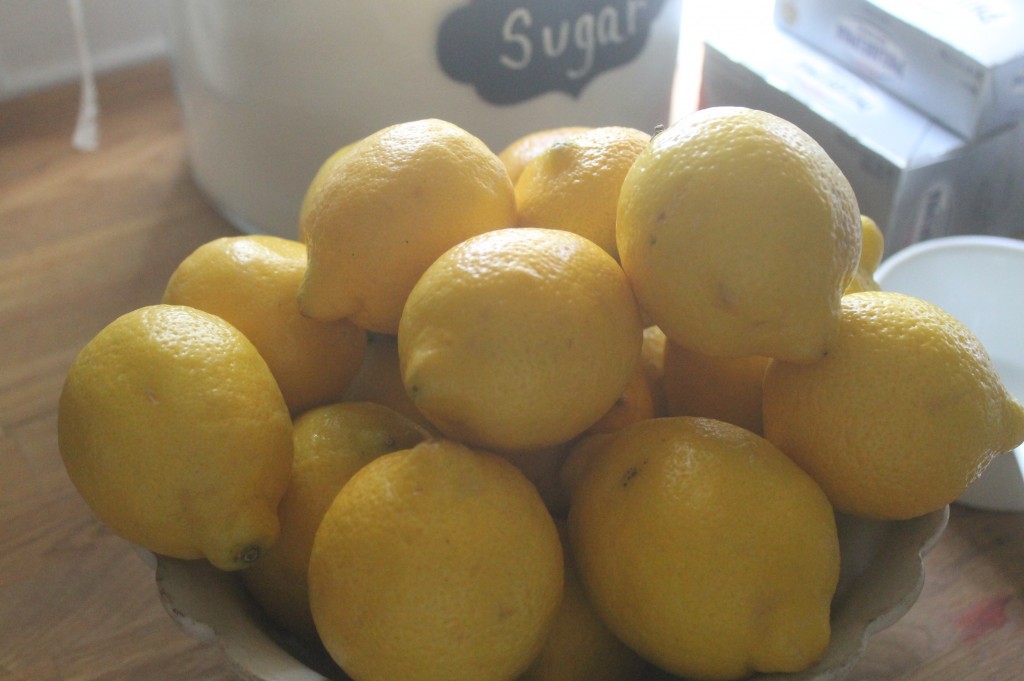
Farm to Table Lemons.

IMG_7304 (2)

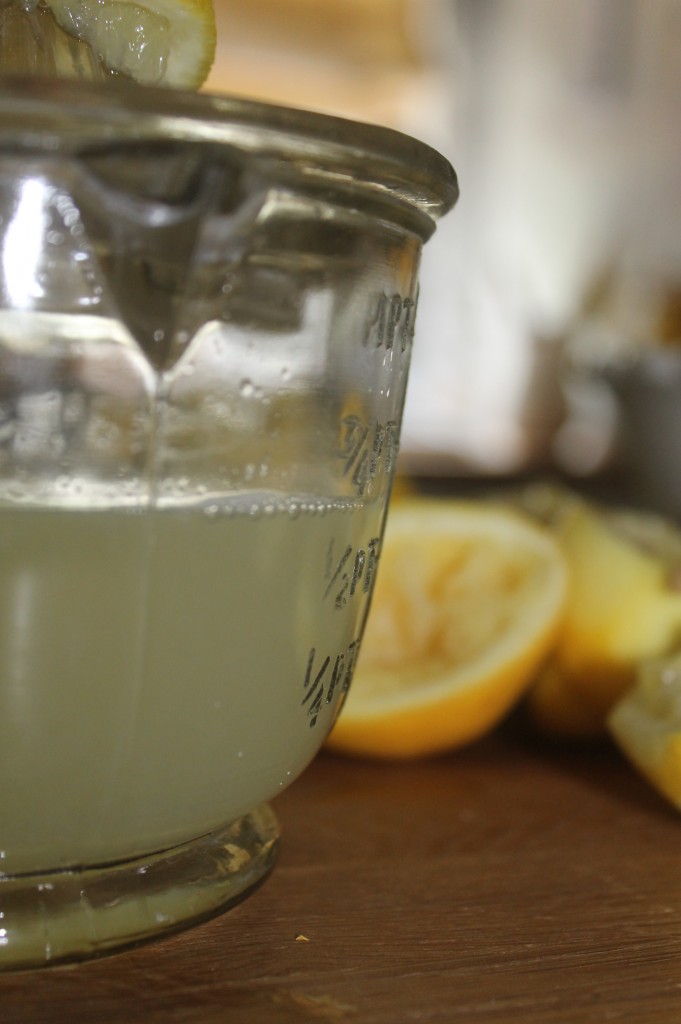
Freshly Squeezed Lemon Juice.

Sometimes everything you have is everything you need at that moment.  A content moment, although fleeting, feels second nature.  Maybe it’s a belly laugh at a good joke, a picture that conjures up a fond memory or crashing into a song on the radio that you loved, but haven’t heard in a while.  Or maybe, just maybe, it is a simple as enjoying a helping of good food that rings every bell on your palette.

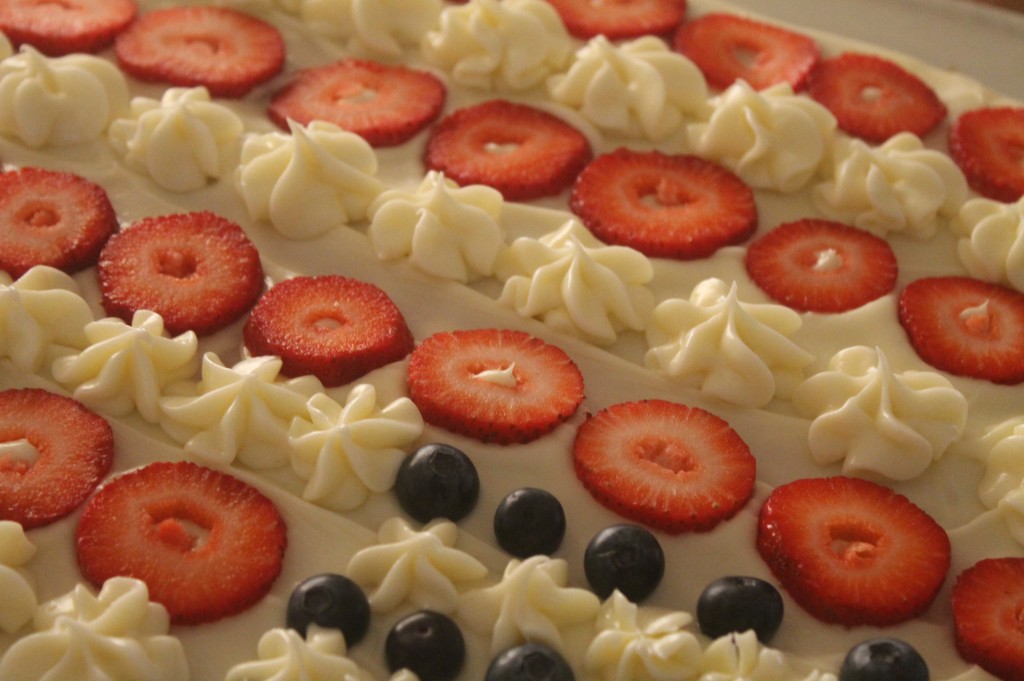
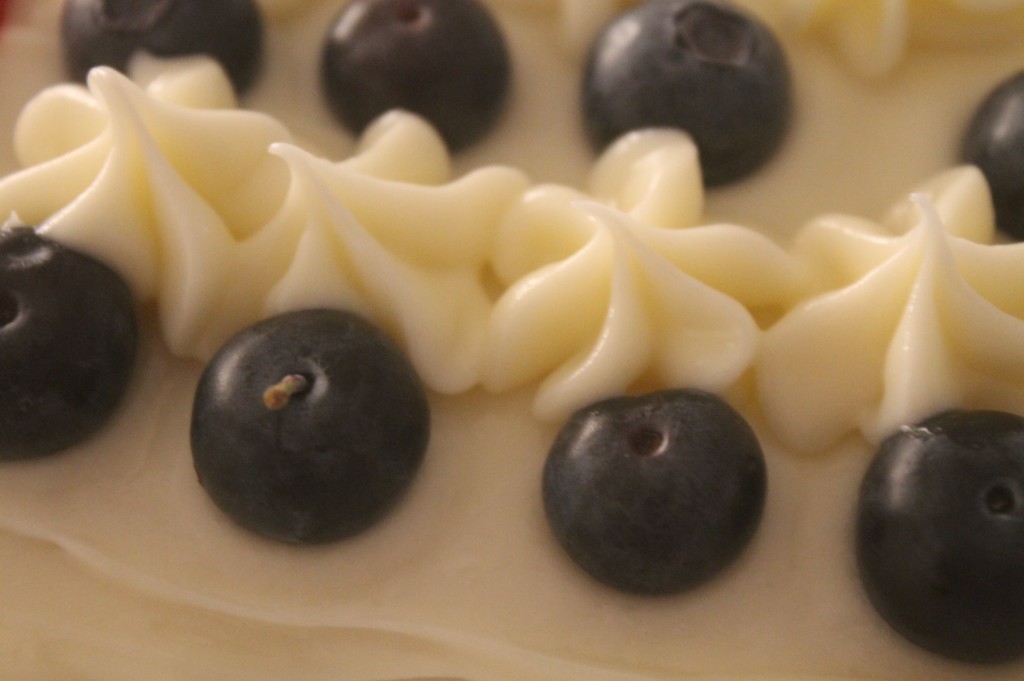
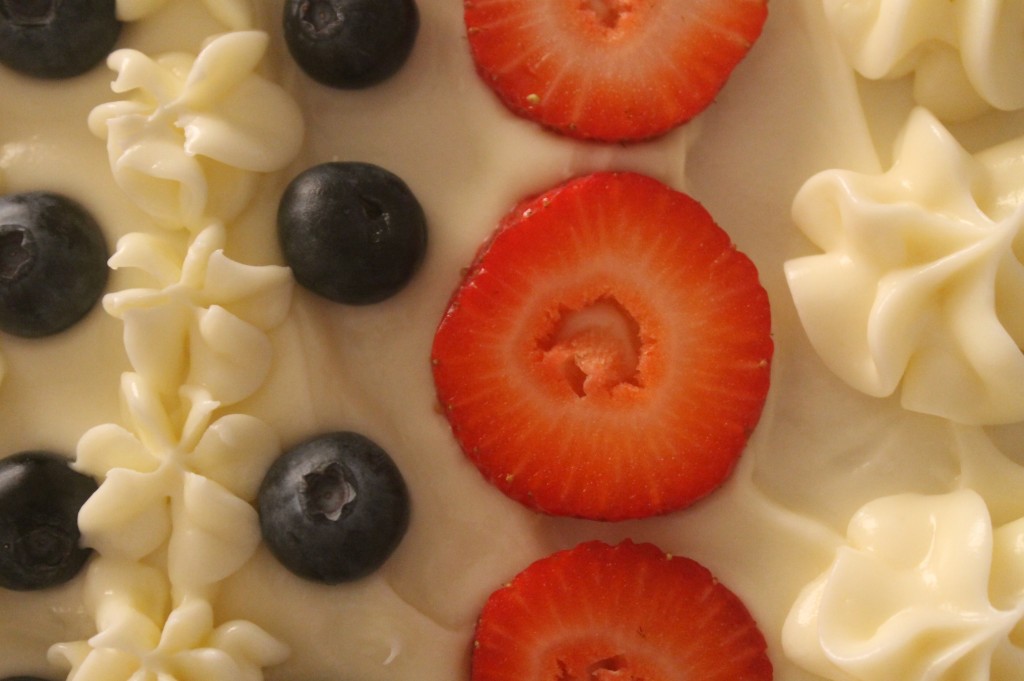
Memorial Day is the last hurrah of Spring and the signal of warm, balmy days to come .  It is also the time of year that I make the ever Patriotic Flag Cake.  An Ina Garten recipe that I have been making for years, it is a lovely and moist lemon sour cream pound cake base with cream cheese frosting and an abundance of farm market fresh strawberries and blueberries that celebrate the red, white and blue.  Add a bit of my homemade raspberry lemonade as a chaser and everything you have is everything you need for that simple moment of happiness.

Recipe is below, enjoy and above all, have a happy and safe Memorial Day.

I hope you find some inspiration.

We Remember.

Always,

Cindy


IMG_7312 (2)

Blue Berries Cream Cheese Frosting

Farm Fresh Blueberries and Strawberries

Farm Fresh Blueberries and Strawberries

Flag Cake Recipe

Ingredients

  • 18 tablespoons (2 1/4 sticks) unsalted butter at room temperature
  • 3 cups sugar
  • 6 extra-large eggs at room temperature
  • 1 cup sour cream at room temperature
  • 1 1/2 teaspoons pure vanilla extract
  • 3 cups flour
  • 1/3 cup cornstarch
  • 1 teaspoon kosher salt
  • 1 teaspoon baking soda

For the icing:

  • 1 pound (4 sticks) unsalted butter at room temperature
  • 1 1/2 pounds cream cheese at room temperature
  • 1 pound confectioners’ sugar, sifted
  • 1 1/2 teaspoons pure vanilla extract

To assemble:

  • 2 half-pints blueberries
  • 3 half-pints raspberries

Directions

Heat the oven to 350 degrees F.


Butter and flour an 18 by 13 by 1 1/2-inch sheet pan.


Cream the butter and sugar in the bowl of an electric mixer fitted with the paddle attachment on high speed, until light and fluffy. On medium speed, add the eggs, 2 at a time, then add the sour cream and vanilla. Scrape down the sides and stir until smooth.


Sift together the flour, cornstarch, salt, and baking soda in a bowl. With the mixer on low speed, add the flour mixture to the butter mixture until just combined. Pour into the prepared pan. Smooth the top with a spatula. Bake in the center of the oven for 20 to 30 minutes, until a toothpick comes out clean. Cool to room temperature.


For the icing, combine the butter, cream cheese, sugar, and vanilla in the bowl of an electric mixer fitted with the paddle attachment, mixing just until smooth.


Spread three-fourths of the icing on the top of the cooled sheet cake. Outline the flag on the top of the cake with a toothpick. Fill the upper left corner with blueberries. Place 2 rows of raspberries across the top of the cake like a red stripe. Put the remaining icing in a pastry bag fitted with a star tip and pipe two rows of white stripes below the raspberries. Alternate rows of raspberries and icing until the flag is completed. Pipe stars on top of the blueberries.


I serve this cake right in the pan. If you want to turn it out onto a board before frosting, use parchment paper when you grease and flour the pan.

The Italian Cookie Recipe from Aunt Maria

No one can eat just one.

No one can eat just one.


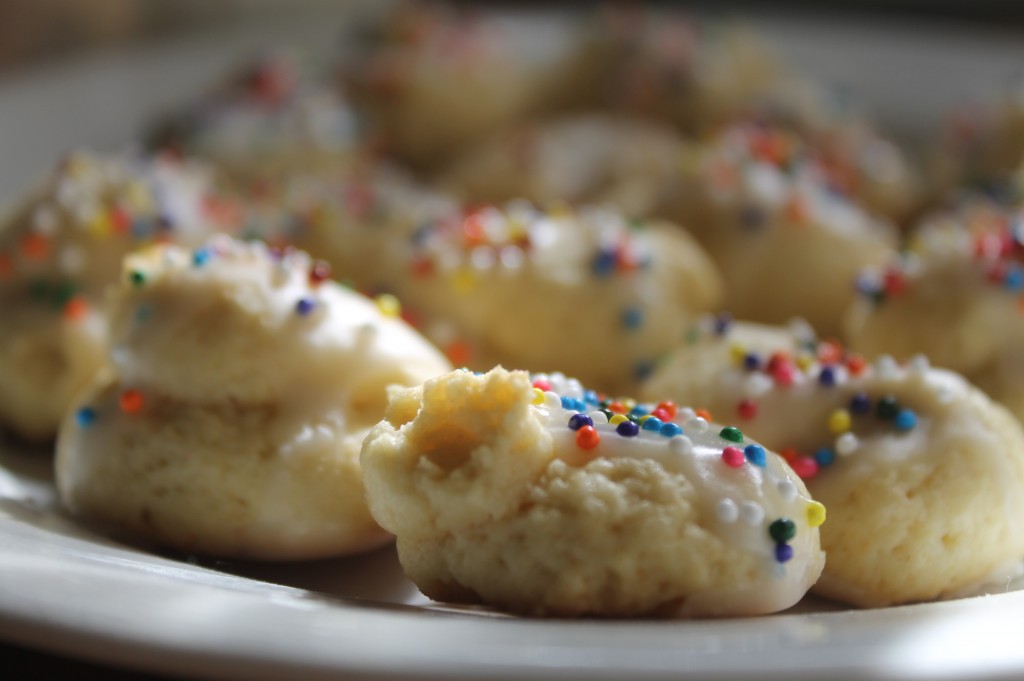
Every year, my mother makes what our family collectively believes is THE quintessential Italian cookie, called the Rosette.  They can be labor intensive, so they generally are not a cookie you can make often but they are worth every bit of effort.

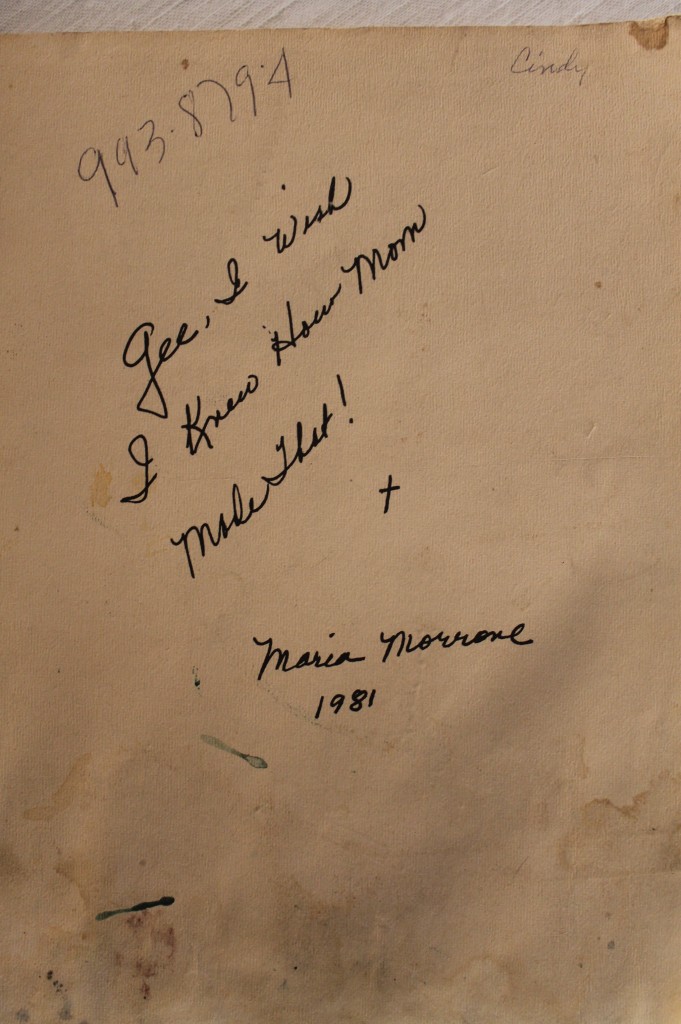
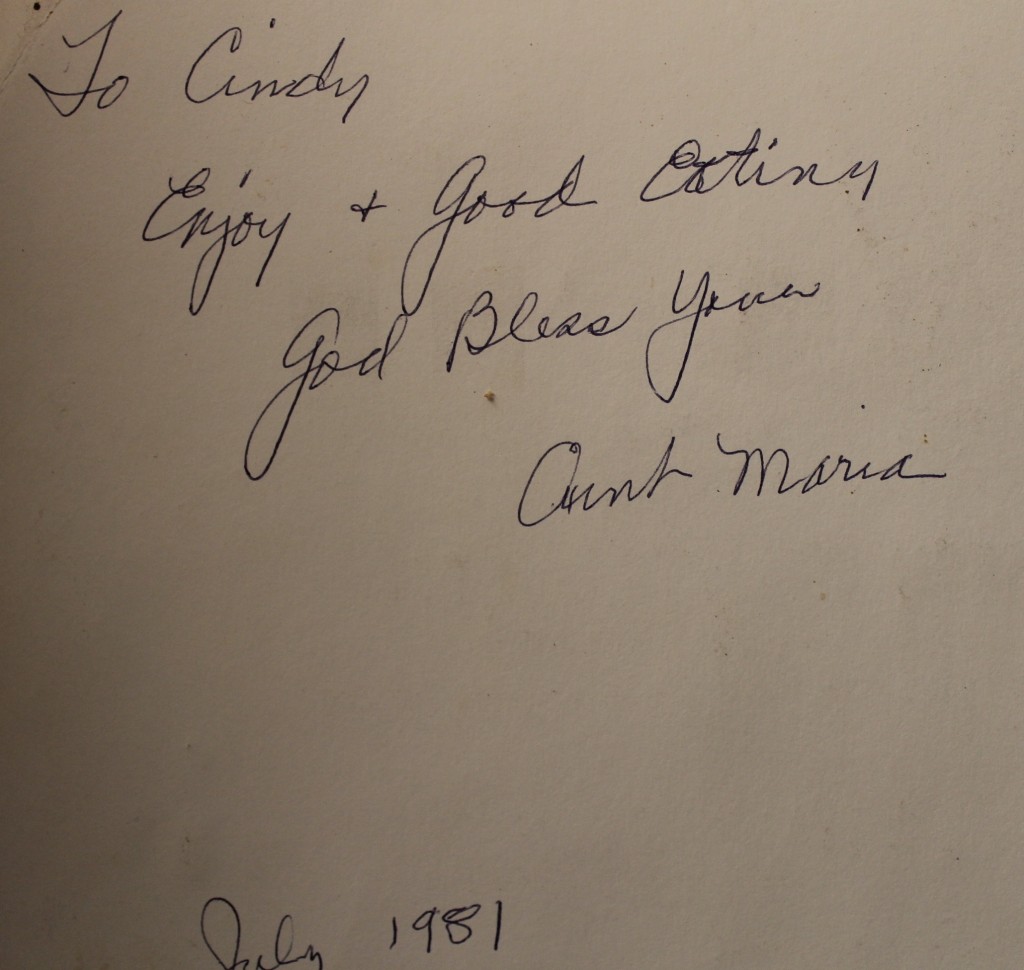
According to my mom, it took her twenty years to perfect the recipe.  As best I know, the origin of the cookie came from my late Aunt Maria Morrone.  She passed away many years ago at a very early age.  As a gift to her family, she created a cook book full of all of her tried and true recipes.  I was very young, but remember her as a terrific cook and in addition to being a mother to five rambunctious kids, she did some catering on the side which was a testament to how delicious her food was and what a good juggler she was:)

I don’t know how she ever found the time to cook and cater because there was a time each summer where the kids from one family would stay with the other family, which meant there were ten kids of varying temperaments and ages and a handful at any rate so how she found the time to make homemade food every night was beyond me, but then again, the talented cooks always make it look very easy.

I still have that cook book and have made several of her original recipes.  She hand typed the book (computers weren’t around back then) and had them professionally bound.  Whenever I look at it, I always thing of it as such a lovely and personal gift and I suppose, that is what a legacy is all about.

I hope you find some inspiration.

Always,

Cindy

A gift from the heart from a woman who knew her time was short.

A gift from the heart from a woman who knew her time was short.

Every time I use the book, I think of her.  I think she would be very proud of the women her children and nieces have become.

Every time I use the book, I think of her. I think she would be very proud of the women her children and nieces have become.

A reminder that life is more memorable when you color outside the lines.  Everything doesn't have to be perfect.

A reminder that life is more memorable when you color outside the lines. Everything doesn’t have to be perfect.

Rosette Cookies Recipe

1 c. butter ( you can use a combination of Crisco and butter for a slightly different texture)

1 c. sugar

3 eggs (room temperature)

2 t. vanilla extract

1 t. almond extract

3 c. of flour

1 c. cake flour

1 T. baking powder

1 t. salt

1/2 c. of whole milk

Glaze:

1 c. of confectioners’ sugar

1 t. almond extract

Low Fat butter milk, enough to get the desired consistency (usually 3 – 4 tablespoons)

*note: the original recipe calls for more flour in order to create a dough that is less sticky.  Then the cookies are rolled and formed by hand.  In order to allow the dough mixture to be more easily extruded from a piping bag, this recipe pulls back on the flour a bit since flour only affects texture, not taste.

Pre-heat your oven to 350 degrees.

Mix butter, sugar until combined.  Add eggs, one at a time and vanilla and almond extract.  In a separate bowl, sift together the dry ingredients (both flours, baking powder and salt) and add incrementally to the wet ingredients alternating with the milk until all ingredients have been added and are combined.  The dough will be slightly sticky.

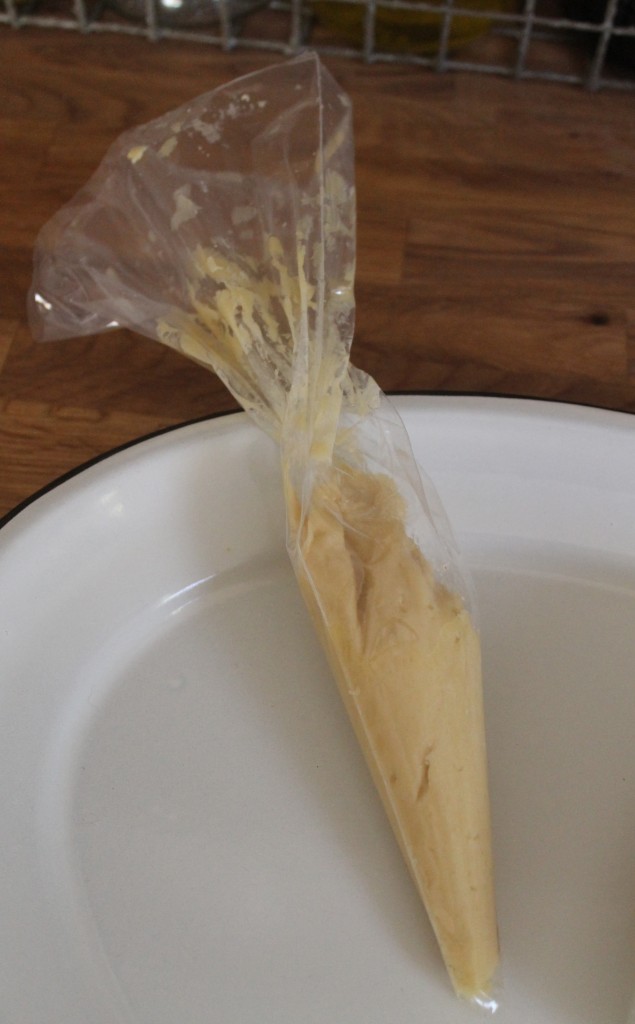
Load the dough into a piping bag with the tip snipped to approximately a half to three quarters of an inch hole.  You will pipe the cookies into a coiled snake shape, with two rows.  No worries…it does not have to be perfect…as you can see in my pictures…no two are the same.  You  just want them close to the same size so they cook evenly.  It takes some pressure to extrude the dough out of the bag and some assistance will be required to break the dough from the piping bag when you are finished piping each cookie.  Cook for 15-20 minutes until the bottom is golden brown.

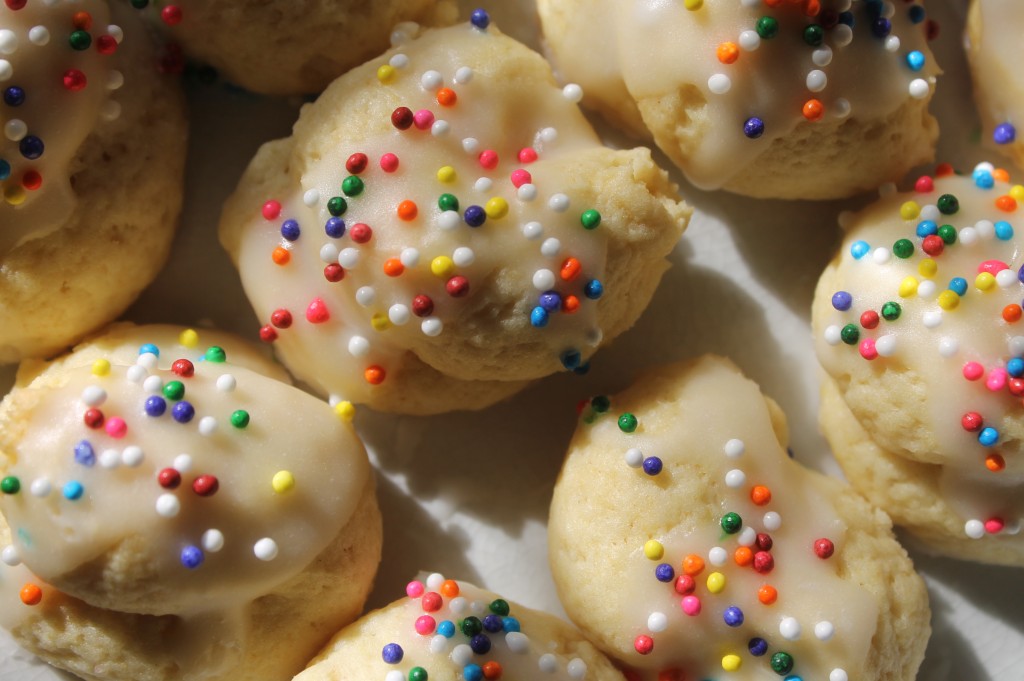
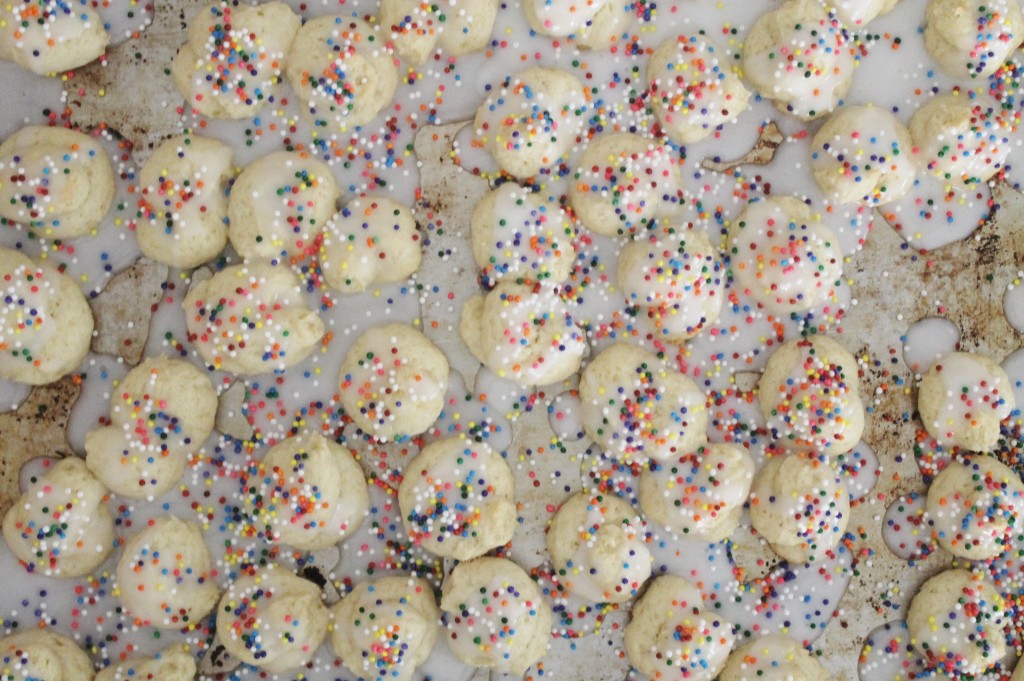
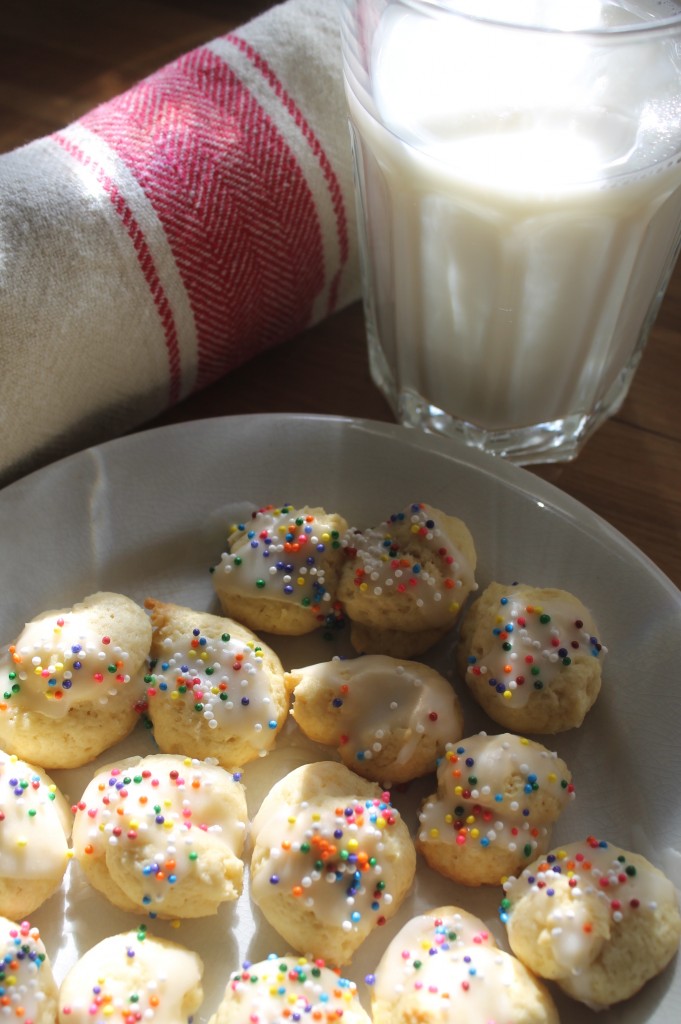
Allow cookies to cool, then drizzle glaze on them, remembering to add the sprinkles before the glaze dries.  Show some restraint with the sprinkles…it is easy to over do it.

Enjoy!

I modified the recipe so the cookie dough can be extruded with the use of a piping bag which makes them much, much easier to make.

I modified the recipe so the cookie dough can be extruded with the use of a piping bag which makes them much, much easier to make.


The glaze and sprinkles can be messy, so I add them once the cookies have cooled.

The glaze and sprinkles can be messy, so I add them once the cookies have cooled.

Fair warning...you can never eat just one.

Fair warning…you can never eat just one.

These cookies are slighly dense because of the addition of milk, which by the way, is the best way to accompany the cookies unless you have some prosecco around!

These cookies are slighly dense because of the addition of milk, which by the way, is the best way to accompany the cookies unless you have some prosecco around!


The Heart of Chocolate Ganache

If only my reality were as artful as my imagination.

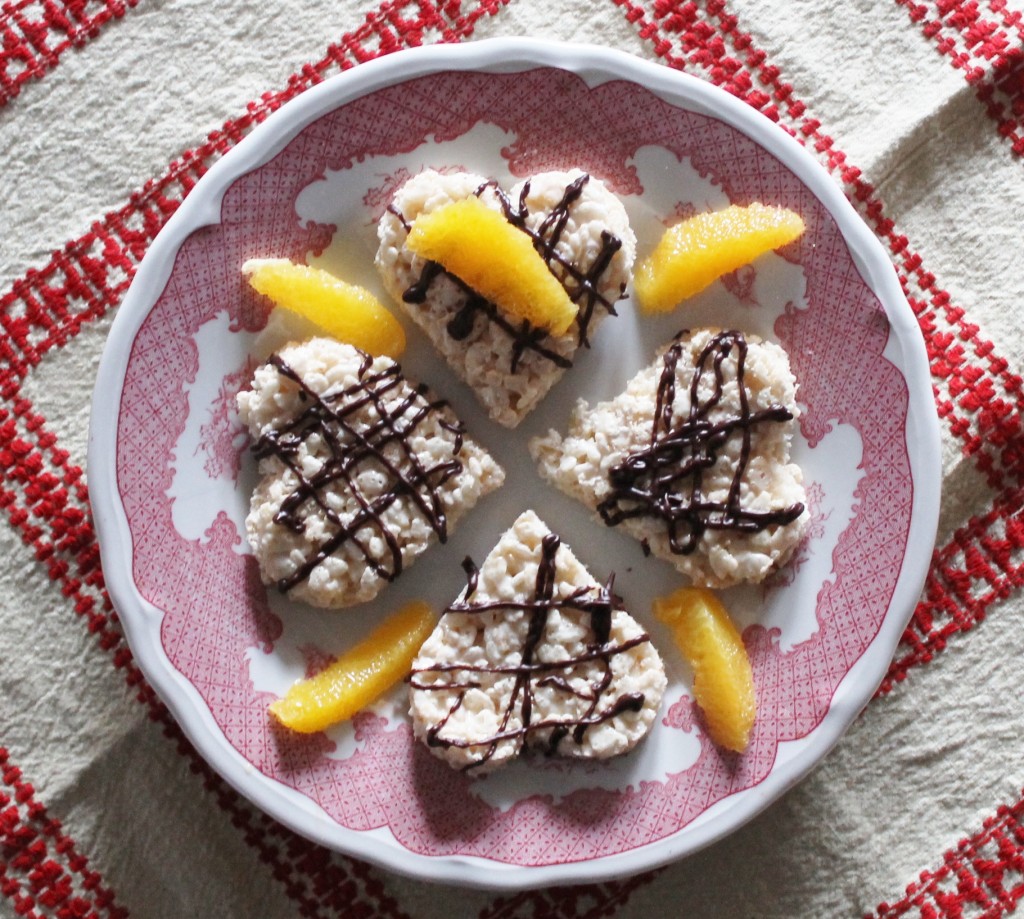
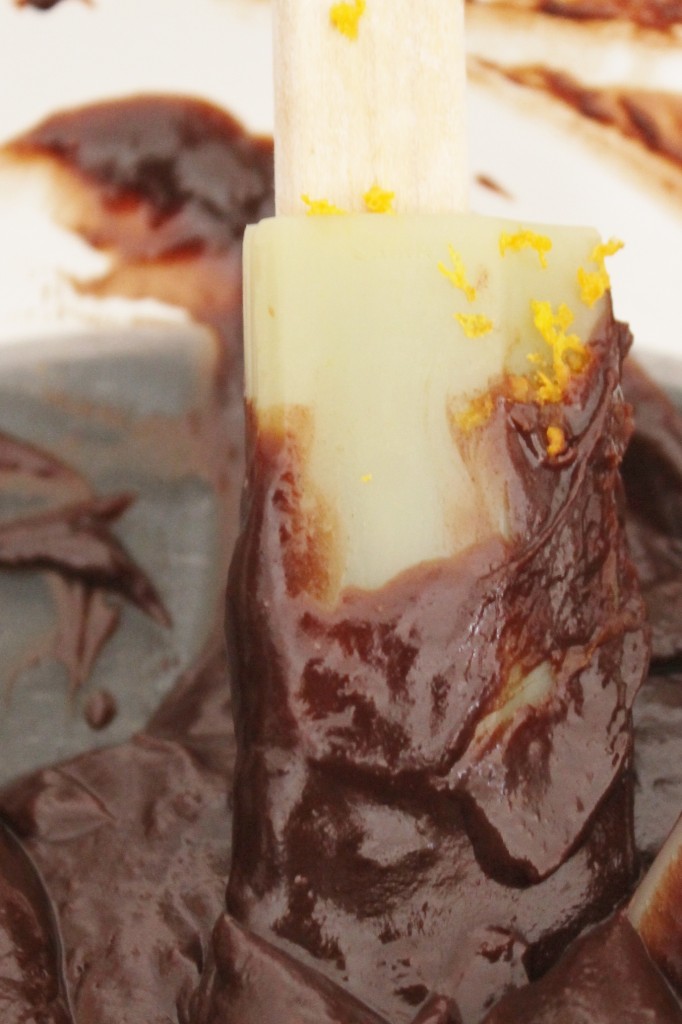
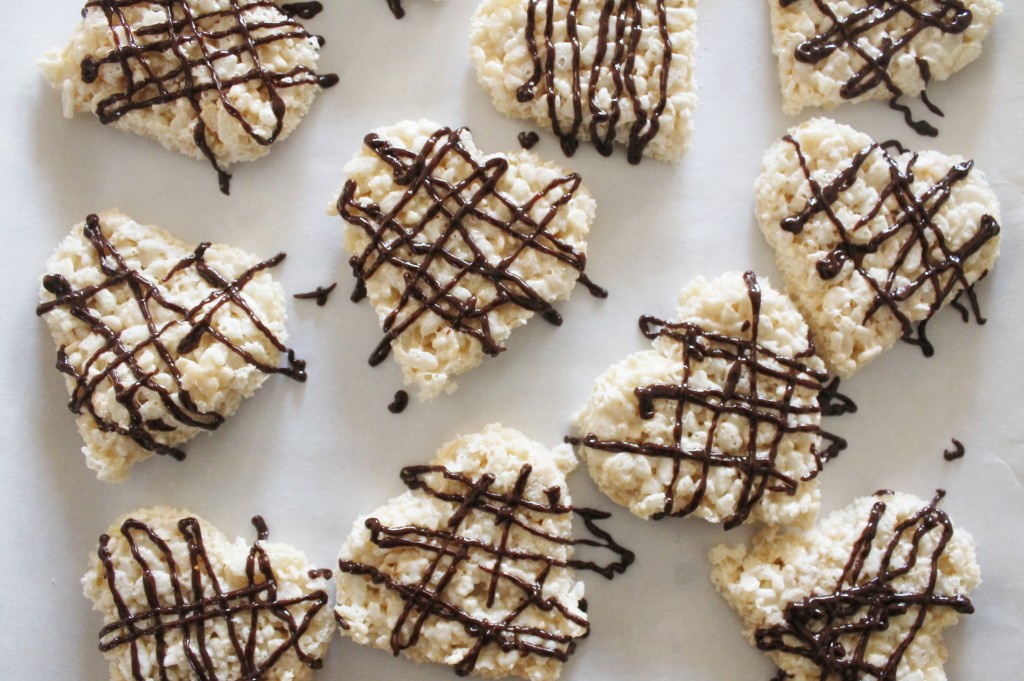
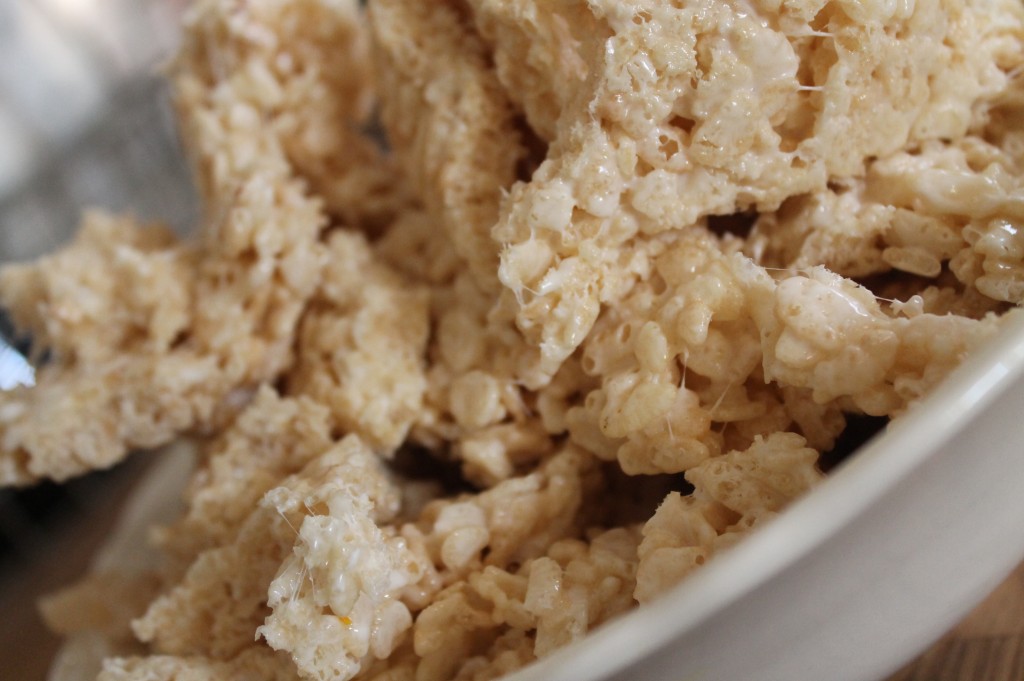
Rice Crispies treats, cut in a heart shape to celebrate the day with a quick coffee infused chocolate ganache with orange zest drizzle.

In a double boiler:

1/2 c. heavy cream

8 oz of semi sweet chocolate chips

1 t. instant coffee granuals

zest of two oranges

Combine in top of double boiler until chocolate is melted, stirring regularly.

A little treat…for any day, not just heart day.

I hope you find some inspiration.

Always,

Cindy

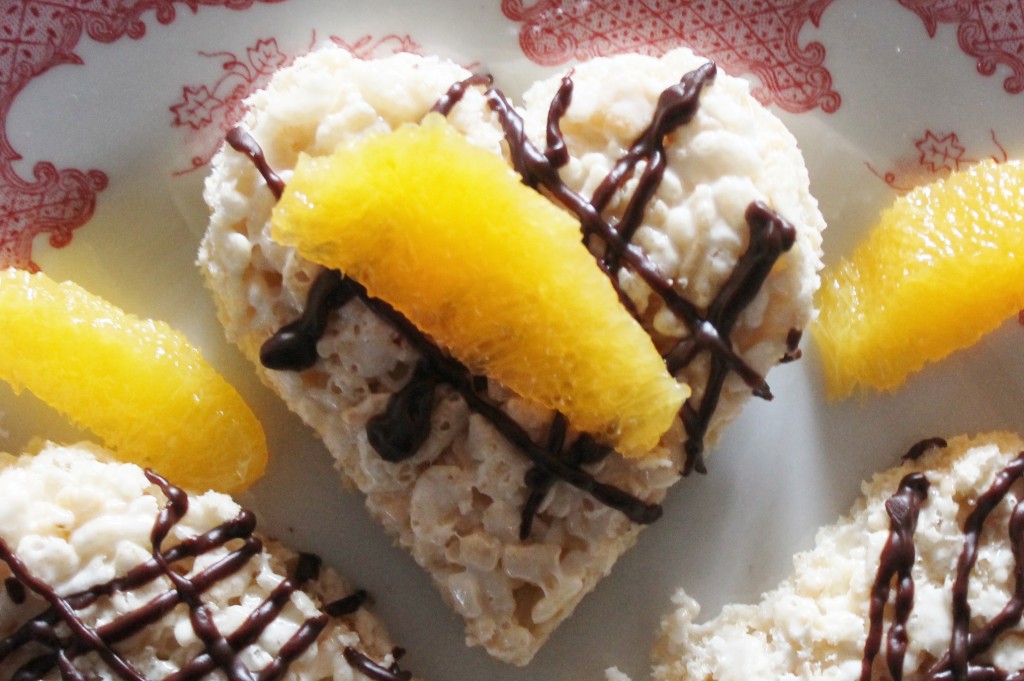
Chocolate and orange…what a great flavor pairing.

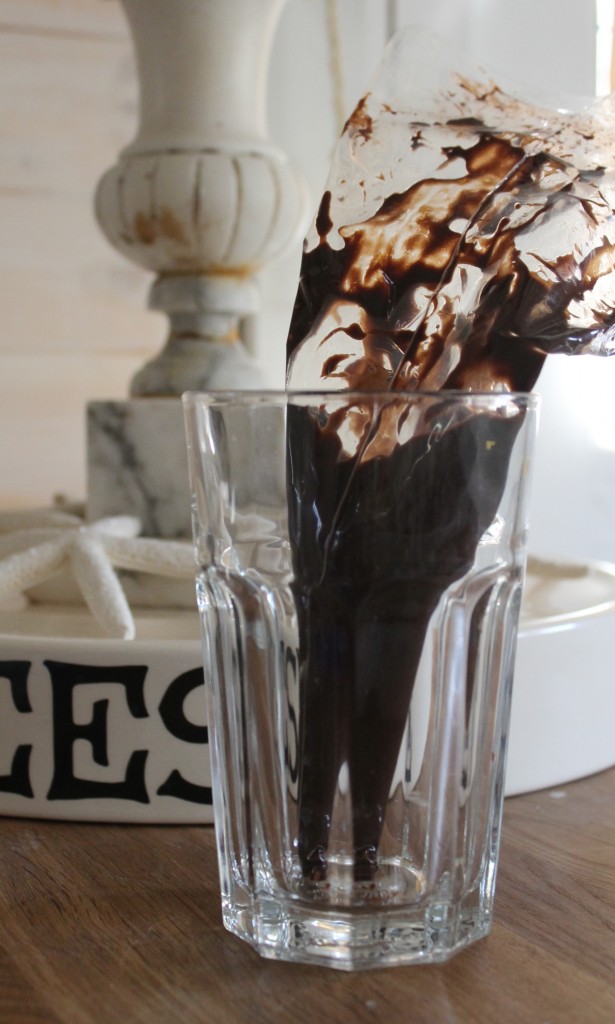
Ganache in a pastry bag, ready to pipe.

Random drizzle. Couldn’t be easier.

How can these be called scraps?

Orange slices as a hint of what is to come.


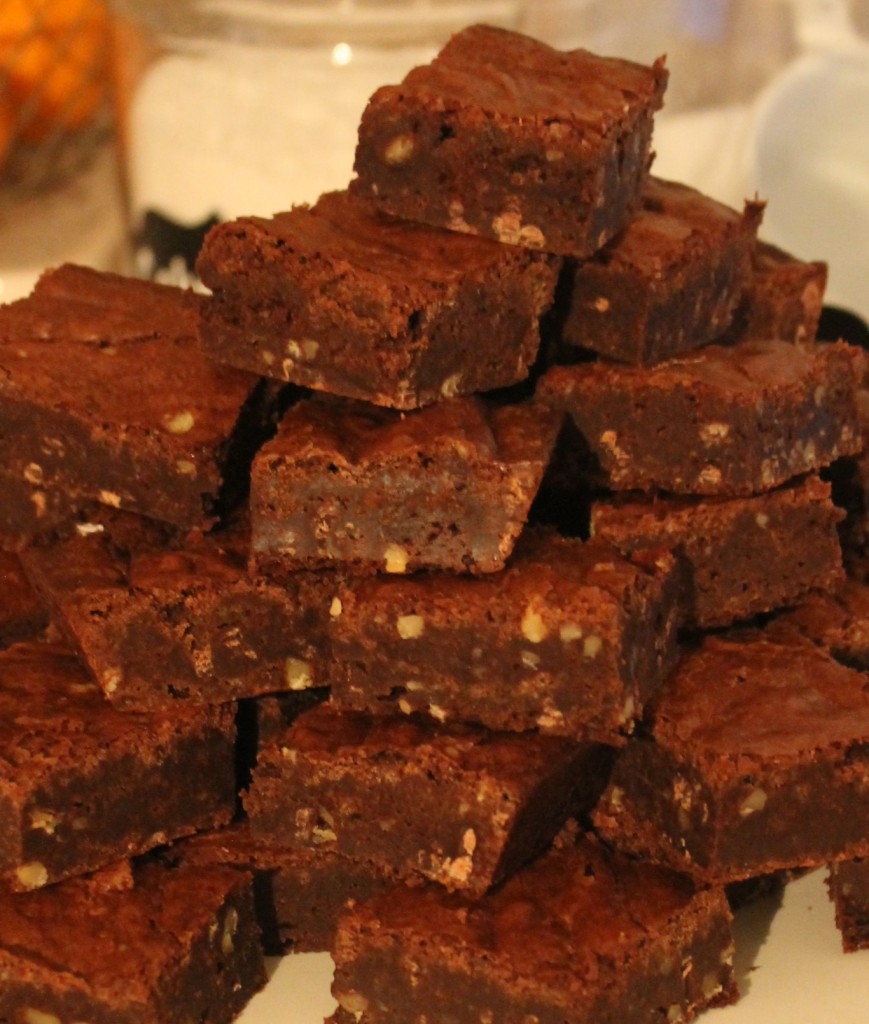
Brownies that Mrs. Patmore would approve of

I am a fan of baking.  In fact, I may like baking more than I like eating the sweet treats I make!  It is just so much fun and homey and at the end of the day, if you do it right and make something delicious…you are bringing joy to others.

The weather was a balmy 70 degrees, VERY unlike our normal weather during Winter.  So I threw  open the windows and doors, let the old screen door snap shut and decided to make the most wonderful brownies in the world: Ina Garten’s Outrageous Brownies.  Her trick is using coffee grinds in the batter; it brings a depth of flavor to the chocolate.  Sure…that is common knowledge now, but when she first introduced this recipe, it wasn’t so common.

Fair warning, this recipe makes loads of brownies…so make sure you have a good and hungry crowd to serve them to, neighbors you can give them to or be prepared to scarf them up yourself.  No one can resist these bad boys when they are sitting in the kitchen…any effort to try is futile.

Recipe is after the pictures.

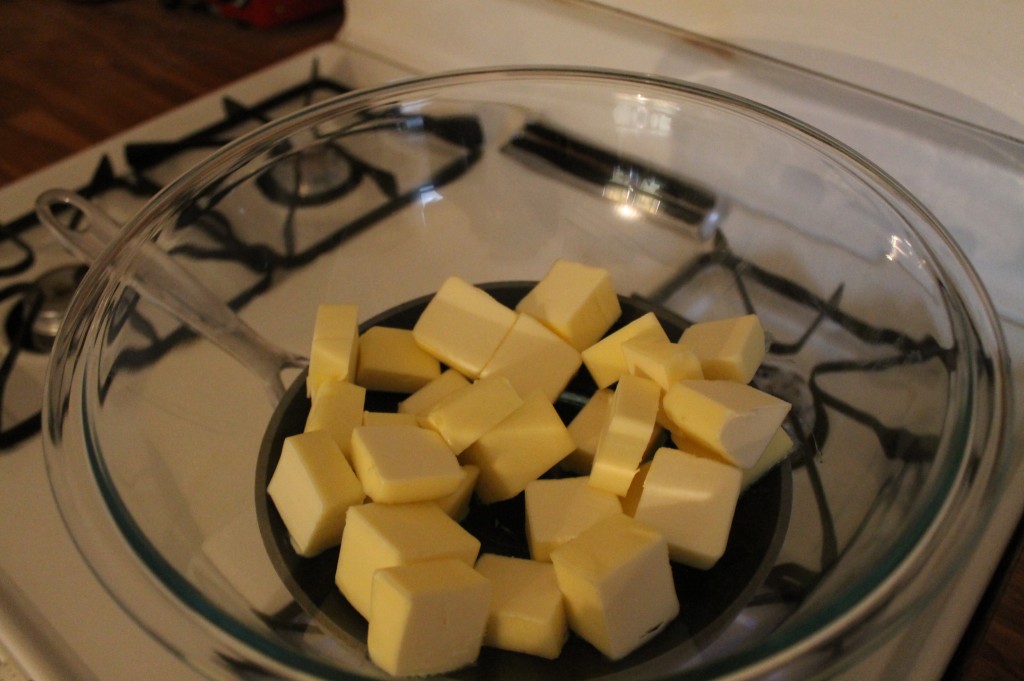
A pound of butter.

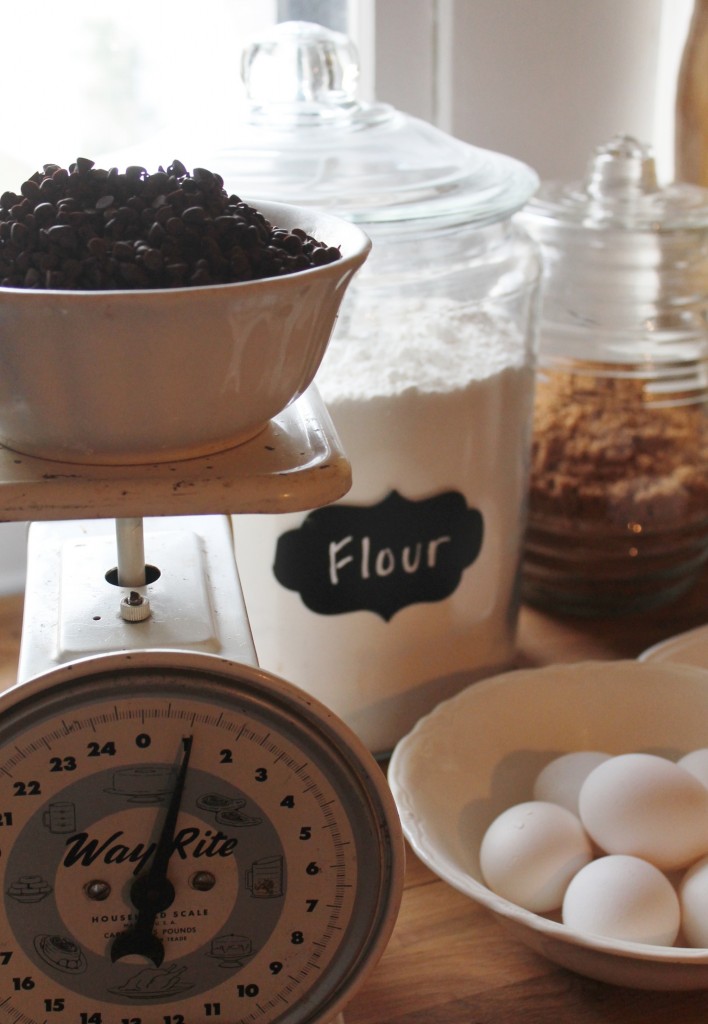
Eggs. Chocolate. Flour. Simple.

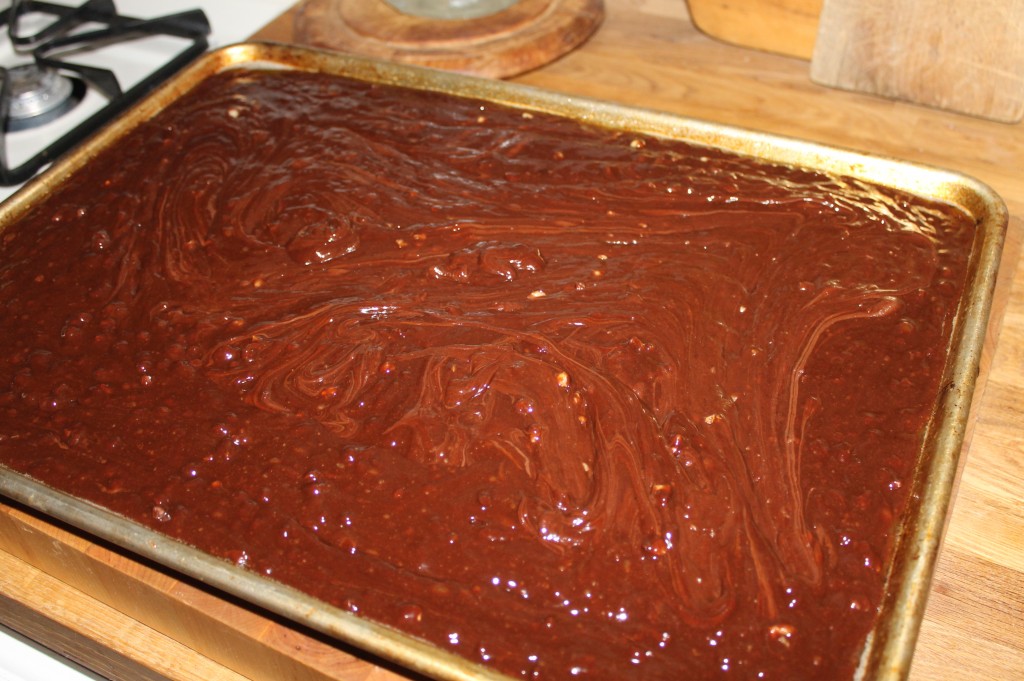
Brownies ready for the oven.

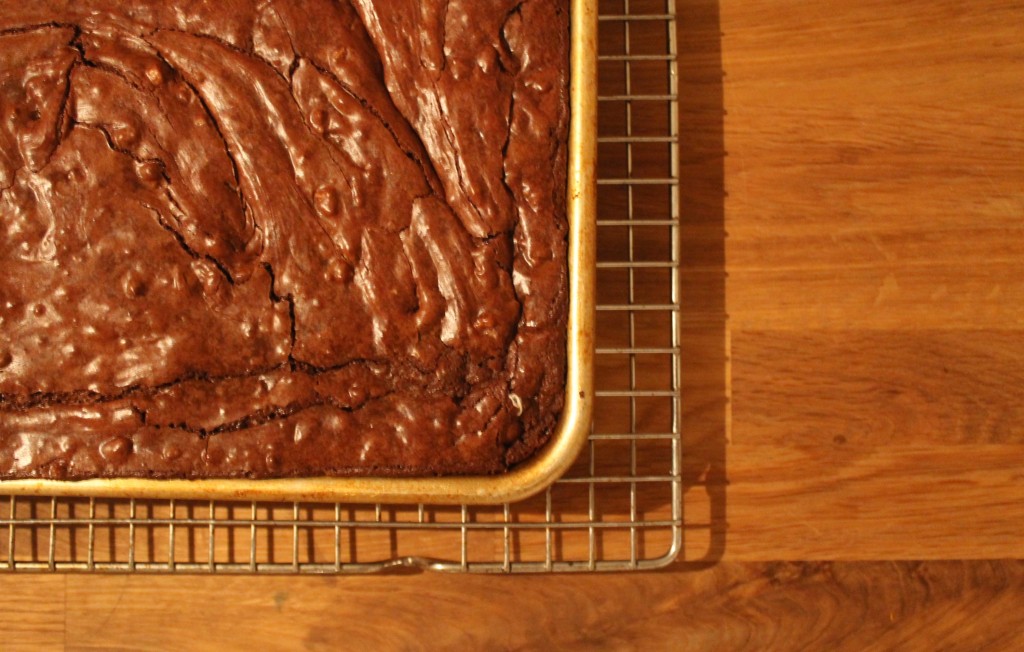
If only every piece had crusty goodness like the corner piece.

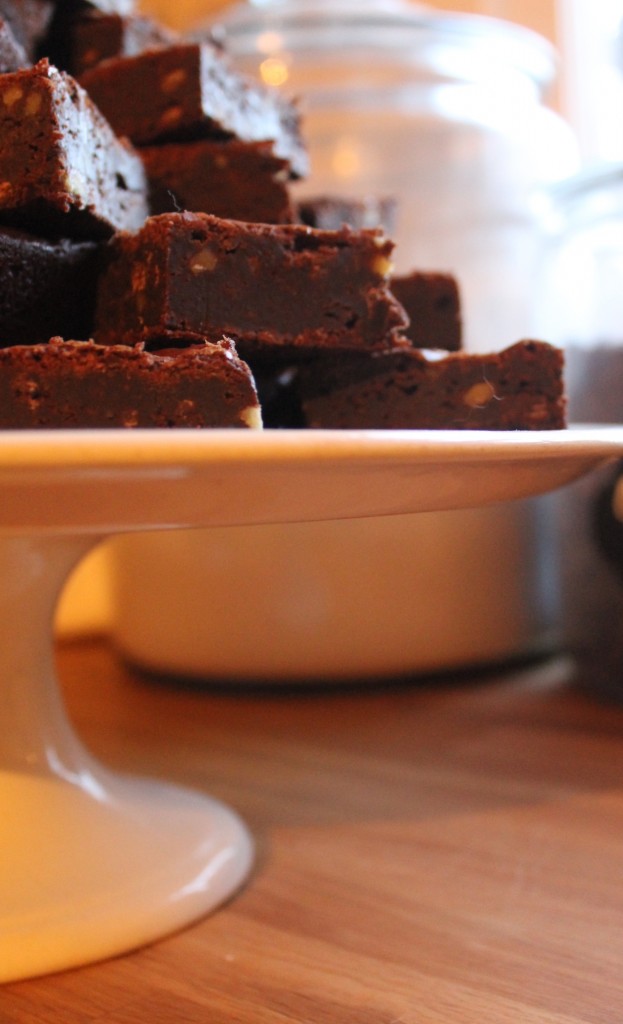
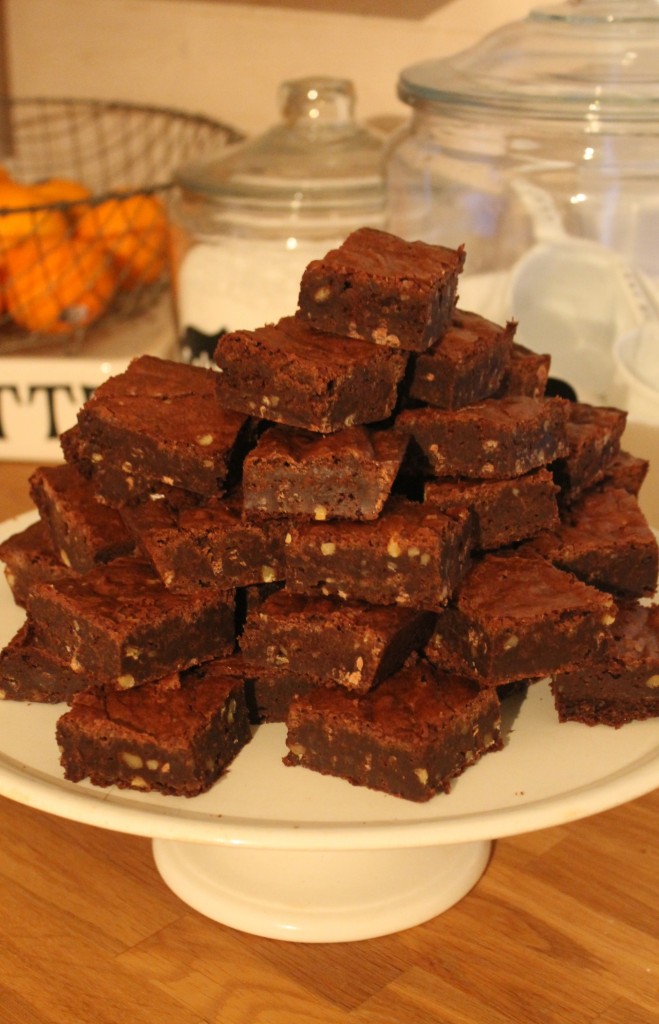
Vintage Ironstone Cake Stand and Brownies. Two of my favorite things.

Brownies. The finished product.


Outrageous Brownies

Ingredients

1 poundunsalted butter

1 pound plus 12 ounces semisweet chocolate chips

6 ouncesunsweetened chocolate

6 extra-large eggs

3 tablespoons instant coffee granules

2 tablespoons pure vanilla extract

2 1/4 cups sugar

1 1/4 cups all-purpose flour

1 tablespoon baking powder

1 teaspoon salt

3 cups chopped walnuts

Directions

Preheat oven to 350 degrees F.

Butter and flour a 12 x 18 x 1-inch baking sheet.

Melt together the butter,1 poundof chocolate chips, and the unsweetened chocolate in a medium bowl over simmering water. Allow to cool slightly. In a large bowl, stir (do not beat) together the eggs, coffee granules, vanilla, and sugar. Stir the warm chocolate mixture into the egg mixture and allow to cool to room temperature.

In a medium bowl, sift together 1 cup of flour, the baking powder, and salt. Add to the cooled chocolate mixture. Toss the walnuts and 12 ounces of chocolate chips in a medium bowl with 1/4 cup of flour, then add them to the chocolate batter. Pour into the baking sheet.

Bake for 20 minutes, then rap the baking sheet against the oven shelf to force the air to escape from between the pan and the brownie dough. Bake for about 15 minutes, until a toothpick comes out clean. Do not overbake! Allow to cool thoroughly, refrigerate, and cut into 20 large squares.

Copyright 2012 Television Food Network G.P.
All Rights Reserved

I hope you have found some inspiration!

Always,

Cindy


A Hint of the Holidays


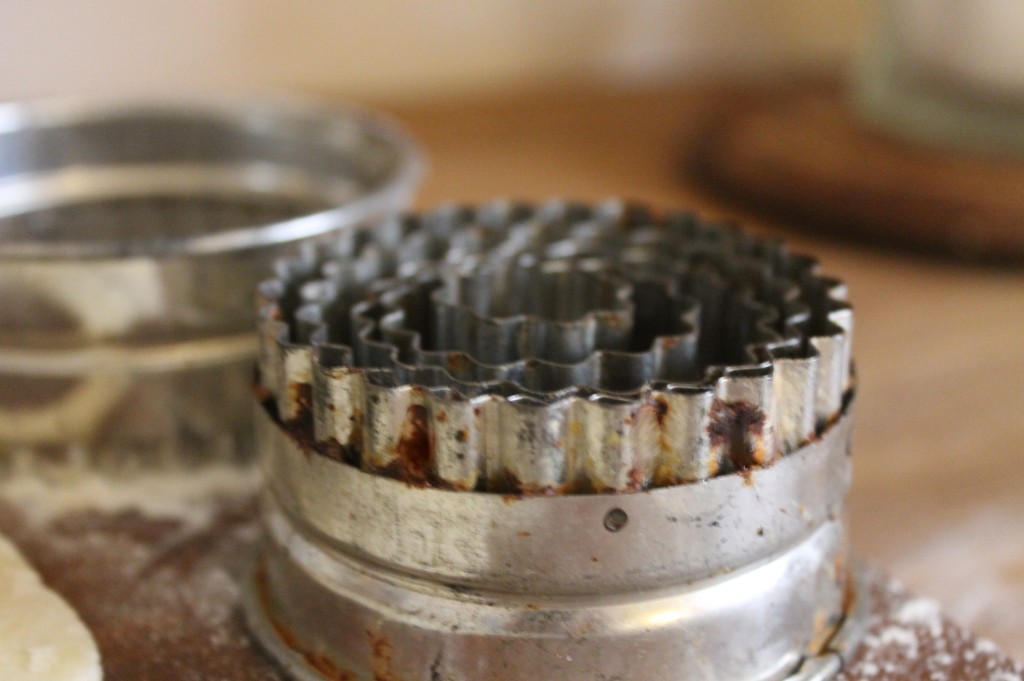
19th century scalloped cookie cutters.


I am thinking alot about the holidays.  The decorating I want to do, the things I want to bake and the gifts I want to give.  Standing in the check out stand at the grocery store, I spied a holiday cookie magazine and decided to give one recipe a try.  My lovely neighbor, Darlene and her family are always the recipients and by extension, the judges of my experiments.  Seems to be thumbs up all the way around for these delicious and festive Cherry Almonds Half Moons.  Looks like they will find a permanent place in my recipe files. Recipe after the pictures below.

Cheers to what lies ahead.

I hope you find some inspiration.

xoxo.

Cindy

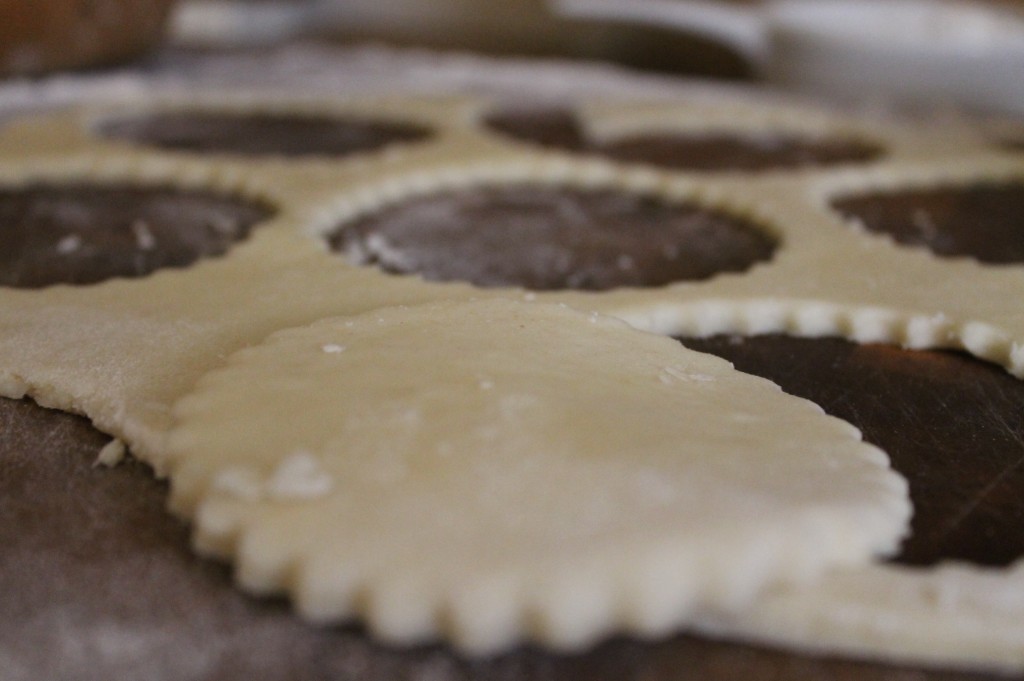
Chilled and freshly rolled.

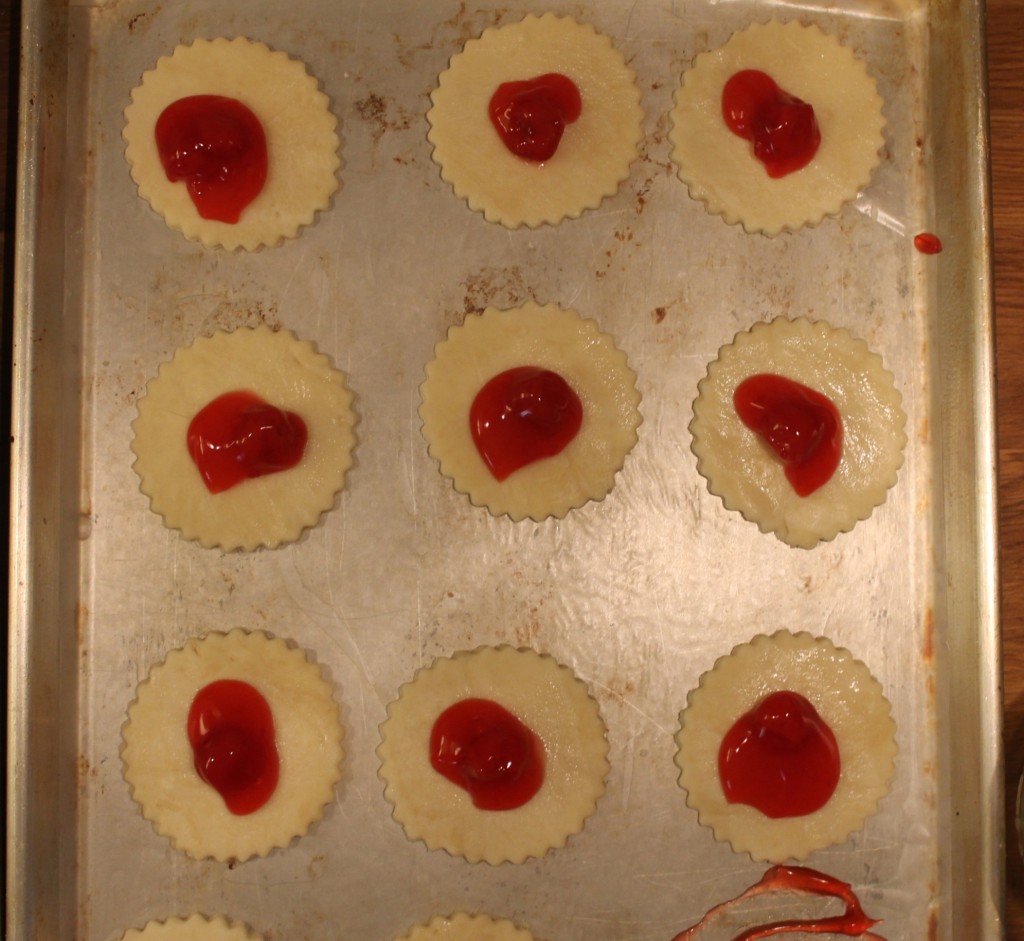
A dollup of cherry pie filling.

Not neat, but lovingly home made.


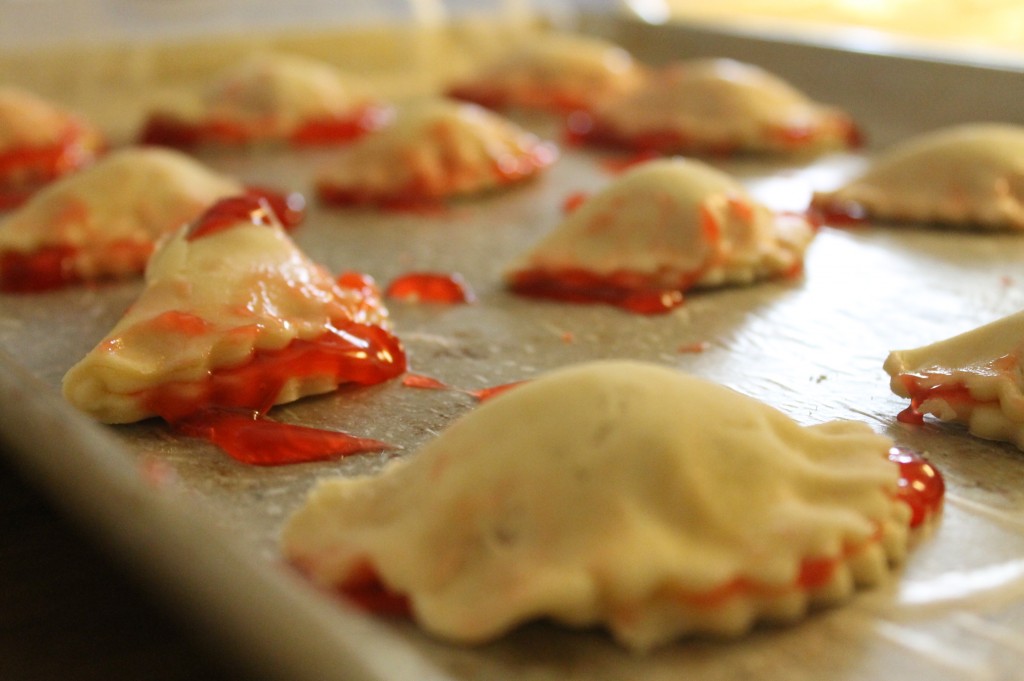
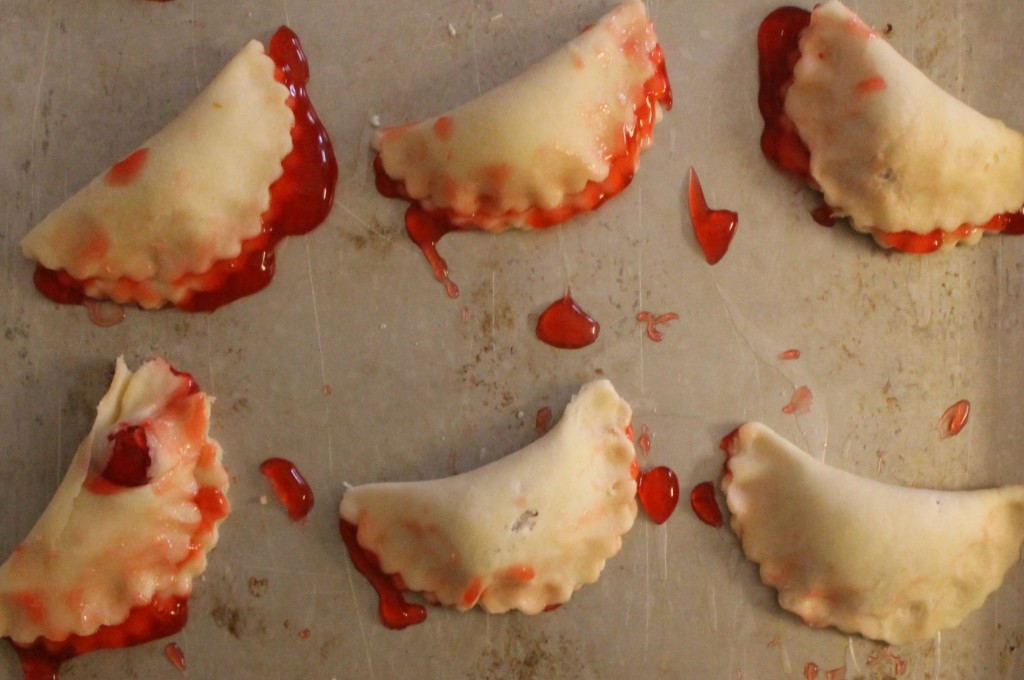
Folded over, sealed and ready for the oven.

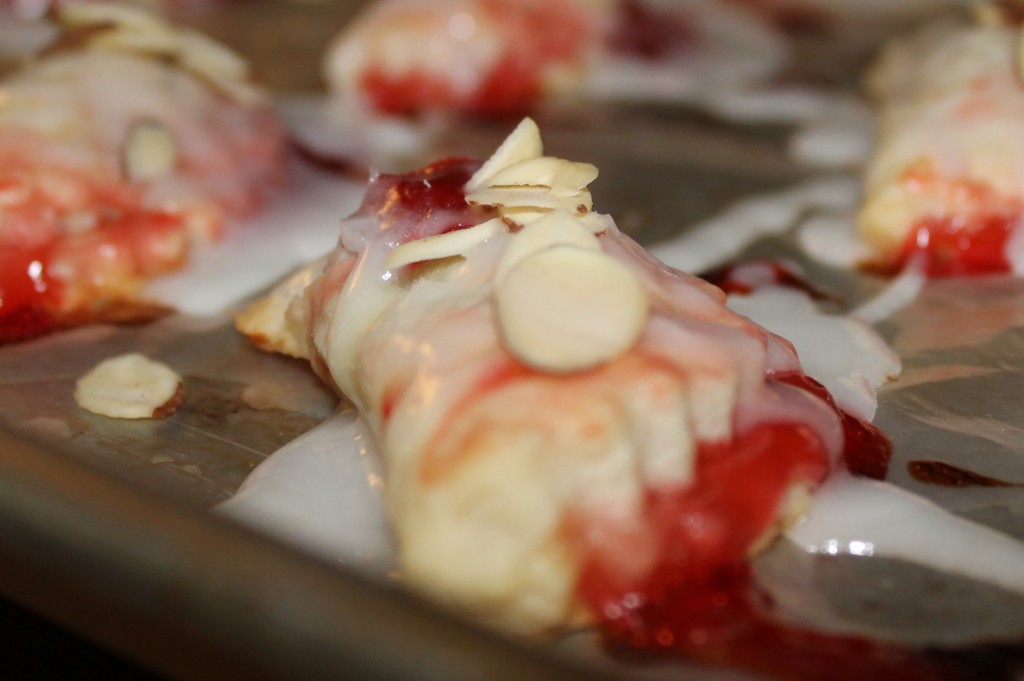
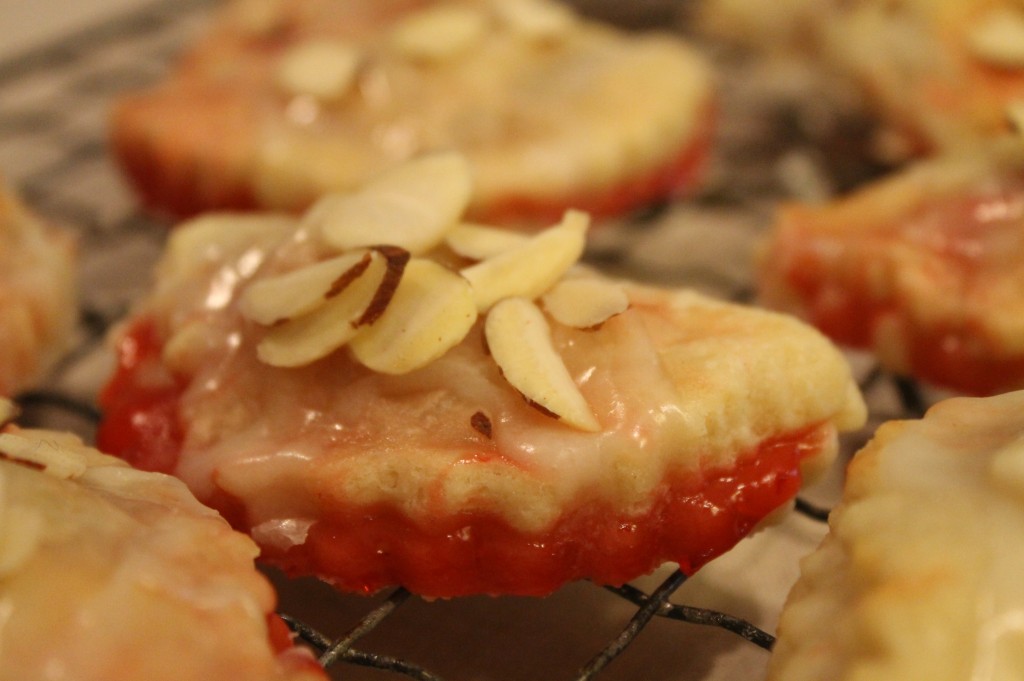
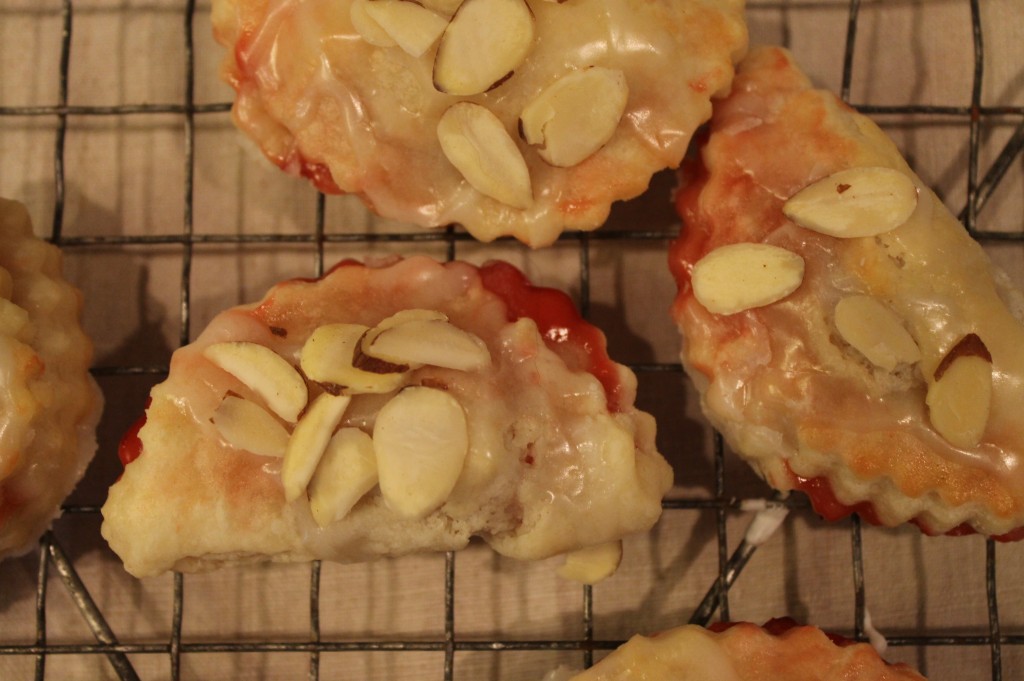
Almond glaze drizzled on the warm, just out of the oven cookies and topped with sliced almonds.

Warm pastry enveloping a sweet, cherry center.

A treat for the Holidays.

Cherry Almond Half Moons

1 c. butter, softened

1 8 oz package of cream cheese, softened

1 t. almond extract

2 c. all purpose flour

1/2 c. canned cherry pie filling or cherry preserves

2 egg whites

3/4 c. powdered sugar

1/4 t. almond extract

1 – 2 T. water or milk

1/2 c. of sliced almonds

1. In a large mixing bowl, beat the butter and cream cheese with an electric mixer on medium to high speed for 30 seconds.  Beat in 1 t. of almond extract until combined.  Beat in the flour, on low, until dough comes together.  Divide dough in half.  Wrap each half in a disc shape in clear wrap and chill dough for about 1 and 1/2 hours or until dough is easy to handle. A couple of notes on the dough.  Once it is mixed, the dough is actually a little bland.  However, once it is filled with the filling, baked and add the sweetness of the glaze…it all seems to come together very well.  Secondly, if the dough is too hard once it comes out of the fridge, let it sit to soften a bit.  It needs to be somewhat pliable to roll out properly.

2. Preheat oven to 375 degrees.  Line cookie sheets with parchment paper, set aside.  On a lightly floured surface roll half of the dough at a time to 1/8 inch thick.  Using a 3 – inch scalloped-edge round cookie cutter, cut out dough.  place the rounds 1 inch apart on the prepared cookie sheets.

3. Spoon 1/2 t. of filling in the center of each round.  Fold dough rounds in half, enclosing filling; press edges to seal.  Whisk egg whites until frothy; brush cookies lightly with egg wash.  Bake 12 to 15 minutes or until cookies are light brown.

4. In a small bowl, stir together powdered sugar, the remaining almond extract, and enough of the water or mil to make the icing a drizzling consistency. Sprinkle with almonds.  Let cookies stand until icing is set.  Makes 32 cookies. (recipe from Better Homes & Gardens)


Breakfast Cookies


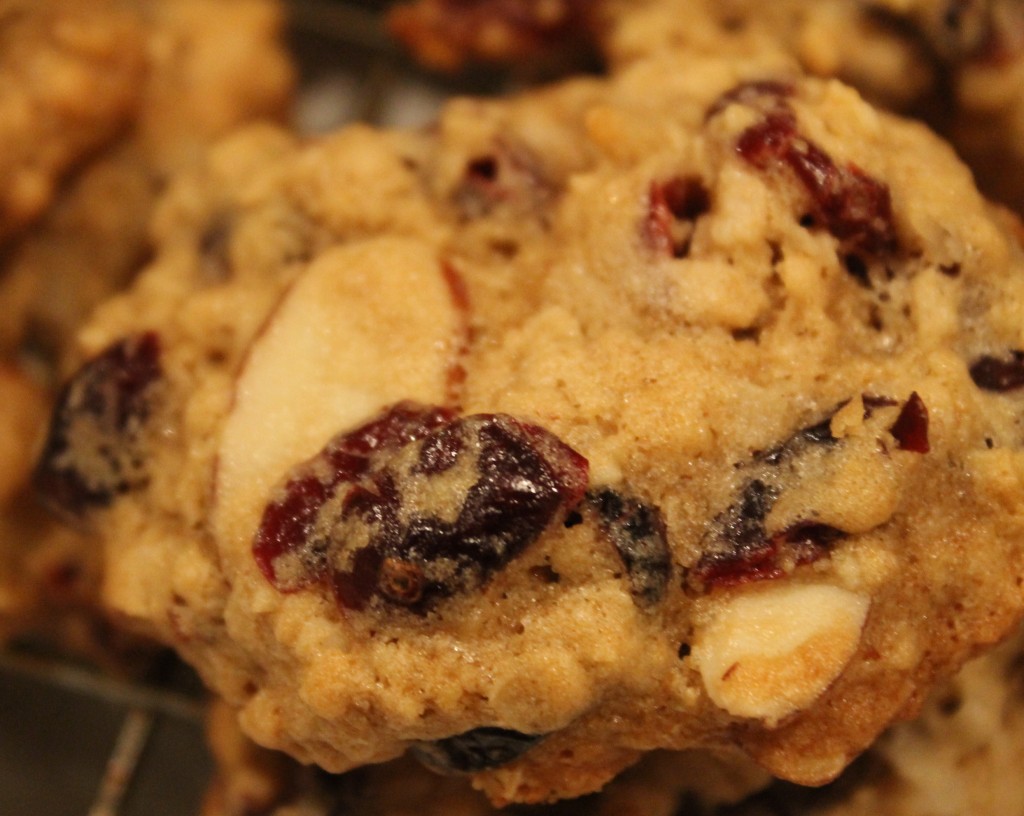
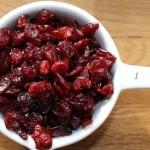
Almonds. Nature’s Rubies. Coconut.


I came upon this recipe in my Penzey’s Spice Catalogue.  It was submitted by a reader, it sounded good so I gave it a go and have made several batches since.

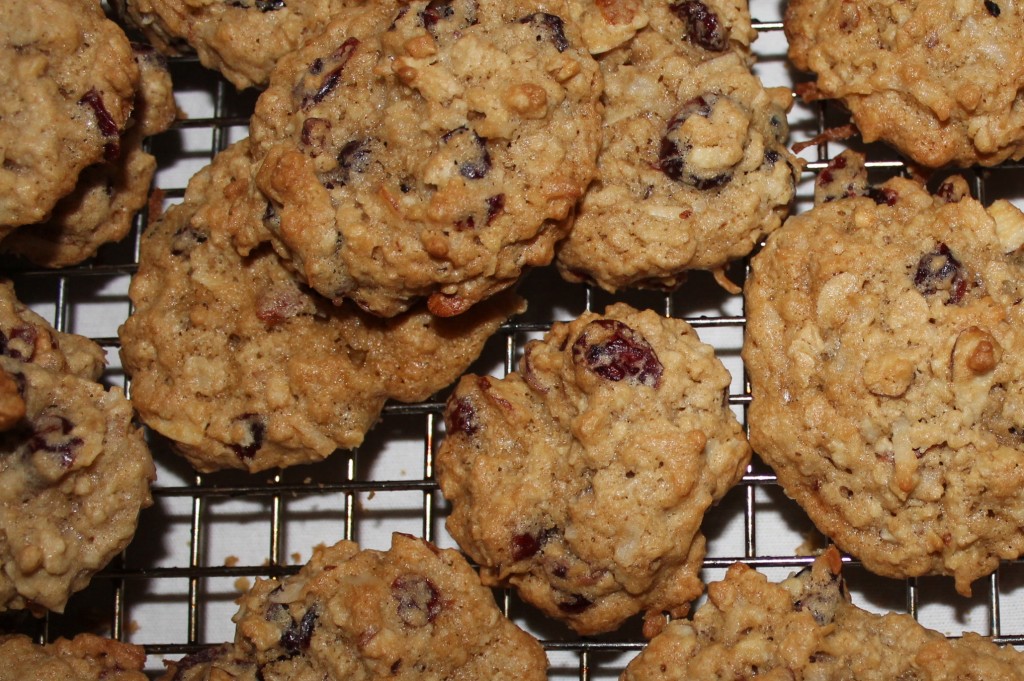
I am not a nutritionist, but these cookies seem to have alot going for them.  Cranberries, toasted almonds and coconut.  And yes, there is butter that gives these cookies there wonderful moistness but I think it is the cinnamon and almond extract that really bring all these lovely components together.

The only substitution I made to this recipe is that I forego the raisins and double up on dried cranberries because I love them so much. (see previous post: Nature’s Rubies)

I find that these are great on the go, too.  I have brought them with me on all day flea market outings, when traveling via the airport (better than the million calorie banana nut muffin) and they were even good on a half day hike that I did.

They are super easy to make.  I hope you enjoy them!

xoxo,

Cindy

Breakfast Cookies

2 sticks butter, softened

1 c. brown sugar

1/2 c. sugar

2 eggs, room temperature

1 t. pure almond extract

1 t. pure vanilla extract

1 and 1/2 cups flour

1 t. baking soda

1 t. cinnamon

3 c. oats (regular or  quick cook)

1 c. raisins

1 c. dried cranberries

1 c. baking coconut

1 c. slivered almonds (toast 10 mins. at 350 degrees)

Preheat oven to 350 degrees.  In a mixing bowl, cream together the butter and sugars until fluffy.  Add the eggs and extracts and beat well.  Add the flour, baking soda, cinnamon and oats and mix.

Fold in the remaining ingredients and stir until blended. Drop by the tablespoon onto ungreased cookie sheets and bake at 350 degrees for 14 – 16 minutes.

The Breakfast Cookie. Something For Everyone.


Visits to Upstate New York and Spaghetti Sauce


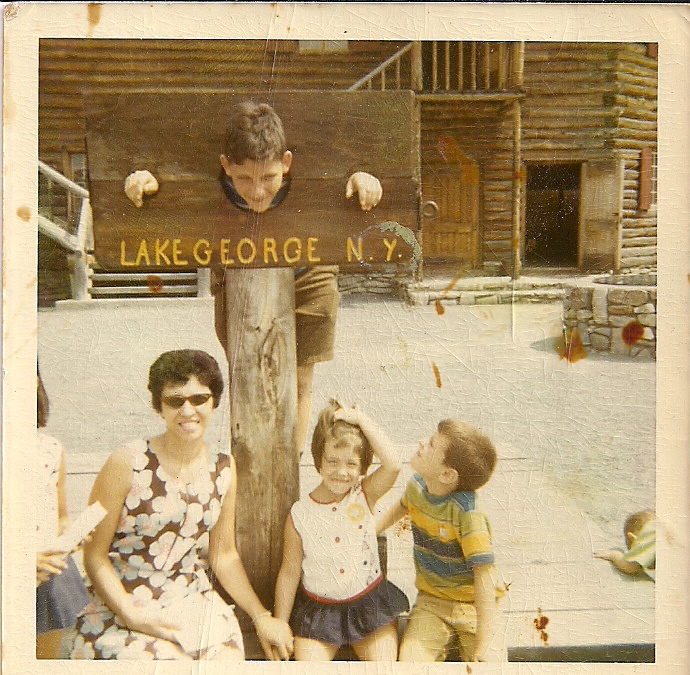
Spending your vacation in the stockades.


I’m Italian and many summers were spent with my mother’s family in upstate New York.  Upon arrival every summer, one ritual was to pay a visit to each and every household of our relatives.  Every house was full of the sights (plastic slipcovers on all the furniture and butterscotch candies in a dish) and smells of a typical old world Italian family.  The pungent smell of real parmigiana cheese and homemade sauce on the stove permeated every home without exception.

This recipe is one of my own but let’s give credit where it is due…my sister suggested some of the spices that eventually became the recipe.  It isn’t a particularly difficult recipe and it gets better come serving time, if you make it in advance by a couple of days.  The flavors meld really well together as each batch sits in the fridge.

The secret to this recipe is that I add some sugar which plays great against the red pepper flakes.  That is why I think of it as the sweet and the heat spaghetti sauce recipe.

Simple Homemade Spaghetti Sauce

1  medium onion, chopped

4  cloves of garlic, minced

1  pound of any ground protein of your choice (sausage, pork, beef, chicken, etc)

2  (28) ounce cans of Petite Diced Tomatoes

1  t. Fennel Seed

1  t. Dried Basil

1  t. Crushed Red Pepper

1  t. Dried Oregano

1/4  c. of sugar

1  t. salt

1/2  t. pepper

Warm 1 – 2 t. of olive oil in a saute pan; add onions and cook until translucent.  Add minced garlic and cook for 1 – 2 minutes more.  Remove from pan, set aside in a bowl and add ground protein into the saute pan and cook through.

In a separate bowl, mix the diced tomatoes, fennel seed, basil, red pepper flakes, oregano and onion/garlic mixture.  Take the mixture and place it in a blender (you may have to do it in two batches, depending on the size of your blender or you can use and immersion blender) and puree the sauce just until the tomato chunks and onions are reduced in size.  This should only take about 2 – 4 pulses with your blender.

Transfer the pureed sauce into a stock pot and add the ground protein of choice.  Stir in the sugar, salt and pepper and cook over low heat, covered for about 30-40 minutes and it’s ready to serve!

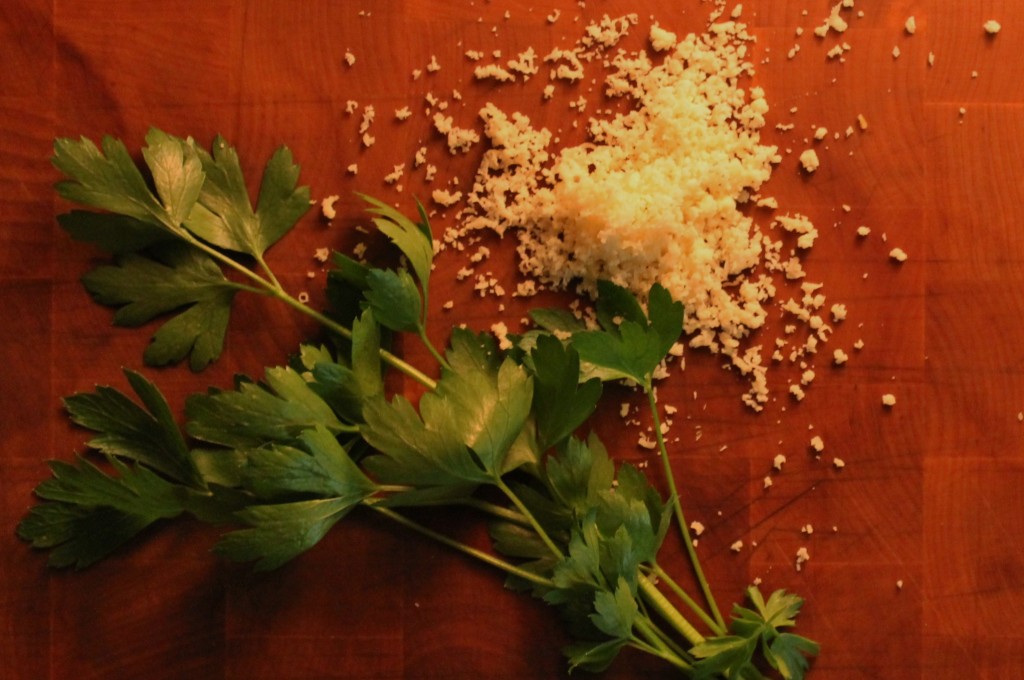
Fresh from the garden parsley and REAL parmesan cheese.
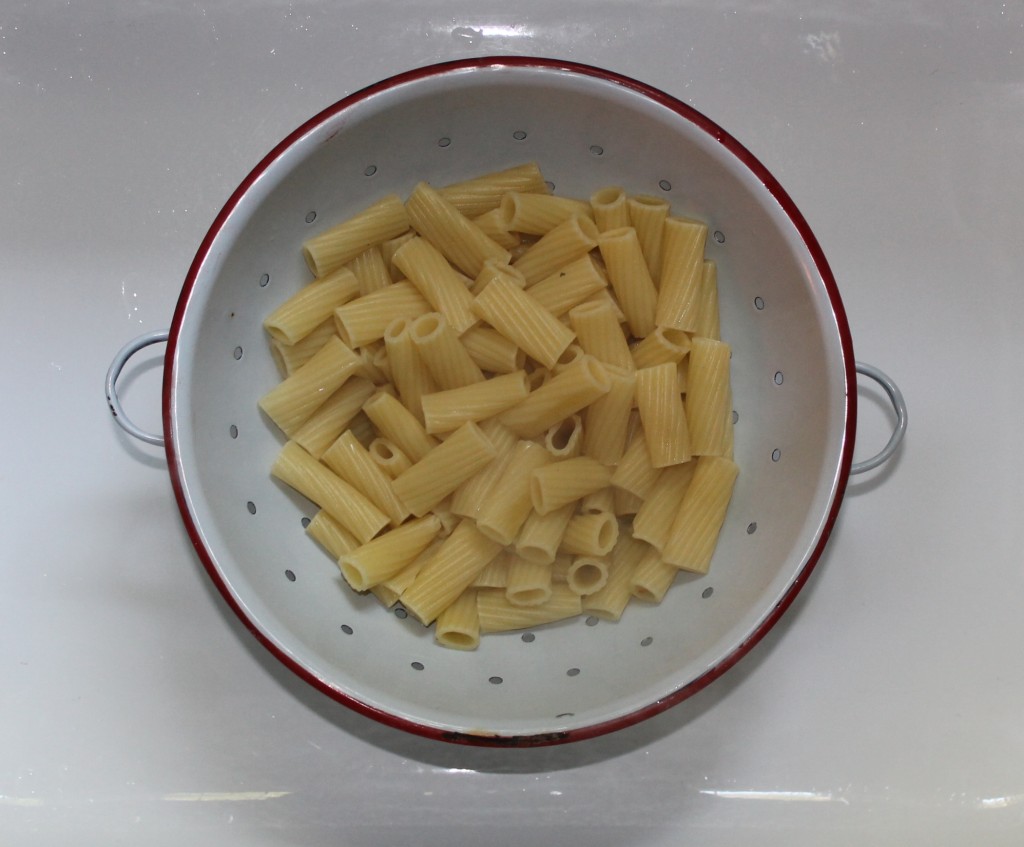
Freshly cooked pasta in a vintage collander.
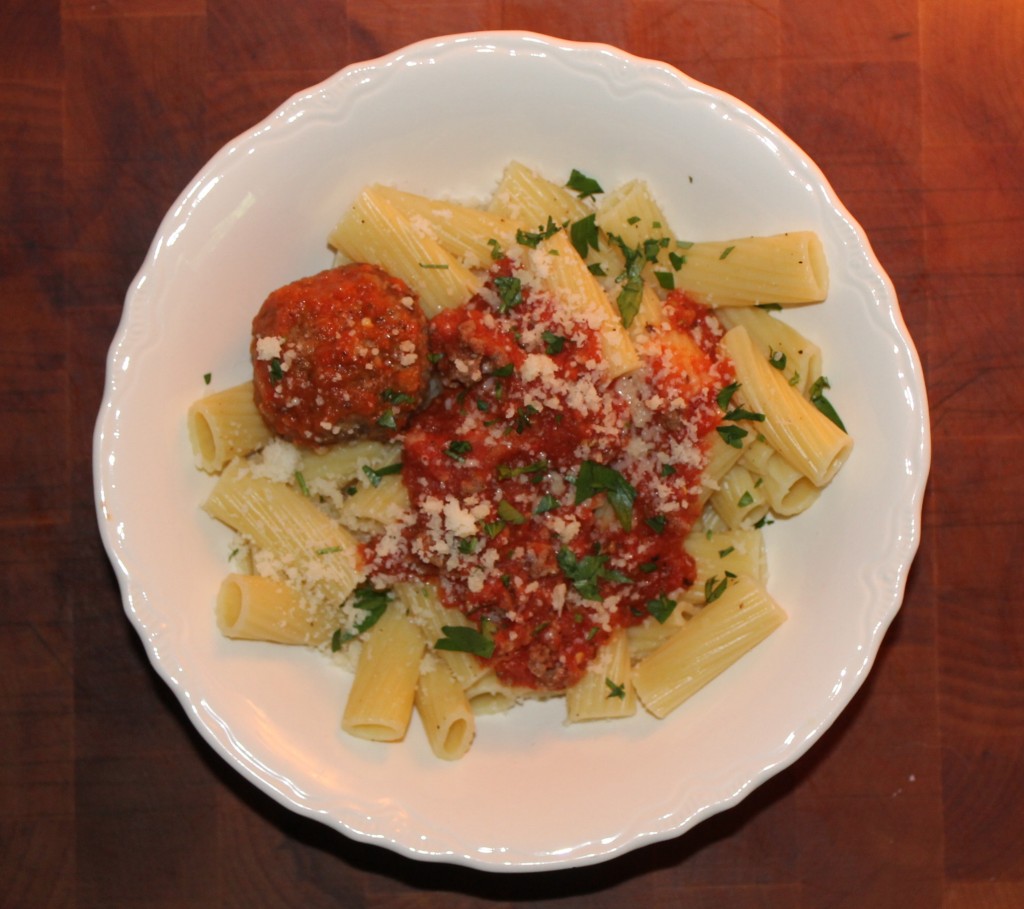
Old Fashioned Comfort Food.