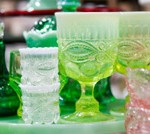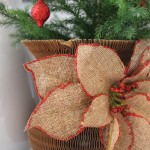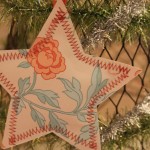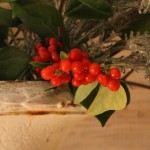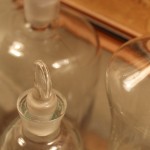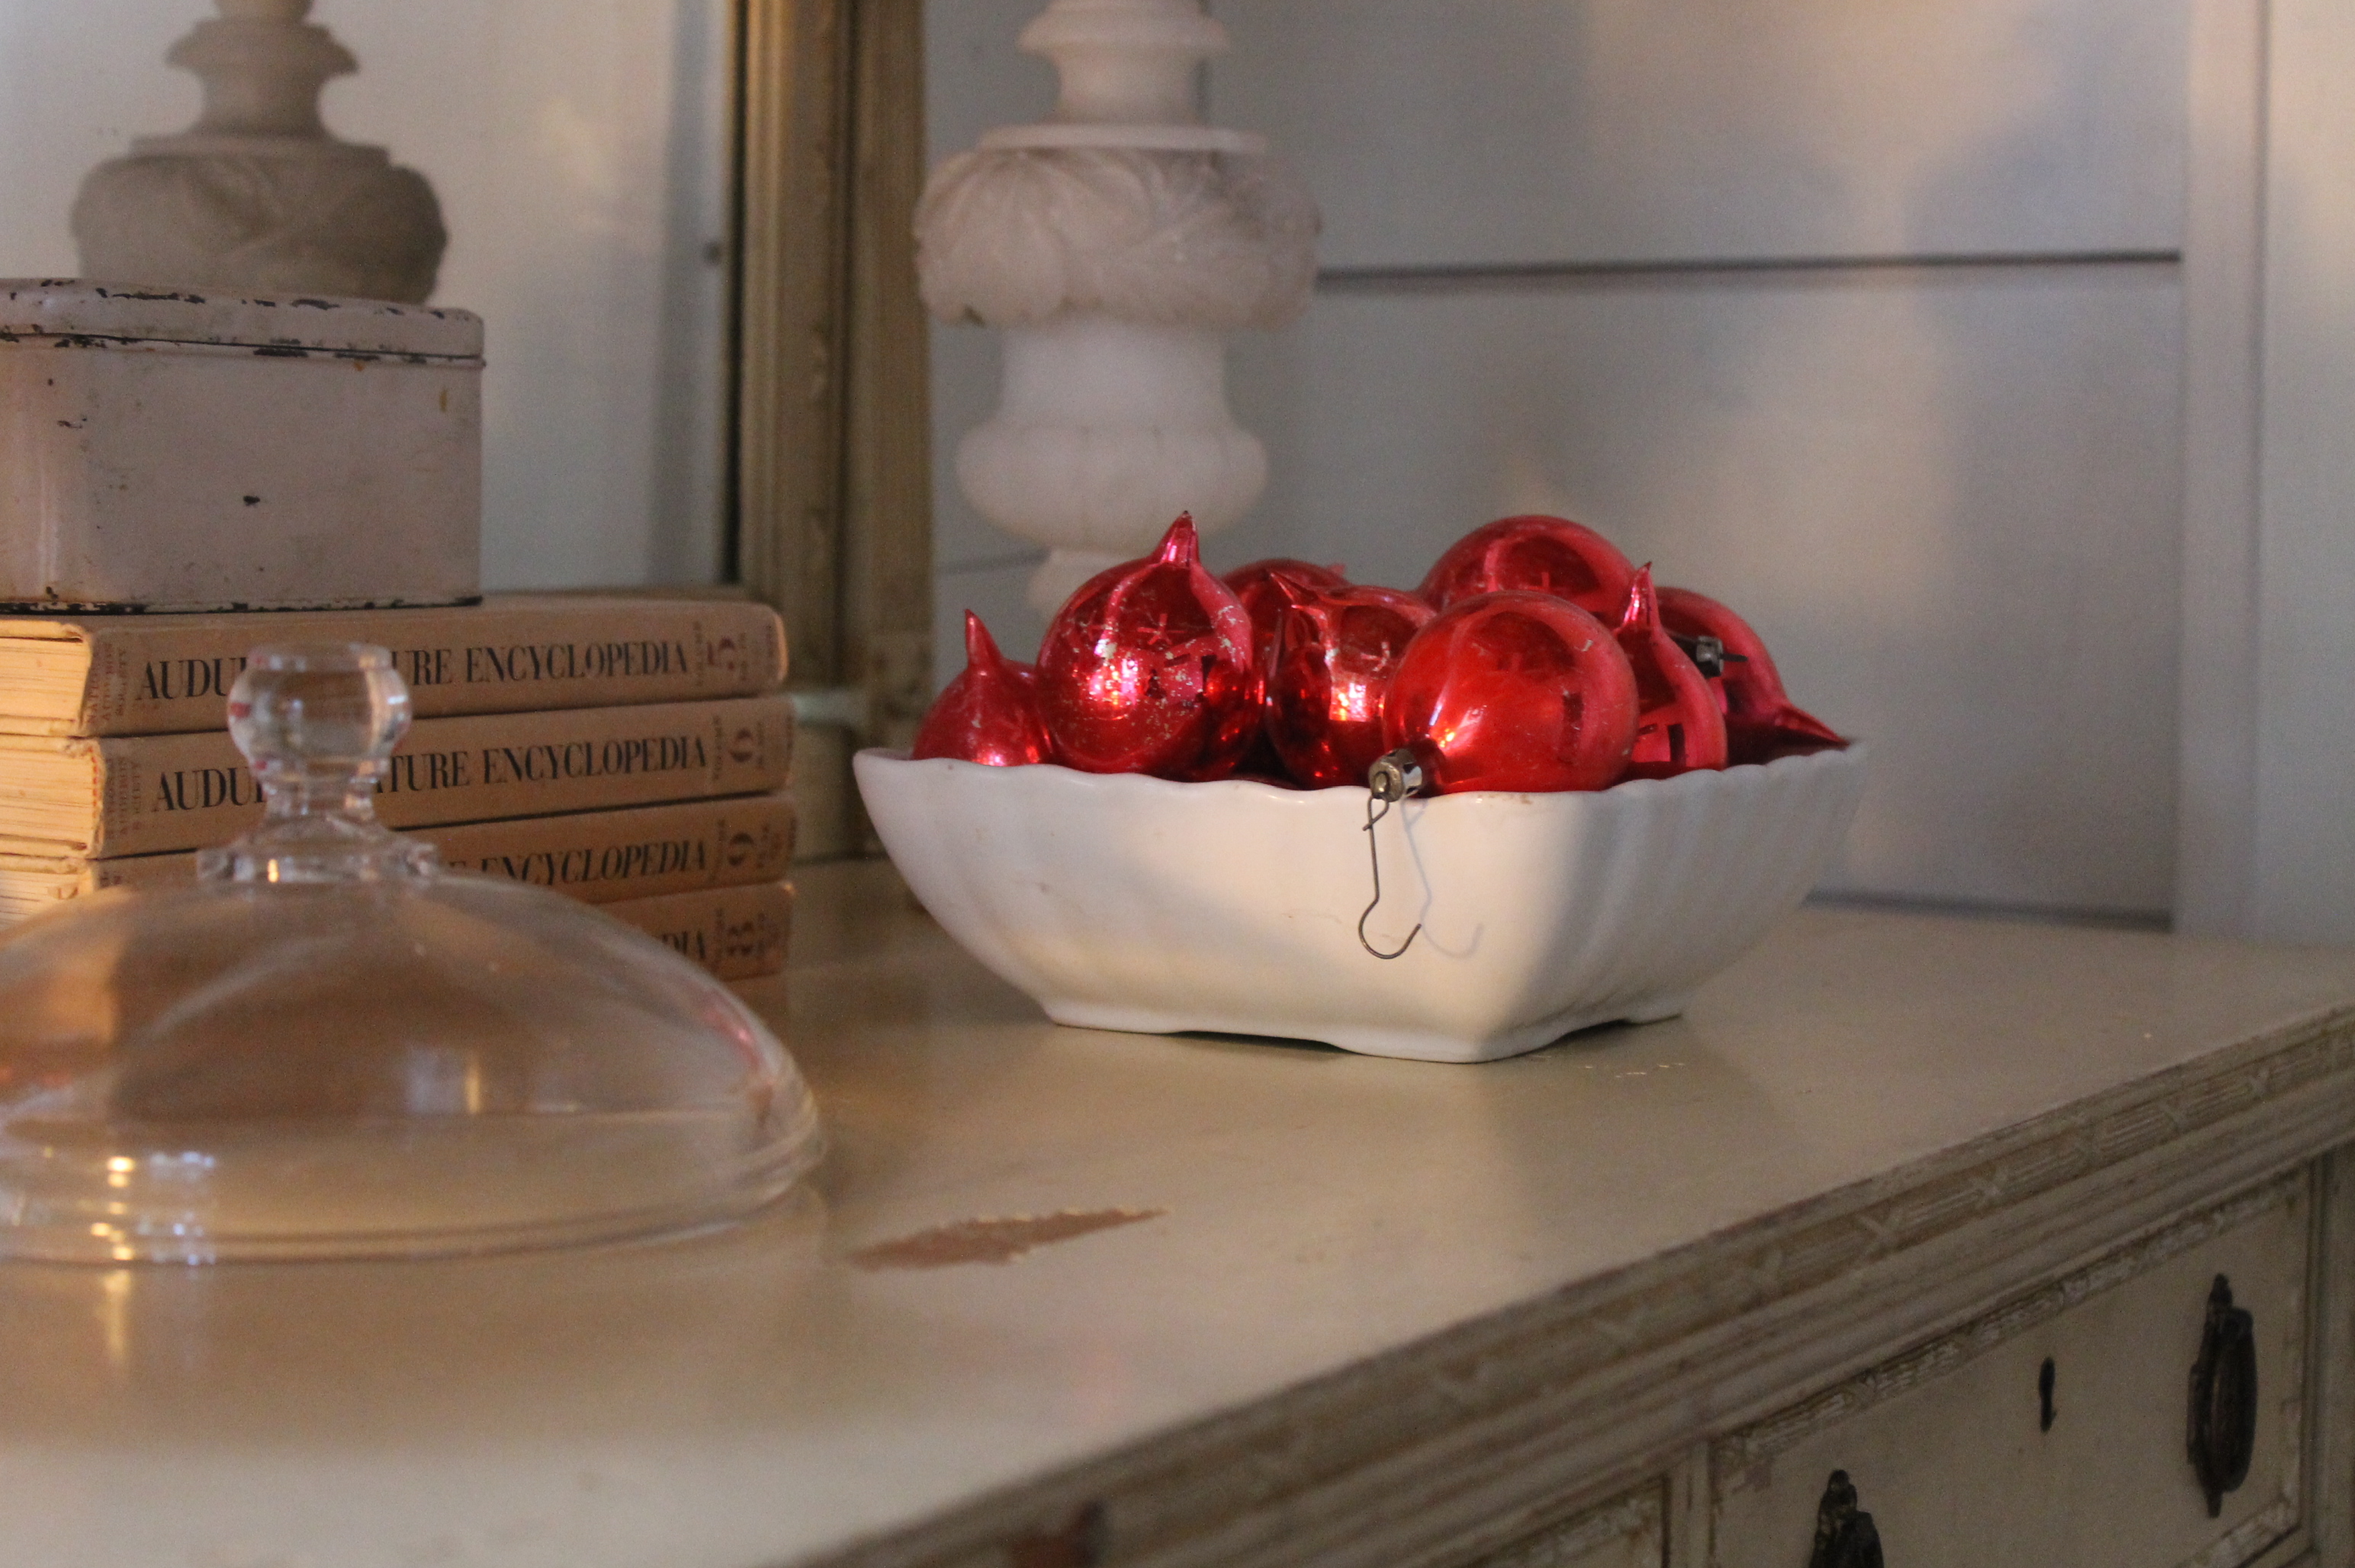
Vintage, hand blown ornaments.
It’s been a busy year. That is the introduction to my apology for not posting more frequently. I vow to rectify that in the new year.
Although this is my second Christmas, post renovation, I felt more settled in the home this year. More relaxed.
But I digress. I have some holiday pictures to share. Plus, let you know that I am posting on Instagram. As of this moment, I have 13 organic followers. And I am proud of each one of those.
So finally, thank you for continuing to follow my blog and continuing to check back for new posts. I hope the holiday and the new year are good to you and your family. As for me, I am optimistic and have nothing but good, sweet thoughts.
I hope you find some inspiration.
Always,
Cindy
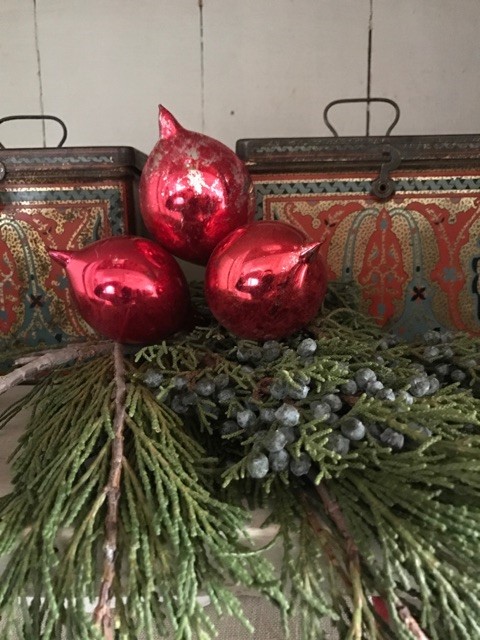
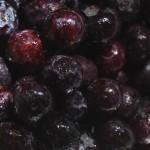
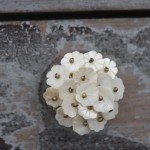
Clustered with fresh greens, these vintage ornaments look like holly berries.

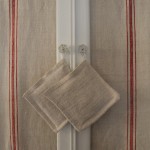
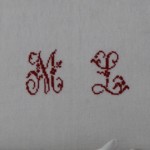
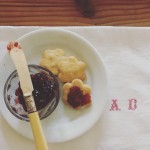
Old linens.
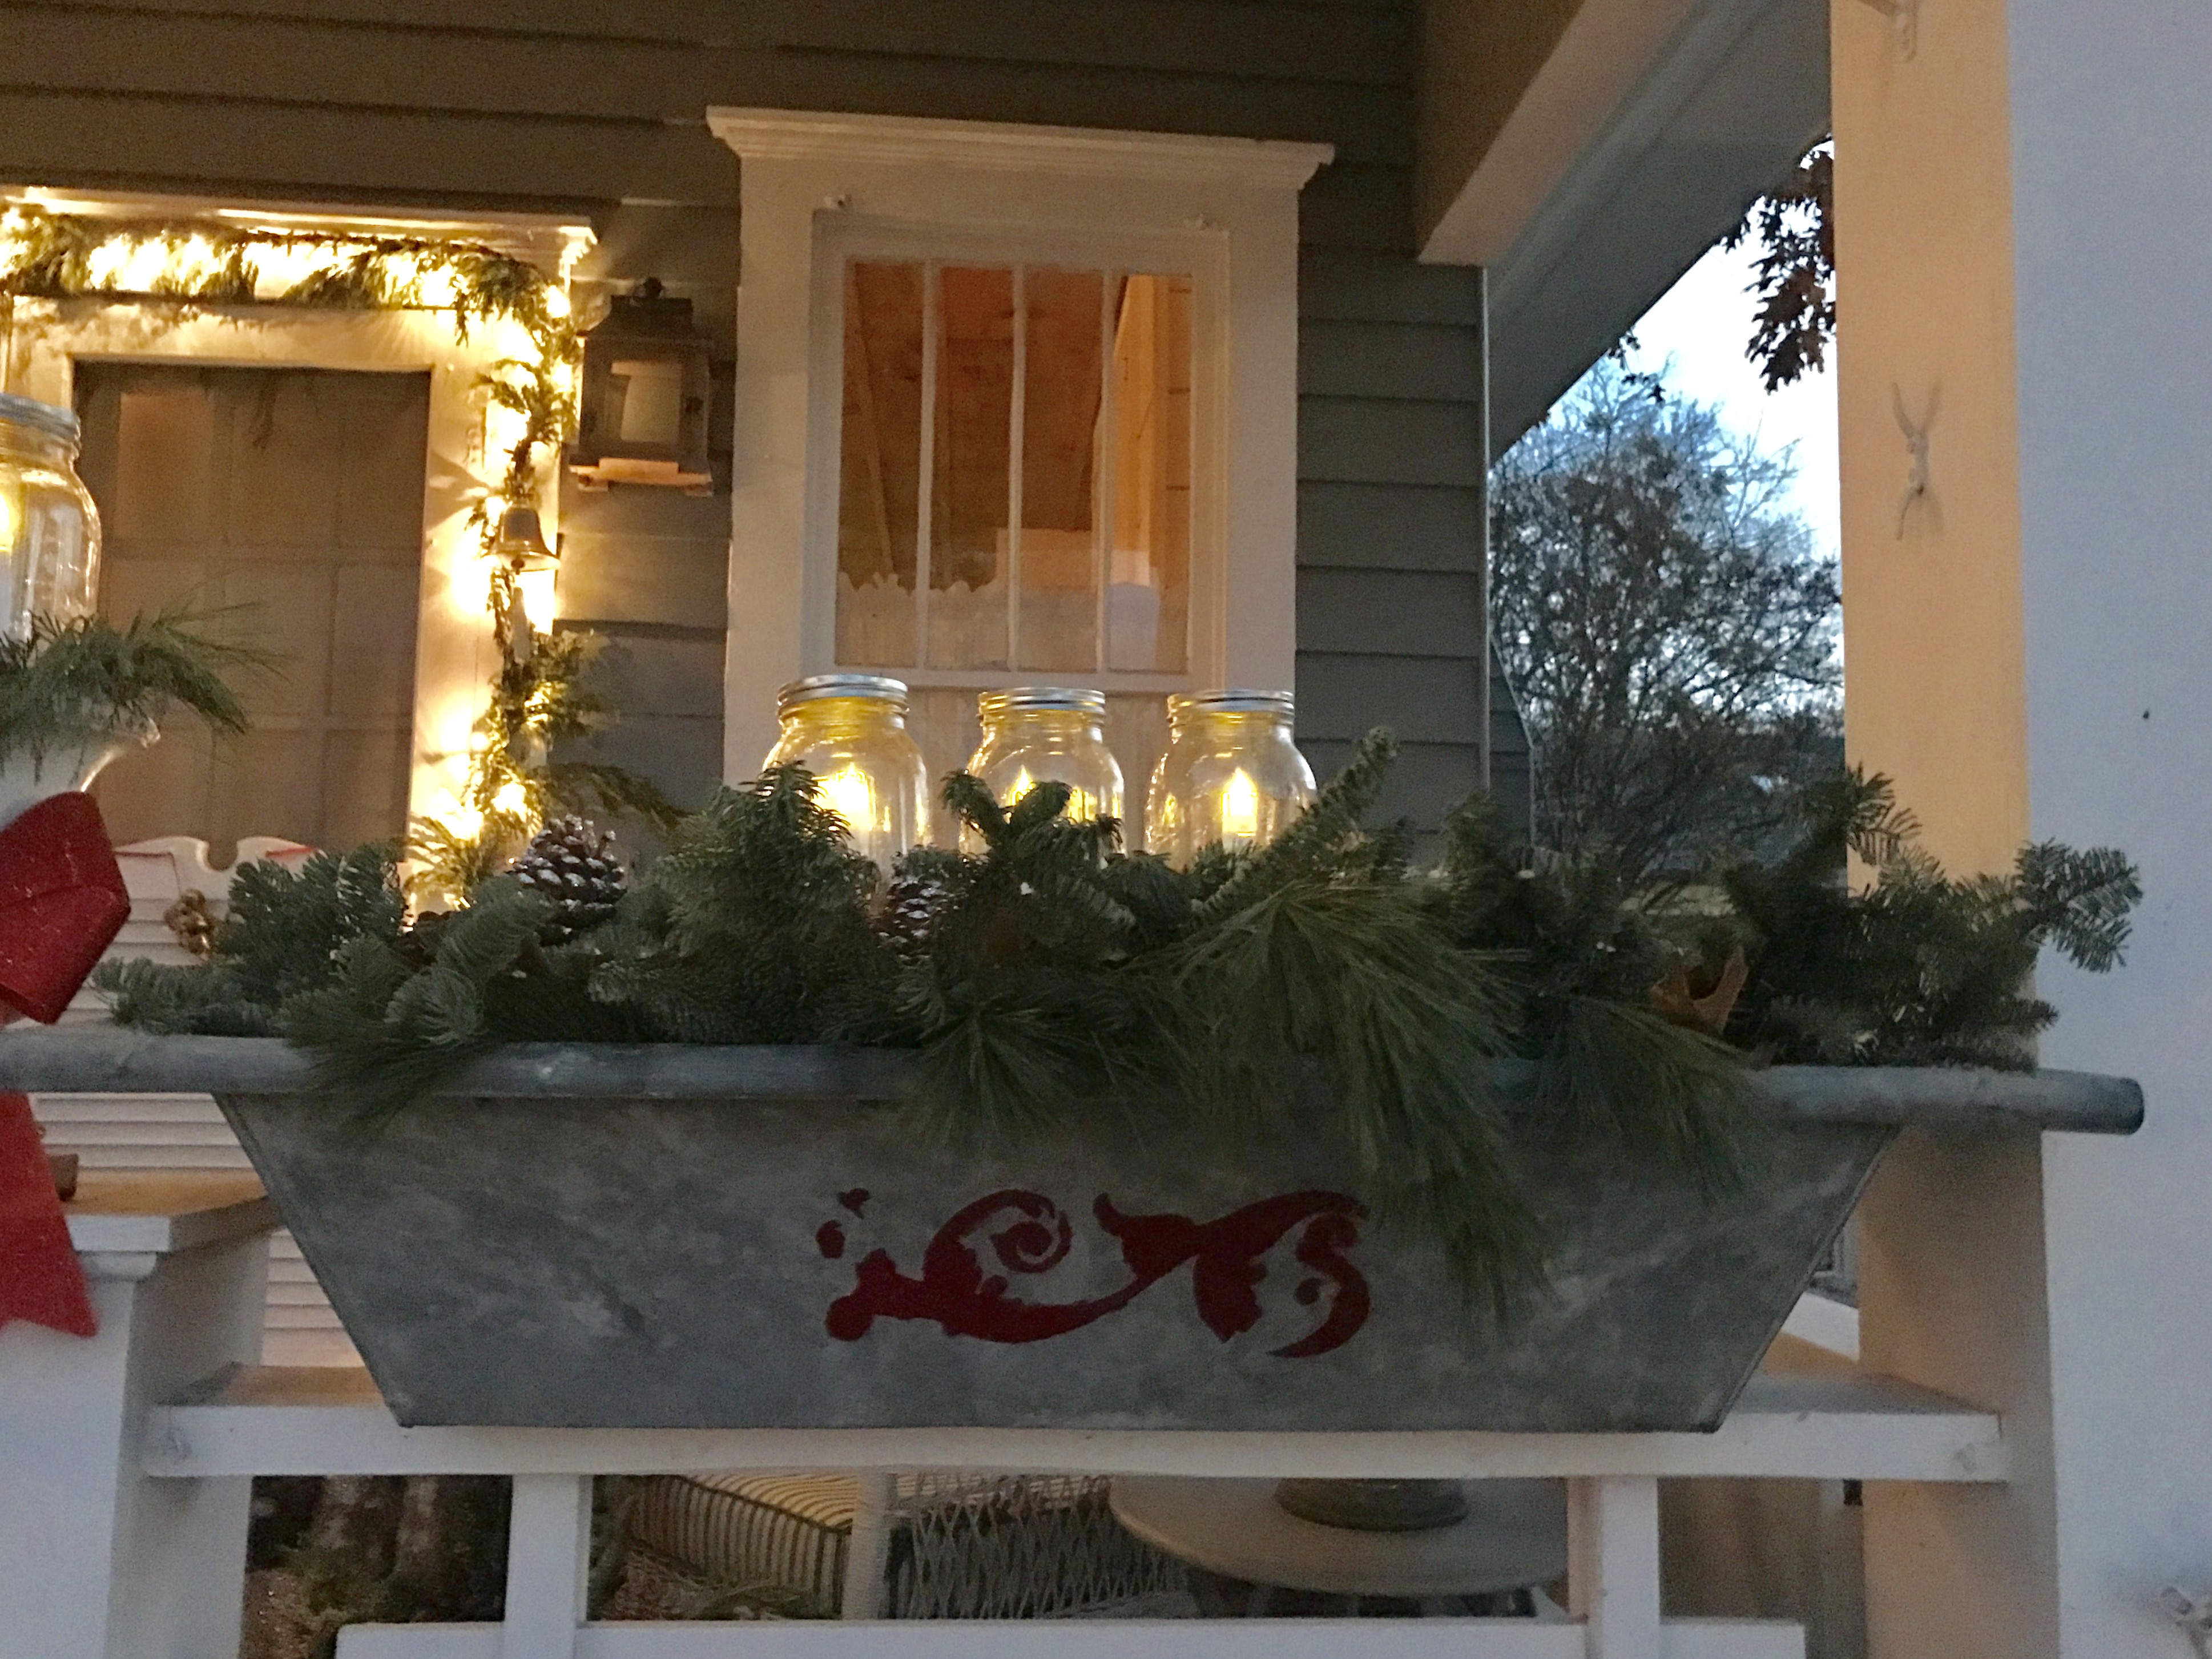
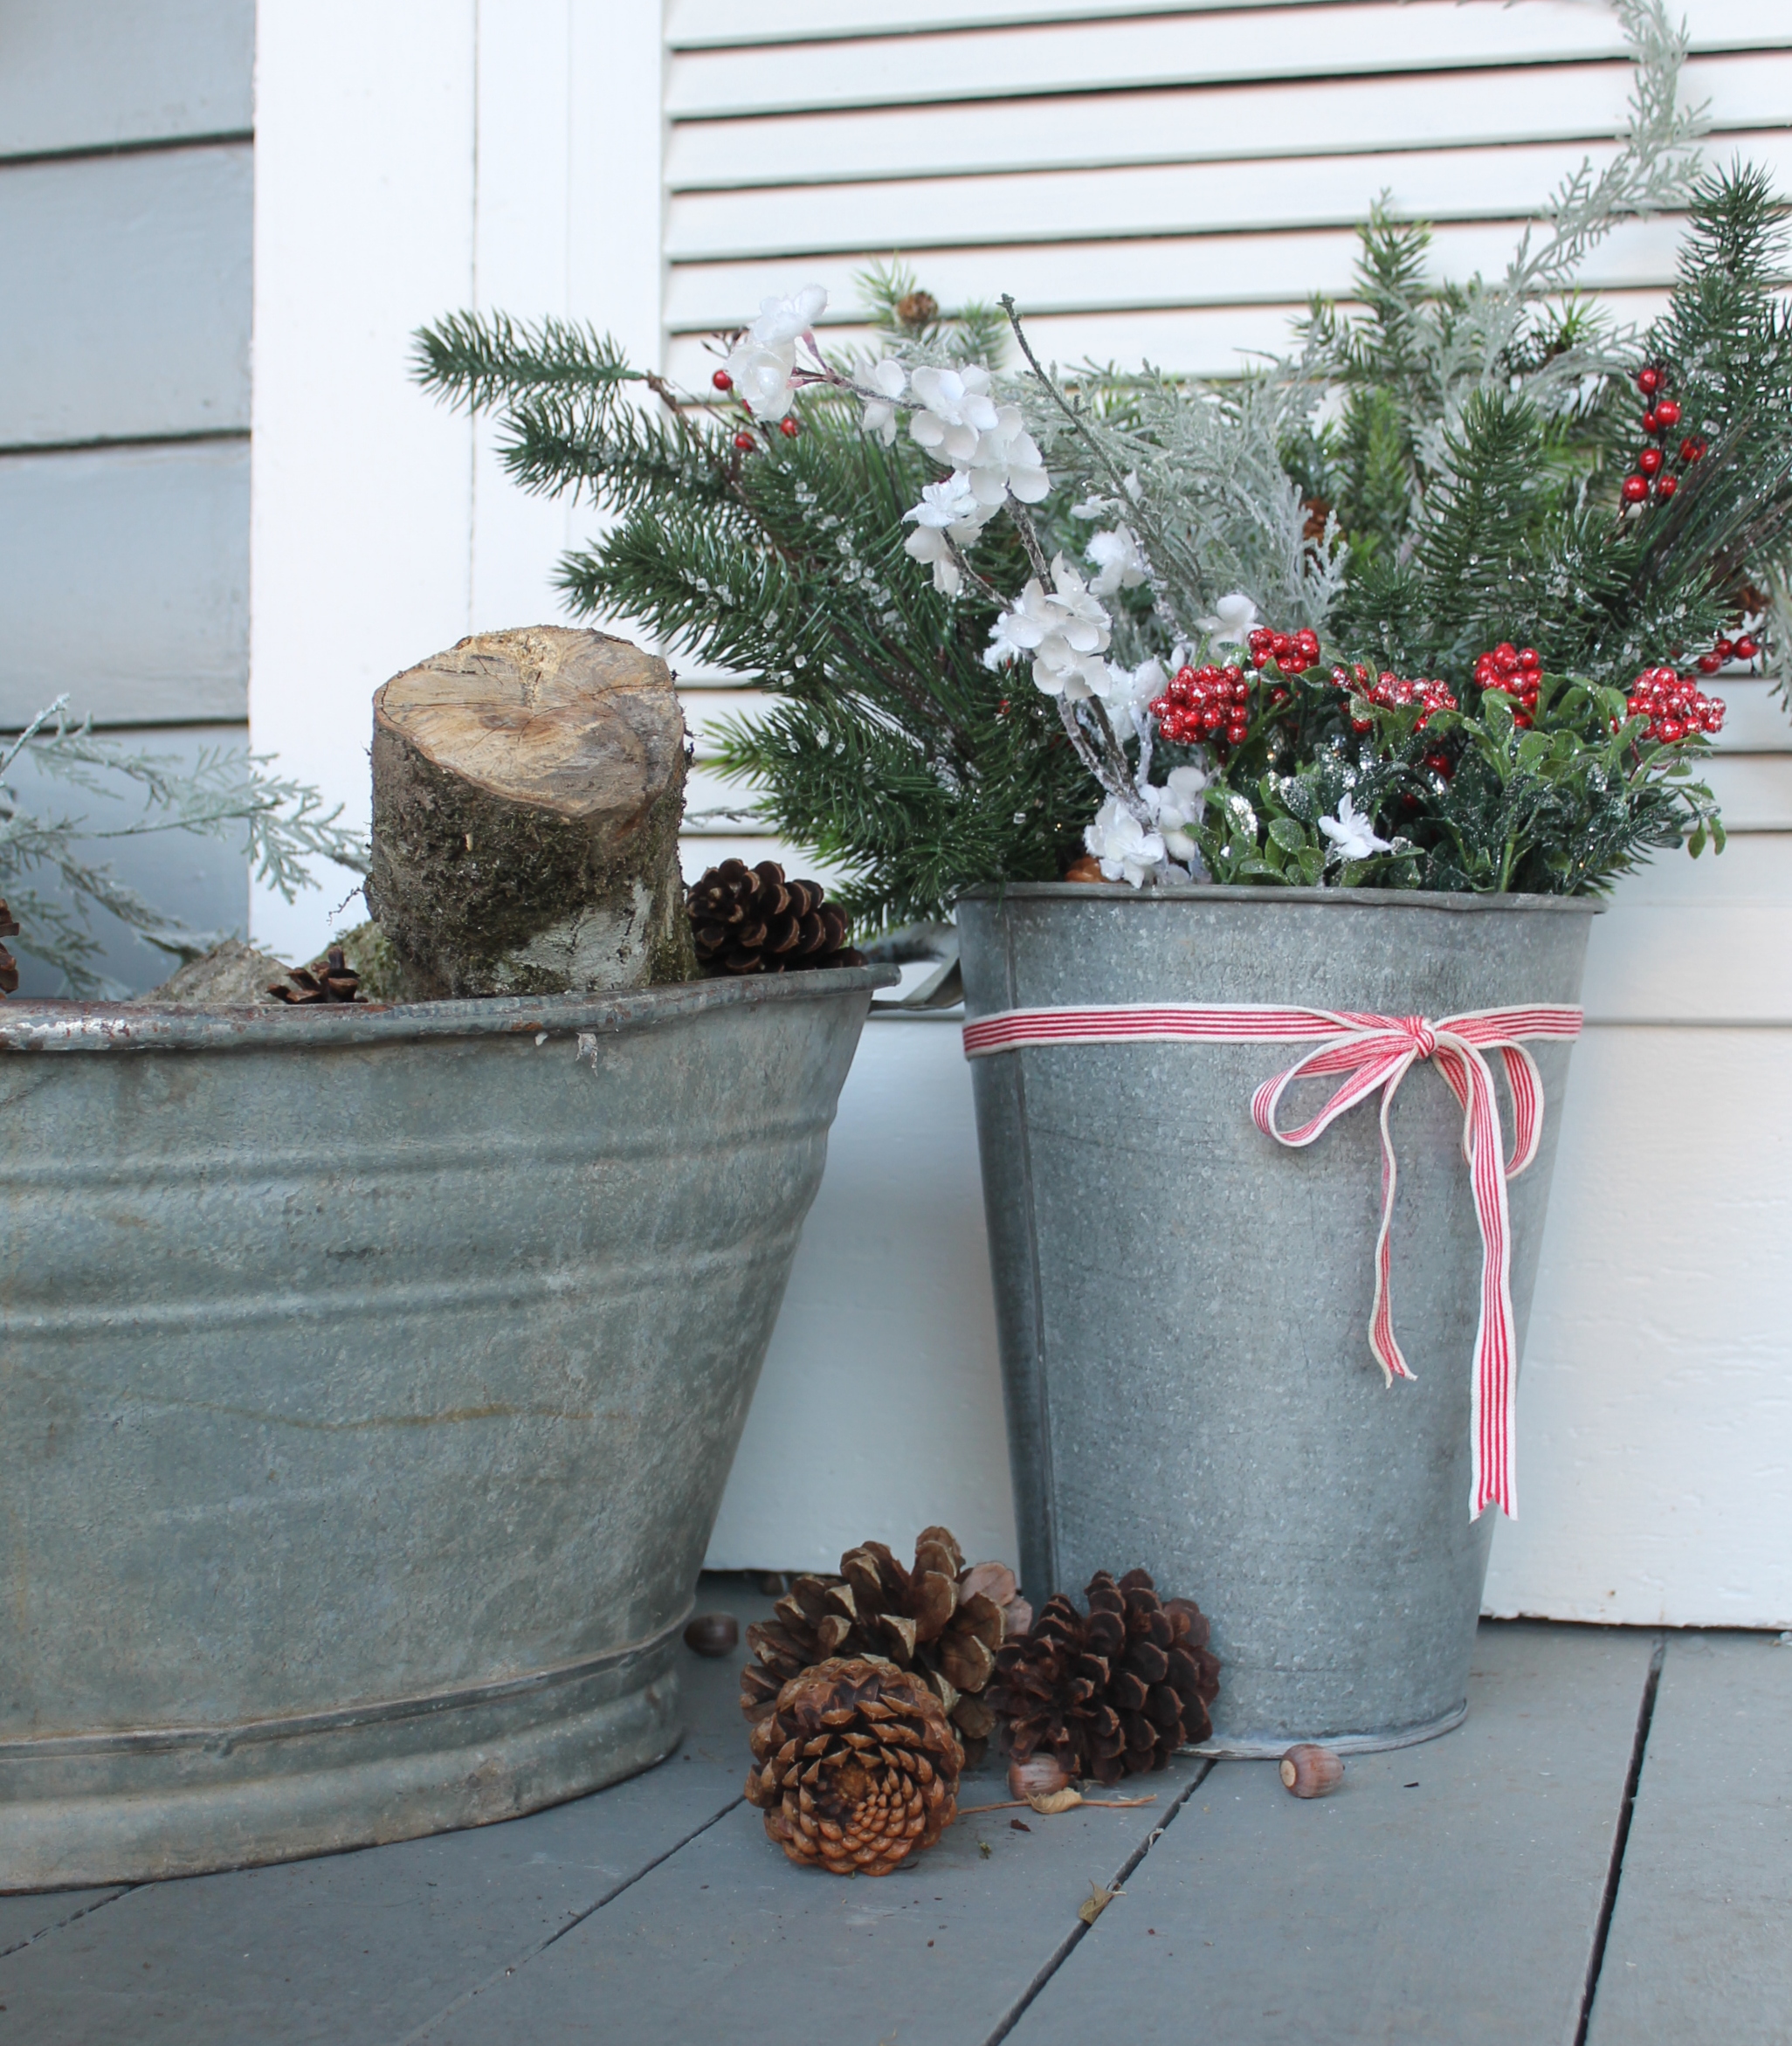
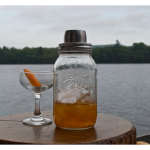
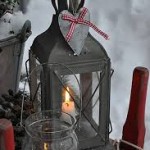
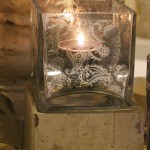
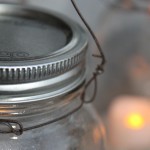
Tin containers from Round Top filled with fresh garland, pine cones and mason jars with battery operated flickering candles.
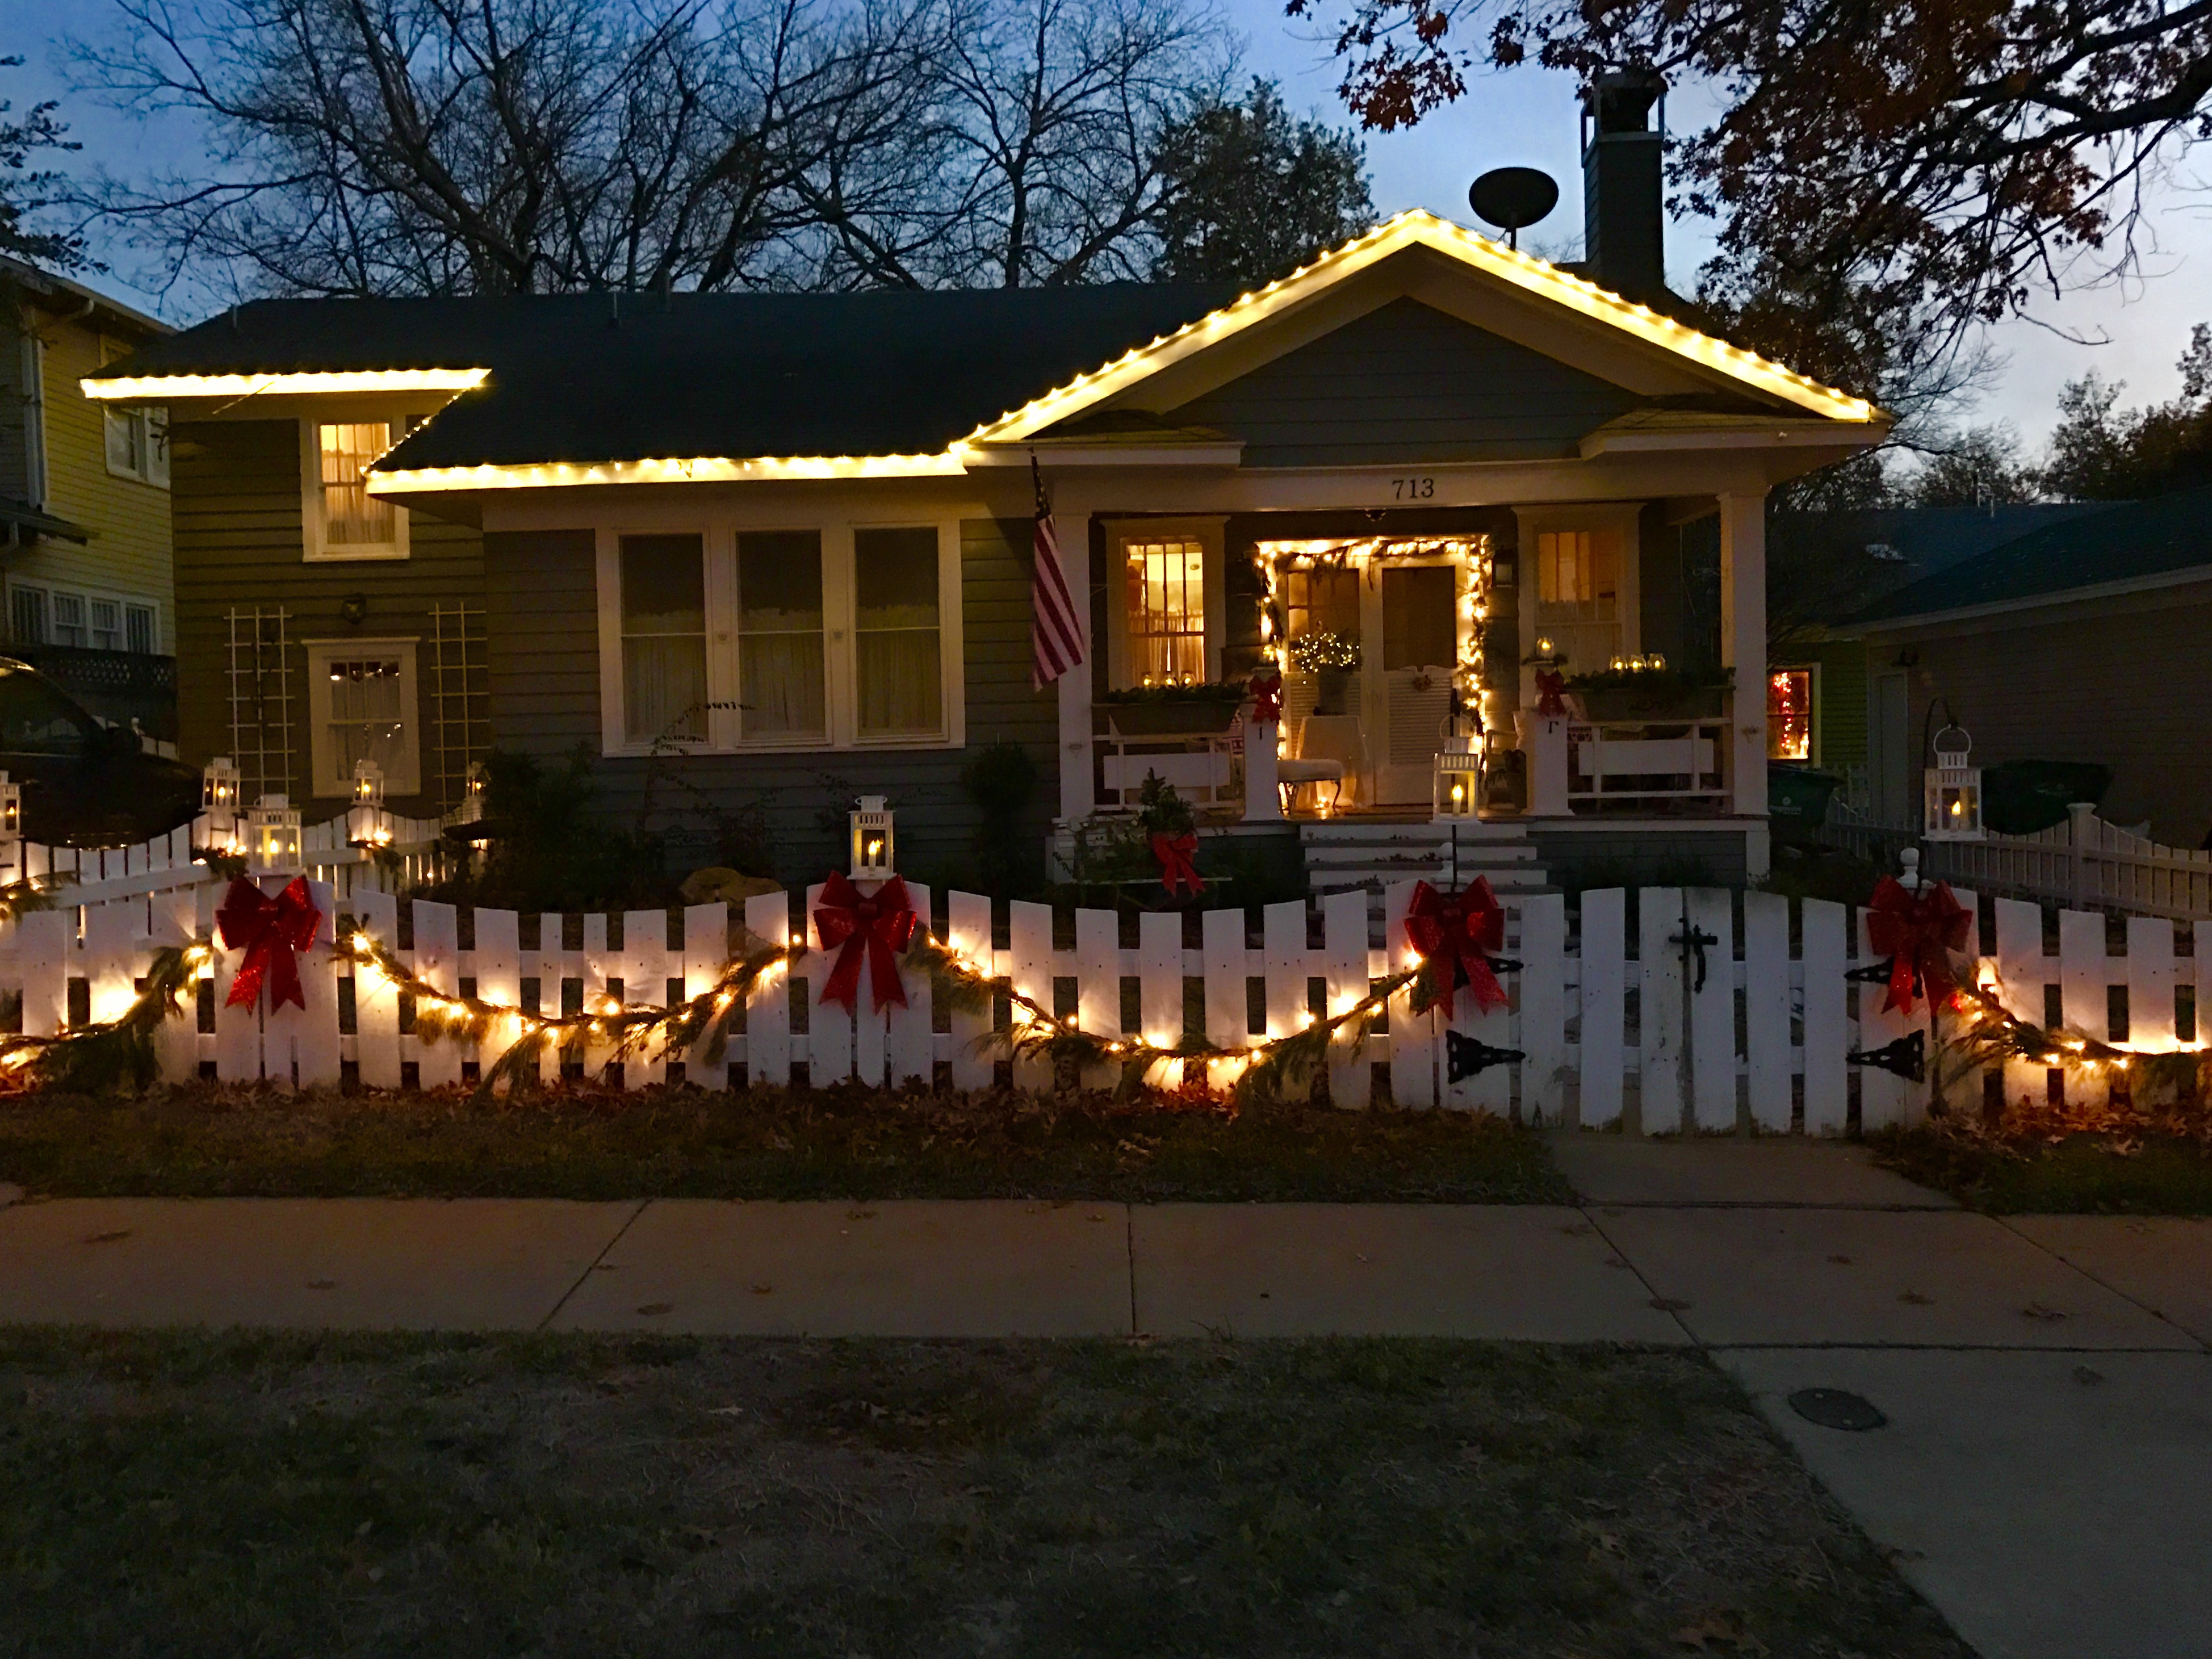
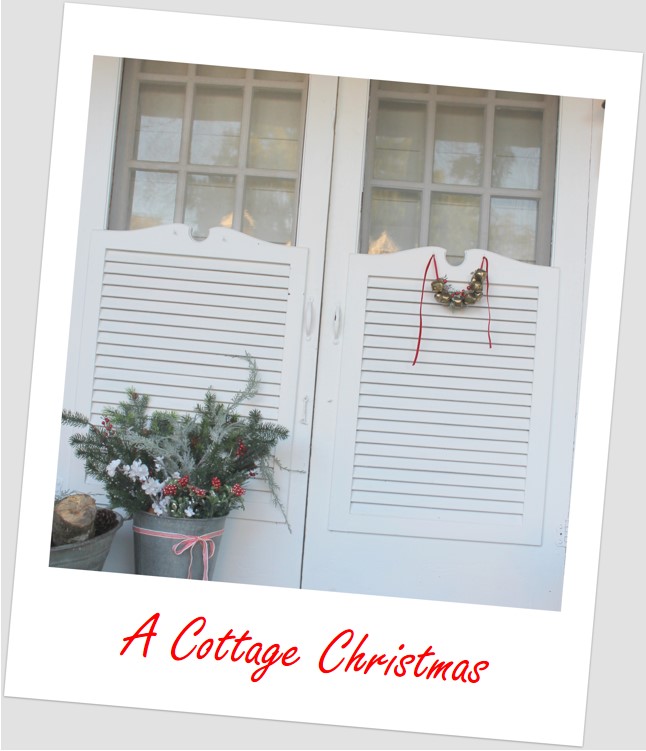
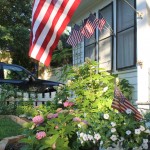
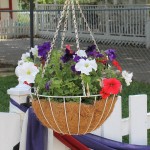
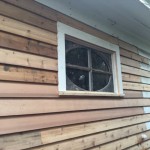
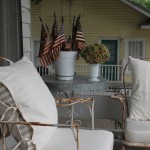
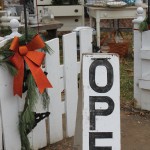
The exterior. White picket fences are meant for red bows and fresh garland.
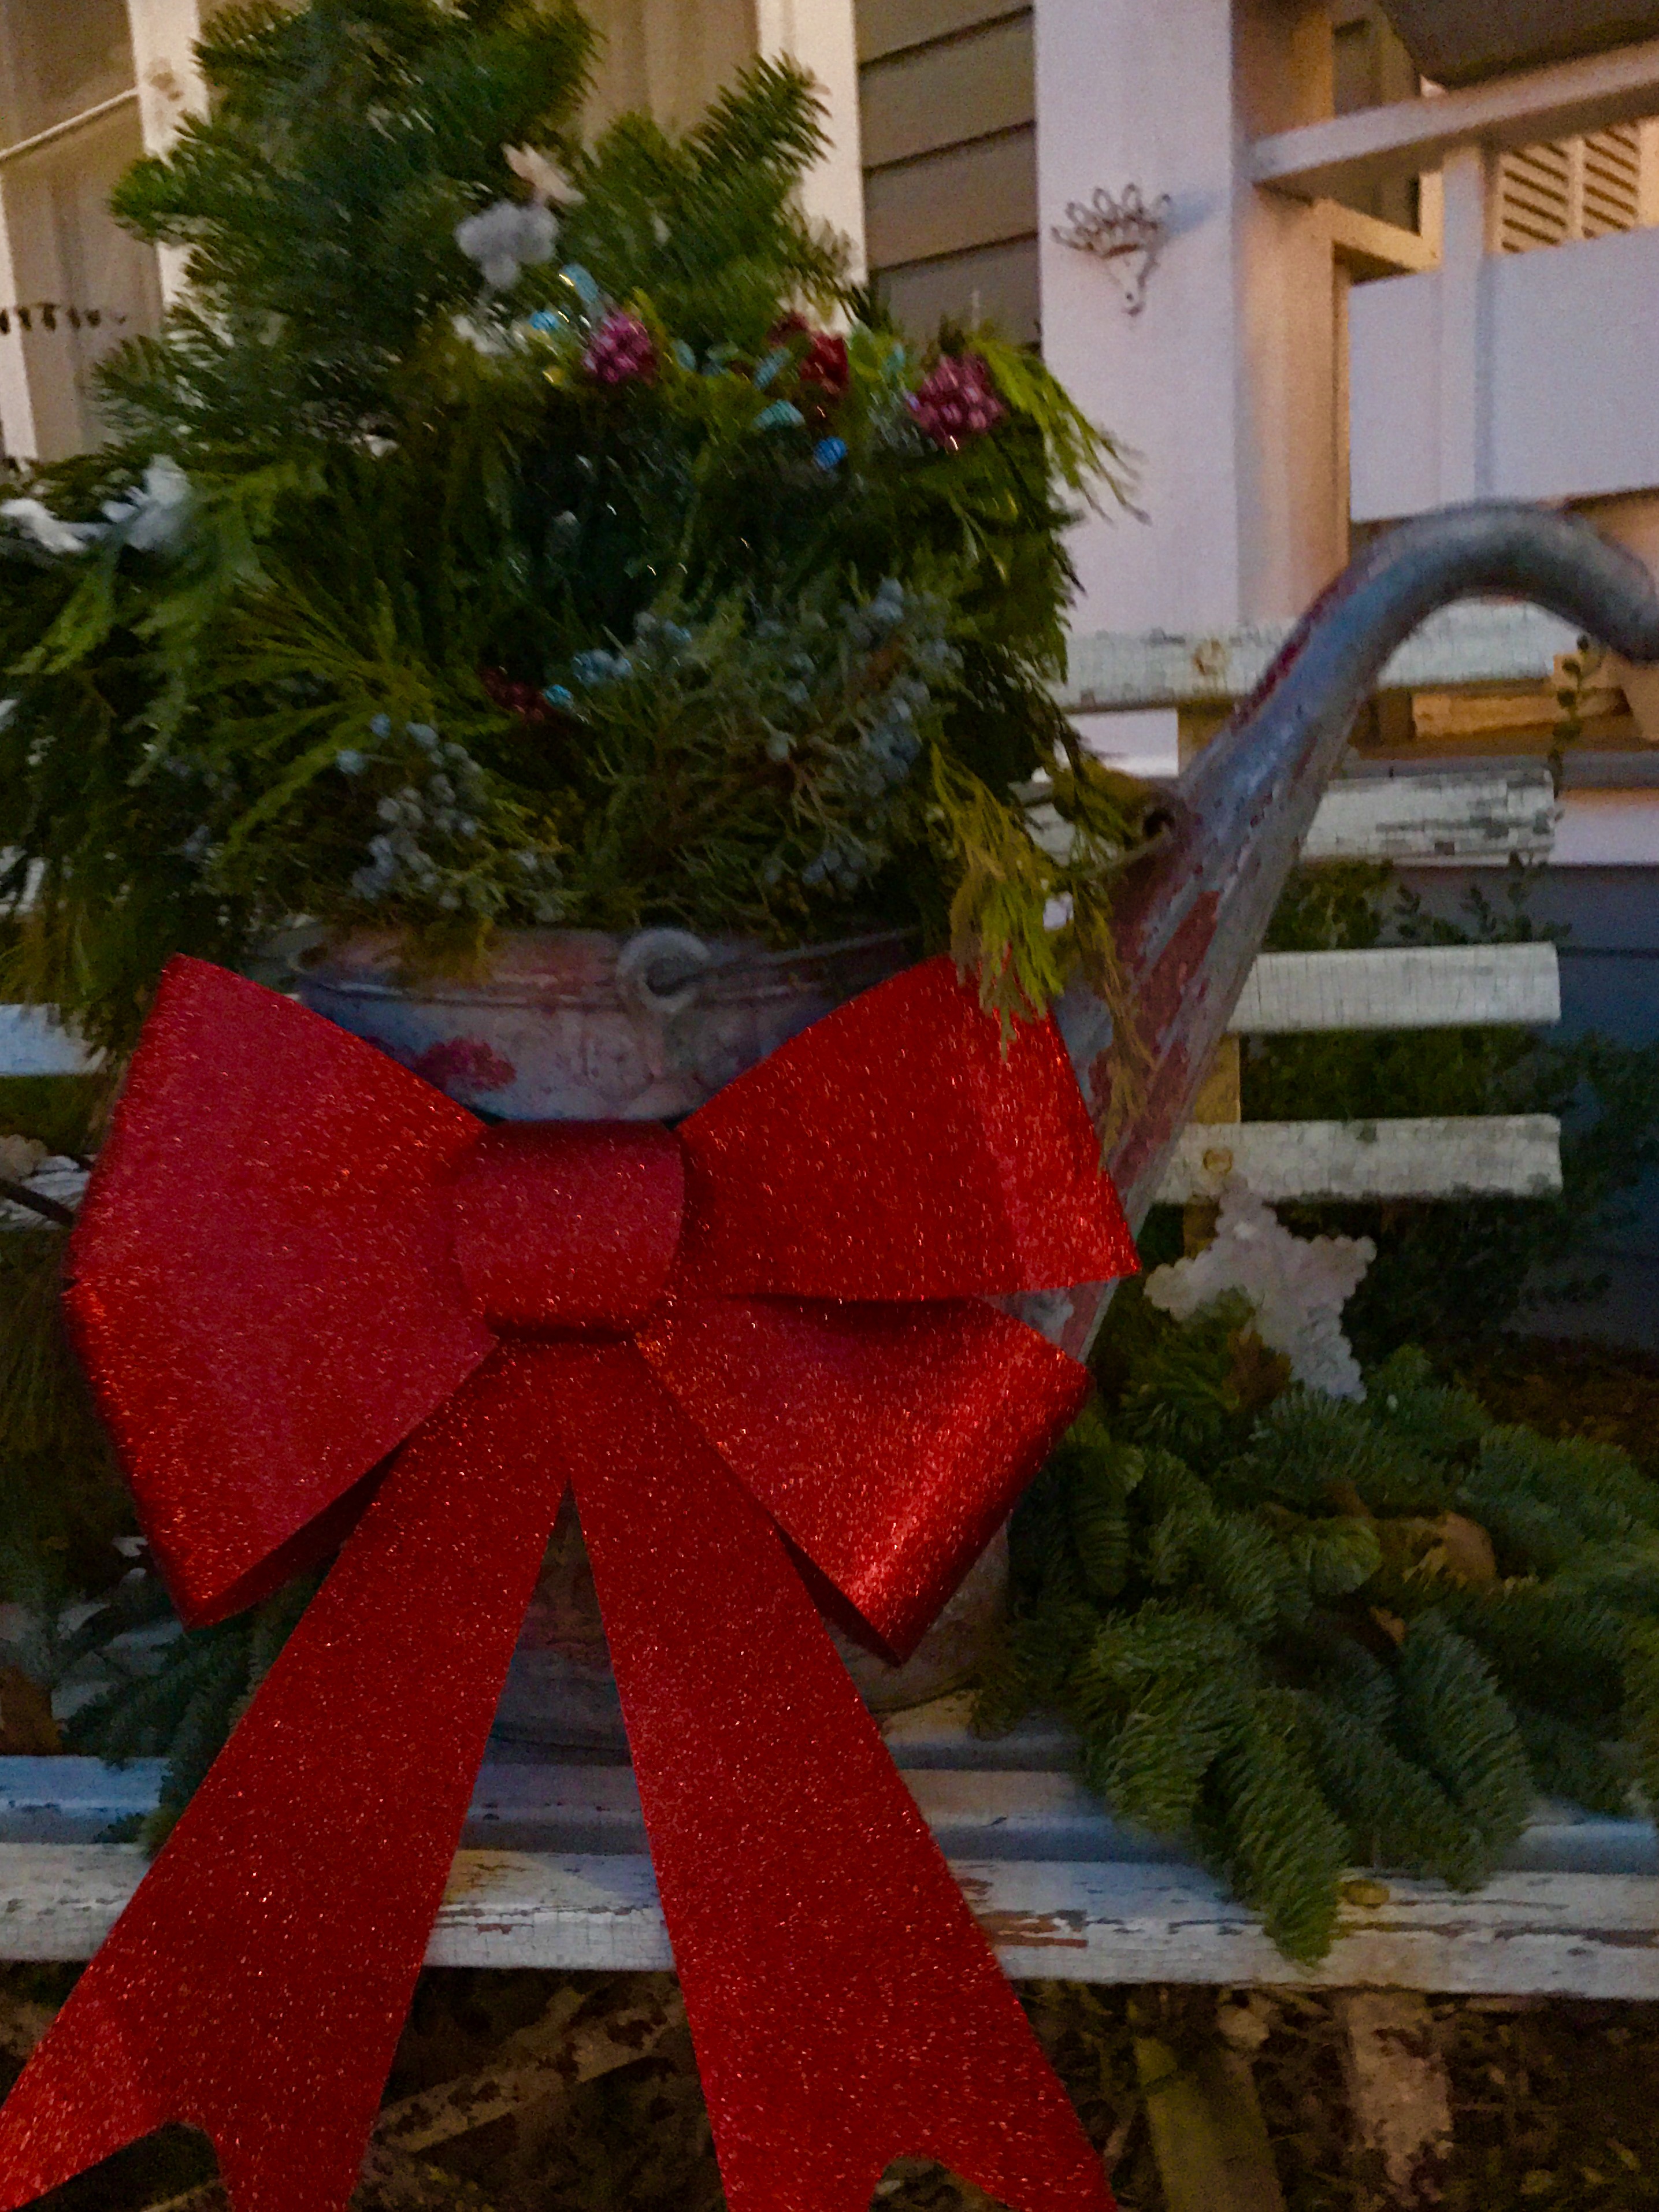
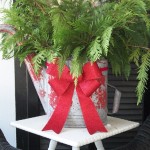
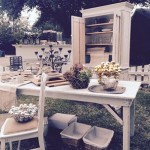
An old bench, a Round Top find with a vintage watering can and some fresh greens.
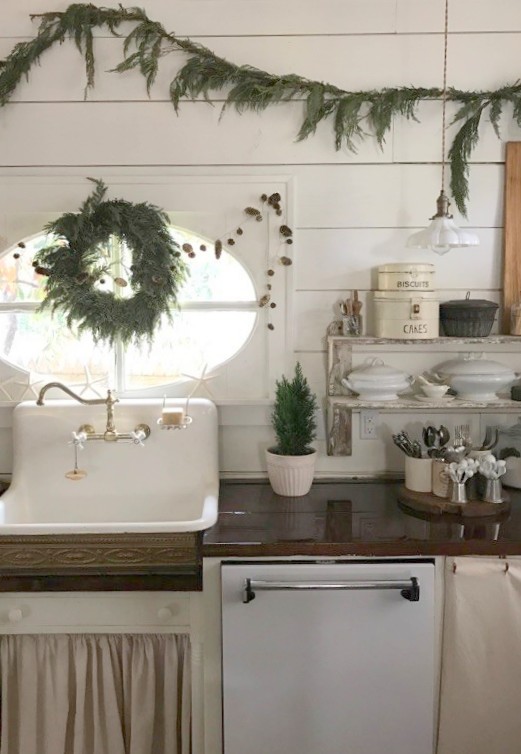
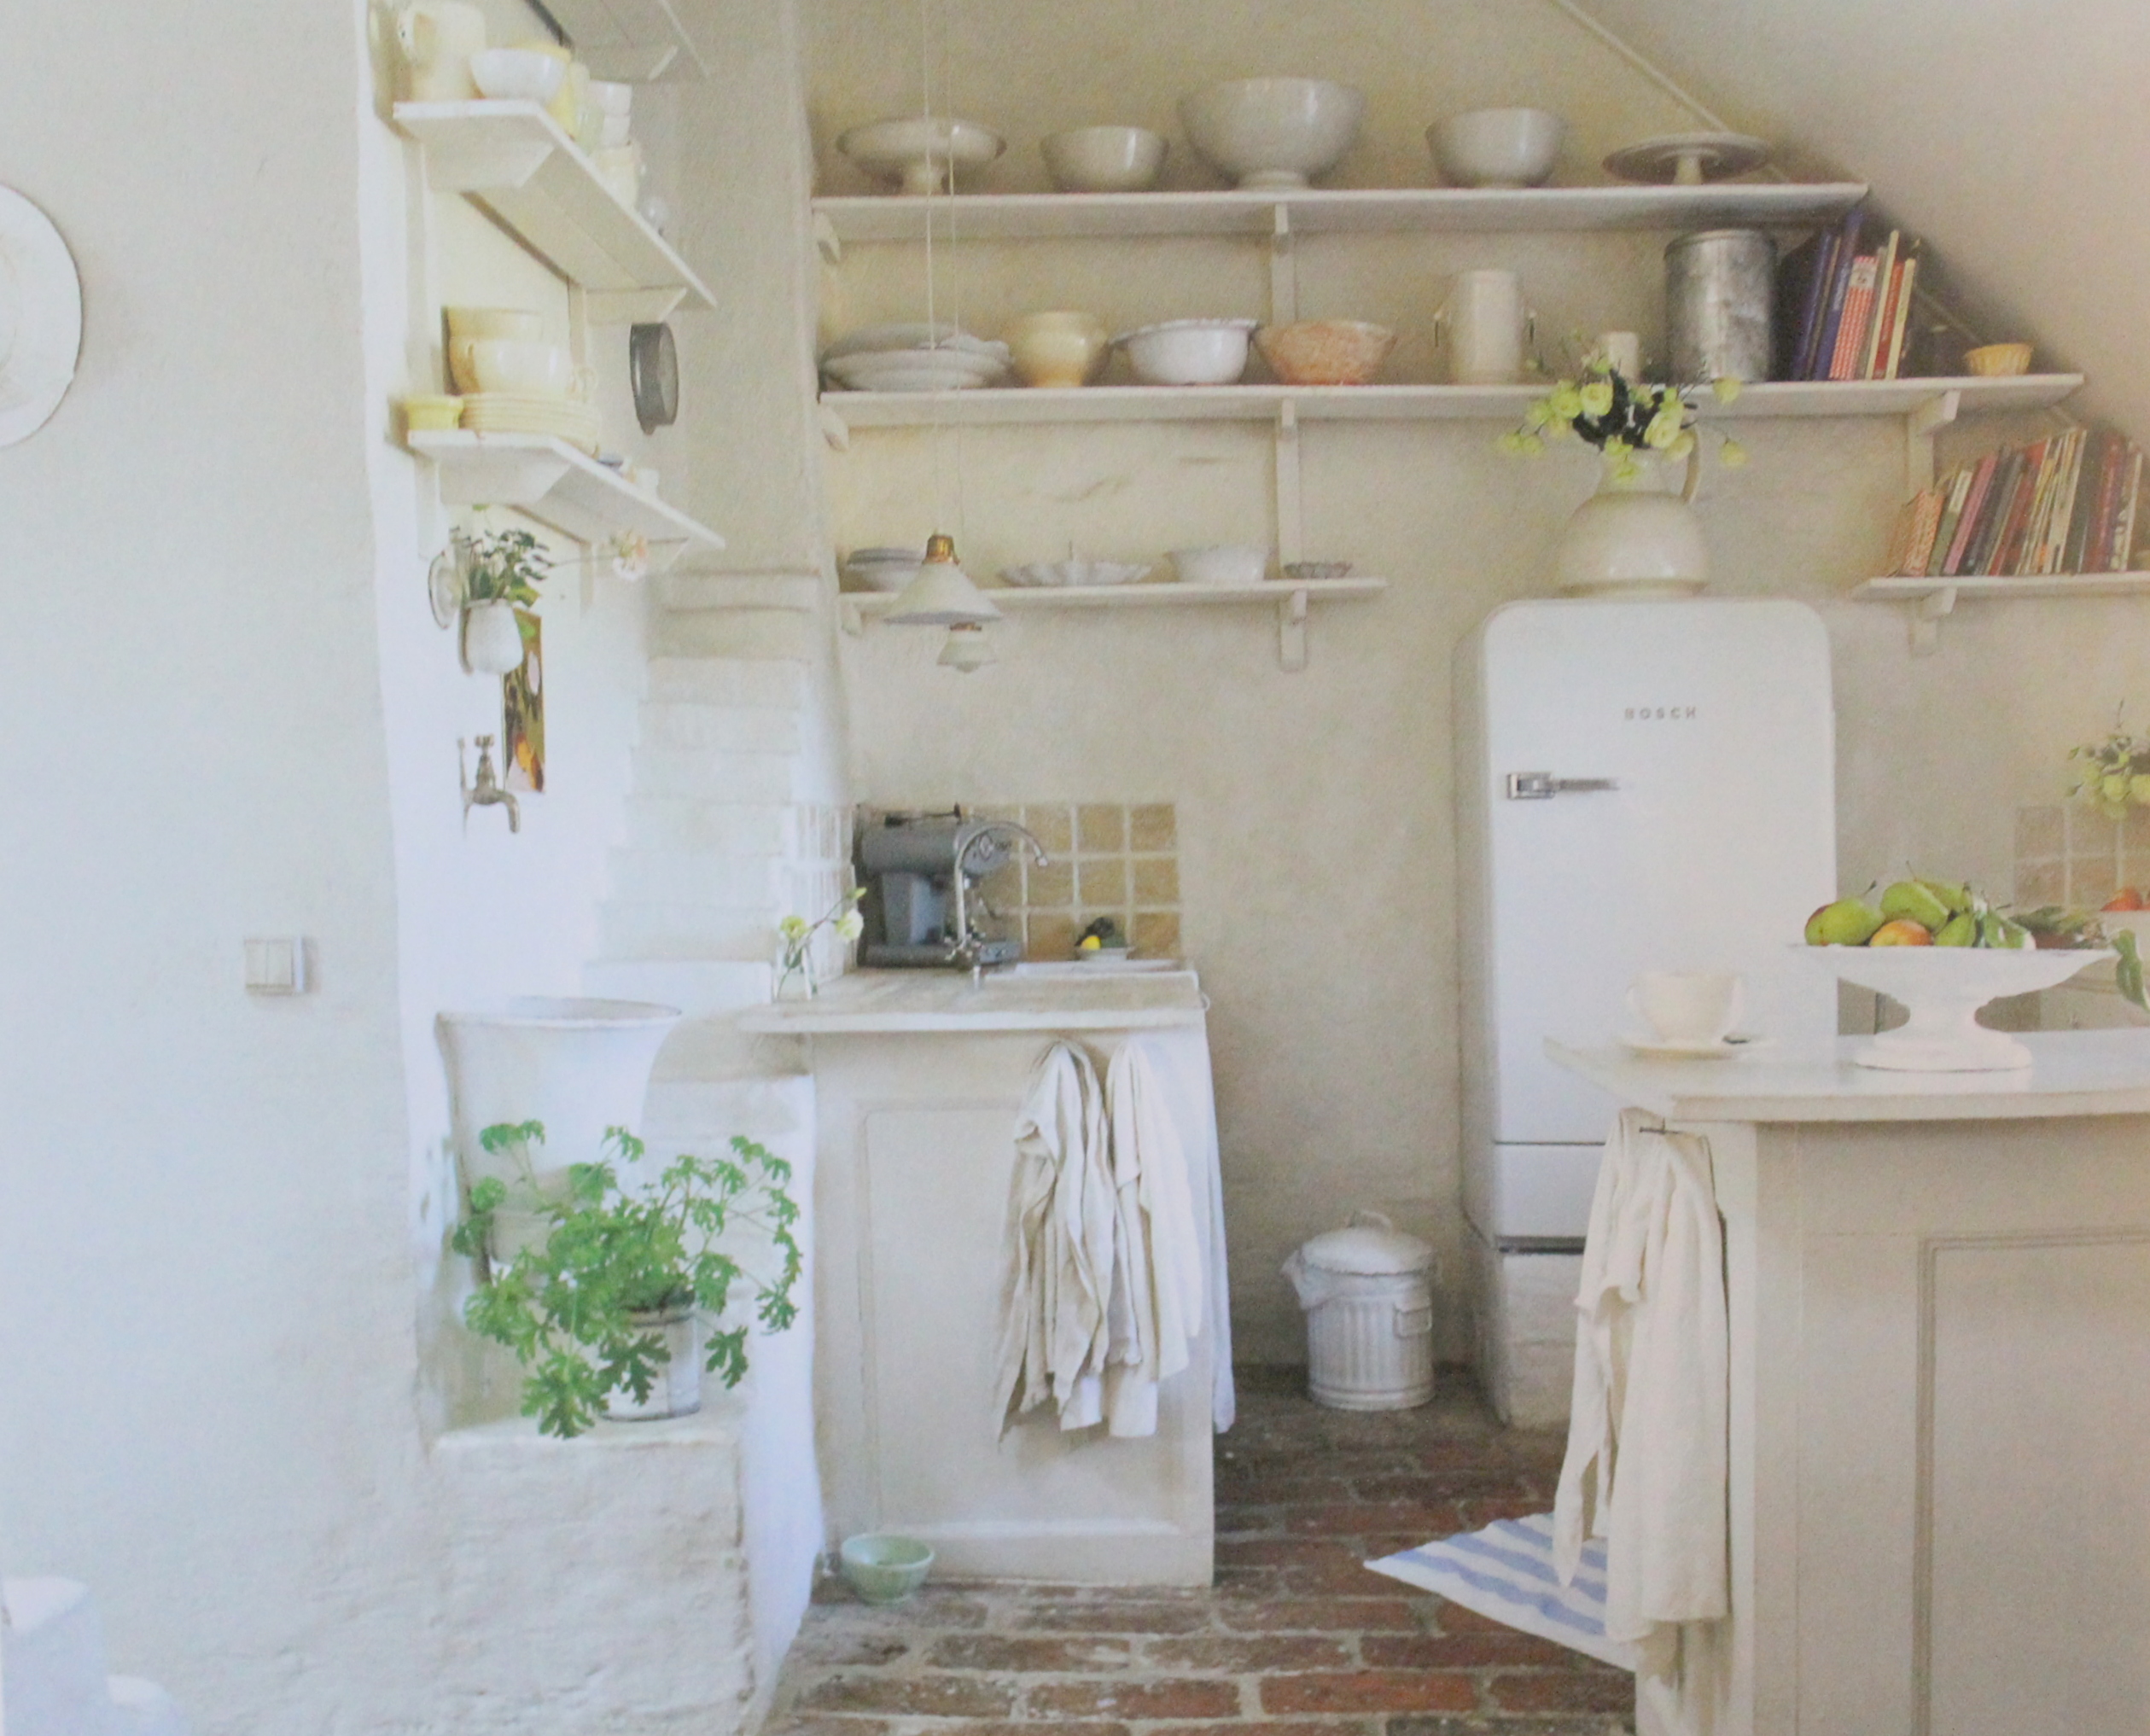
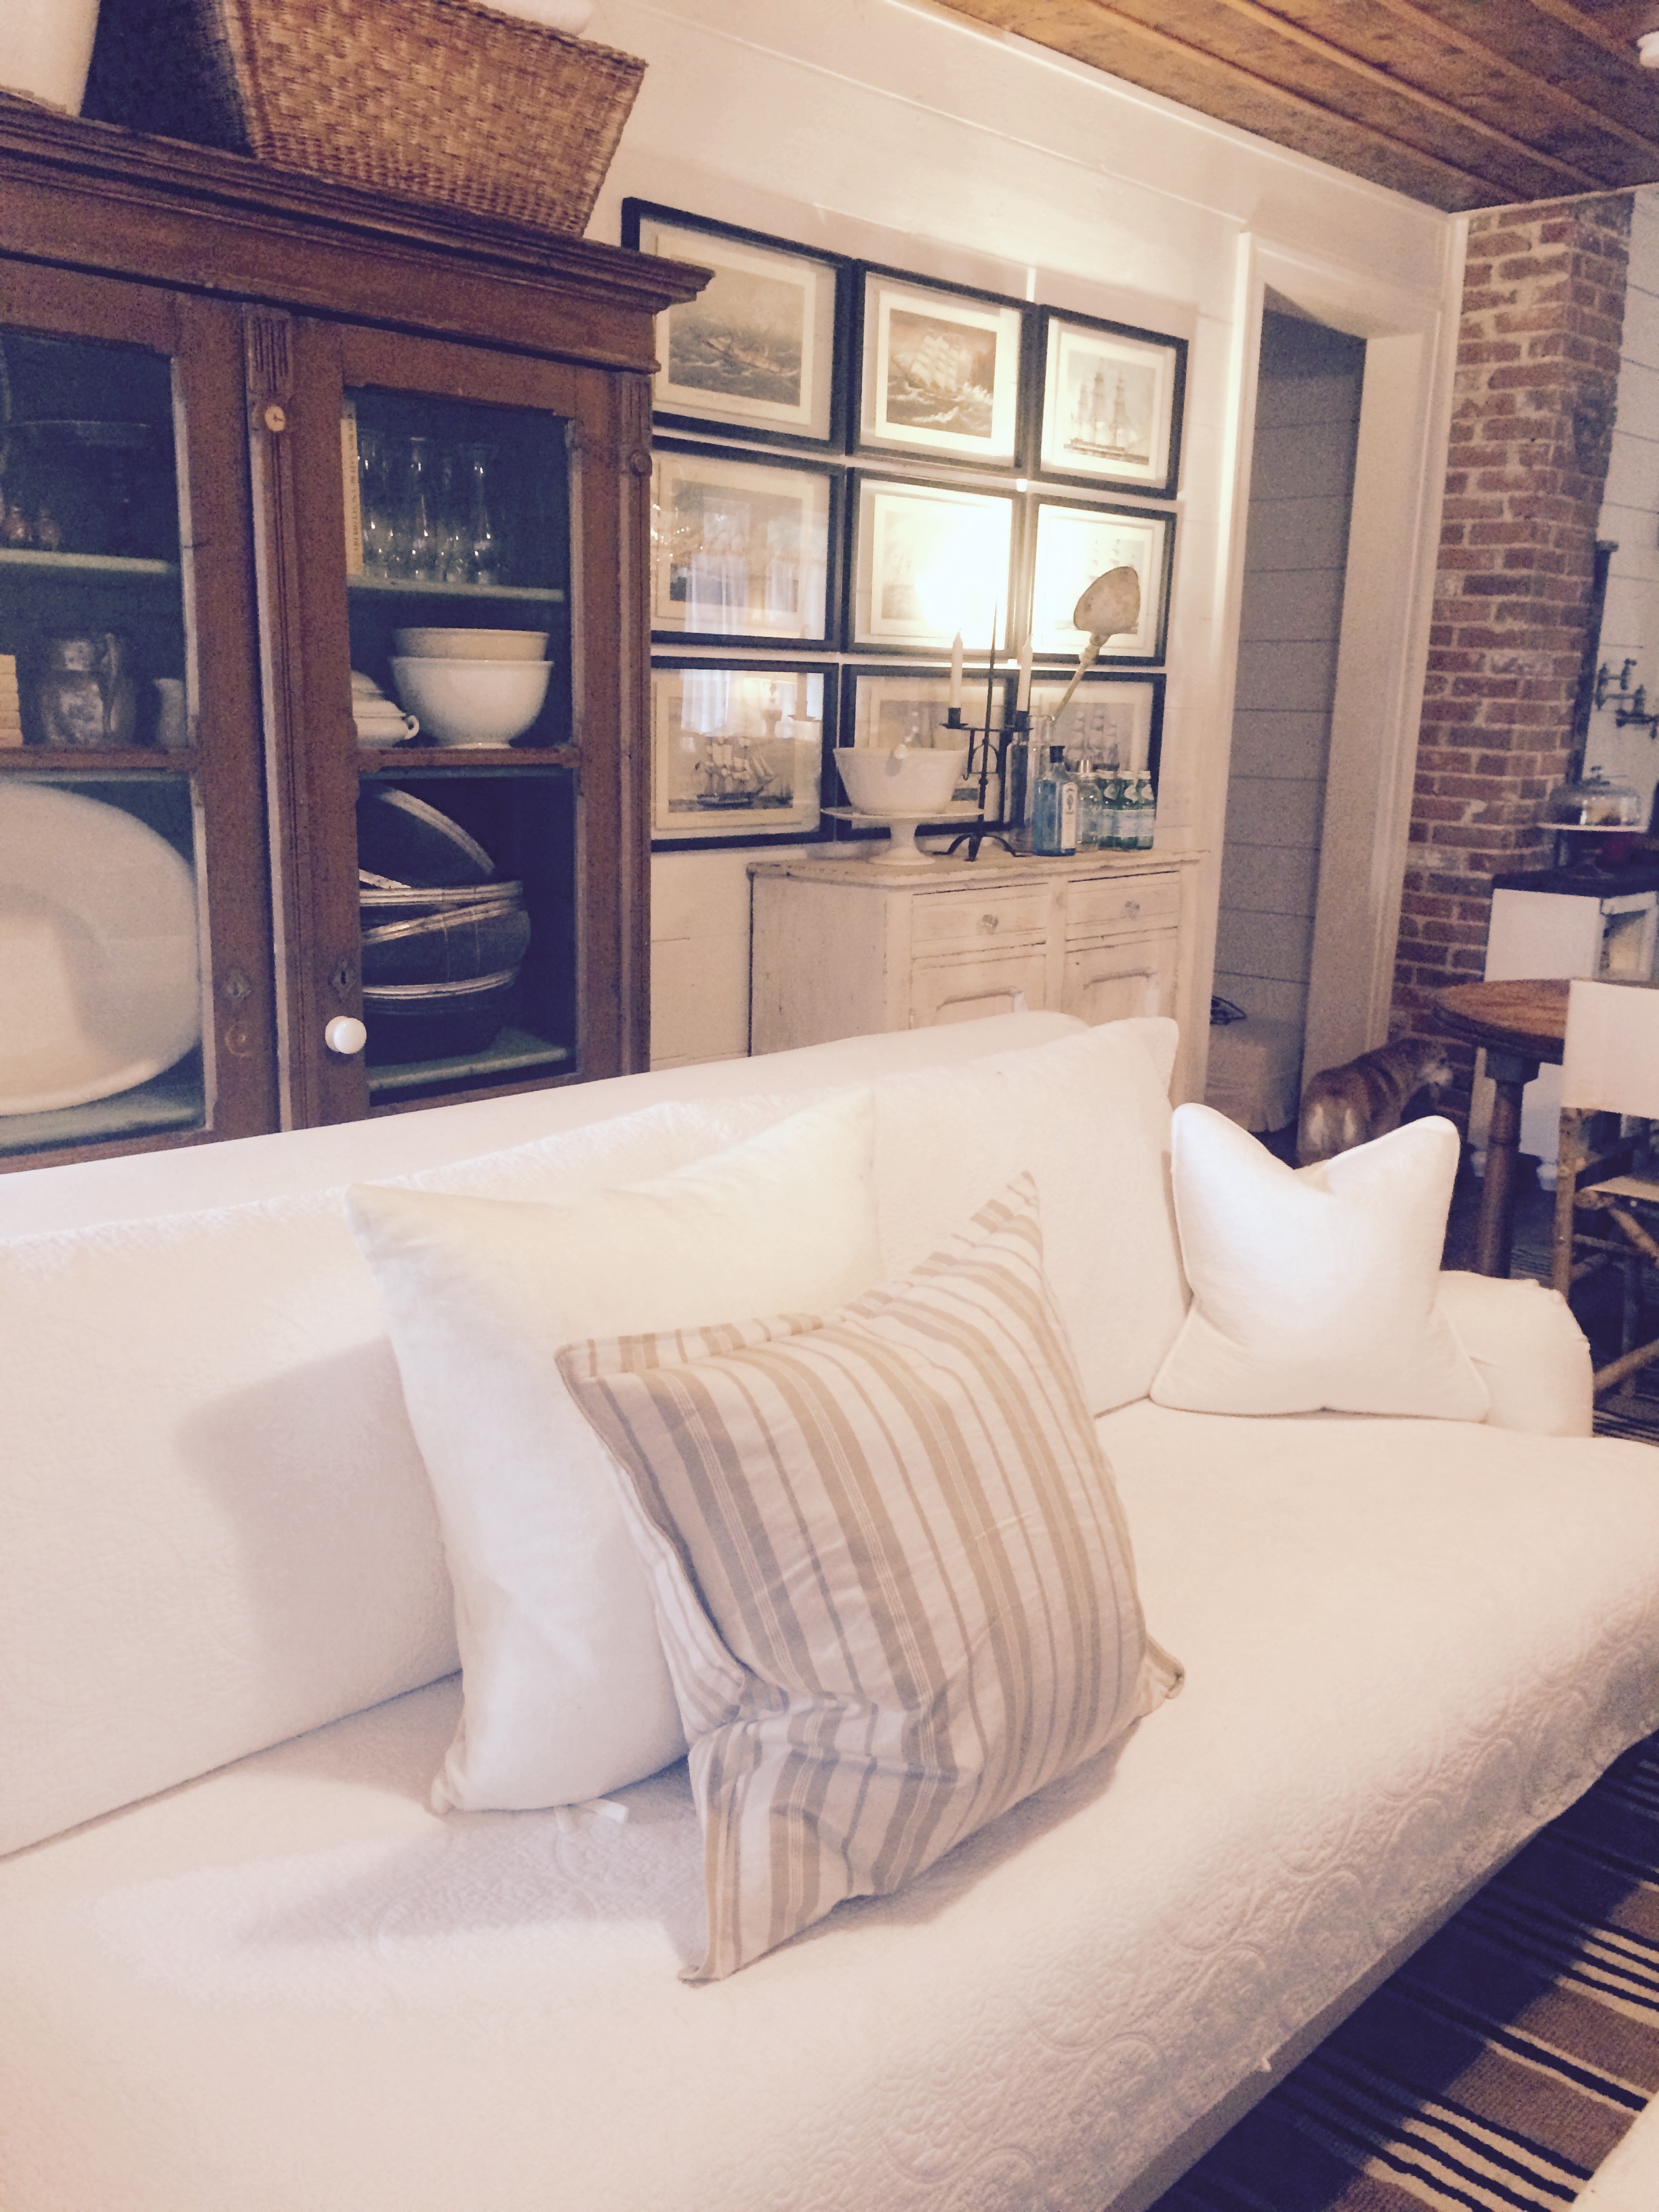
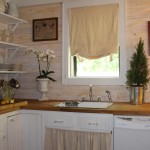
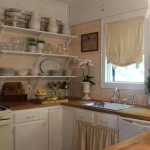
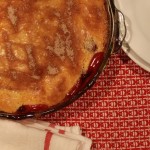
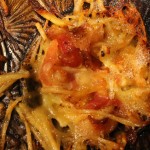
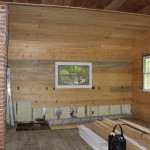
A Christmas Farmhouse Kitchen.
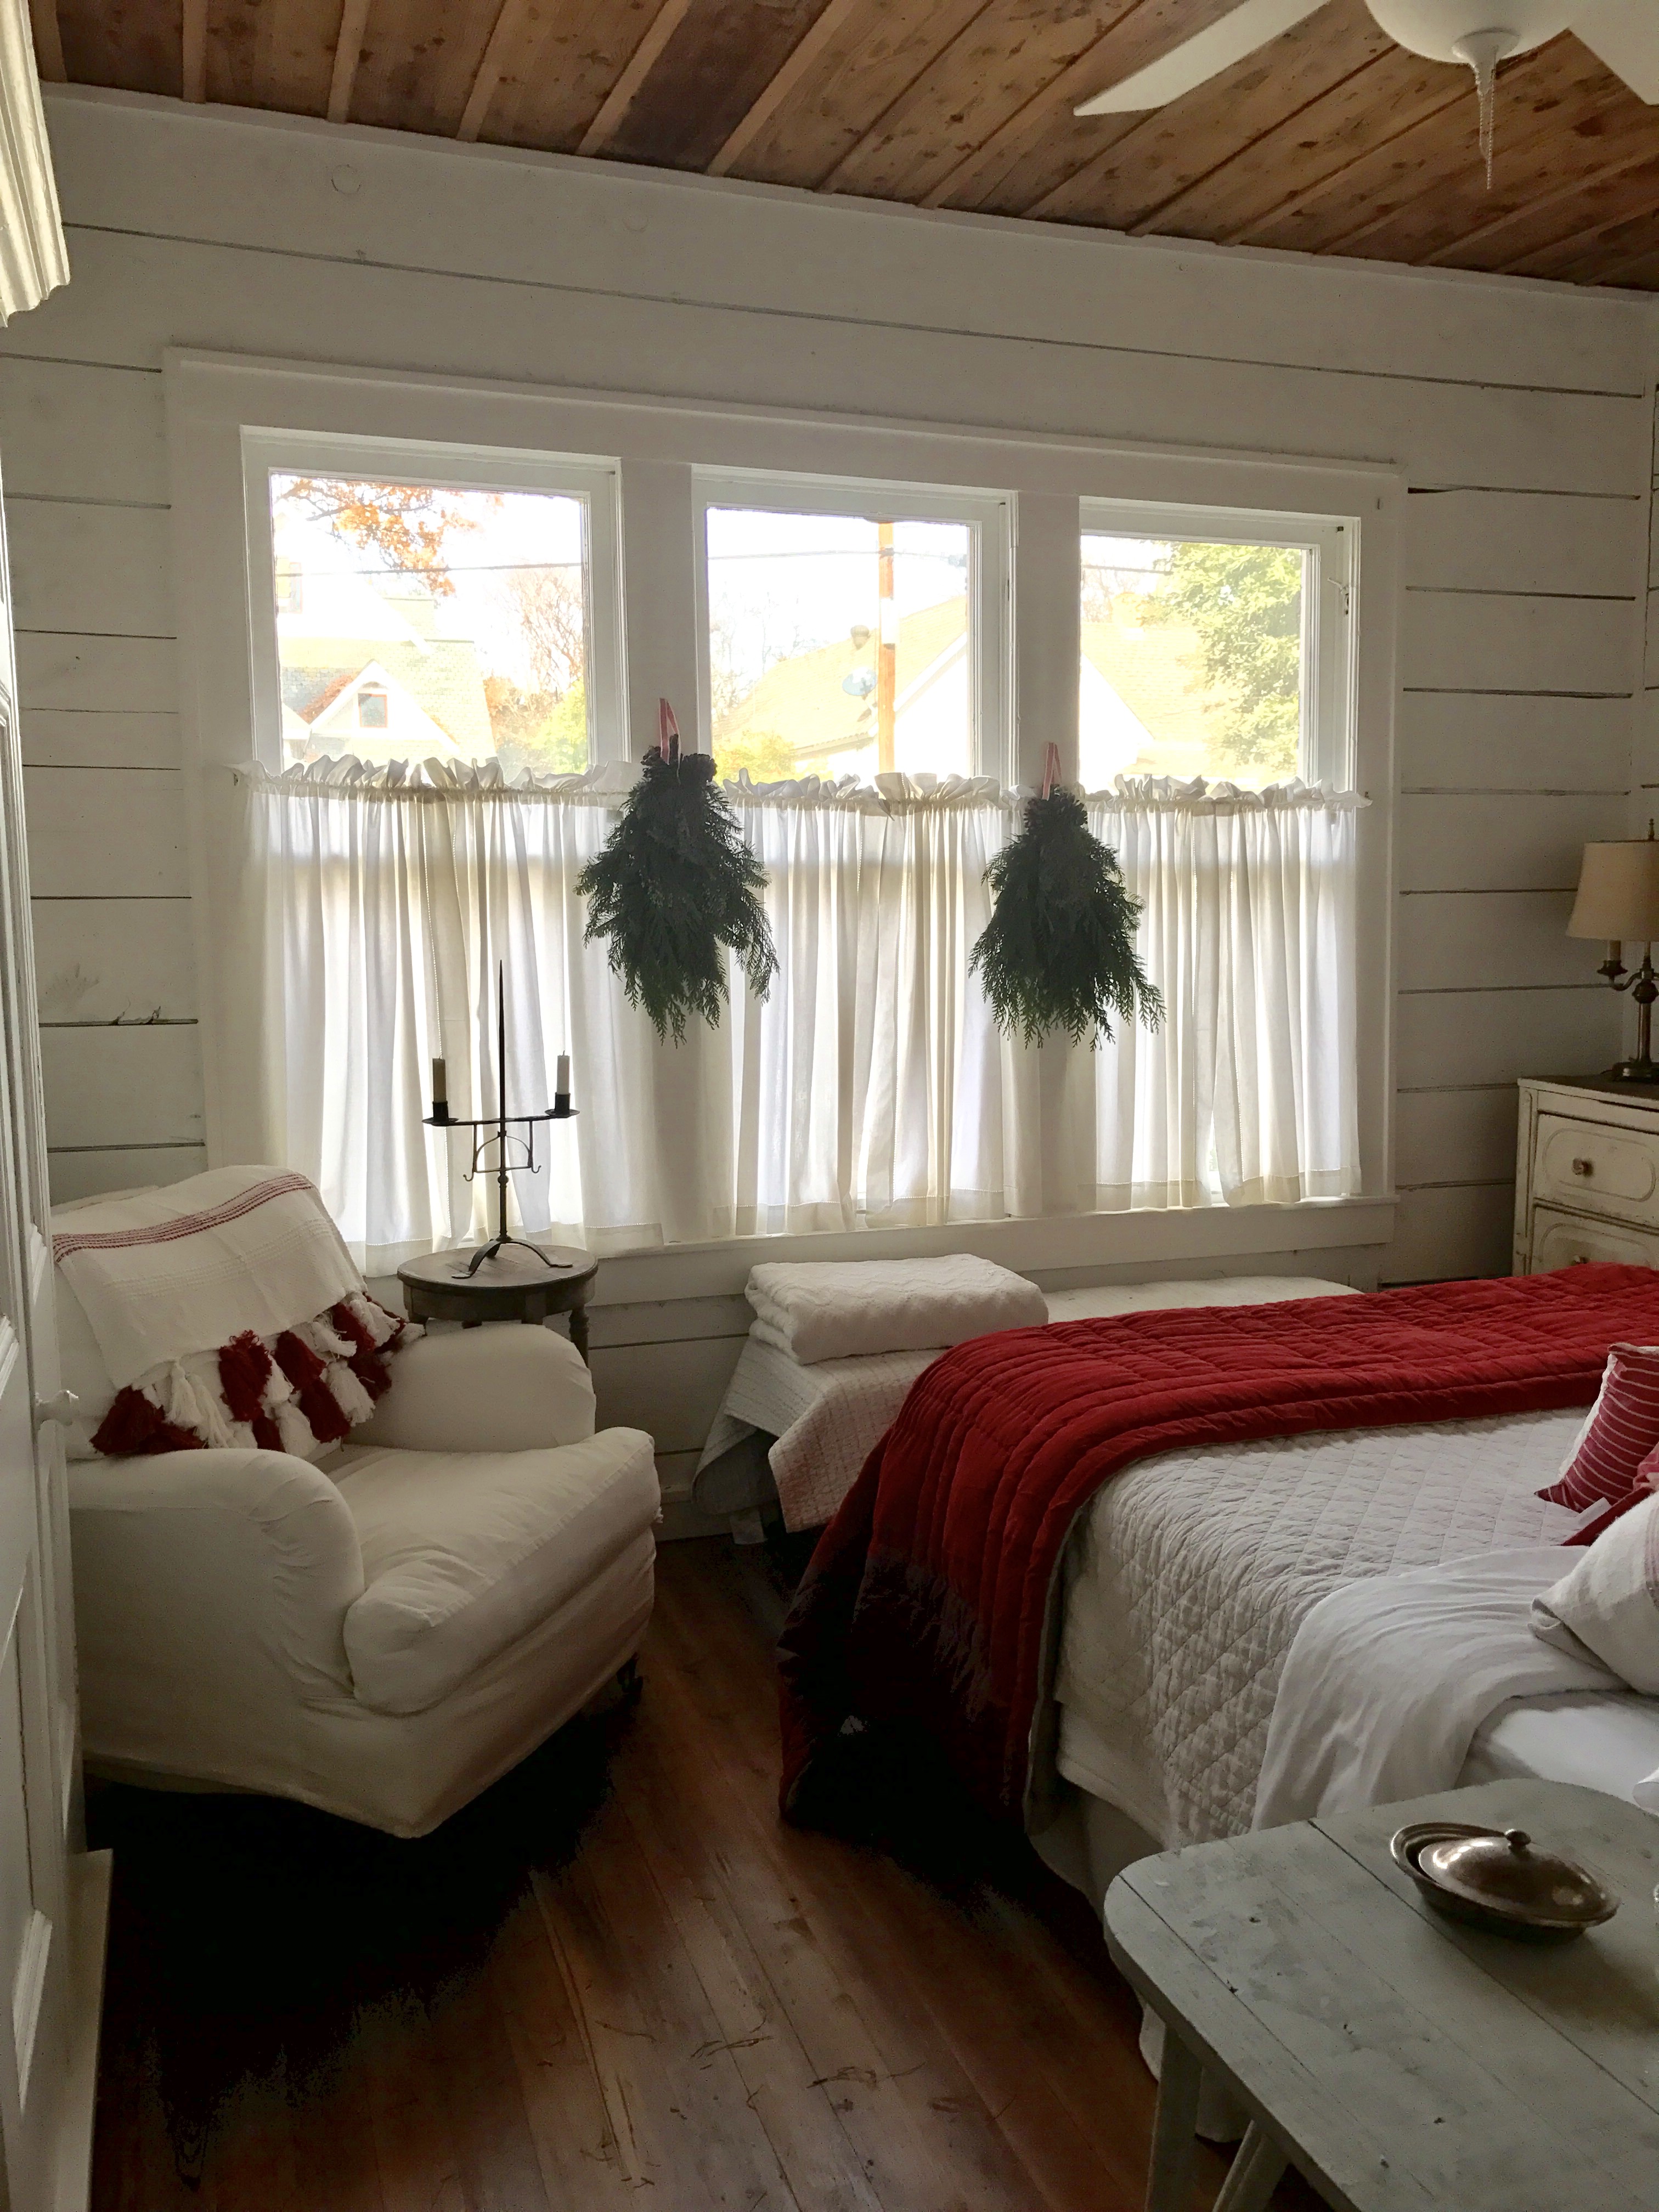
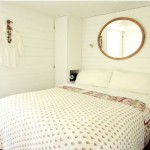
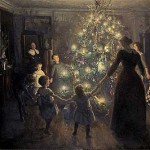
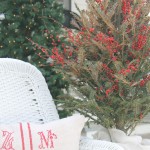
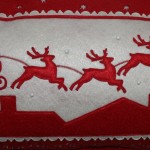
Fresh greens, a holiday red velvet quilt and a lovely tasseled throw for a lovely Scandinavian style Christmas.
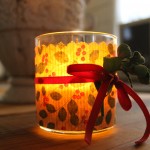
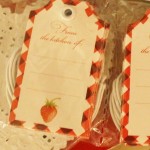
A little cheer for the holiday guest…
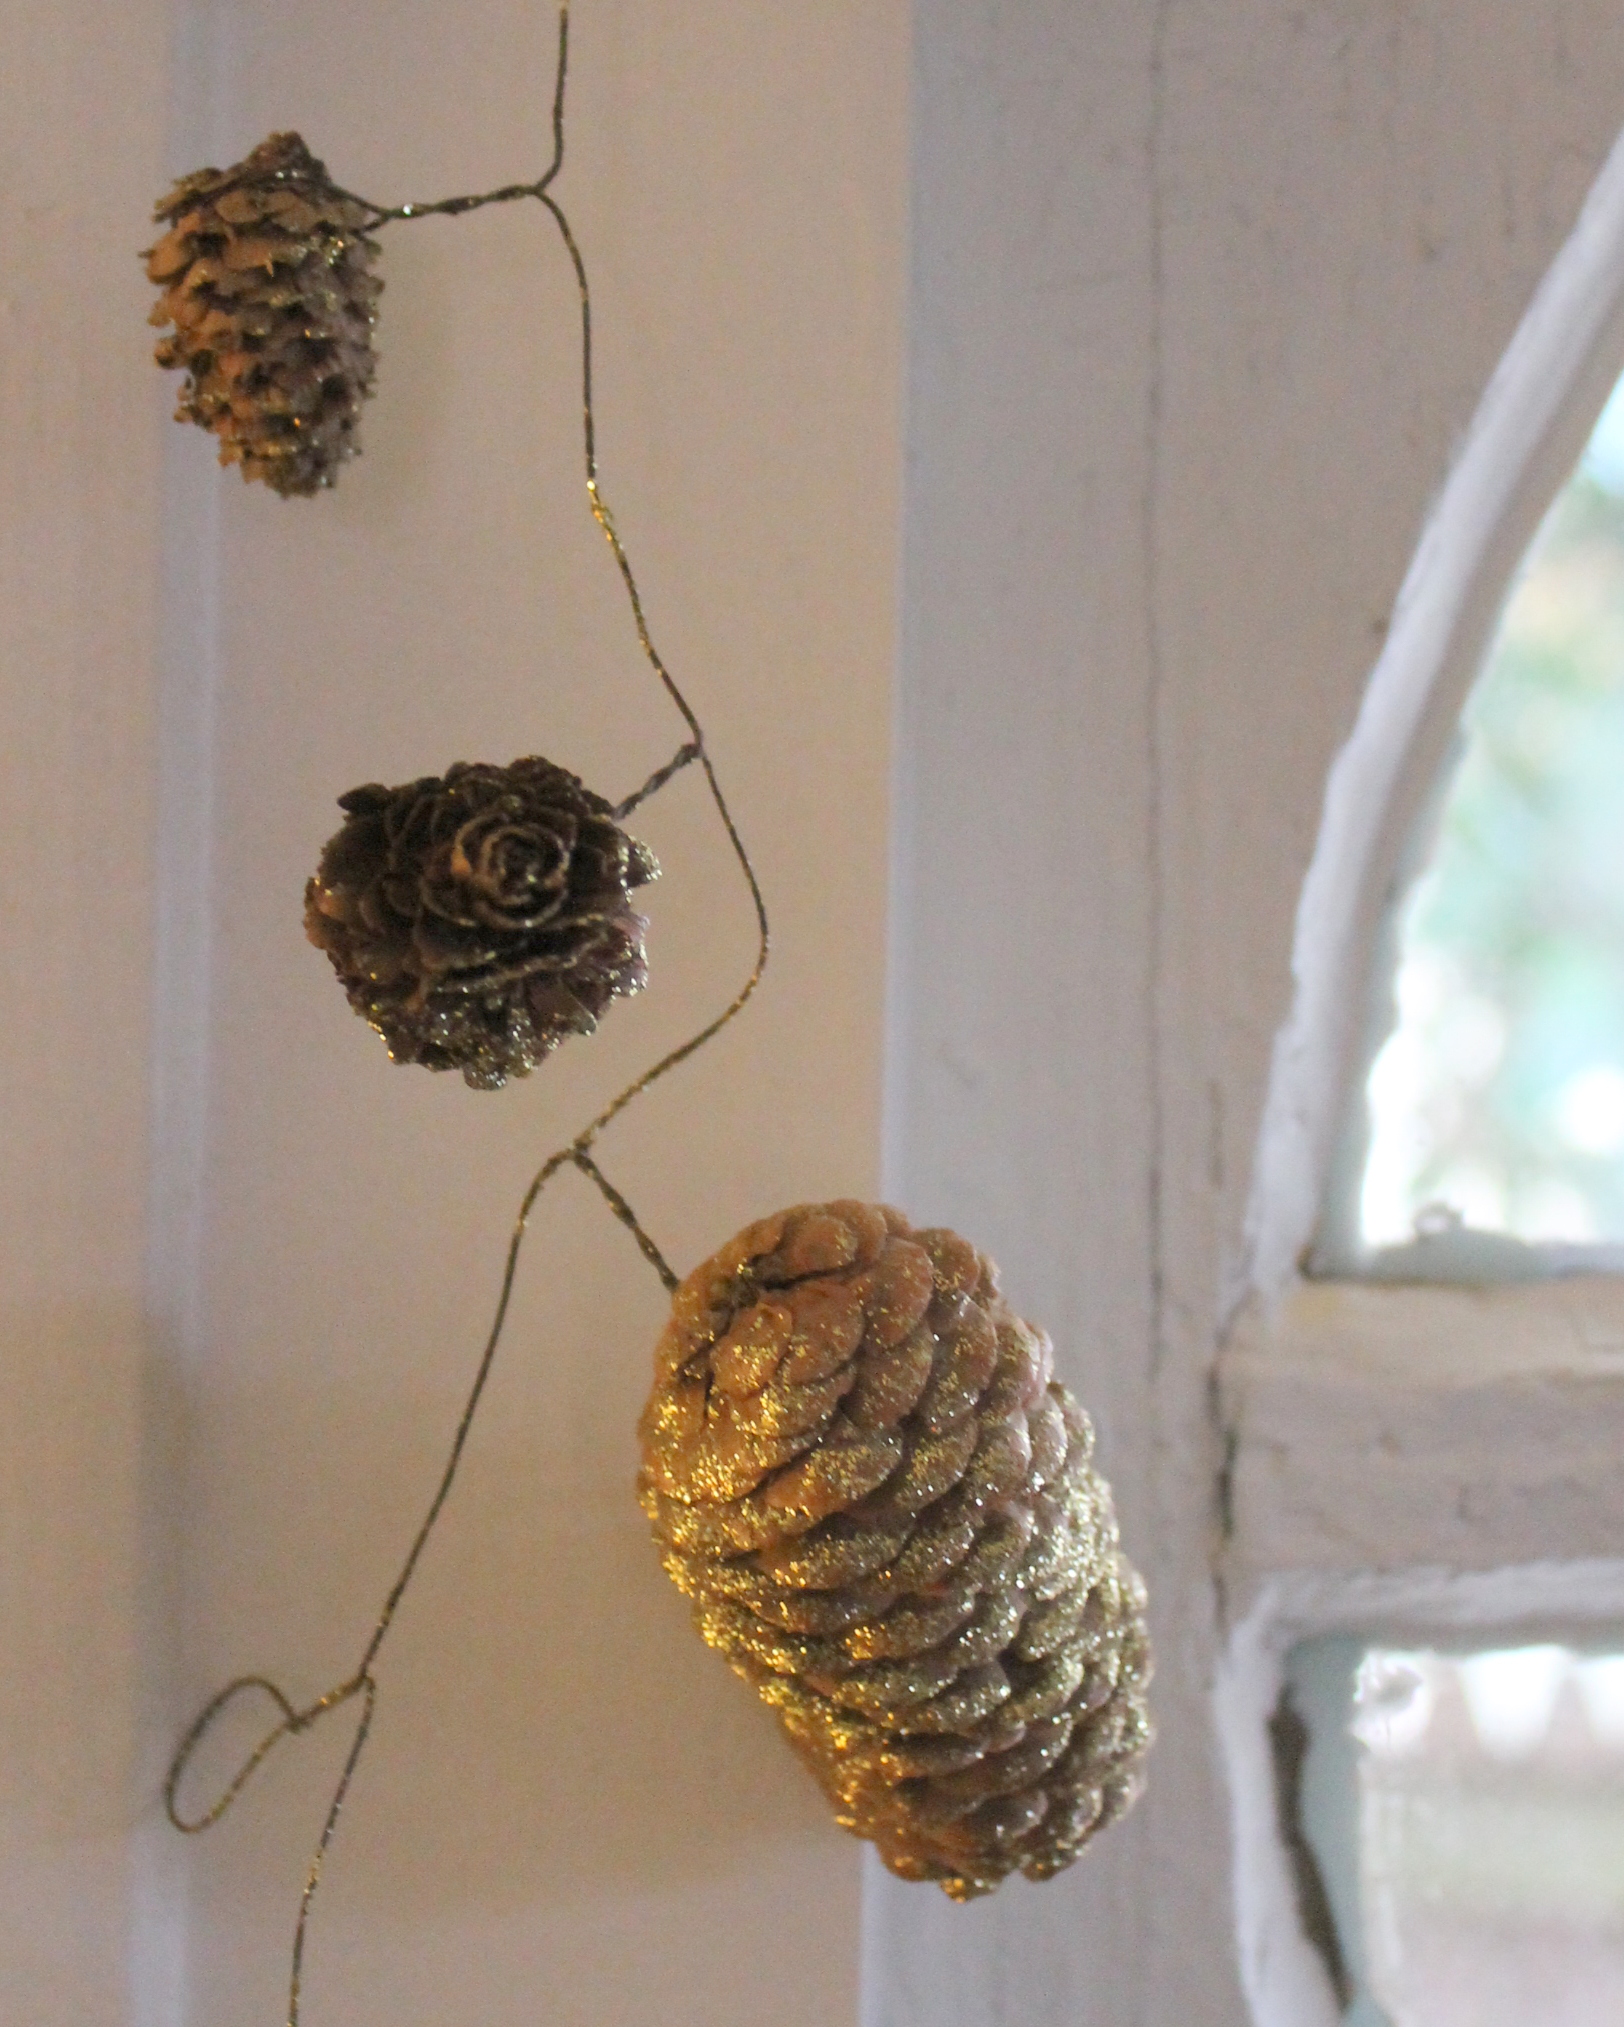
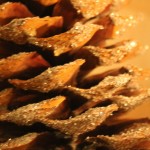
Sparkly pine cones on some wire for a festive garland.
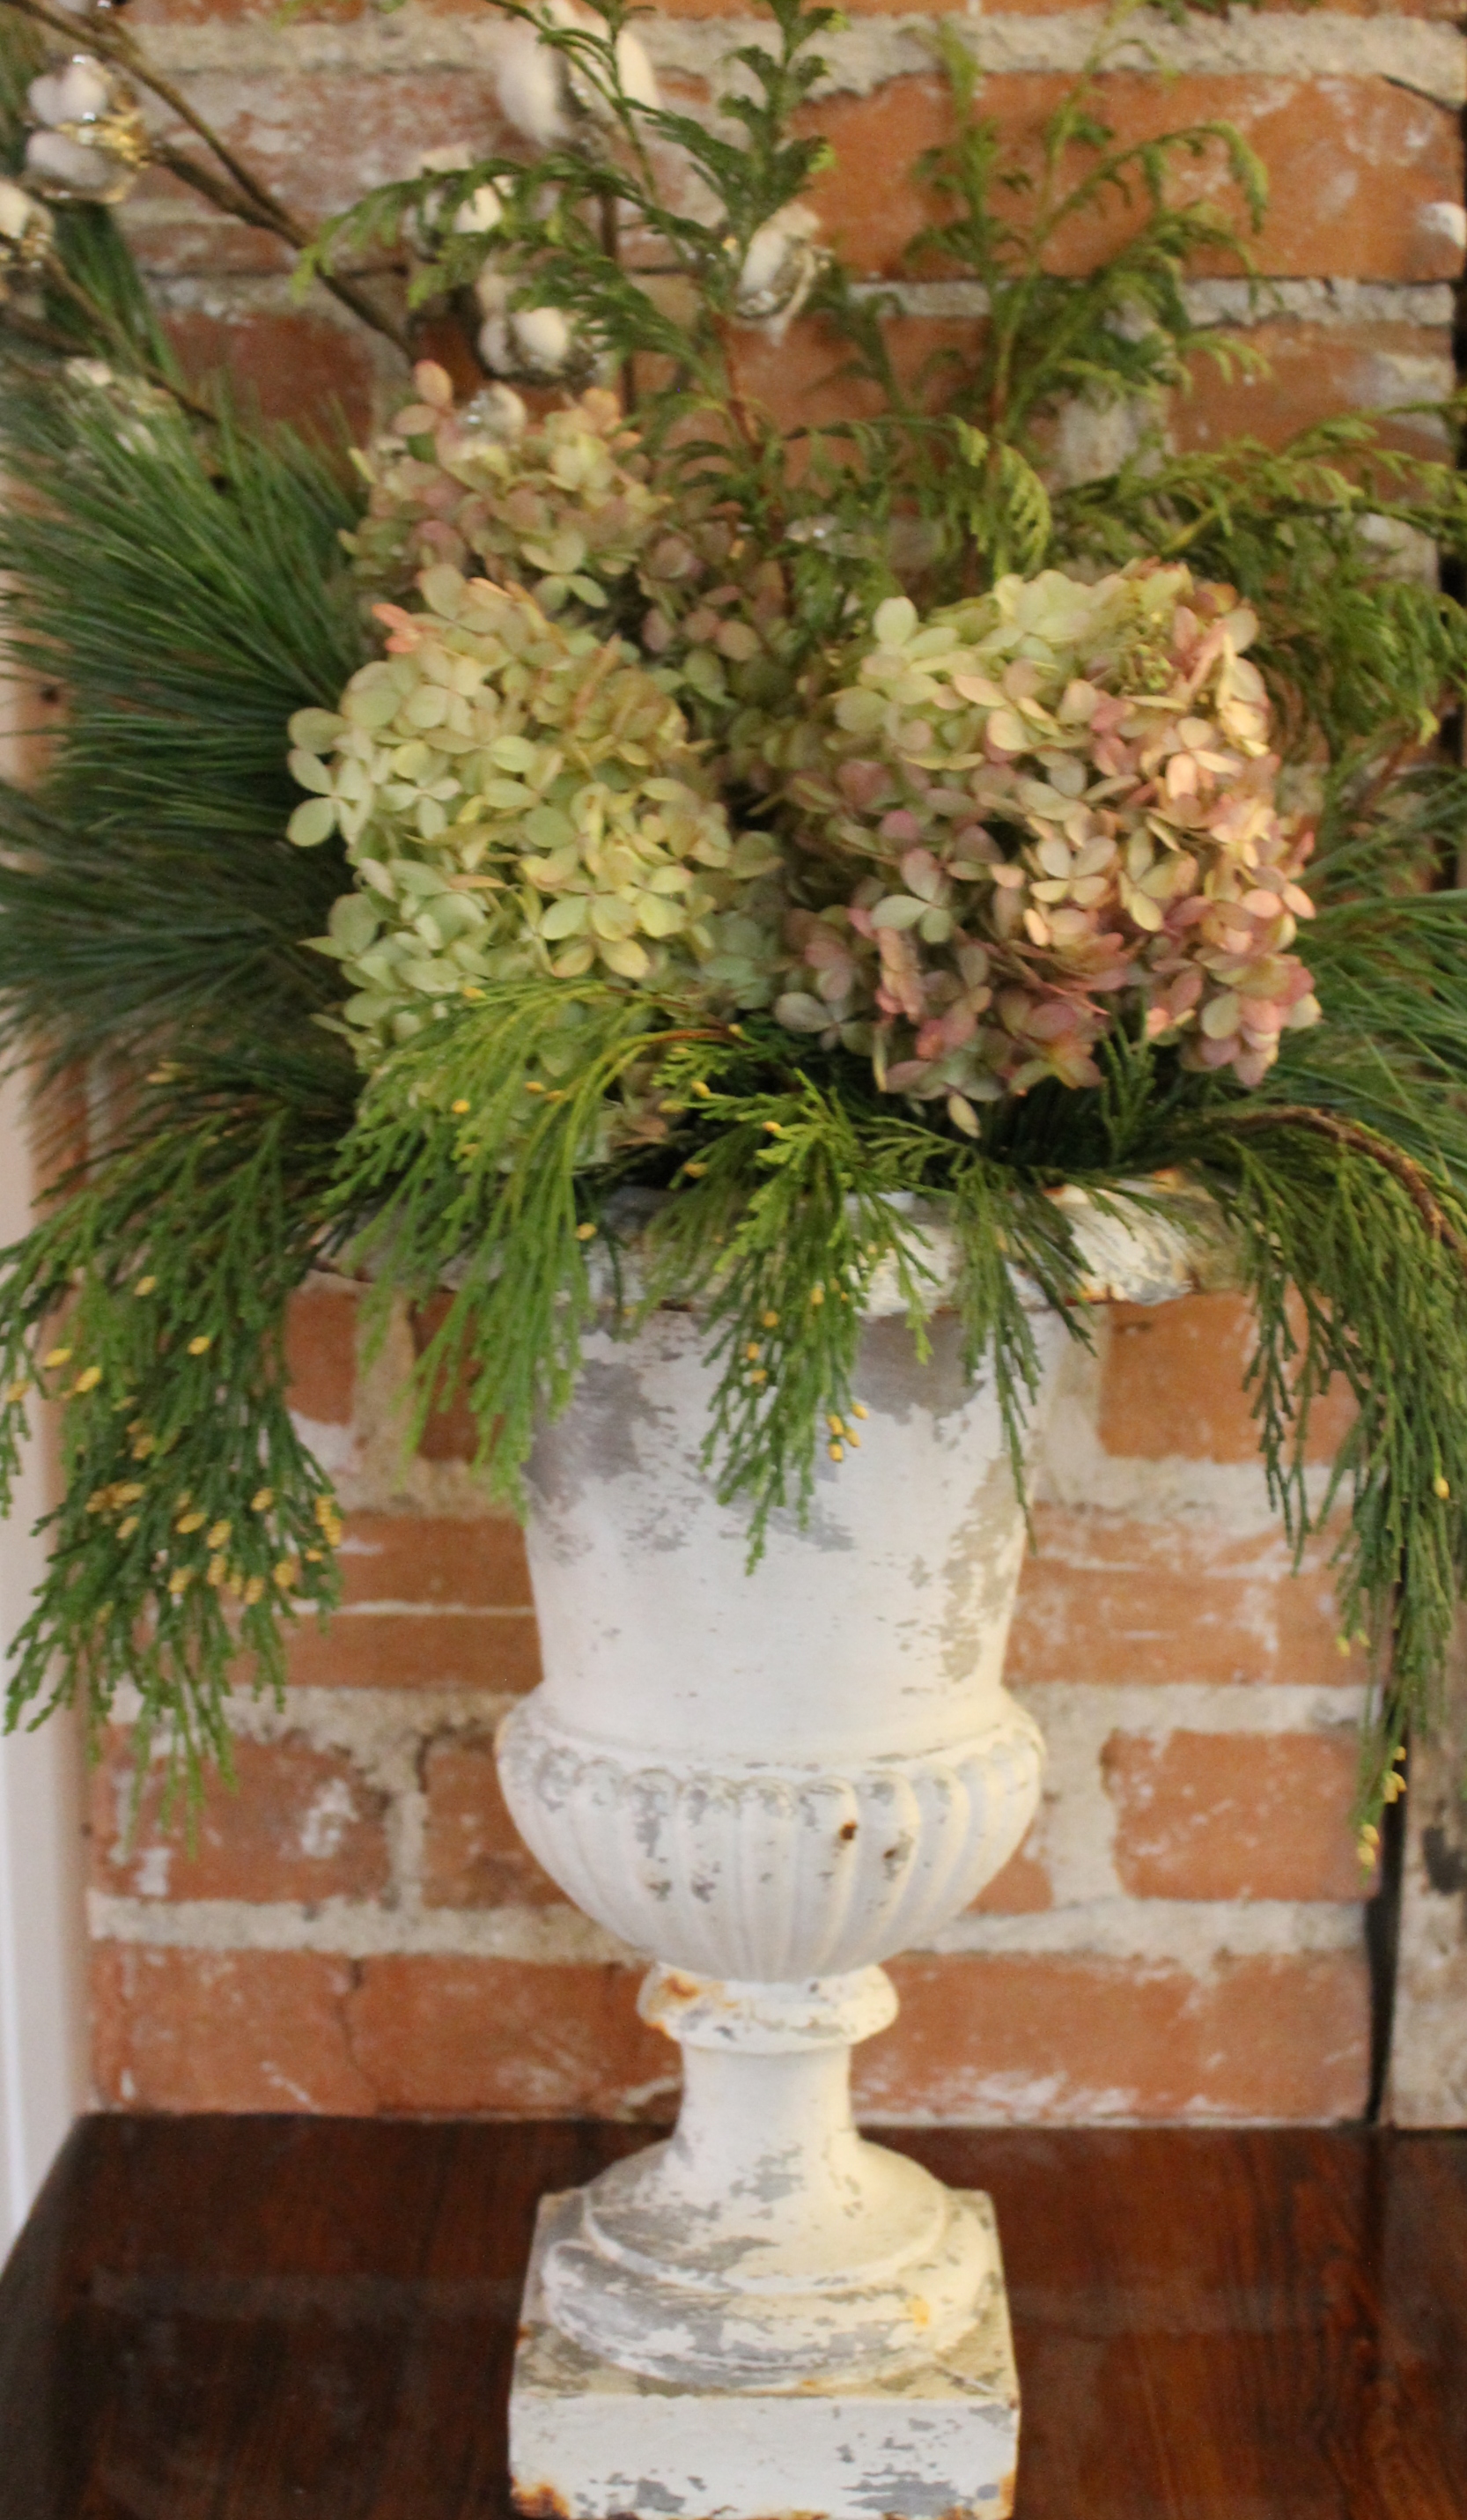
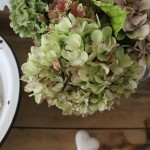
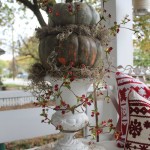
Dried hydrangeas with fresh greens make a lovely arrangement.
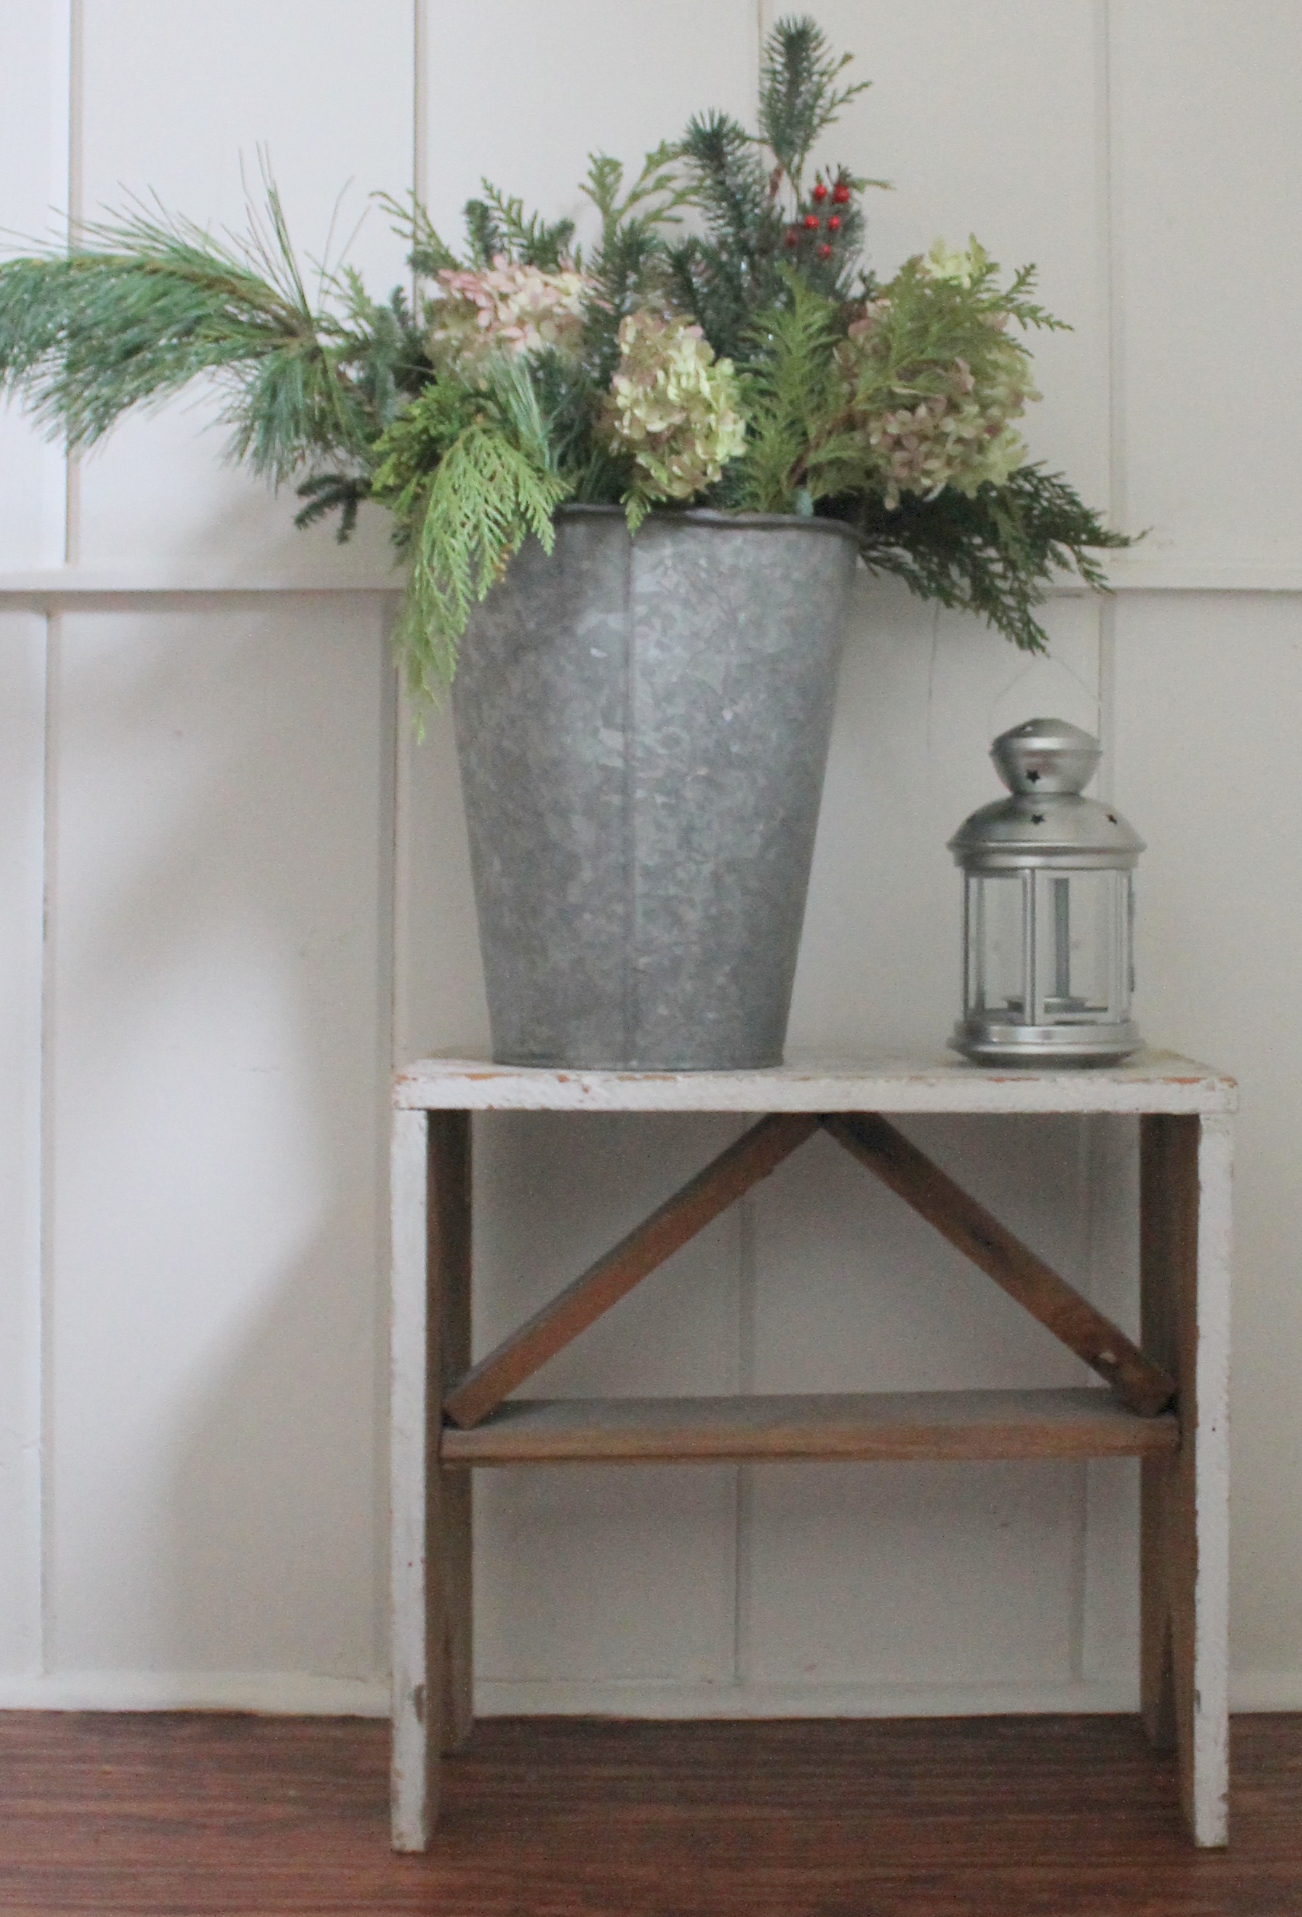
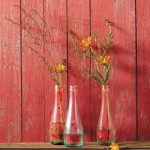
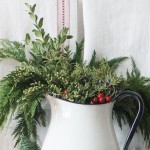
Fresh greenery arrangement.
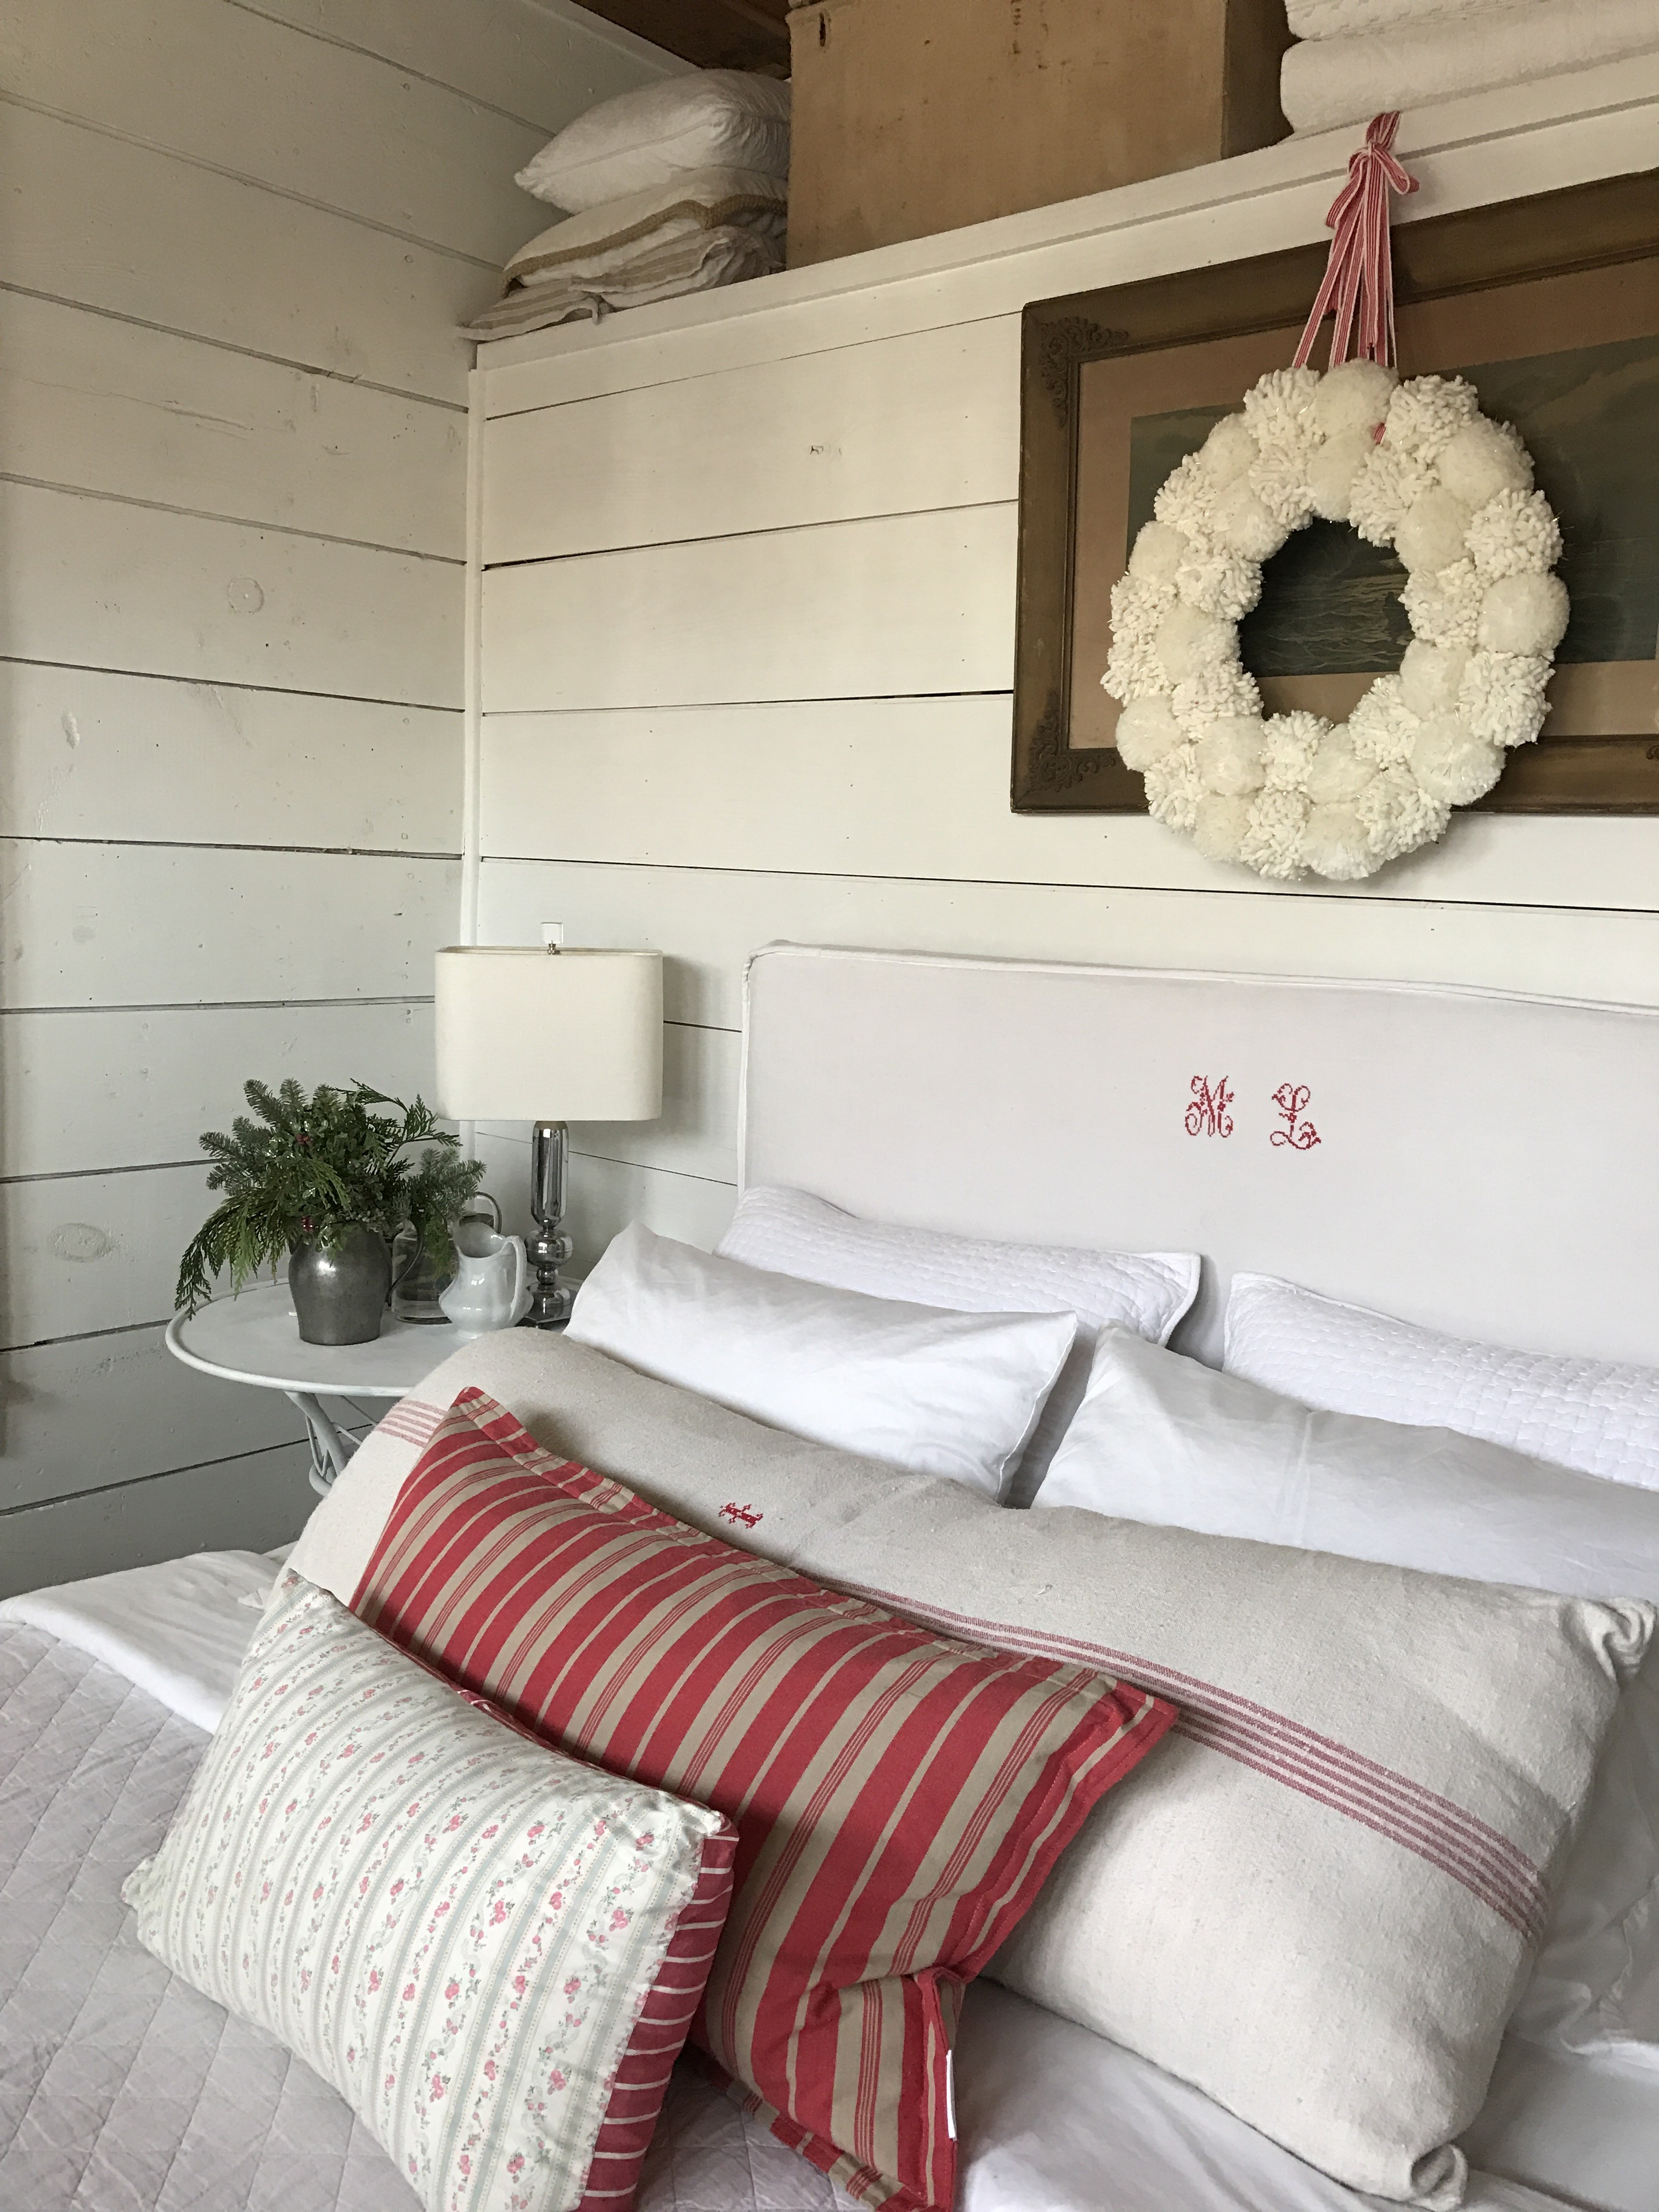
Christmas red tucked in many corners.
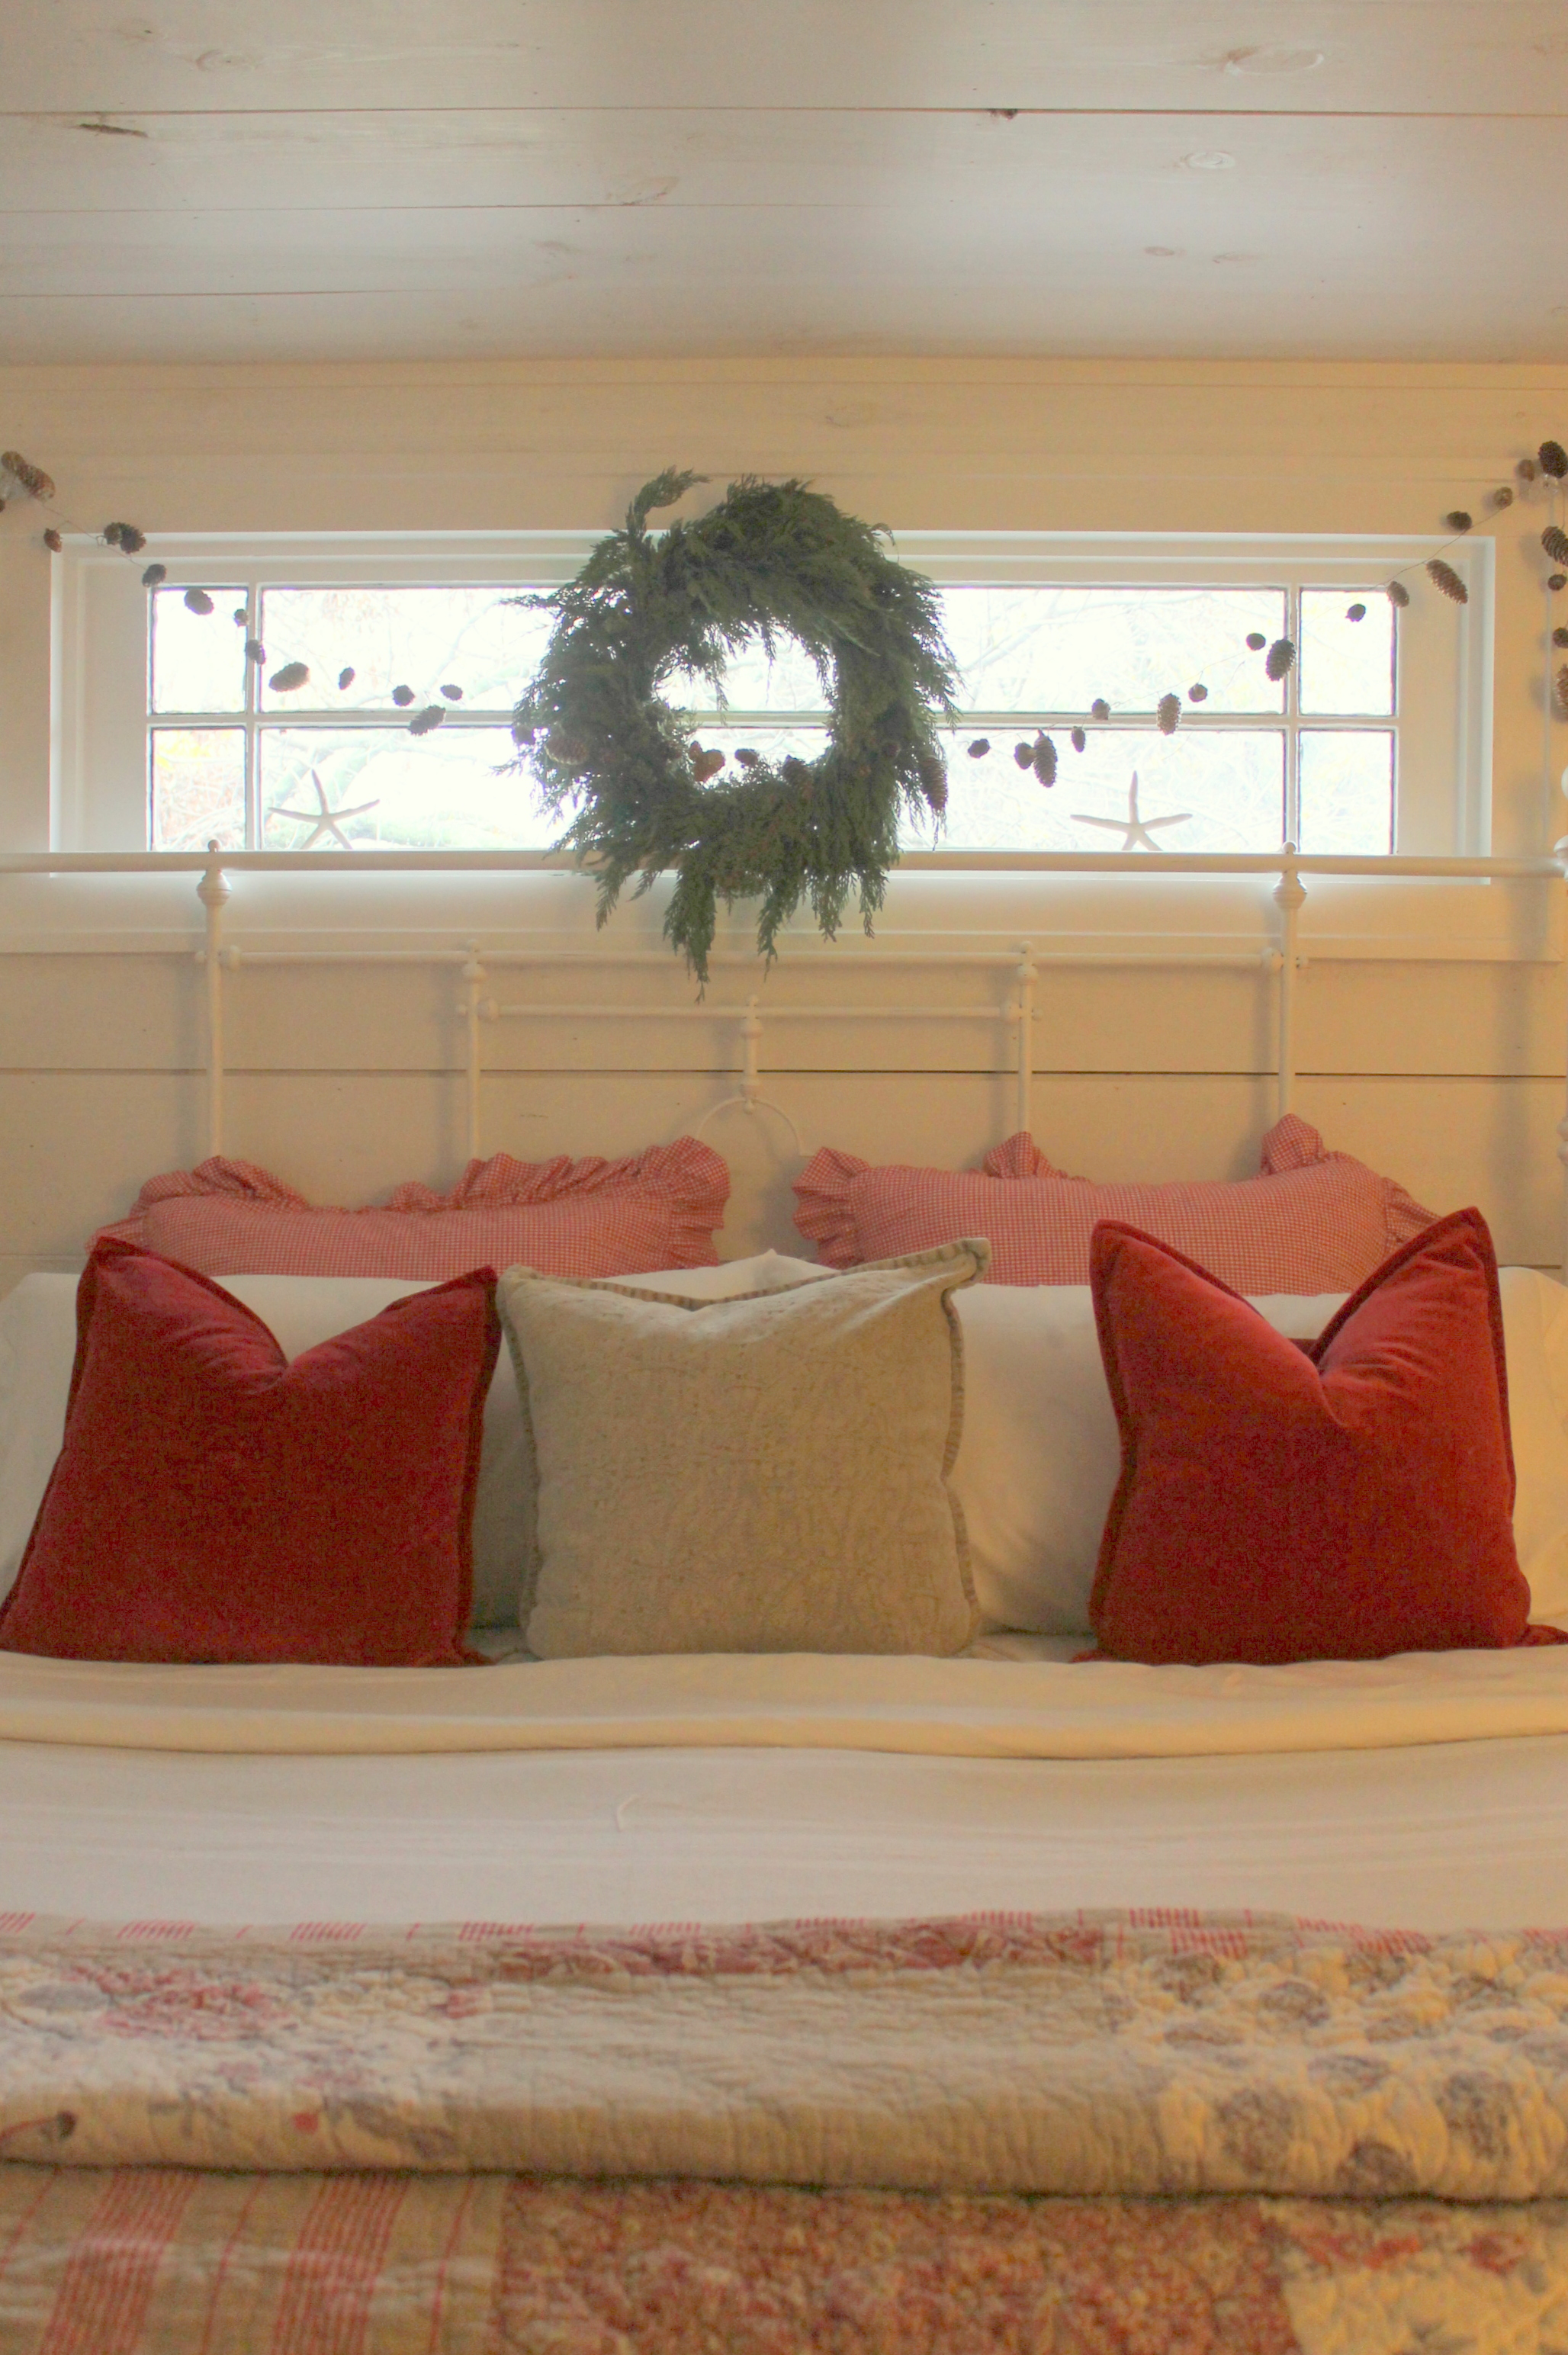
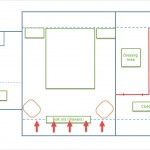
The master bedroom.
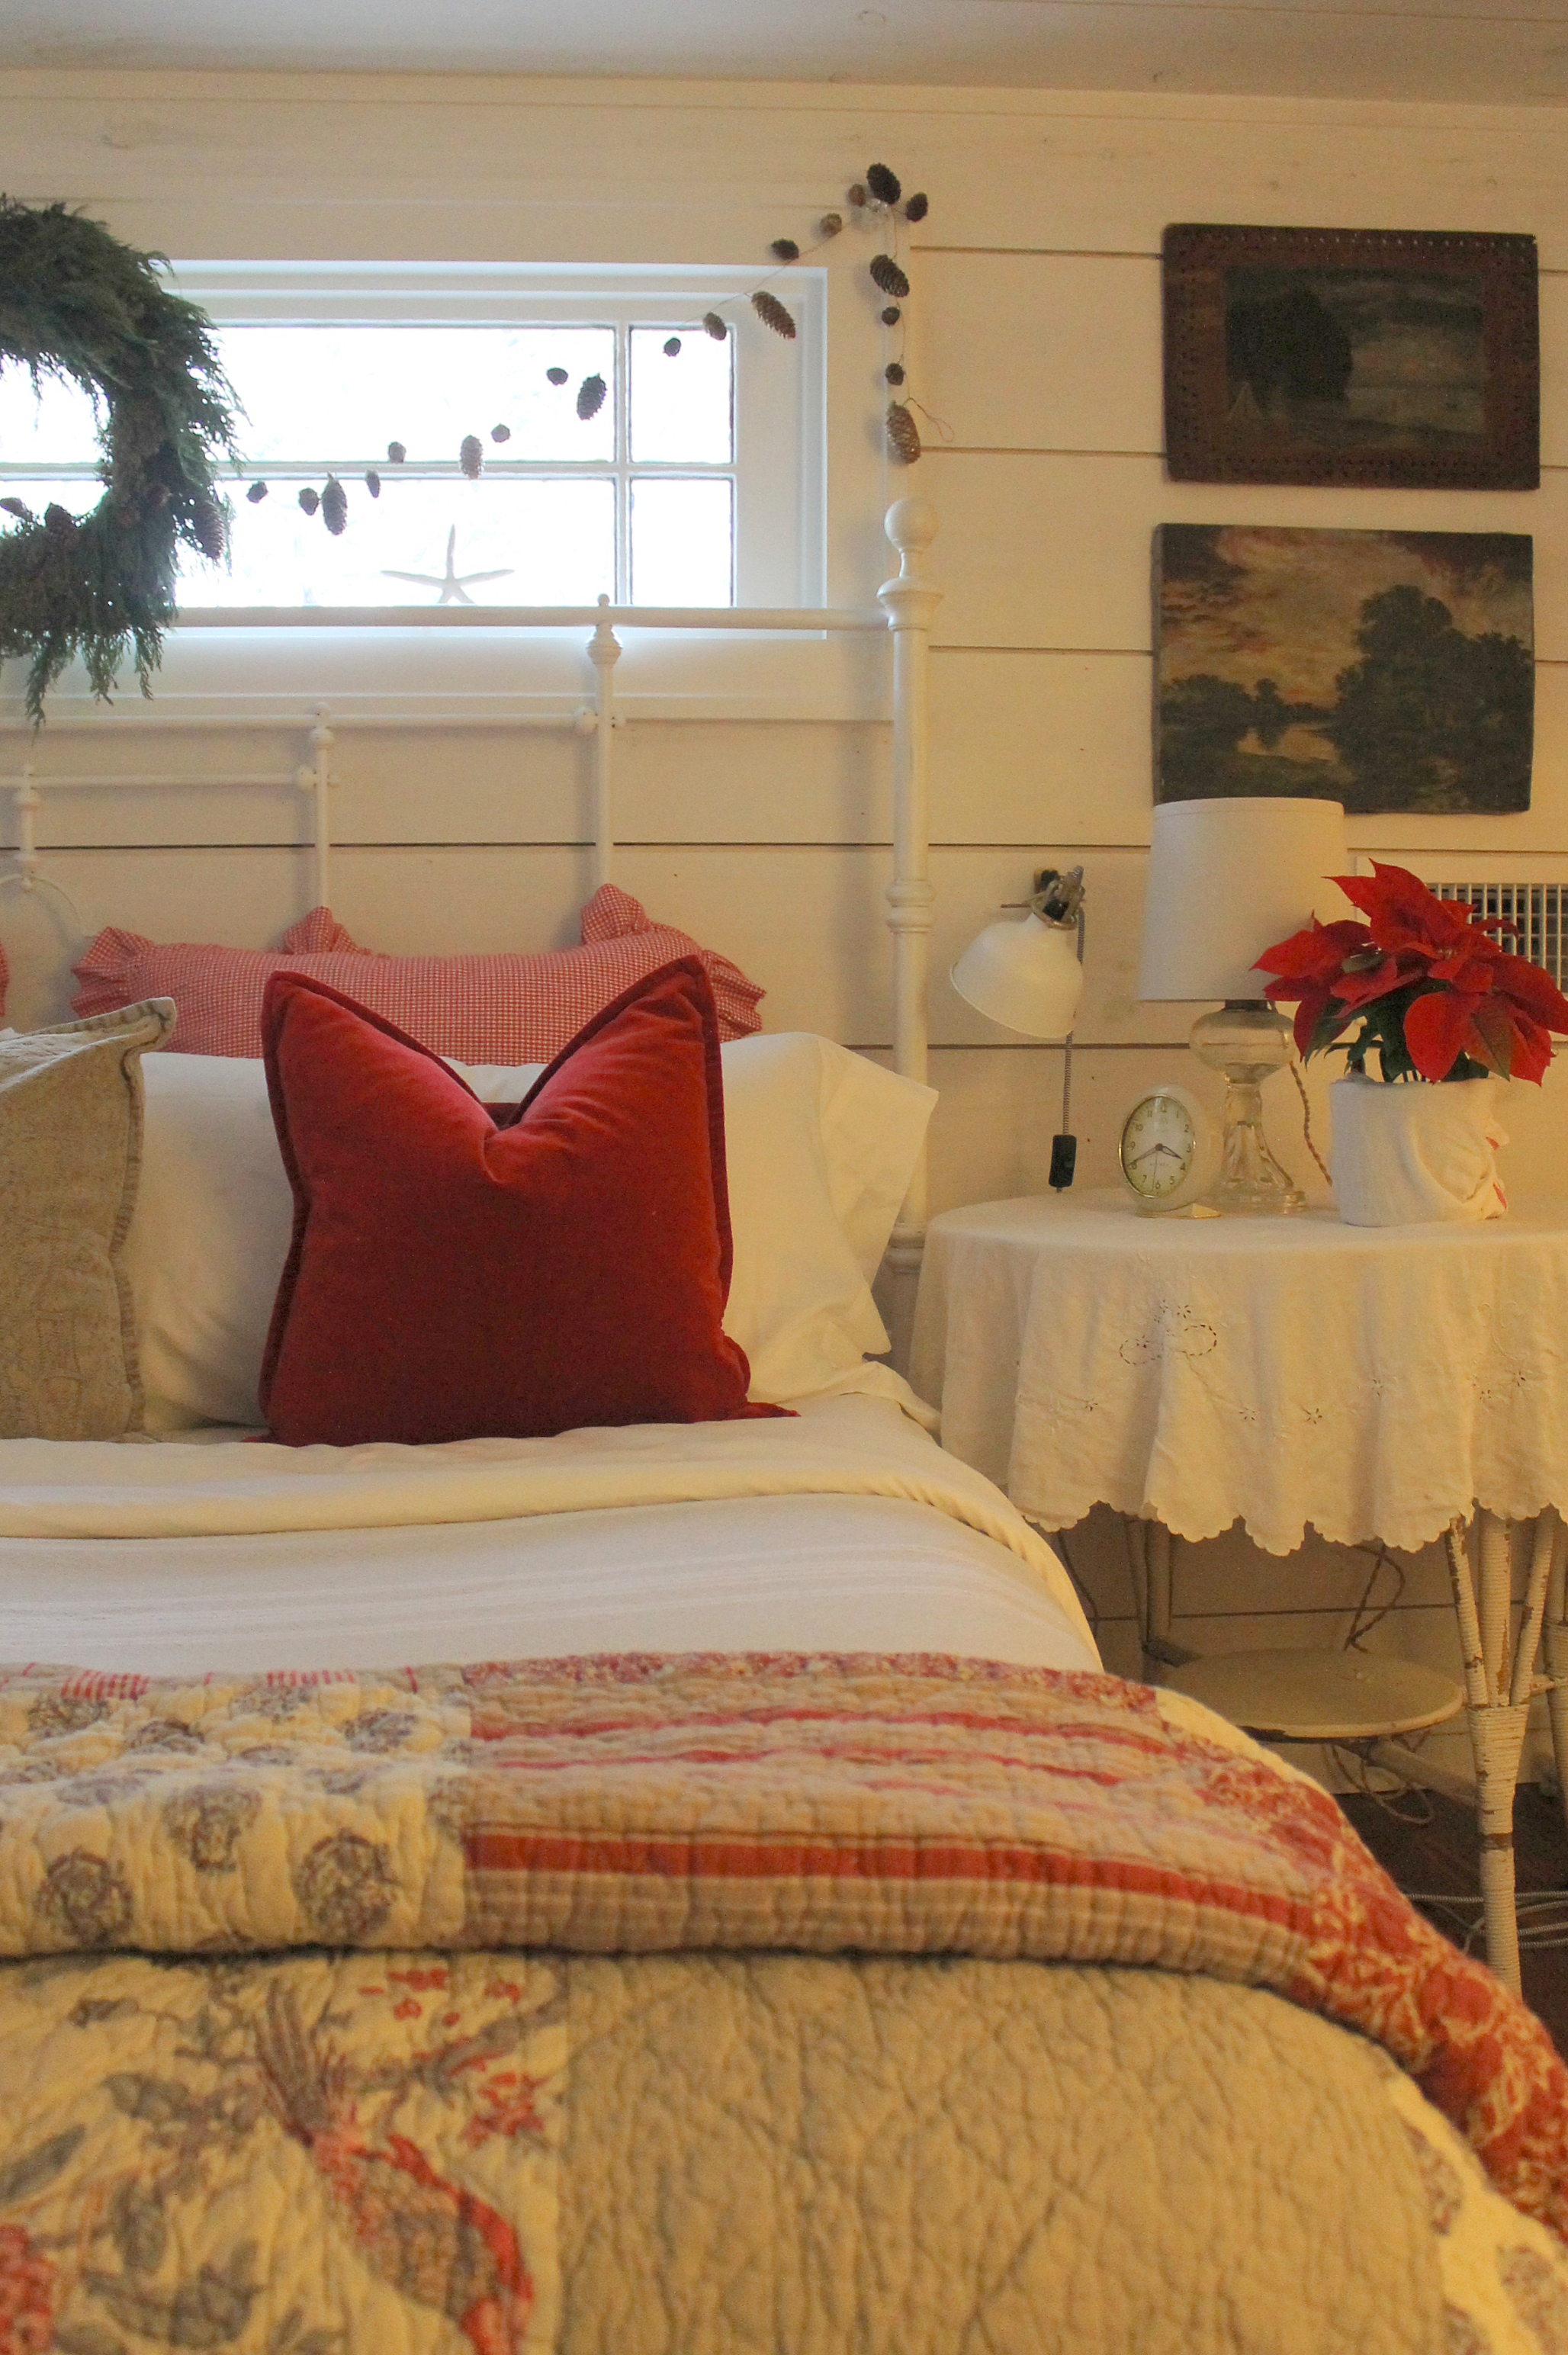
The master bedroom.
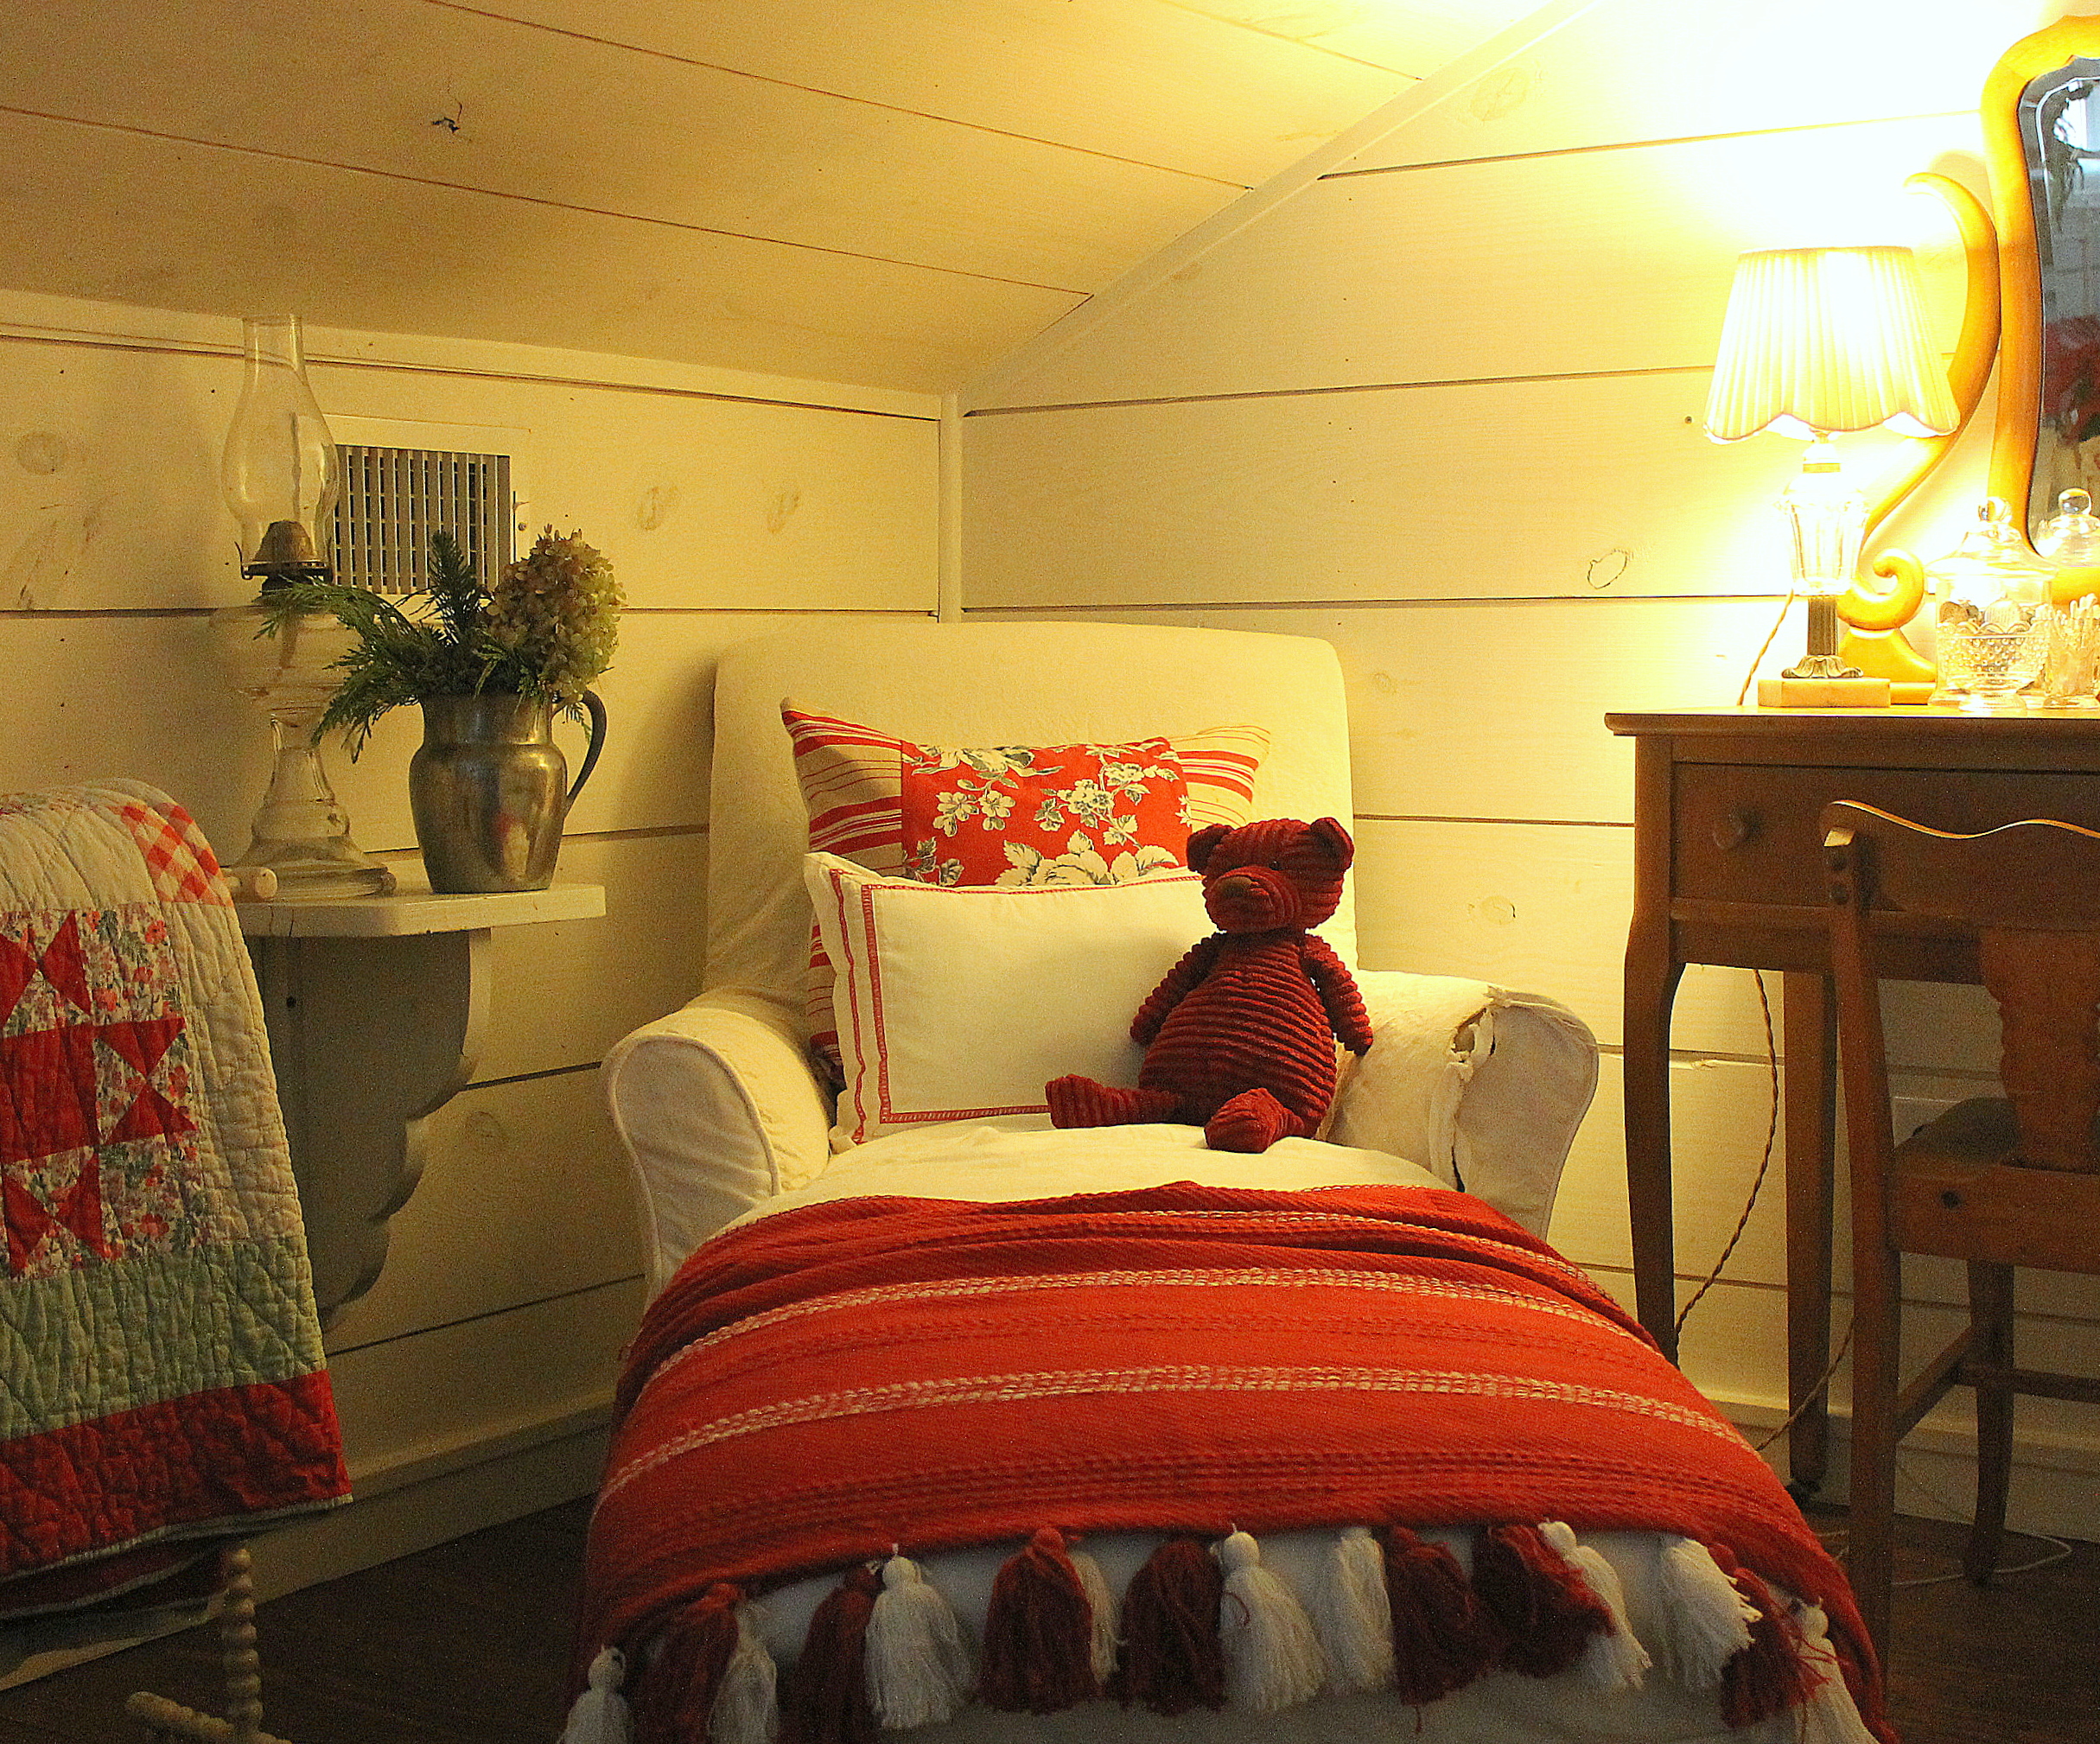
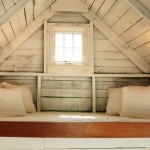
A nook for settling in for a winter’s nap or reading a good book.
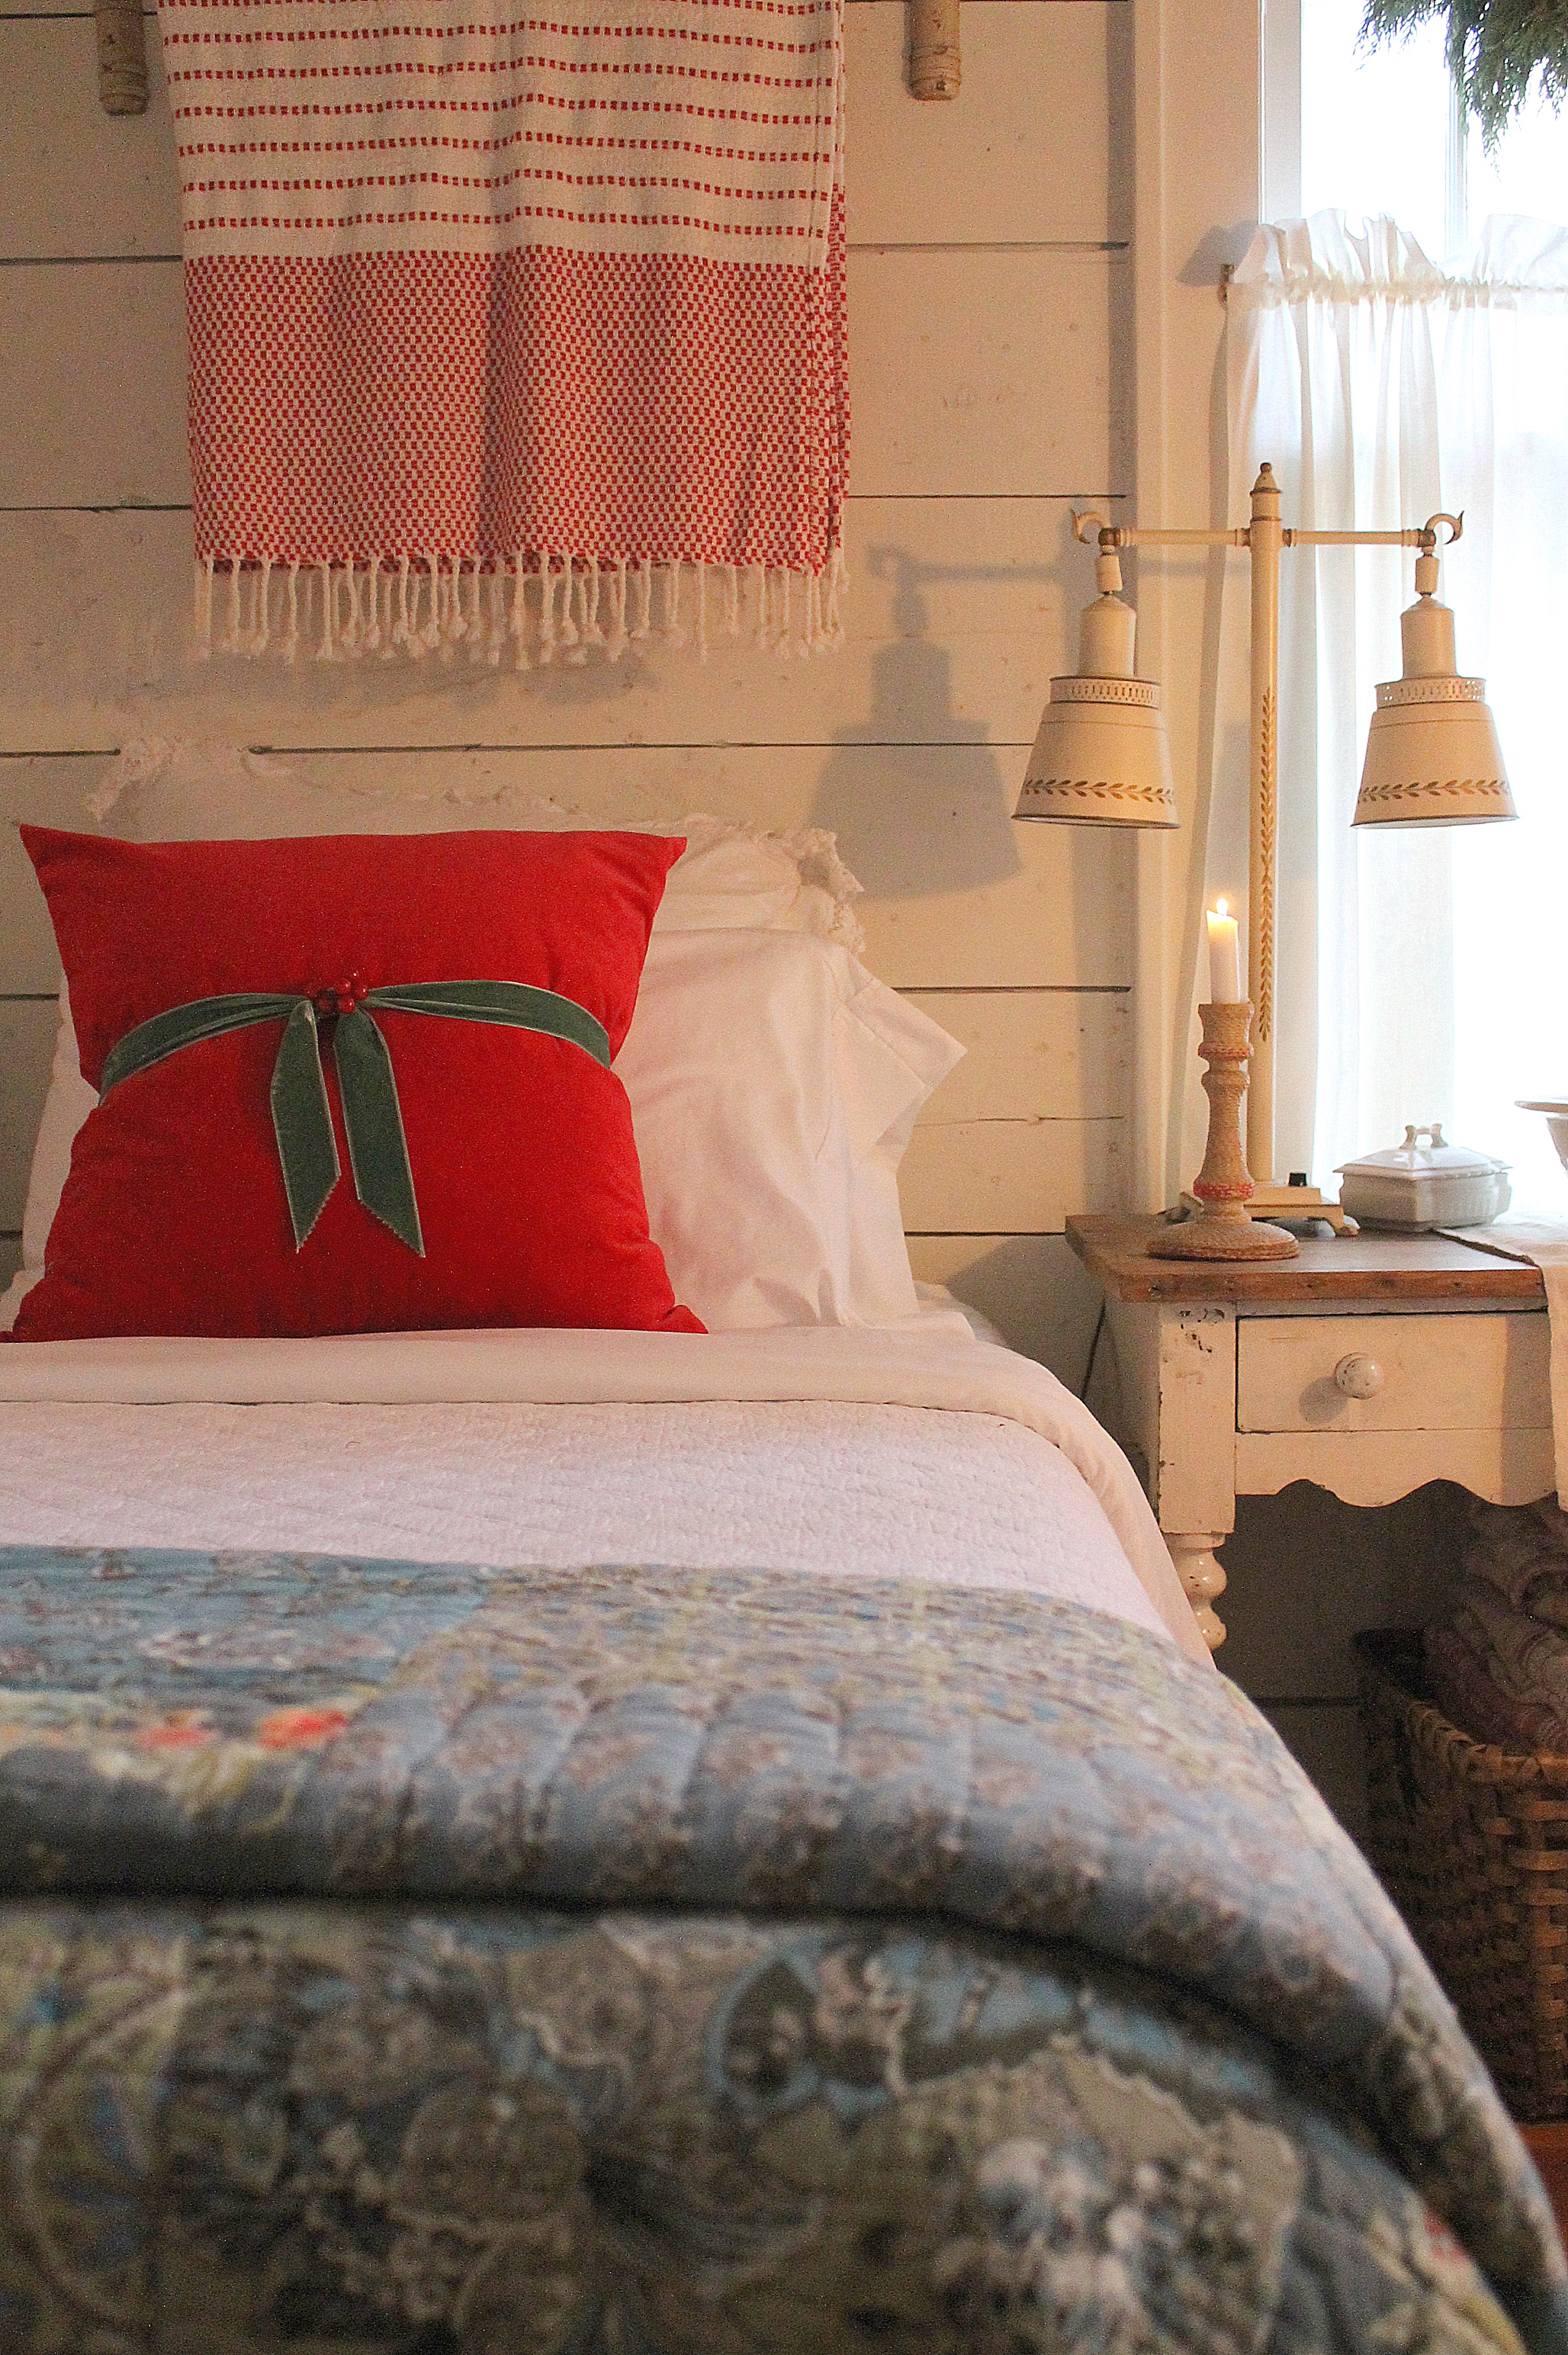
A guest room with some holiday cheer.
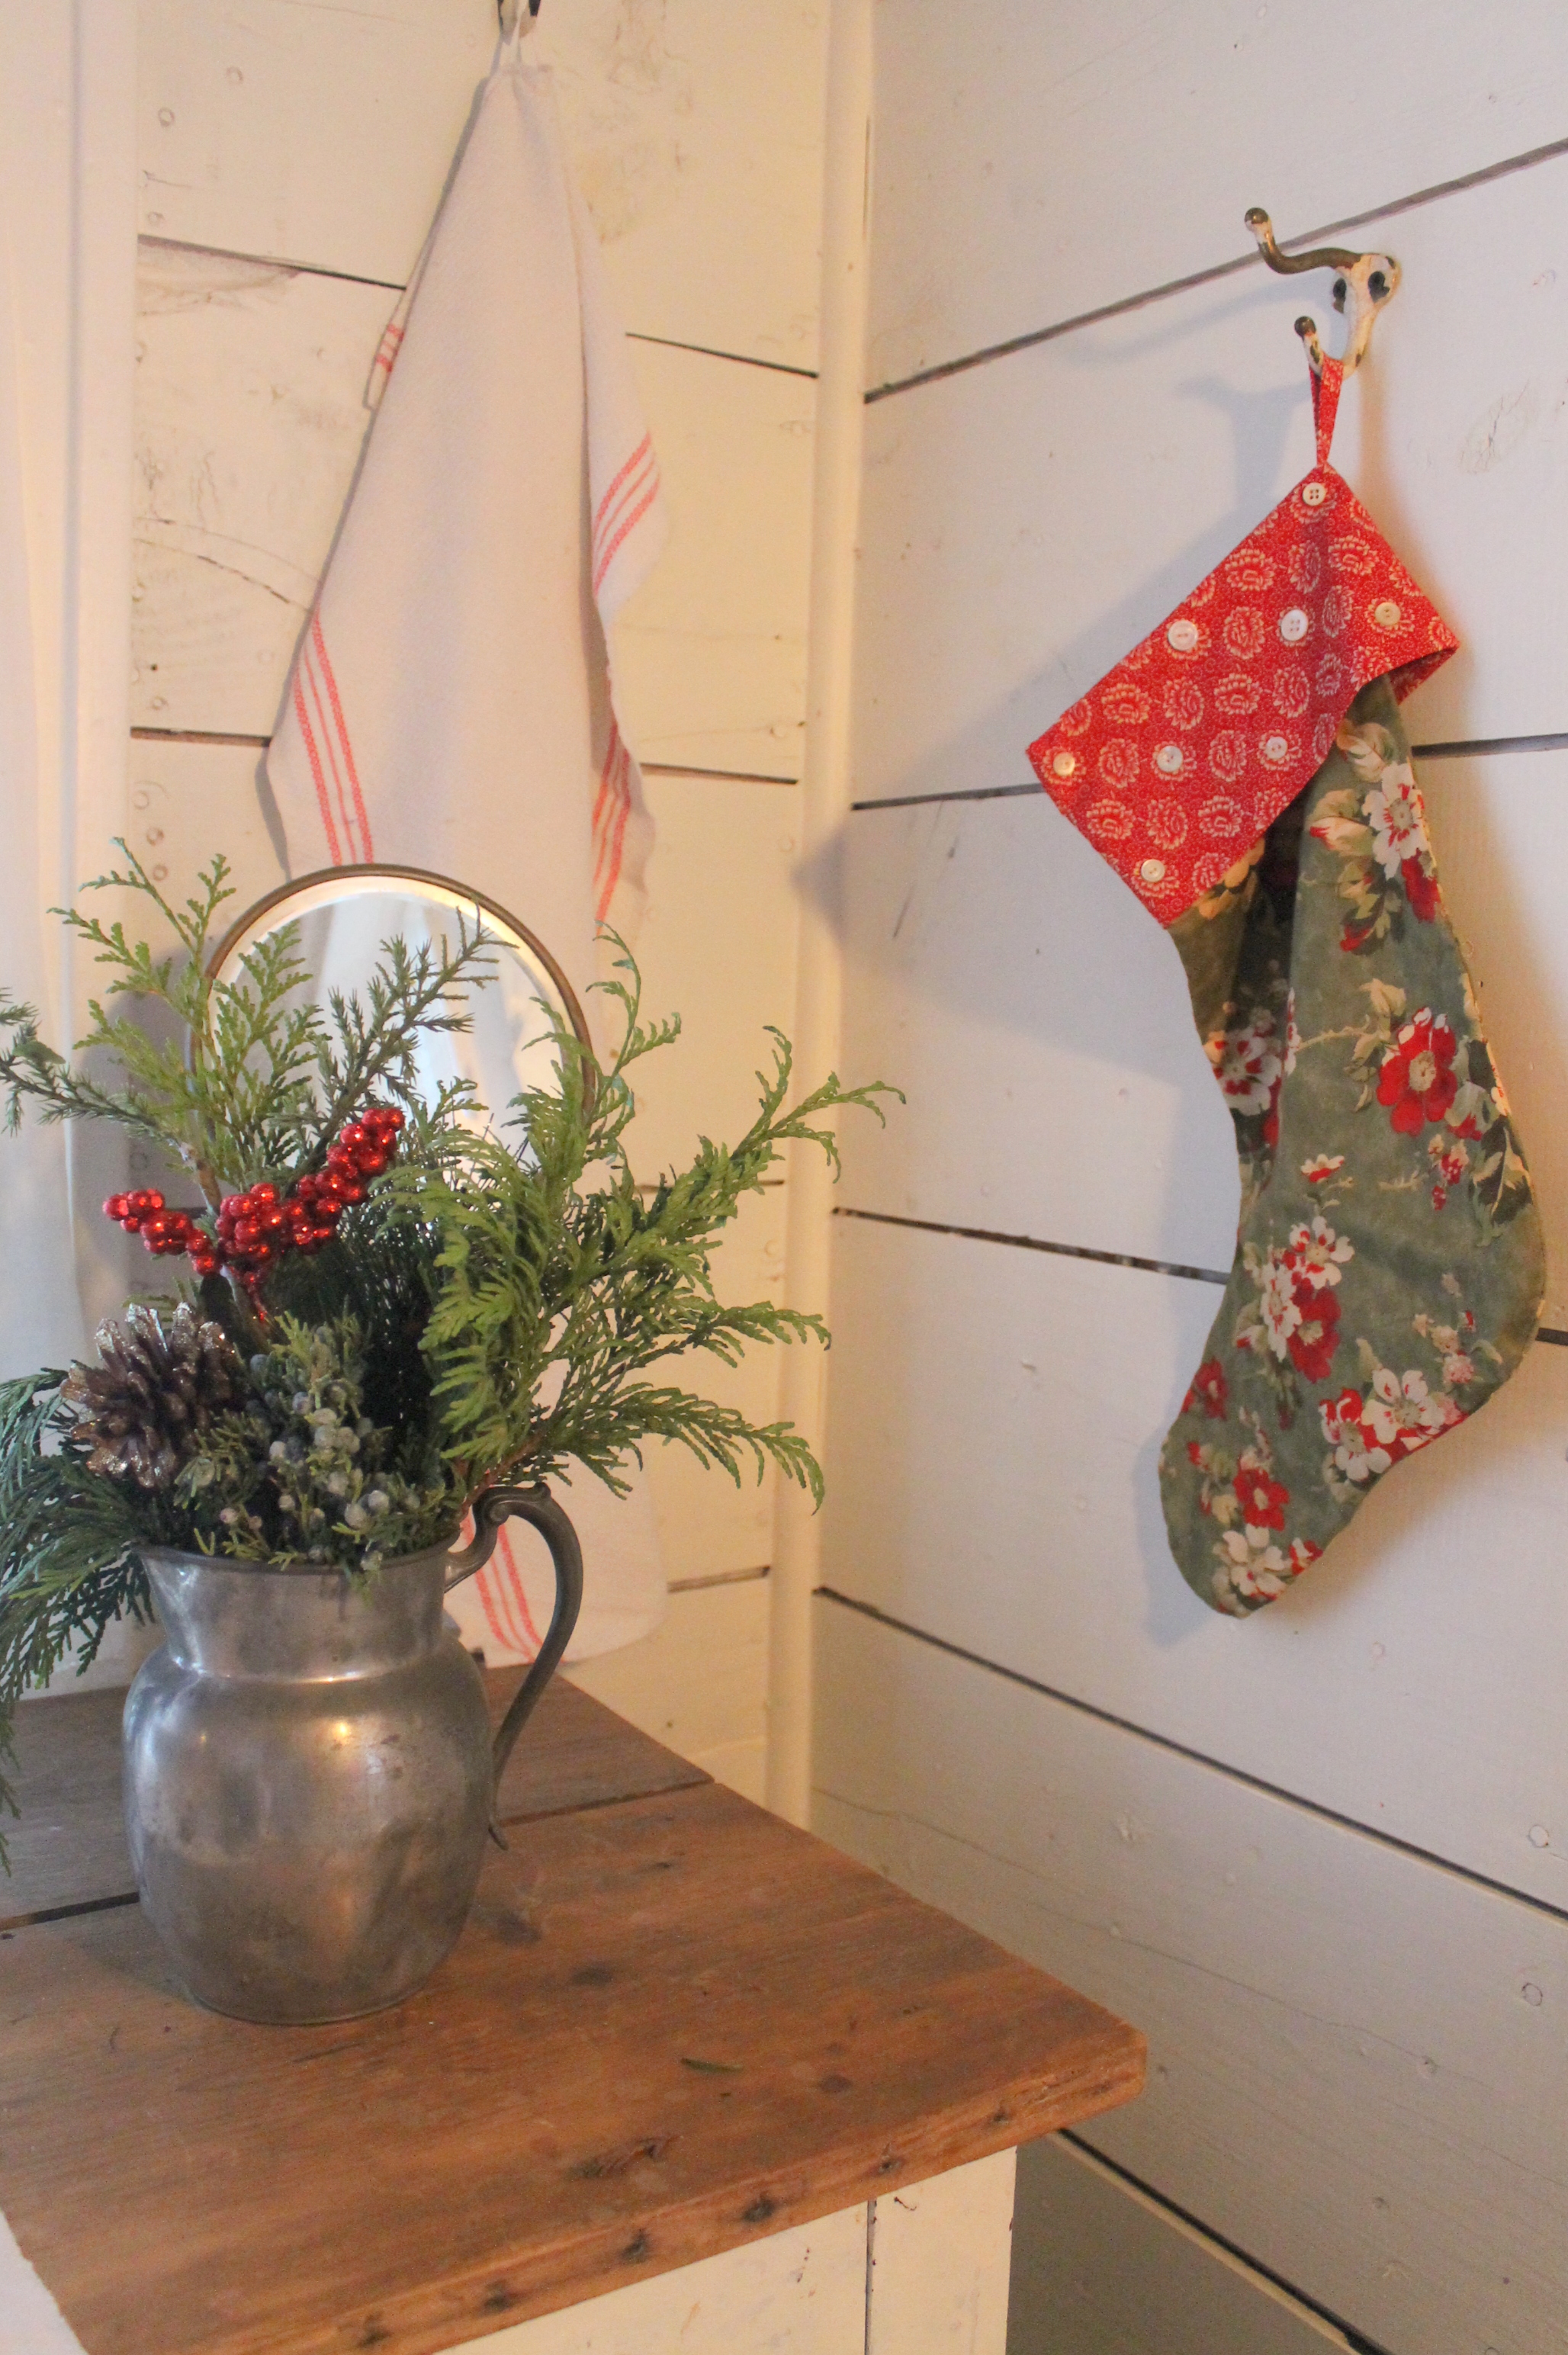
Handmade stockings from Round Top, many, many years ago.

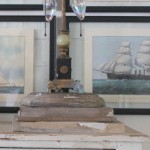
A stately pose.
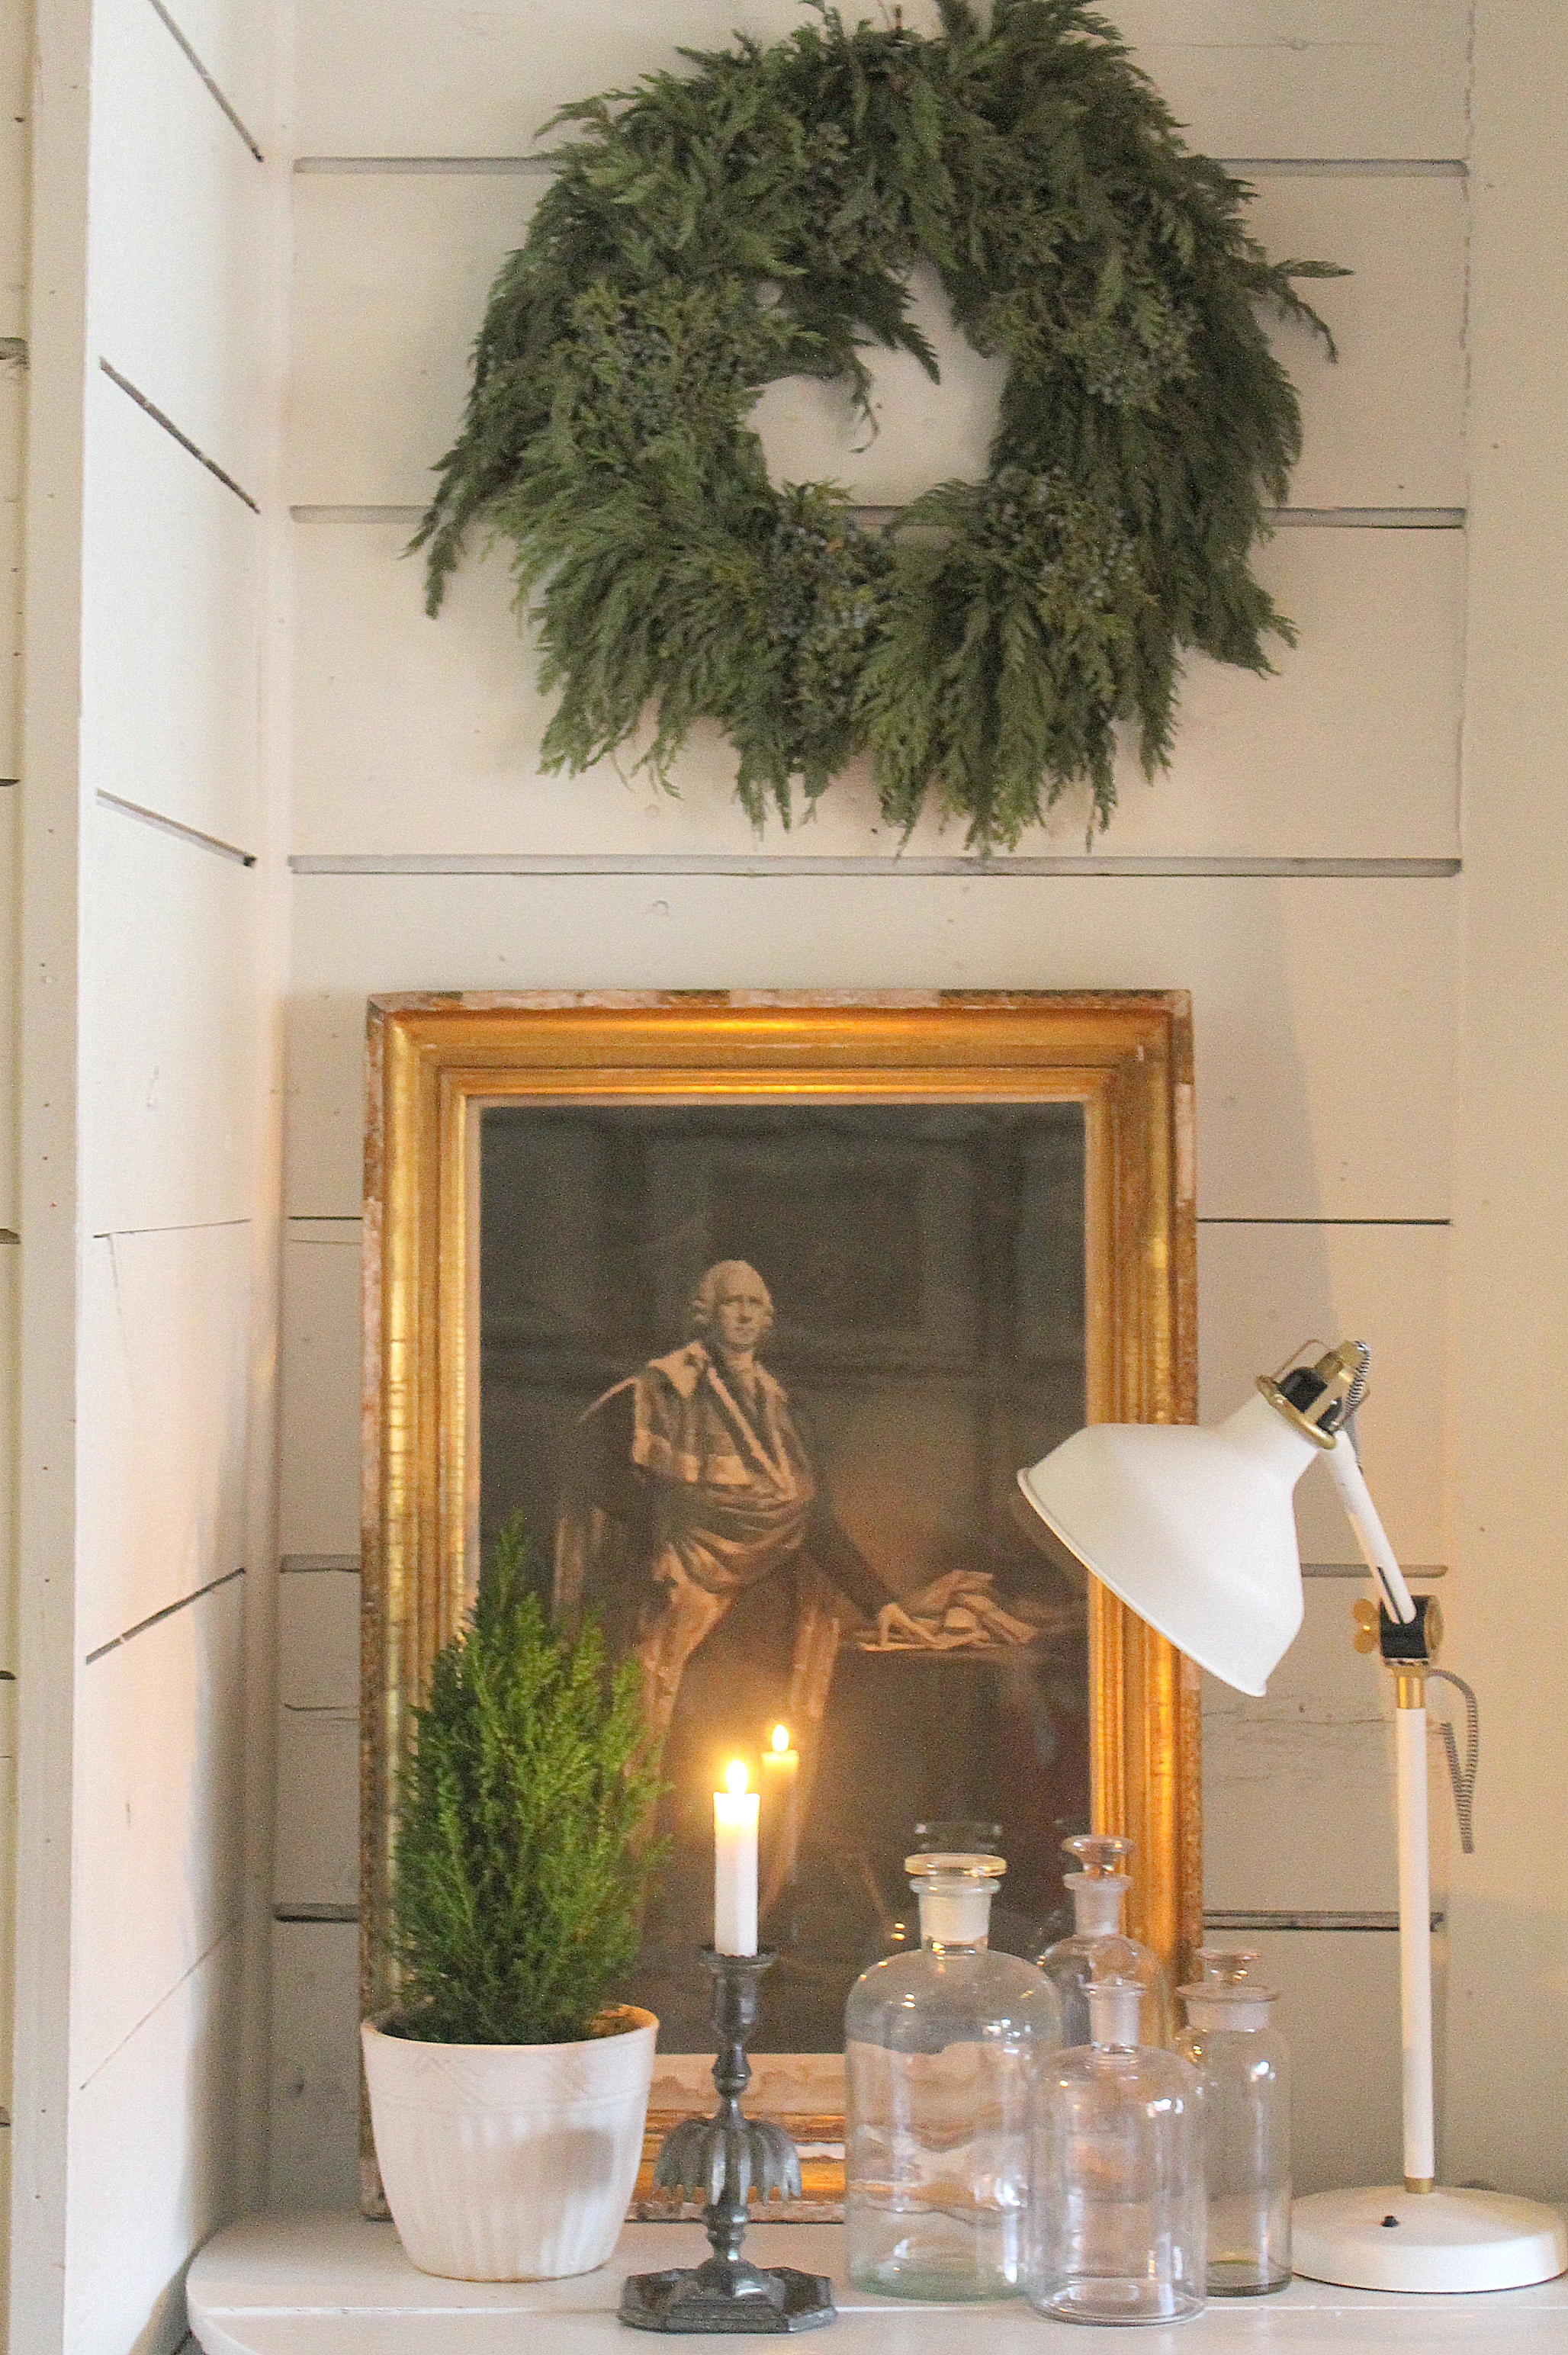
Fresh greens against white walls.
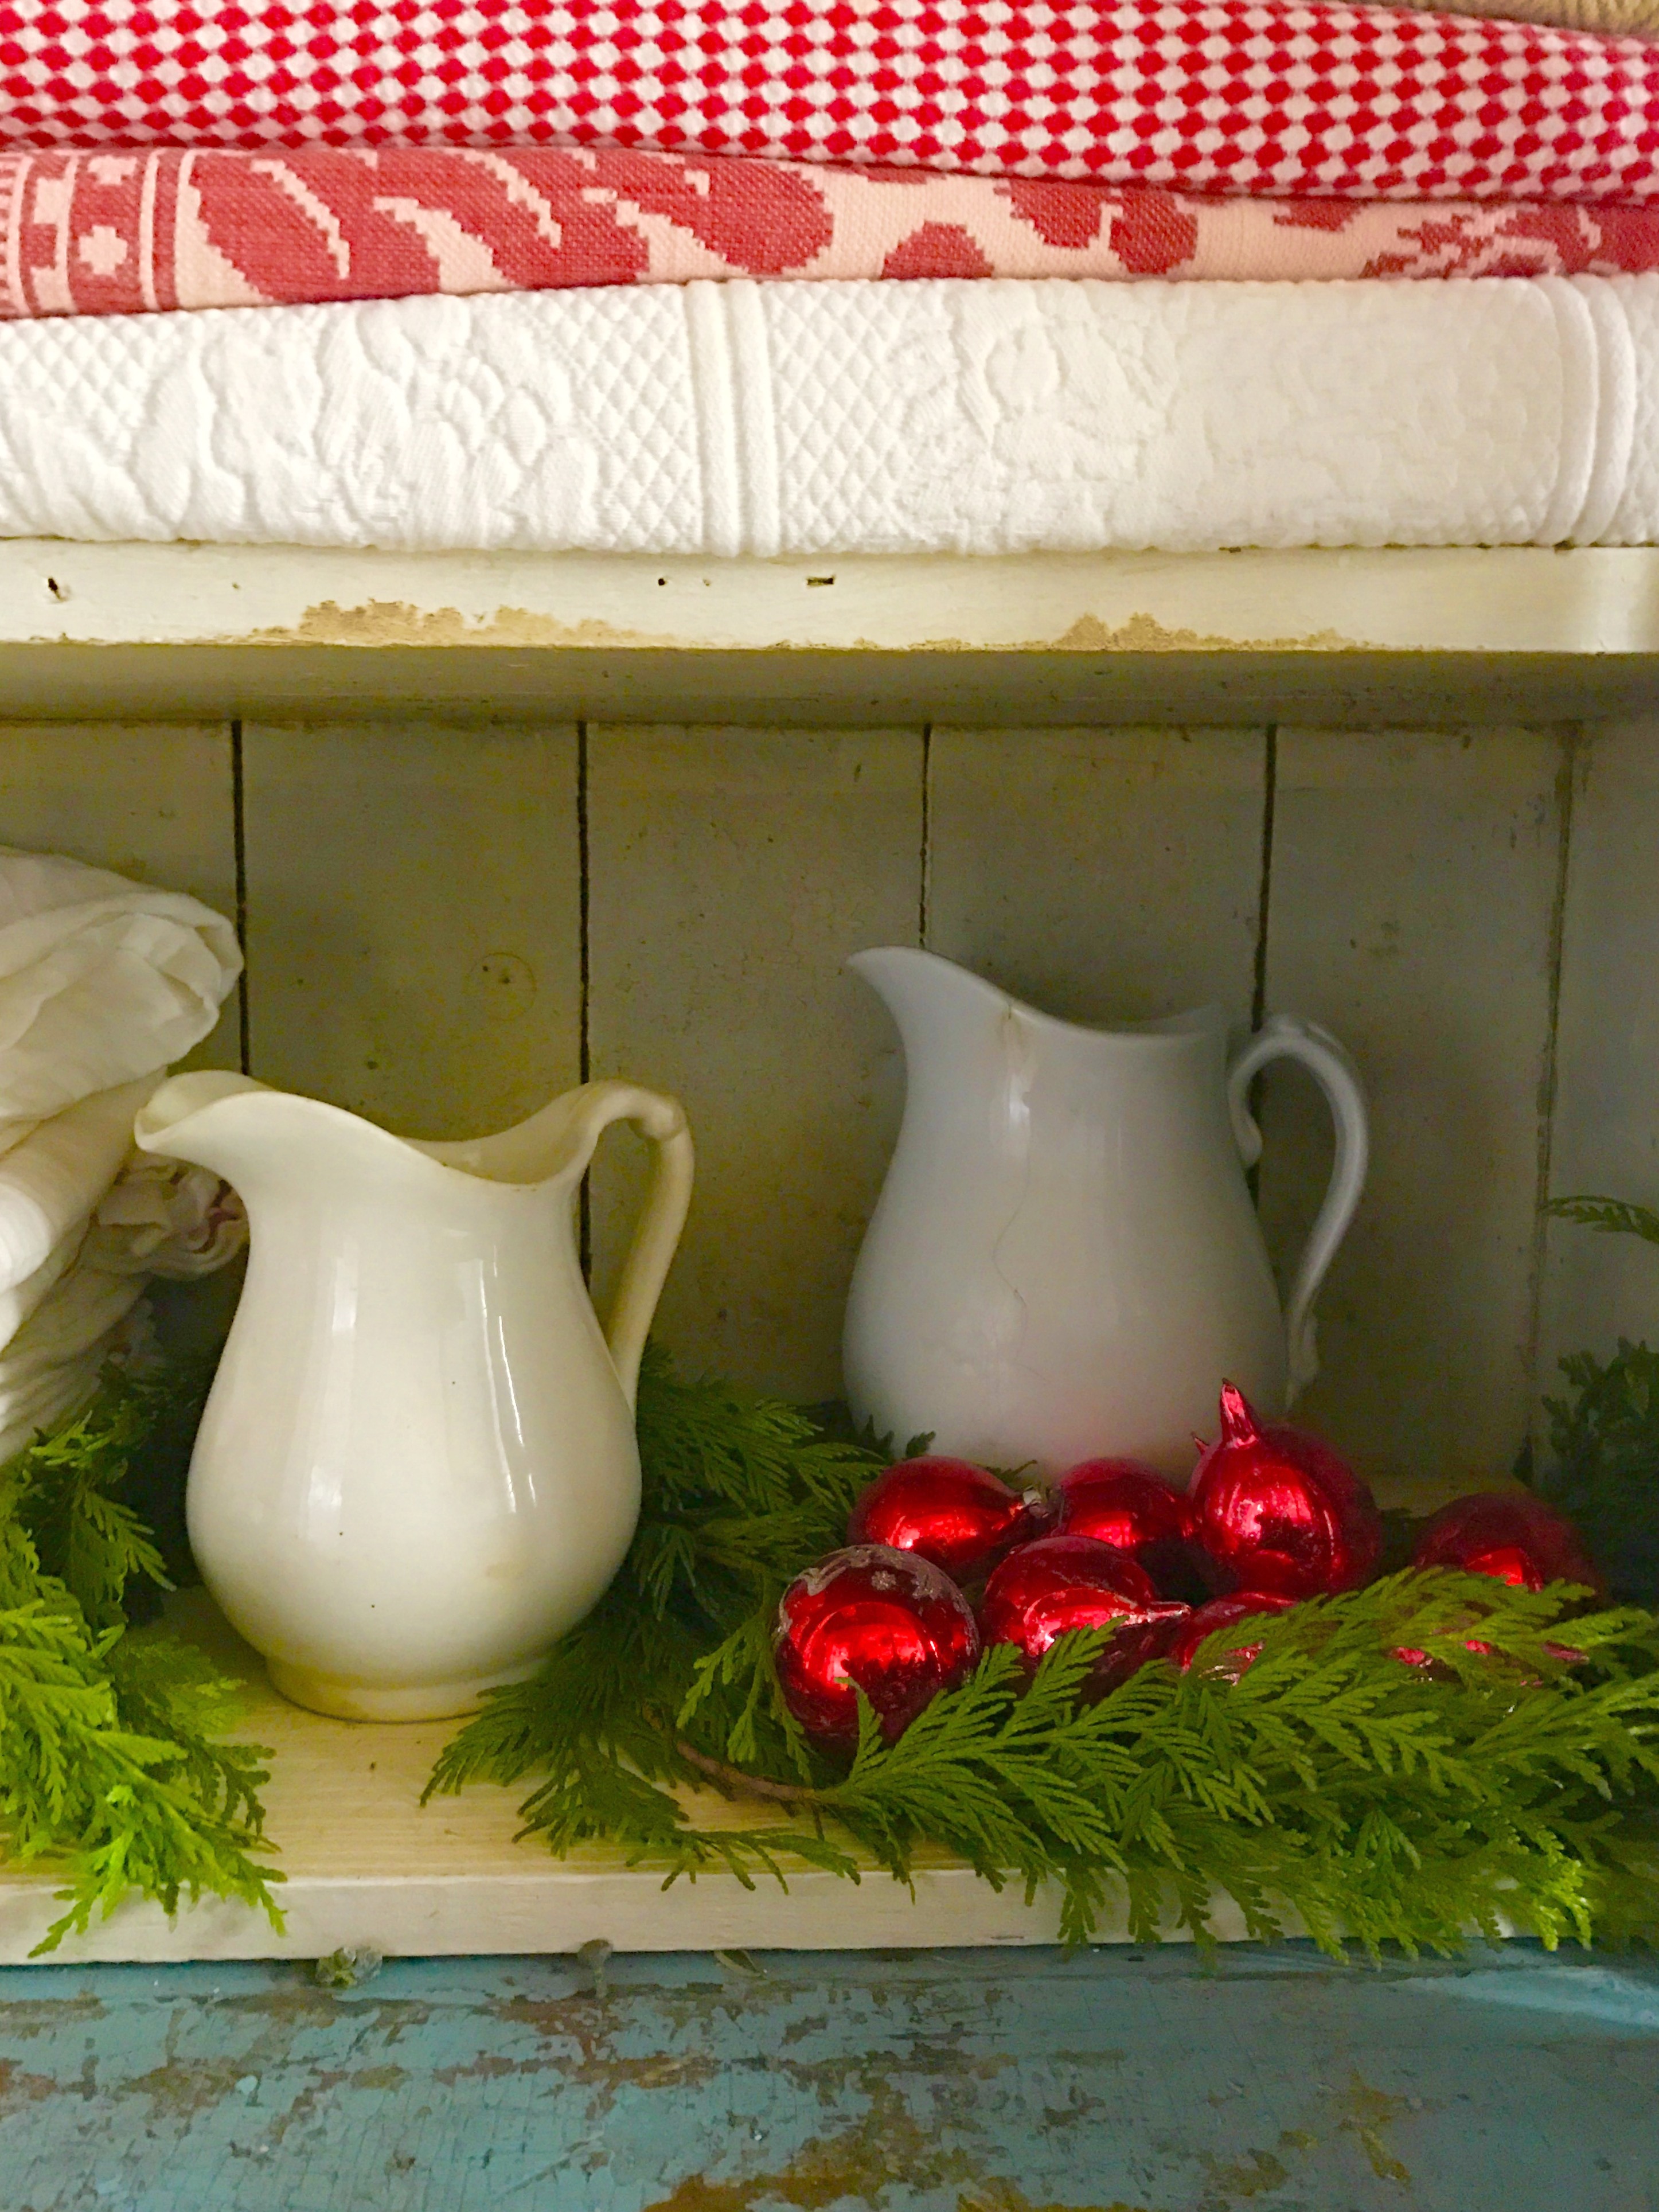
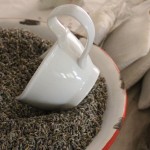
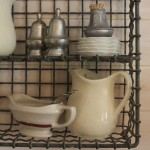
Old ironstone and fresh greens.
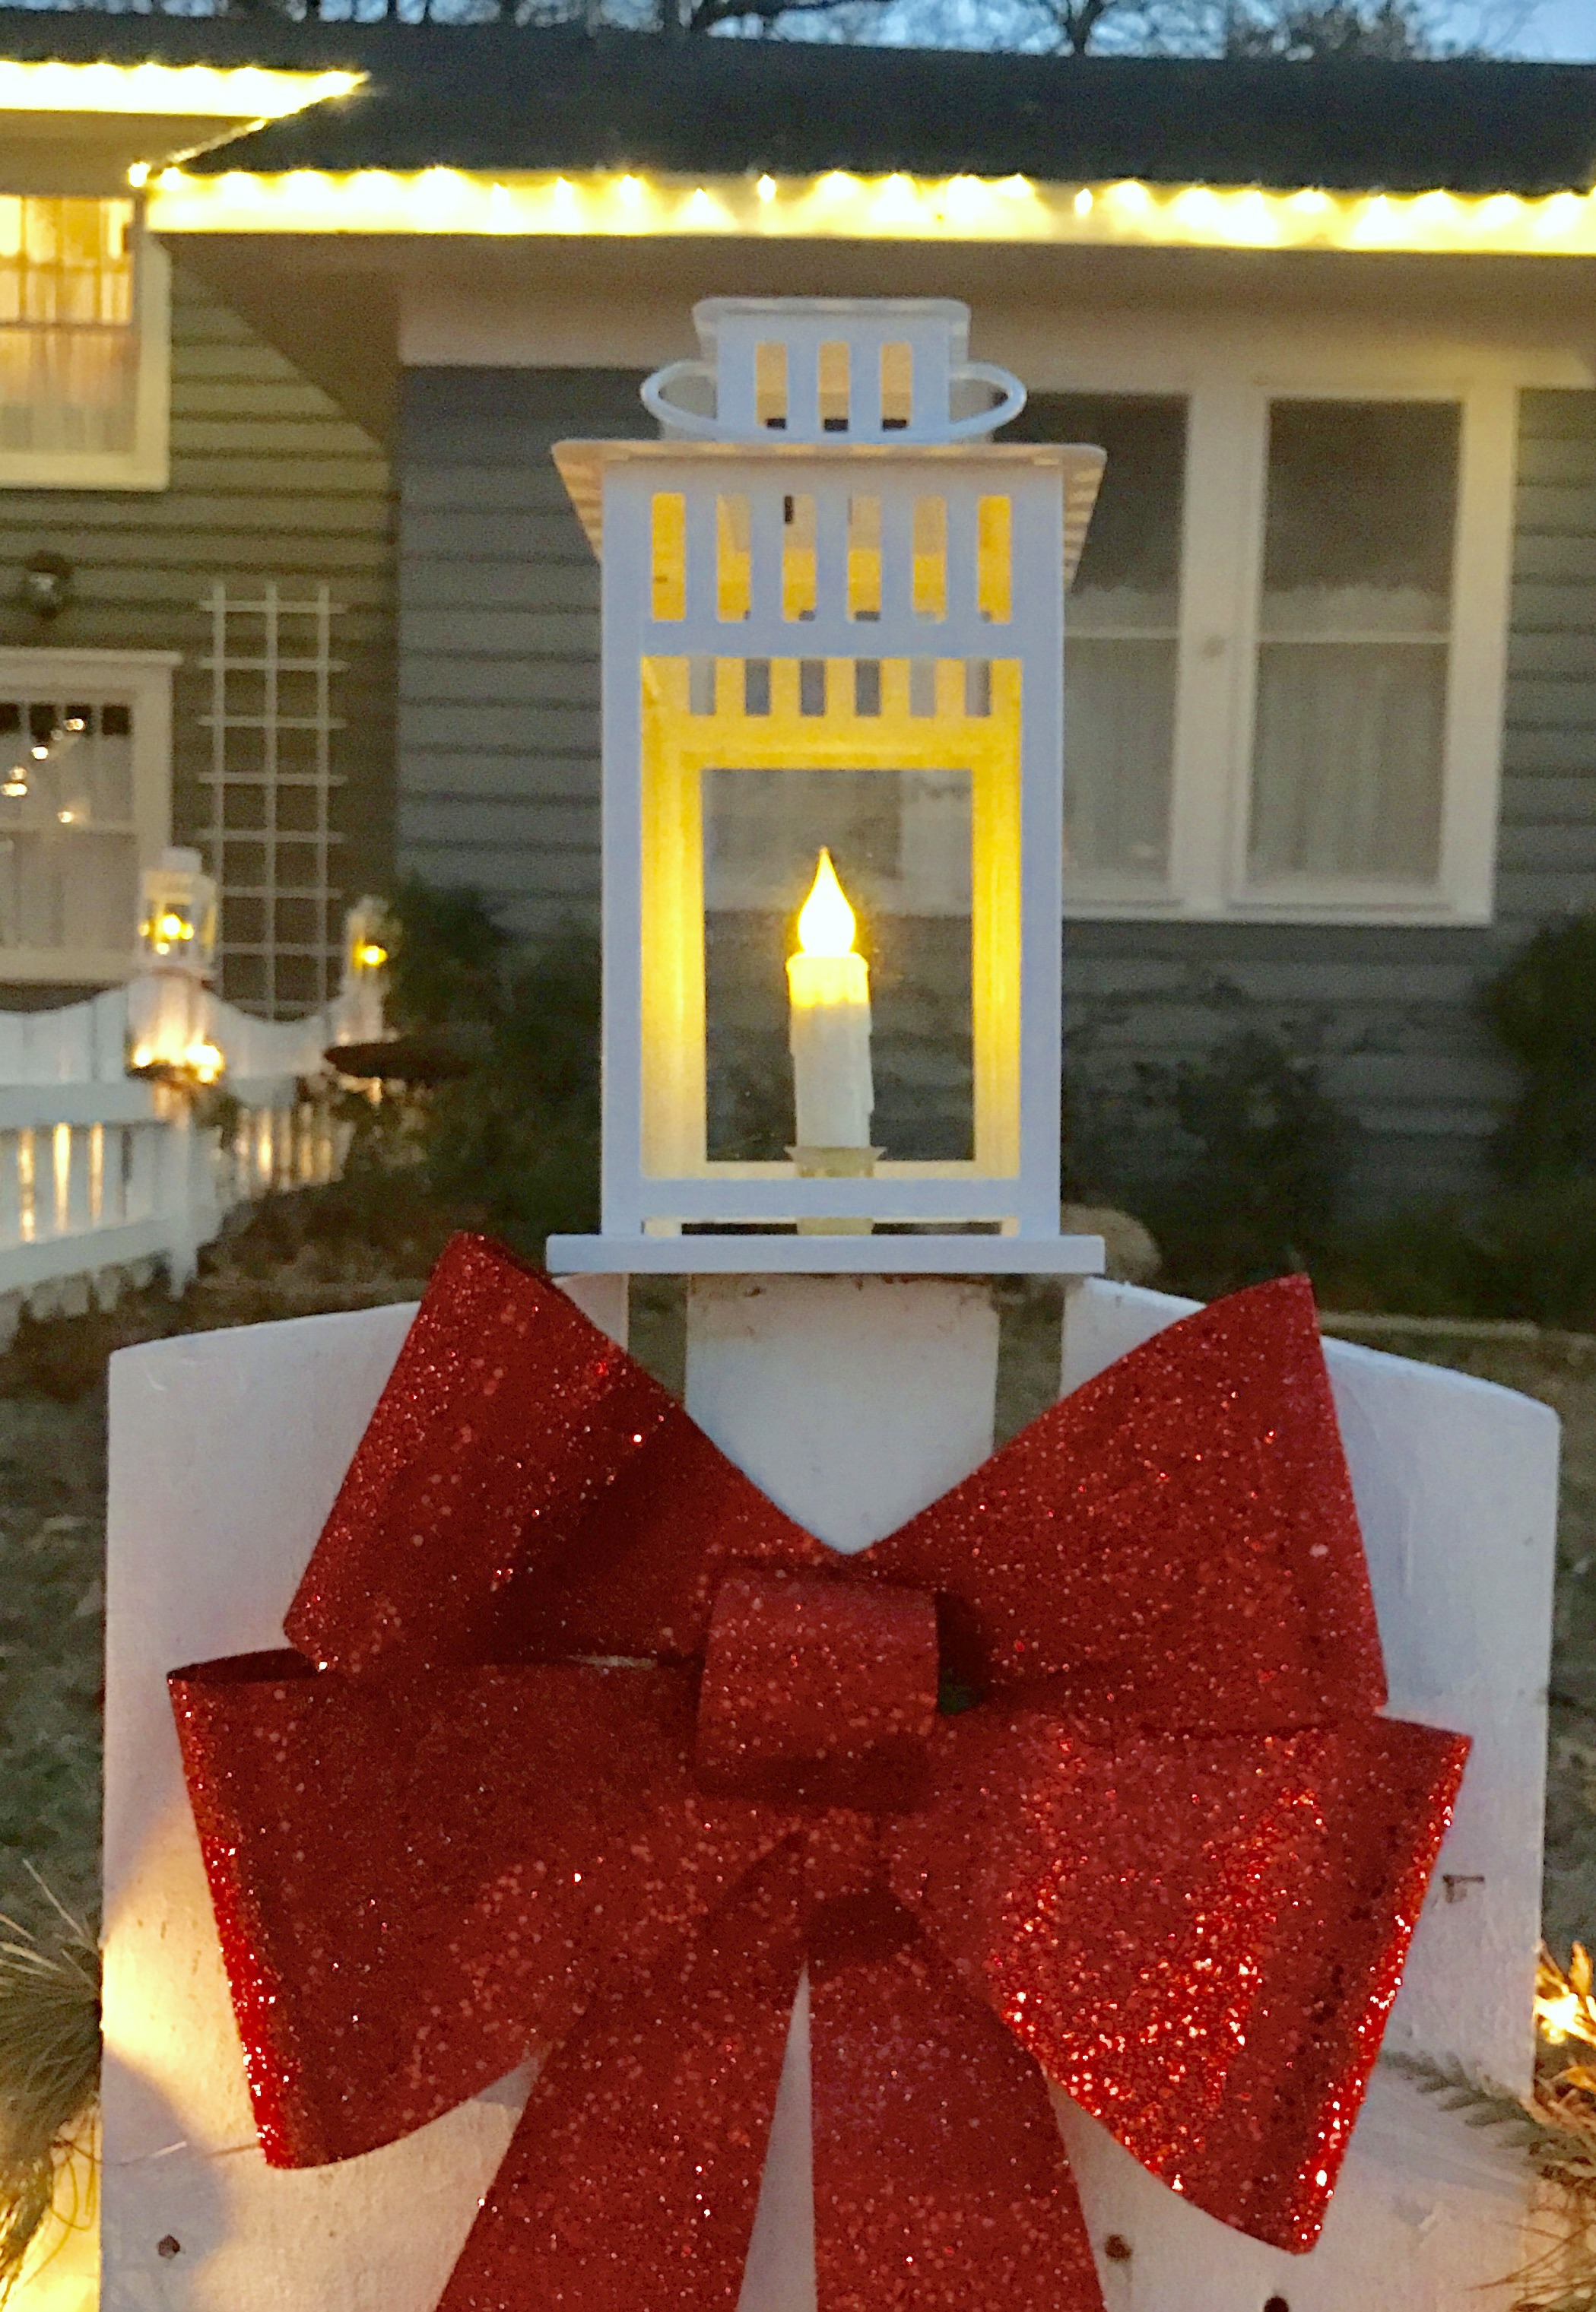
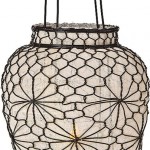
An Ikea lantern with a battery operated candle for each fence post.
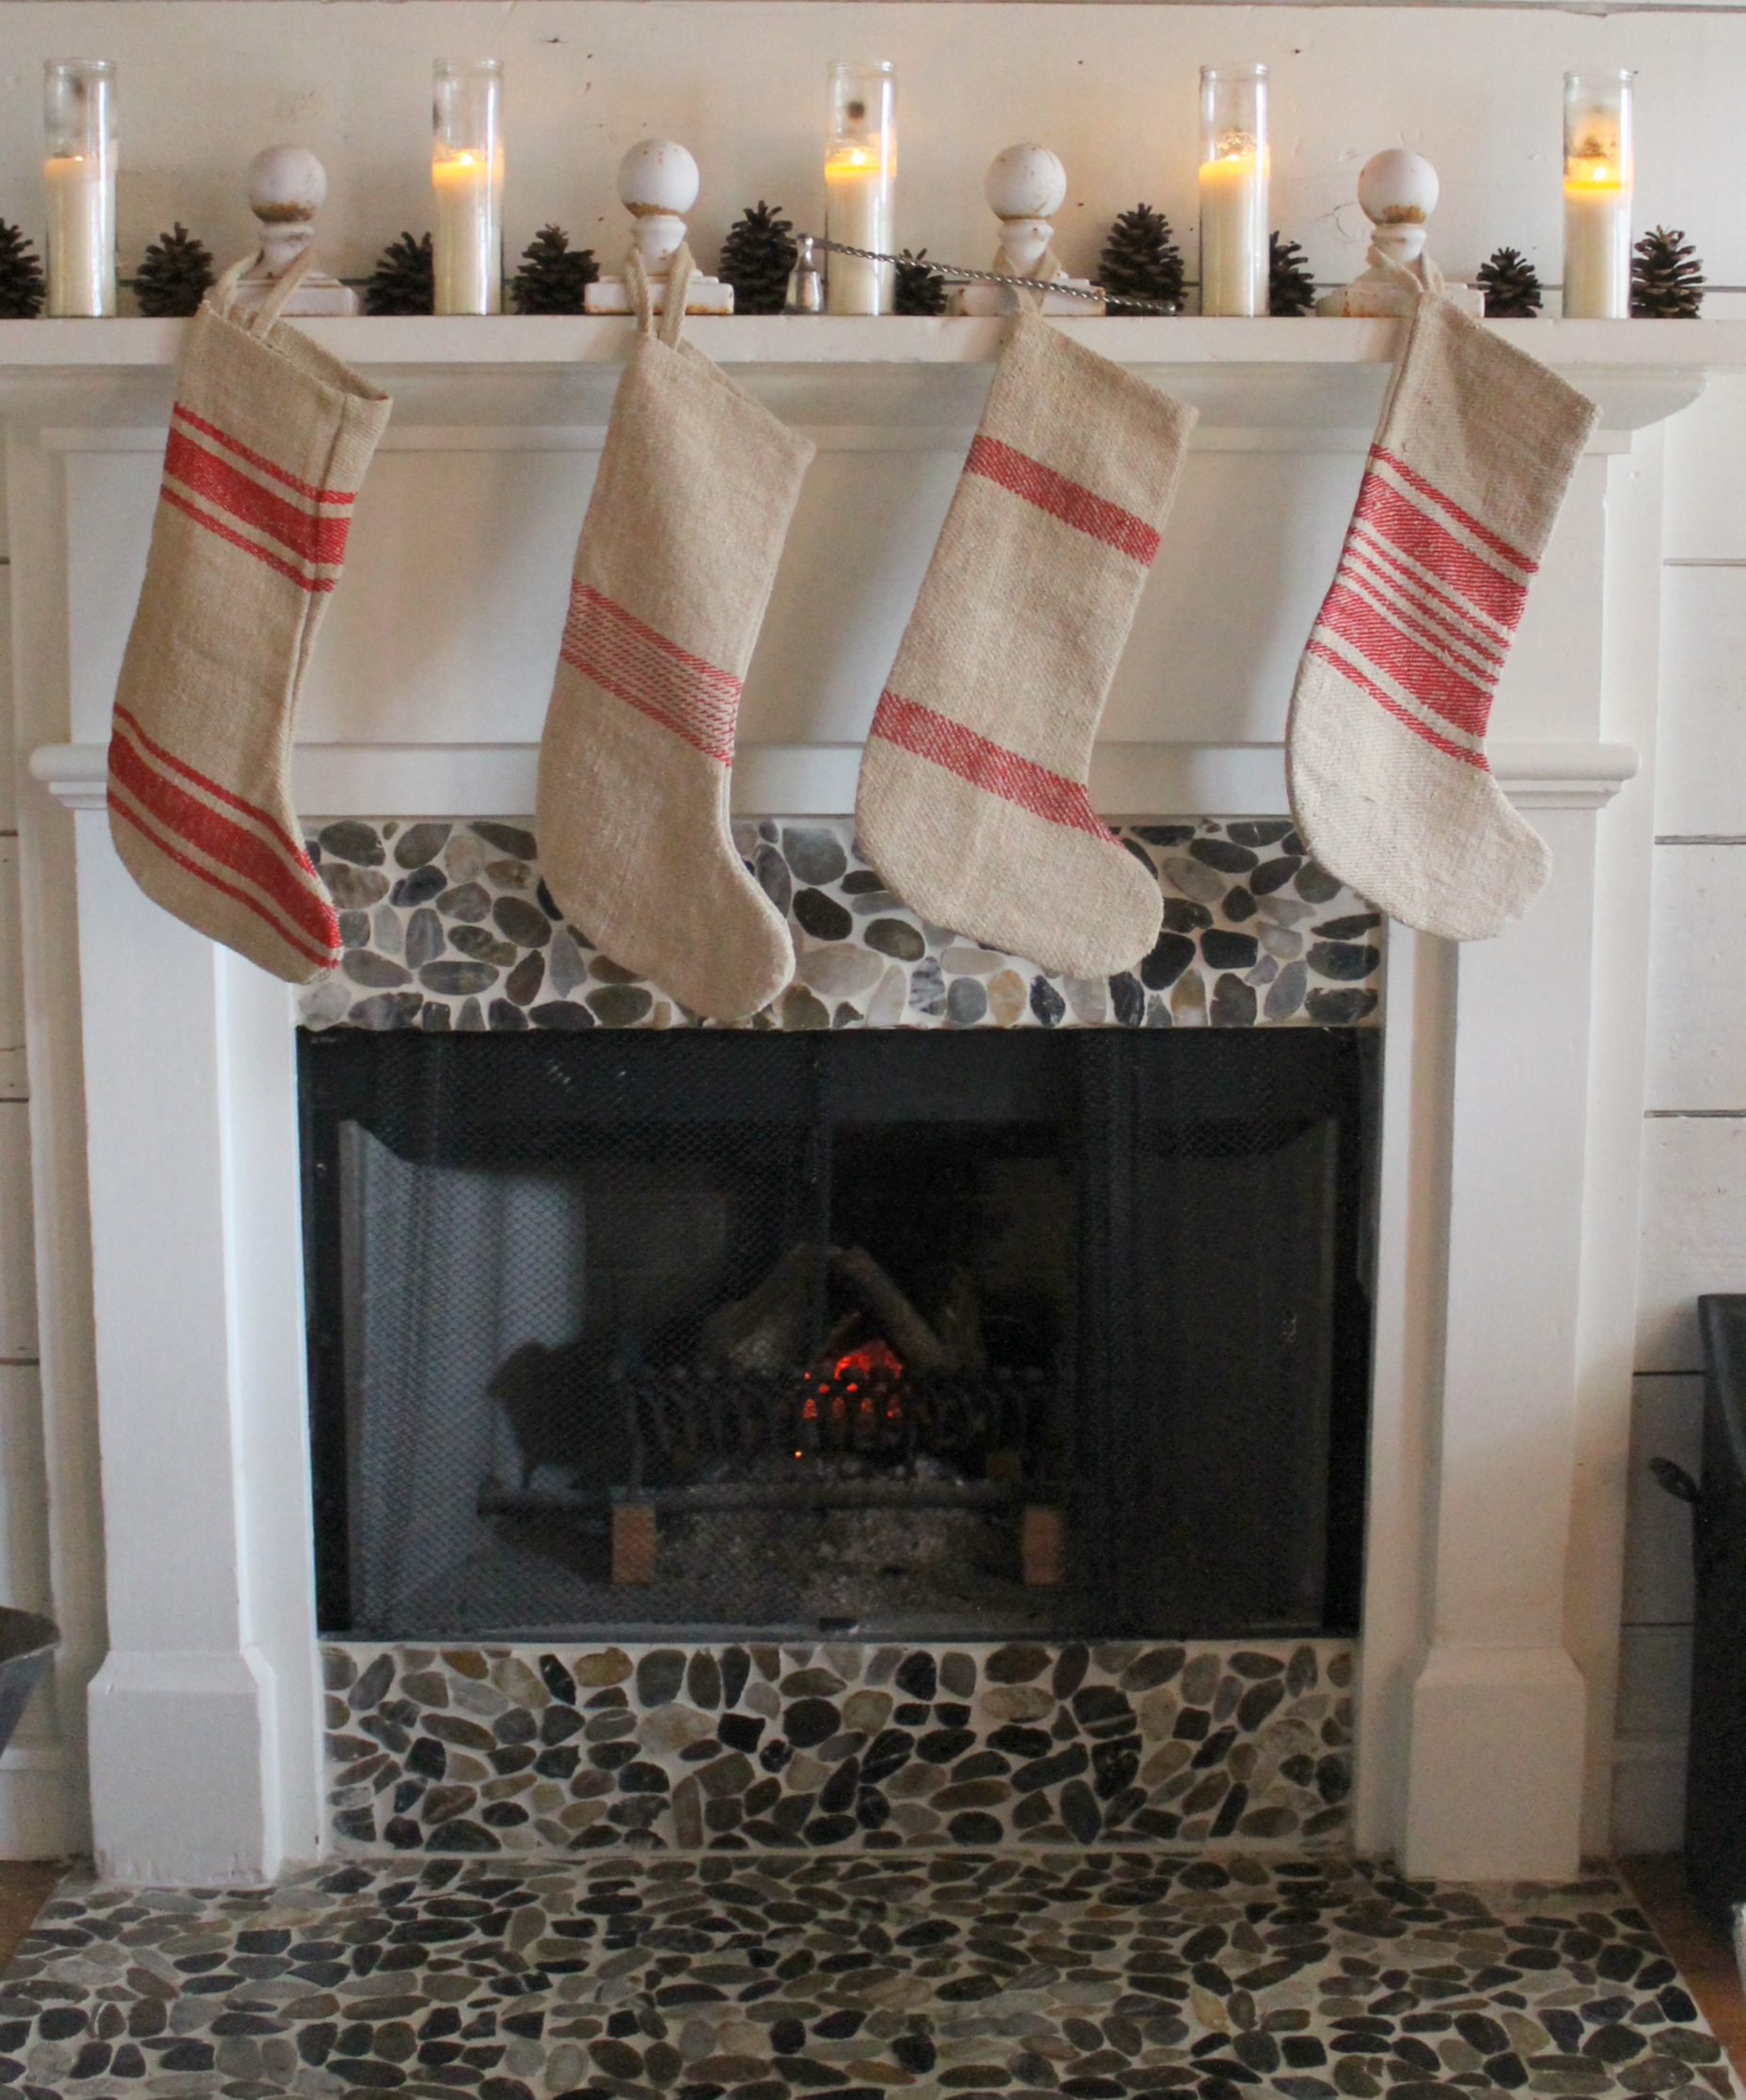
Using old, white chippy cast iron finials to hang grain sack stockings.
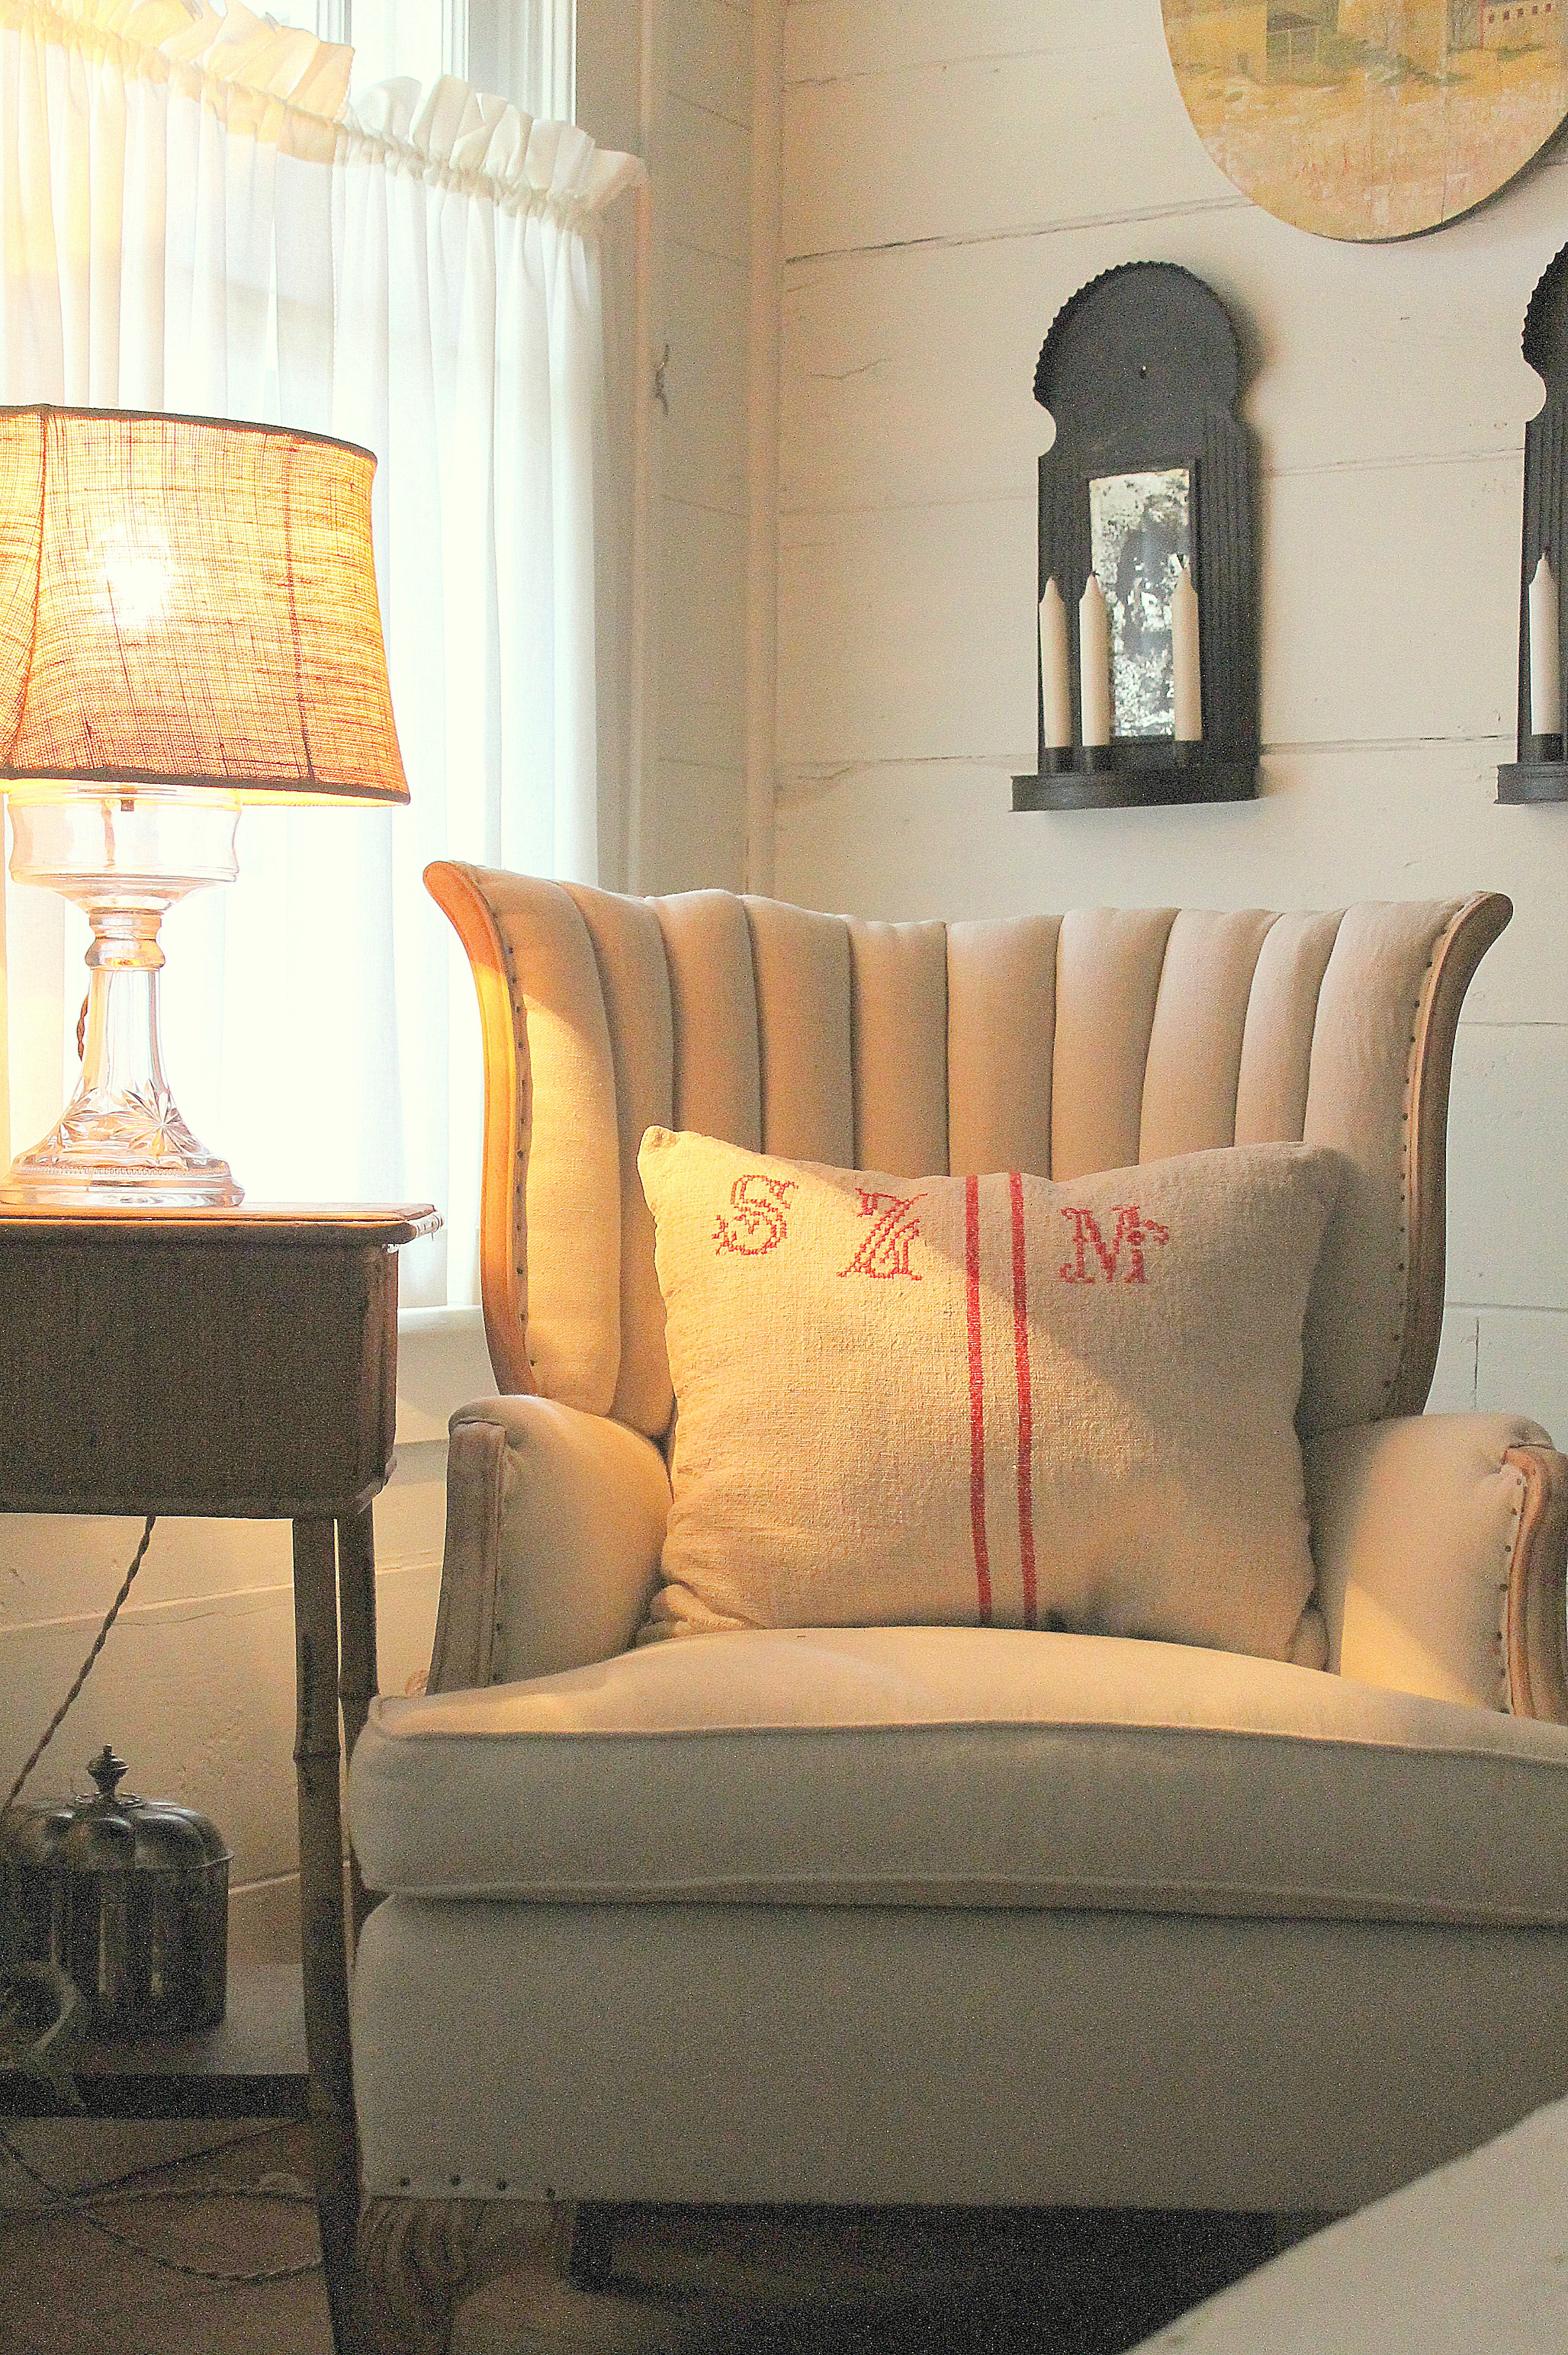
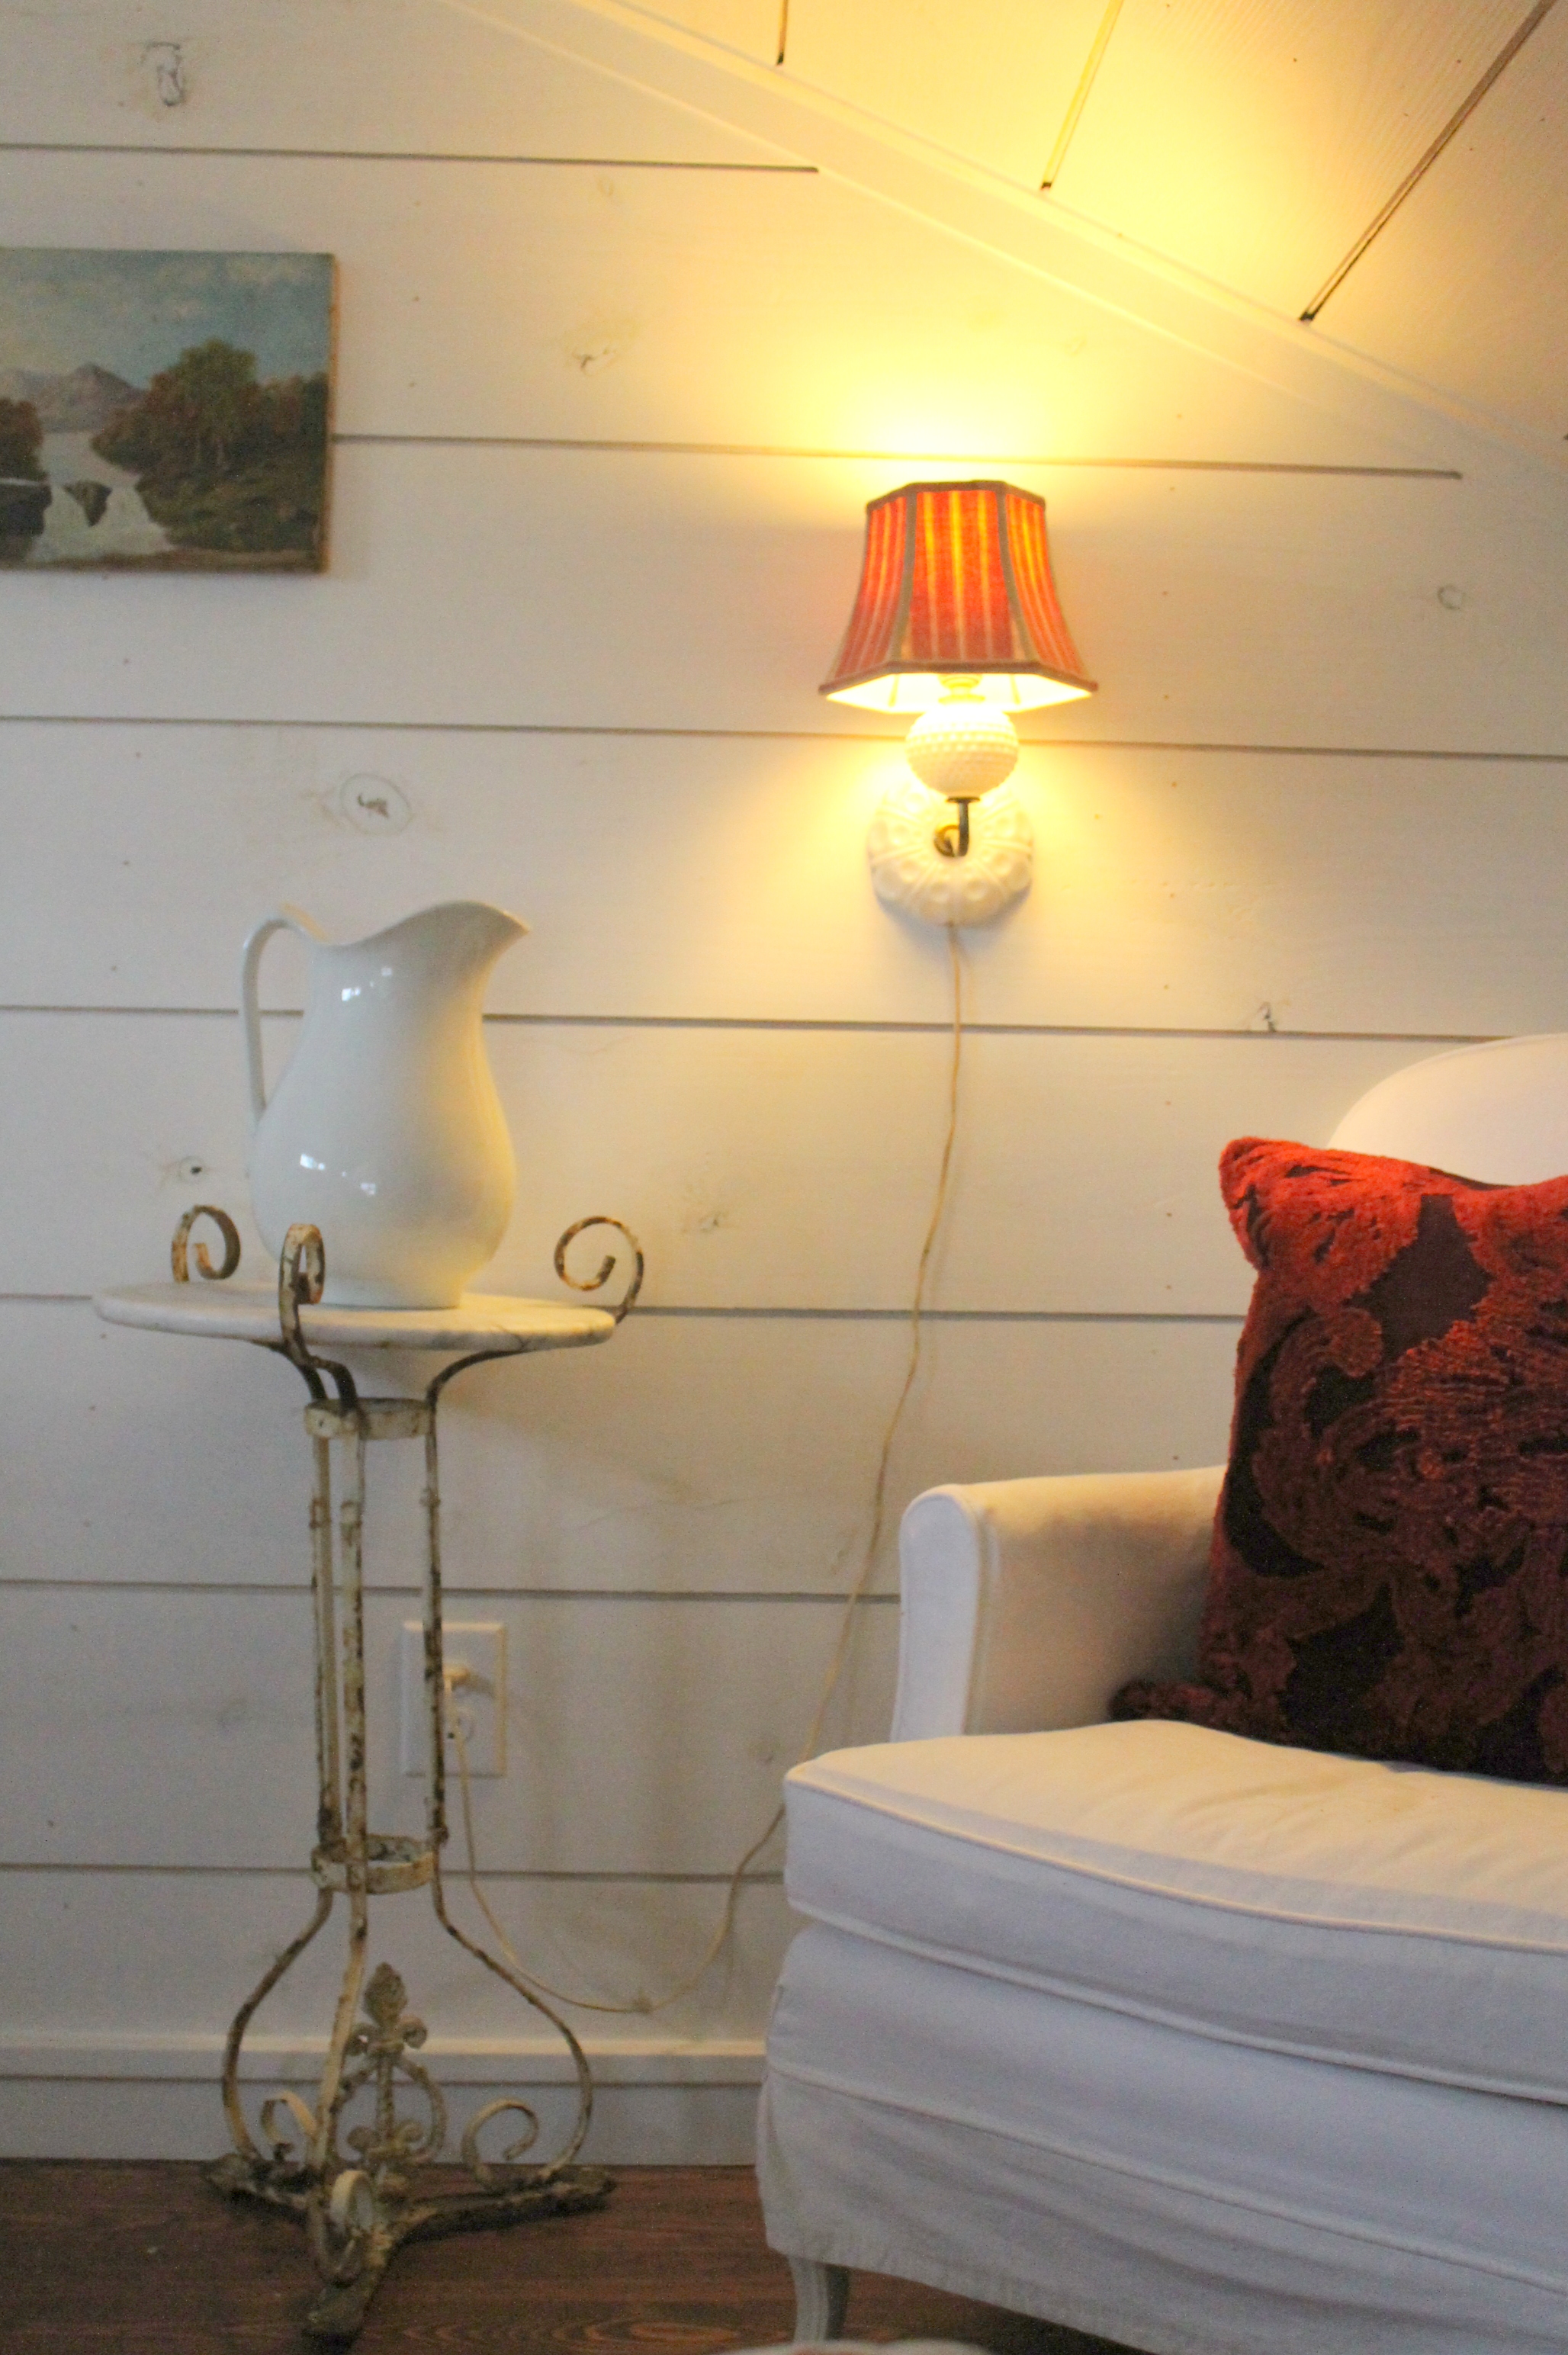
A easy chair with a bit of red for the holidays.
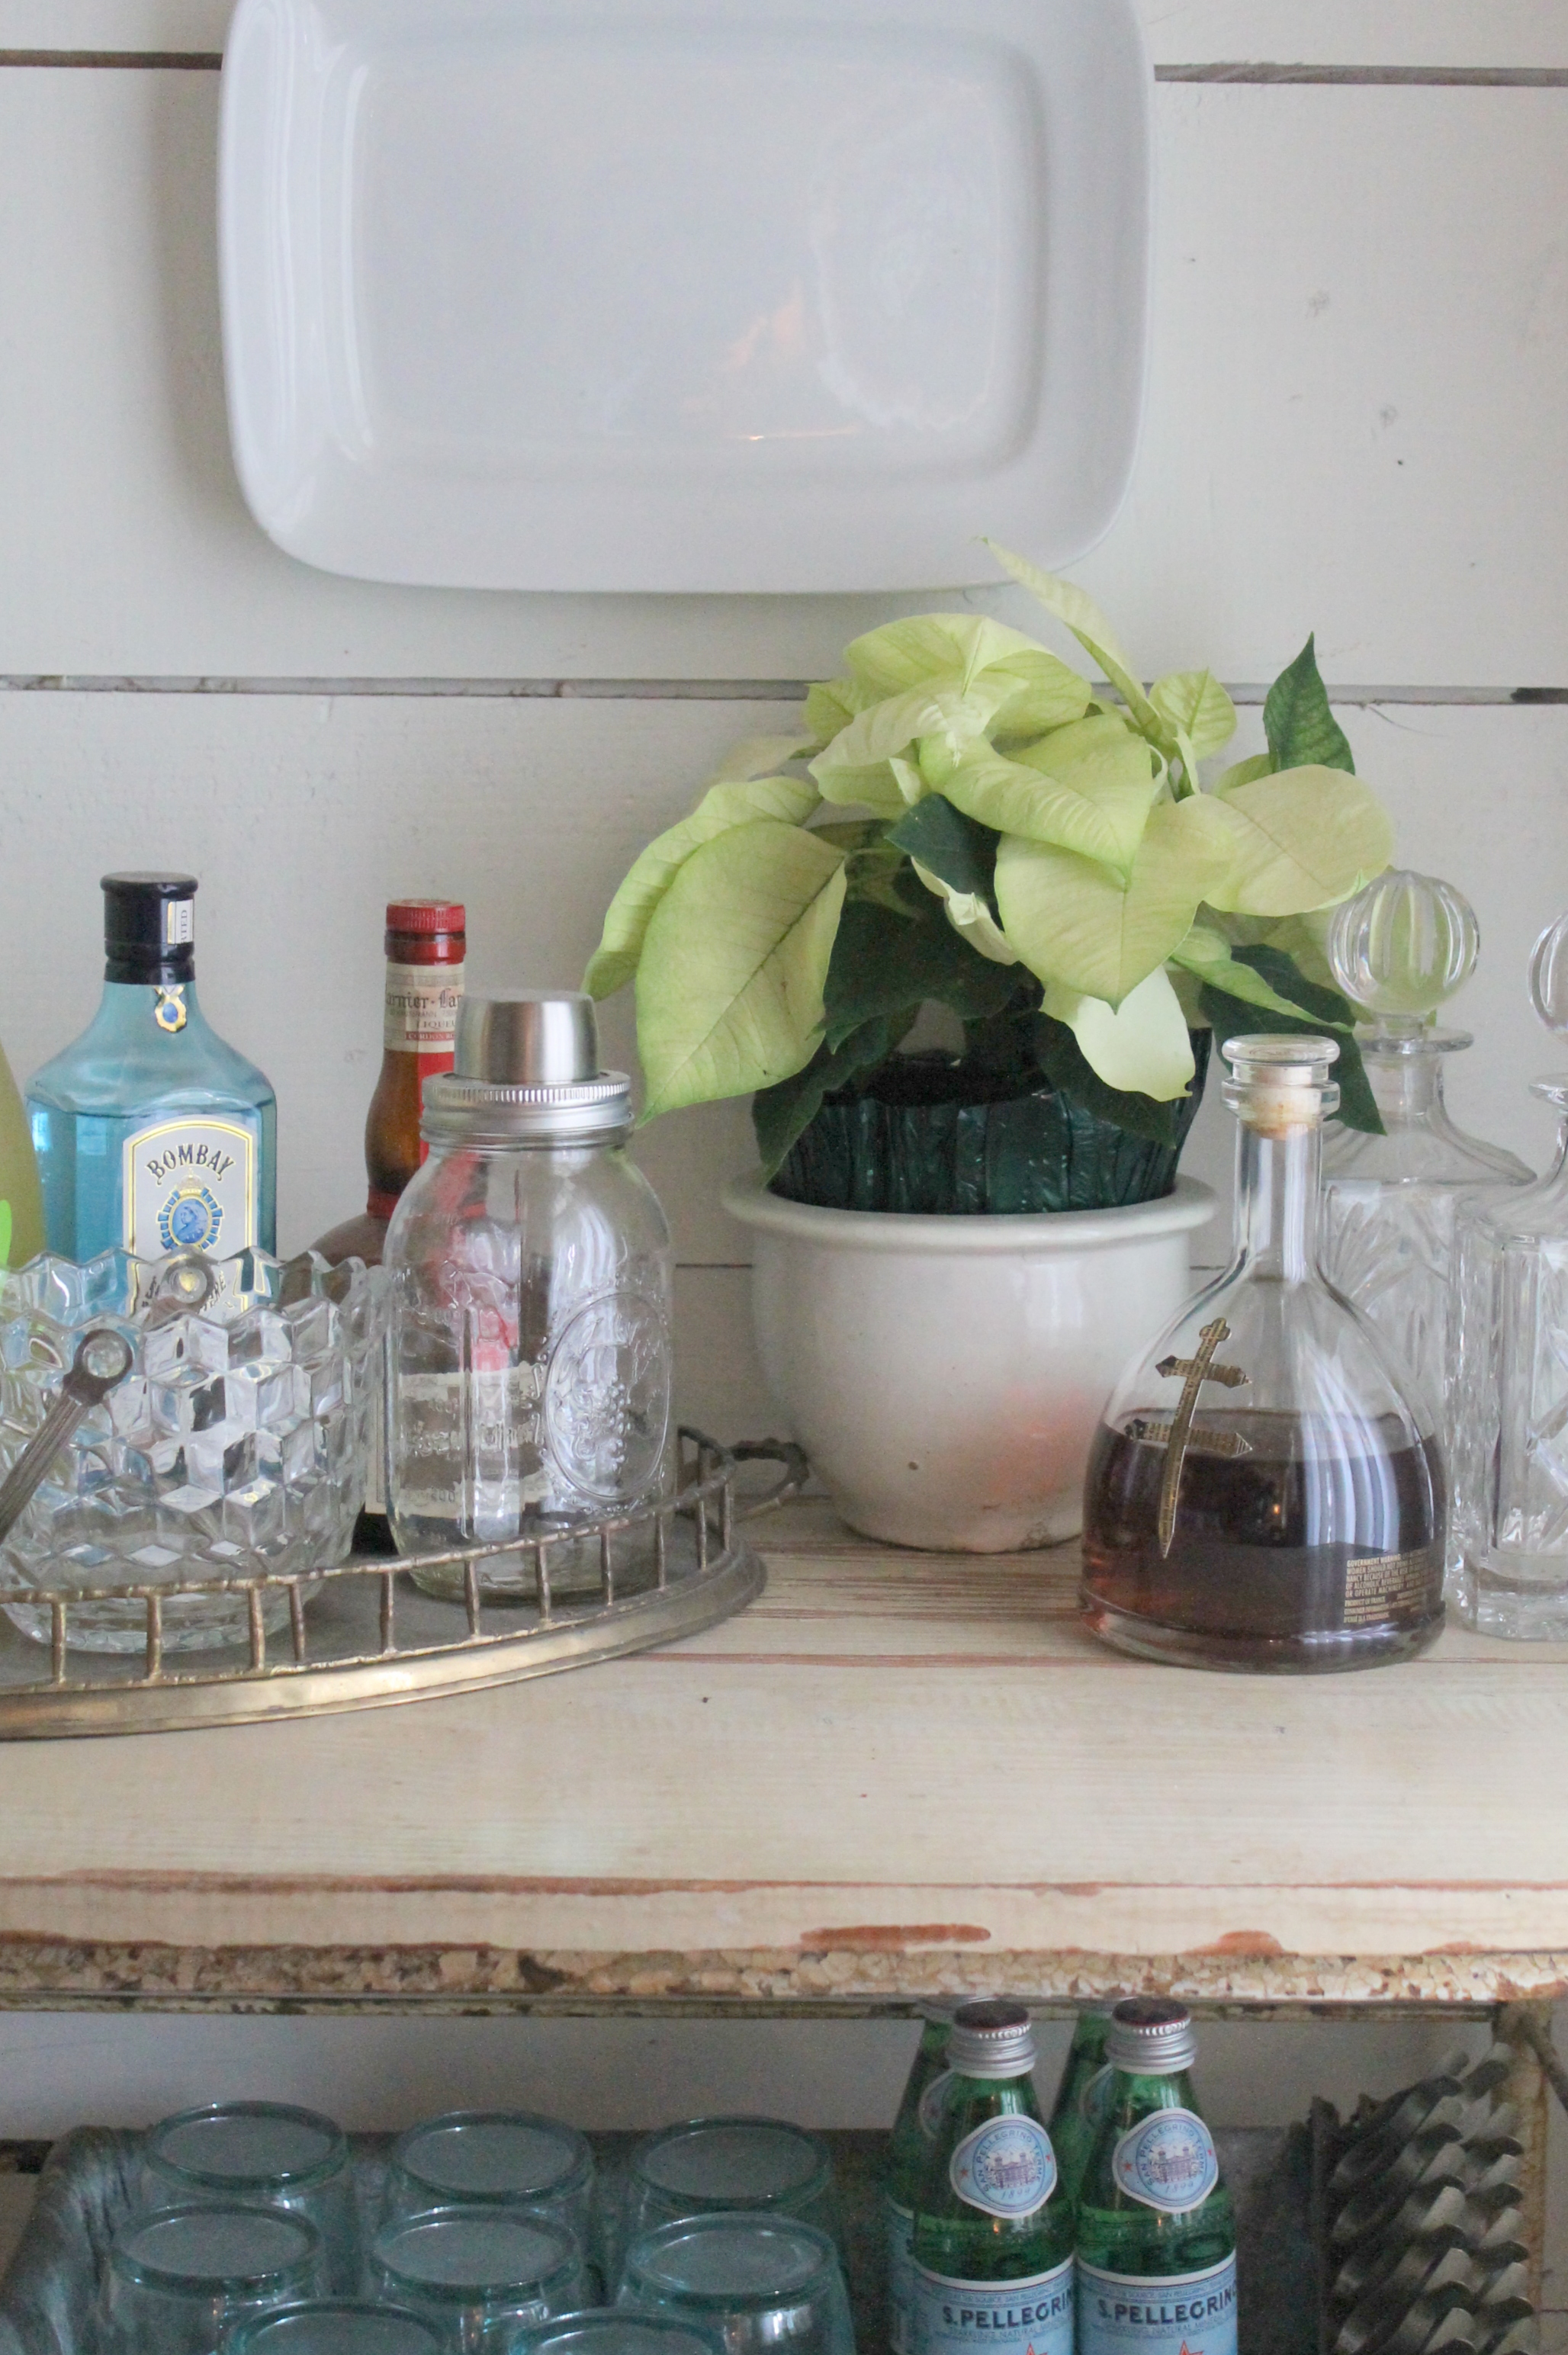
A touch of Christmas that is as easy as a white pointsettia