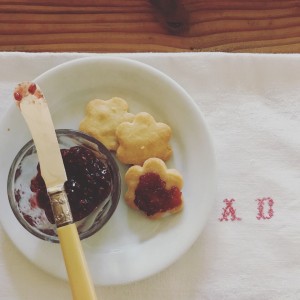
Classic Butter Almond Cookies


-- Download Classic Butter Almond Cookies as PDF --


IMG_0316

IMG_0317

IMG_0318

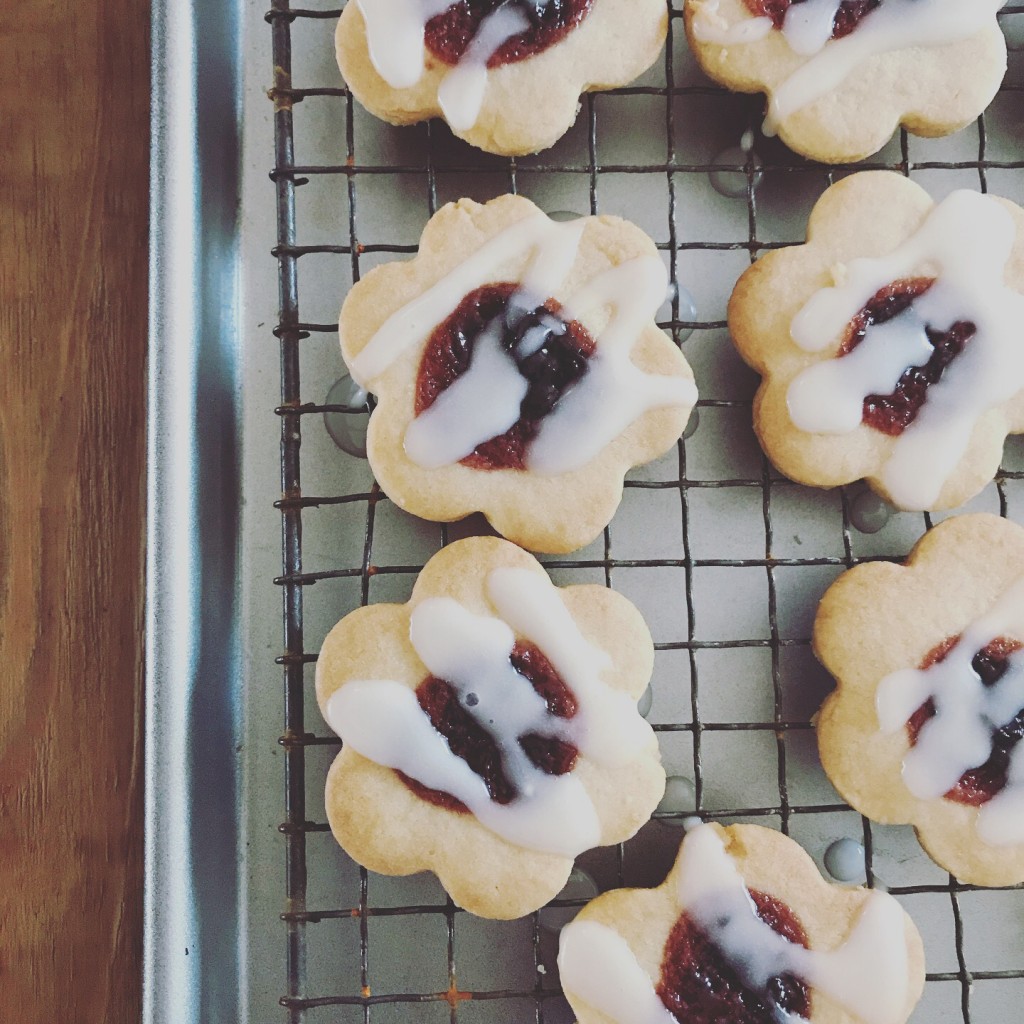
Almond Cookies with Cherry Preserves and Almond Glaze


Equipment:

Rolling Pin

Small cookie cutter (1 and ½ to 2 inches and preferably symmetrical)

Parchment Paper

Cookie Press (Optional)


Ingredients:

2 sticks of unsalted butter

¾ c. sugar

4 oz (weighed) almond paste

½ t. almond extract

½ t. vanilla extract

2 ¼ c. flour

½ t. baking soda

¼ t. salt

1 jar of store bough cherry preserves or jam (or the preserve flavor of your choice, homemade or store bought)


Almond Glaze:

1 ½ rounded cups of confectioner sugar

3 – 5 T. of milk

¼ to ½ t. of almond extract


  1. Cream butter and sugar in bowl of mixer fitted with paddle attachment until well combined.
  2. Break almond paste into small pieces and add to the creamed mixture. Beat on med to med high until the almond paste is broken up and well distributed throughout the mixture. (2 – 3 minutes)
  3. Add vanilla and almond extract, mix until incorporated.
  4. Place flour, baking soda and salt into a bowl and whisk to sift.
  5. With the mixer off, add flour mixture into the creamed mixture. Turn mixer on low (so as not to send flour flying everywhere) once reasonably combined, tick up the speed to med and mix entire mixture until just combined.
  6. Mixture will look crumbly but will come together when pressed together in the palm of your hand. (Option A: at this time, you can place the dough in a cookie press for spritz cookies. However, once chilled, the dough isn’t malleable enough to use in a cookie press)
  7. Place the mixture onto a breadboard or other surface and bring together with your hands. Divide into two equal portions.  Shape each portion into a round disk and wrap with cling film.  Place in fridge to chill for two hours.
  8. When about ready to roll out the dough and bake, pull out of fridge. Let come to room temperature (about an hour)
  9. Pre-heat oven to 325 degrees.
  10. Working with small batches, roll dough out to ¼” thick. I find it helps to roll the dough between two pieces of parchment paper.  Cut shapes out with your cookie cutter, gather the scraps, re-roll and cut more shapes until you have gone through all the dough. (this dough keeps in the fridge, so if you only want to roll out one of the two disks, it will be fine)
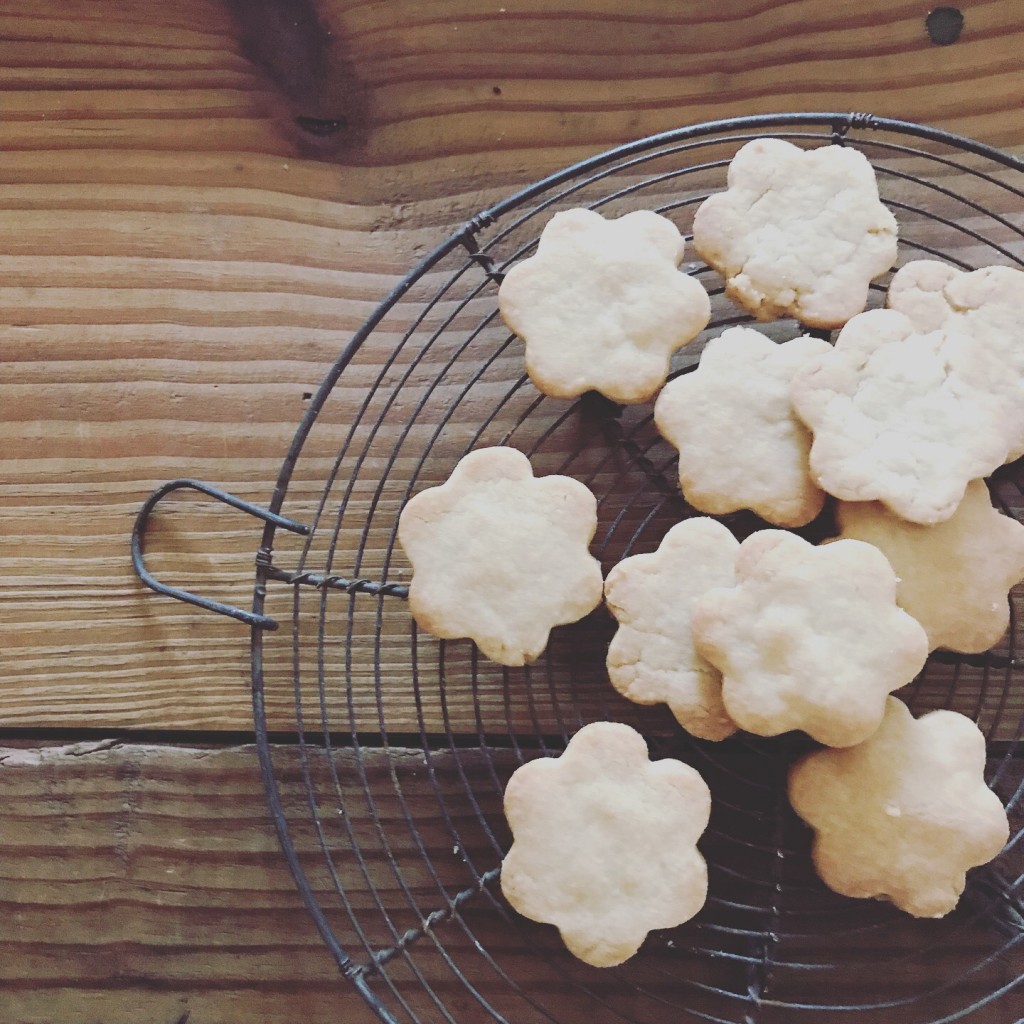
  11. Place the cut-out shapes on an ungreased sheet pan. (Option B. Bake at this point, without executing the additional steps. This will give you a plain, baked cookie that can be eaten with or without a sweet jam topping of your choice)
  12. Take approximately half a cup of the preserves and place in a sauce pan. Heat over medium heat until the viscosity changes from thick to thinner. Generally, when it starts to bubble, it is ready.  Stir the mixture while over the heat and re-heat of the preserves or jam cool while you are placing it on the cookies.
  13. Using a quarter teaspoon, spoon a quarter teaspoon of the thinned preserve mixture onto the center of the cut-out shape. Try to keep the shape of the preserve round as you are dolloping the preserves in the center.
  14. Place in the oven and cook for 10 – 12 minutes, until the edges are a light golden brown. Rotate the sheet pans halfway through the bake to ensure even baking.
  15. While the cookies are baking, begin your almond glaze. Sift the confectioners’ sugar into a bowl. Add three tablespoons of milk and stir.  If the glaze is thick (like peanut butter), add more milk, one table spoon at a time.  You are looking for a drizzling consistency.  Add a quarter teaspoon of almond extract.    If stronger flavor is needed and/or desired, add the additional quarter teaspoon.
  16. Remove the cookies from the oven and allow to fully cool.
  17. Using a fork or a squeeze bottle with a small nozzle, drizzle each cookie with the glaze. It is important to be more conservative with the glaze versus over glazing.  Less is better in this case.

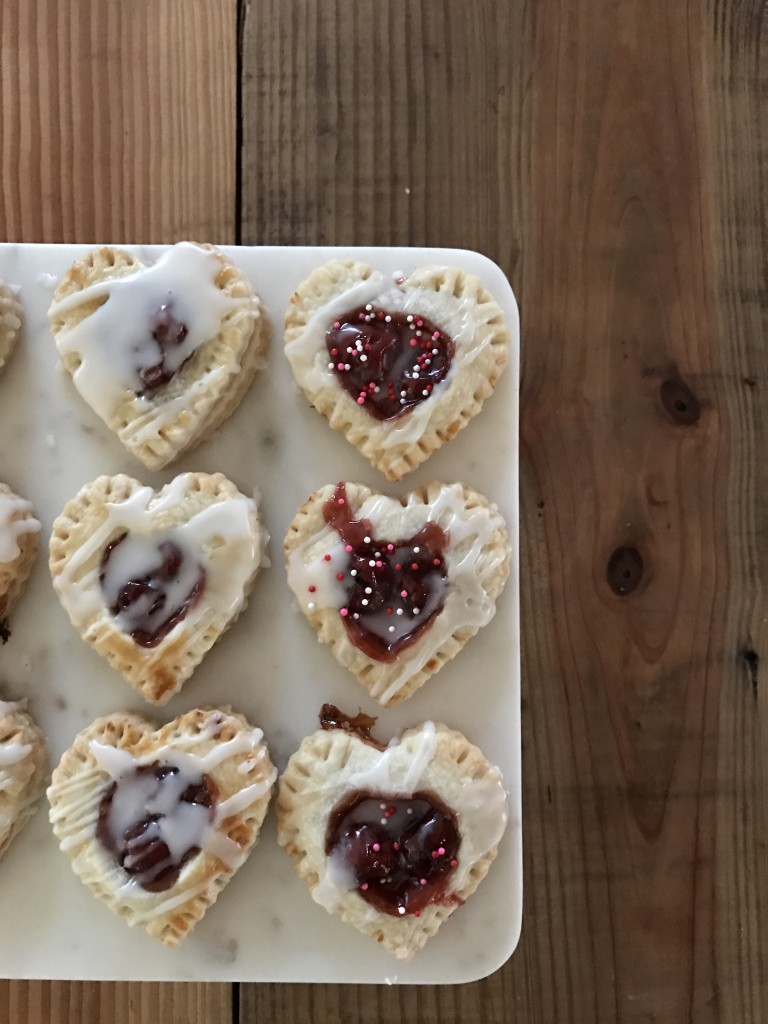
Heart Shaped Hand Pies – Oh My.

Pie with sprinkles?  To be or not to be?  That is the question.  Answer: Sure.  Why not?

Funny thing happened this weekend.  My washing machine broke and I found myself with extra time on my hands.  Until now, I had no appreciation how much laundry I do on the weekends.

So I decided to make heart shaped hand pies as an experiment.  Turned out pretty well.  In life as in hand pies, sprinkles are optional, but I thought they added a festive touch.

No big secrets here.  I used a pie crust recipe from Martha Stewart, canned cherry pie filling, almond flavored glaze and of course, sprinkles.

If I had to pinpoint any upgrade, it would be the almond flavored glaze.  It added the right amount of sweetness to make this palm sized treat smile worthy.

I hope you find some inspiration.

Always,

Cindy

xoxo


Hear Shaped, Cherry Filling. Almond Glaze. Classic.

Hear Shaped, Cherry Filling. Almond Glaze. Classic.

Christmas Haus 2016

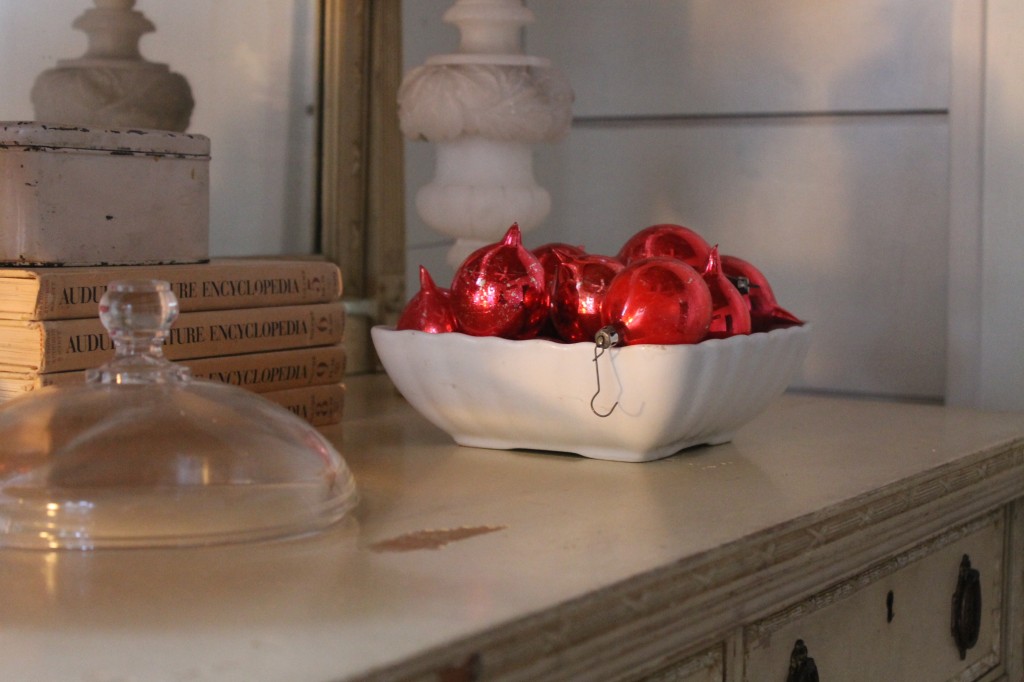
Vintage, hand blown ornaments.

Vintage, hand blown ornaments.

It’s been a busy year.  That is the introduction to my apology for not posting more frequently.  I vow to rectify that in the new year.

Although this is my second Christmas, post renovation, I felt more settled in the home this year.  More relaxed.

But I digress.  I have some holiday pictures to share.  Plus, let you know that I am posting on Instagram.  As of this moment,  I have 13 organic followers.  And I am proud of each one of those.
So finally, thank you for continuing to follow my blog and continuing to check back for new posts.  I hope the holiday and the new year are good to you and your family.  As for me, I am optimistic and have nothing but good, sweet thoughts.

I hope you find some inspiration.

Always,

Cindy

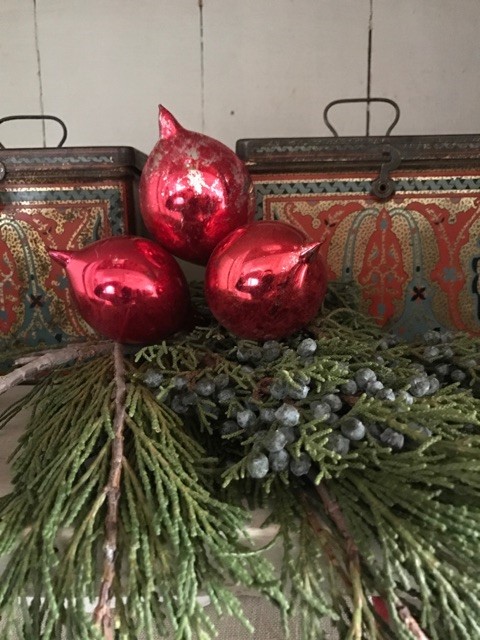
Clustered with fresh greens, these vintage ornaments look like holly berries.

Clustered with fresh greens, these vintage ornaments look like holly berries.

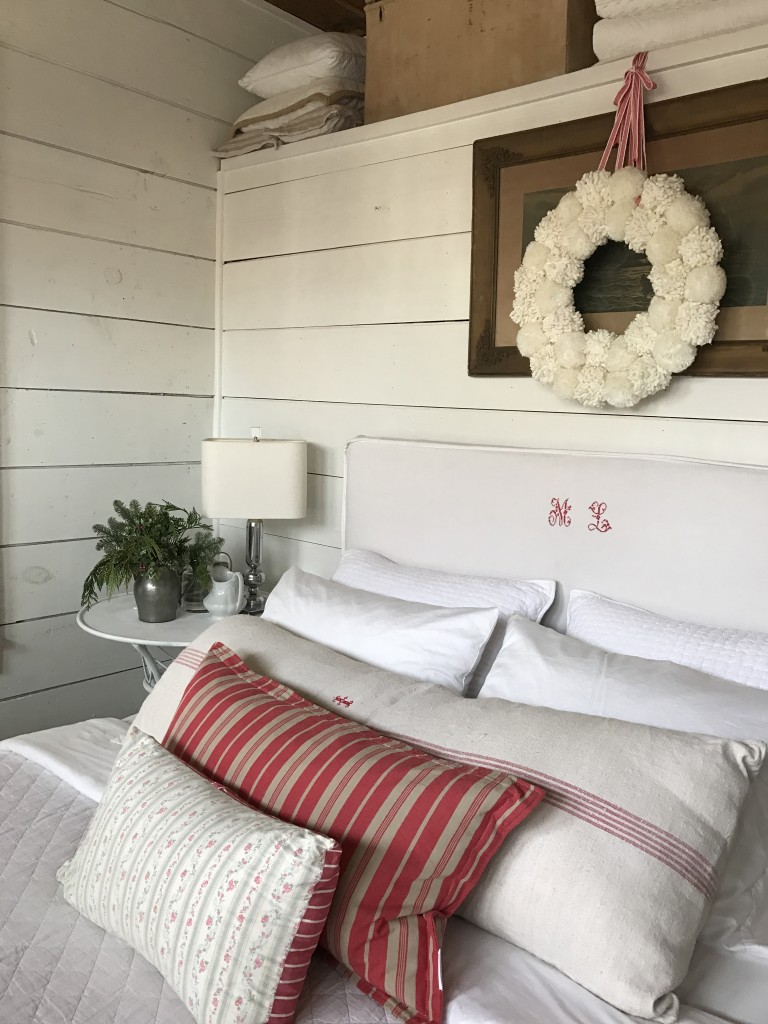
Old linens.

Old linens.

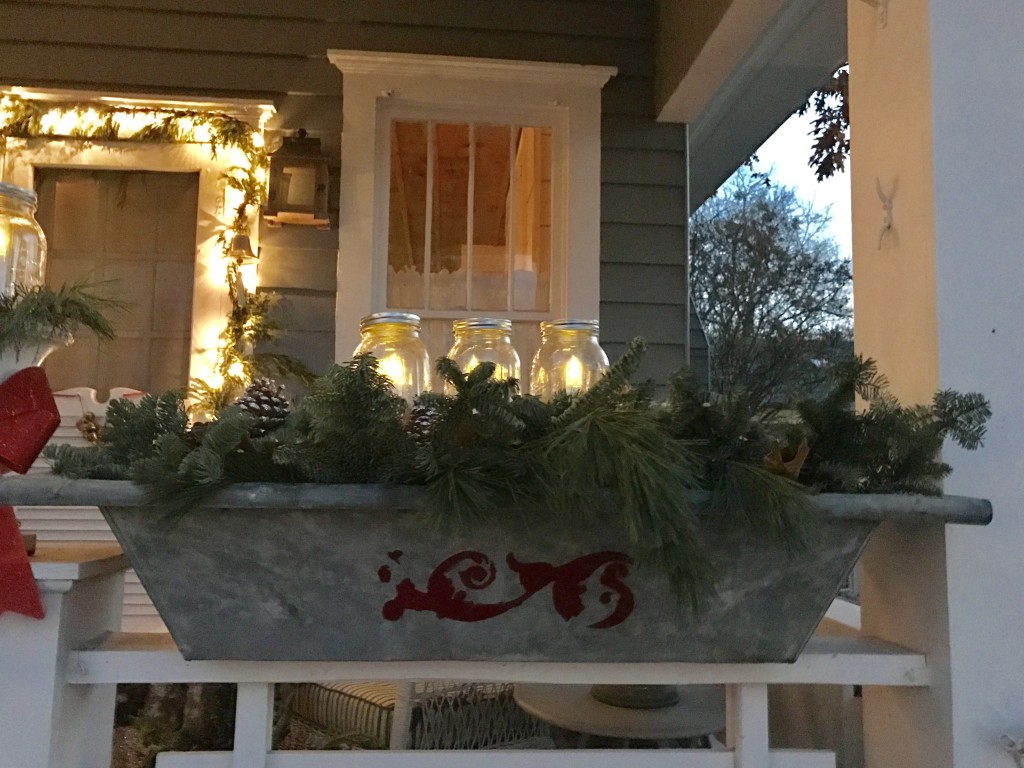
Tin containers from Round Top filled with fresh garland, pine cones and mason jars with battery operated flickering candles.

Tin containers from Round Top filled with fresh garland, pine cones and mason jars with battery operated flickering candles.

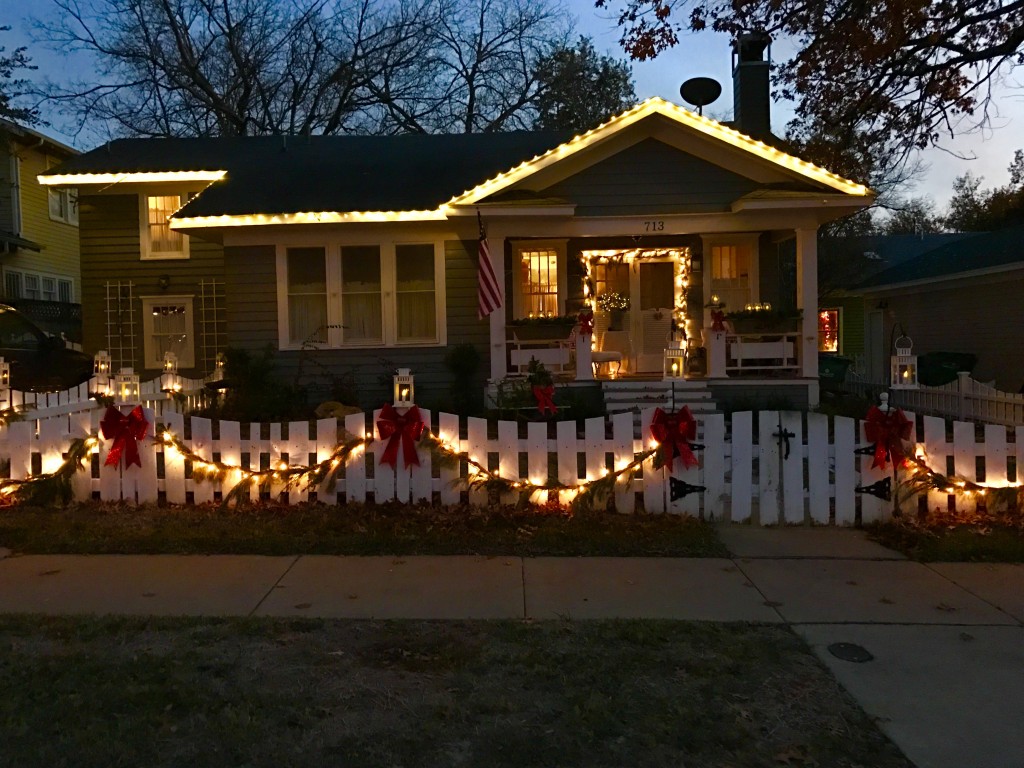
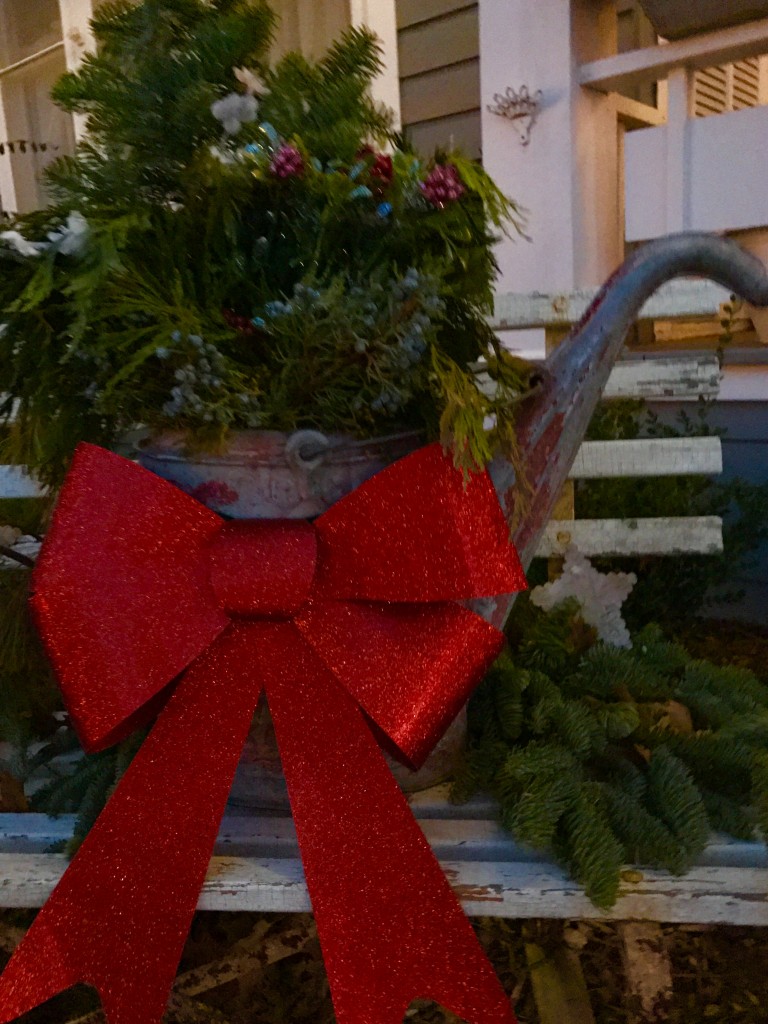
The exterior. White picket fences are meant for red bows and fresh garland.

The exterior. White picket fences are meant for red bows and fresh garland.

An old bench, a Round Top find with a vintage watering can and some fresh greens.

An old bench, a Round Top find with a vintage watering can and some fresh greens.

A Christmas Farmhouse Kitchen.

A Christmas Farmhouse Kitchen.

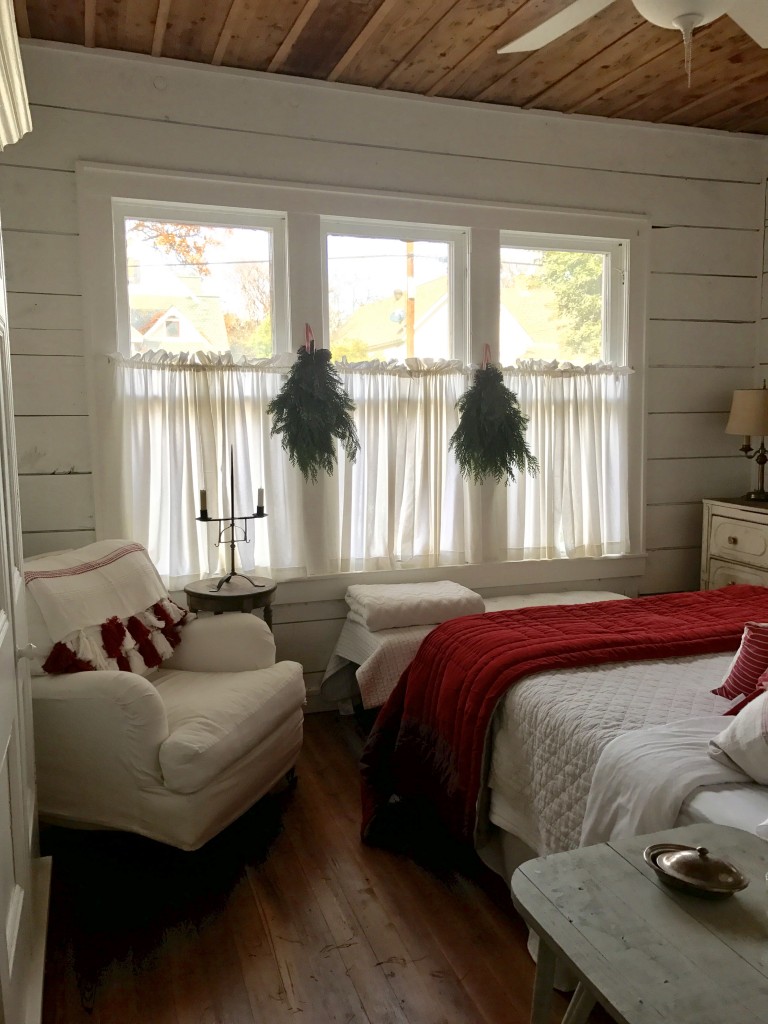
Fresh greens, a holiday red velvet quilt and a lovely tasseled throw for a lovely Scandinavian style Christmas.

Fresh greens, a holiday red velvet quilt and a lovely tasseled throw for a lovely Scandinavian style Christmas.

A little cheer for the holiday guest...

A little cheer for the holiday guest…

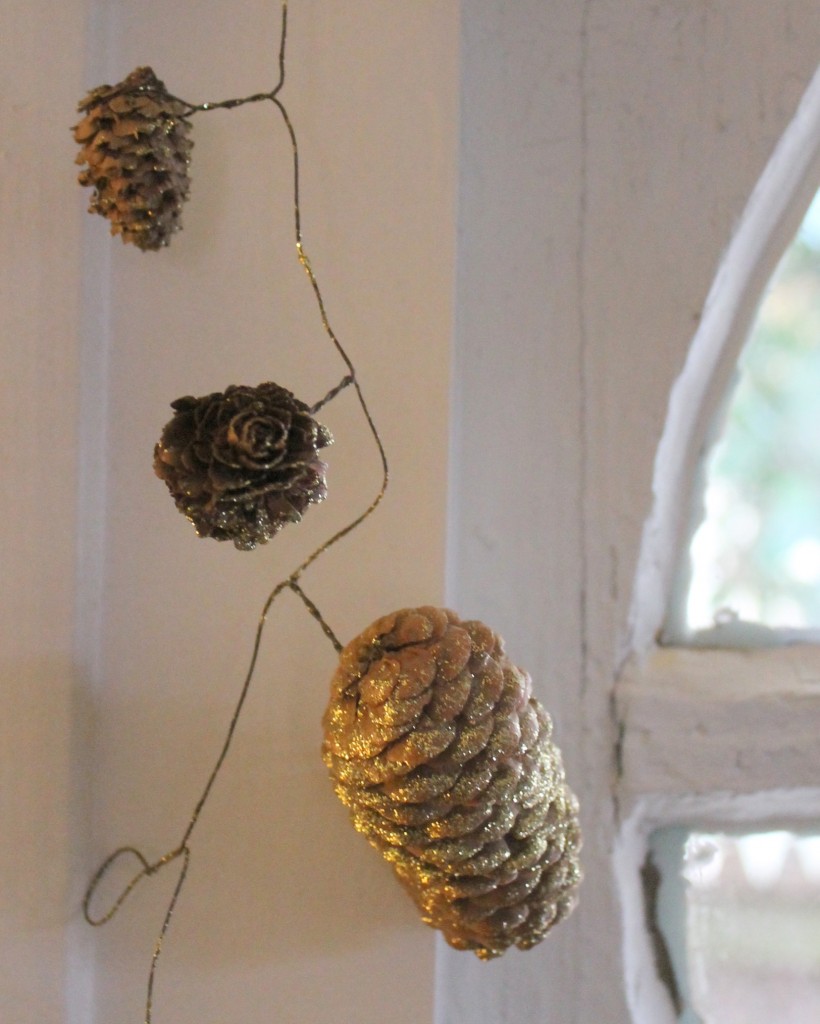
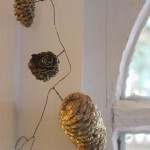
Sparkly pine cones on some wire for a festive garland.

Sparkly pine cones on some wire for a festive garland.

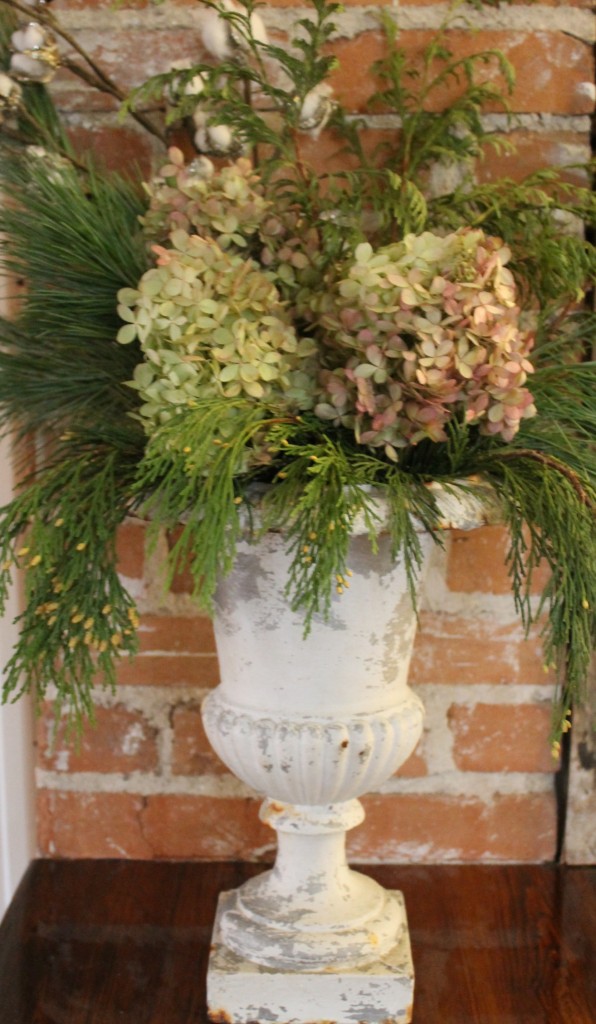
Dried hydrangeas with fresh greens make a lovely arrangement.

Dried hydrangeas with fresh greens make a lovely arrangement.

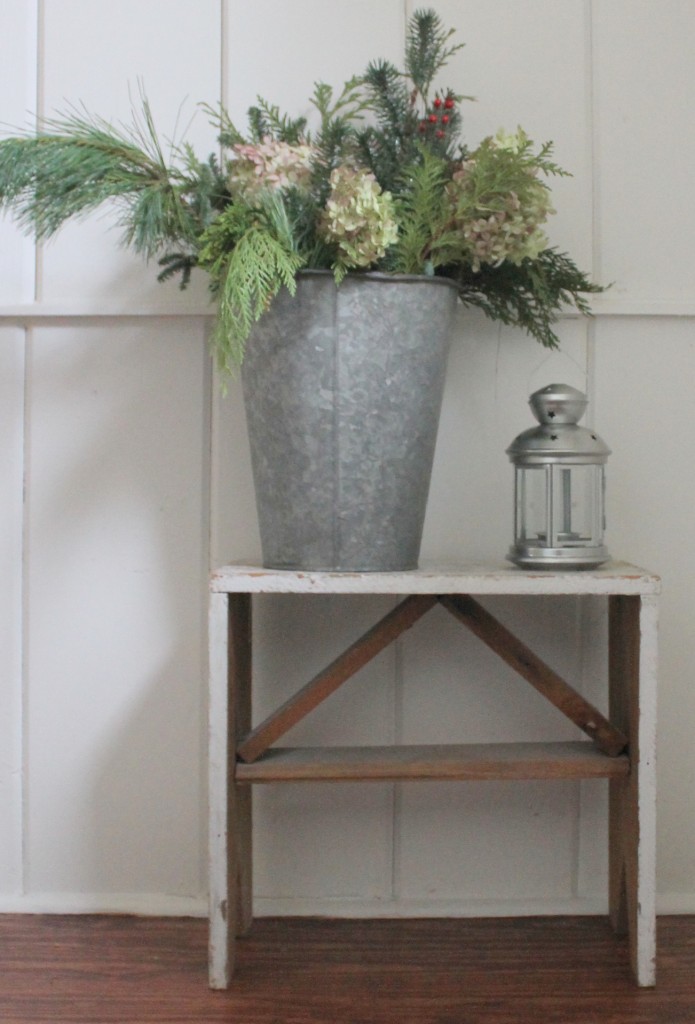
Fresh greenery arrangement.

Fresh greenery arrangement.

Christmas red tucked in many corners.

Christmas red tucked in many corners.

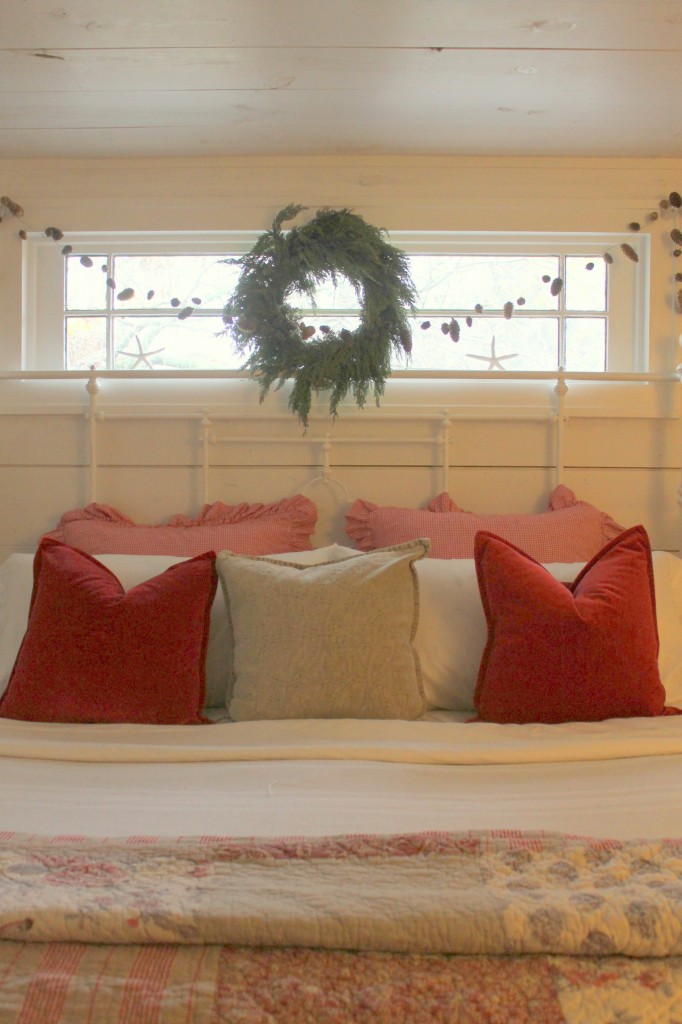
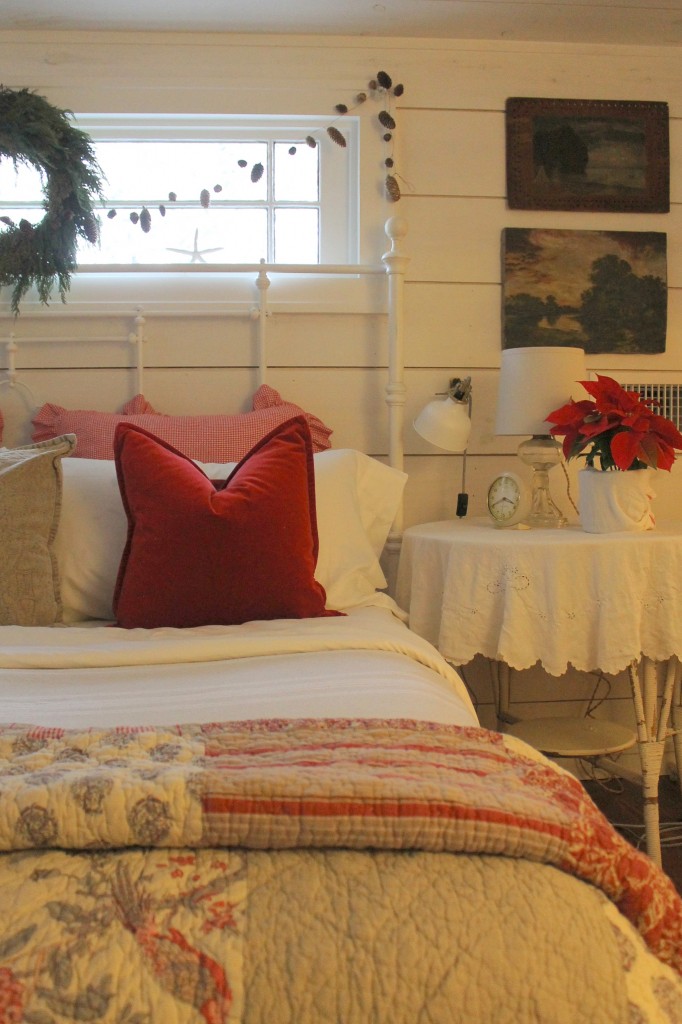
The master bedroom.

The master bedroom.

The master bedroom.

The master bedroom.

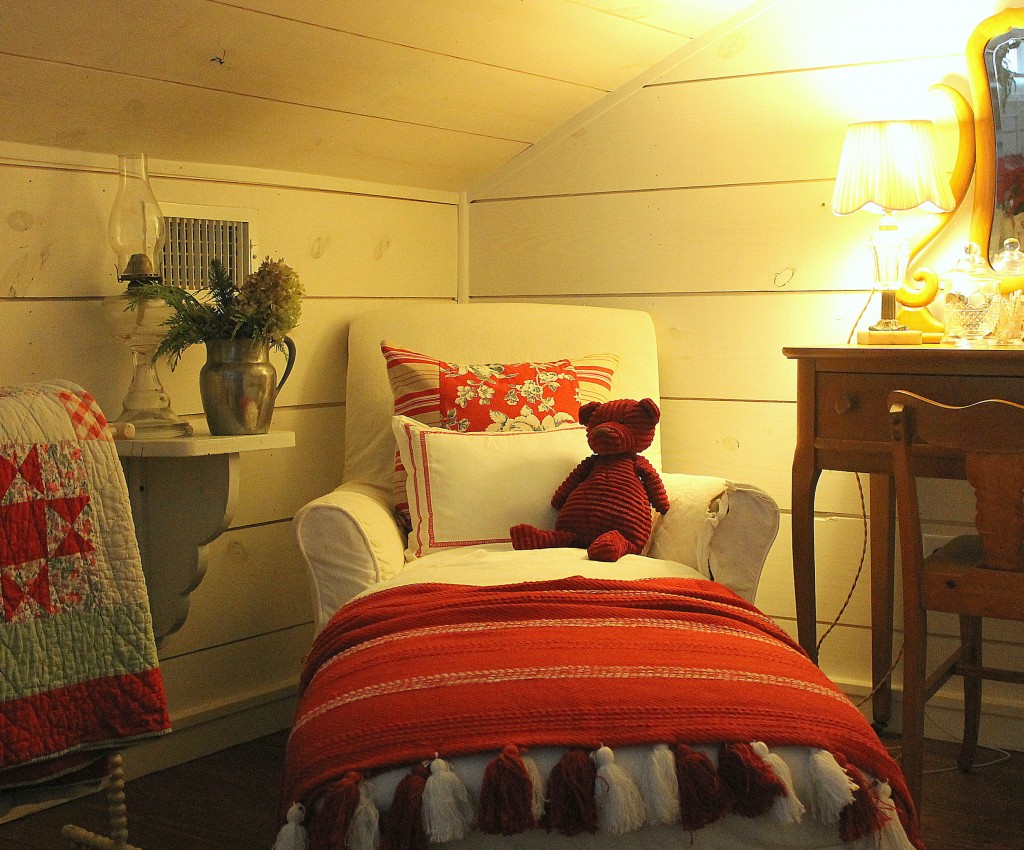
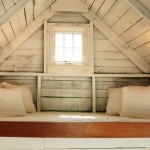
A nook for settling in for a winter's nap or reading a good book.

A nook for settling in for a winter’s nap or reading a good book.

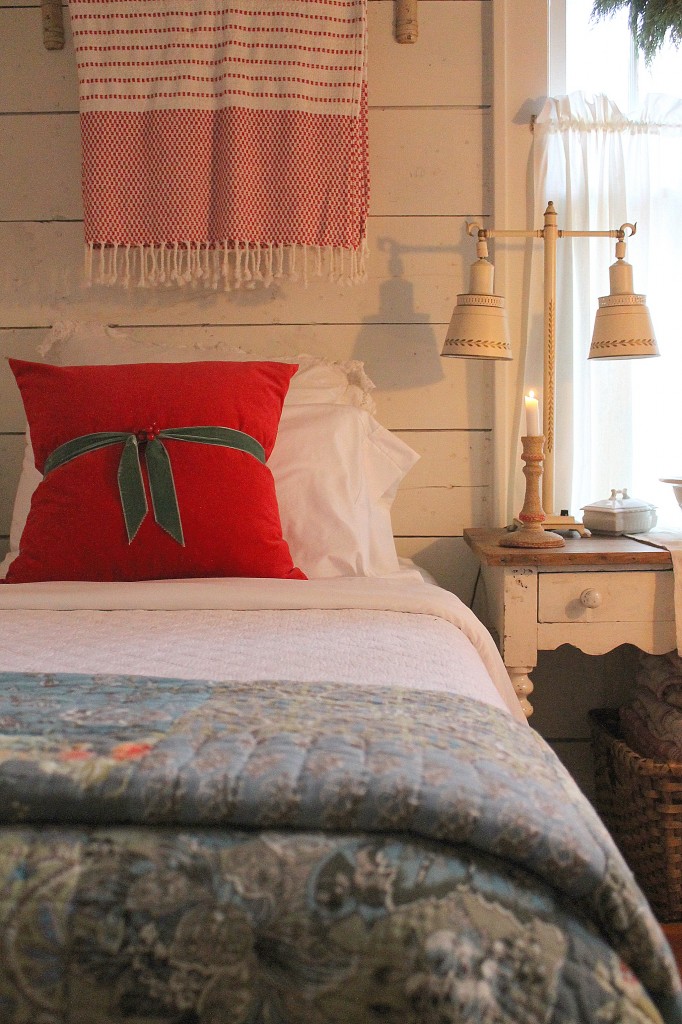
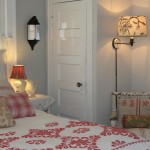
A guest room with some holiday cheer.

A guest room with some holiday cheer.

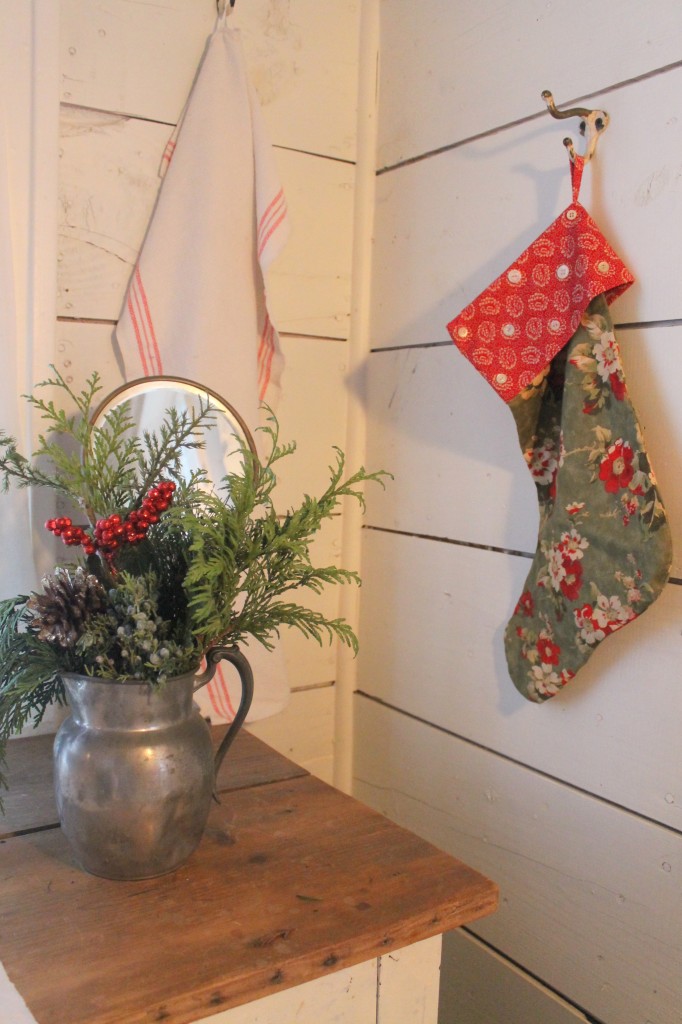
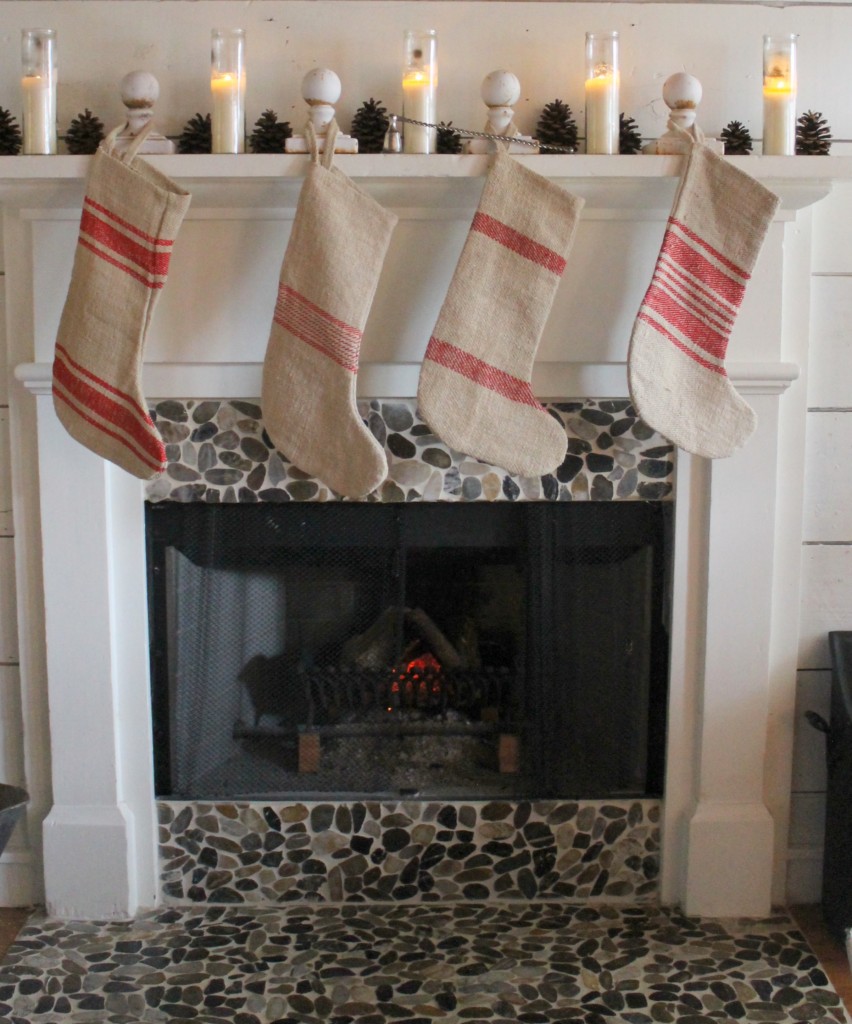
Handmade stockings from Round Top, many, many years ago.

Handmade stockings from Round Top, many, many years ago.

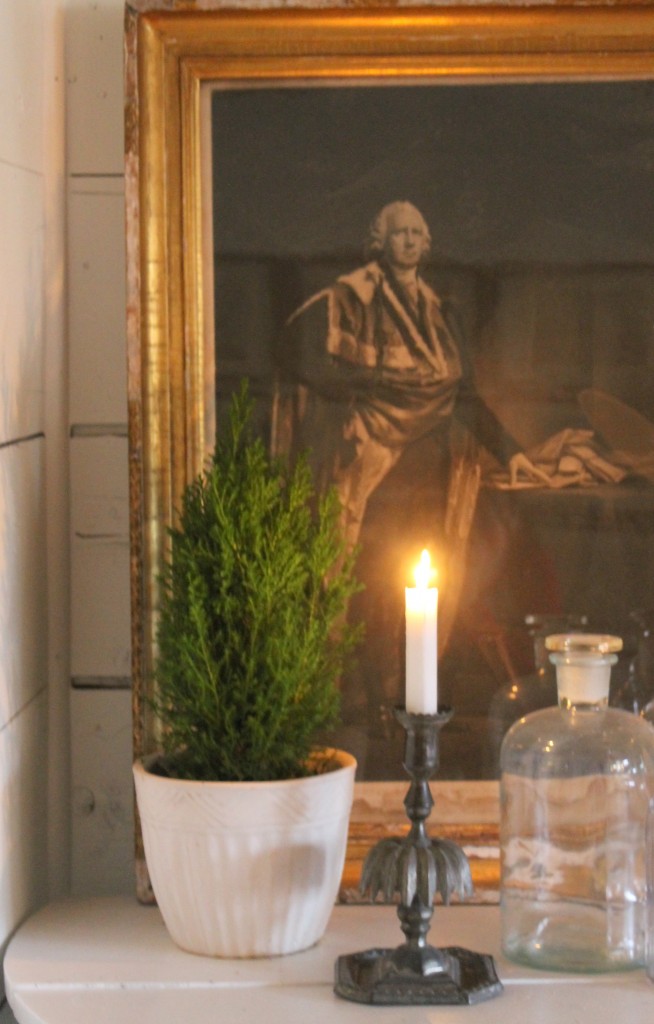
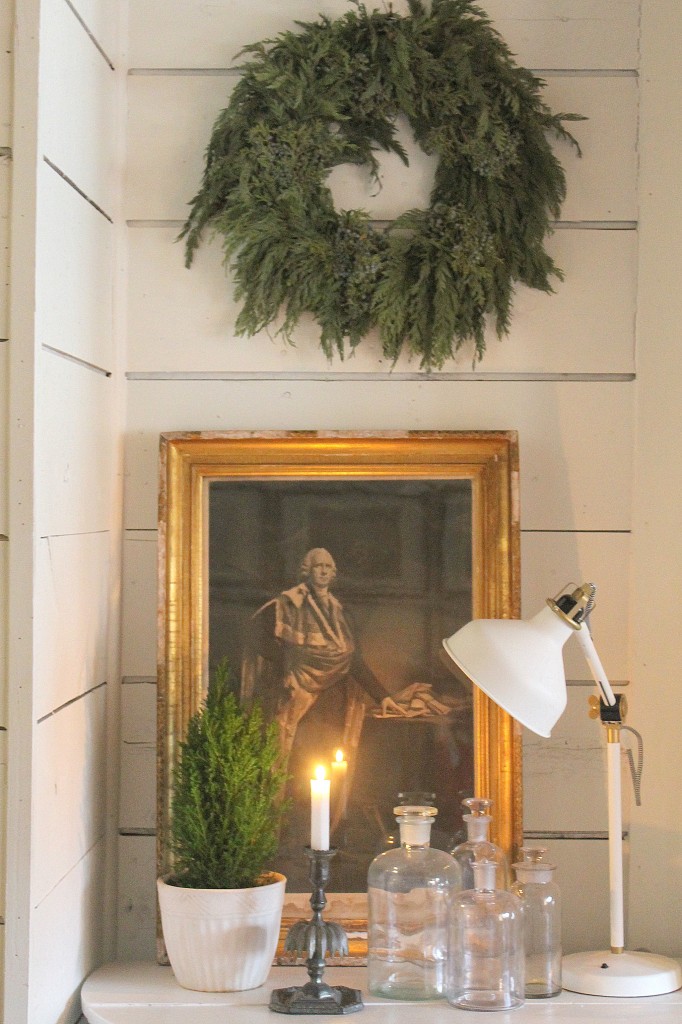
A stately pose.
A stately pose.
Fresh greens against white walls.

Fresh greens against white walls.

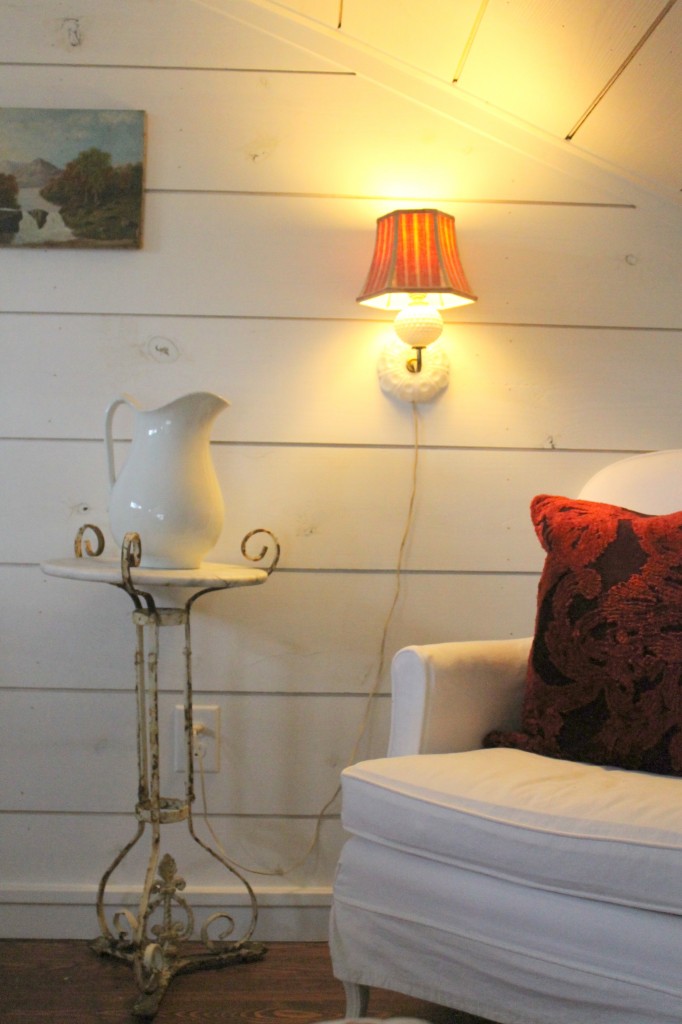
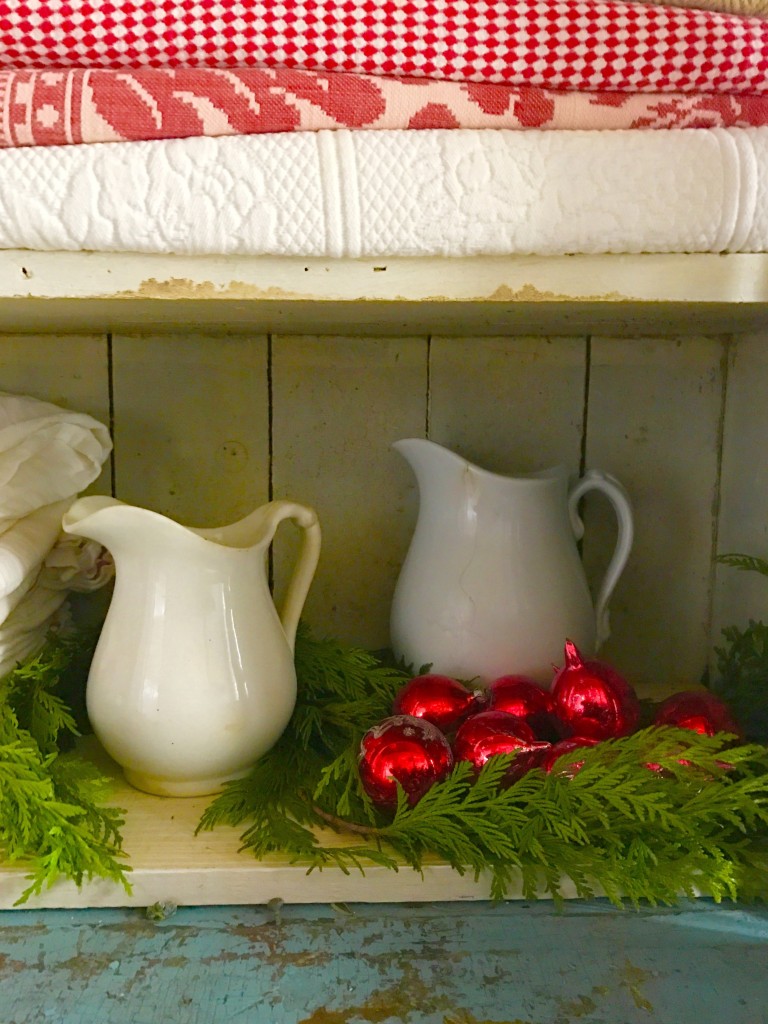
Old ironstone and fresh greens.

Old ironstone and fresh greens.

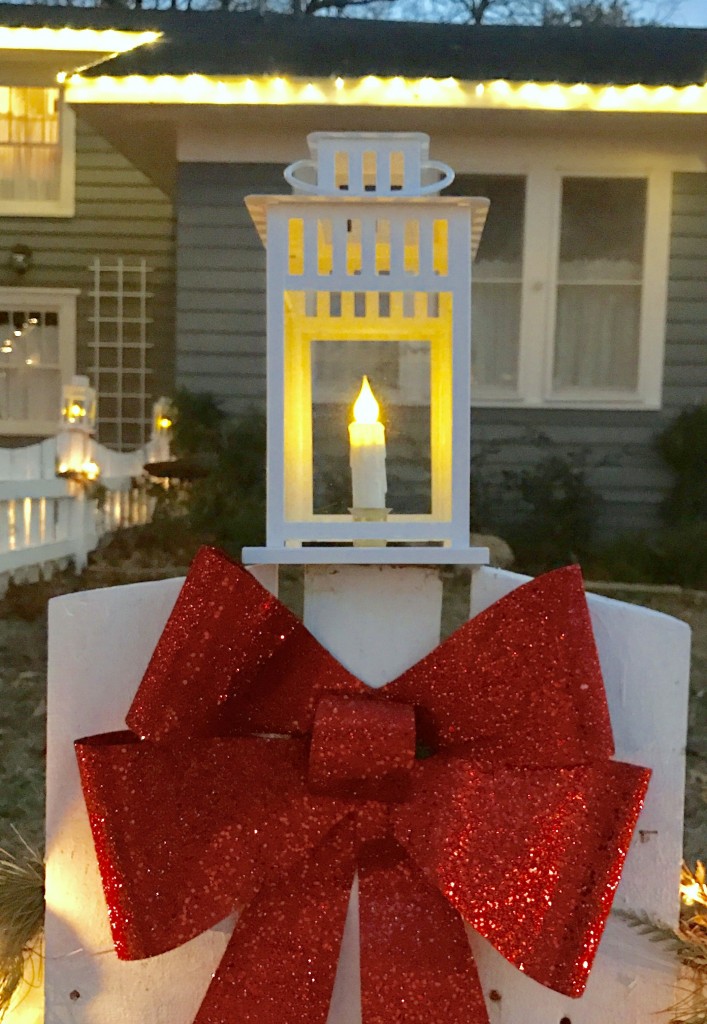
An Ikea lantern with a battery operated candle for each fence post.

An Ikea lantern with a battery operated candle for each fence post.

Using old, white chippy cast iron finials to hang grain sack stockings.

Using old, white chippy cast iron finials to hang grain sack stockings.

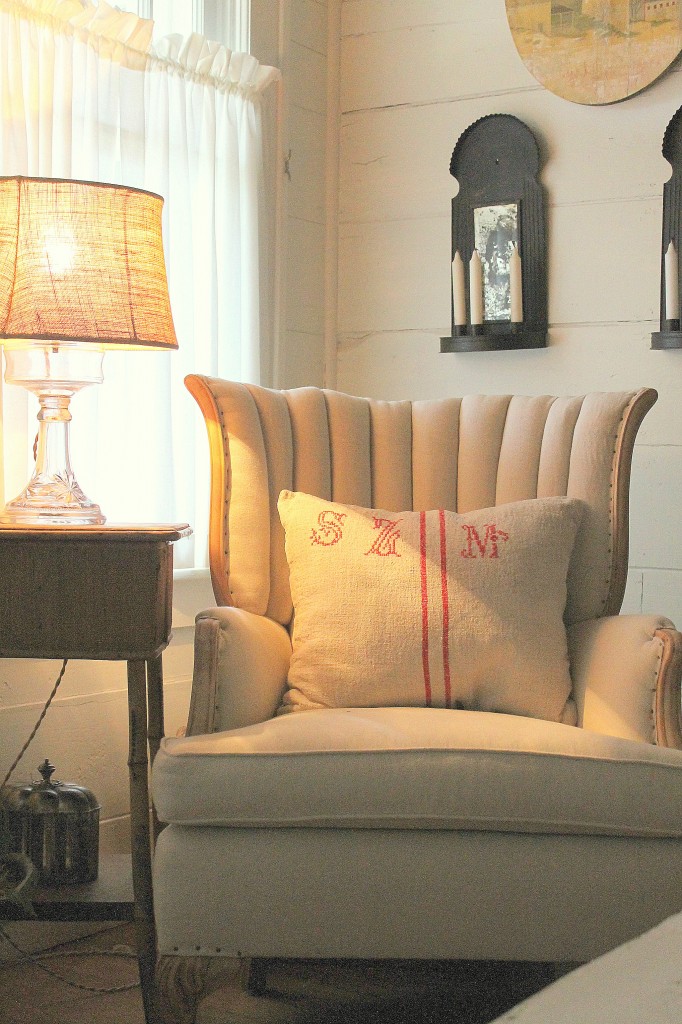
A easy chair with a bit of red for the holidays.

A easy chair with a bit of red for the holidays.

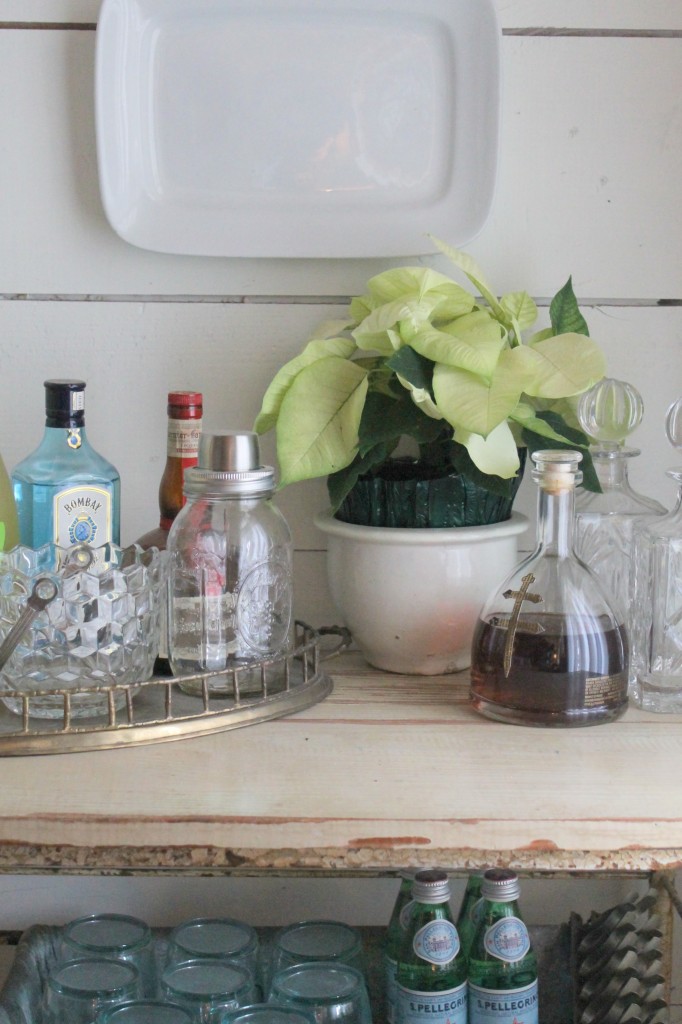
A touch of Christmas that is as easy as a white pointsettia

A touch of Christmas that is as easy as a white pointsettia

Nooks

sitting-area

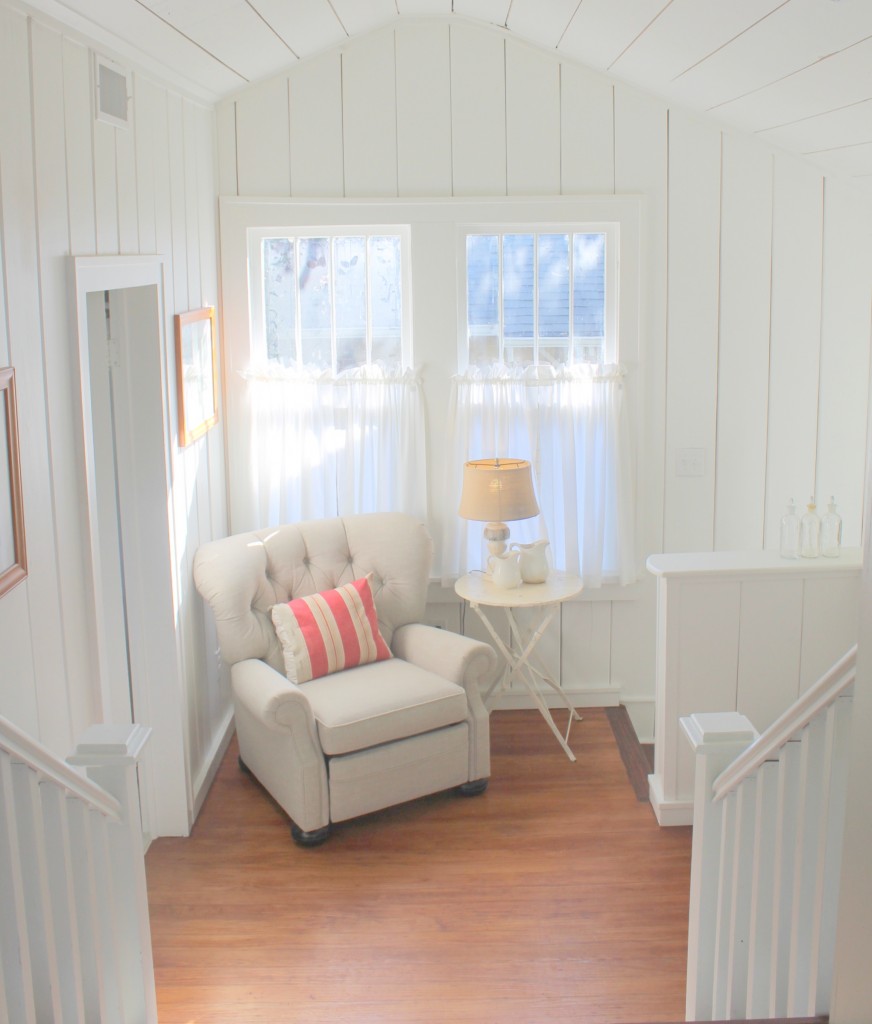
A stair landing that otherwise would be used for nothing other than a pass through becomes a place to get away.

When you build out every square inch of an old home, parts of the structure become architectural features.  The space under a stair way or the pitch of a roof become central to the design and the aesthetic.

My cottage is case and point.  Every space is somehow made cozier by having to work within the structure that creates these small, lovely nooks.  Or corners of respite as I like to call them.  Somewhere to tuck away and relax.

Every room in my home is small.  It is by no means palatial. Throughout the house, I have managed to squeeze in some place for one to tuck away.  To cozy up with a good book or a cup of tea  and just relax.

Fall will be here soon.  I look forward to curling up and contemplating.

I hope you find some inspiration.


Always,

Cindy

xoxo

south-guest-after-2

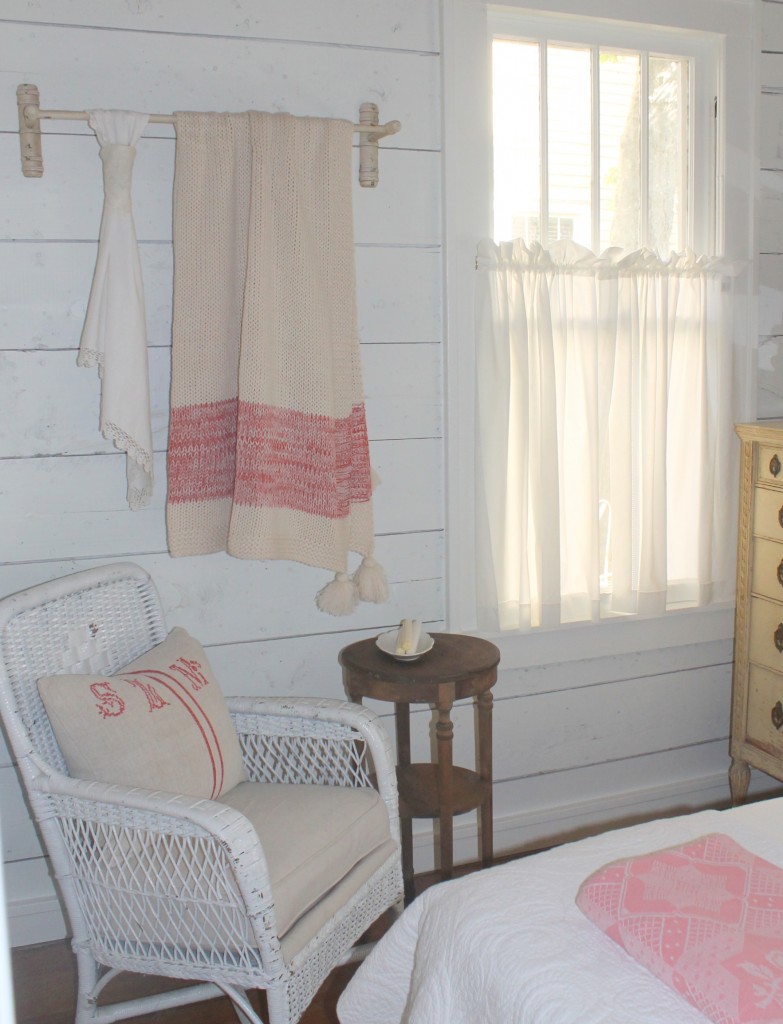
The corner of a room is a great place to tuck a Victorian wicker chair recovered in painters drop cloth.

master-after

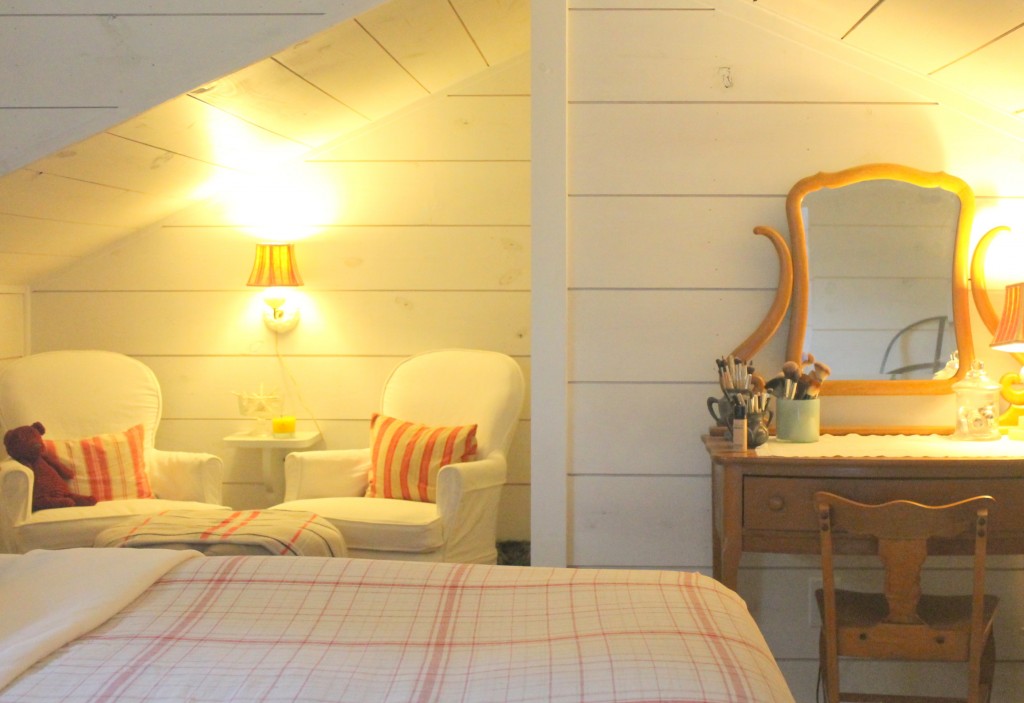
The pitch of a roof makes a great place to add a pair of sitting chairs and a comfy ottoman to put your feet on.


Shade it Off

IMG_9441

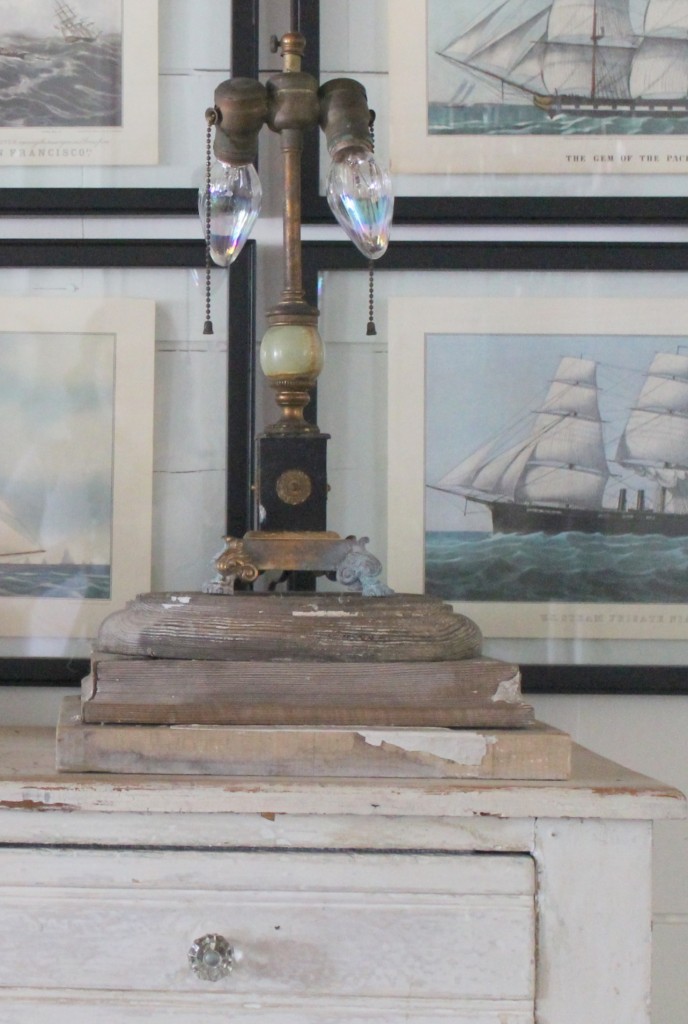
I’m starting to look at things differently.  A $35 eBay find.  Rewired.  Didn’t have a shade on hand.  I think I like it just the way it is.  I’ll set on it a while.  Maybe I’ll change my mind, maybe I won’t.  We’ll see.


I hope you find some inspiration.

All the best~

C.

Country Living Feature

Living Room

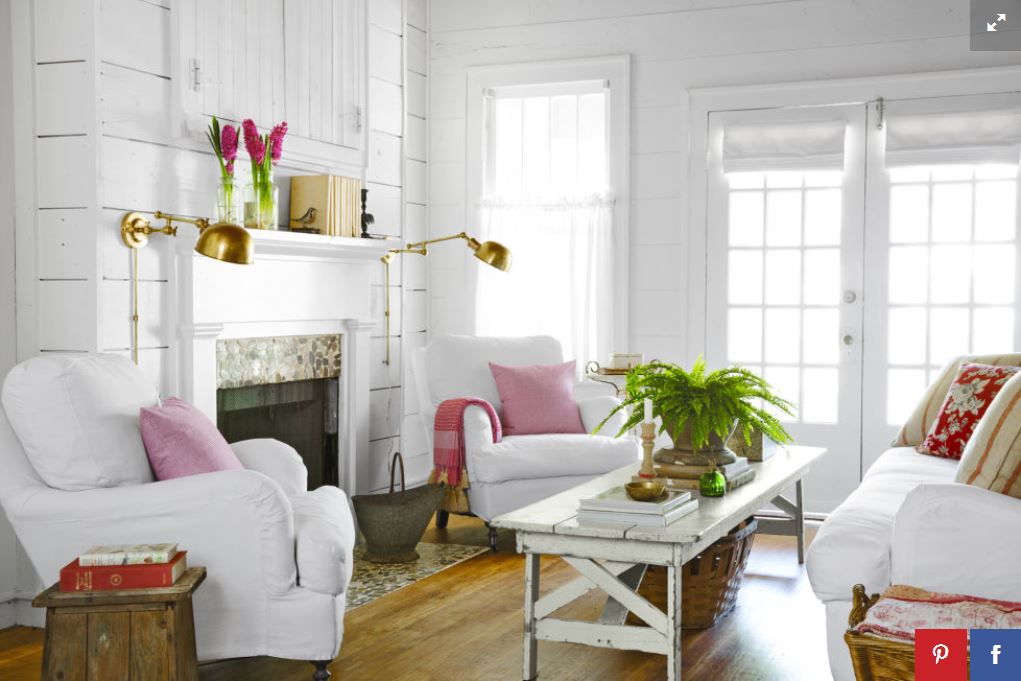
Happy and blessed to check this bucket list item off.  Here is the link to the feature article that is in the current issue of Country Living.

I hope you find some inspiration.

All the best~

Cindy


Greatest Felicity in the Smallest of Things…

I am not sure if I have a low threshold for impression or take great appreciation in the smallest of things.  Hmmm….I’ll go with the latter.

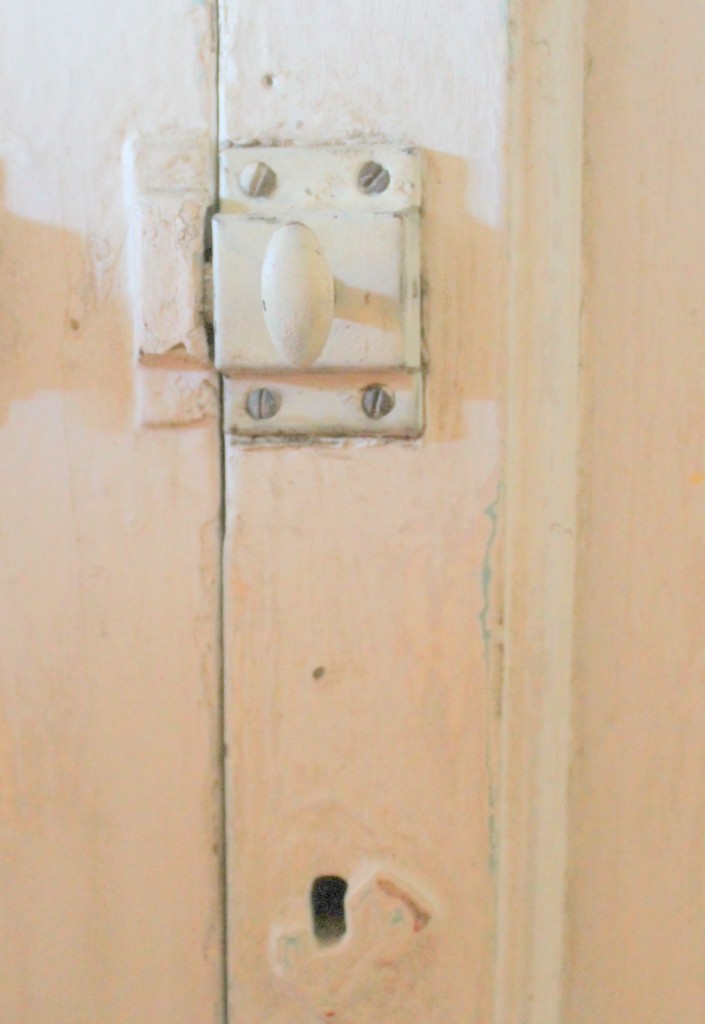
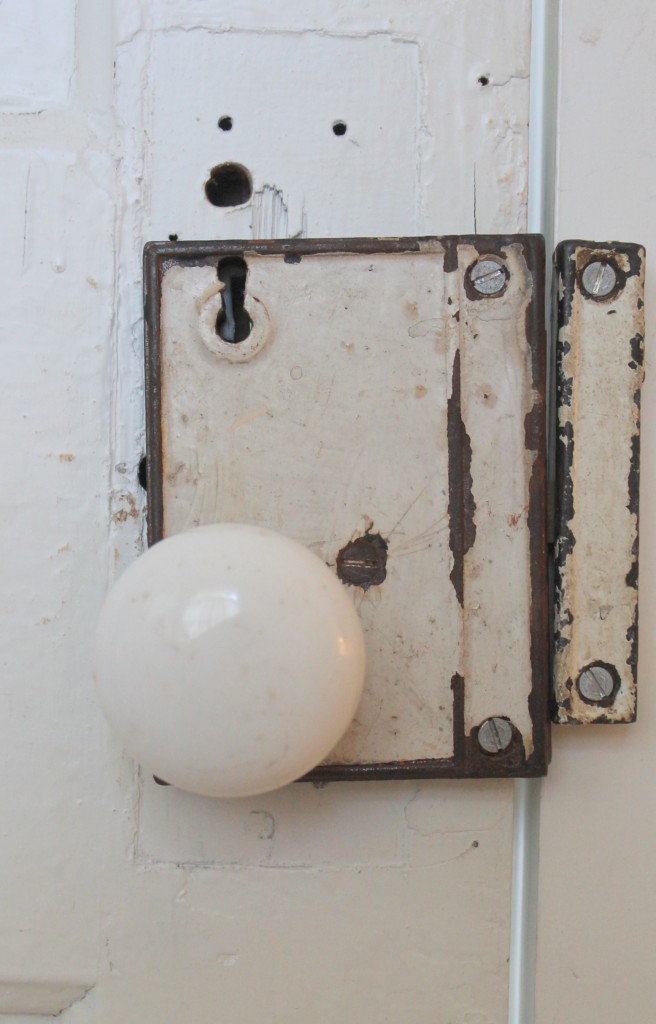
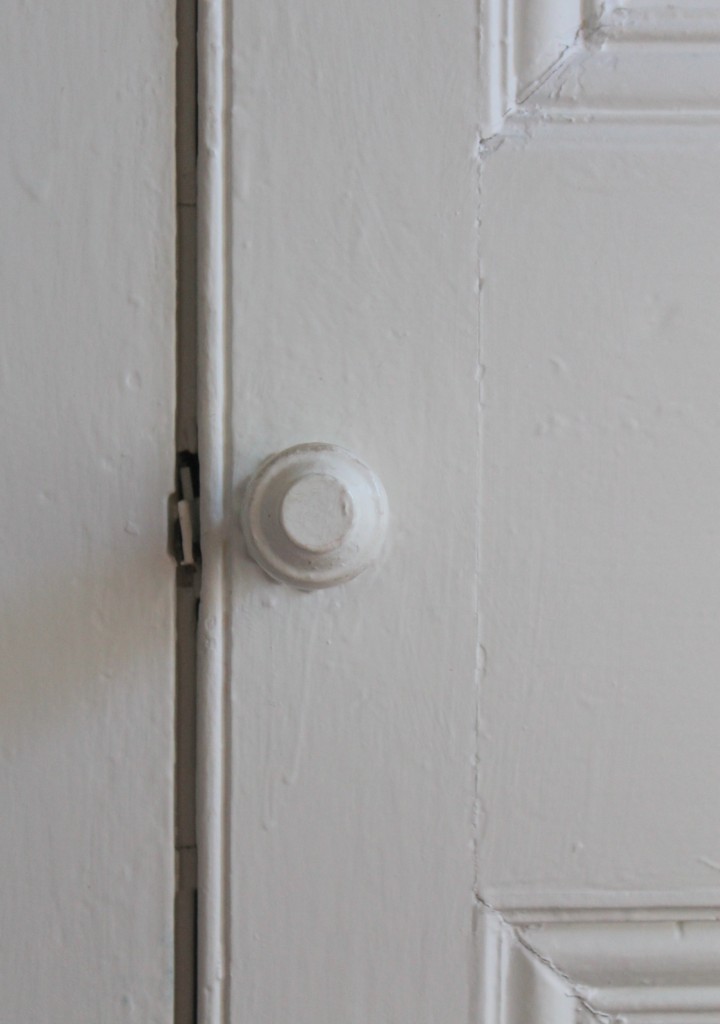
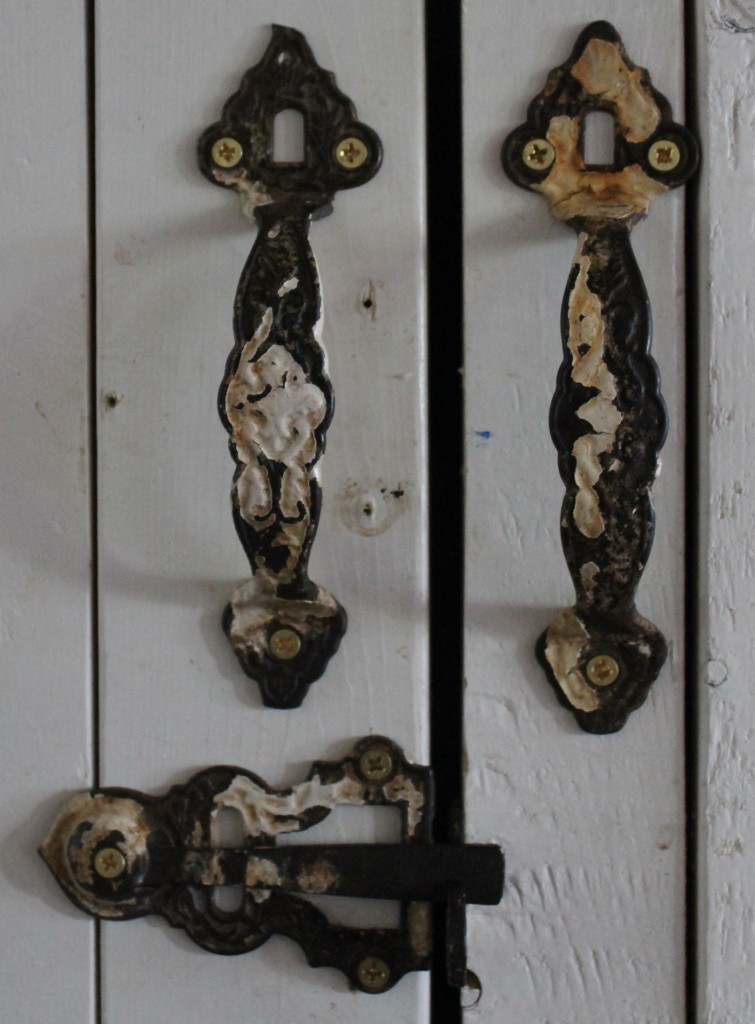
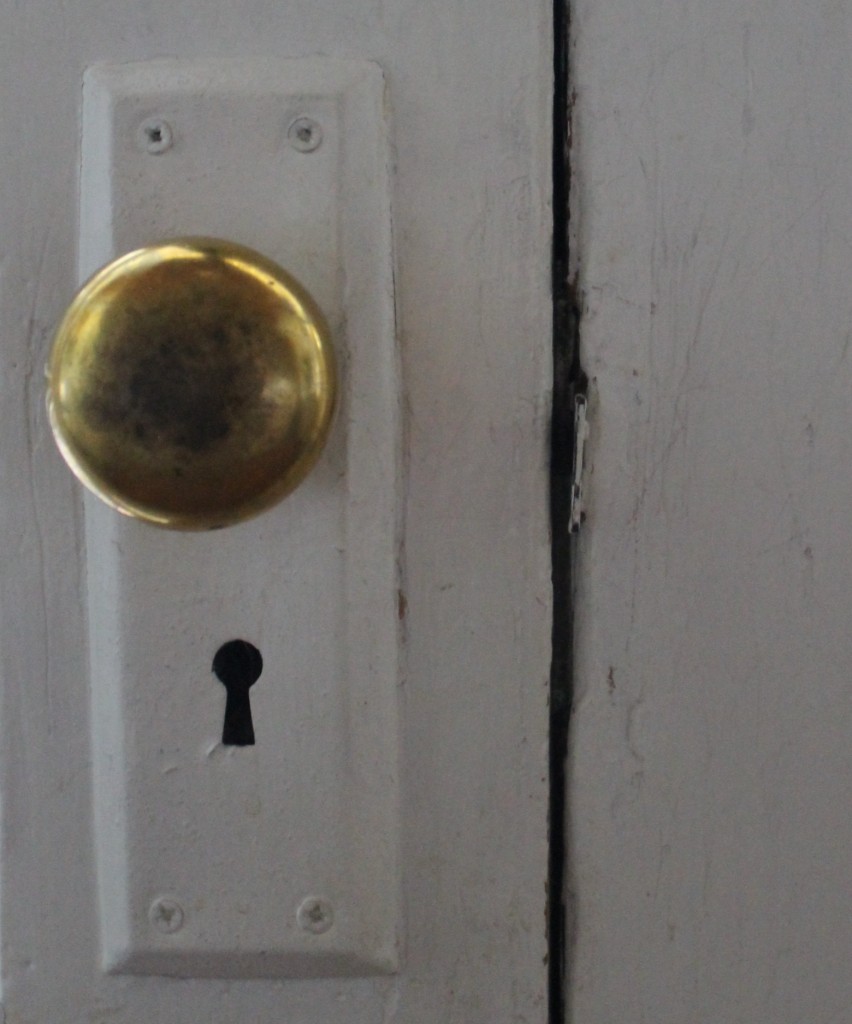
It occurred to me one day as I was mindlessly closing a door that there is a certain solid and substantial click of old cast iron surface mounted door locks as it is being latched.  Something you just can’t find or replicate with modern door knobs.

Then I started to notice all the old latches, knobs and hardware throughout my house and I realized that I don’t have a single new piece of hardware.

I scoured eBay, craigslist, salvage shops and antique stores to find all the hardware for my home during the renovation.  Not in sets, mind you, but piece by piece.  It’s all mismatched, but more importantly it’s all old.  And I love it.

I grew up in an old town in the Northeast by the name of Doylestown, PA.  There was a rather well known poster that was a collection of old doors from many of the old houses in the area.  It was called the Doors of Doylestown.  I always loved that poster.

Here is my homage to that poster.

I hope you find some inspiration.

All the best~

Cindy

xoxo

IMG_9388

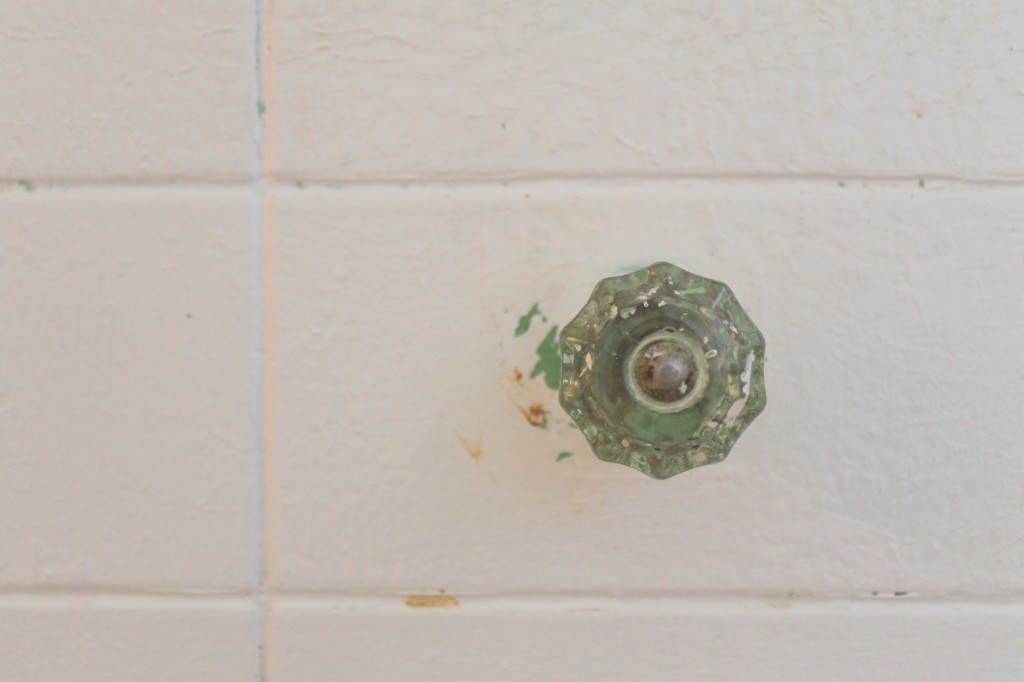
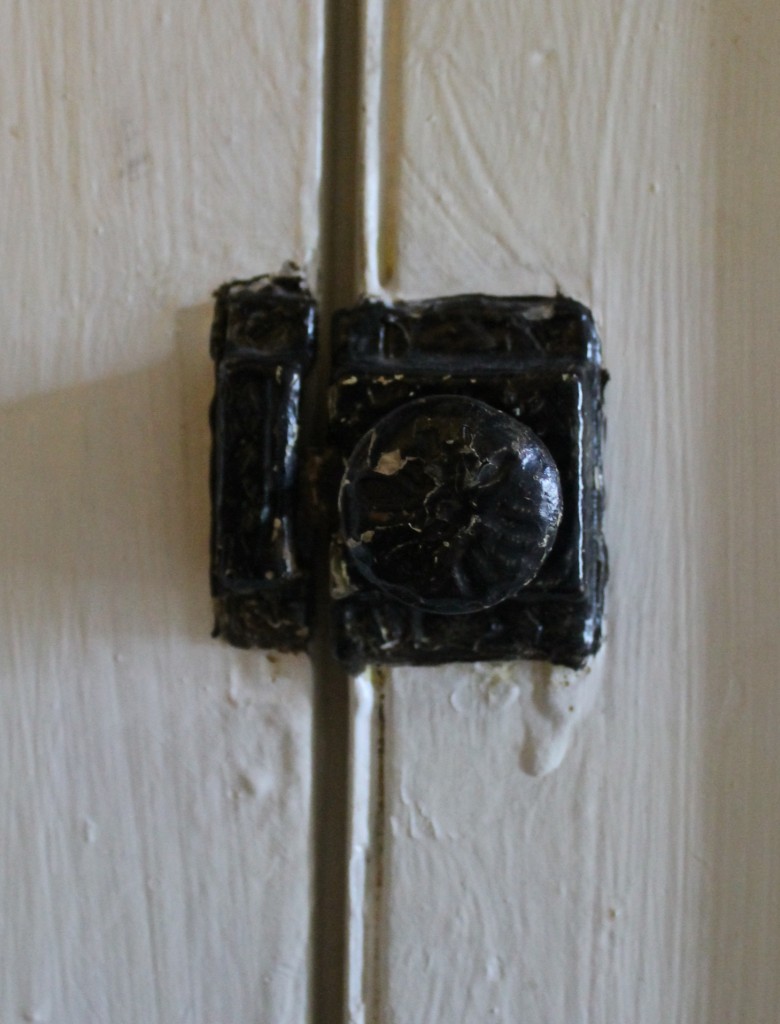
You can see the original green paint through the old glass knob.

IMG_9369

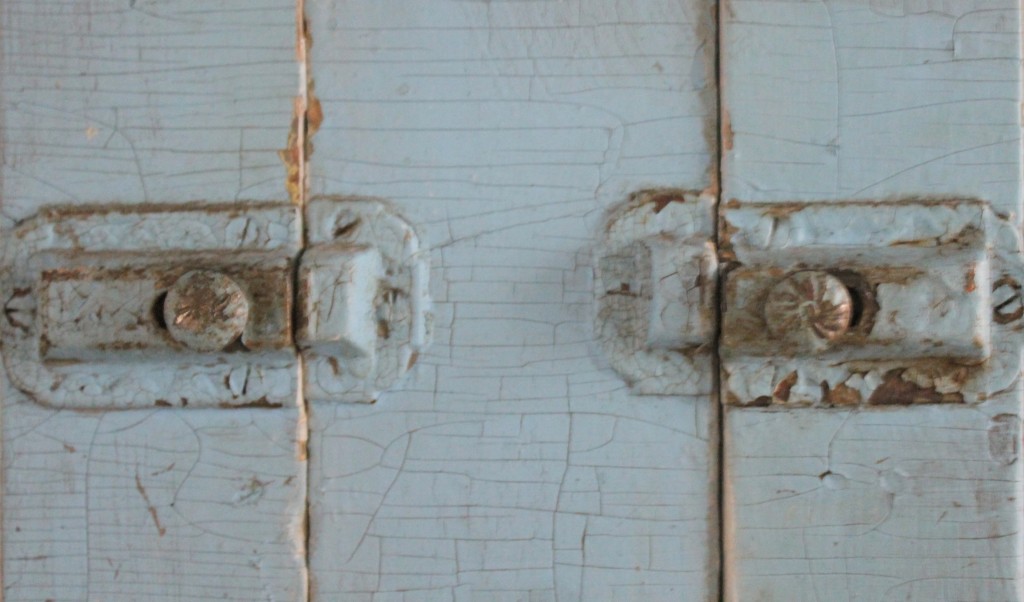
Found on eBay, hardware from an old chicken coop.

IMG_9370

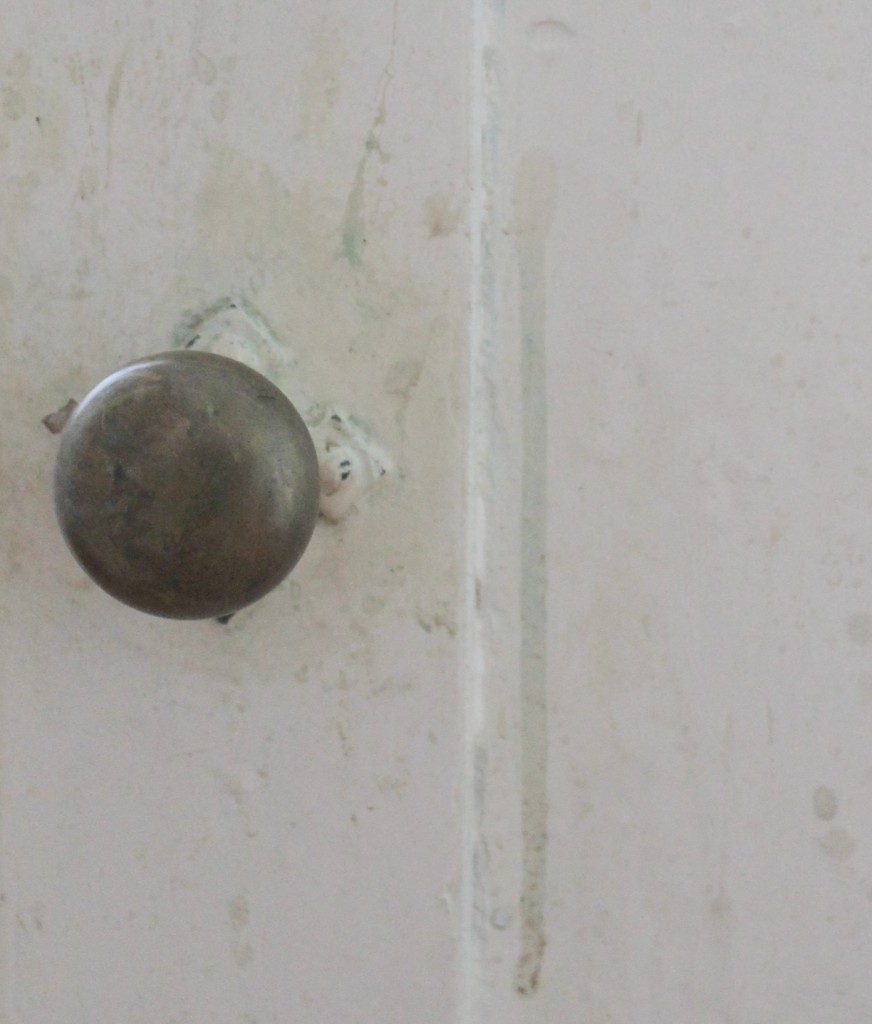
Old brass.

IMG_9372

Layers of paint on the latch from this circa 1750’s hutch

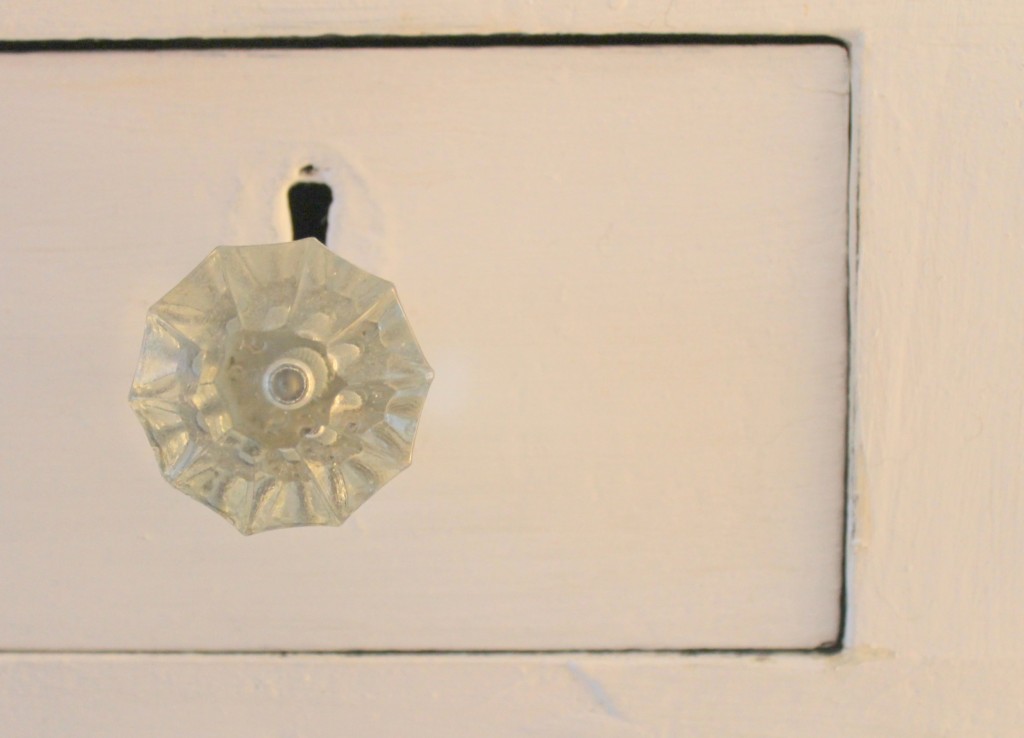
Lovely large glass knobs.

Lovely large glass knobs.

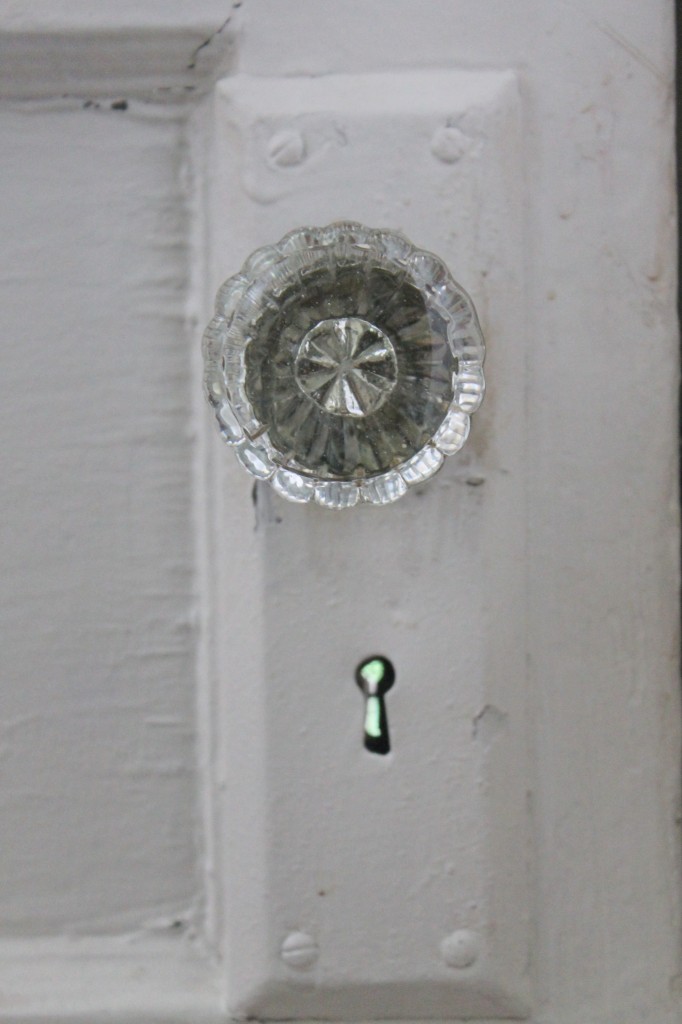
Original to the house, both door and knob are as lovely (and useful) as they were on their first day.

Original to the house, both door and knob are as lovely (and useful) as they were on their first day.

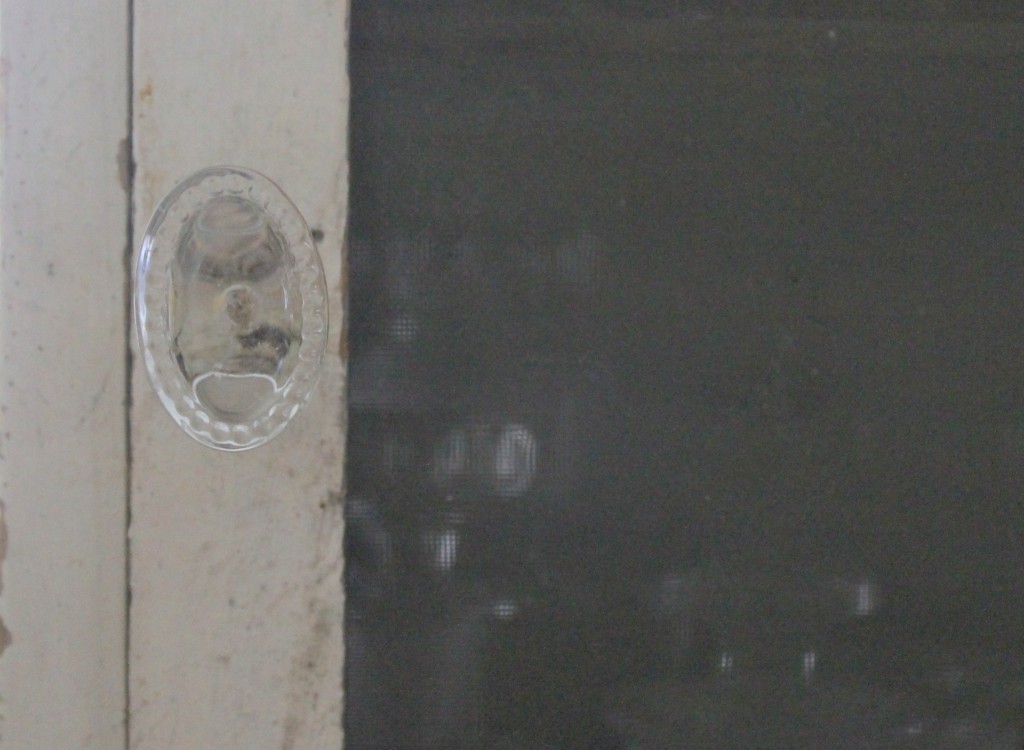
An old pie safe with a glass knob. I keep this pie safe in my kitchen and it holds baking items, such as extract. I keep them in vintage apothecary jars that you barely get a hint of behind the screening.

An old pie safe with a glass knob. I keep this pie safe in my kitchen and it holds baking items, such as extract. I keep them in vintage apothecary jars that you barely get a hint of behind the screening.

IMG_9384

An old jelly cupboard with layers and layers of paint on the hardware.

IMG_9385

An old side table with a lovely, worn and patina’d brass knob.

IMG_9386

A surface mounted lock with a mis-sized rim keeper, installed upside down so as to take advantage of the previous hardware holes installed decades ago on this century old farmhouse door.

IMG_9375

Original paint finish and hardware on an old step back cupboard.

IMG_9373

An English armoire with a very simple, traditional knob and latch.


The Un-Umbrella Stand

IMG_9325

For once, I am ahead of schedule.  Not even out of April and my front flower beds are planted, the back yard is tidied up from the winter season and the outdoor furniture is out and I am ready to coast for the summer.

The one piece of engineering I had to do was to create a cover for my outdoor market umbrella stand.  The umbrella is necessary not just for keeping the hot sun at bay, but also to keep the birds from leaving gifts on the seats of my outdoor furniture. 🙂

I looked on the internet for tables that also doubled as umbrella stand covers, but the ones I liked were $150 – $300. (of course)

So I had to get creative.  It turned out well and I am happy with the end result.  You can decide if you agree.

I hope you find some inspiration.

Always,

Cindy

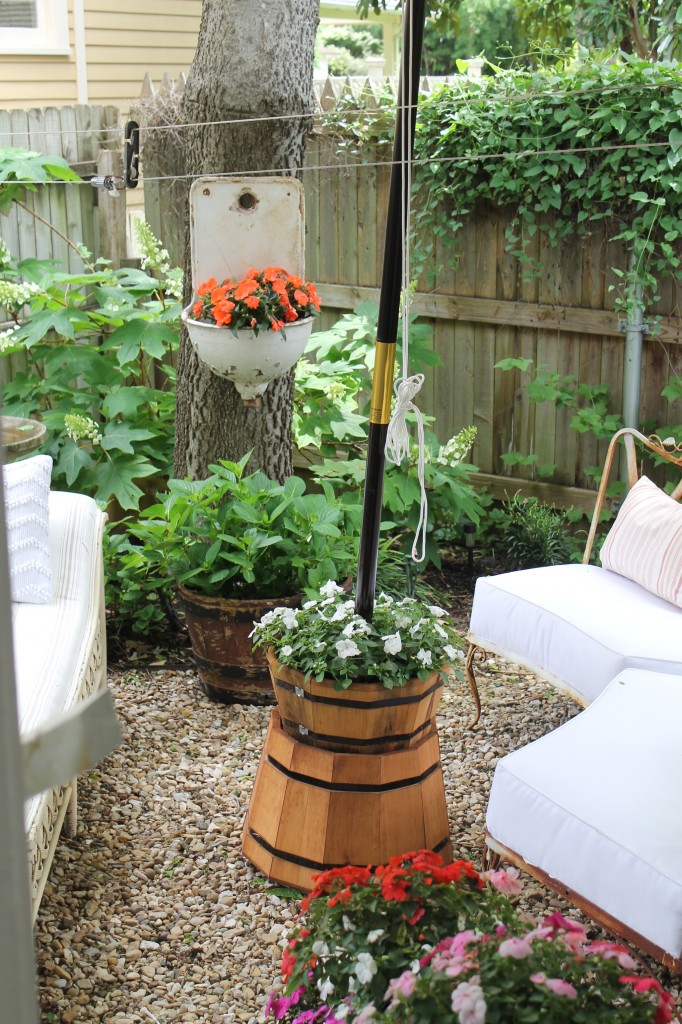
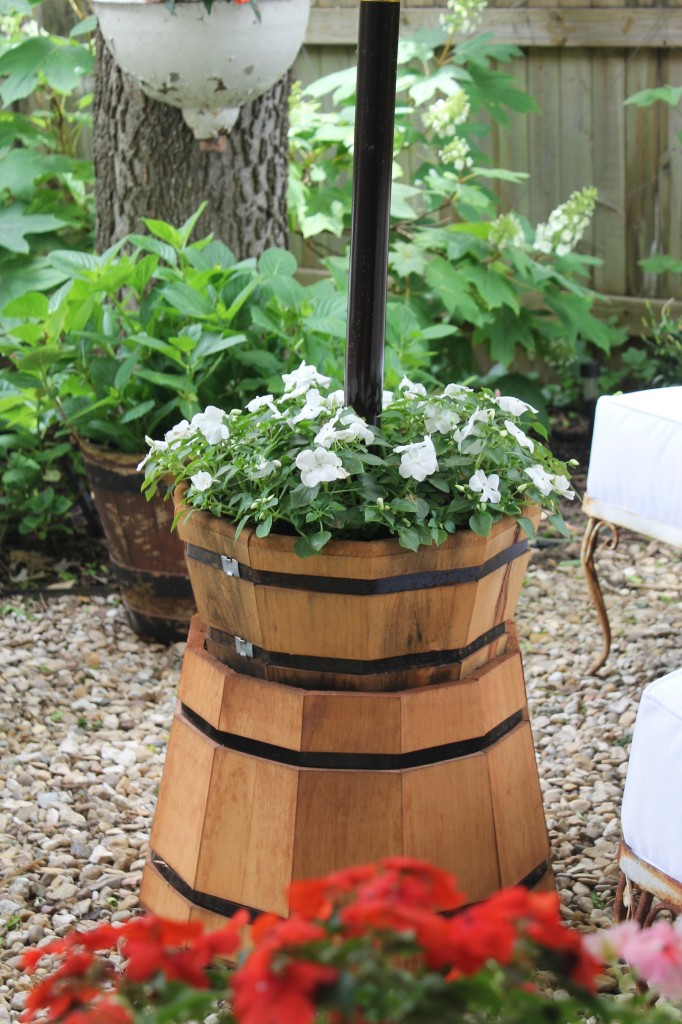
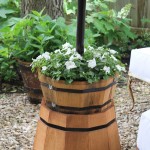
Two cedar planters, one smaller and one larger were used. Purchased from Lowe's, a hole was drilled in both of them to allow them to slide down the center pole. The larger was turned upside down, the smaller was filled with some plastic at the bottom, potting soil and flowers. A simple pressure fit (with the help of a rubber mallet) was all that was needed to create one unit.

Two cedar planters, one smaller and one larger were used. Purchased from Lowe’s, a hole was drilled in both of them to allow them to slide down the center pole. The larger was turned upside down, the smaller was filled with some plastic at the bottom, potting soil and flowers. A simple pressure fit (with the help of a rubber mallet) was all that was needed to create one unit.

Non Colour Colour

IMG_9293

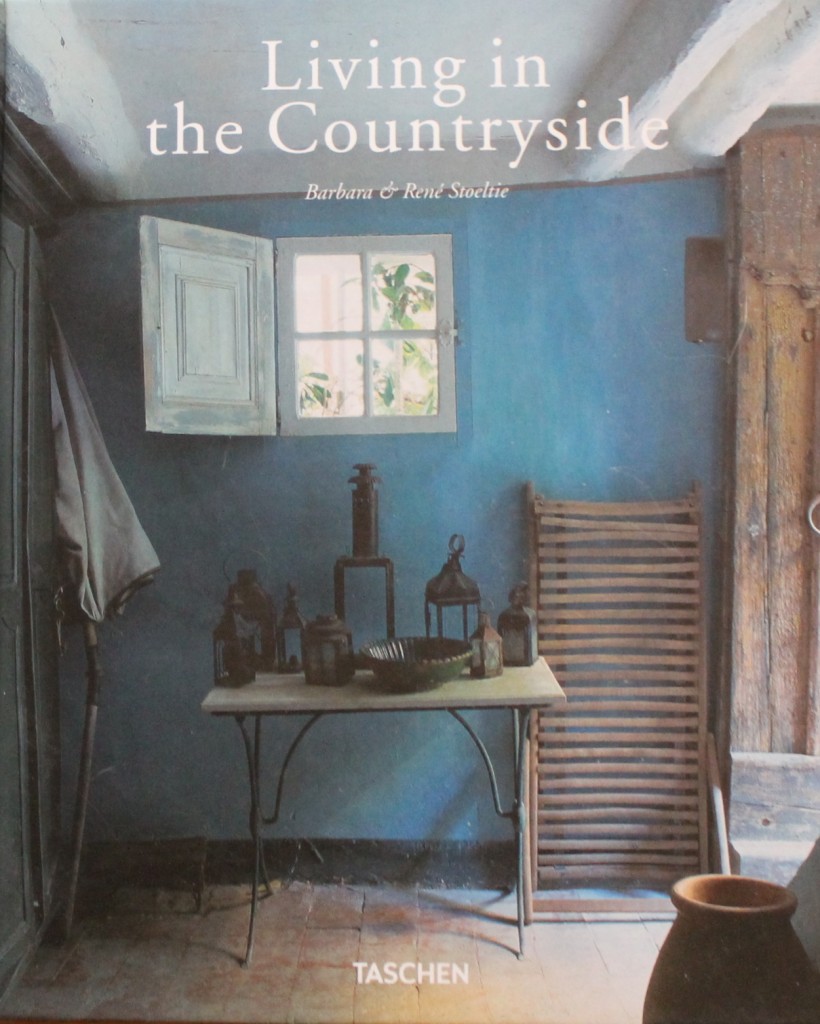
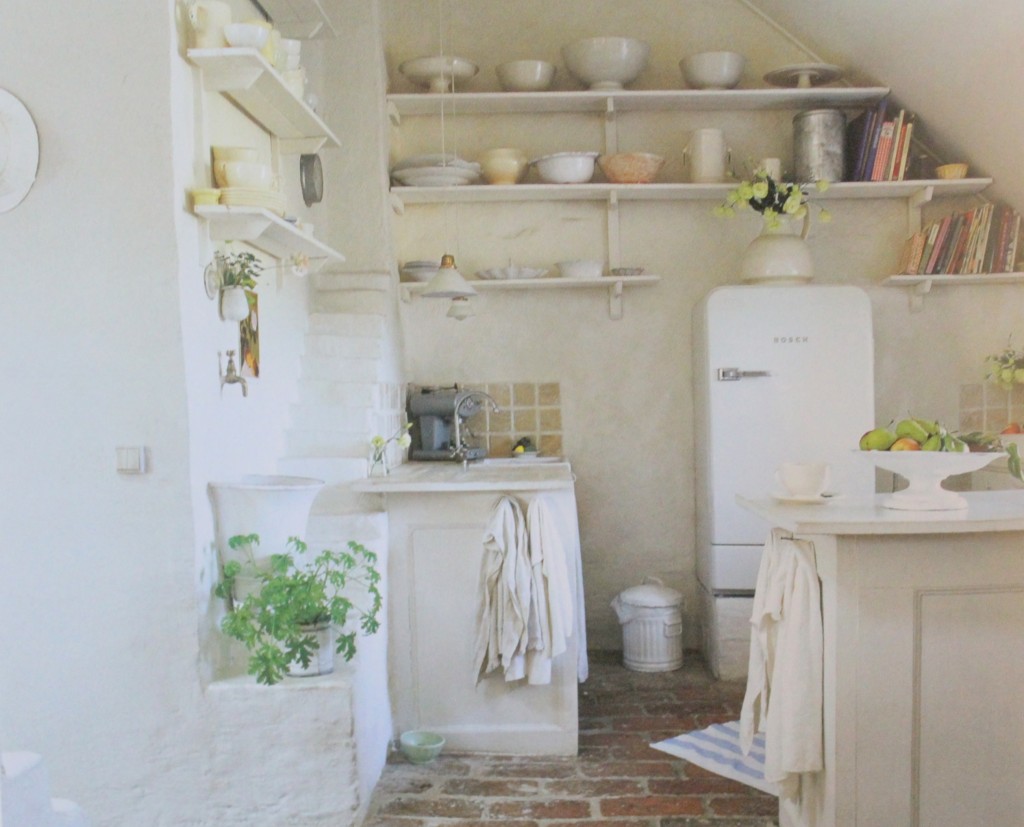
I was meandering through Pottery Barn a couple of weeks ago and saw a lovely looking book on their clearance table.  So lovely was the cover, I was compelled to pick it up and thumb through it.

This kitchen was featured on the inside cover and later in the book.  It sold me. I bought the book.

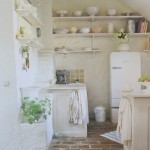
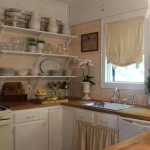
If I had a tiny, little cottage to get away to, this is the kitchen I would want.  Simple. Unfussy. Calm.

I love the way they use the architecture of the old building to play into the aesthetic. I also love the neutral tones of the fixtures and kitchenalia.

I hope you find some inspiration.

Always,

Cindy


IMG_9294


The Tale of the White Cotton Twill Tape

Simple shades for a few dollars form Lowes, simply covered with the twill tape and tied off.

Simple shades for a few dollars from Lowes, simply covered with the twill tape and tied off on the interior.

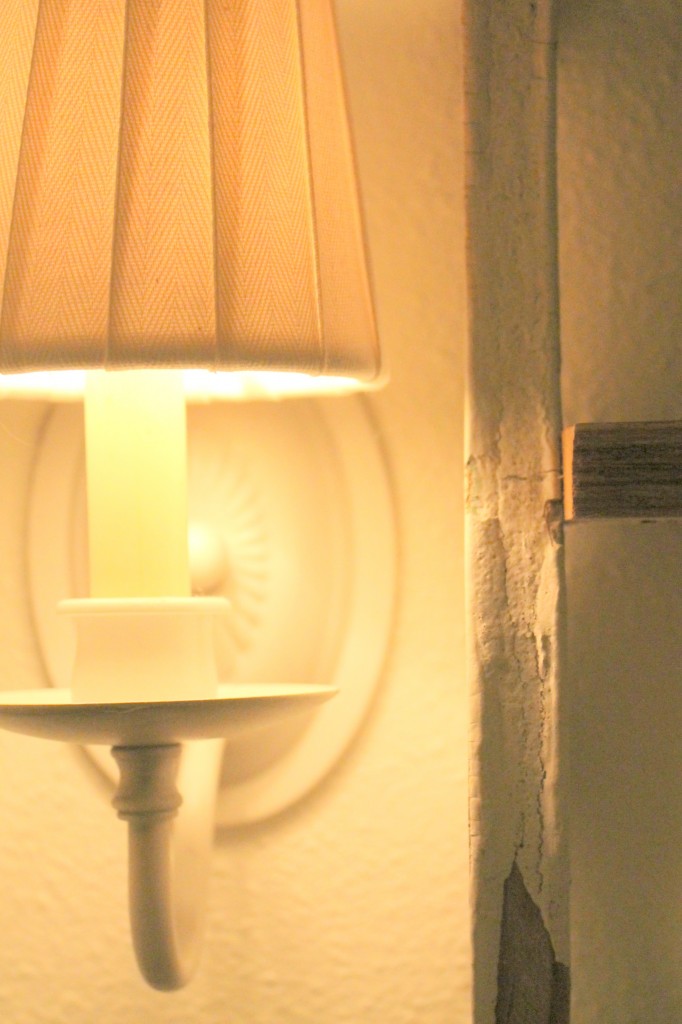
A lifesaver indeed.  I had four lampshades that needed to be replaced.  Two were for some vintage boudoir lamps and two were for a pair of wall sconces.  All four were in both my bathrooms.  I wanted something refreshed, not precious.

I looked online, but finding neutral shades in the right scale at the right price that weren’t 50 shades of boring became a larger task than you would think.

Then I had an epiphany.  I had a 100 yard spool of 1 inch wide white cotton twill tape that I had ordered from Amazon by mistake.  It occurred to me there may be some DIY synergy if I could somehow find a way to use it to re-purpose the shades I already had.  At $29 for the twill tape, it would be incredibly cost effective and maybe, dare I say it…clever.

Judge for yourself.

I hope you find some inspiration.

All the best~

Cindy

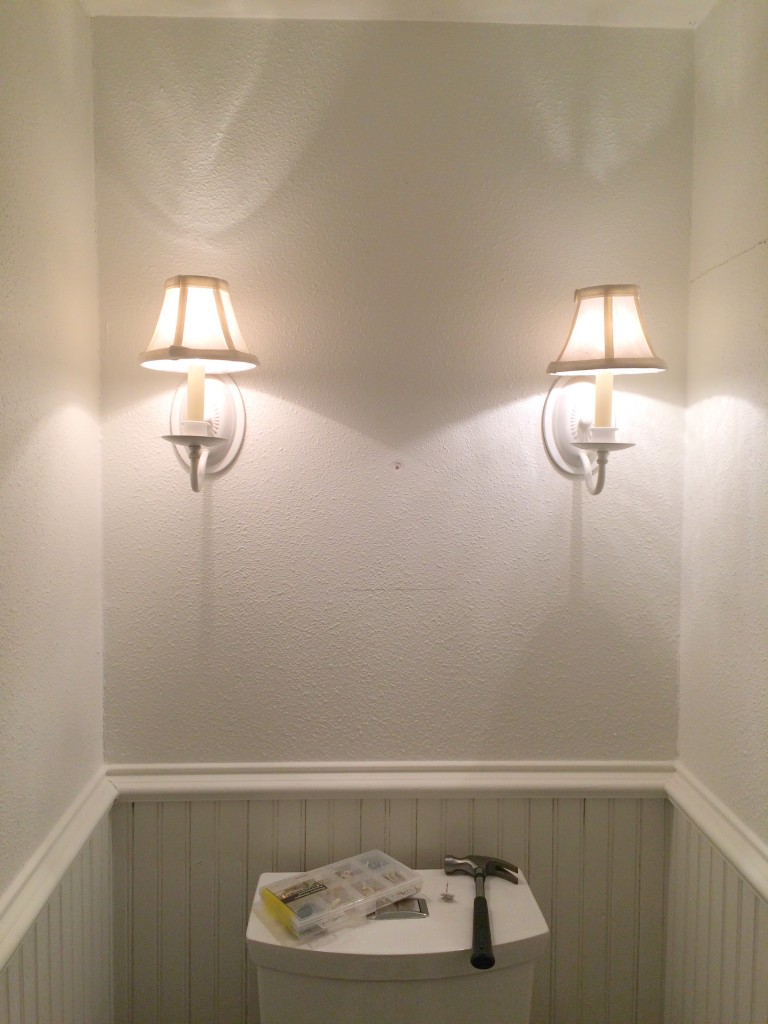
Downstairs bathroom - Before. Sconces that weren't in the budget to replace, needed some updating. The shades were full of debris from the renovation and really couldn't be salvaged.

Downstairs bathroom – Before. Sconces that weren’t in the budget to be replaced and needed some updating. The old shades were full of debris from the renovation and really couldn’t be salvaged so I had to come up with something.

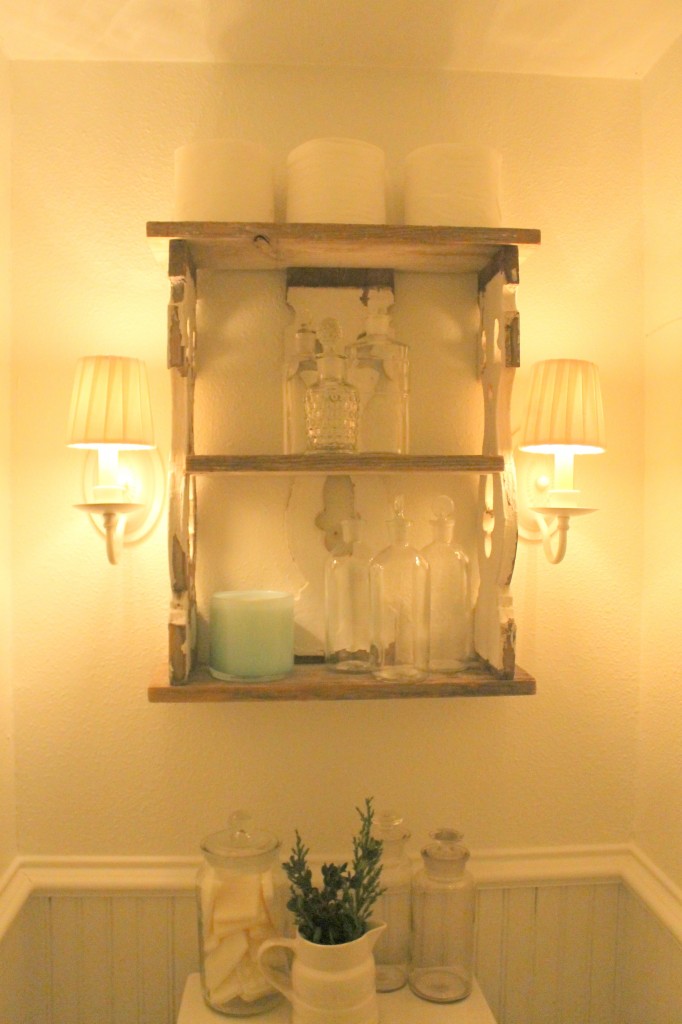
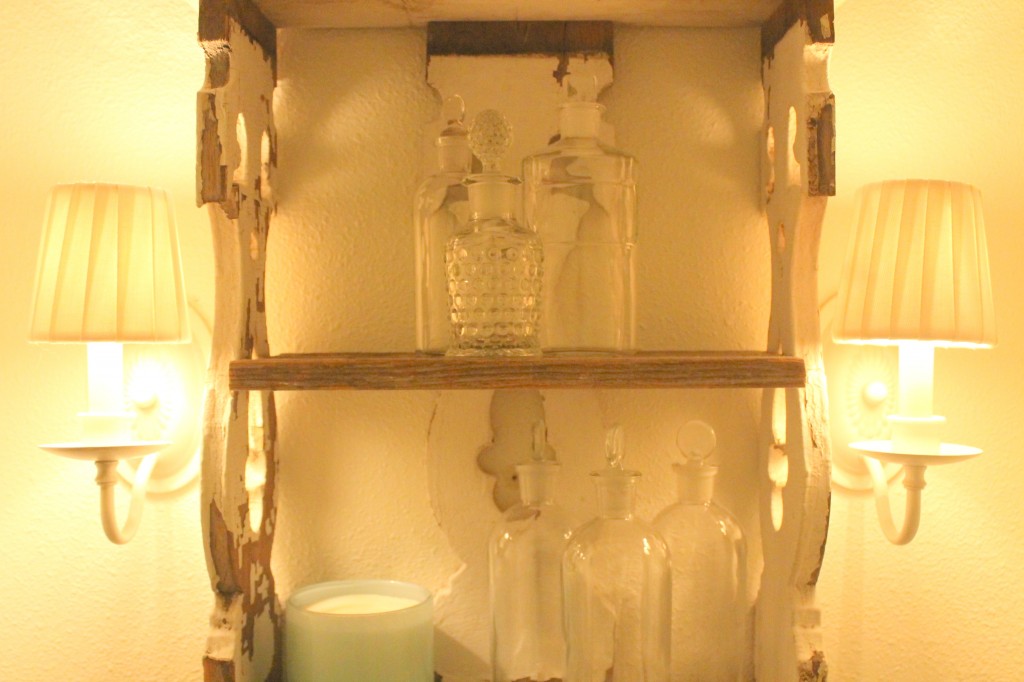
After. New shades, an old shelf and my collection of antique apothecary jars.

After. New shades, an old shelf and my collection of antique apothecary jars.

Still trying to get the hand of proper arrangement. It's an art, for sure and I haven't mastered it yet.

Still trying to get the hang of proper arrangement. It’s an art, for sure and I haven’t mastered it yet.

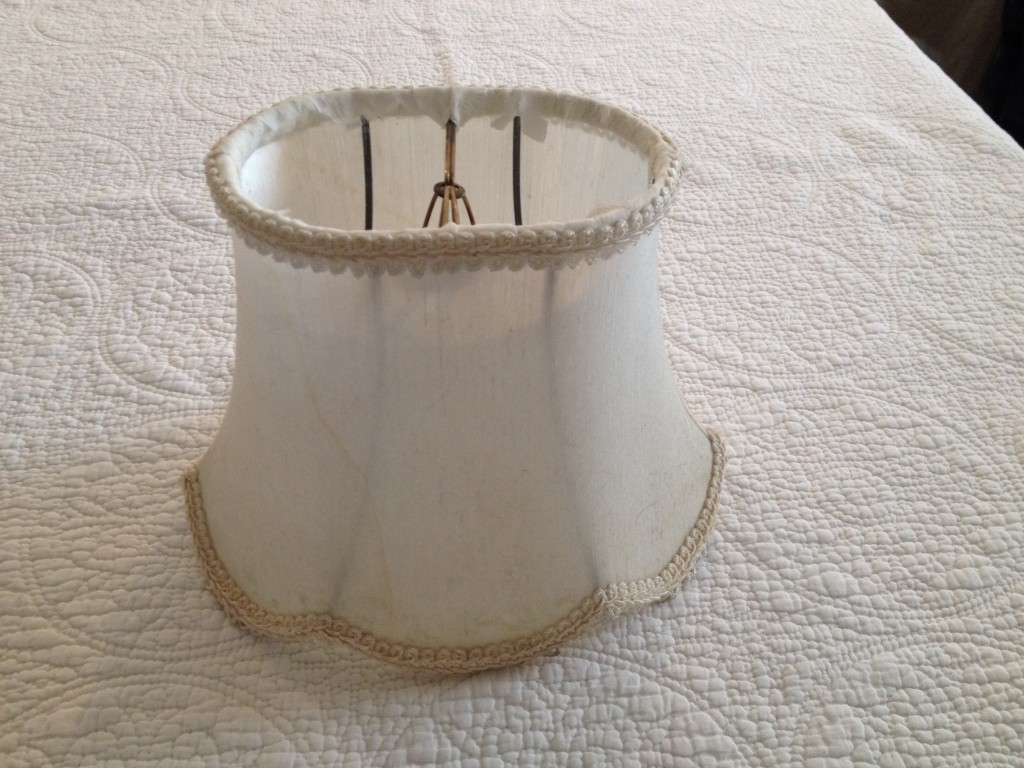
Oval Scalloped Shade - Before.

Oval Scalloped Shade – Before.

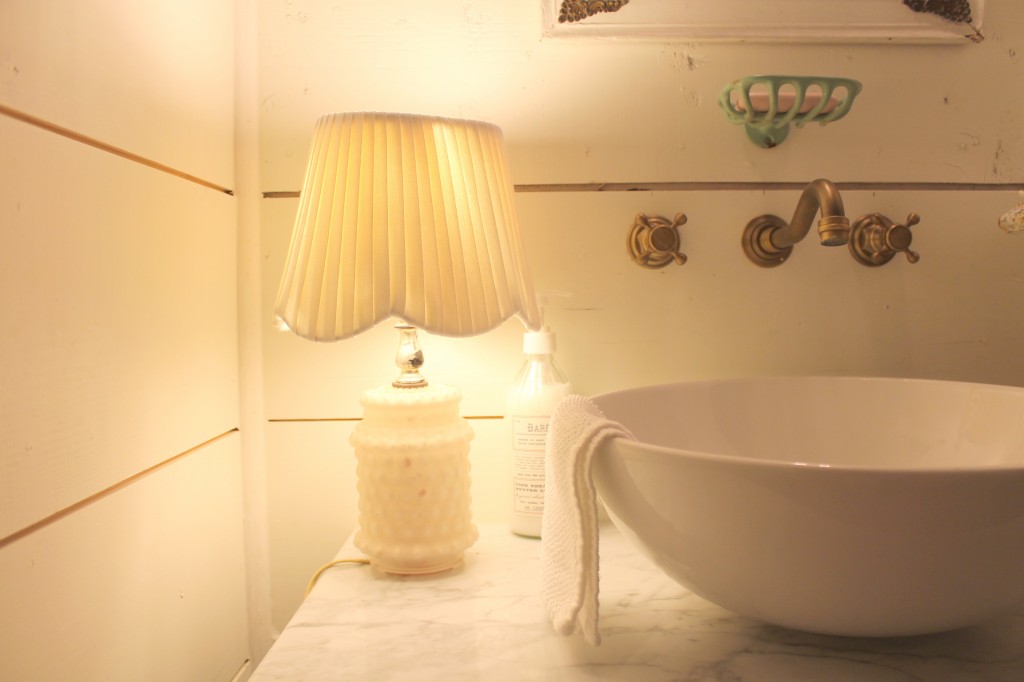
Downstairs sink - After. This vintage shade required a bit more work (Thanks, Mom). A few hidden basting stiches to keep the twill tape in place around the curves. It diffuses the light well.

Downstairs sink – After. This vintage shade required a bit more work (Thanks, Mom). A few hidden basting stiches to keep the twill tape in place around the curves. It diffuses the light well.

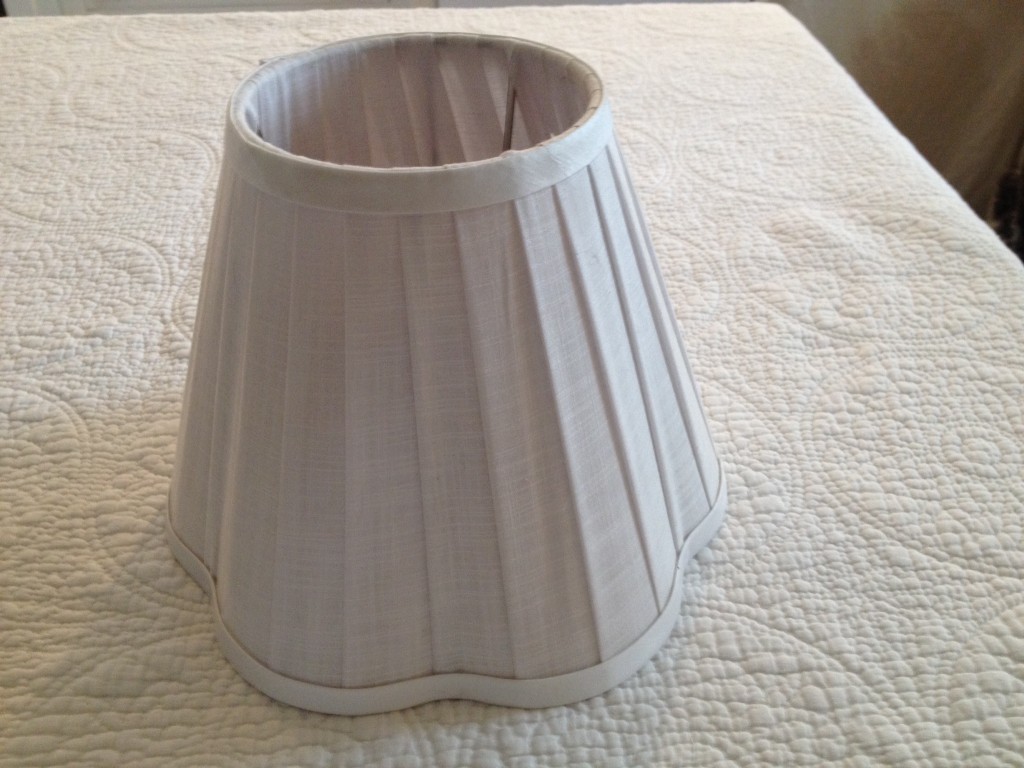
Round Scalloped Shade - Before.

Round Scalloped Shade – Before.

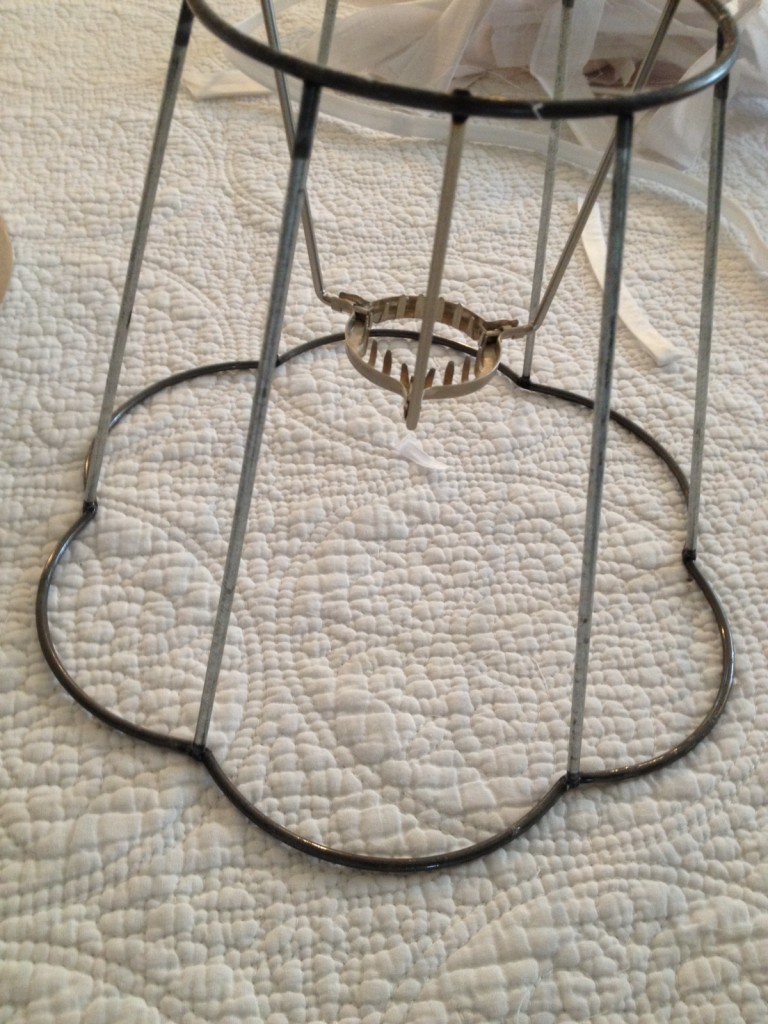
Round Scalloped Shade without it’s original covering.

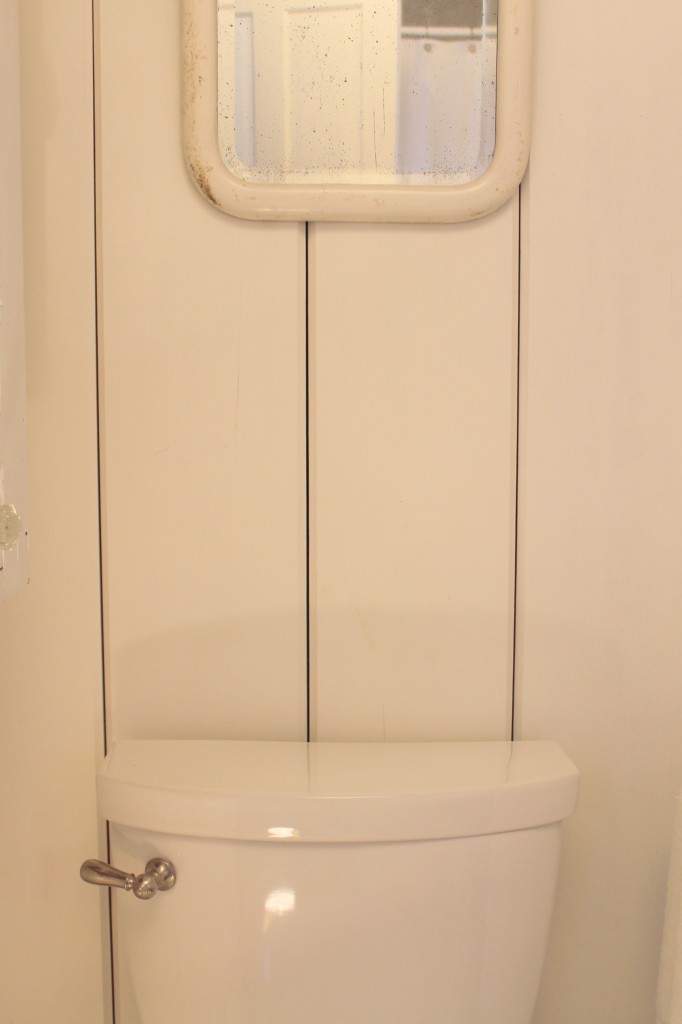
Upstairs bathroom Before.

Upstairs bathroom Before.

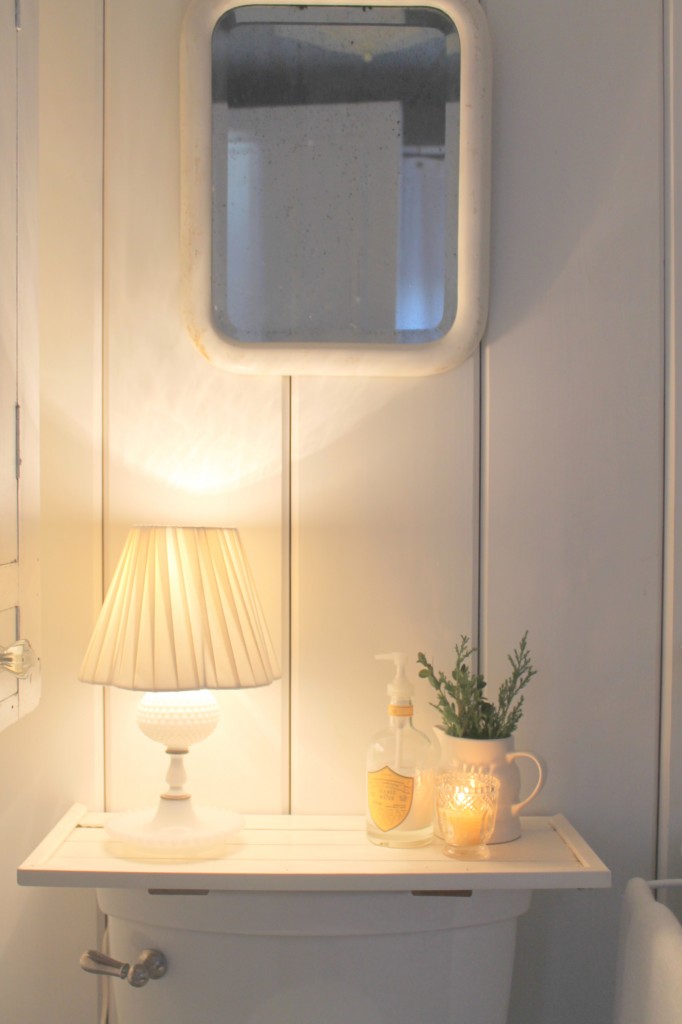
After. The lovely scalloped shade was a perfect foil for this treatment. Adds some panache to the vintage white hobnail lamp.

After. The lovely scalloped shade was a perfect foil for this treatment. Adds some panache to the vintage white hobnail lamp.