We are in the final stretch. The frenzy to the finish. Twelve days from today, the moving truck will show up so I can (finally) go home.
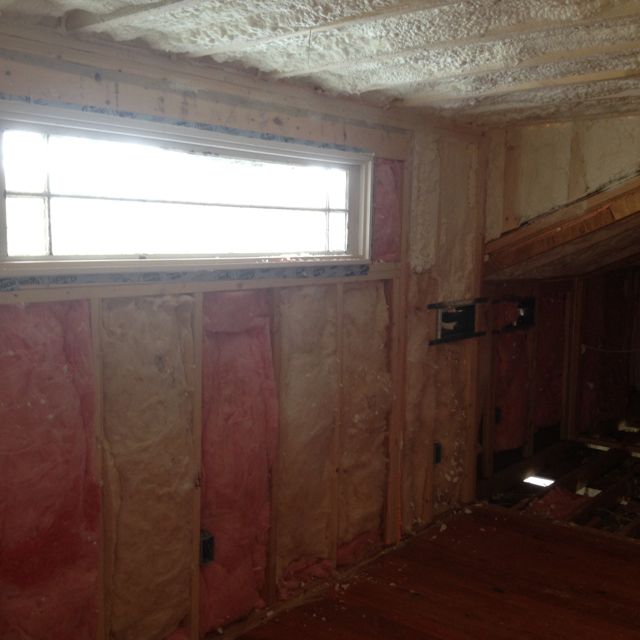
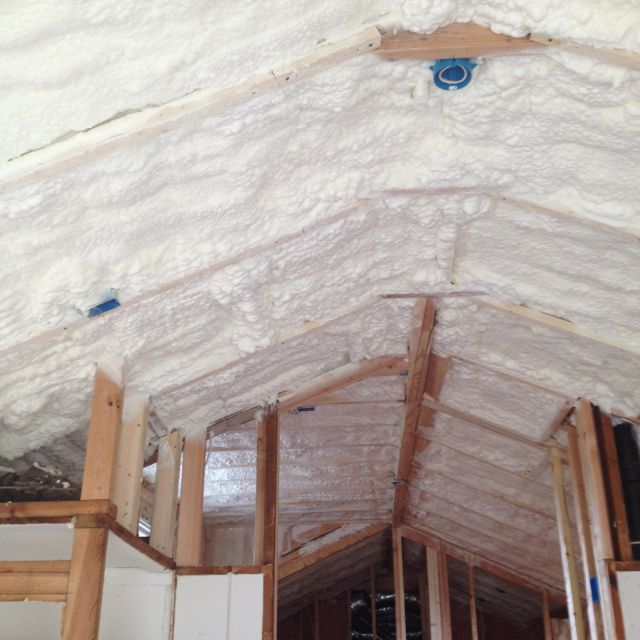
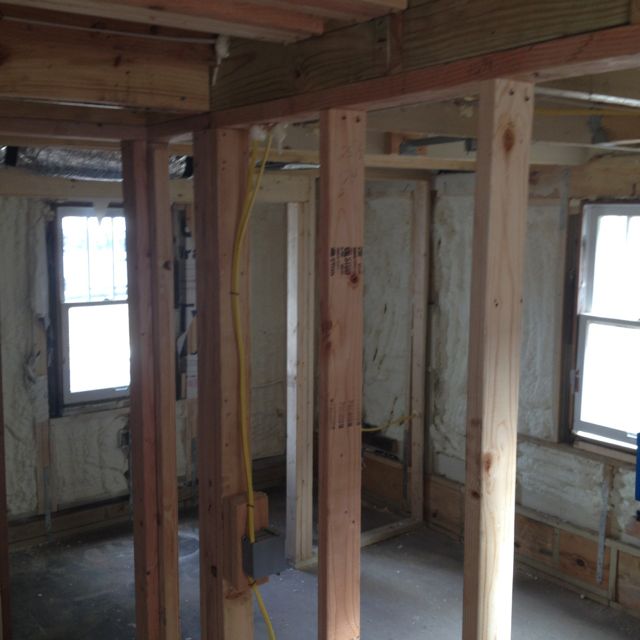
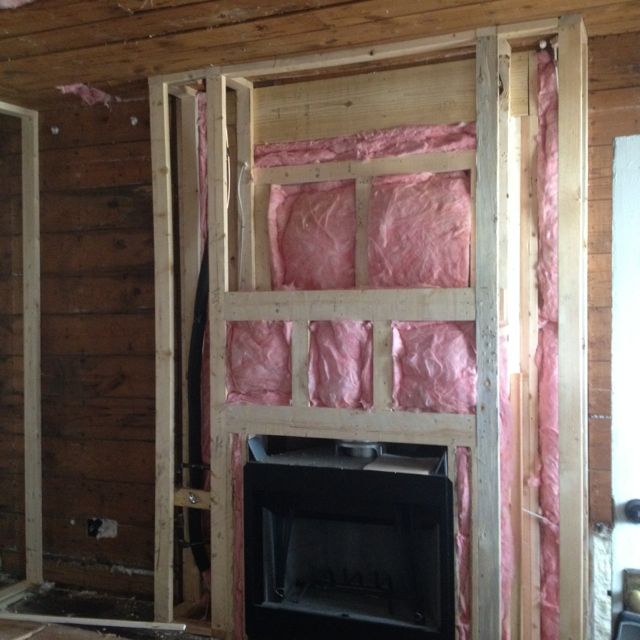
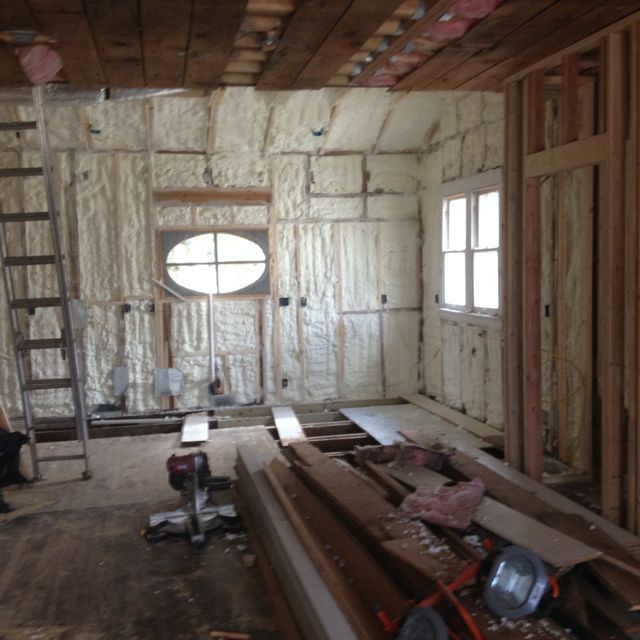
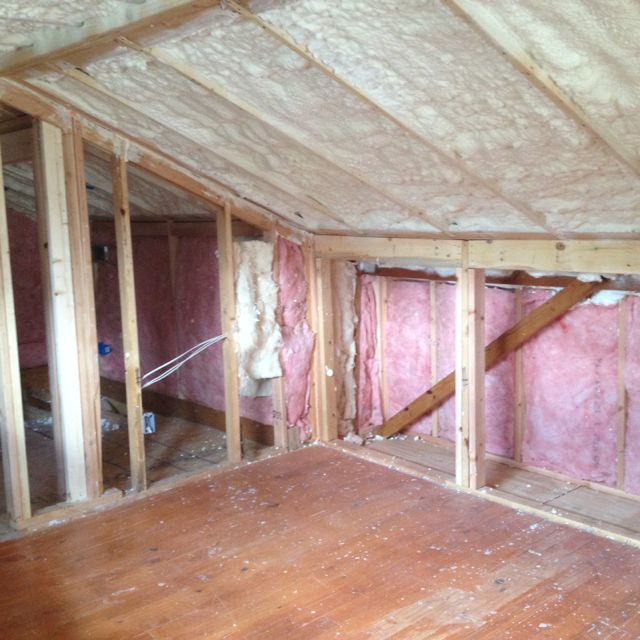
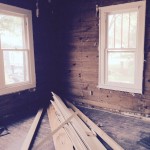
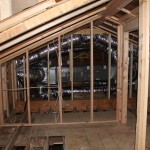
In truth, the house is a bit of a war zone right now. A lot going on, many trades working at once.
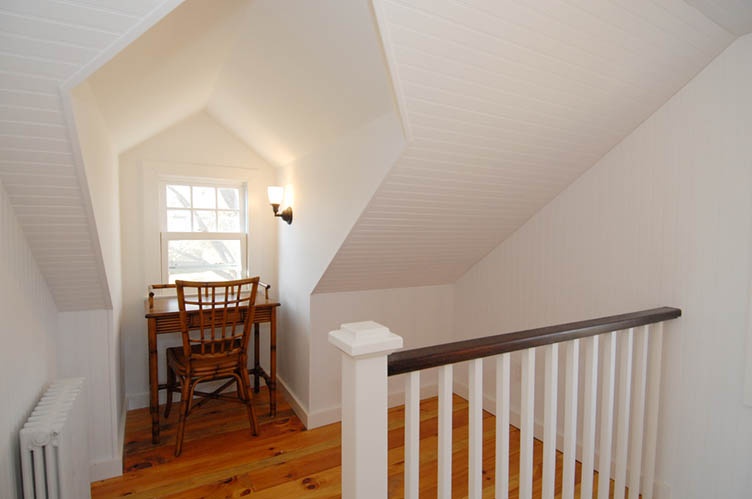
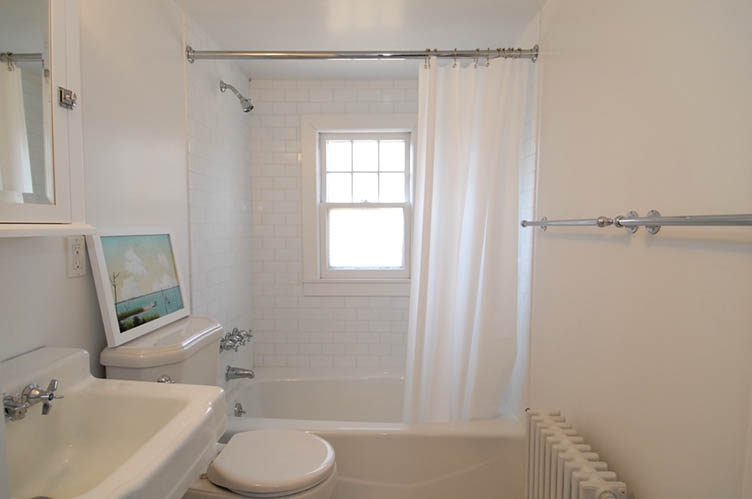
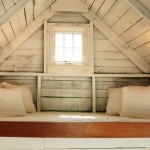
Here are a few pictures that show the walls being painted and the ceiling ships lap left exactly as it was when it was put up some 80 years ago.
To the finish line…
I hope you find some inspiration.
Always,
Cindy

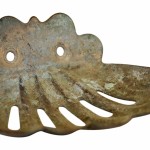
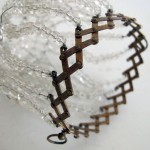
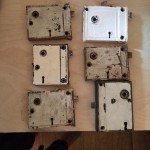
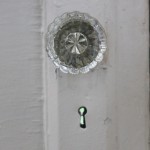
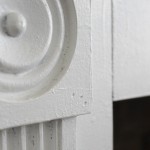
Old rim locks for the interior doors.
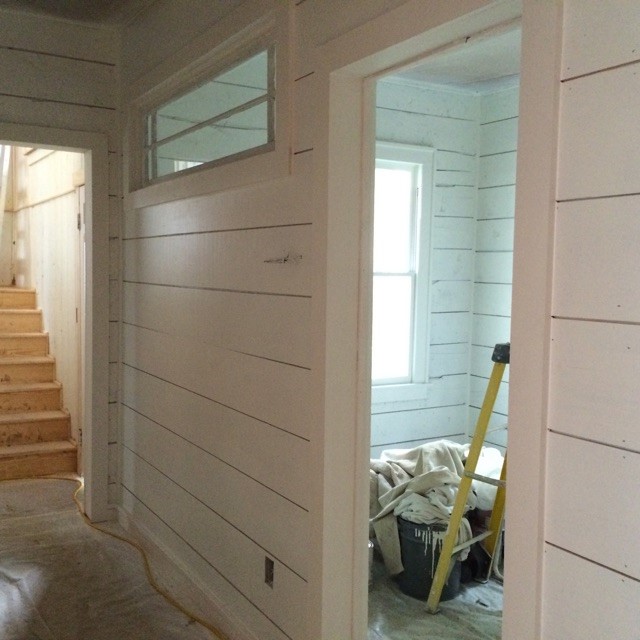
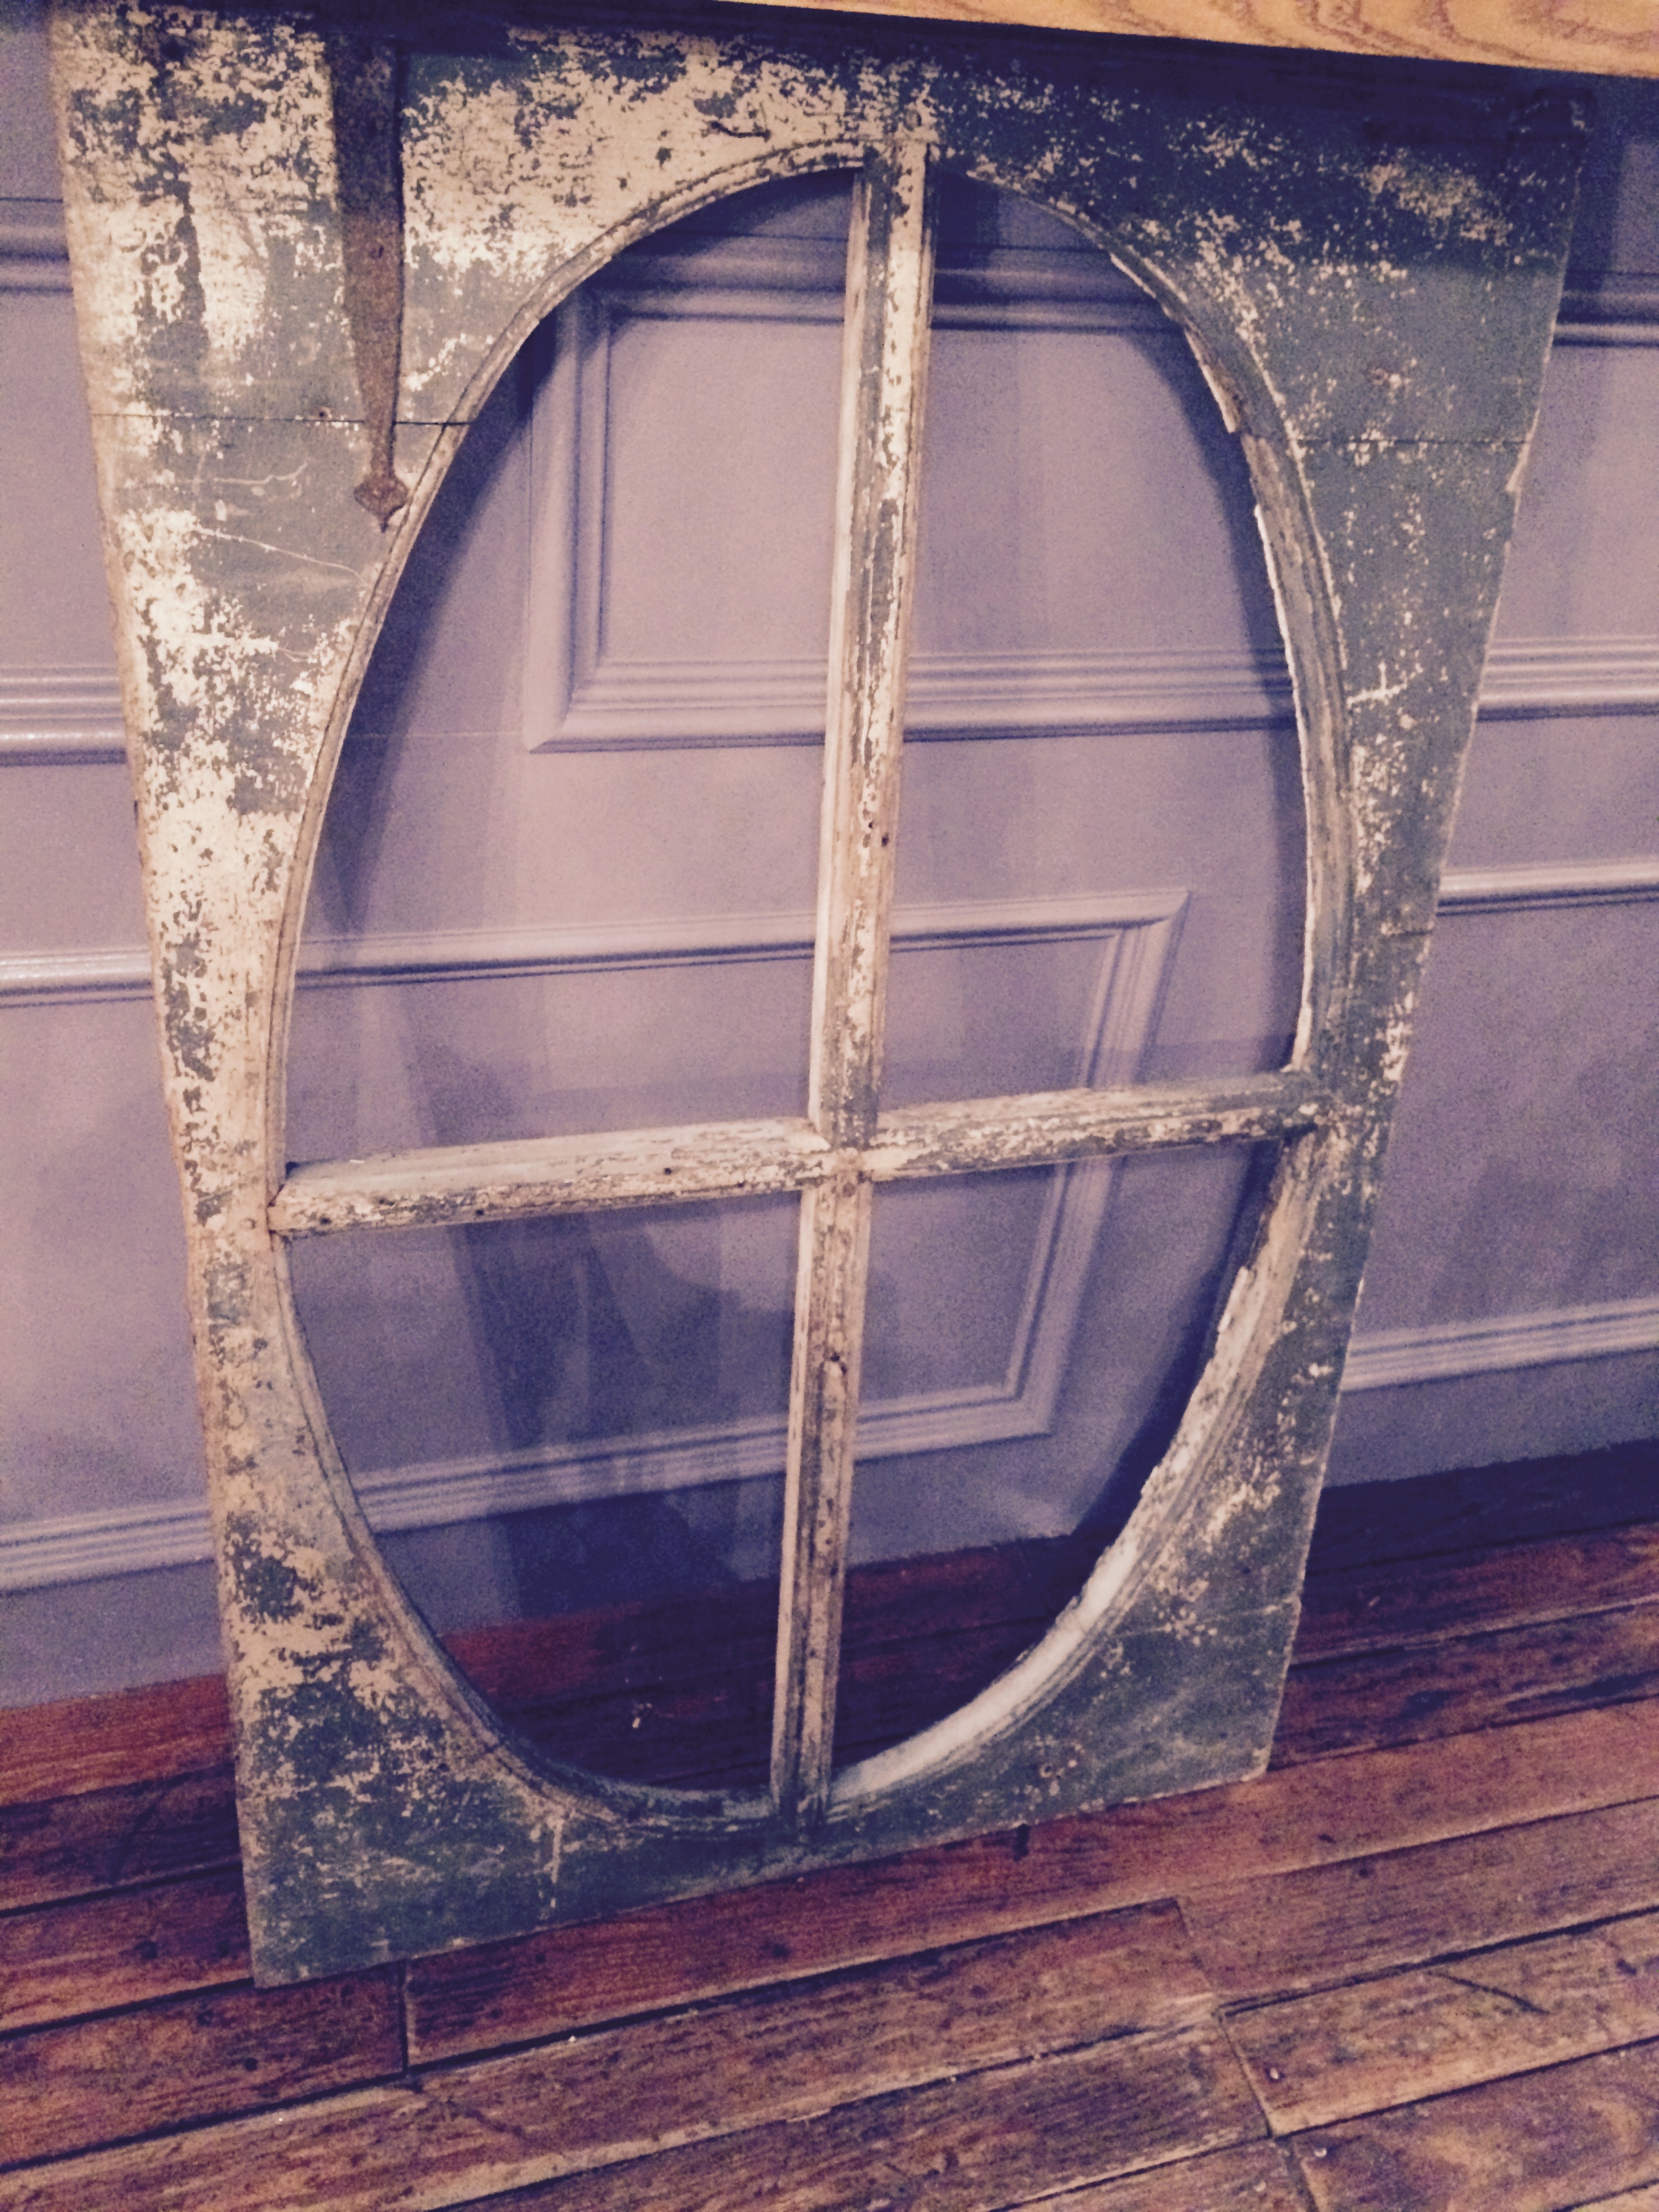
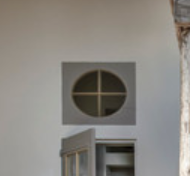
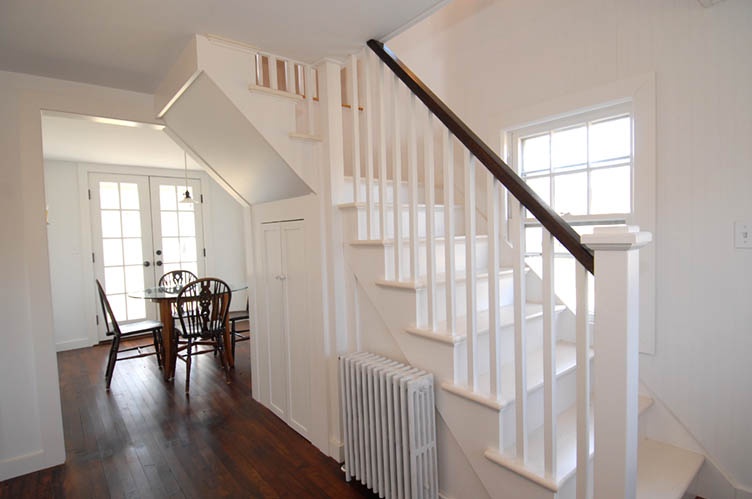
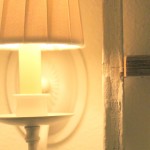
Hallway painted with an old window side light turned into a transom to allow natural light into the hallway.
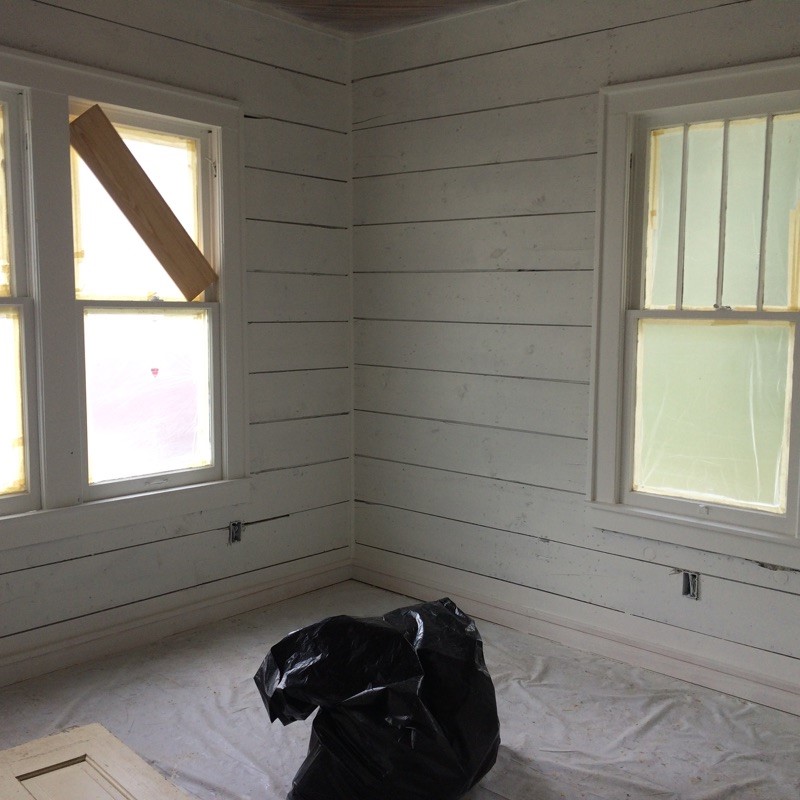
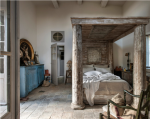
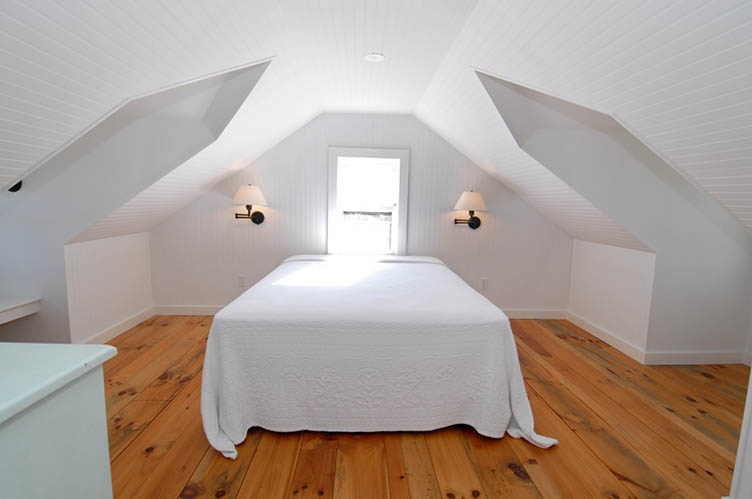
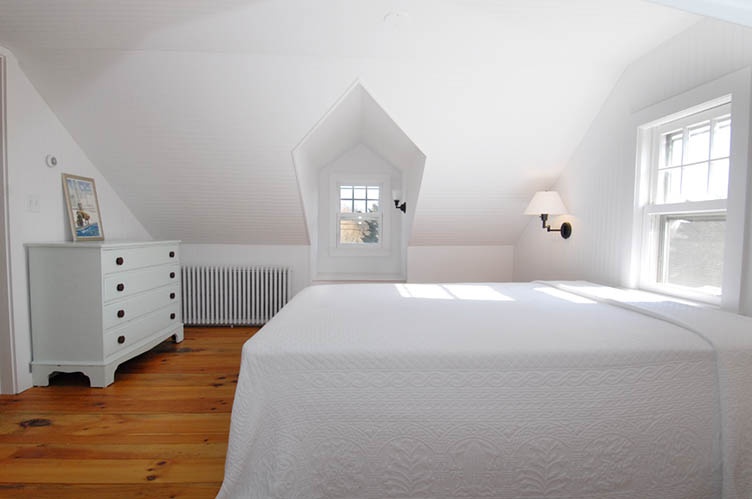
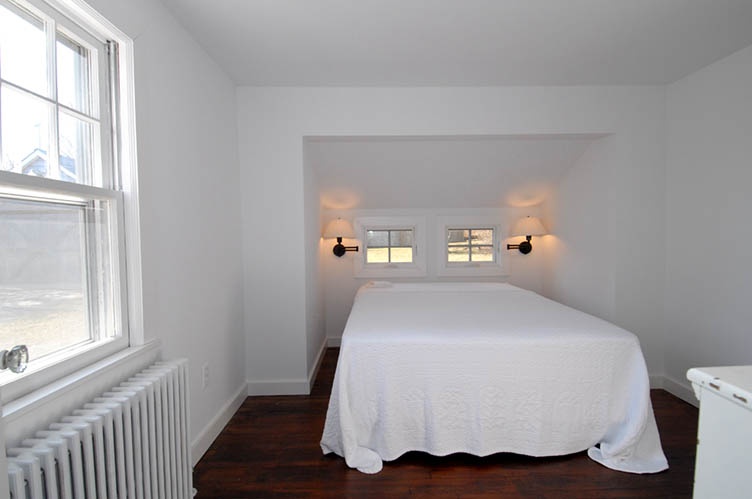
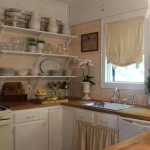
The front bedroom.
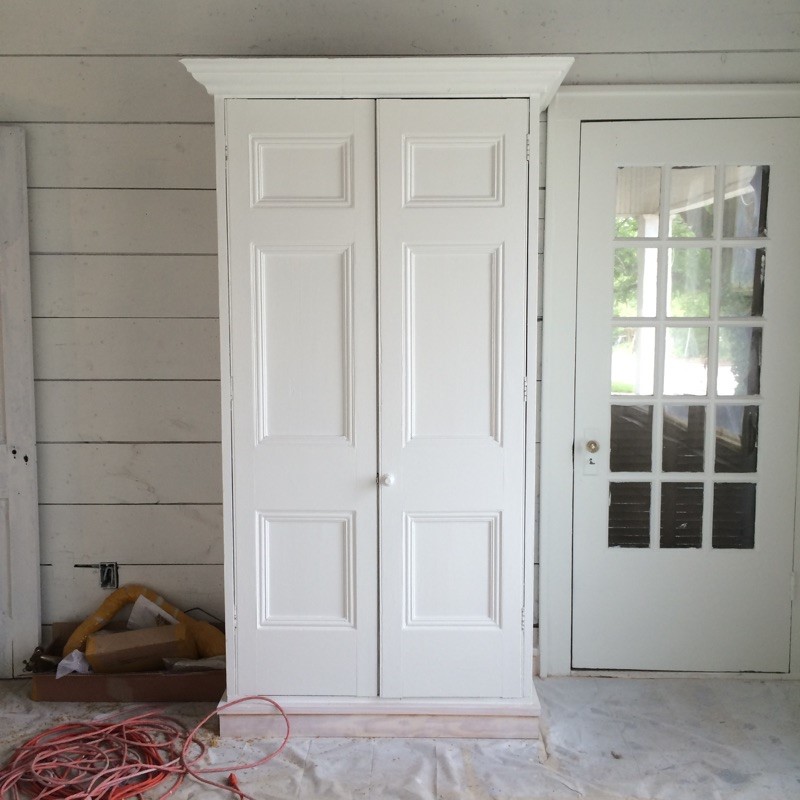
Front bedroom with an antique piece that I have permanently affixed to the wall that will work as a closet and storage.
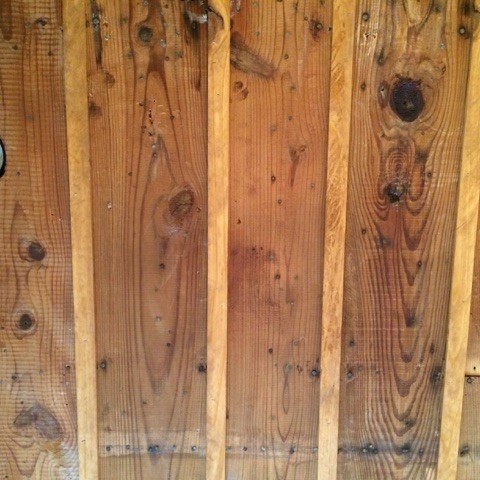
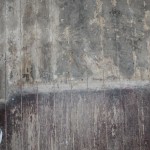
The original plank ceiling. Sealed with a simple finish that brings out the natural luster in this old pine that was probably 100 years old when it was installed.
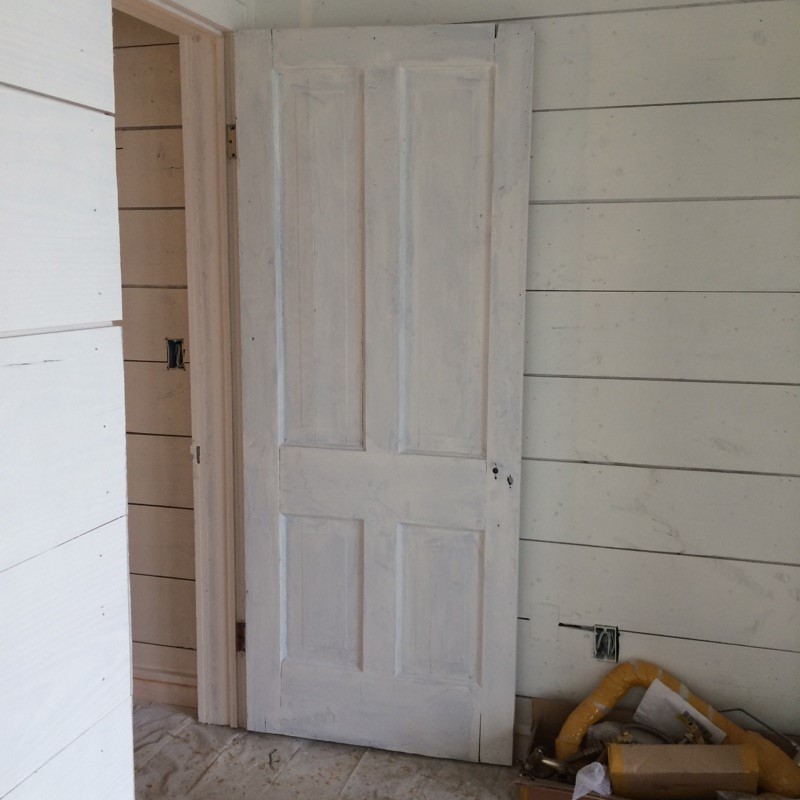
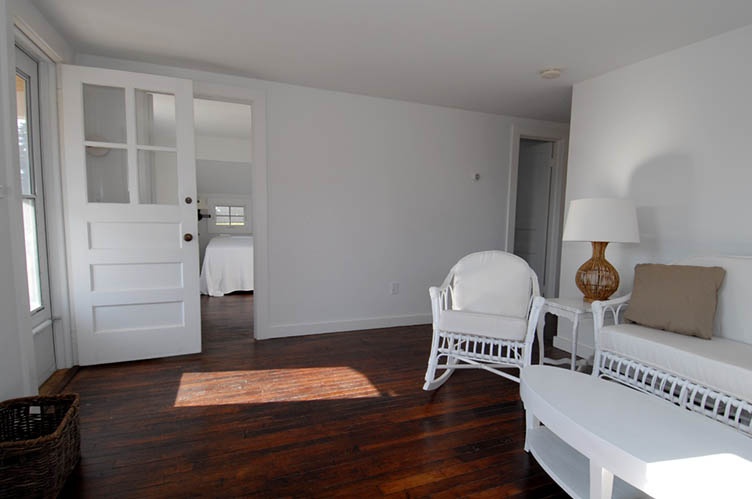
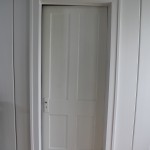
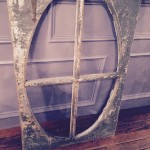
It was quite the hunting trip to find old four panel farm house doors for the house. Certainly no easy task.