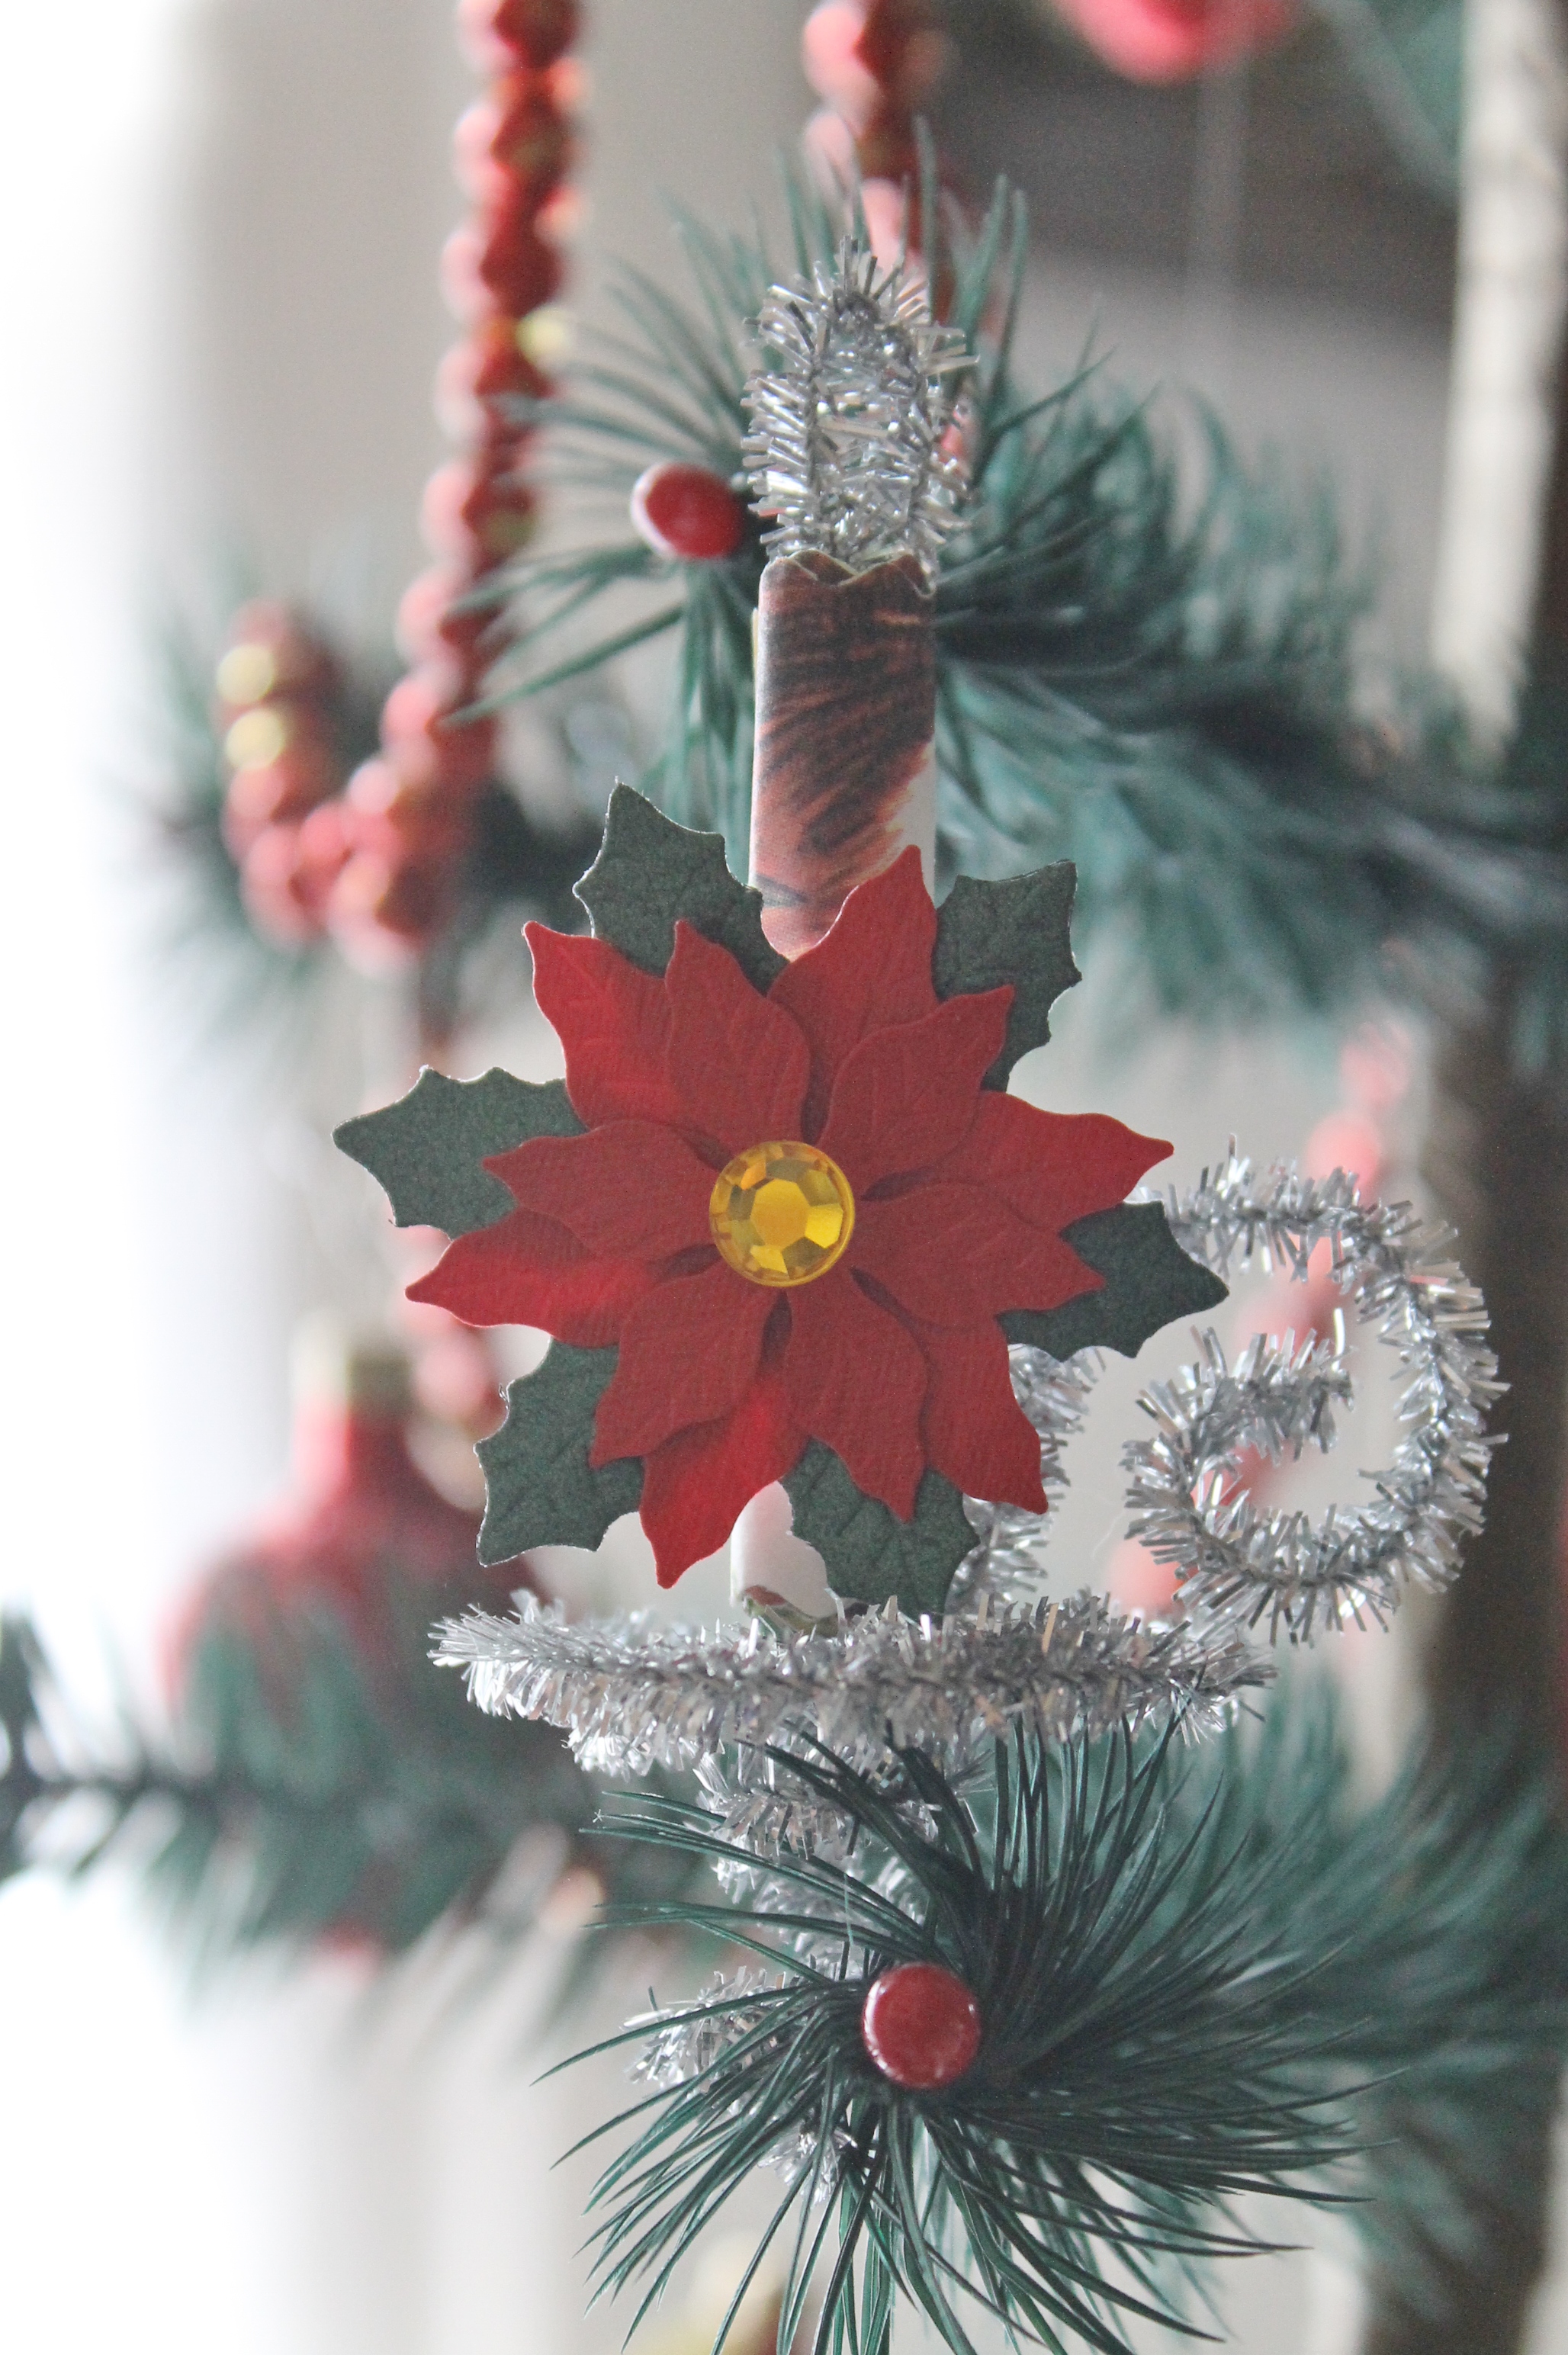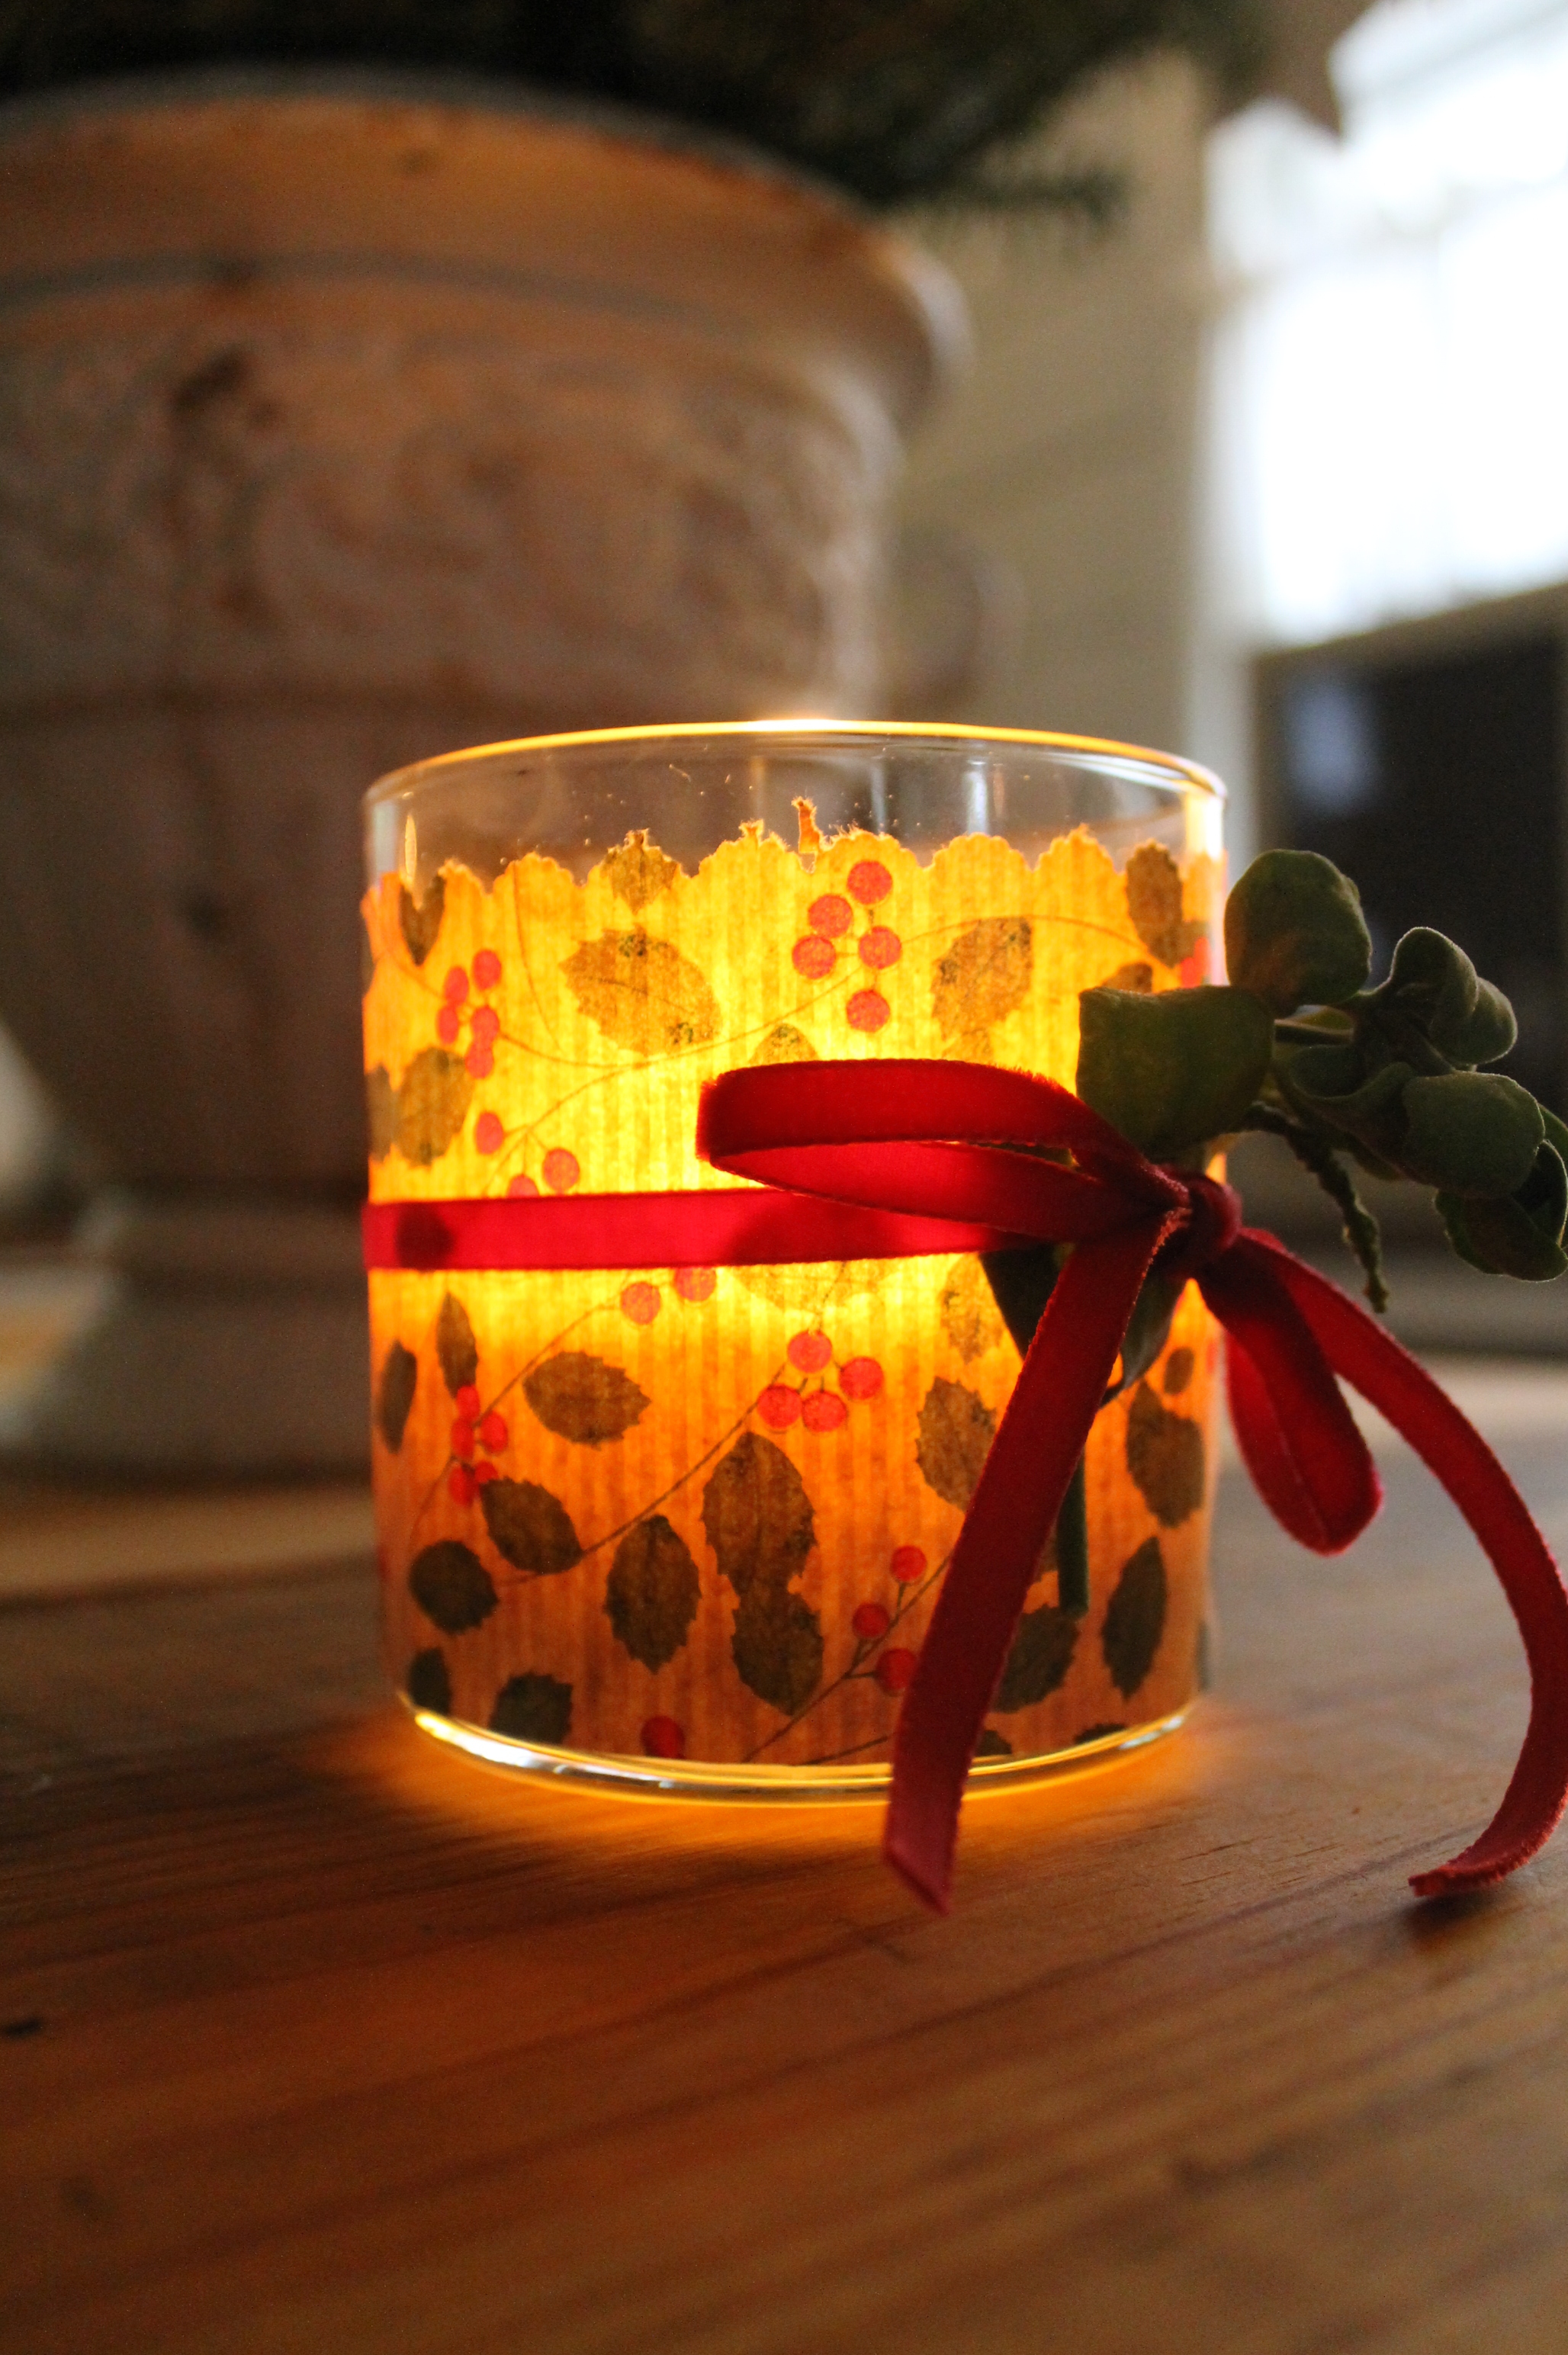
Leftover wrapping paper from last year, a simple ribbon and some live mistletoe.
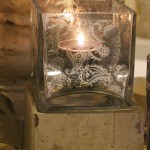
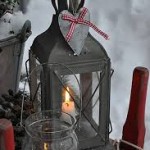
I love burning candles. Especially at Christmas. I needed a quick way to make a plain looking candle fit in with the festive décor. I just grabbed what I had at hand to make a simple paper sleeve for candles around the home. I was partly inspired by the live mistletoe that I bought from some very resourceful boy scouts outside of the local Lowe’s. They picked it from a local park and were selling small bunches to support their troop. Smart thinking and well done.
I hope you find some inspiration.
Always,
Cindy
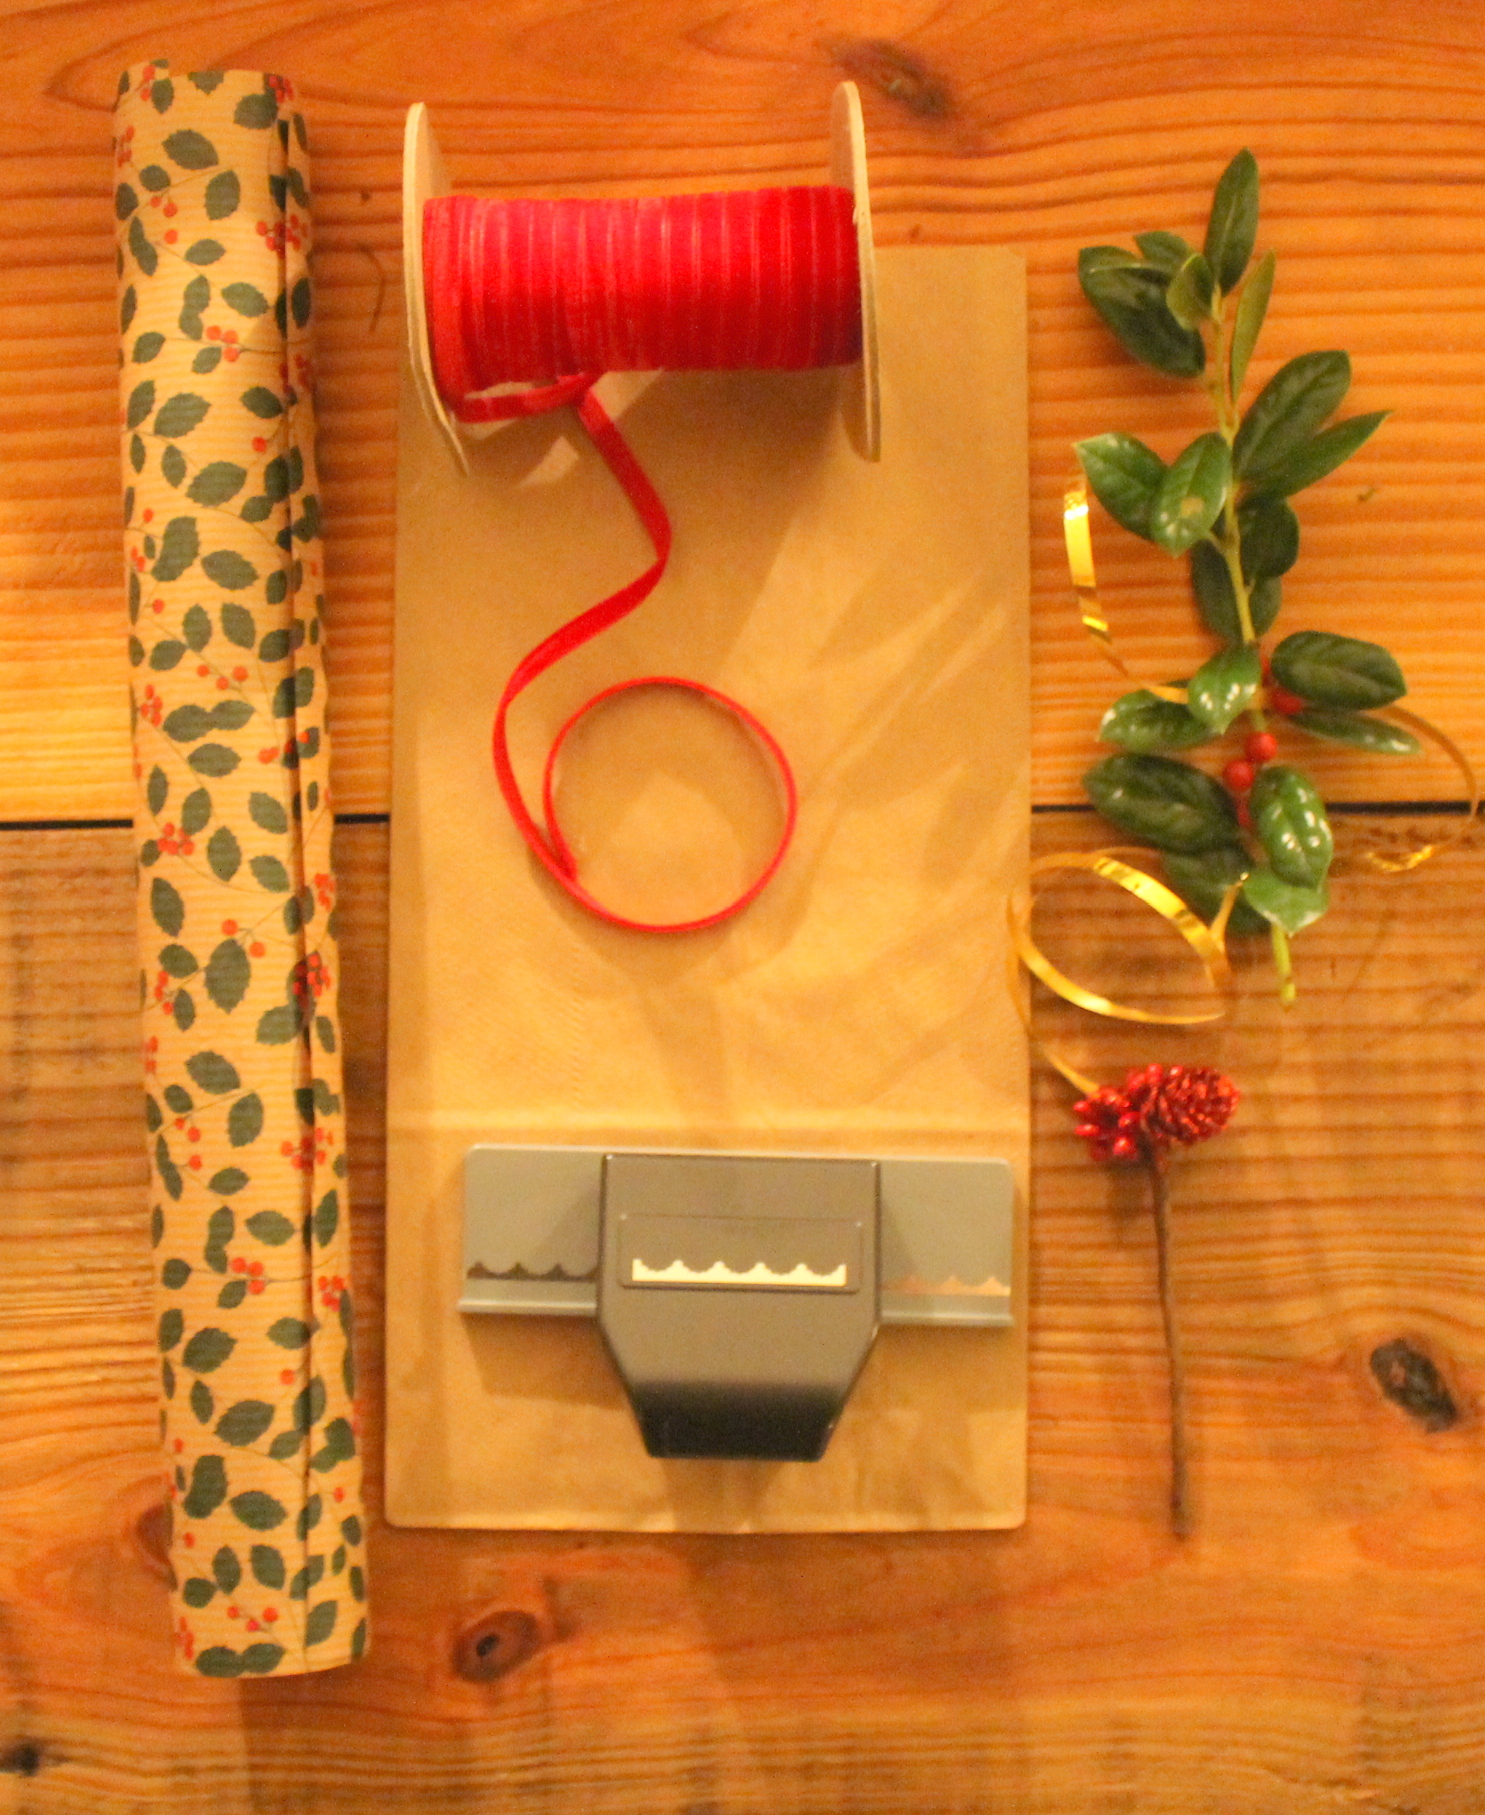
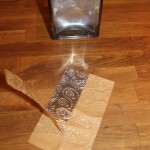
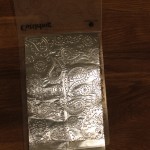
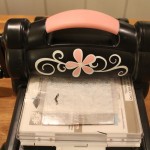
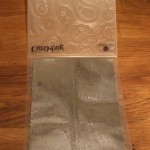
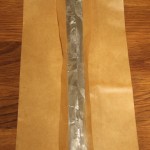
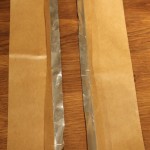
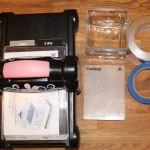
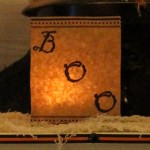
Paper, ribbon, a way to create a decorative edge and some live or artificial embellishments. Simple as that. My one tip would be to make sure the paper you use has some transparency to it in order to diffuse the light and create a warm glow.
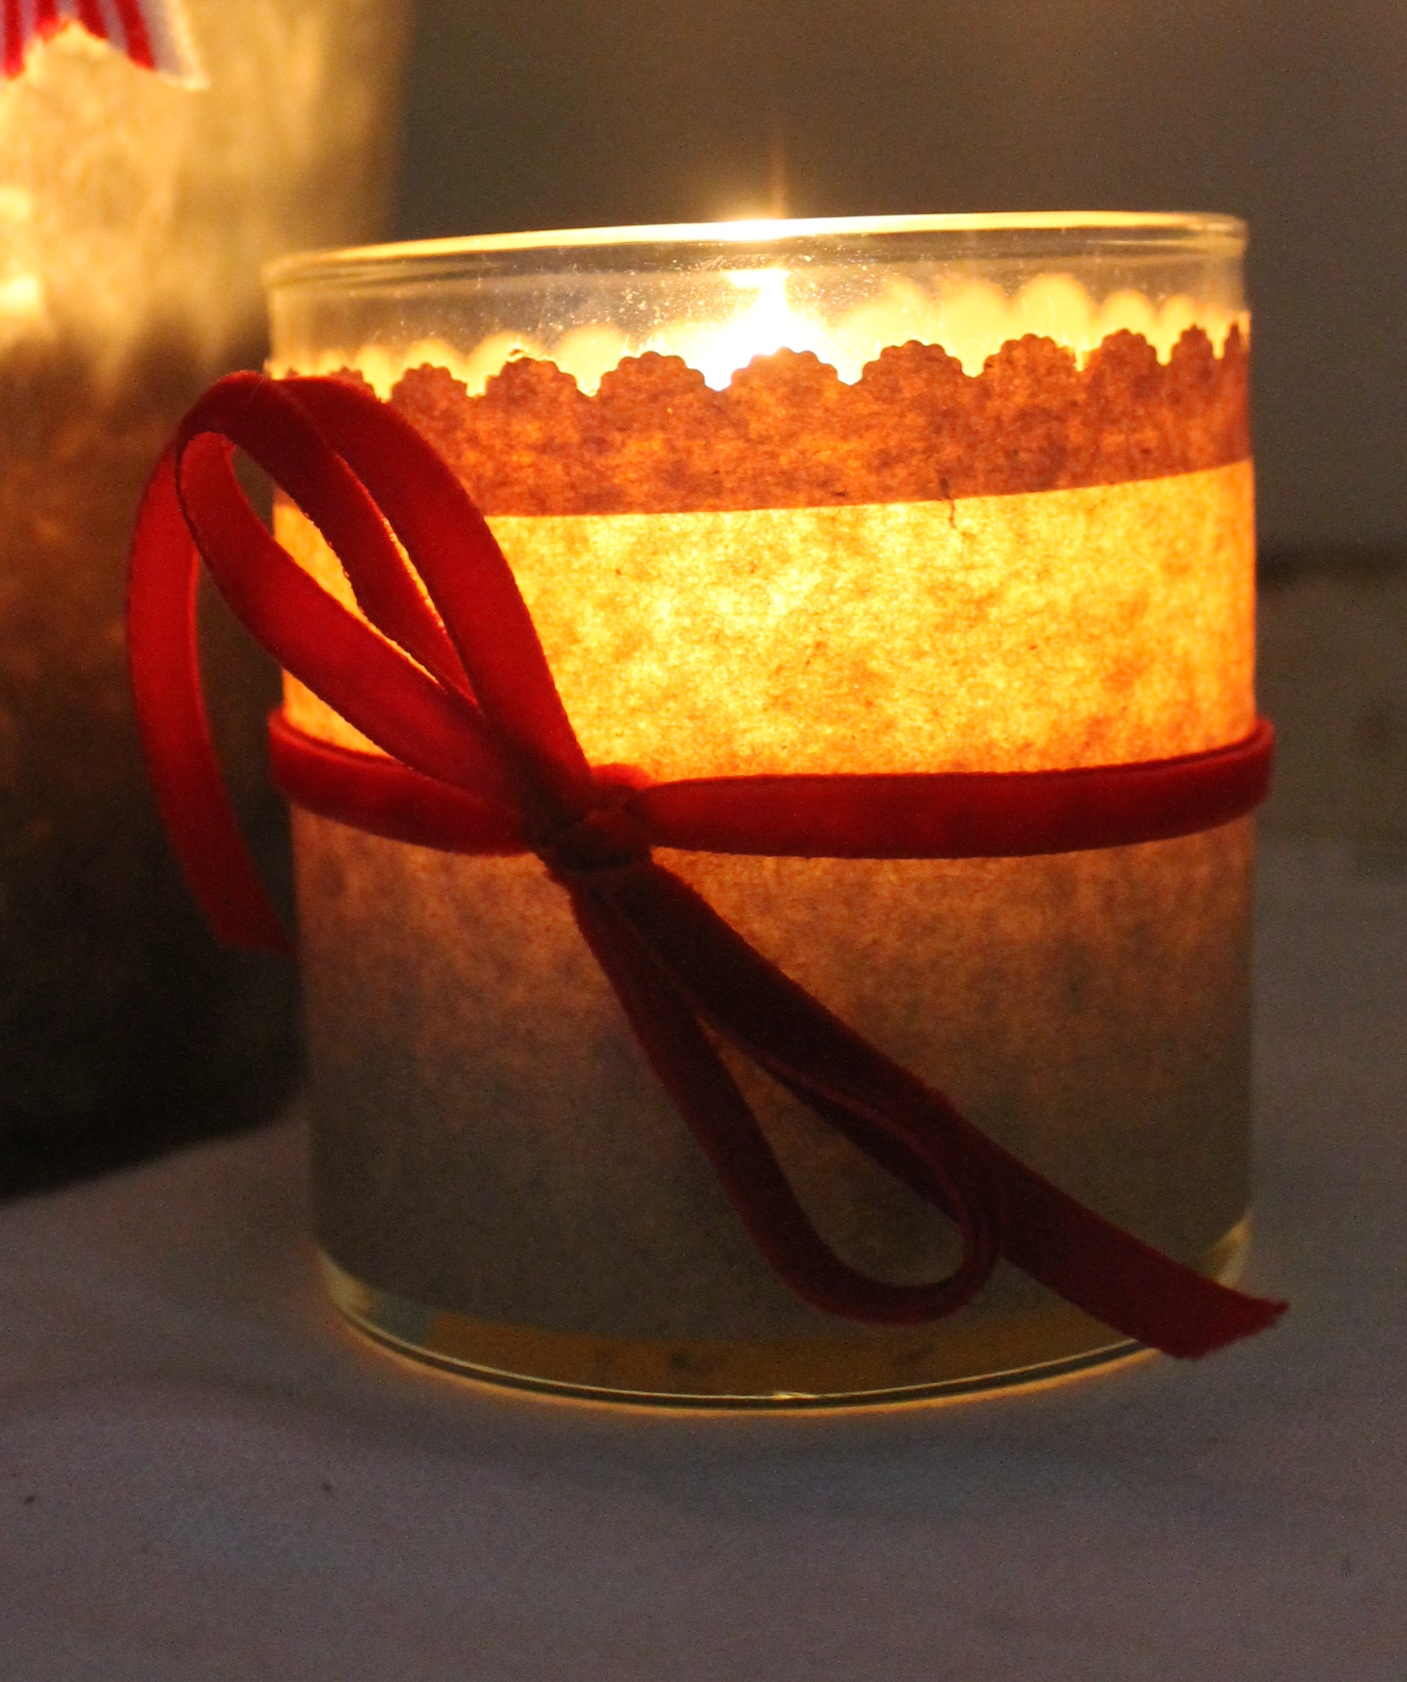
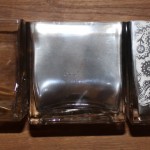
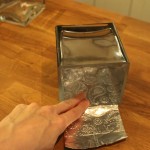
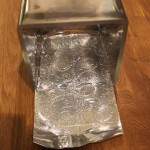
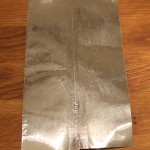
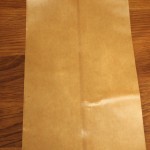
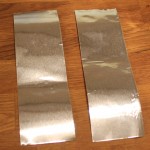
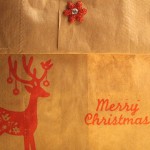
A simple lunch sack worked for this sleeve. The seaming inadvertently became part of the design, highlighting the scalloped edges.