Classic Butter Almond Cookies


-- Download Classic Butter Almond Cookies as PDF --


IMG_0316

IMG_0317

IMG_0318

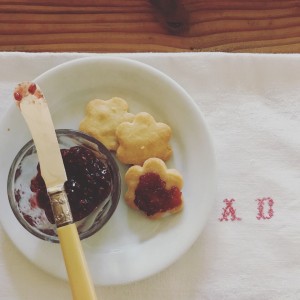
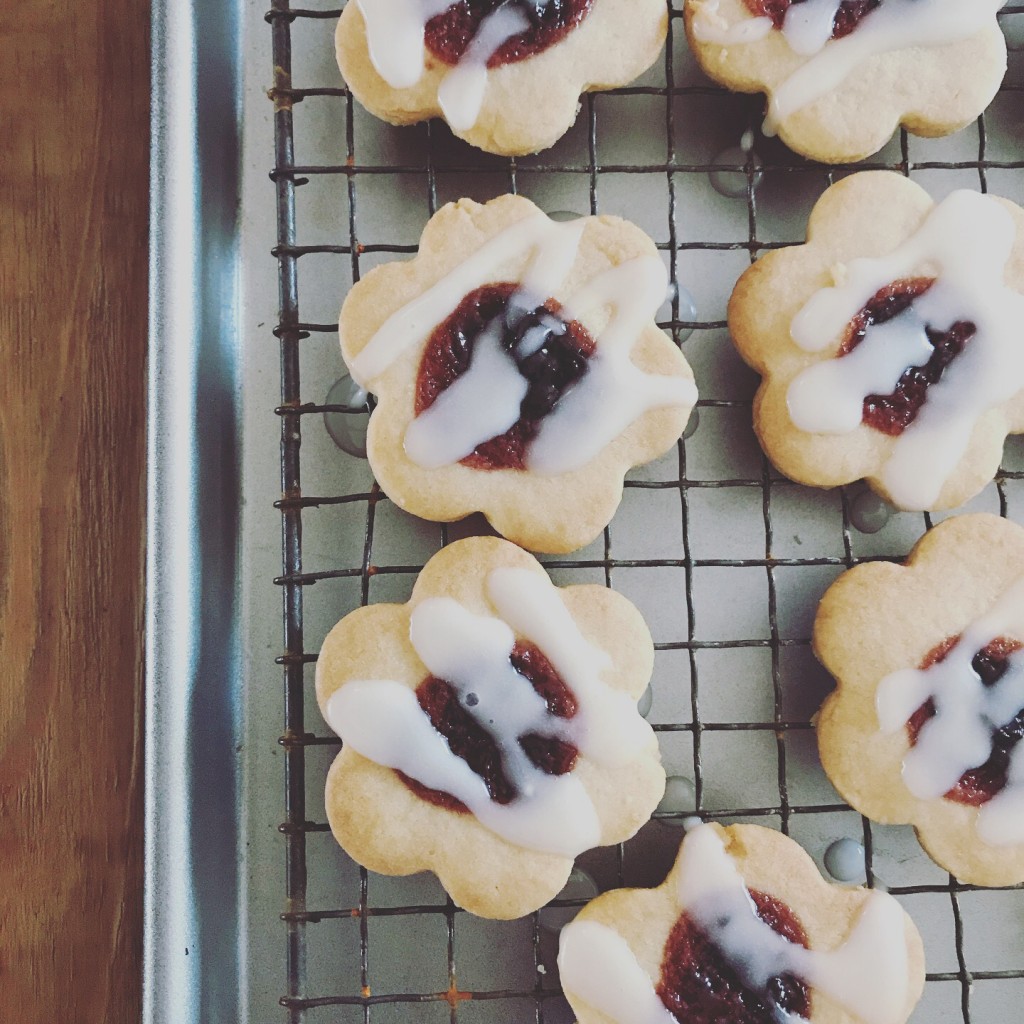
Almond Cookies with Cherry Preserves and Almond Glaze


Equipment:

Rolling Pin

Small cookie cutter (1 and ½ to 2 inches and preferably symmetrical)

Parchment Paper

Cookie Press (Optional)


Ingredients:

2 sticks of unsalted butter

Âľ c. sugar

4 oz (weighed) almond paste

½ t. almond extract

½ t. vanilla extract

2 ÂĽ c. flour

½ t. baking soda

ÂĽ t. salt

1 jar of store bough cherry preserves or jam (or the preserve flavor of your choice, homemade or store bought)


Almond Glaze:

1 ½ rounded cups of confectioner sugar

3 – 5 T. of milk

¼ to ½ t. of almond extract


  1. Cream butter and sugar in bowl of mixer fitted with paddle attachment until well combined.
  2. Break almond paste into small pieces and add to the creamed mixture. Beat on med to med high until the almond paste is broken up and well distributed throughout the mixture. (2 – 3 minutes)
  3. Add vanilla and almond extract, mix until incorporated.
  4. Place flour, baking soda and salt into a bowl and whisk to sift.
  5. With the mixer off, add flour mixture into the creamed mixture. Turn mixer on low (so as not to send flour flying everywhere) once reasonably combined, tick up the speed to med and mix entire mixture until just combined.
  6. Mixture will look crumbly but will come together when pressed together in the palm of your hand. (Option A: at this time, you can place the dough in a cookie press for spritz cookies. However, once chilled, the dough isn’t malleable enough to use in a cookie press)
  7. Place the mixture onto a breadboard or other surface and bring together with your hands. Divide into two equal portions.  Shape each portion into a round disk and wrap with cling film.  Place in fridge to chill for two hours.
  8. When about ready to roll out the dough and bake, pull out of fridge. Let come to room temperature (about an hour)
  9. Pre-heat oven to 325 degrees.
  10. Working with small batches, roll dough out to ¼” thick. I find it helps to roll the dough between two pieces of parchment paper.  Cut shapes out with your cookie cutter, gather the scraps, re-roll and cut more shapes until you have gone through all the dough. (this dough keeps in the fridge, so if you only want to roll out one of the two disks, it will be fine)
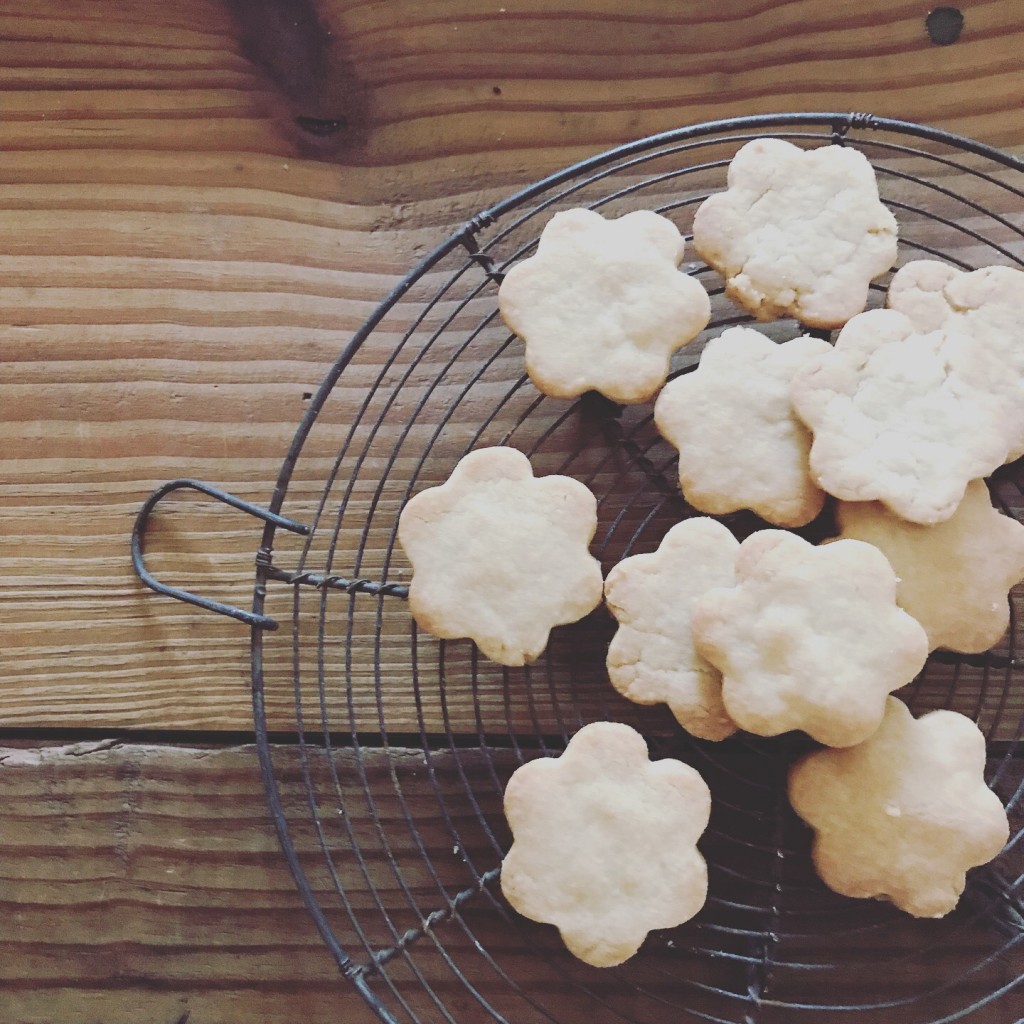
  11. Place the cut-out shapes on an ungreased sheet pan. (Option B. Bake at this point, without executing the additional steps. This will give you a plain, baked cookie that can be eaten with or without a sweet jam topping of your choice)
  12. Take approximately half a cup of the preserves and place in a sauce pan. Heat over medium heat until the viscosity changes from thick to thinner. Generally, when it starts to bubble, it is ready.  Stir the mixture while over the heat and re-heat of the preserves or jam cool while you are placing it on the cookies.
  13. Using a quarter teaspoon, spoon a quarter teaspoon of the thinned preserve mixture onto the center of the cut-out shape. Try to keep the shape of the preserve round as you are dolloping the preserves in the center.
  14. Place in the oven and cook for 10 – 12 minutes, until the edges are a light golden brown. Rotate the sheet pans halfway through the bake to ensure even baking.
  15. While the cookies are baking, begin your almond glaze. Sift the confectioners’ sugar into a bowl. Add three tablespoons of milk and stir.  If the glaze is thick (like peanut butter), add more milk, one table spoon at a time.  You are looking for a drizzling consistency.  Add a quarter teaspoon of almond extract.    If stronger flavor is needed and/or desired, add the additional quarter teaspoon.
  16. Remove the cookies from the oven and allow to fully cool.
  17. Using a fork or a squeeze bottle with a small nozzle, drizzle each cookie with the glaze. It is important to be more conservative with the glaze versus over glazing.  Less is better in this case.

Discovery – Vintage Kitchen Reproductions

Kitchenalia is my latest passion.  I recently scored a lovely French herb chopper and an antique garlic or potato masher.  Sometimes, however, the real thing is a tad expensive.  I was mining the web and found two sites that offer reproductions at a much reduced price over its antique counter part and I thought I would share them with you.
Original English butter slabs can run anywhere from $1200 to $2500.  Or you can find a reproduction English Butter Platter from Joanne Hudson for much, much less (click on the picture to go directly to the product/site):

Reproduction of an English Butter Slab.  Other styles are available.

Reproduction of an English Butter Slab. Other styles are available.


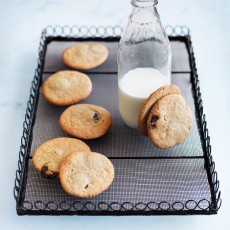
Original French wire ware cooling racks can cost upwards of $150 or so, if you can find one.  However, a reproduction of an old wire cookie rack from Donna Hay is very reasonable (click on the picture to go directly to the product/site):

Reproduction of an old French cookie rack.  It comes in two sizes.

Reproduction of an old French cookie rack. It comes in two sizes.

I get tremendous joy (and use) out of both of these items and look forward to having them a part of my renovated kitchen.

I hope you find some inspiration.

Always,

Cindy

Brownies that Mrs. Patmore would approve of

I am a fan of baking.  In fact, I may like baking more than I like eating the sweet treats I make!  It is just so much fun and homey and at the end of the day, if you do it right and make something delicious…you are bringing joy to others.

The weather was a balmy 70 degrees, VERY unlike our normal weather during Winter.  So I threw  open the windows and doors, let the old screen door snap shut and decided to make the most wonderful brownies in the world: Ina Garten’s Outrageous Brownies.  Her trick is using coffee grinds in the batter; it brings a depth of flavor to the chocolate.  Sure…that is common knowledge now, but when she first introduced this recipe, it wasn’t so common.

Fair warning, this recipe makes loads of brownies…so make sure you have a good and hungry crowd to serve them to, neighbors you can give them to or be prepared to scarf them up yourself.  No one can resist these bad boys when they are sitting in the kitchen…any effort to try is futile.

Recipe is after the pictures.

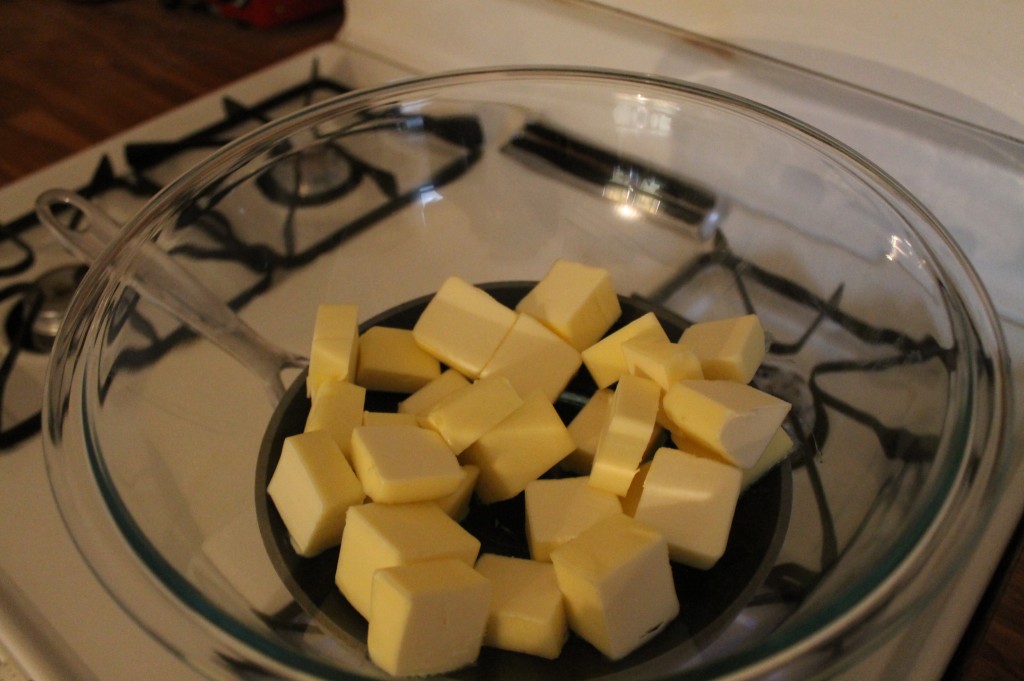
A pound of butter.

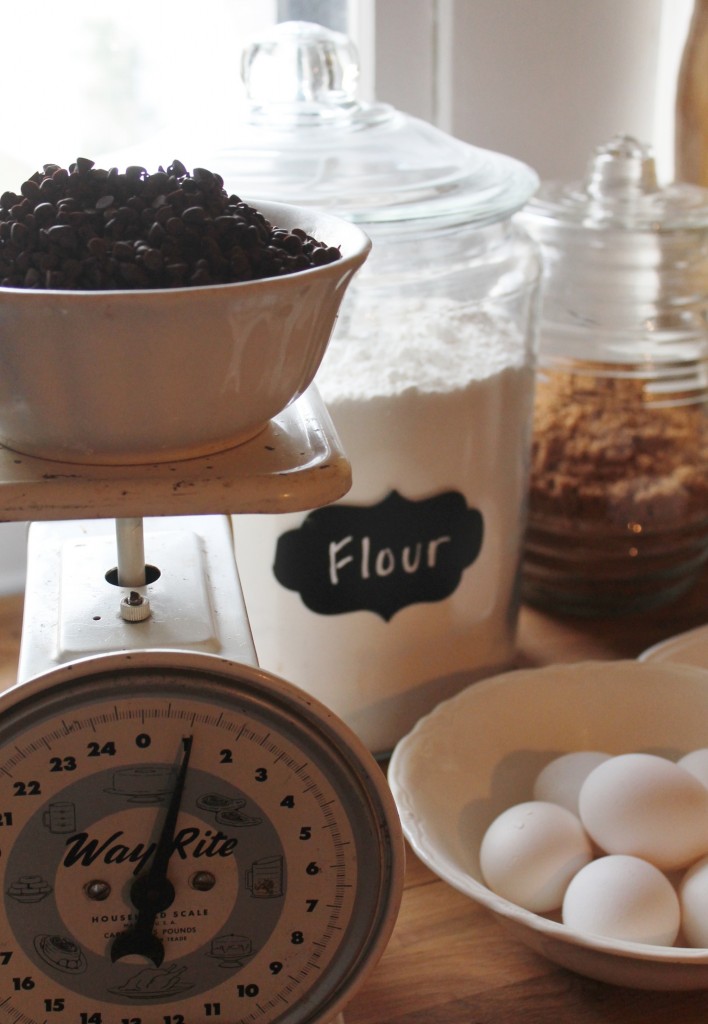
Eggs. Chocolate. Flour. Simple.

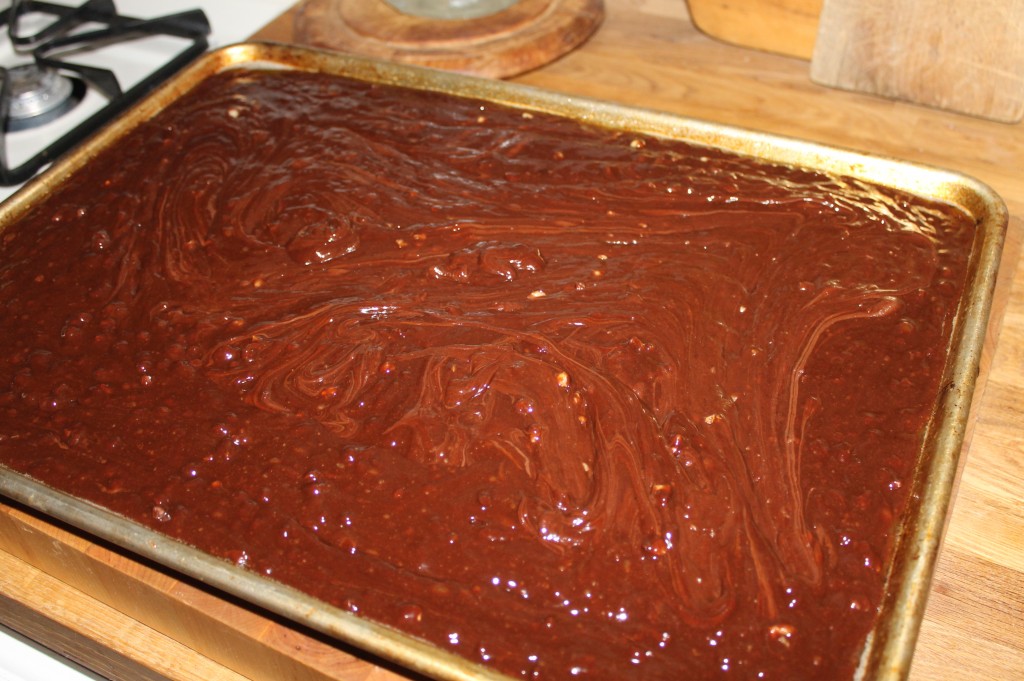
Brownies ready for the oven.

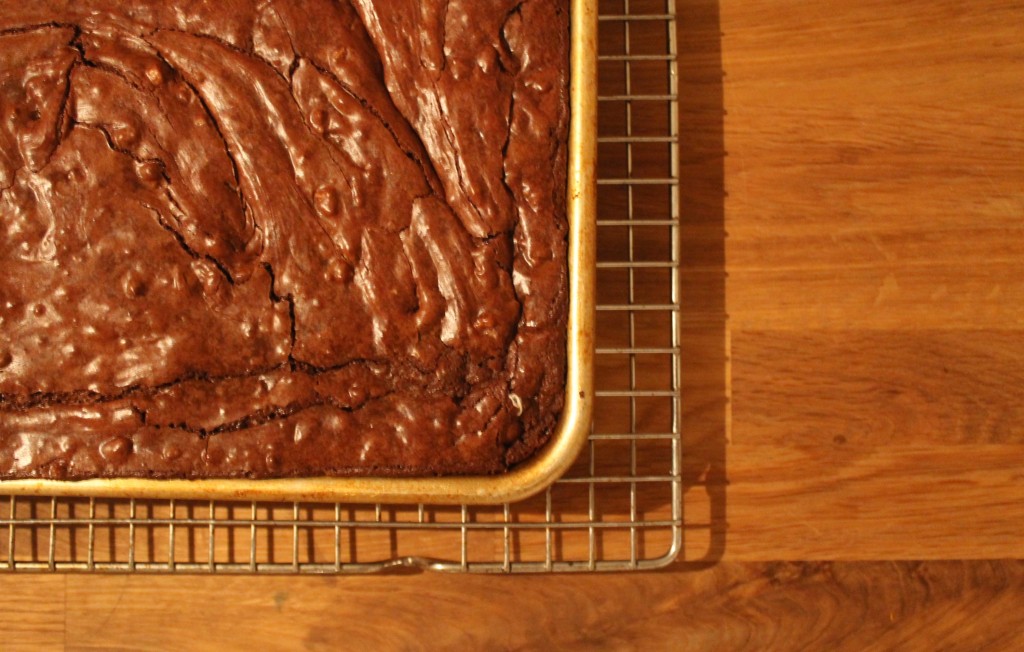
If only every piece had crusty goodness like the corner piece.

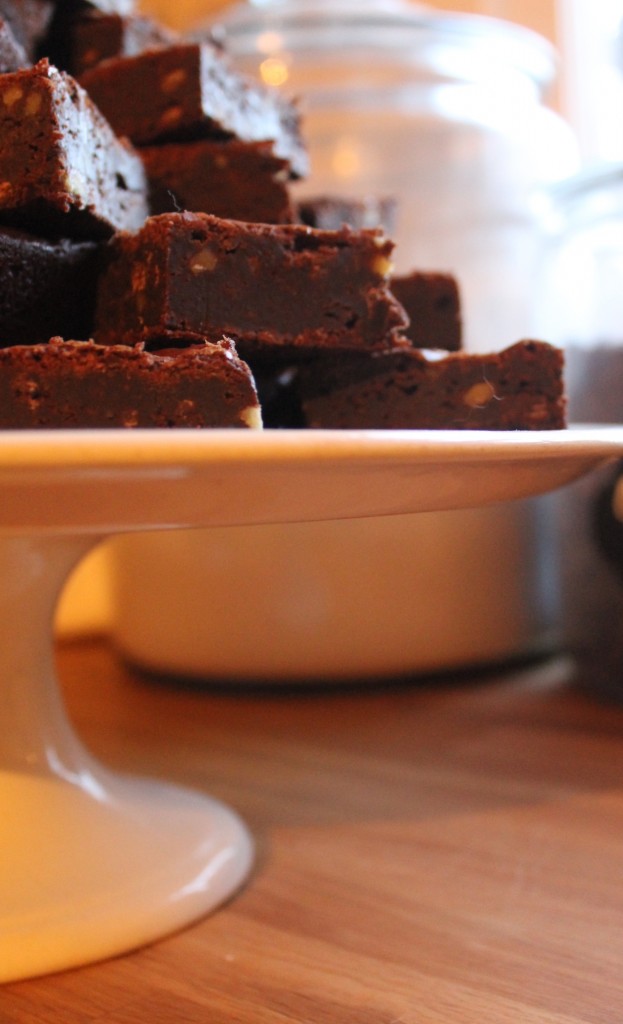
Vintage Ironstone Cake Stand and Brownies. Two of my favorite things.

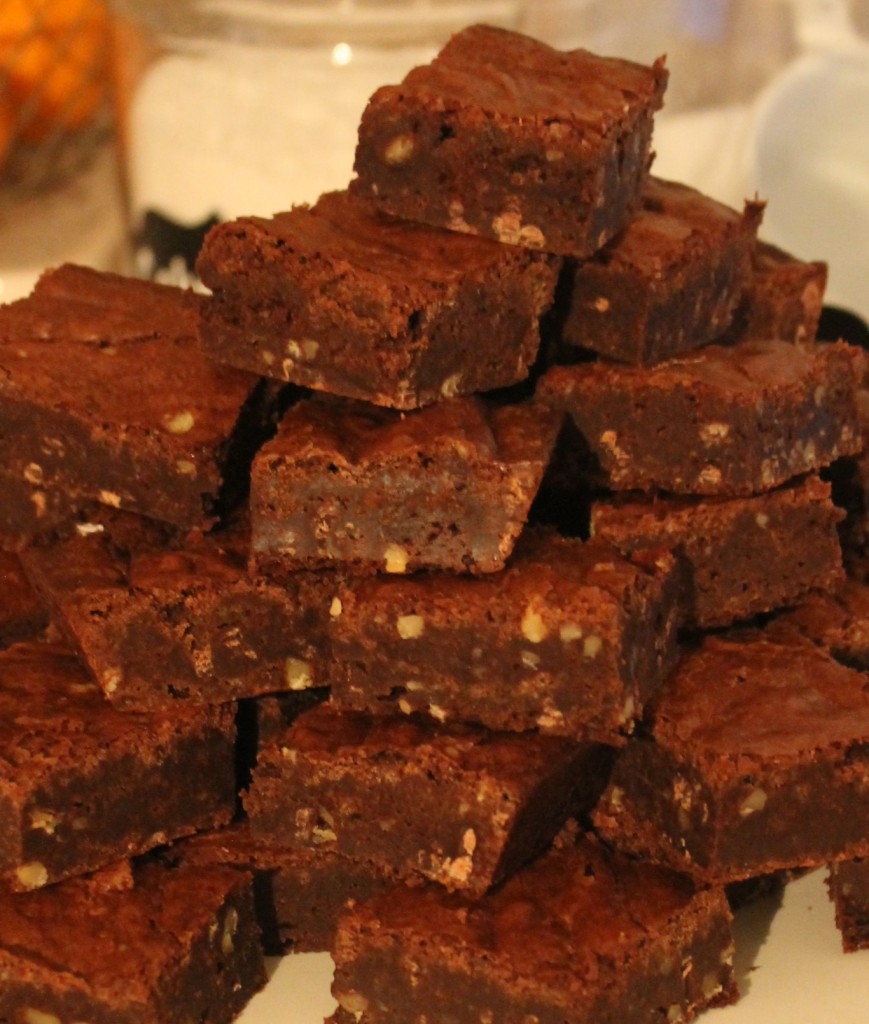
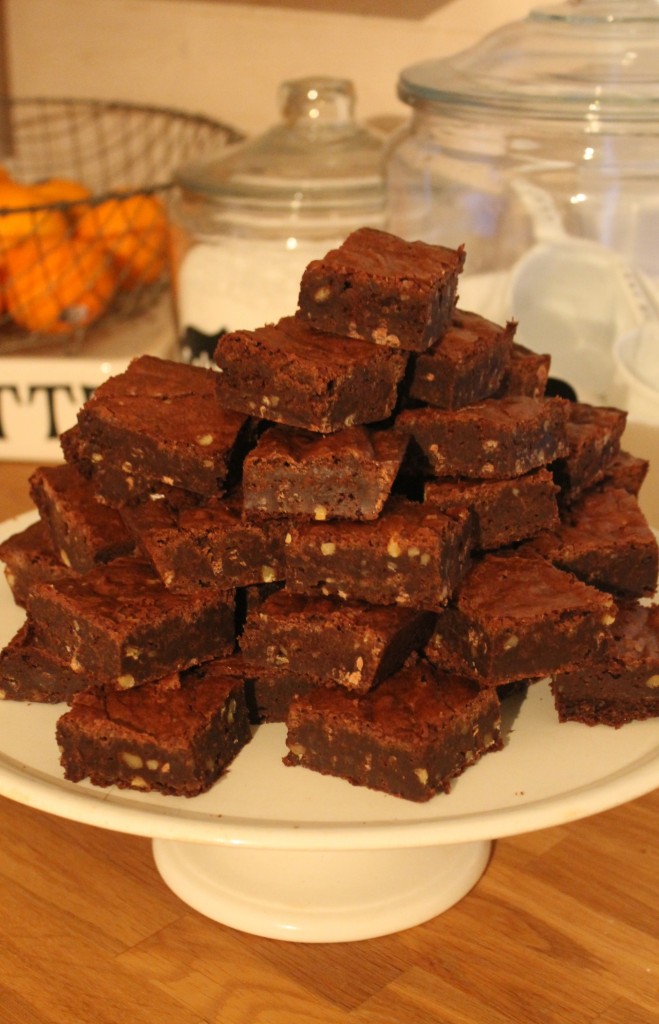
Brownies. The finished product.


Outrageous Brownies

Ingredients

1 poundunsalted butter

1 pound plus 12 ounces semisweet chocolate chips

6 ouncesunsweetened chocolate

6 extra-large eggs

3 tablespoons instant coffee granules

2 tablespoons pure vanilla extract

2 1/4 cups sugar

1 1/4 cups all-purpose flour

1 tablespoon baking powder

1 teaspoon salt

3 cups chopped walnuts

Directions

Preheat oven to 350 degrees F.

Butter and flour a 12 x 18 x 1-inch baking sheet.

Melt together the butter,1 poundof chocolate chips, and the unsweetened chocolate in a medium bowl over simmering water. Allow to cool slightly. In a large bowl, stir (do not beat) together the eggs, coffee granules, vanilla, and sugar. Stir the warm chocolate mixture into the egg mixture and allow to cool to room temperature.

In a medium bowl, sift together 1 cup of flour, the baking powder, and salt. Add to the cooled chocolate mixture. Toss the walnuts and 12 ounces of chocolate chips in a medium bowl with 1/4 cup of flour, then add them to the chocolate batter. Pour into the baking sheet.

Bake for 20 minutes, then rap the baking sheet against the oven shelf to force the air to escape from between the pan and the brownie dough. Bake for about 15 minutes, until a toothpick comes out clean. Do not overbake! Allow to cool thoroughly, refrigerate, and cut into 20 large squares.

Copyright 2012 Television Food Network G.P.
All Rights Reserved

I hope you have found some inspiration!

Always,

Cindy