Classic Butter Almond Cookies


-- Download Classic Butter Almond Cookies as PDF --


IMG_0316

IMG_0317

IMG_0318

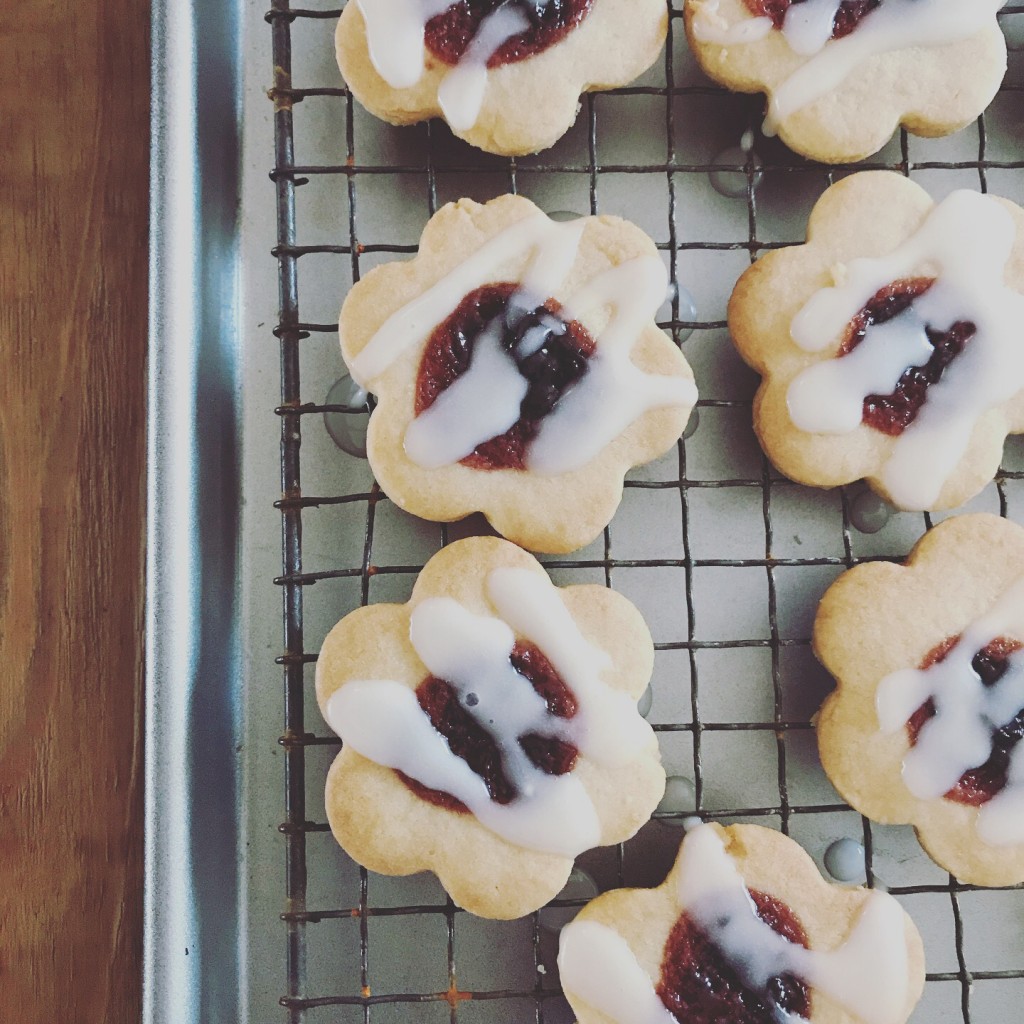
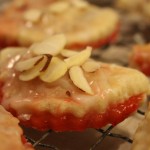
Almond Cookies with Cherry Preserves and Almond Glaze


Equipment:

Rolling Pin

Small cookie cutter (1 and ½ to 2 inches and preferably symmetrical)

Parchment Paper

Cookie Press (Optional)


Ingredients:

2 sticks of unsalted butter

Âľ c. sugar

4 oz (weighed) almond paste

½ t. almond extract

½ t. vanilla extract

2 ÂĽ c. flour

½ t. baking soda

ÂĽ t. salt

1 jar of store bough cherry preserves or jam (or the preserve flavor of your choice, homemade or store bought)


Almond Glaze:

1 ½ rounded cups of confectioner sugar

3 – 5 T. of milk

¼ to ½ t. of almond extract


  1. Cream butter and sugar in bowl of mixer fitted with paddle attachment until well combined.
  2. Break almond paste into small pieces and add to the creamed mixture. Beat on med to med high until the almond paste is broken up and well distributed throughout the mixture. (2 – 3 minutes)
  3. Add vanilla and almond extract, mix until incorporated.
  4. Place flour, baking soda and salt into a bowl and whisk to sift.
  5. With the mixer off, add flour mixture into the creamed mixture. Turn mixer on low (so as not to send flour flying everywhere) once reasonably combined, tick up the speed to med and mix entire mixture until just combined.
  6. Mixture will look crumbly but will come together when pressed together in the palm of your hand. (Option A: at this time, you can place the dough in a cookie press for spritz cookies. However, once chilled, the dough isn’t malleable enough to use in a cookie press)
  7. Place the mixture onto a breadboard or other surface and bring together with your hands. Divide into two equal portions.  Shape each portion into a round disk and wrap with cling film.  Place in fridge to chill for two hours.
  8. When about ready to roll out the dough and bake, pull out of fridge. Let come to room temperature (about an hour)
  9. Pre-heat oven to 325 degrees.
  10. Working with small batches, roll dough out to ¼” thick. I find it helps to roll the dough between two pieces of parchment paper.  Cut shapes out with your cookie cutter, gather the scraps, re-roll and cut more shapes until you have gone through all the dough. (this dough keeps in the fridge, so if you only want to roll out one of the two disks, it will be fine)
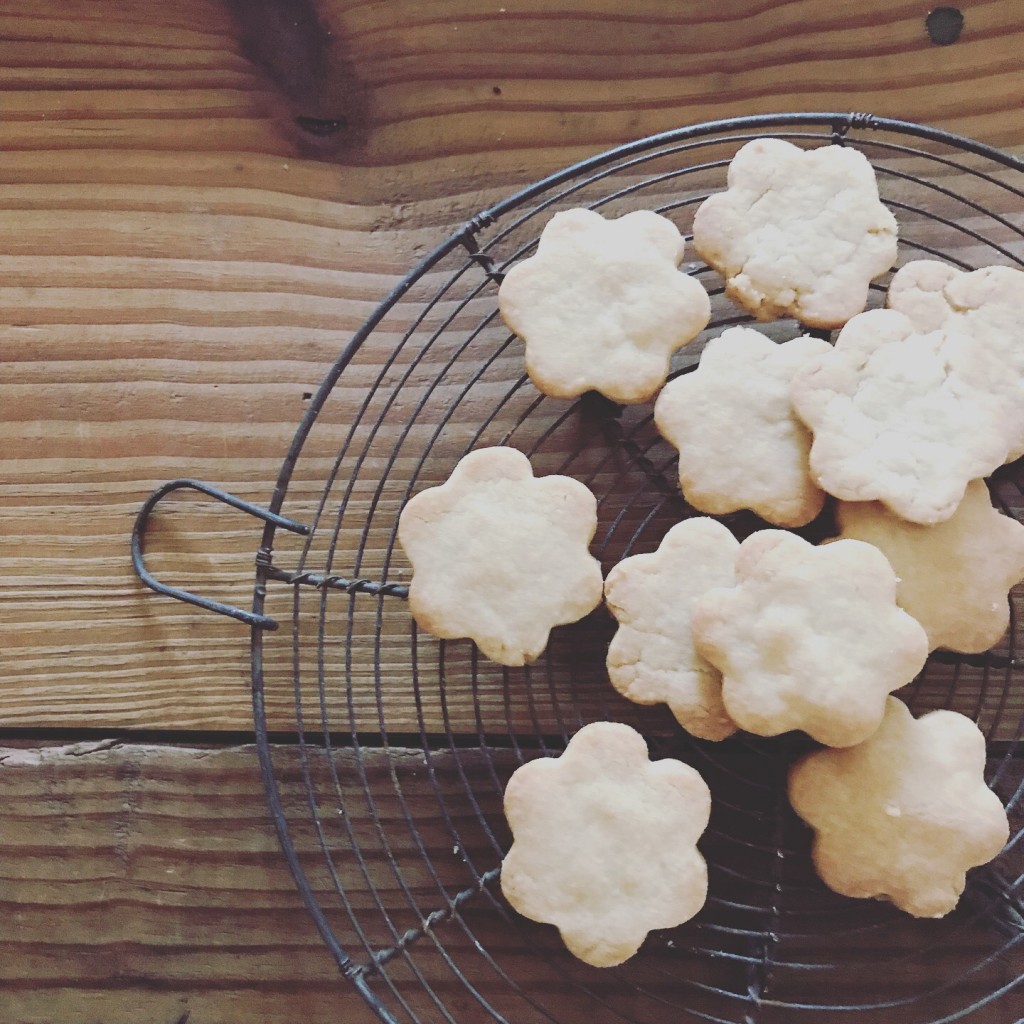
  11. Place the cut-out shapes on an ungreased sheet pan. (Option B. Bake at this point, without executing the additional steps. This will give you a plain, baked cookie that can be eaten with or without a sweet jam topping of your choice)
  12. Take approximately half a cup of the preserves and place in a sauce pan. Heat over medium heat until the viscosity changes from thick to thinner. Generally, when it starts to bubble, it is ready.  Stir the mixture while over the heat and re-heat of the preserves or jam cool while you are placing it on the cookies.
  13. Using a quarter teaspoon, spoon a quarter teaspoon of the thinned preserve mixture onto the center of the cut-out shape. Try to keep the shape of the preserve round as you are dolloping the preserves in the center.
  14. Place in the oven and cook for 10 – 12 minutes, until the edges are a light golden brown. Rotate the sheet pans halfway through the bake to ensure even baking.
  15. While the cookies are baking, begin your almond glaze. Sift the confectioners’ sugar into a bowl. Add three tablespoons of milk and stir.  If the glaze is thick (like peanut butter), add more milk, one table spoon at a time.  You are looking for a drizzling consistency.  Add a quarter teaspoon of almond extract.    If stronger flavor is needed and/or desired, add the additional quarter teaspoon.
  16. Remove the cookies from the oven and allow to fully cool.
  17. Using a fork or a squeeze bottle with a small nozzle, drizzle each cookie with the glaze. It is important to be more conservative with the glaze versus over glazing.  Less is better in this case.

The Italian Cookie Recipe from Aunt Maria

No one can eat just one.

No one can eat just one.
 

Every year, my mother makes what our family collectively believes is THE quintessential Italian cookie, called the Rosette.  They can be labor intensive, so they generally are not a cookie you can make often but they are worth every bit of effort.

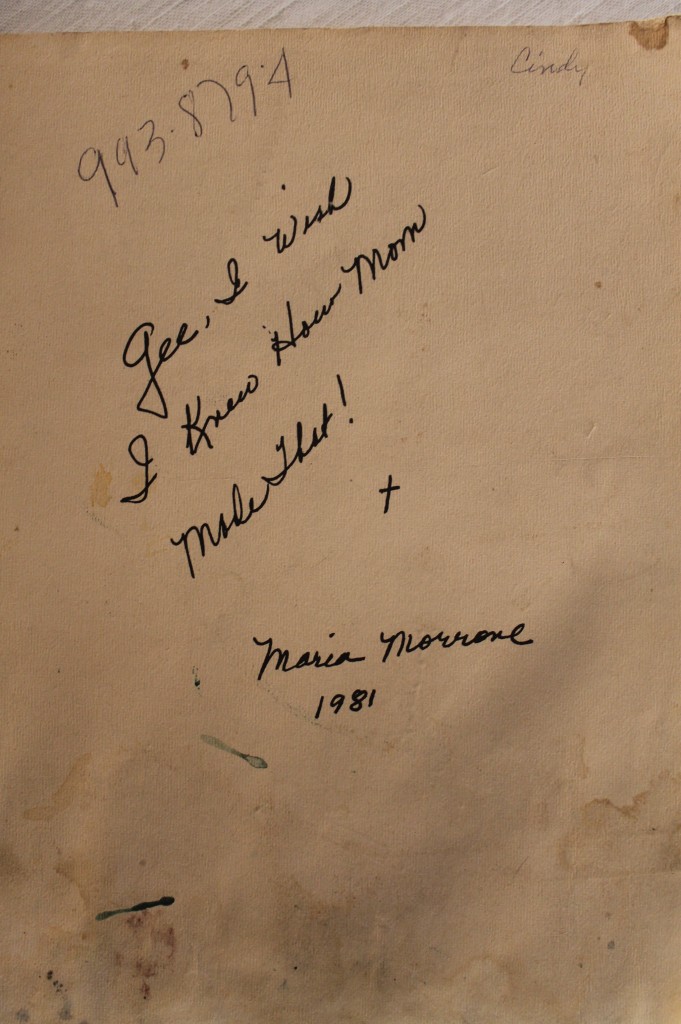
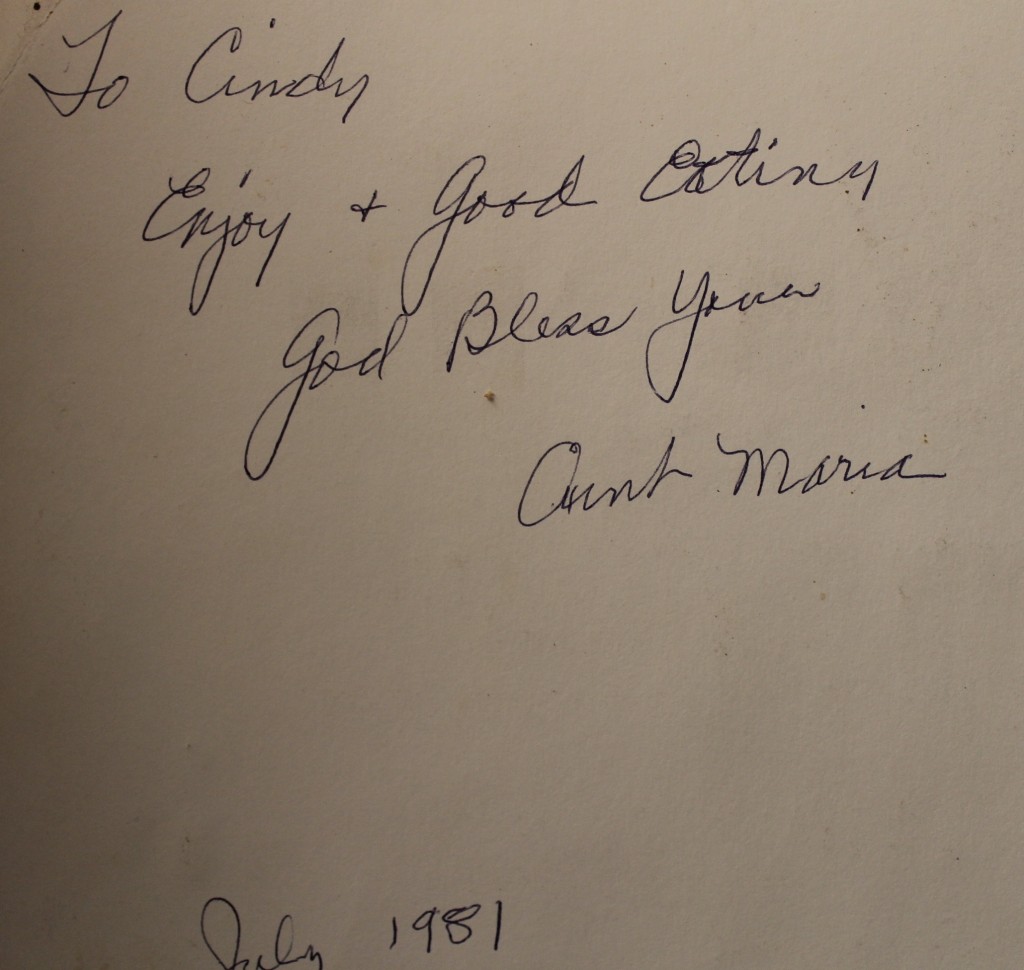
According to my mom, it took her twenty years to perfect the recipe.  As best I know, the origin of the cookie came from my late Aunt Maria Morrone.  She passed away many years ago at a very early age.  As a gift to her family, she created a cook book full of all of her tried and true recipes.  I was very young, but remember her as a terrific cook and in addition to being a mother to five rambunctious kids, she did some catering on the side which was a testament to how delicious her food was and what a good juggler she was:)

I don’t know how she ever found the time to cook and cater because there was a time each summer where the kids from one family would stay with the other family, which meant there were ten kids of varying temperaments and ages and a handful at any rate so how she found the time to make homemade food every night was beyond me, but then again, the talented cooks always make it look very easy.

I still have that cook book and have made several of her original recipes.  She hand typed the book (computers weren’t around back then) and had them professionally bound.  Whenever I look at it, I always thing of it as such a lovely and personal gift and I suppose, that is what a legacy is all about.

I hope you find some inspiration.

Always,

Cindy

A gift from the heart from a woman who knew her time was short.

A gift from the heart from a woman who knew her time was short.

Every time I use the book, I think of her.  I think she would be very proud of the women her children and nieces have become.

Every time I use the book, I think of her. I think she would be very proud of the women her children and nieces have become.

A reminder that life is more memorable when you color outside the lines.  Everything doesn't have to be perfect.

A reminder that life is more memorable when you color outside the lines. Everything doesn’t have to be perfect.

Rosette Cookies Recipe

1 c. butter ( you can use a combination of Crisco and butter for a slightly different texture)

1 c. sugar

3 eggs (room temperature)

2 t. vanilla extract

1 t. almond extract

3 c. of flour

1 c. cake flour

1 T. baking powder

1 t. salt

1/2 c. of whole milk

Glaze:

1 c. of confectioners’ sugar

1 t. almond extract

Low Fat butter milk, enough to get the desired consistency (usually 3 – 4 tablespoons)

*note: the original recipe calls for more flour in order to create a dough that is less sticky.  Then the cookies are rolled and formed by hand.  In order to allow the dough mixture to be more easily extruded from a piping bag, this recipe pulls back on the flour a bit since flour only affects texture, not taste.

Pre-heat your oven to 350 degrees.

Mix butter, sugar until combined.  Add eggs, one at a time and vanilla and almond extract.  In a separate bowl, sift together the dry ingredients (both flours, baking powder and salt) and add incrementally to the wet ingredients alternating with the milk until all ingredients have been added and are combined.  The dough will be slightly sticky.

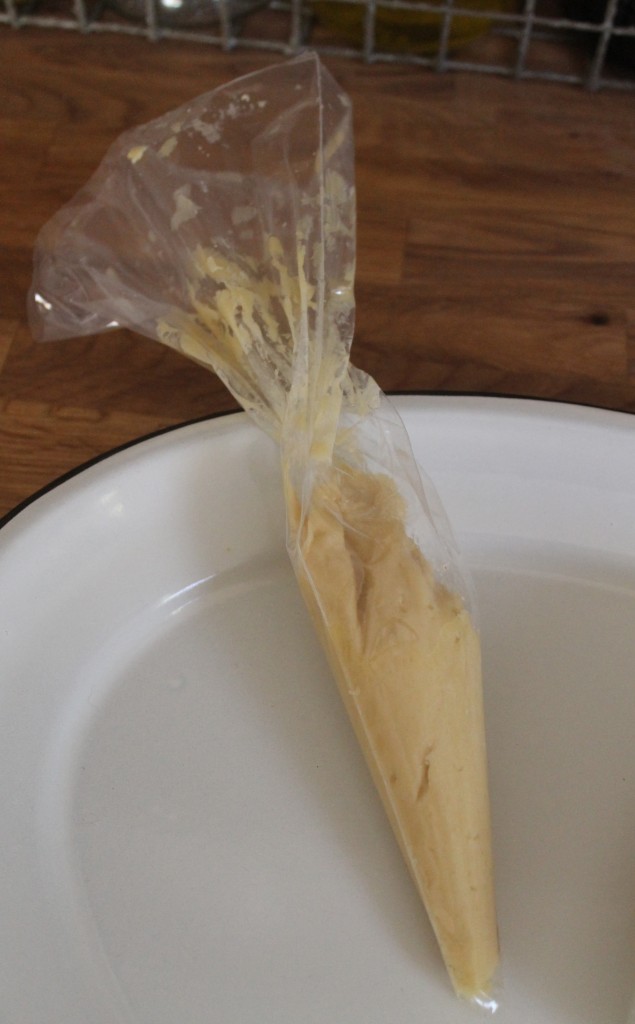
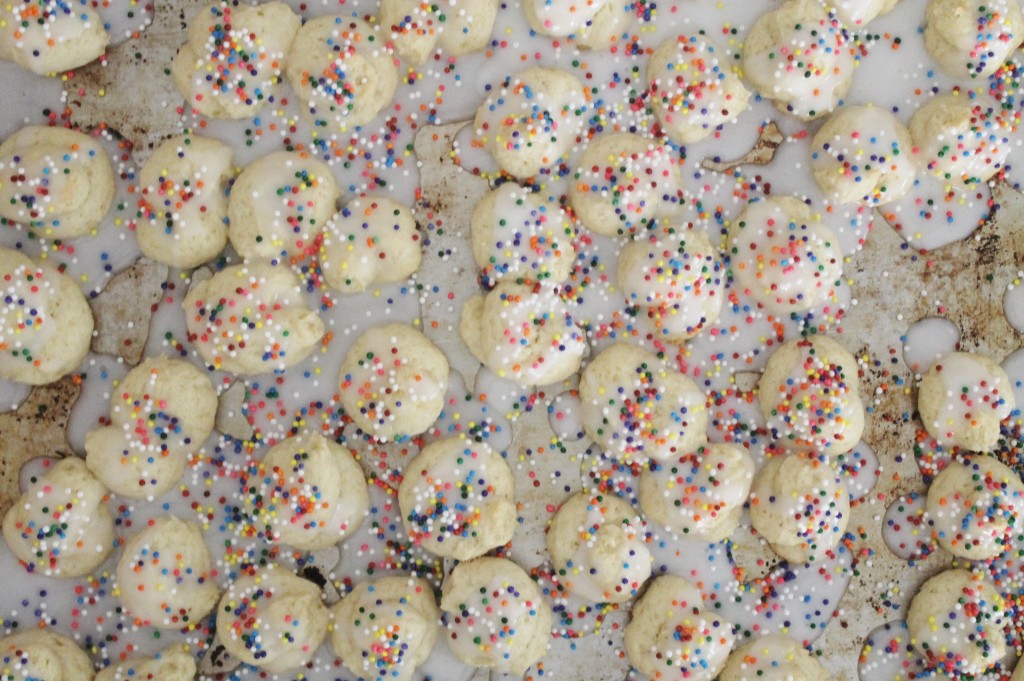
Load the dough into a piping bag with the tip snipped to approximately a half to three quarters of an inch hole.  You will pipe the cookies into a coiled snake shape, with two rows.  No worries…it does not have to be perfect…as you can see in my pictures…no two are the same.  You  just want them close to the same size so they cook evenly.  It takes some pressure to extrude the dough out of the bag and some assistance will be required to break the dough from the piping bag when you are finished piping each cookie.  Cook for 15-20 minutes until the bottom is golden brown.

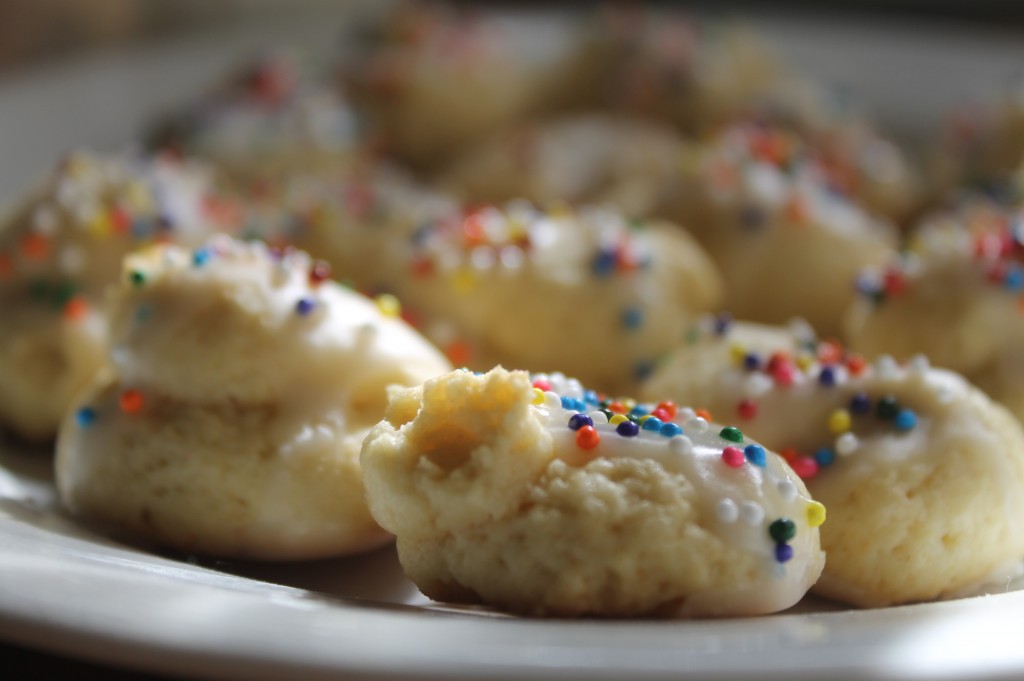
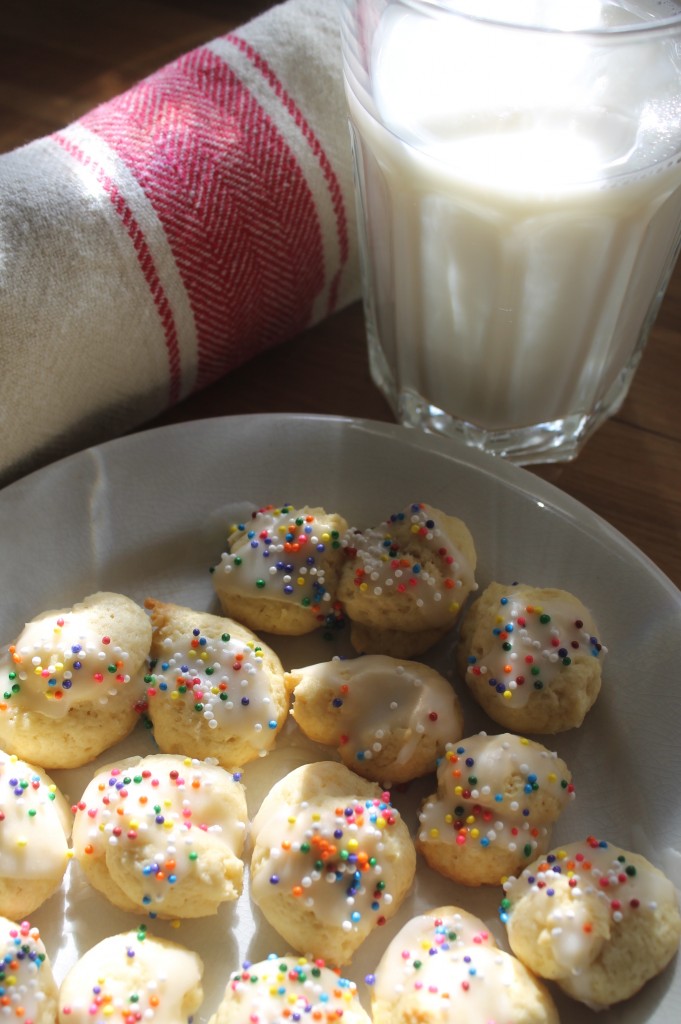
Allow cookies to cool, then drizzle glaze on them, remembering to add the sprinkles before the glaze dries.  Show some restraint with the sprinkles…it is easy to over do it.

Enjoy!

I modified the recipe so the cookie dough can be extruded with the use of a piping bag which makes them much, much easier to make.

I modified the recipe so the cookie dough can be extruded with the use of a piping bag which makes them much, much easier to make.


The glaze and sprinkles can be messy, so I add them once the cookies have cooled.

The glaze and sprinkles can be messy, so I add them once the cookies have cooled.

Fair warning...you can never eat just one.

Fair warning…you can never eat just one.

These cookies are slighly dense because of the addition of milk, which by the way, is the best way to accompany the cookies unless you have some prosecco around!

These cookies are slighly dense because of the addition of milk, which by the way, is the best way to accompany the cookies unless you have some prosecco around!