That Simple Moment of Happiness…

IMG_7298 (2)

Farmer’s Market Eggs.

IMG_7299 (2)

Farm to Table Lemons.

IMG_7304 (2)

Freshly Squeezed Lemon Juice.

Sometimes everything you have is everything you need at that moment.  A content moment, although fleeting, feels second nature.  Maybe it’s a belly laugh at a good joke, a picture that conjures up a fond memory or crashing into a song on the radio that you loved, but haven’t heard in a while.  Or maybe, just maybe, it is a simple as enjoying a helping of good food that rings every bell on your palette.

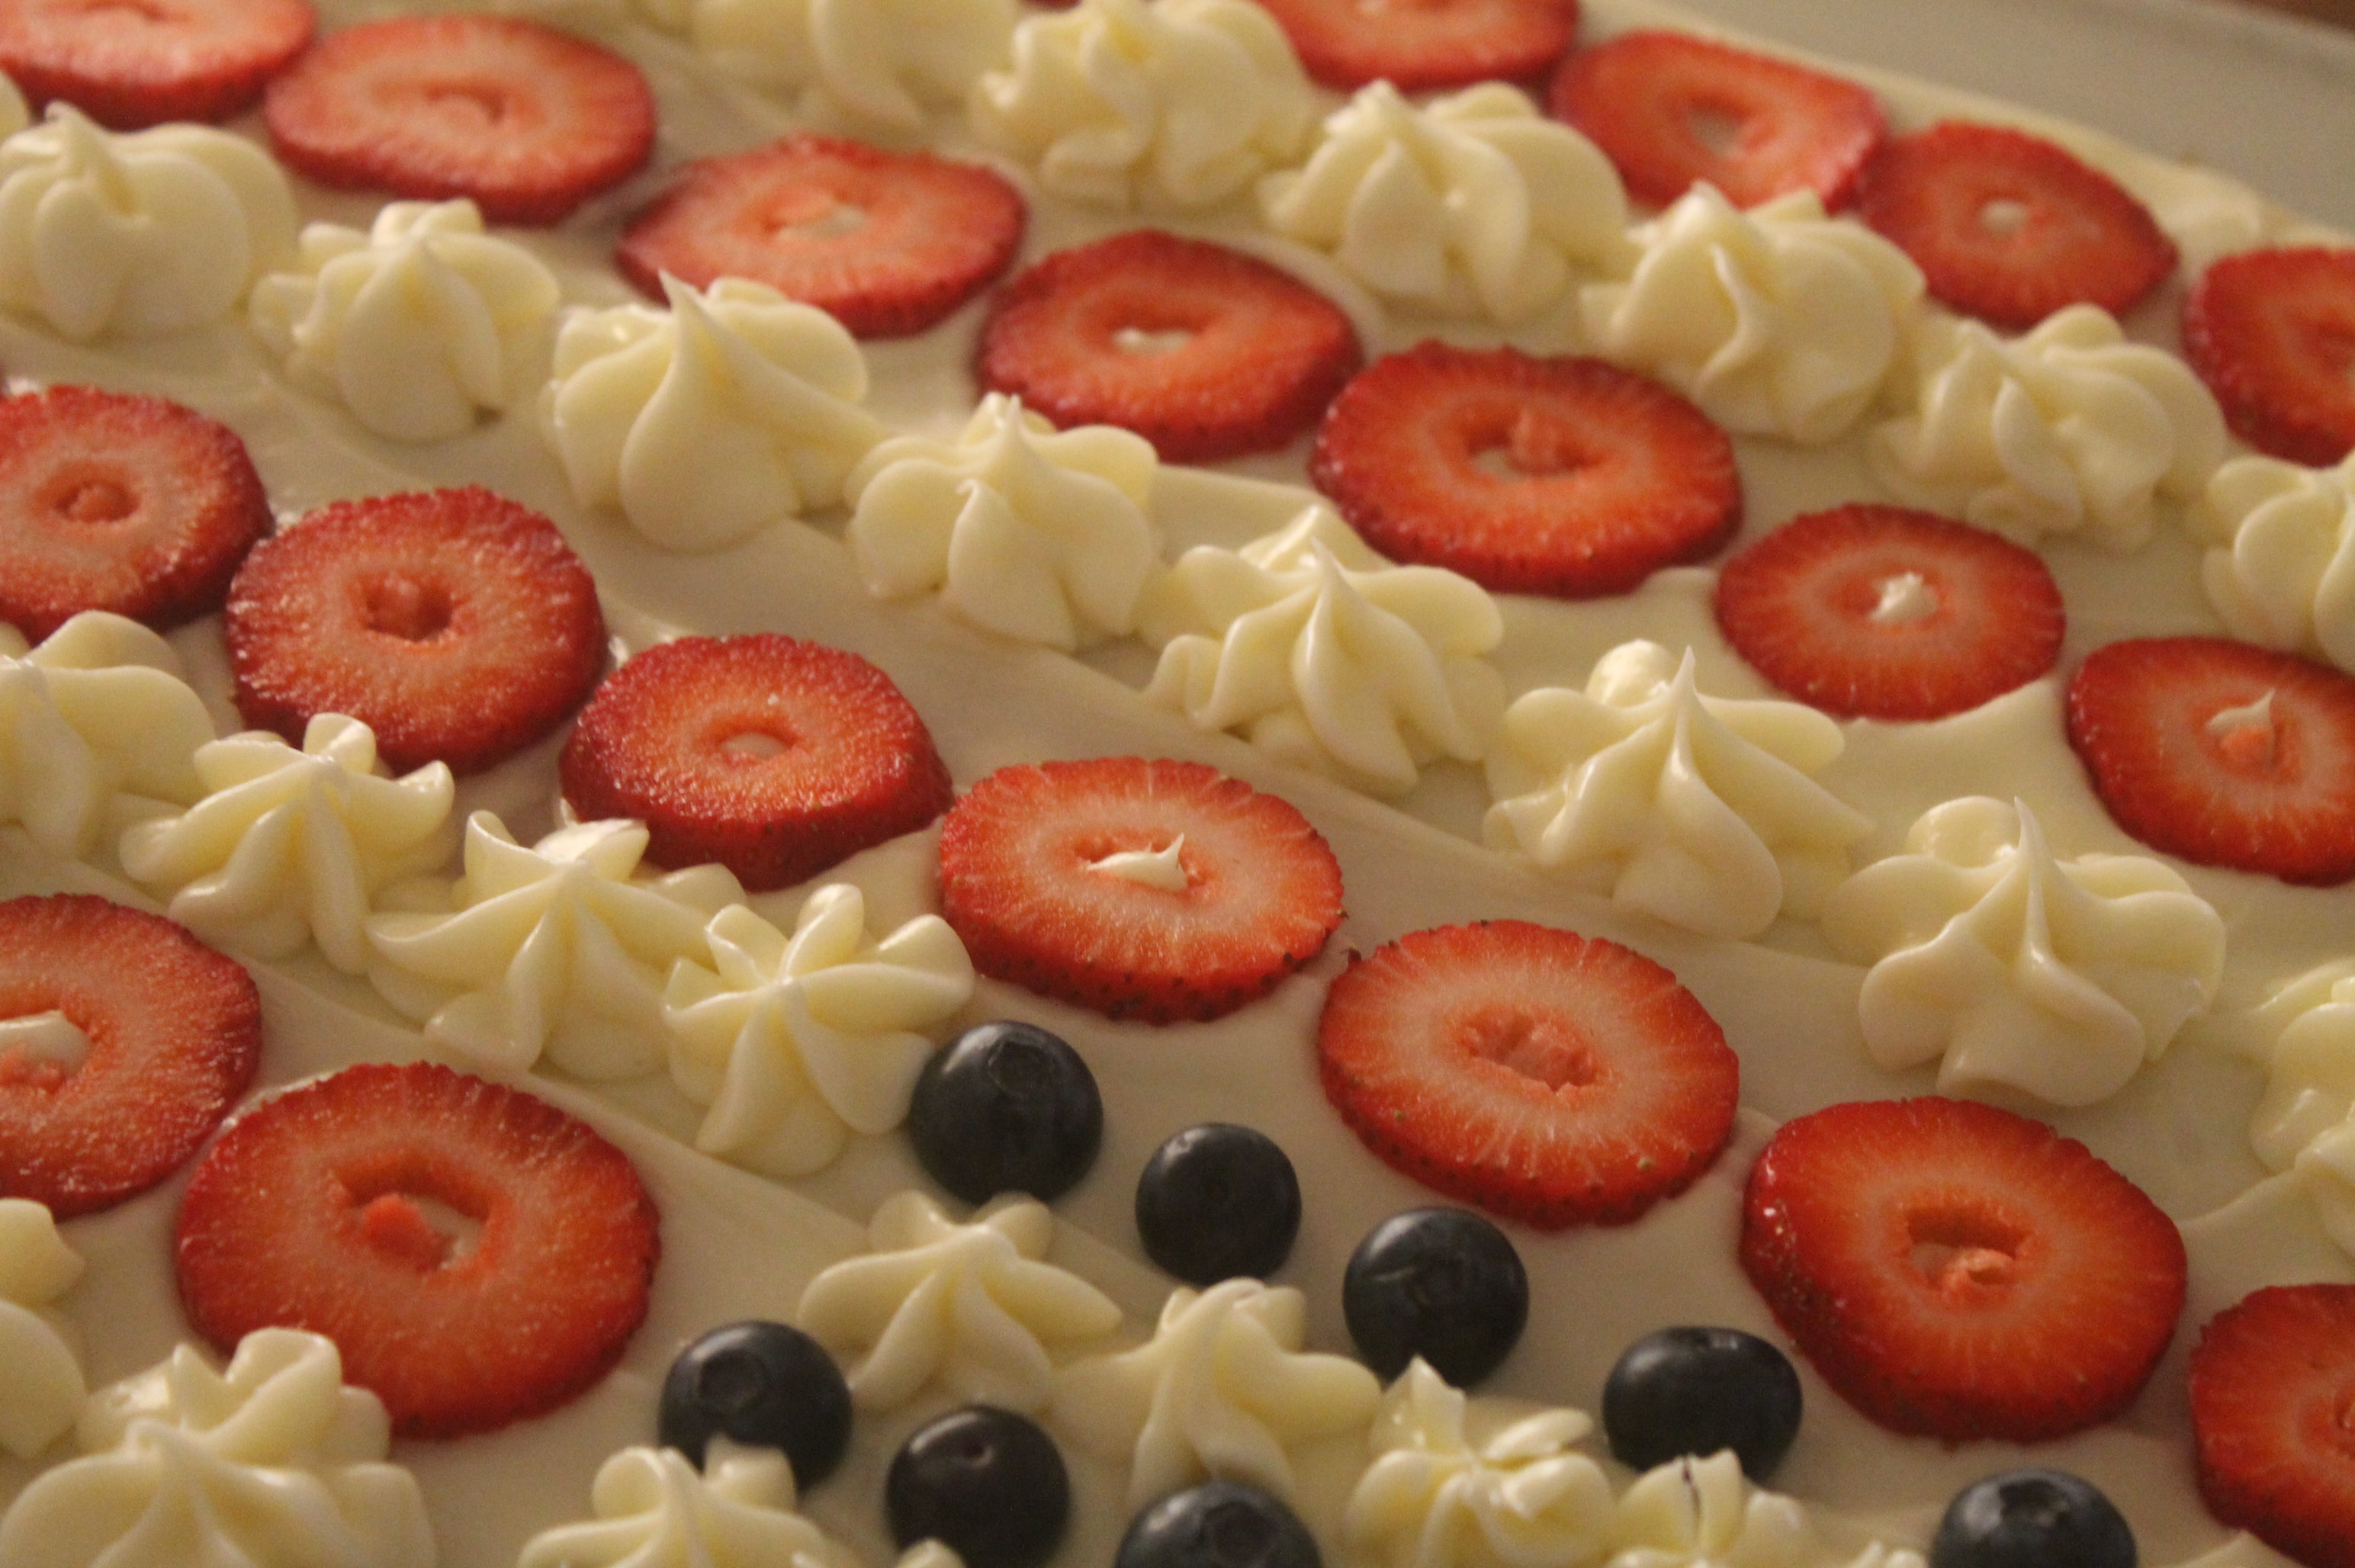
Memorial Day is the last hurrah of Spring and the signal of warm, balmy days to come .  It is also the time of year that I make the ever Patriotic Flag Cake.  An Ina Garten recipe that I have been making for years, it is a lovely and moist lemon sour cream pound cake base with cream cheese frosting and an abundance of farm market fresh strawberries and blueberries that celebrate the red, white and blue.  Add a bit of my homemade raspberry lemonade as a chaser and everything you have is everything you need for that simple moment of happiness.

Recipe is below, enjoy and above all, have a happy and safe Memorial Day.

I hope you find some inspiration.

We Remember.

Always,

Cindy


IMG_7312 (2)

Blue Berries Cream Cheese Frosting

Farm Fresh Blueberries and Strawberries

Farm Fresh Blueberries and Strawberries

Flag Cake Recipe

Ingredients

  • 18 tablespoons (2 1/4 sticks) unsalted butter at room temperature
  • 3 cups sugar
  • 6 extra-large eggs at room temperature
  • 1 cup sour cream at room temperature
  • 1 1/2 teaspoons pure vanilla extract
  • 3 cups flour
  • 1/3 cup cornstarch
  • 1 teaspoon kosher salt
  • 1 teaspoon baking soda

For the icing:

  • 1 pound (4 sticks) unsalted butter at room temperature
  • 1 1/2 pounds cream cheese at room temperature
  • 1 pound confectioners’ sugar, sifted
  • 1 1/2 teaspoons pure vanilla extract

To assemble:

  • 2 half-pints blueberries
  • 3 half-pints raspberries

Directions

Heat the oven to 350 degrees F.


Butter and flour an 18 by 13 by 1 1/2-inch sheet pan.


Cream the butter and sugar in the bowl of an electric mixer fitted with the paddle attachment on high speed, until light and fluffy. On medium speed, add the eggs, 2 at a time, then add the sour cream and vanilla. Scrape down the sides and stir until smooth.


Sift together the flour, cornstarch, salt, and baking soda in a bowl. With the mixer on low speed, add the flour mixture to the butter mixture until just combined. Pour into the prepared pan. Smooth the top with a spatula. Bake in the center of the oven for 20 to 30 minutes, until a toothpick comes out clean. Cool to room temperature.


For the icing, combine the butter, cream cheese, sugar, and vanilla in the bowl of an electric mixer fitted with the paddle attachment, mixing just until smooth.


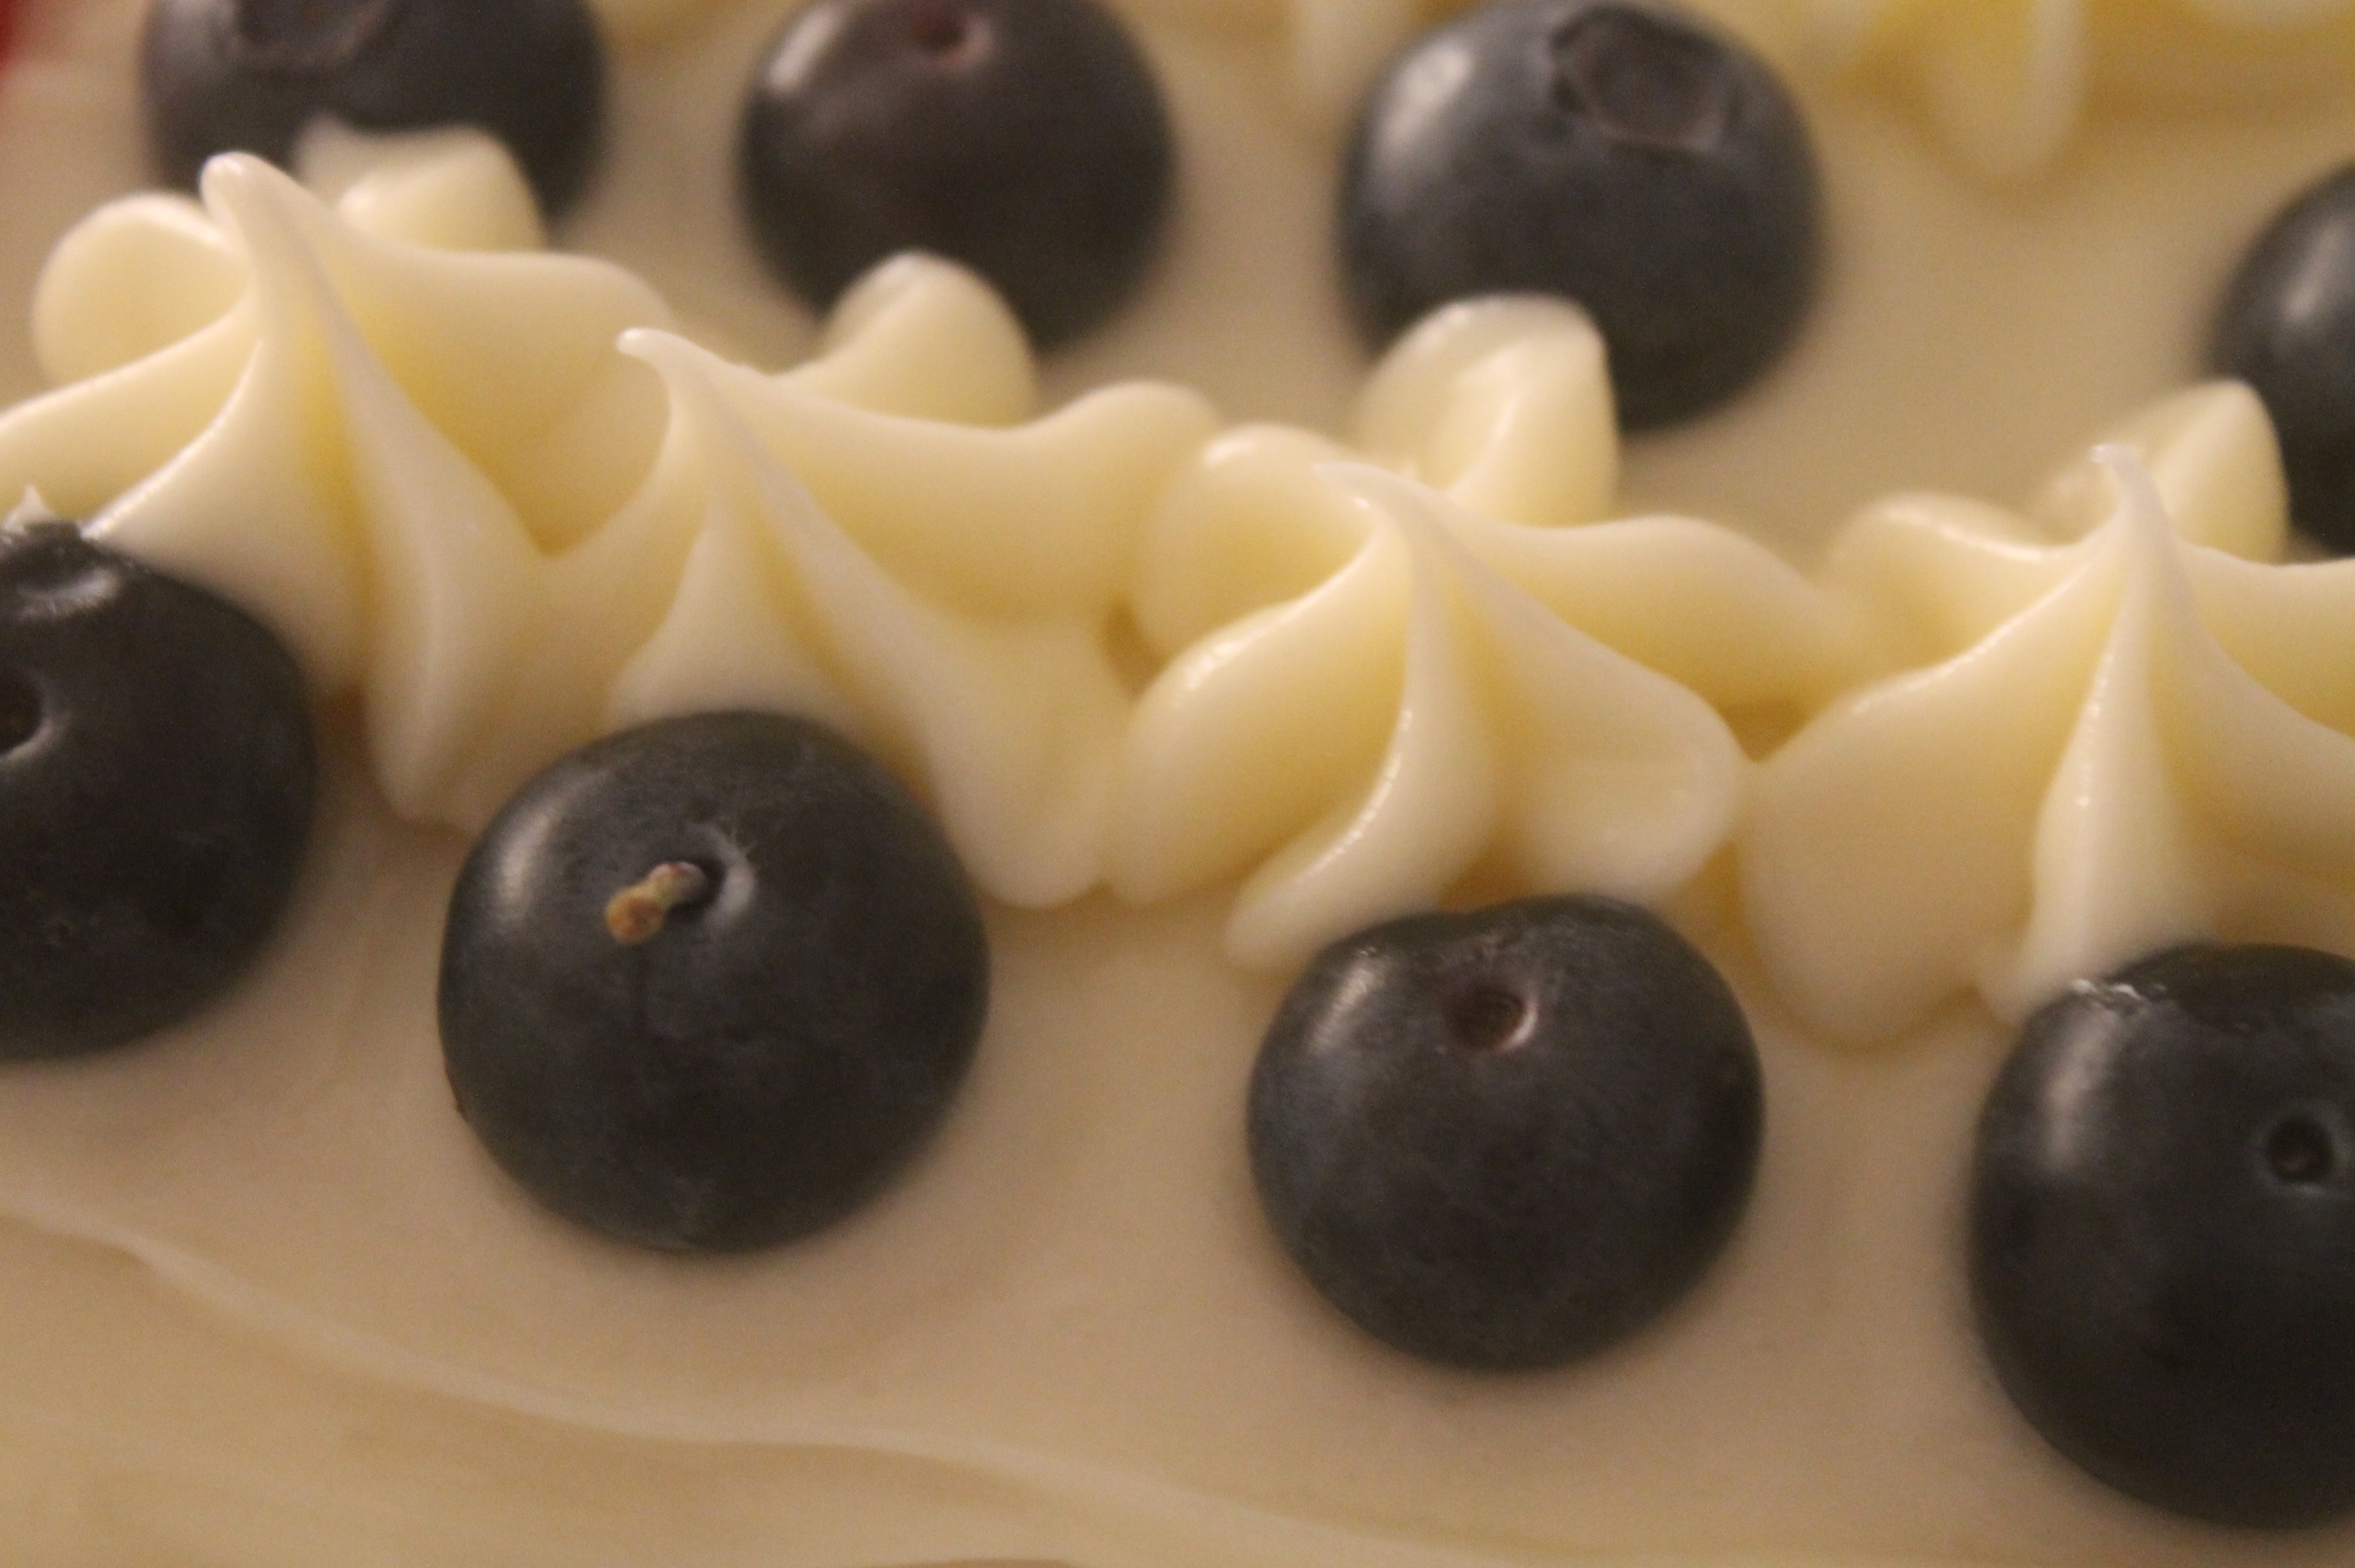
Spread three-fourths of the icing on the top of the cooled sheet cake. Outline the flag on the top of the cake with a toothpick. Fill the upper left corner with blueberries. Place 2 rows of raspberries across the top of the cake like a red stripe. Put the remaining icing in a pastry bag fitted with a star tip and pipe two rows of white stripes below the raspberries. Alternate rows of raspberries and icing until the flag is completed. Pipe stars on top of the blueberries.


I serve this cake right in the pan. If you want to turn it out onto a board before frosting, use parchment paper when you grease and flour the pan.

The Italian Cookie Recipe from Aunt Maria

No one can eat just one.

No one can eat just one.


Every year, my mother makes what our family collectively believes is THE quintessential Italian cookie, called the Rosette.  They can be labor intensive, so they generally are not a cookie you can make often but they are worth every bit of effort.

According to my mom, it took her twenty years to perfect the recipe.  As best I know, the origin of the cookie came from my late Aunt Maria Morrone.  She passed away many years ago at a very early age.  As a gift to her family, she created a cook book full of all of her tried and true recipes.  I was very young, but remember her as a terrific cook and in addition to being a mother to five rambunctious kids, she did some catering on the side which was a testament to how delicious her food was and what a good juggler she was:)

I don’t know how she ever found the time to cook and cater because there was a time each summer where the kids from one family would stay with the other family, which meant there were ten kids of varying temperaments and ages and a handful at any rate so how she found the time to make homemade food every night was beyond me, but then again, the talented cooks always make it look very easy.

I still have that cook book and have made several of her original recipes.  She hand typed the book (computers weren’t around back then) and had them professionally bound.  Whenever I look at it, I always thing of it as such a lovely and personal gift and I suppose, that is what a legacy is all about.

I hope you find some inspiration.

Always,

Cindy

A gift from the heart from a woman who knew her time was short.

A gift from the heart from a woman who knew her time was short.

Every time I use the book, I think of her.  I think she would be very proud of the women her children and nieces have become.

Every time I use the book, I think of her. I think she would be very proud of the women her children and nieces have become.

A reminder that life is more memorable when you color outside the lines.  Everything doesn't have to be perfect.

A reminder that life is more memorable when you color outside the lines. Everything doesn’t have to be perfect.

Rosette Cookies Recipe

1 c. butter ( you can use a combination of Crisco and butter for a slightly different texture)

1 c. sugar

3 eggs (room temperature)

2 t. vanilla extract

1 t. almond extract

3 c. of flour

1 c. cake flour

1 T. baking powder

1 t. salt

1/2 c. of whole milk

Glaze:

1 c. of confectioners’ sugar

1 t. almond extract

Low Fat butter milk, enough to get the desired consistency (usually 3 – 4 tablespoons)

*note: the original recipe calls for more flour in order to create a dough that is less sticky.  Then the cookies are rolled and formed by hand.  In order to allow the dough mixture to be more easily extruded from a piping bag, this recipe pulls back on the flour a bit since flour only affects texture, not taste.

Pre-heat your oven to 350 degrees.

Mix butter, sugar until combined.  Add eggs, one at a time and vanilla and almond extract.  In a separate bowl, sift together the dry ingredients (both flours, baking powder and salt) and add incrementally to the wet ingredients alternating with the milk until all ingredients have been added and are combined.  The dough will be slightly sticky.

Load the dough into a piping bag with the tip snipped to approximately a half to three quarters of an inch hole.  You will pipe the cookies into a coiled snake shape, with two rows.  No worries…it does not have to be perfect…as you can see in my pictures…no two are the same.  You  just want them close to the same size so they cook evenly.  It takes some pressure to extrude the dough out of the bag and some assistance will be required to break the dough from the piping bag when you are finished piping each cookie.  Cook for 15-20 minutes until the bottom is golden brown.

Allow cookies to cool, then drizzle glaze on them, remembering to add the sprinkles before the glaze dries.  Show some restraint with the sprinkles…it is easy to over do it.

Enjoy!

I modified the recipe so the cookie dough can be extruded with the use of a piping bag which makes them much, much easier to make.

I modified the recipe so the cookie dough can be extruded with the use of a piping bag which makes them much, much easier to make.


The glaze and sprinkles can be messy, so I add them once the cookies have cooled.

The glaze and sprinkles can be messy, so I add them once the cookies have cooled.

Fair warning...you can never eat just one.

Fair warning…you can never eat just one.

These cookies are slighly dense because of the addition of milk, which by the way, is the best way to accompany the cookies unless you have some prosecco around!

These cookies are slighly dense because of the addition of milk, which by the way, is the best way to accompany the cookies unless you have some prosecco around!


Nature’s Rubies

Nature's Rubies


Dough Crossing.


Kneadful Things.


Three smaller loaves for sharing.


Ready for the oven.


Deliciously crusty and golden.


Heavenly.


I love this recipe because it can be made on the spur of the moment because it doesn’t require the pre-softening of butter or leaving eggs out in advance.  I make one substitution to the recipe below, using craisins instead of currants.

Besides cranberries (or craisins) I love this recipe because it uses orange, one of my favorite flavors.

This is an Ina Garten recipe.  As usual, she makes great impact with few ingredients.

Enjoy!

xoxo.

Cindy, Lillie and Samantha

Orange Cranberry Irish Soda Bread

Ingredients

  • 4 cups all-purpose flour, plus extra for currants
  • 4 tablespoons sugar
  • 1 teaspoon baking soda
  • 1 1/2 teaspoons kosher salt
  • 4 tablespoons (1/2 stick) cold unsalted butter, cut into 1/2-inch dice
  • 1 3/4 cups cold buttermilk, shaken
  • 1 extra-large egg, lightly beaten
  • 1 teaspoon grated orange zest
  • 1 cup dried currants

Directions

Preheat the oven to 375 degrees F.  Line a sheet pan with parchment paper.

Combine the flour, sugar, baking soda, and salt in the bowl of an electric mixer fitted with the paddle attachment.  Add the butter and mix on low speed until the butter is mixed into the flour.

With a fork, lightly beat the buttermilk, egg, and orange zest together in a measuring cup.  With the mixer on low speed, slowly add the buttermilk mixture to the flour mixture.  Combine the currants with 1 tablespoon of flour and mix into the dough.  It will be very wet.

Dump the dough onto a well-floured board and knead it a few times into a round loaf.  Place the loaf on the prepared sheet pan and lightly cut an X into the top of the bread with a serrated knife.  Bake for 45 to 55 minutes, or until a cake tester comes out clean.  When you tap the loaf, it will have a hollow sound.

Cool on a baking rack.  Serve warm or at room temperature.