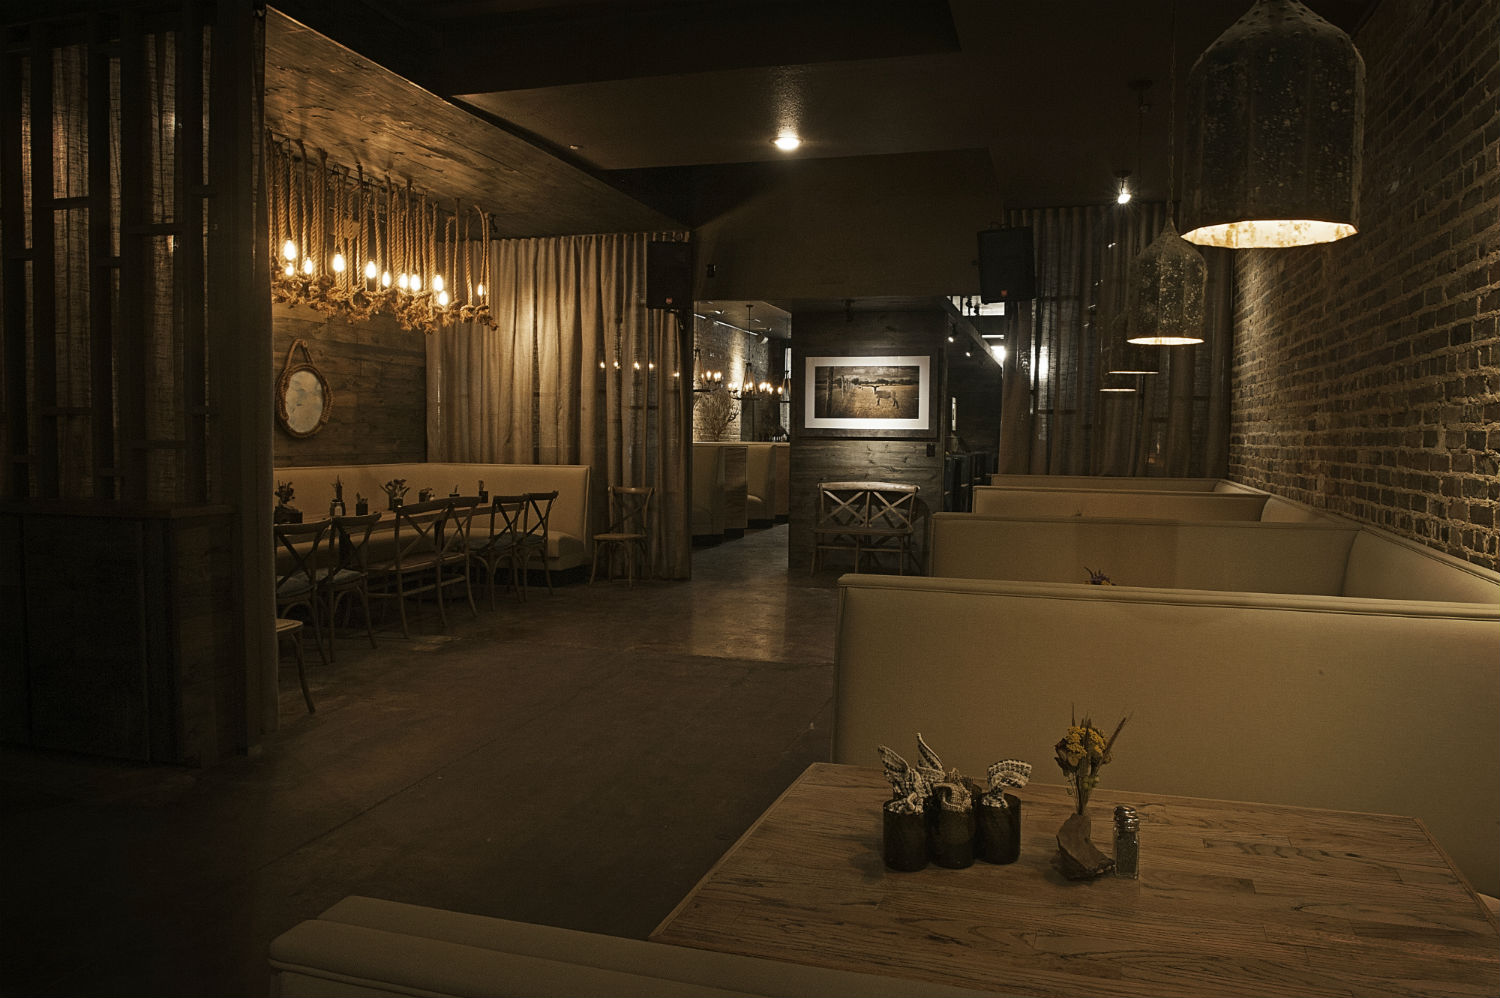
The perfect contrast of light and dark
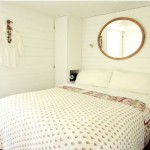
Big things happen in little minutes and that just about describes what will happen in the next 5 days. Floors, cabinets, tiling, plumbing finishing, electrical finishing and painting. And that’s just the inside. The rain has hampered working on the outside but it makes no difference to me. I just want to sleep in my own bed and fall asleep staring at my own ceiling.
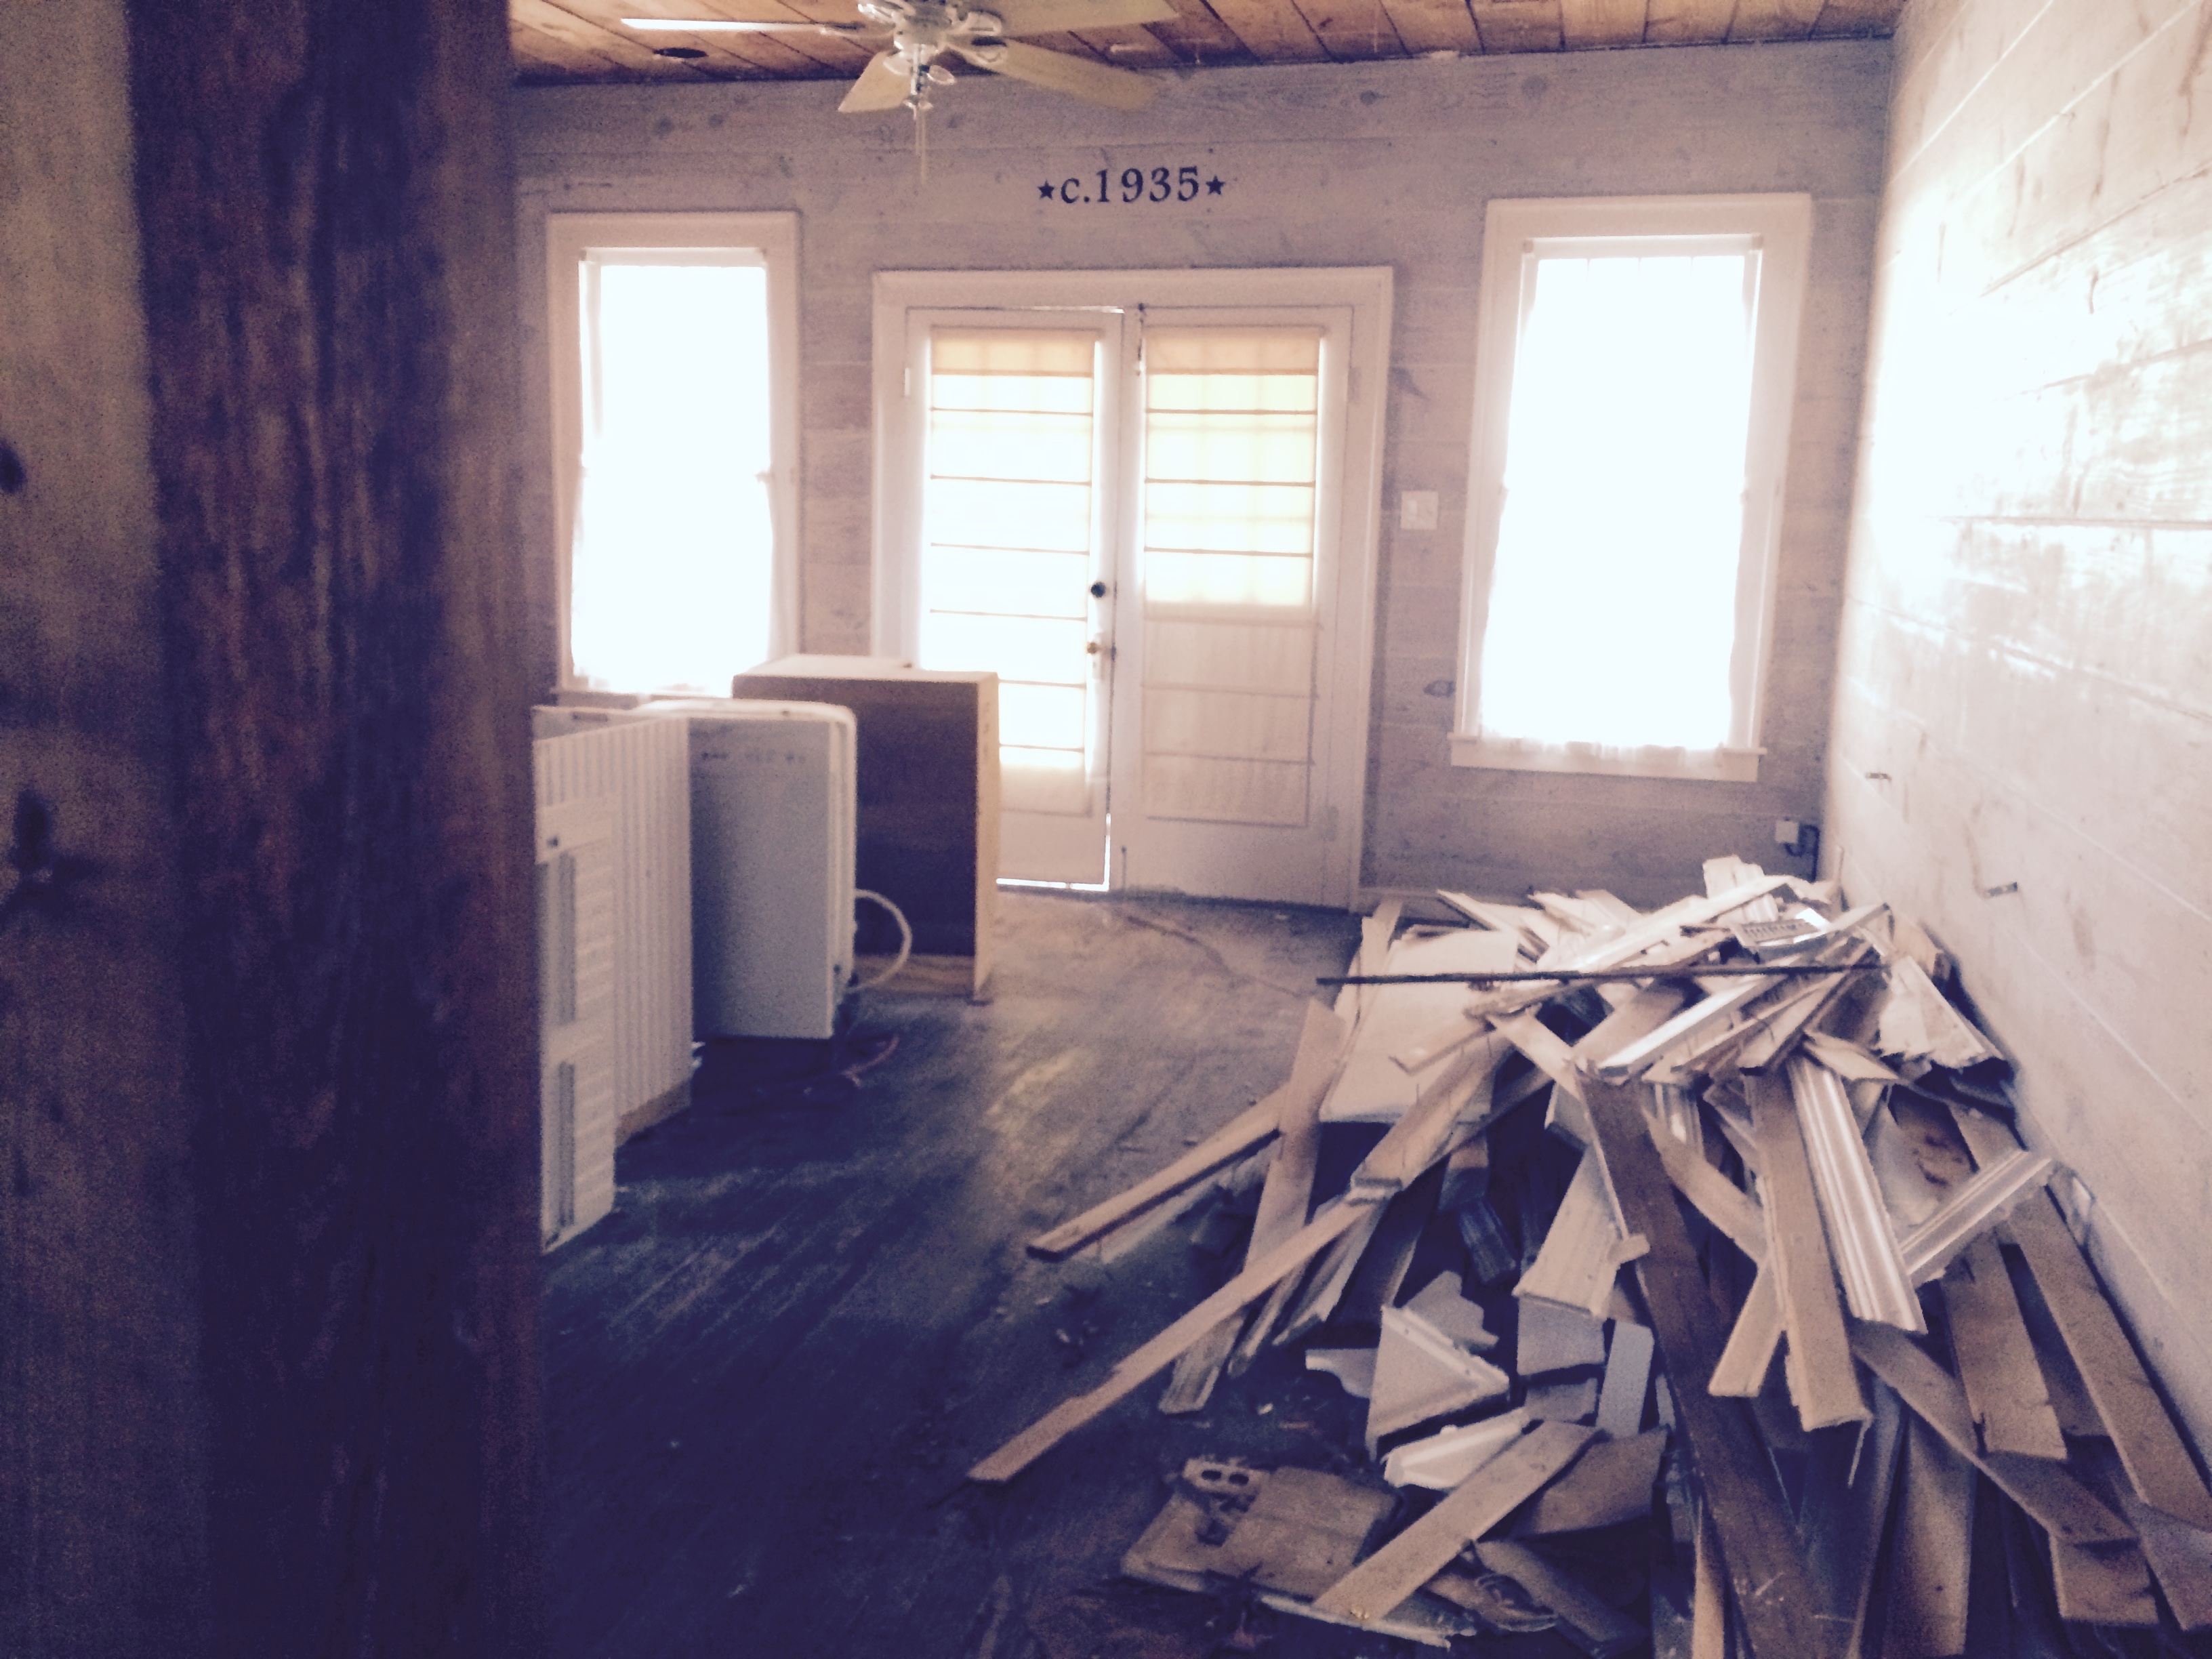
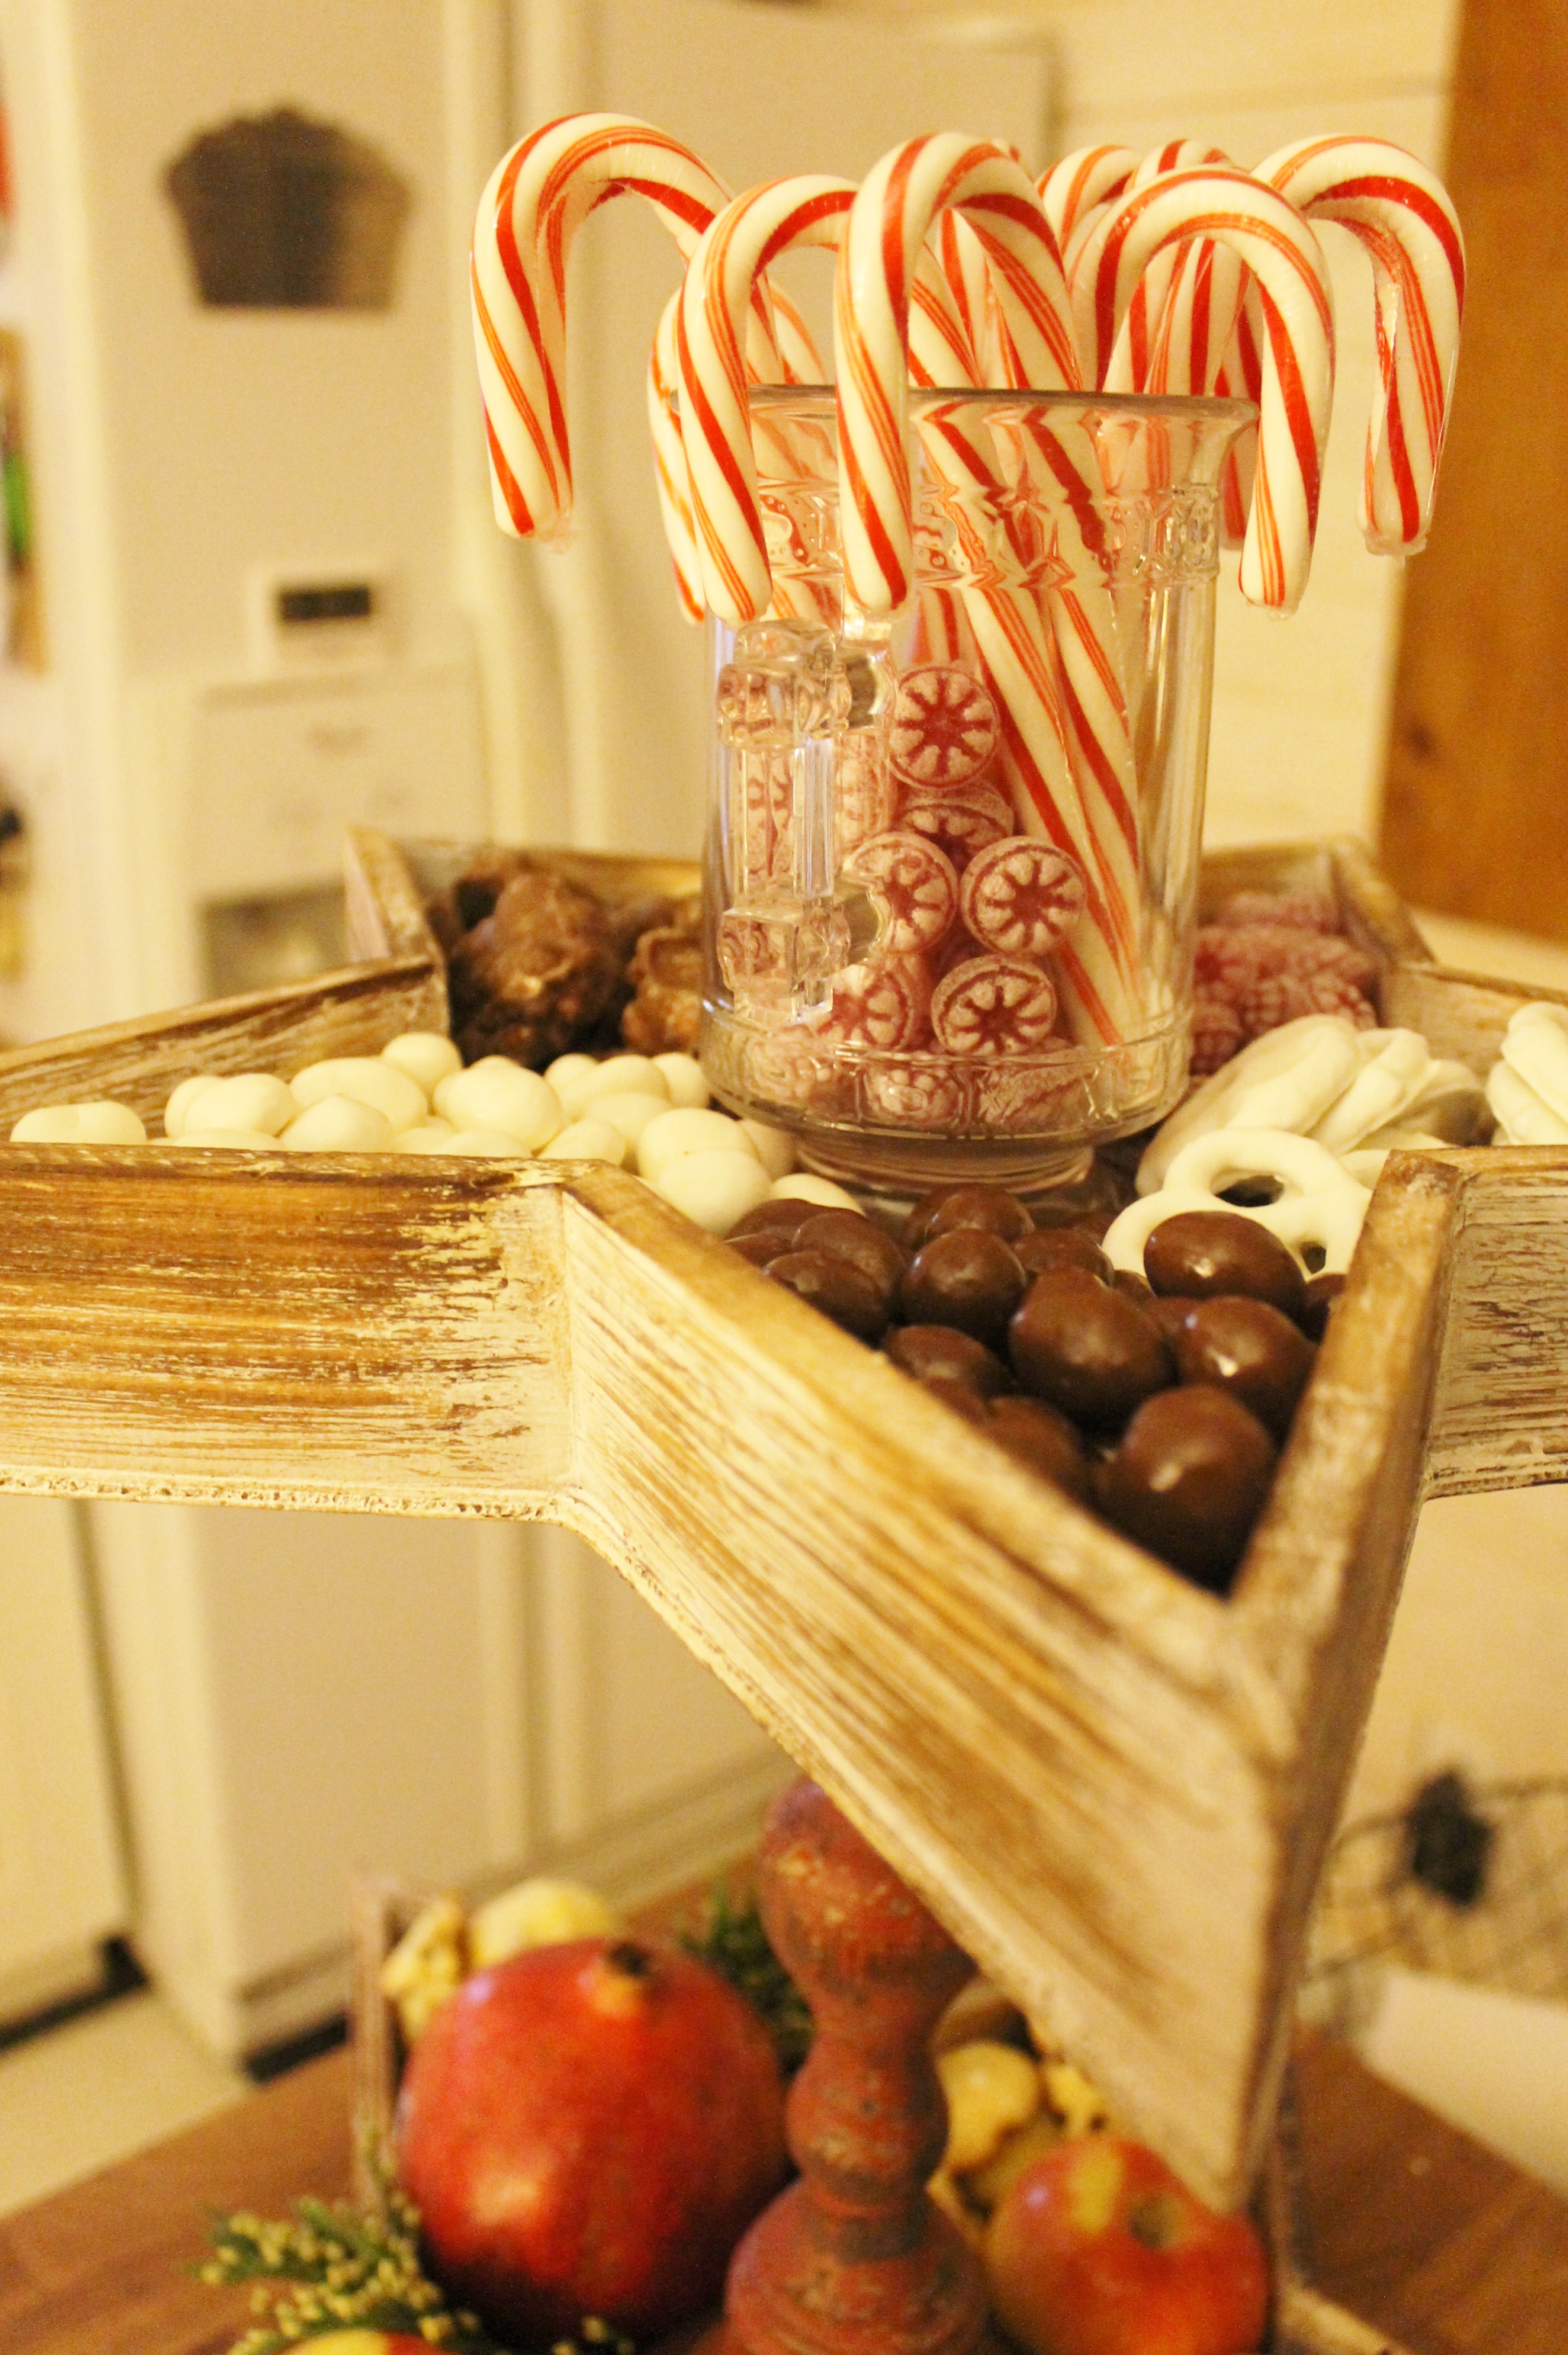
Here are the lastest pictures. Everything is in a state of being completed. And then, with a wing, a prayer and a good tail wind, it will all come together.
I hope you find some inspiration.
Always,
Cindy
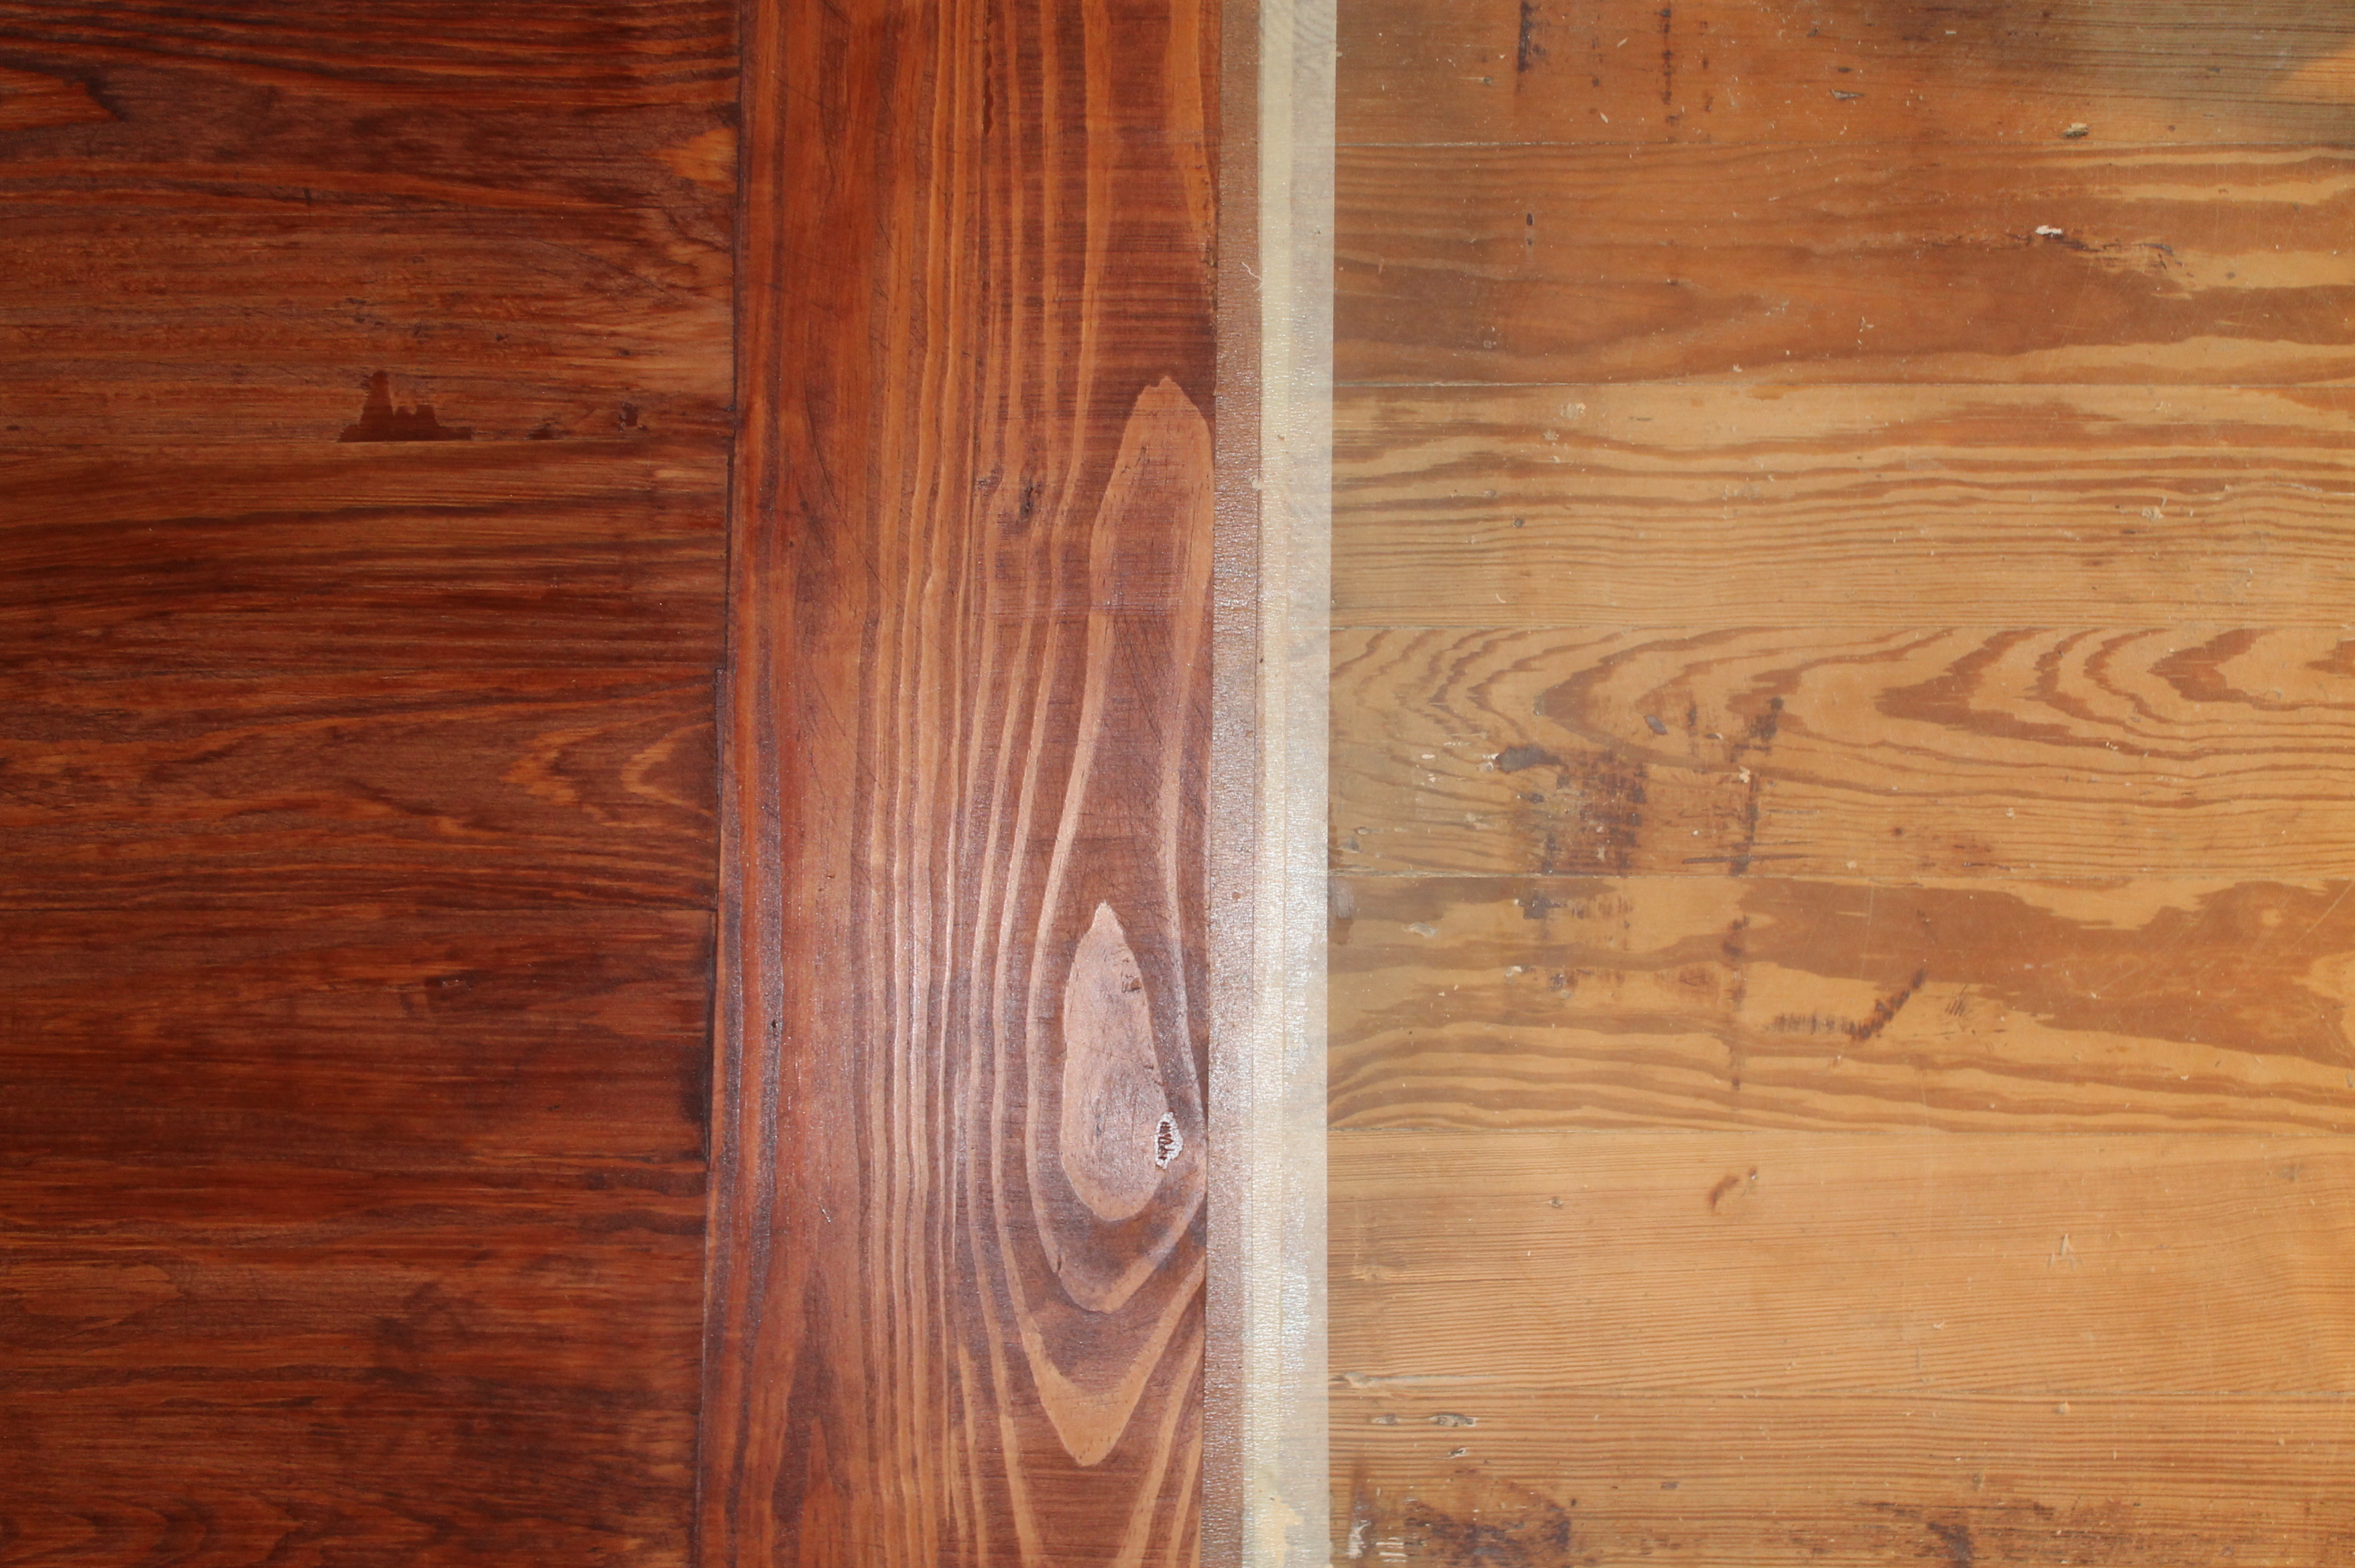
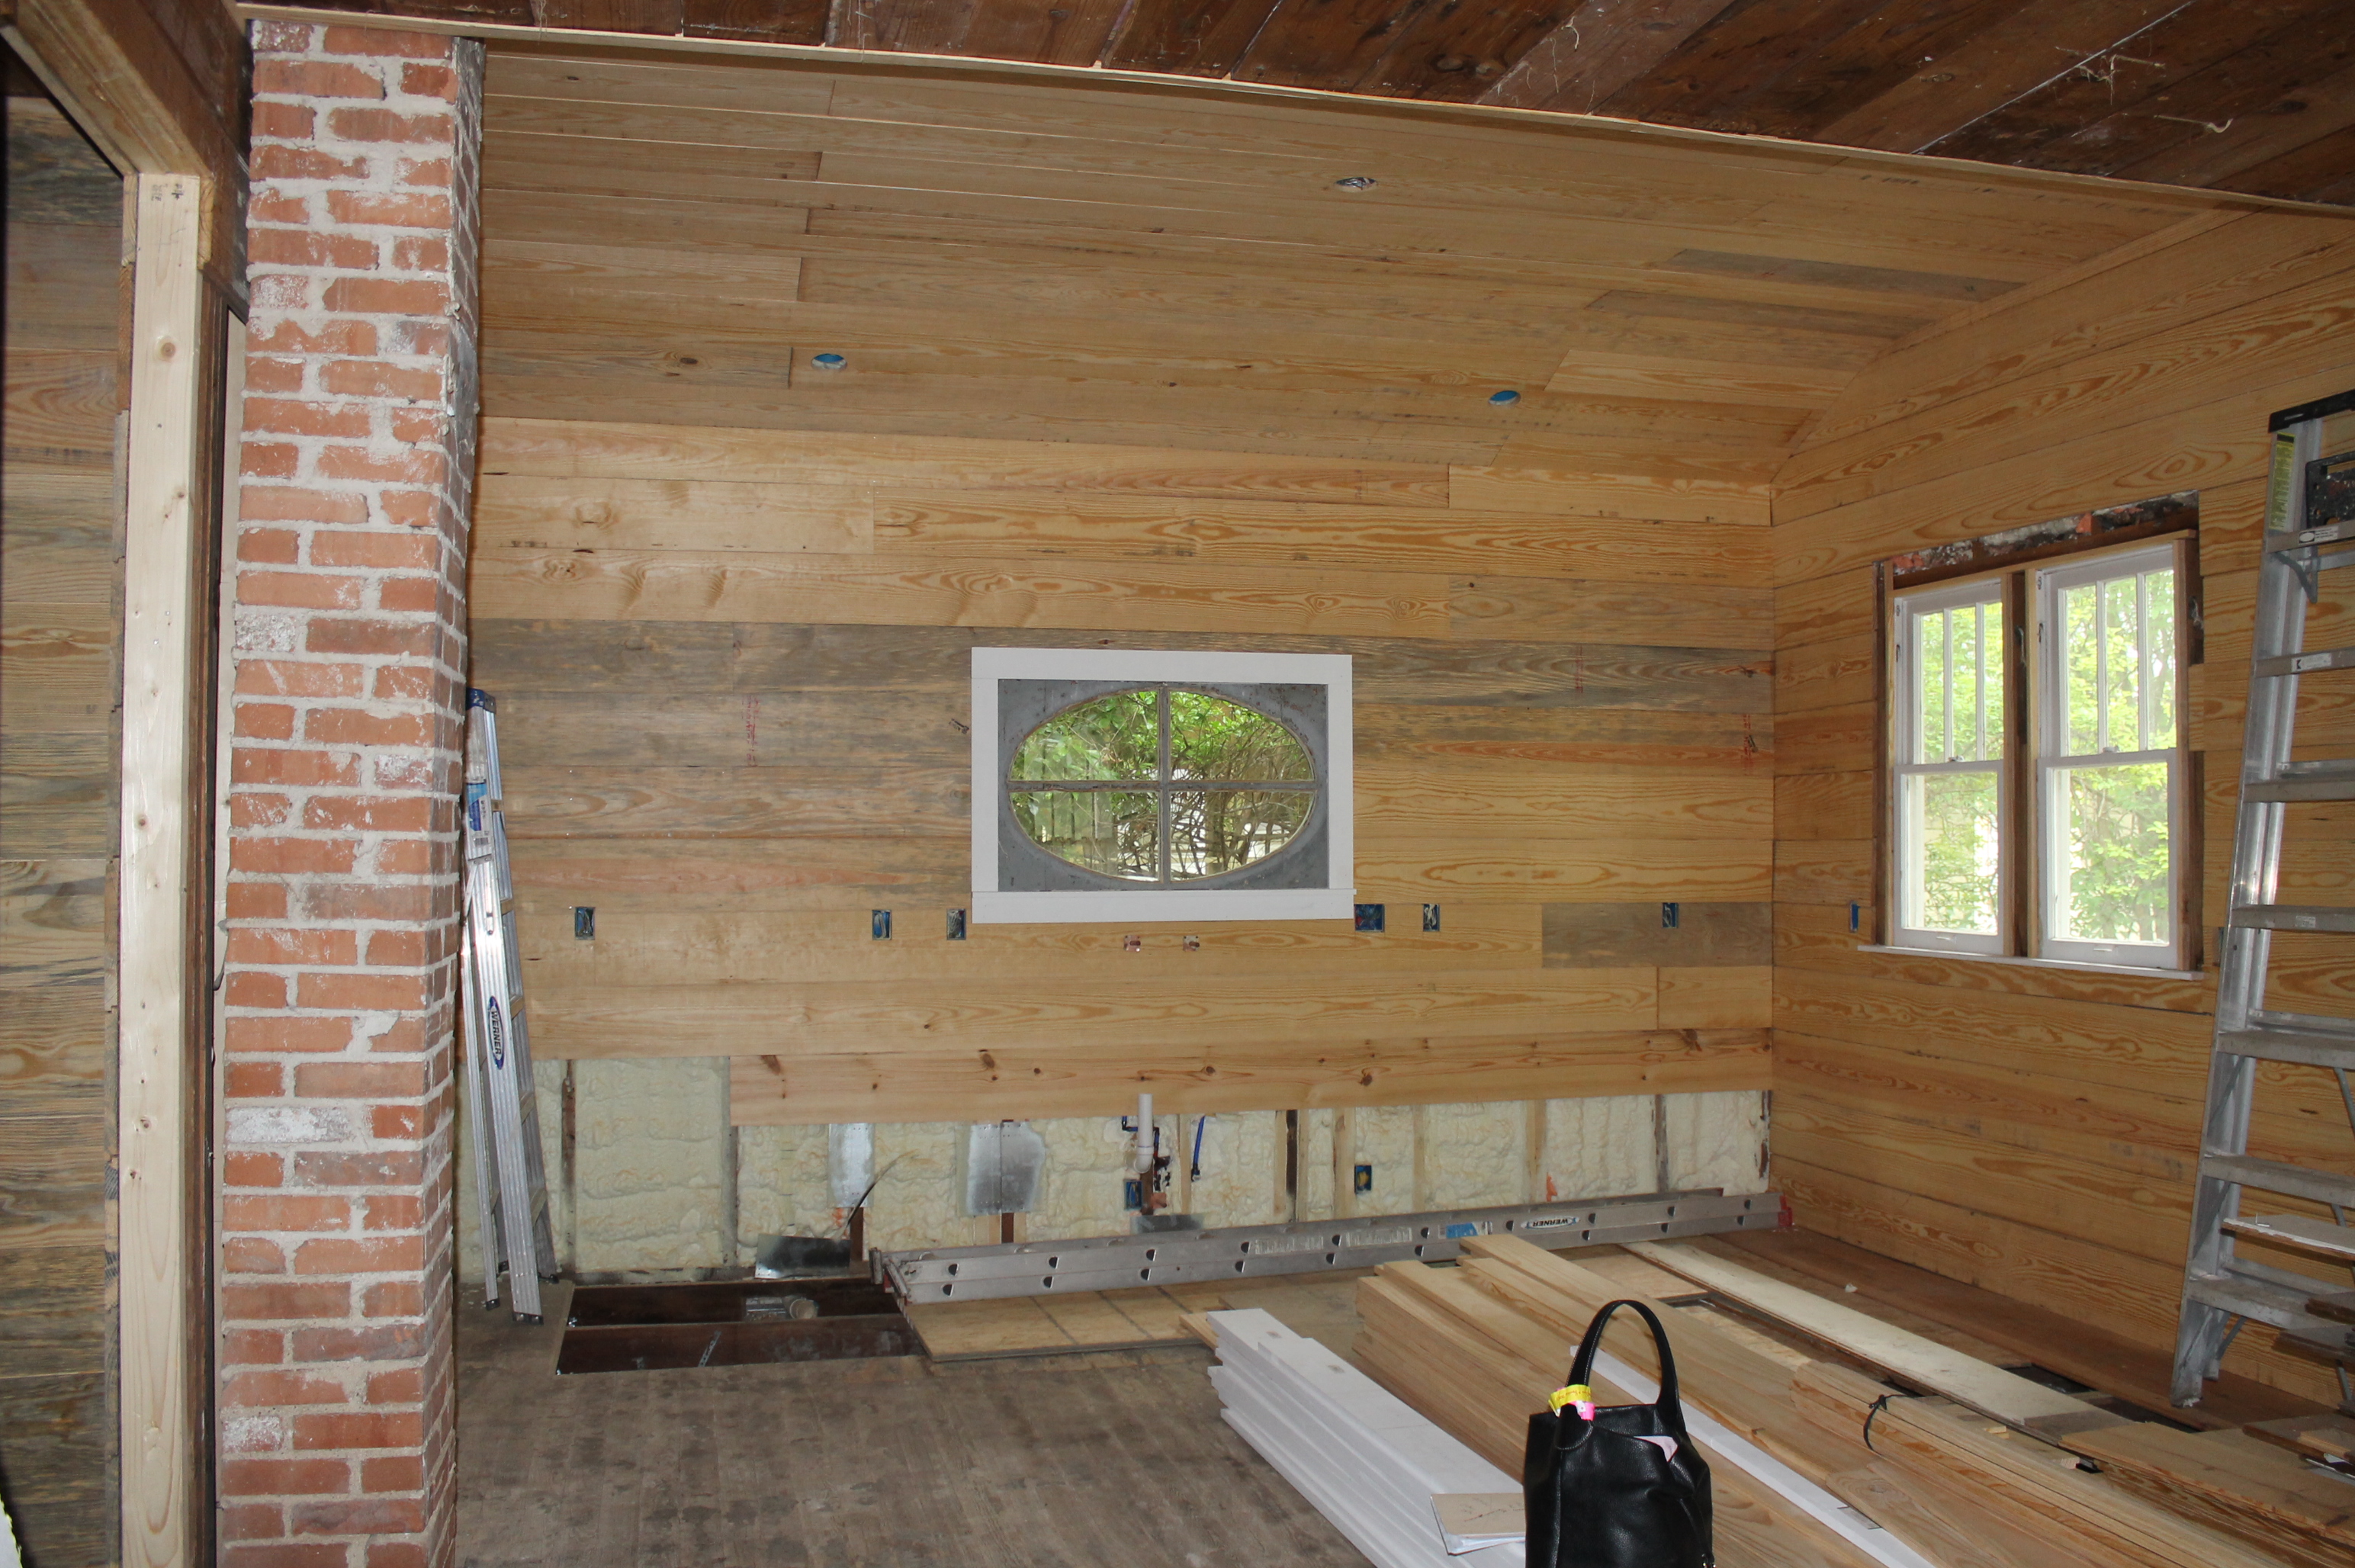
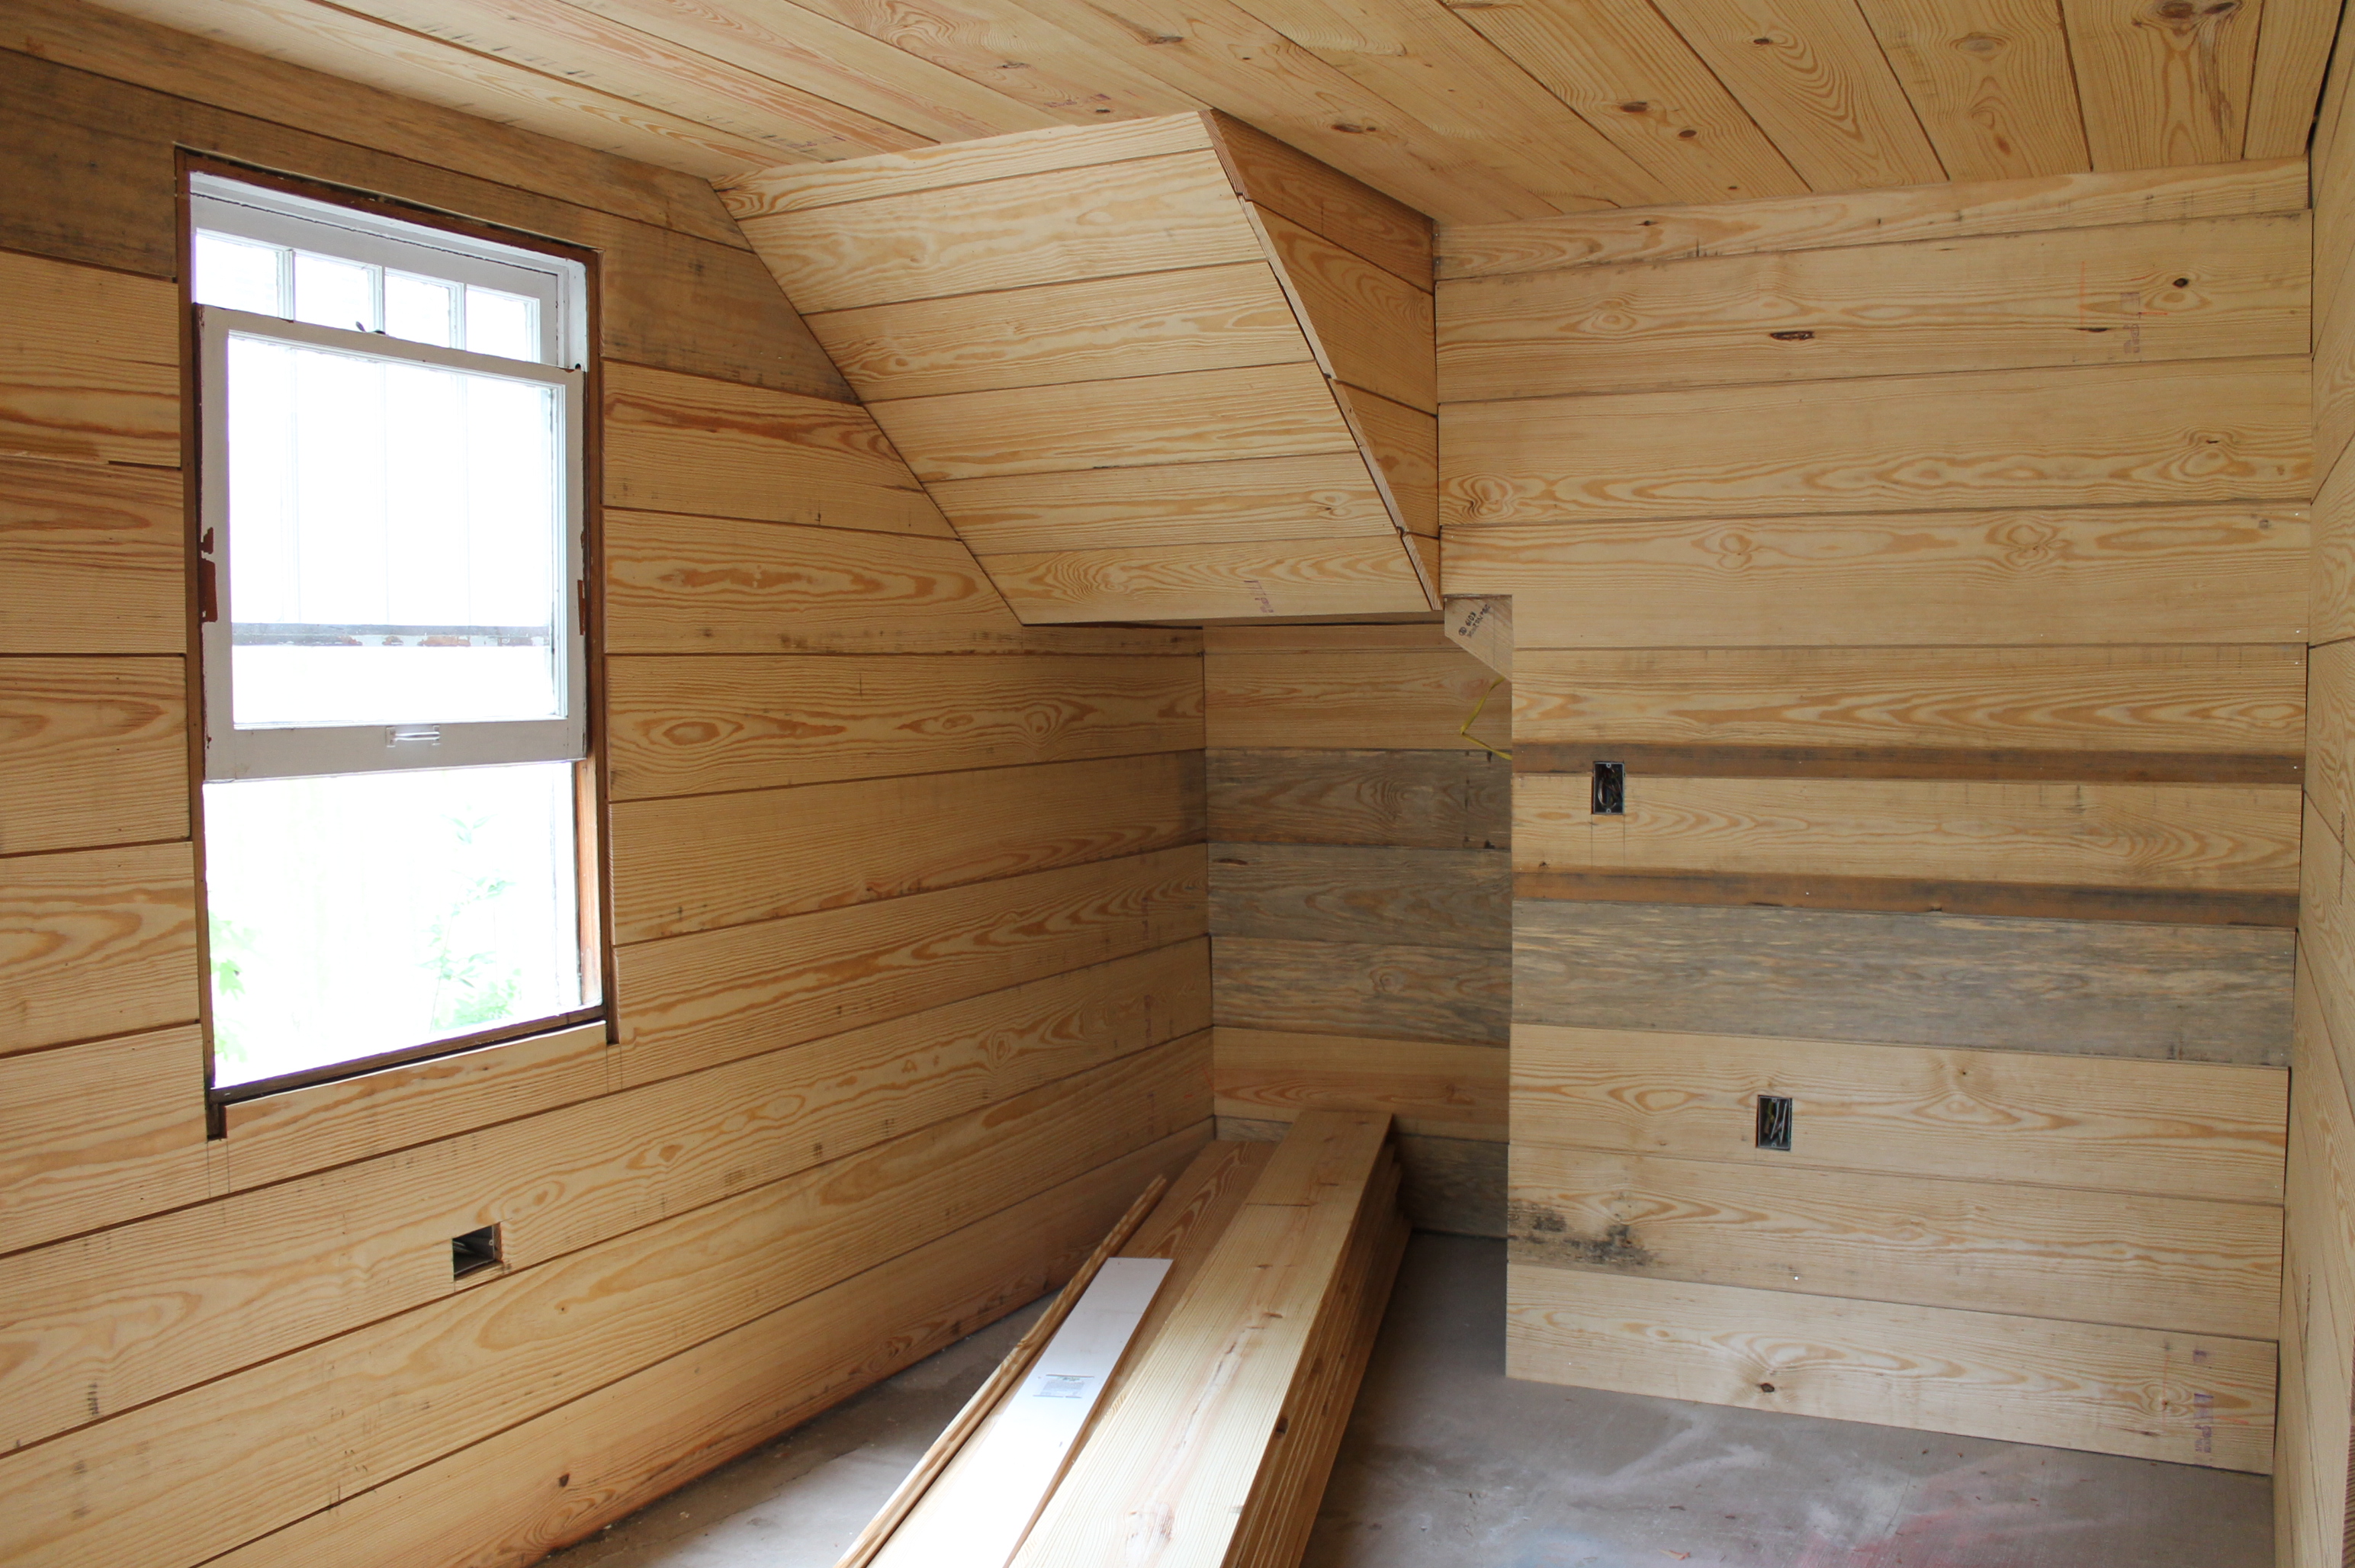
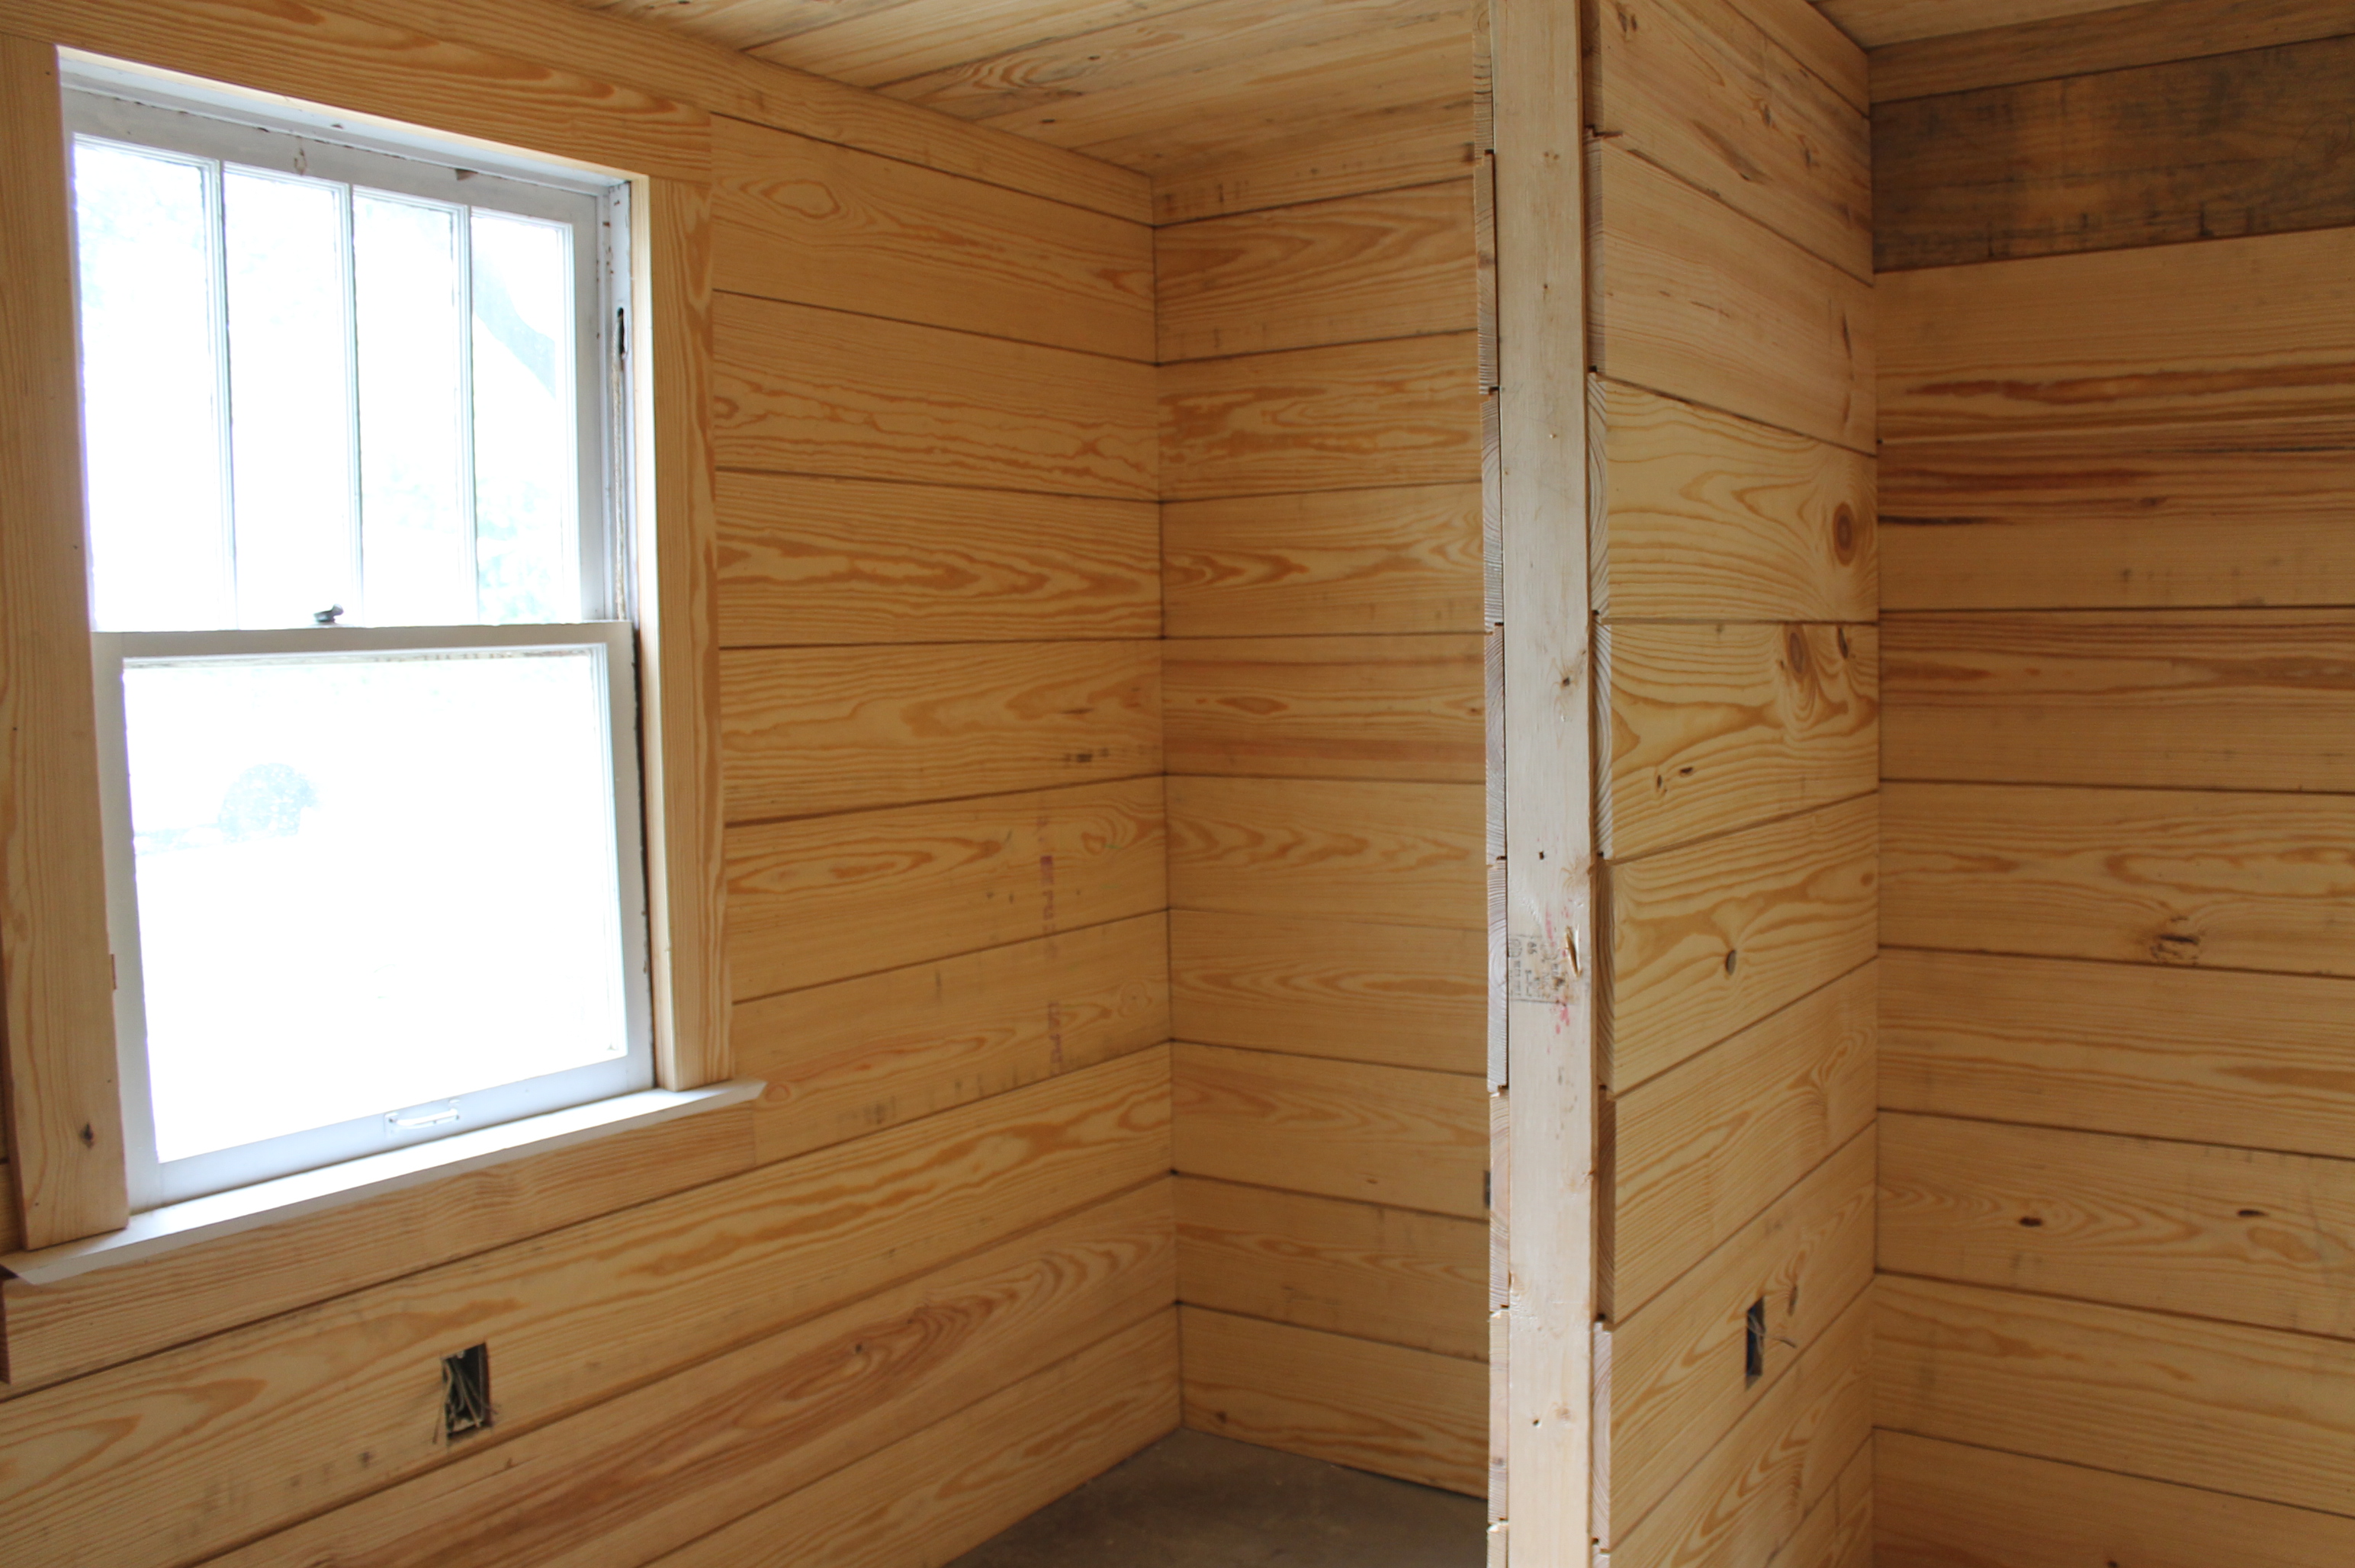
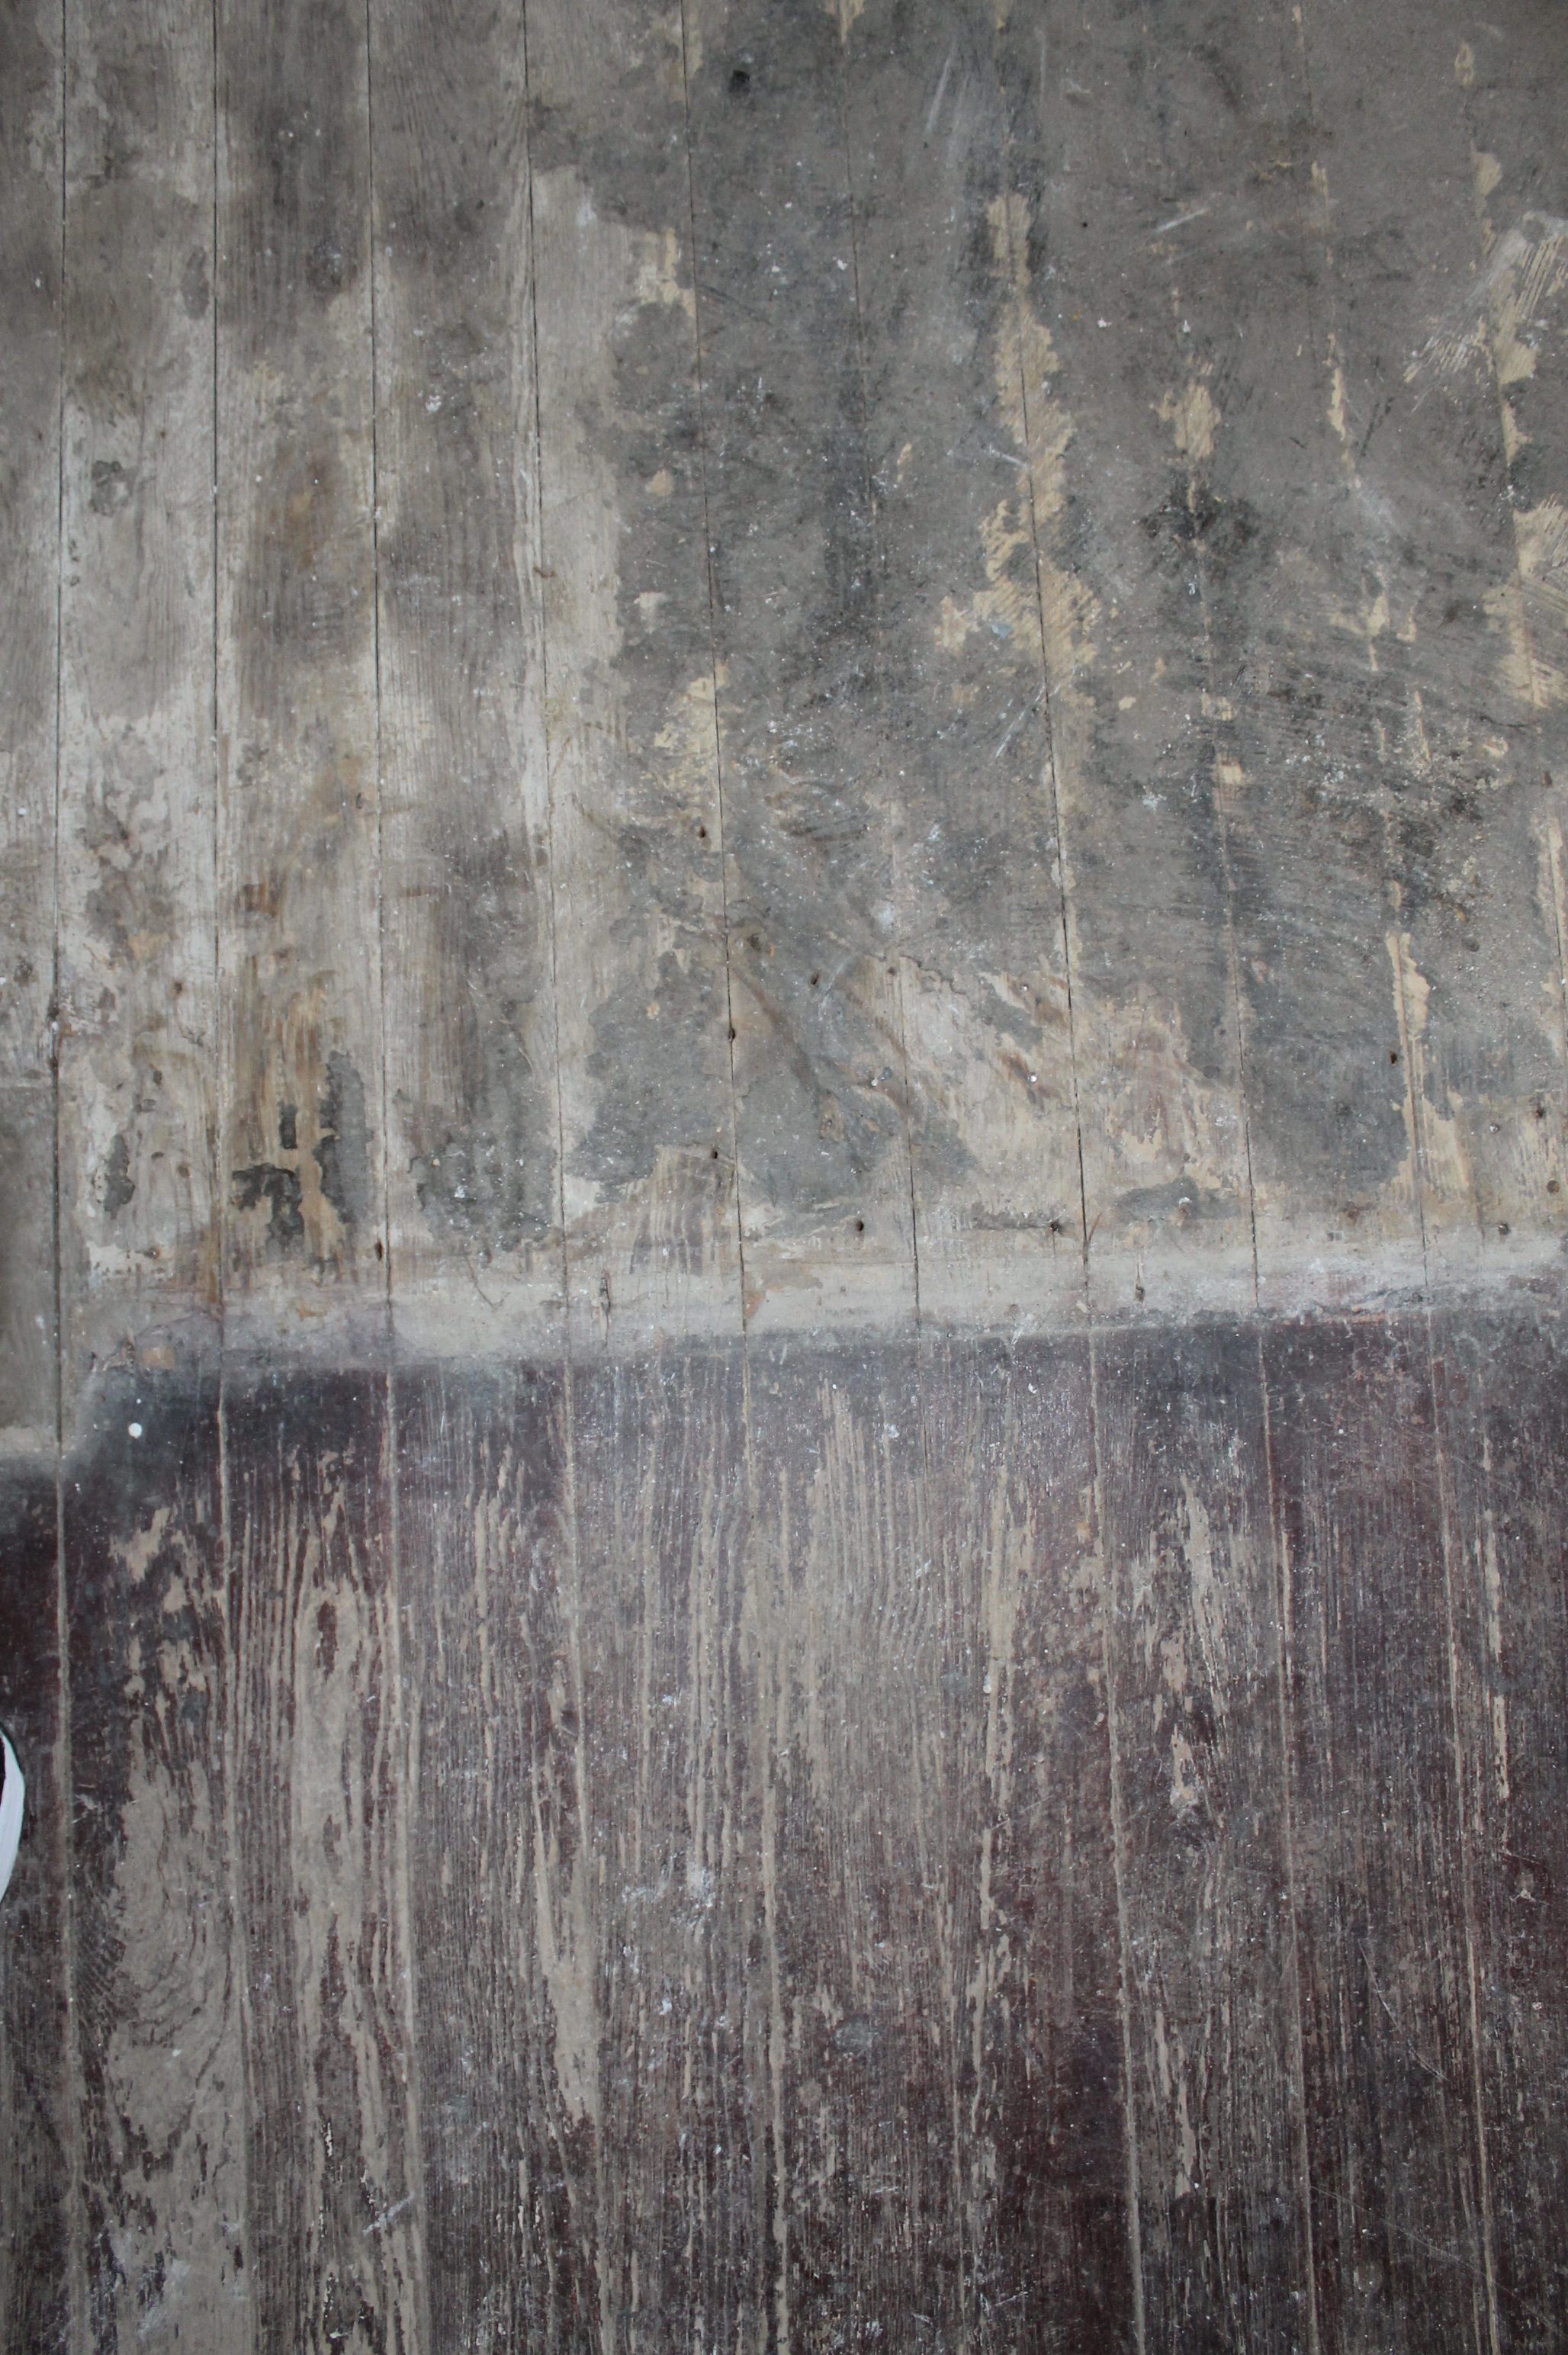
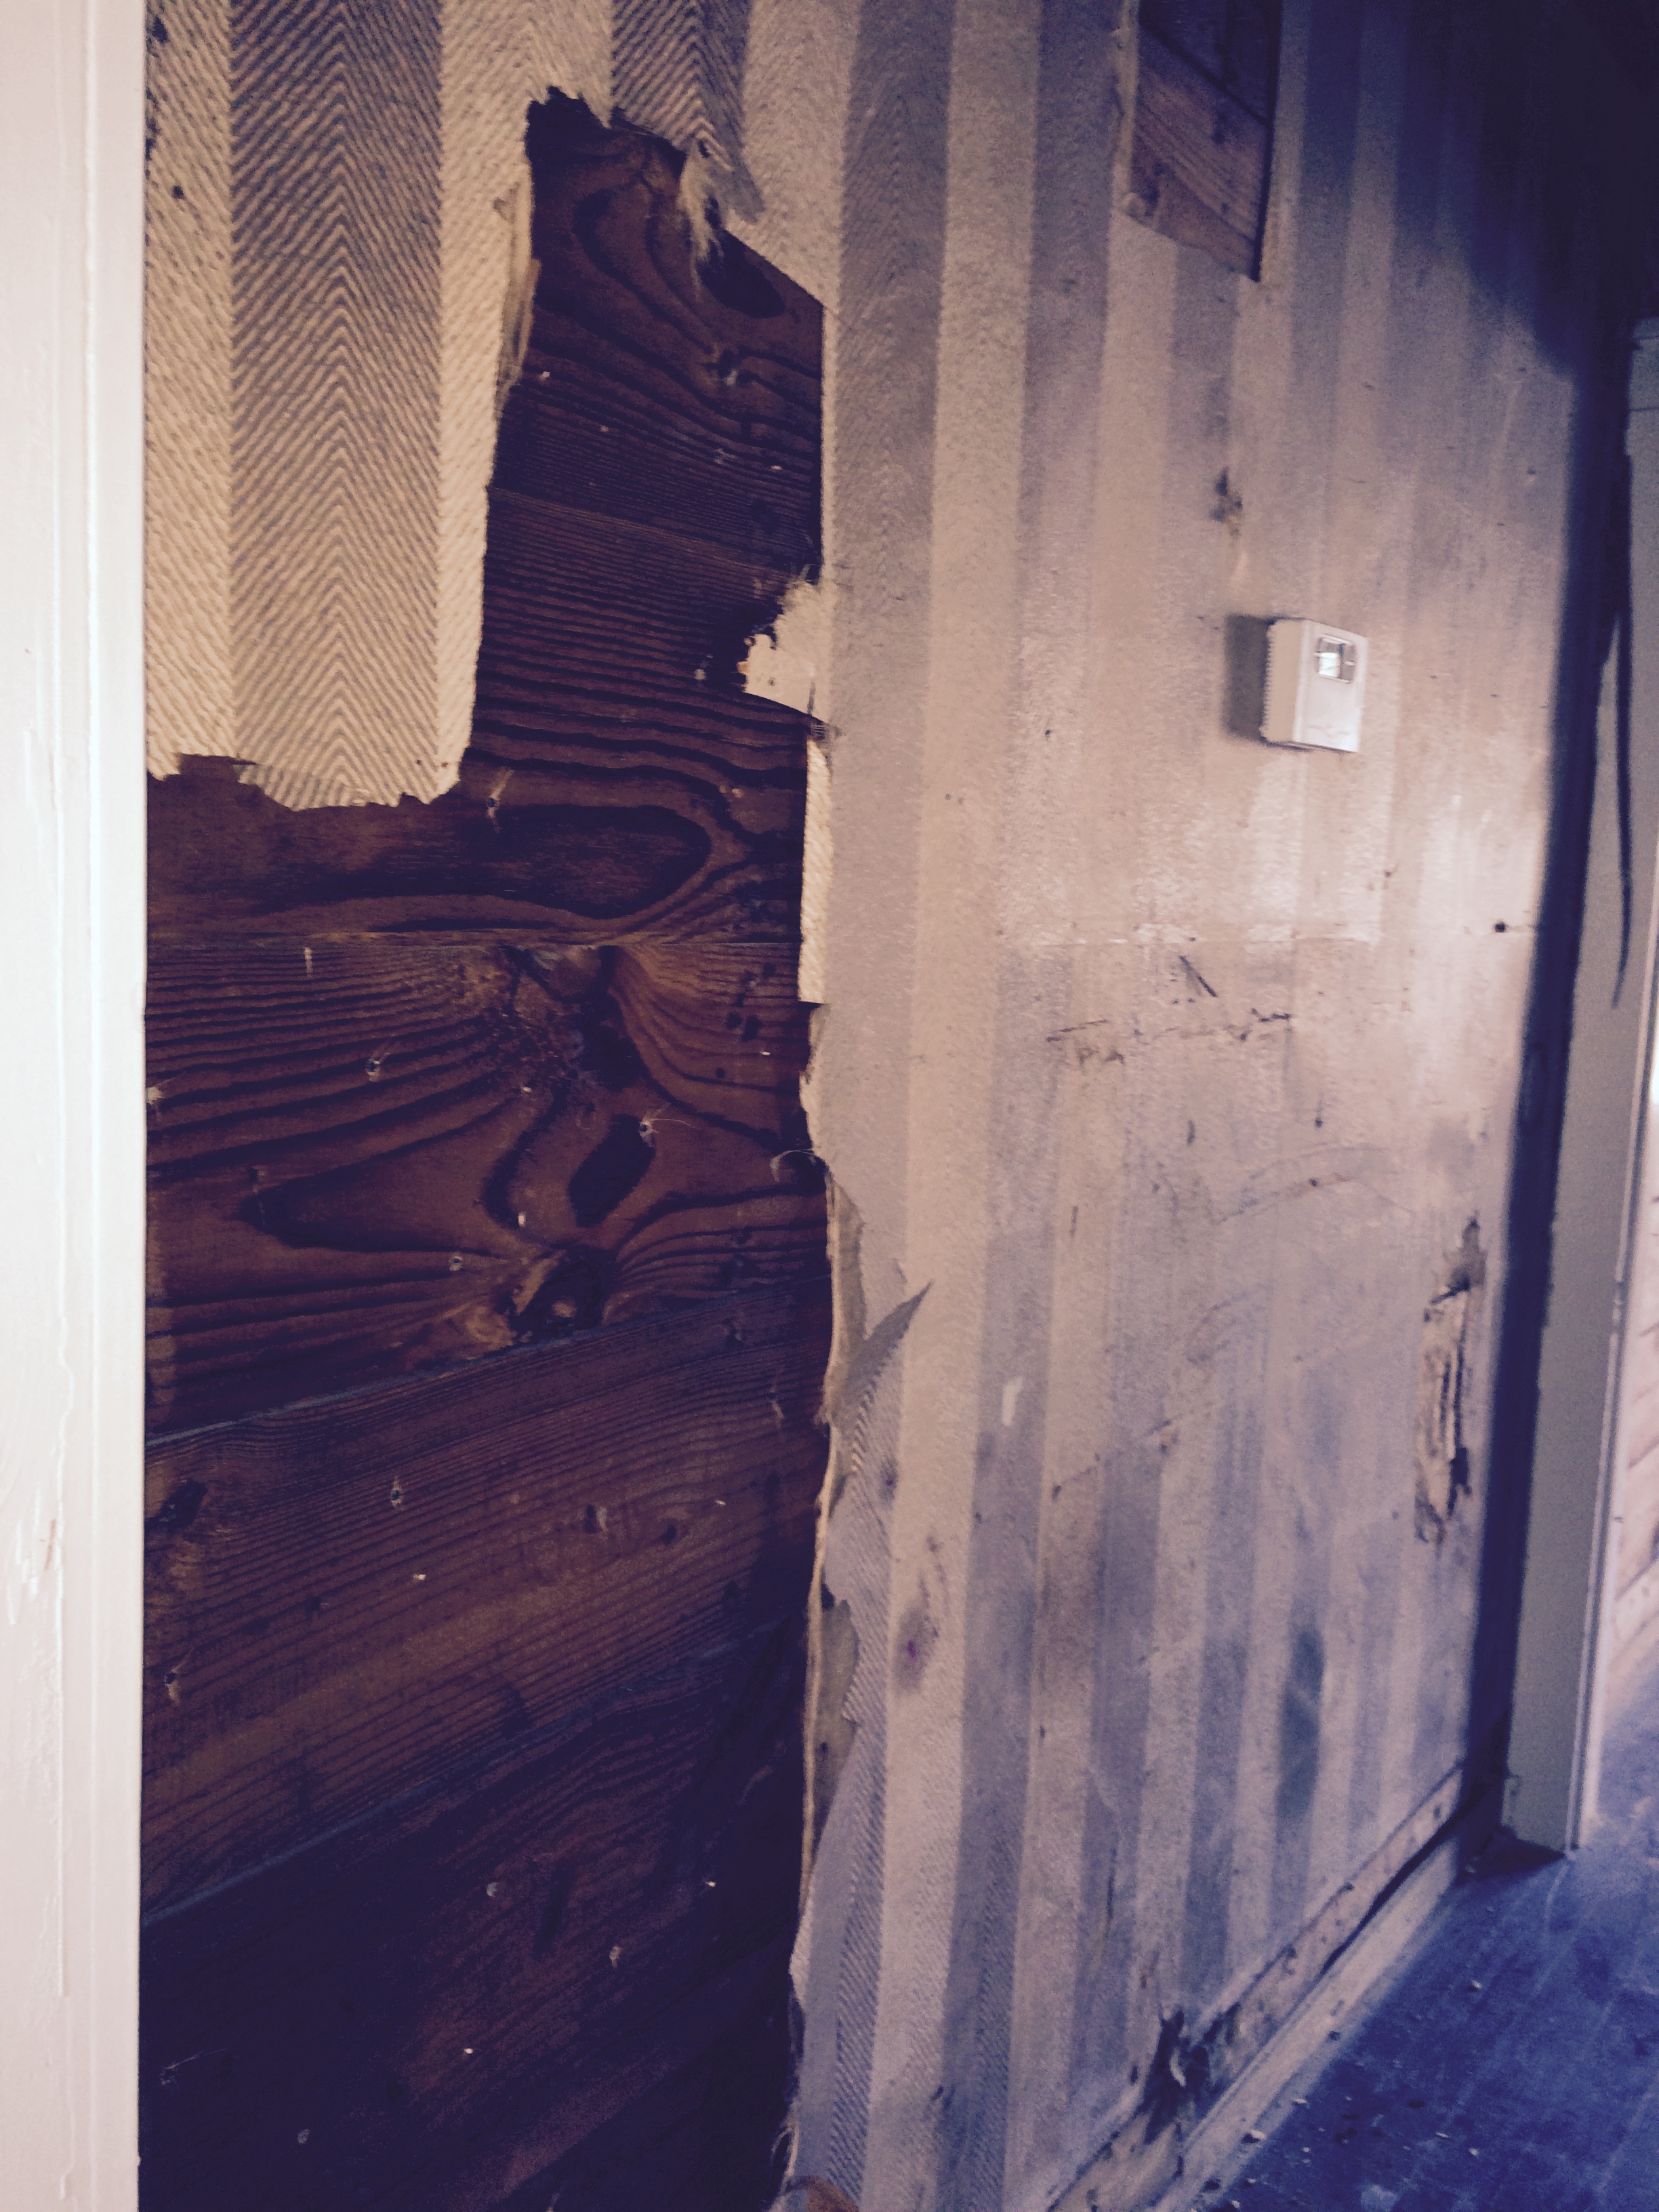
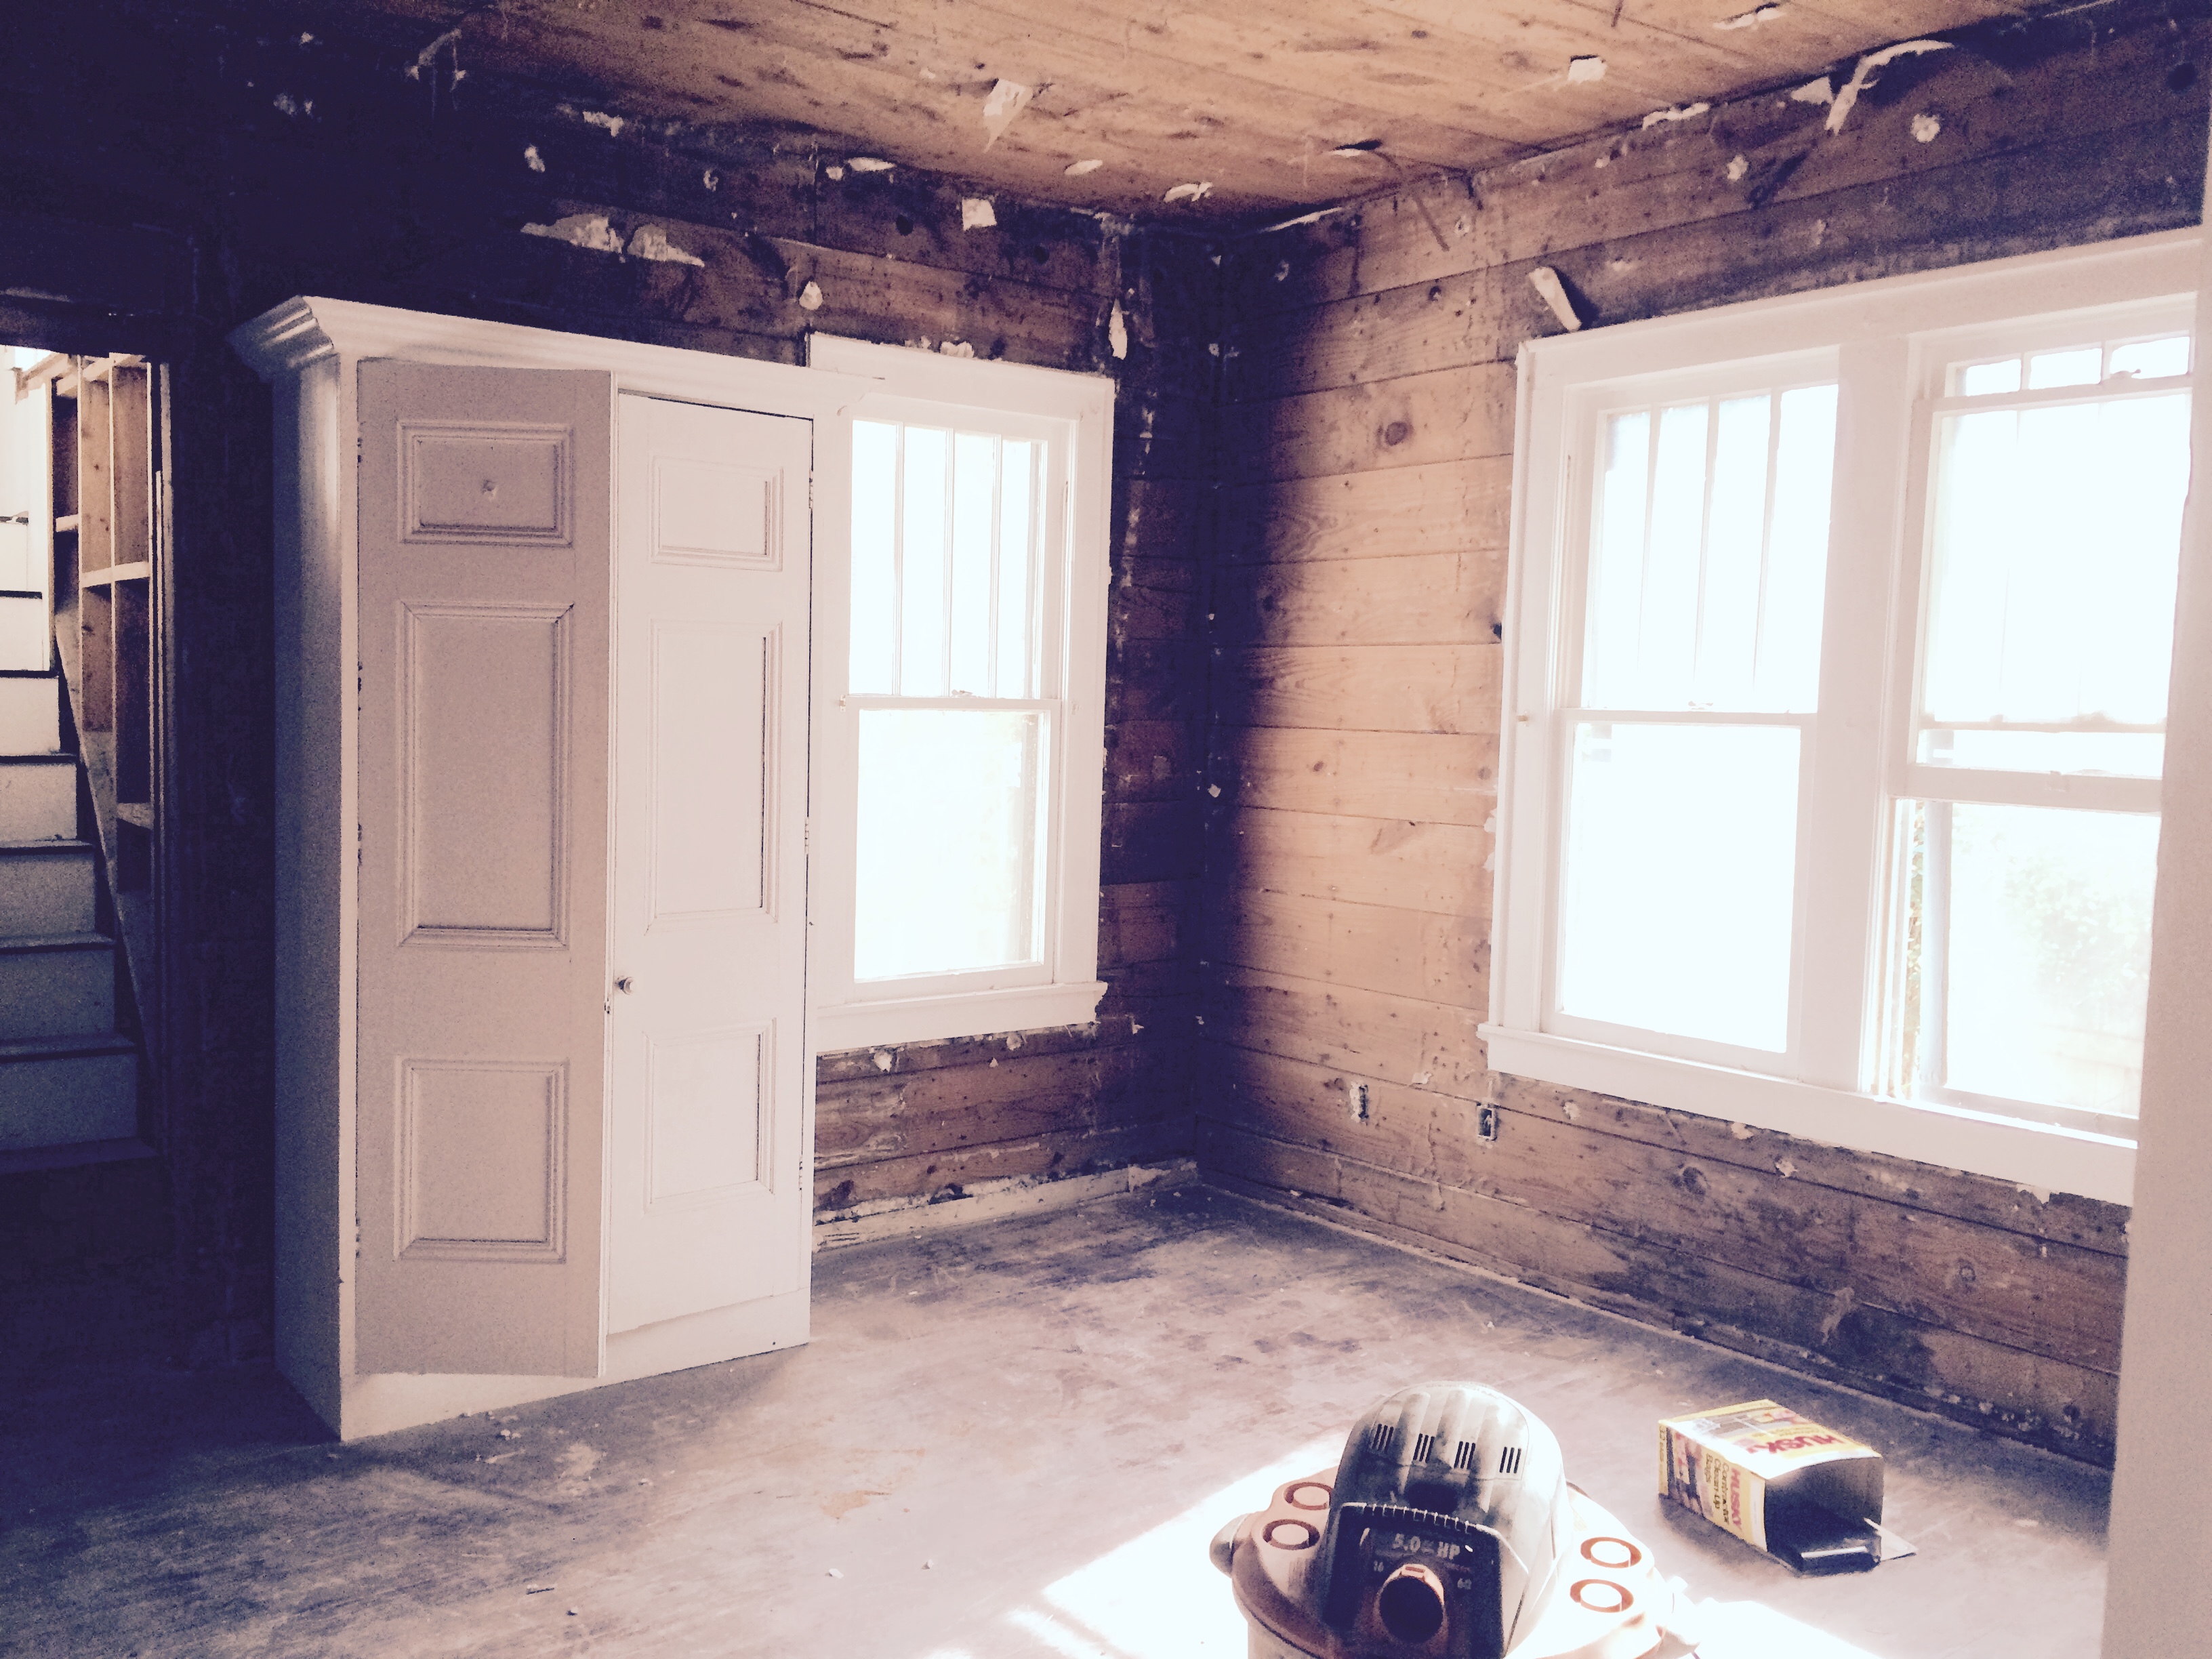
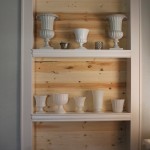
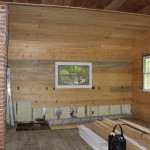
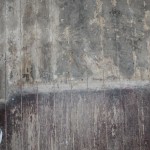
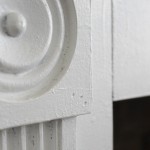
Stained new wood (left) against sanded old wood on the right.
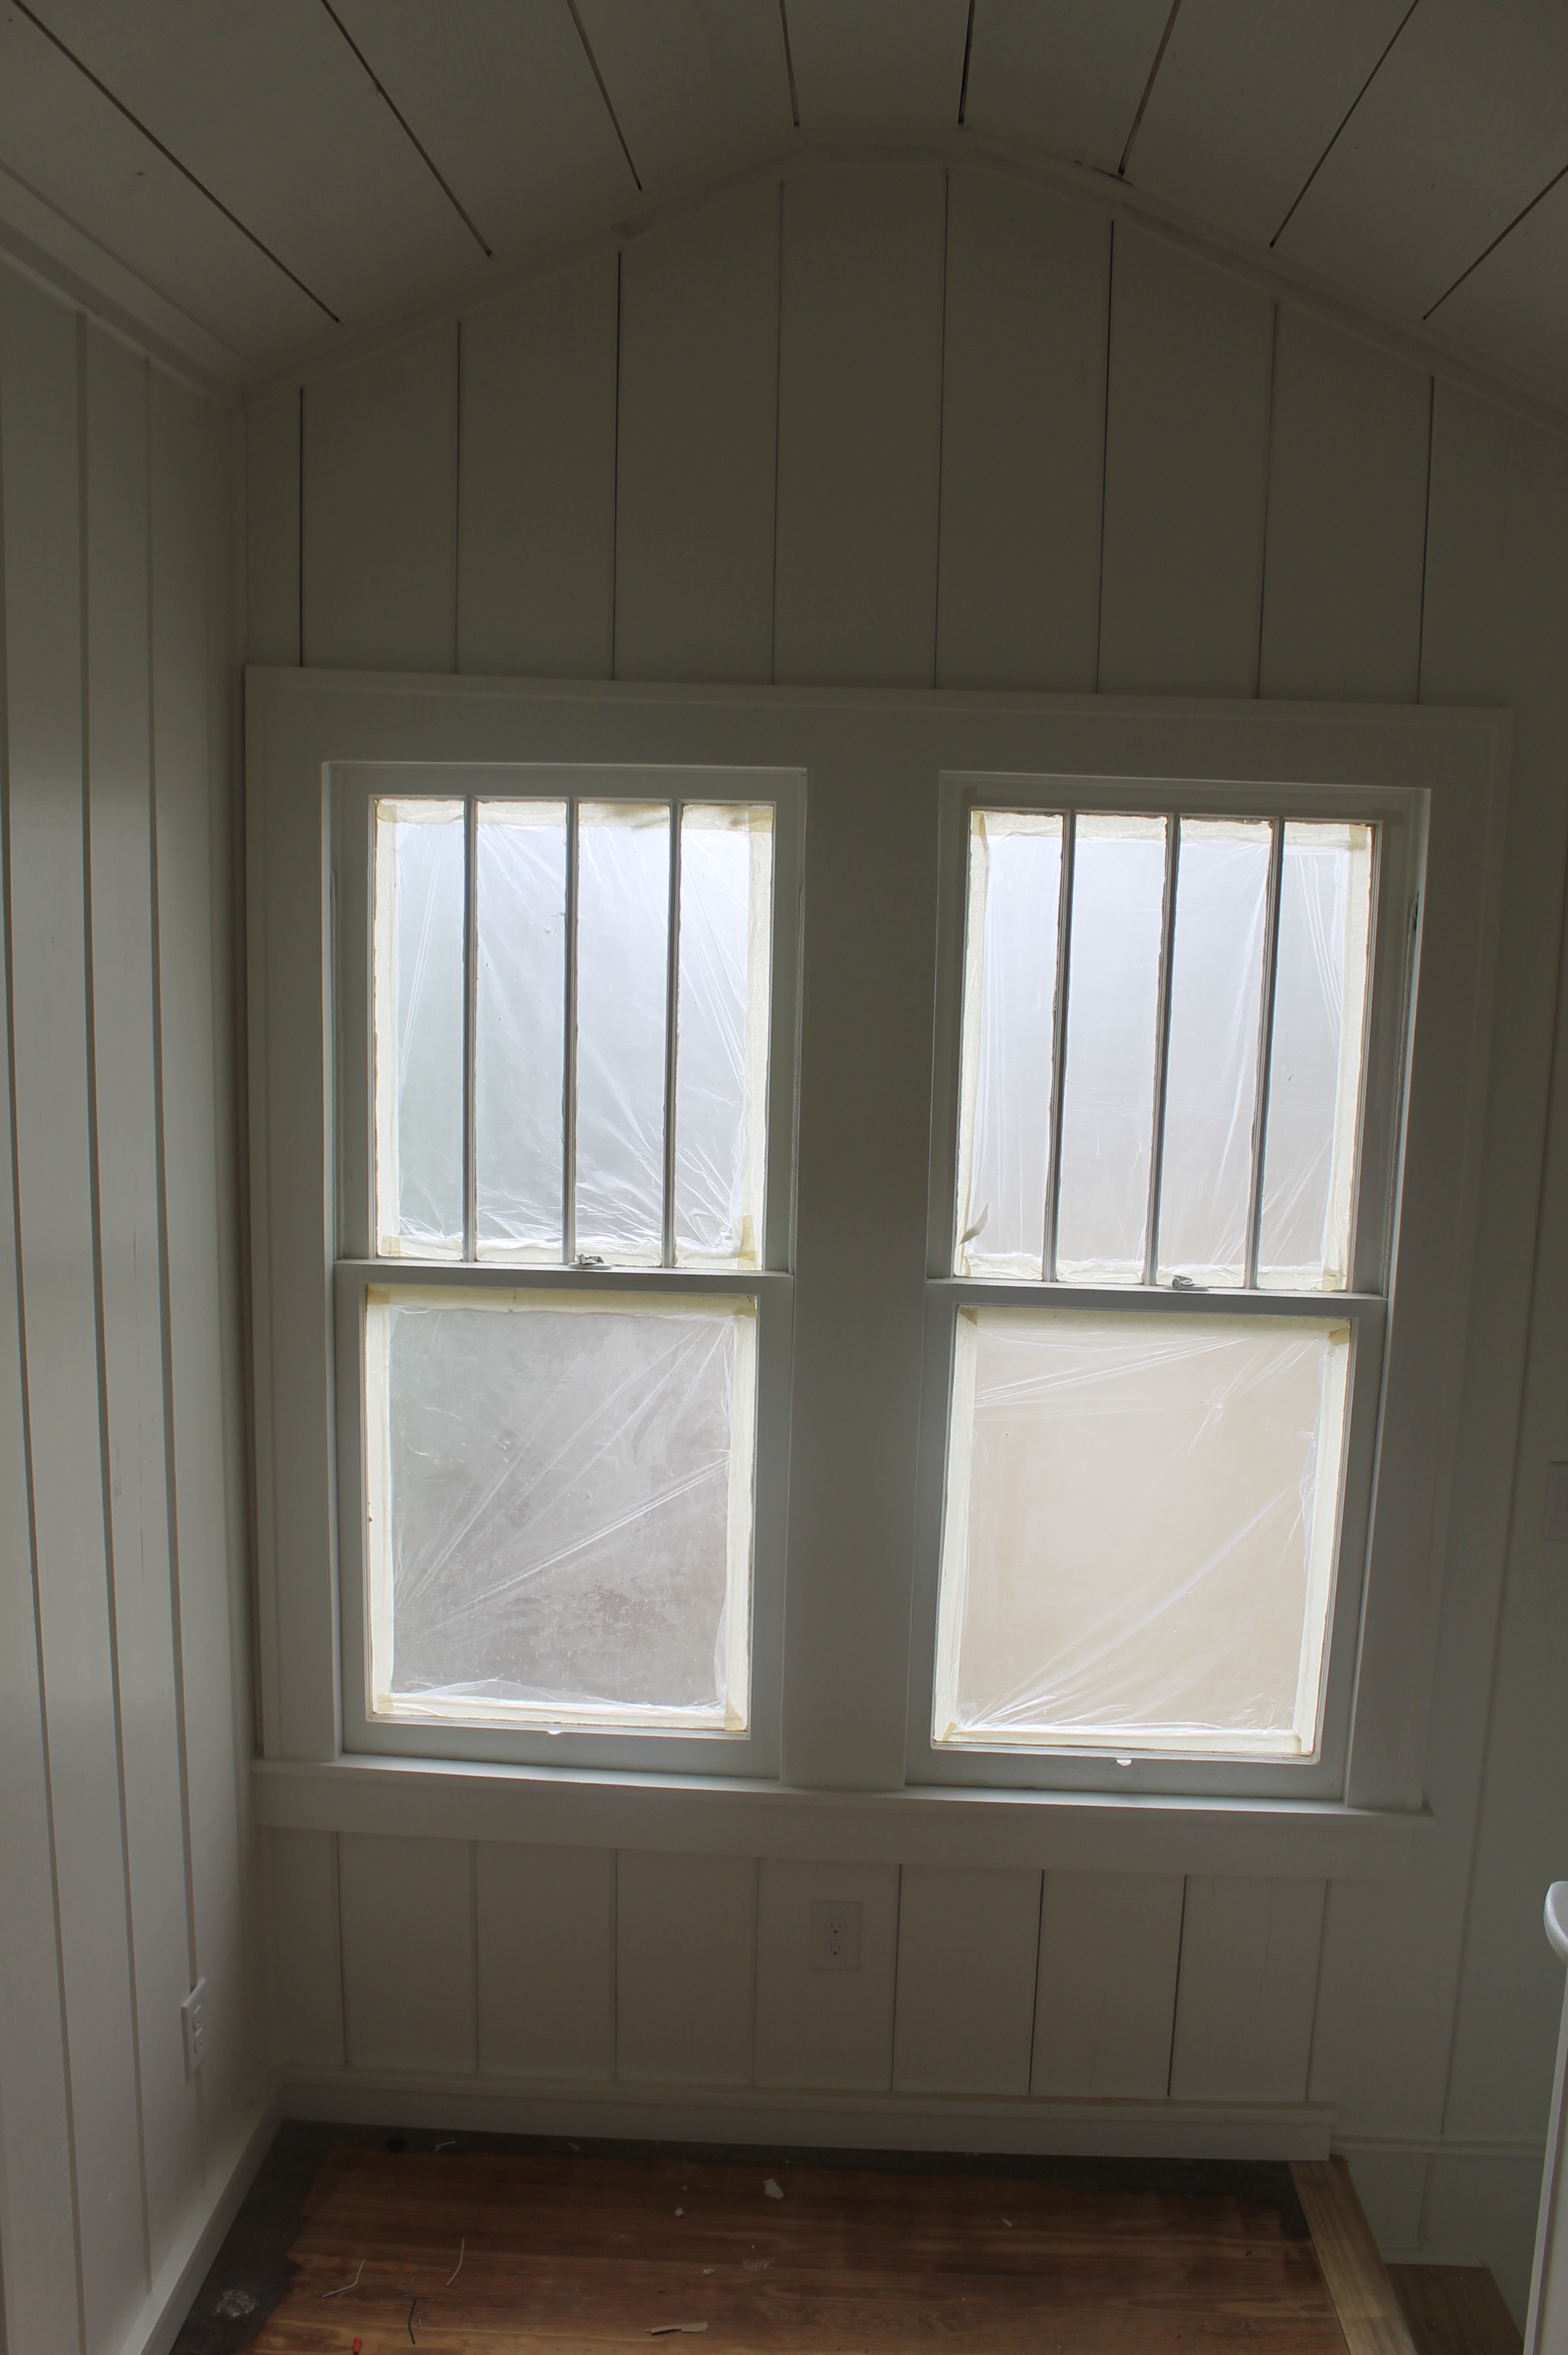
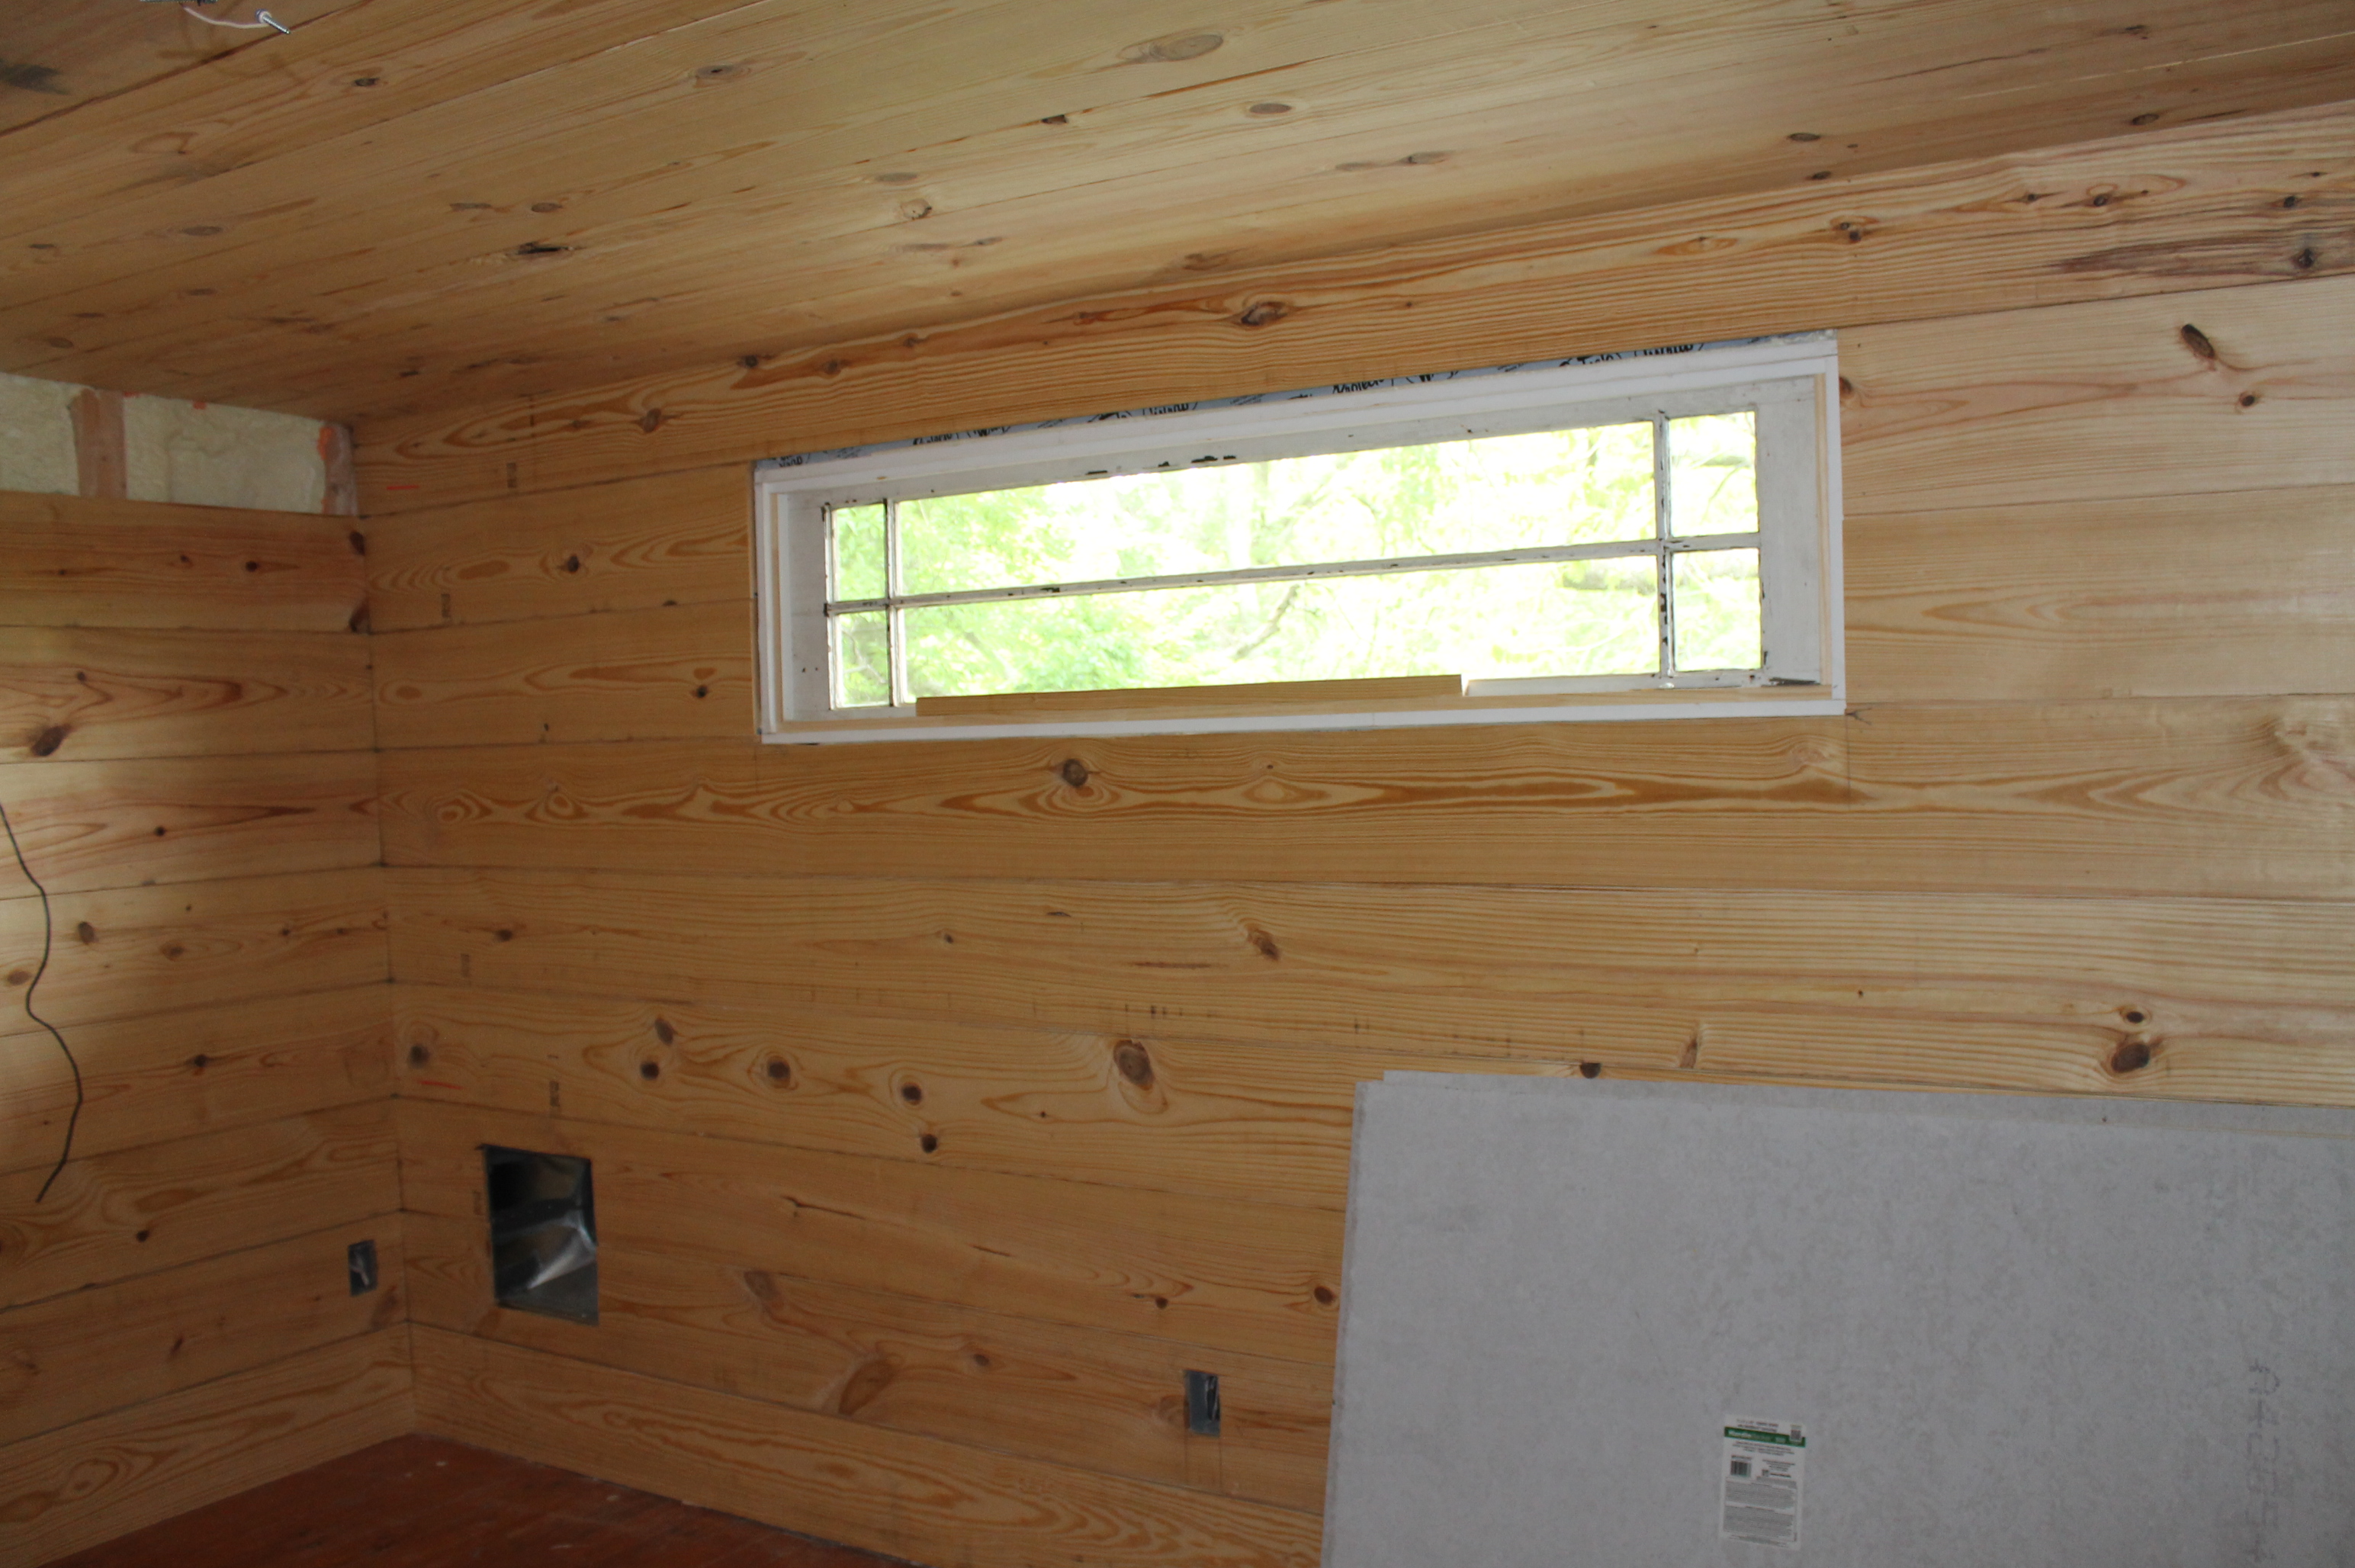
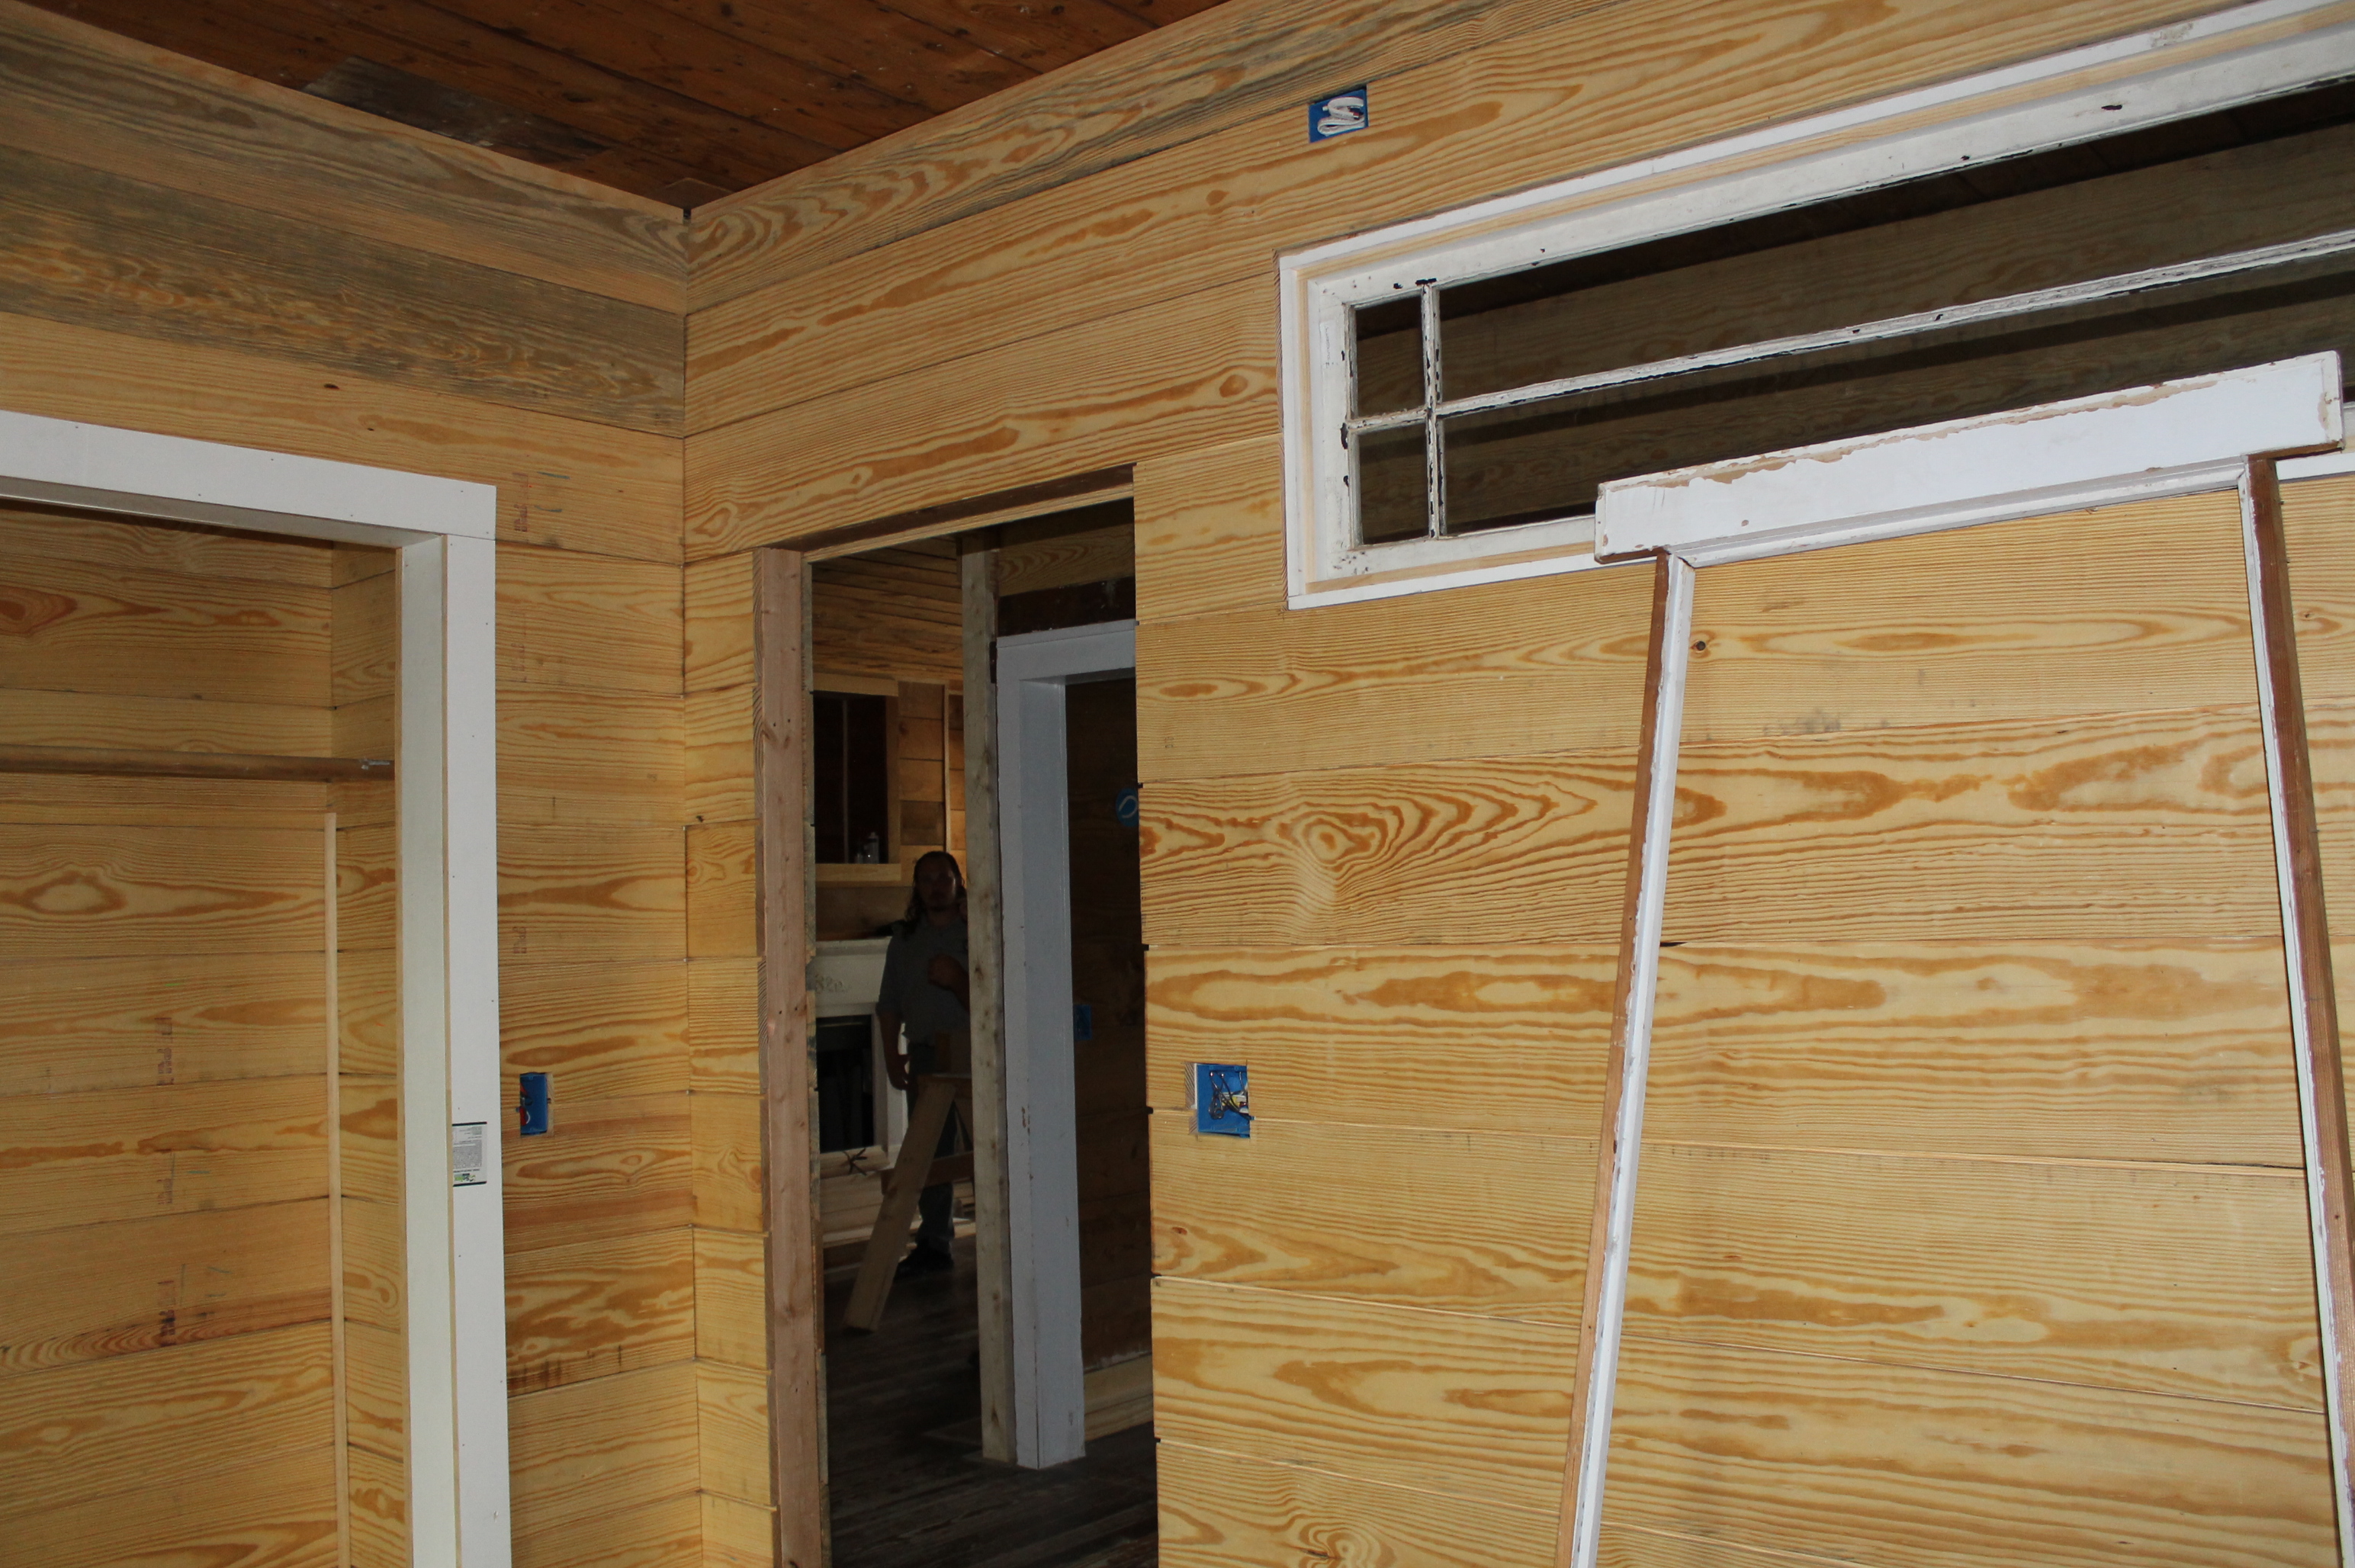
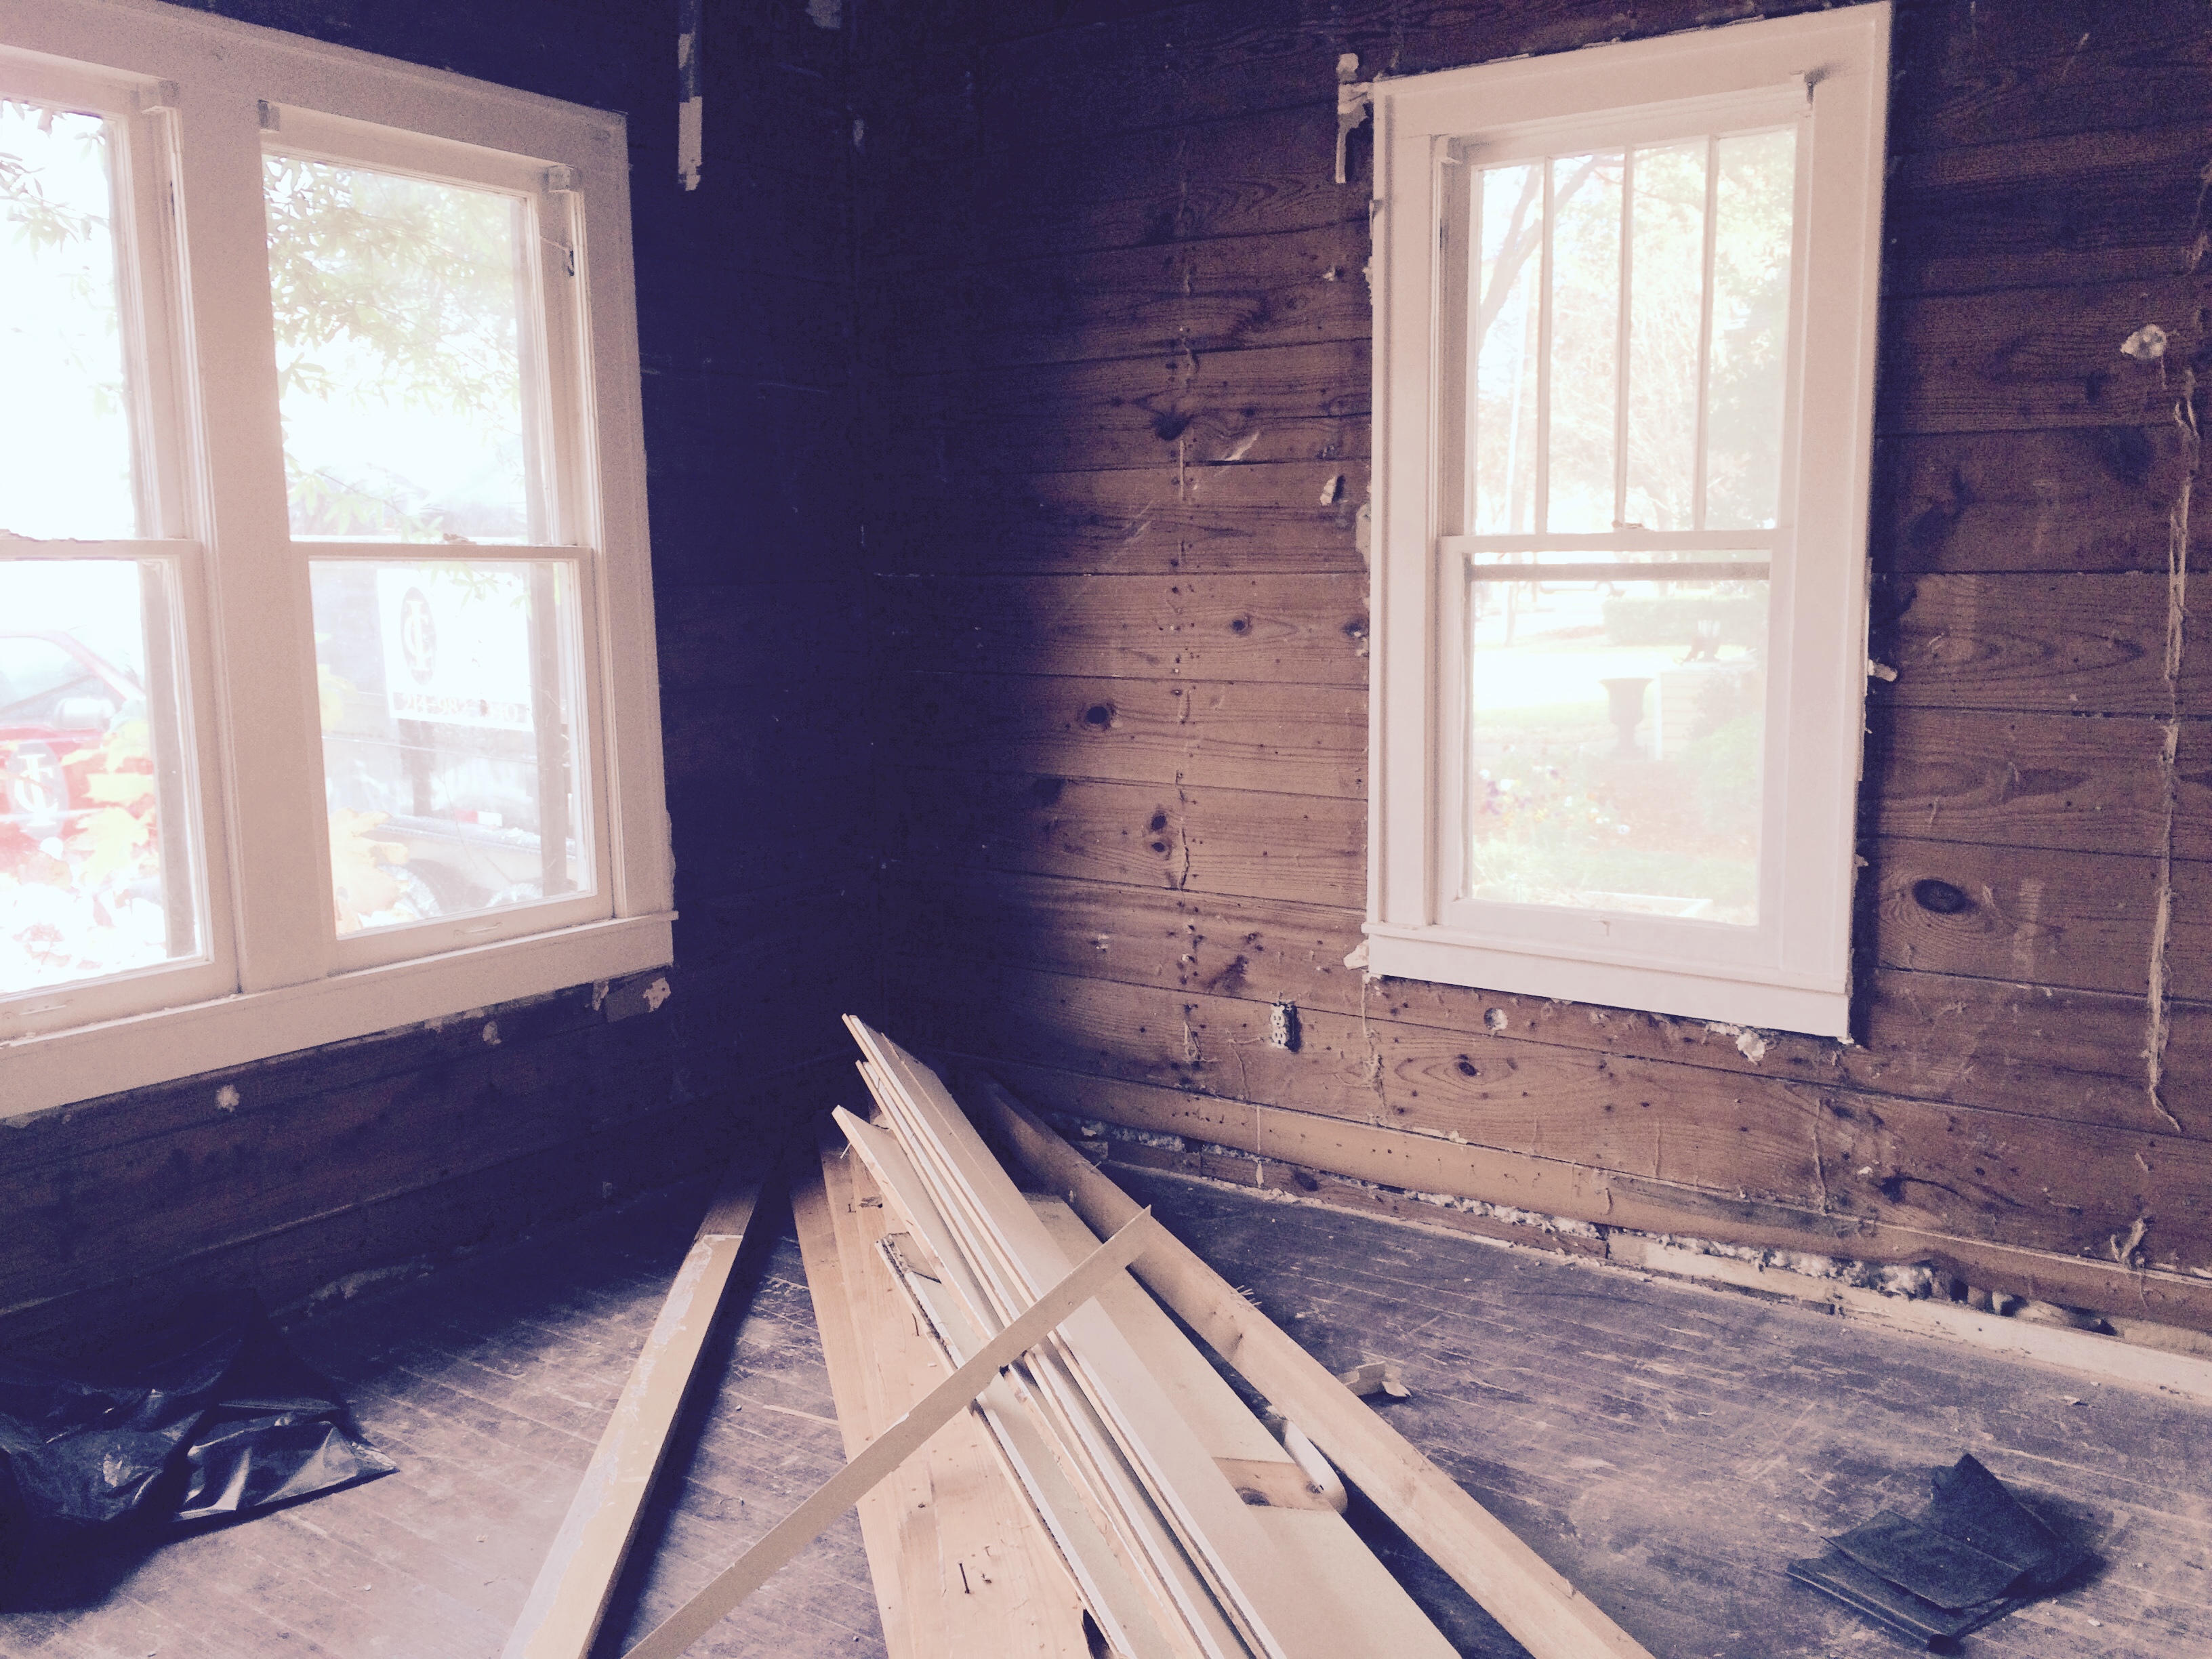
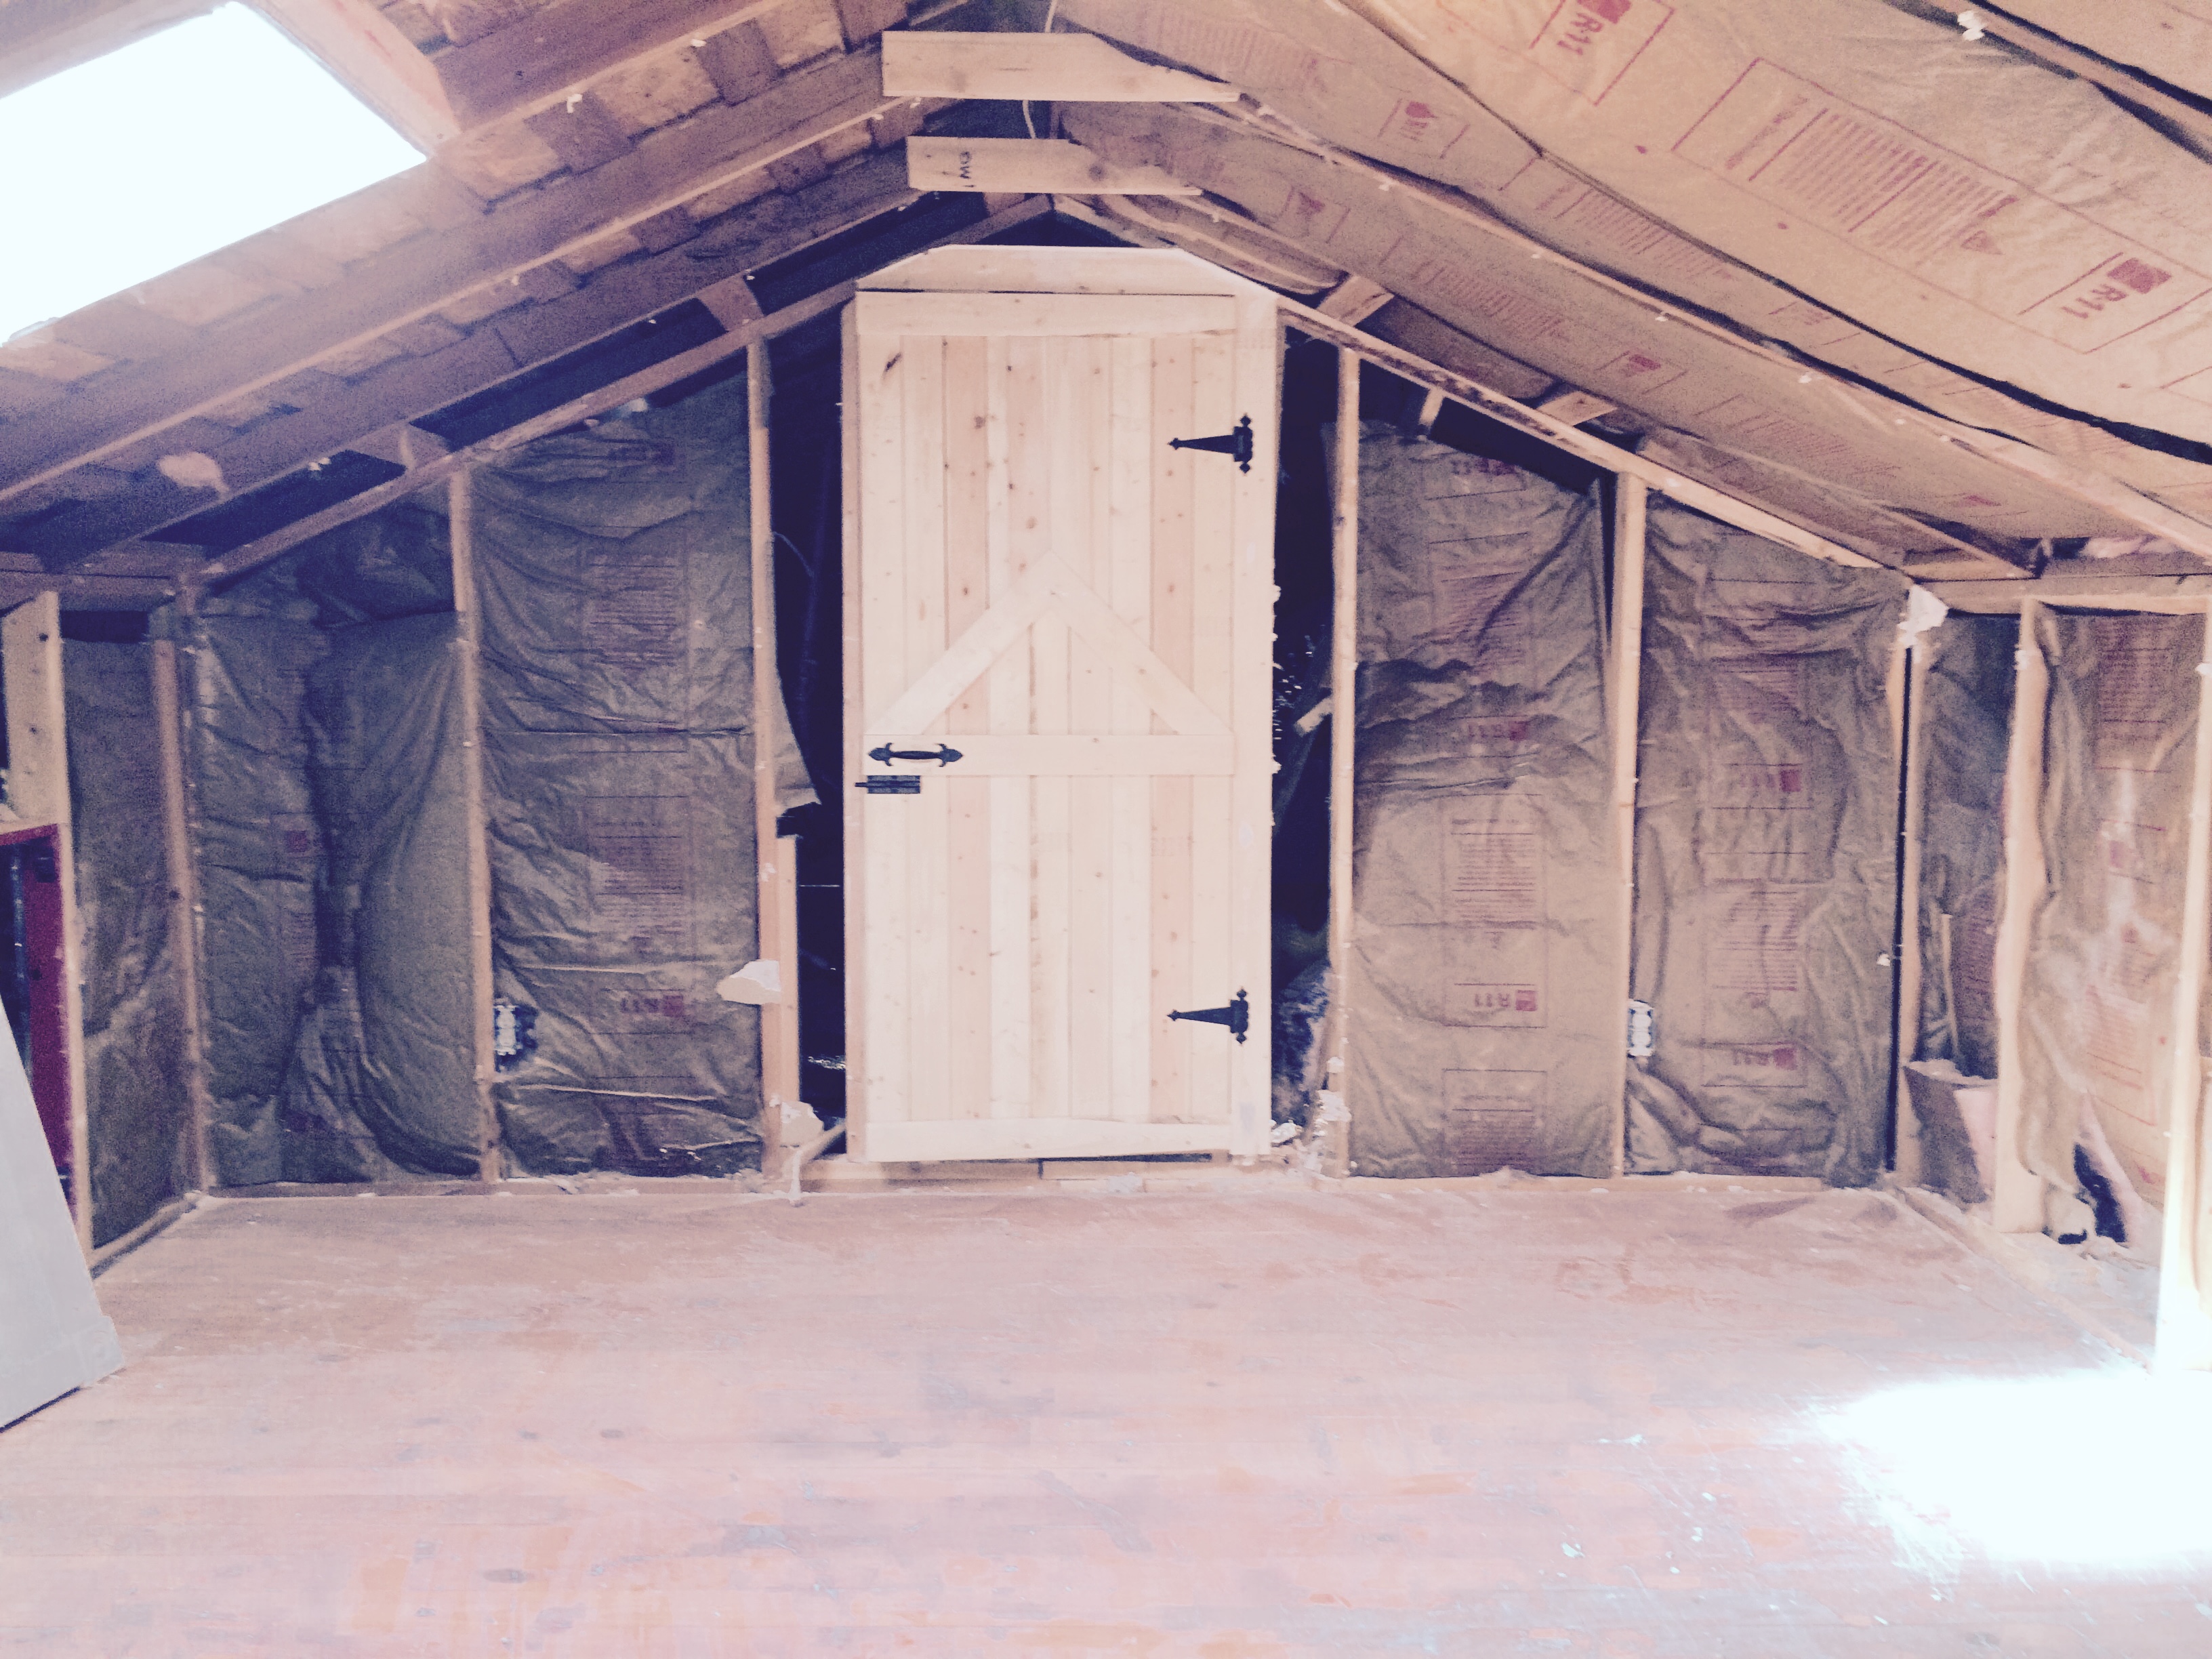
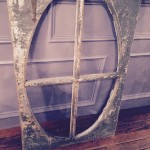
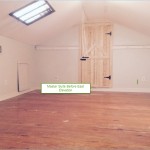
Windows that were in another part of the house, reset in the upstairs sitting area
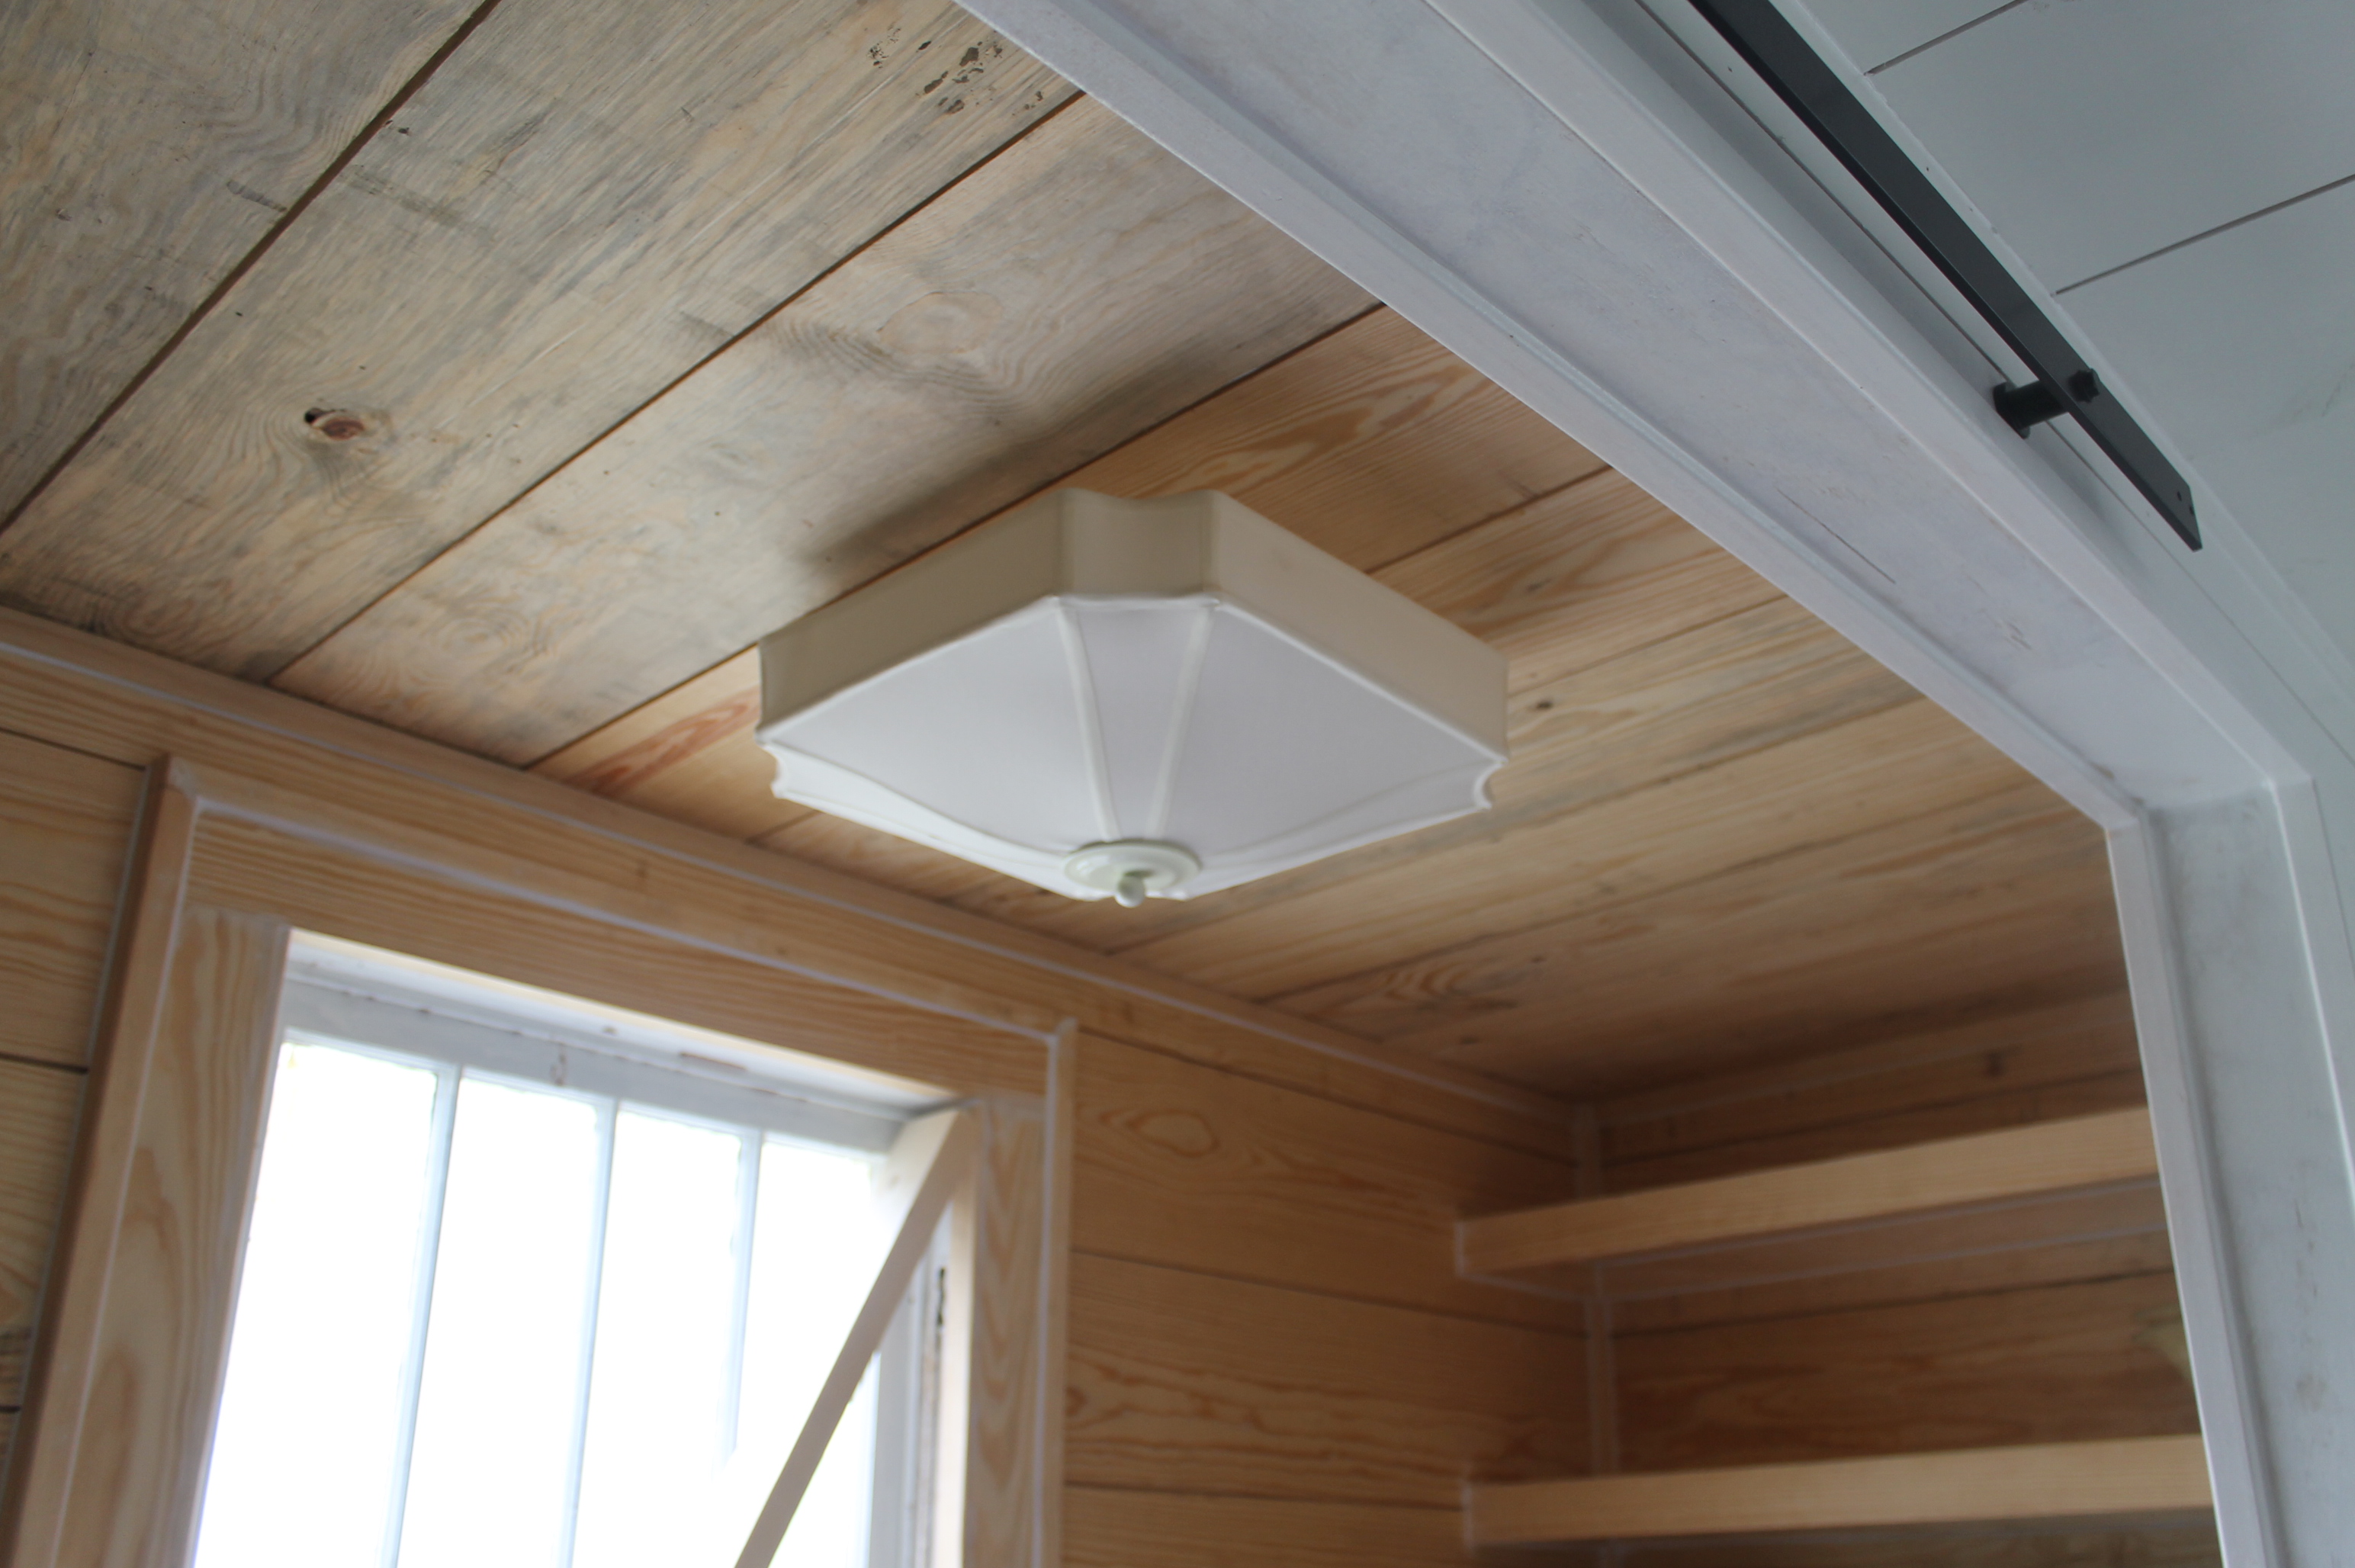
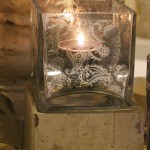
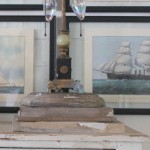
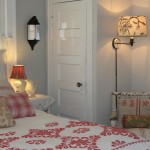
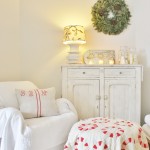
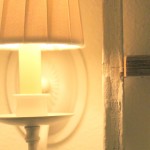
Simple silk shade lamps throughout the house
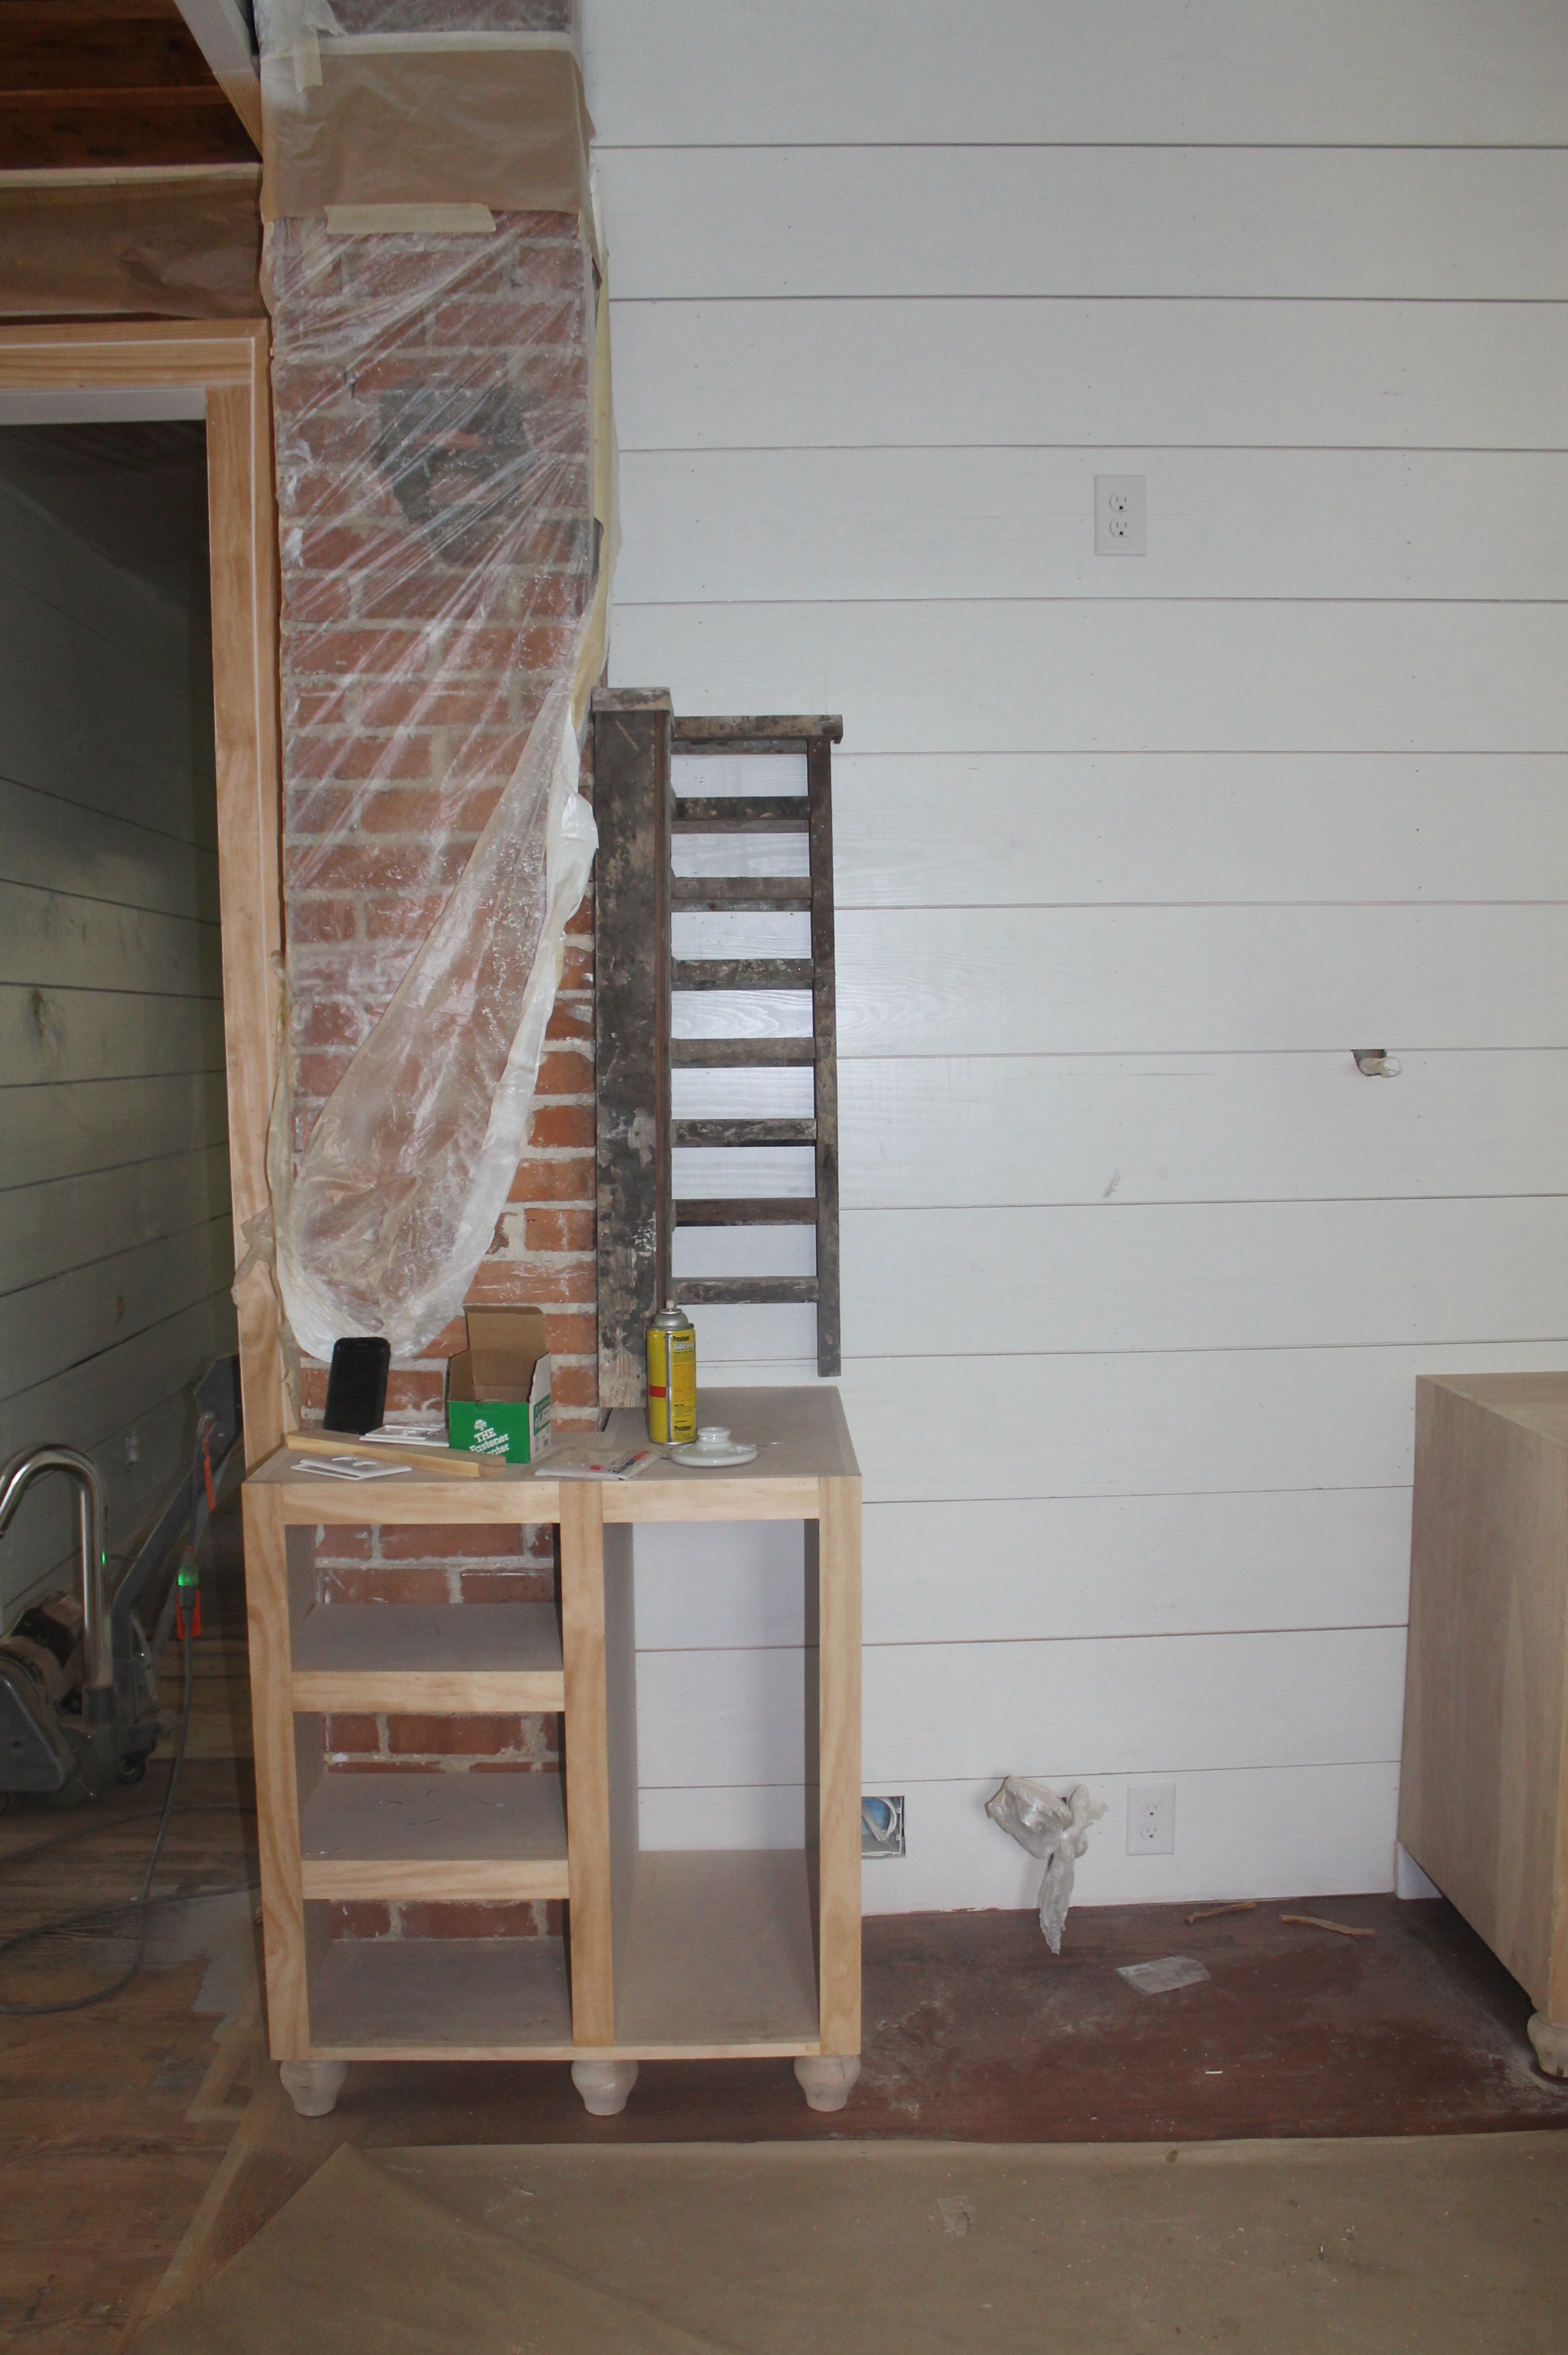
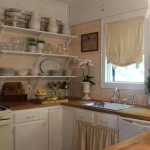
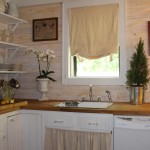
Kitchen cabinets built around an original feature of the house, the brick chimney
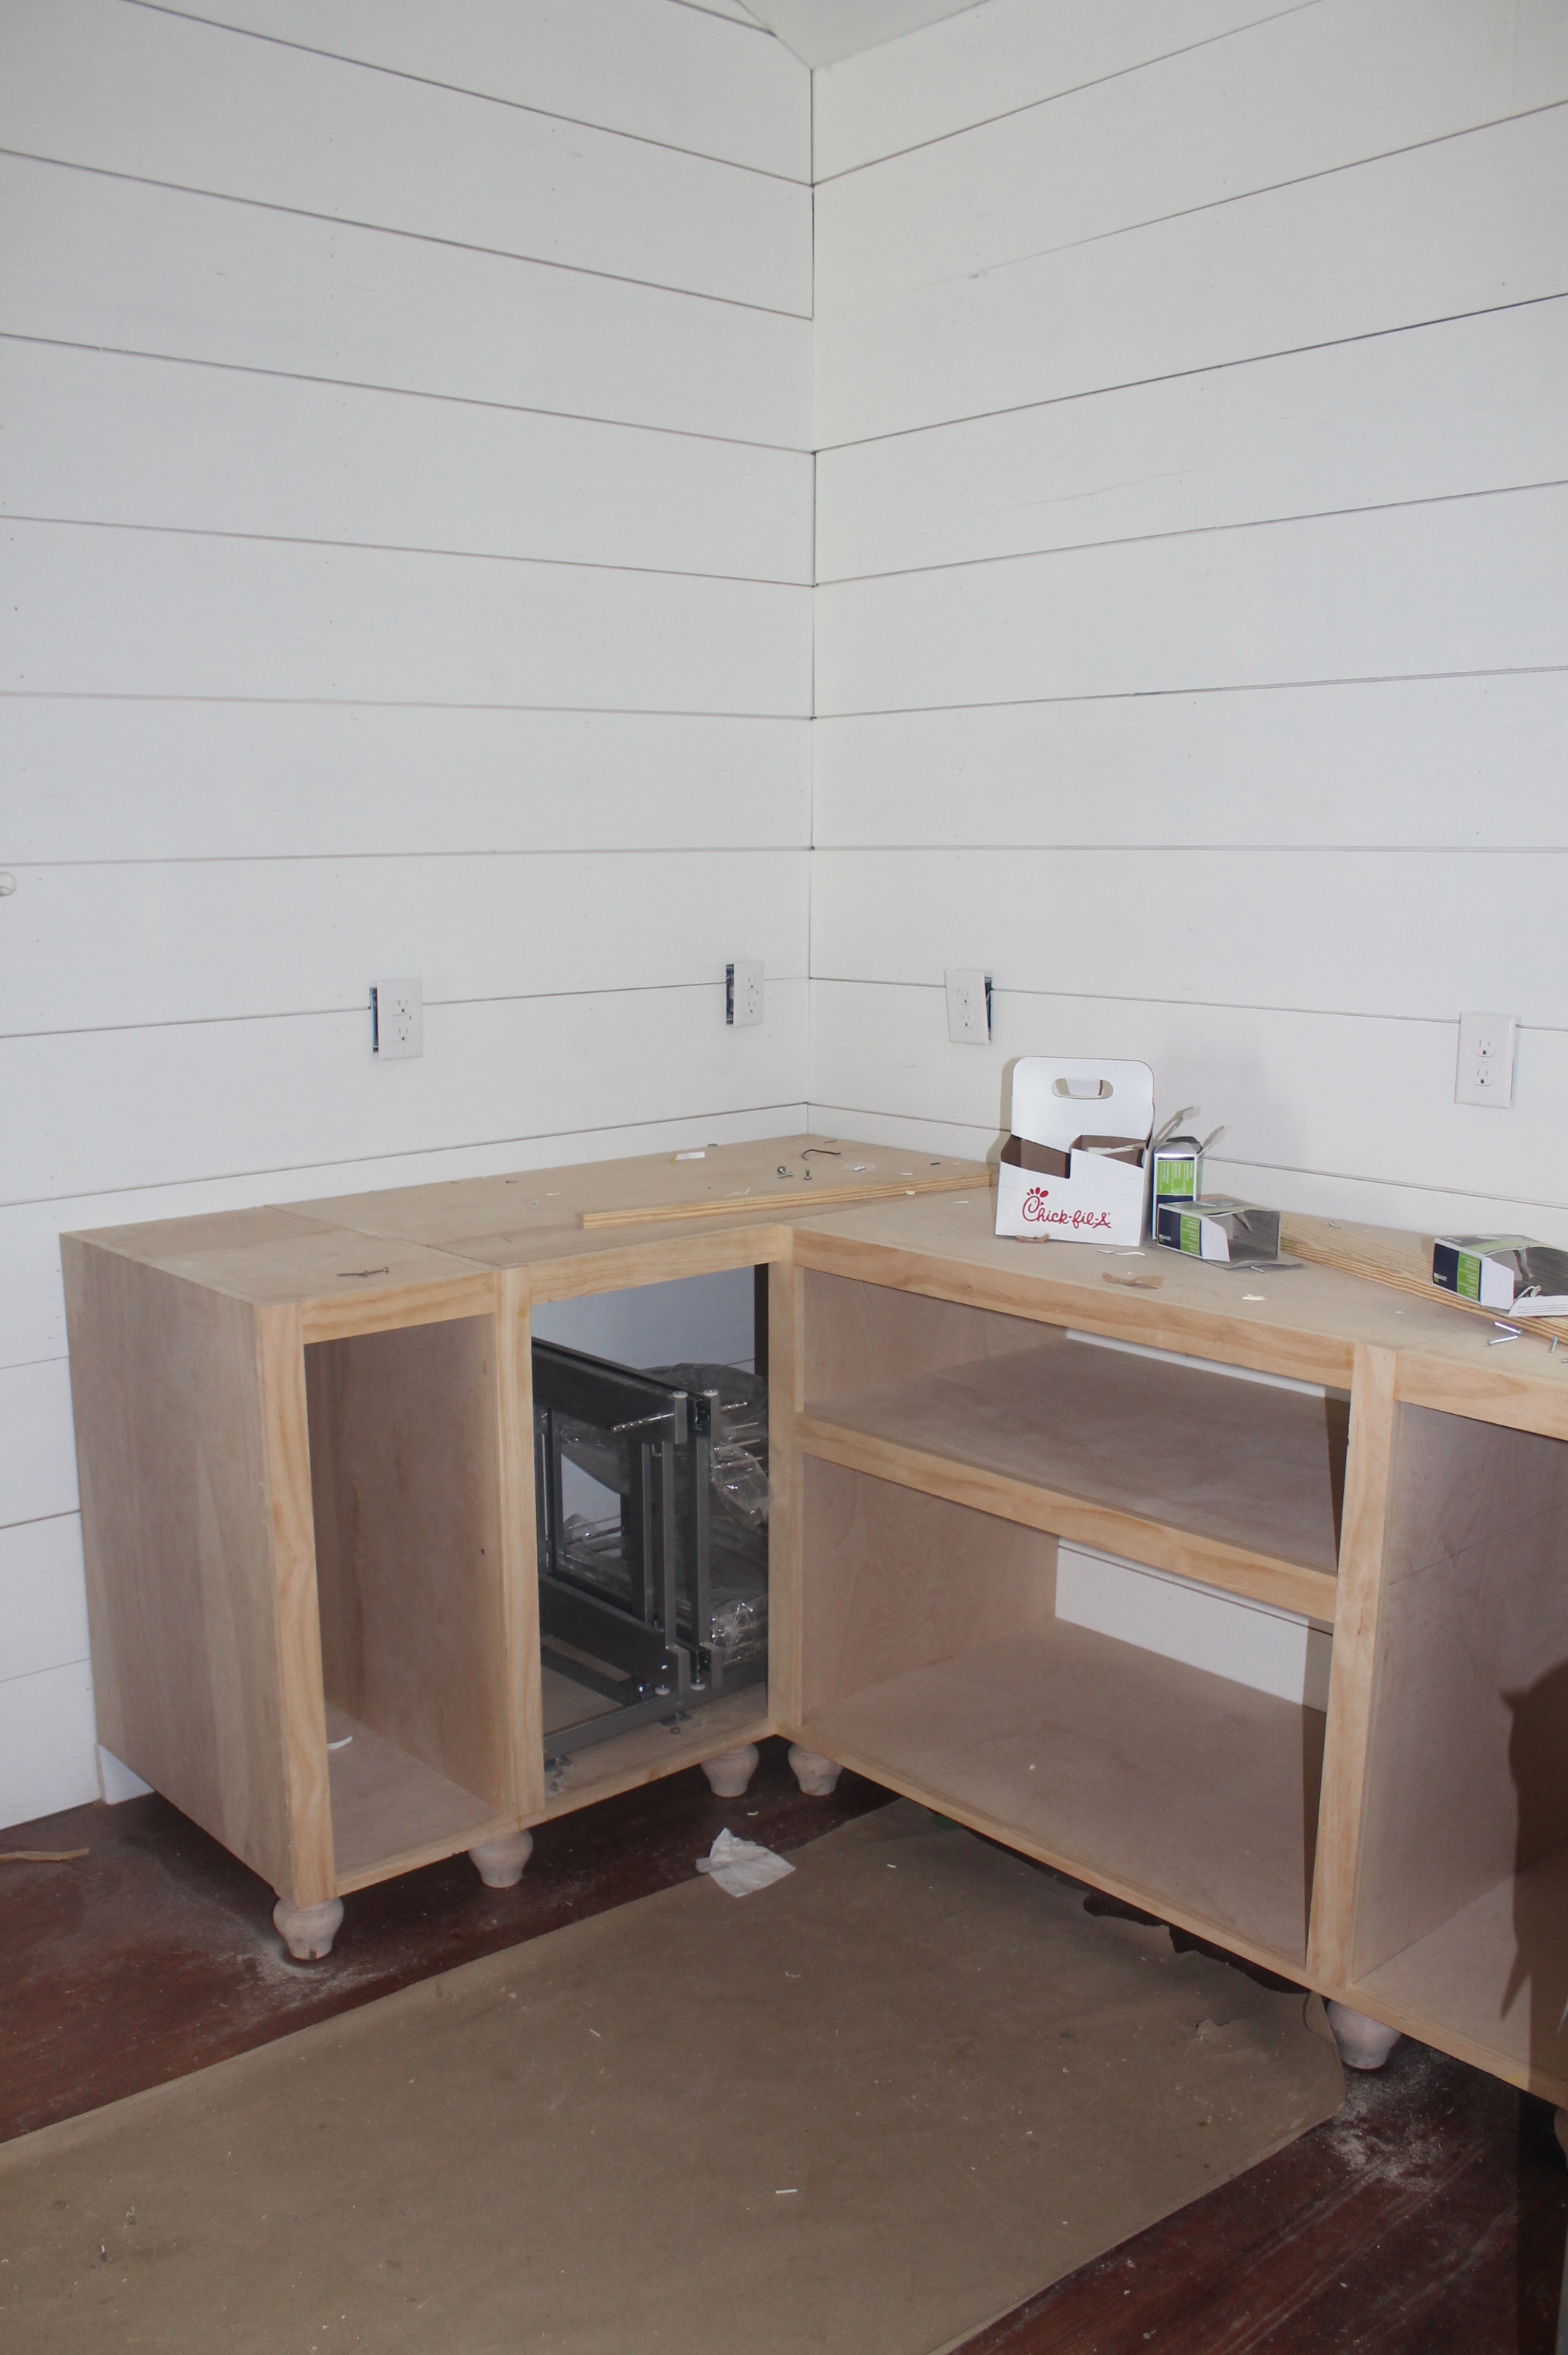
Kitchen cabinets
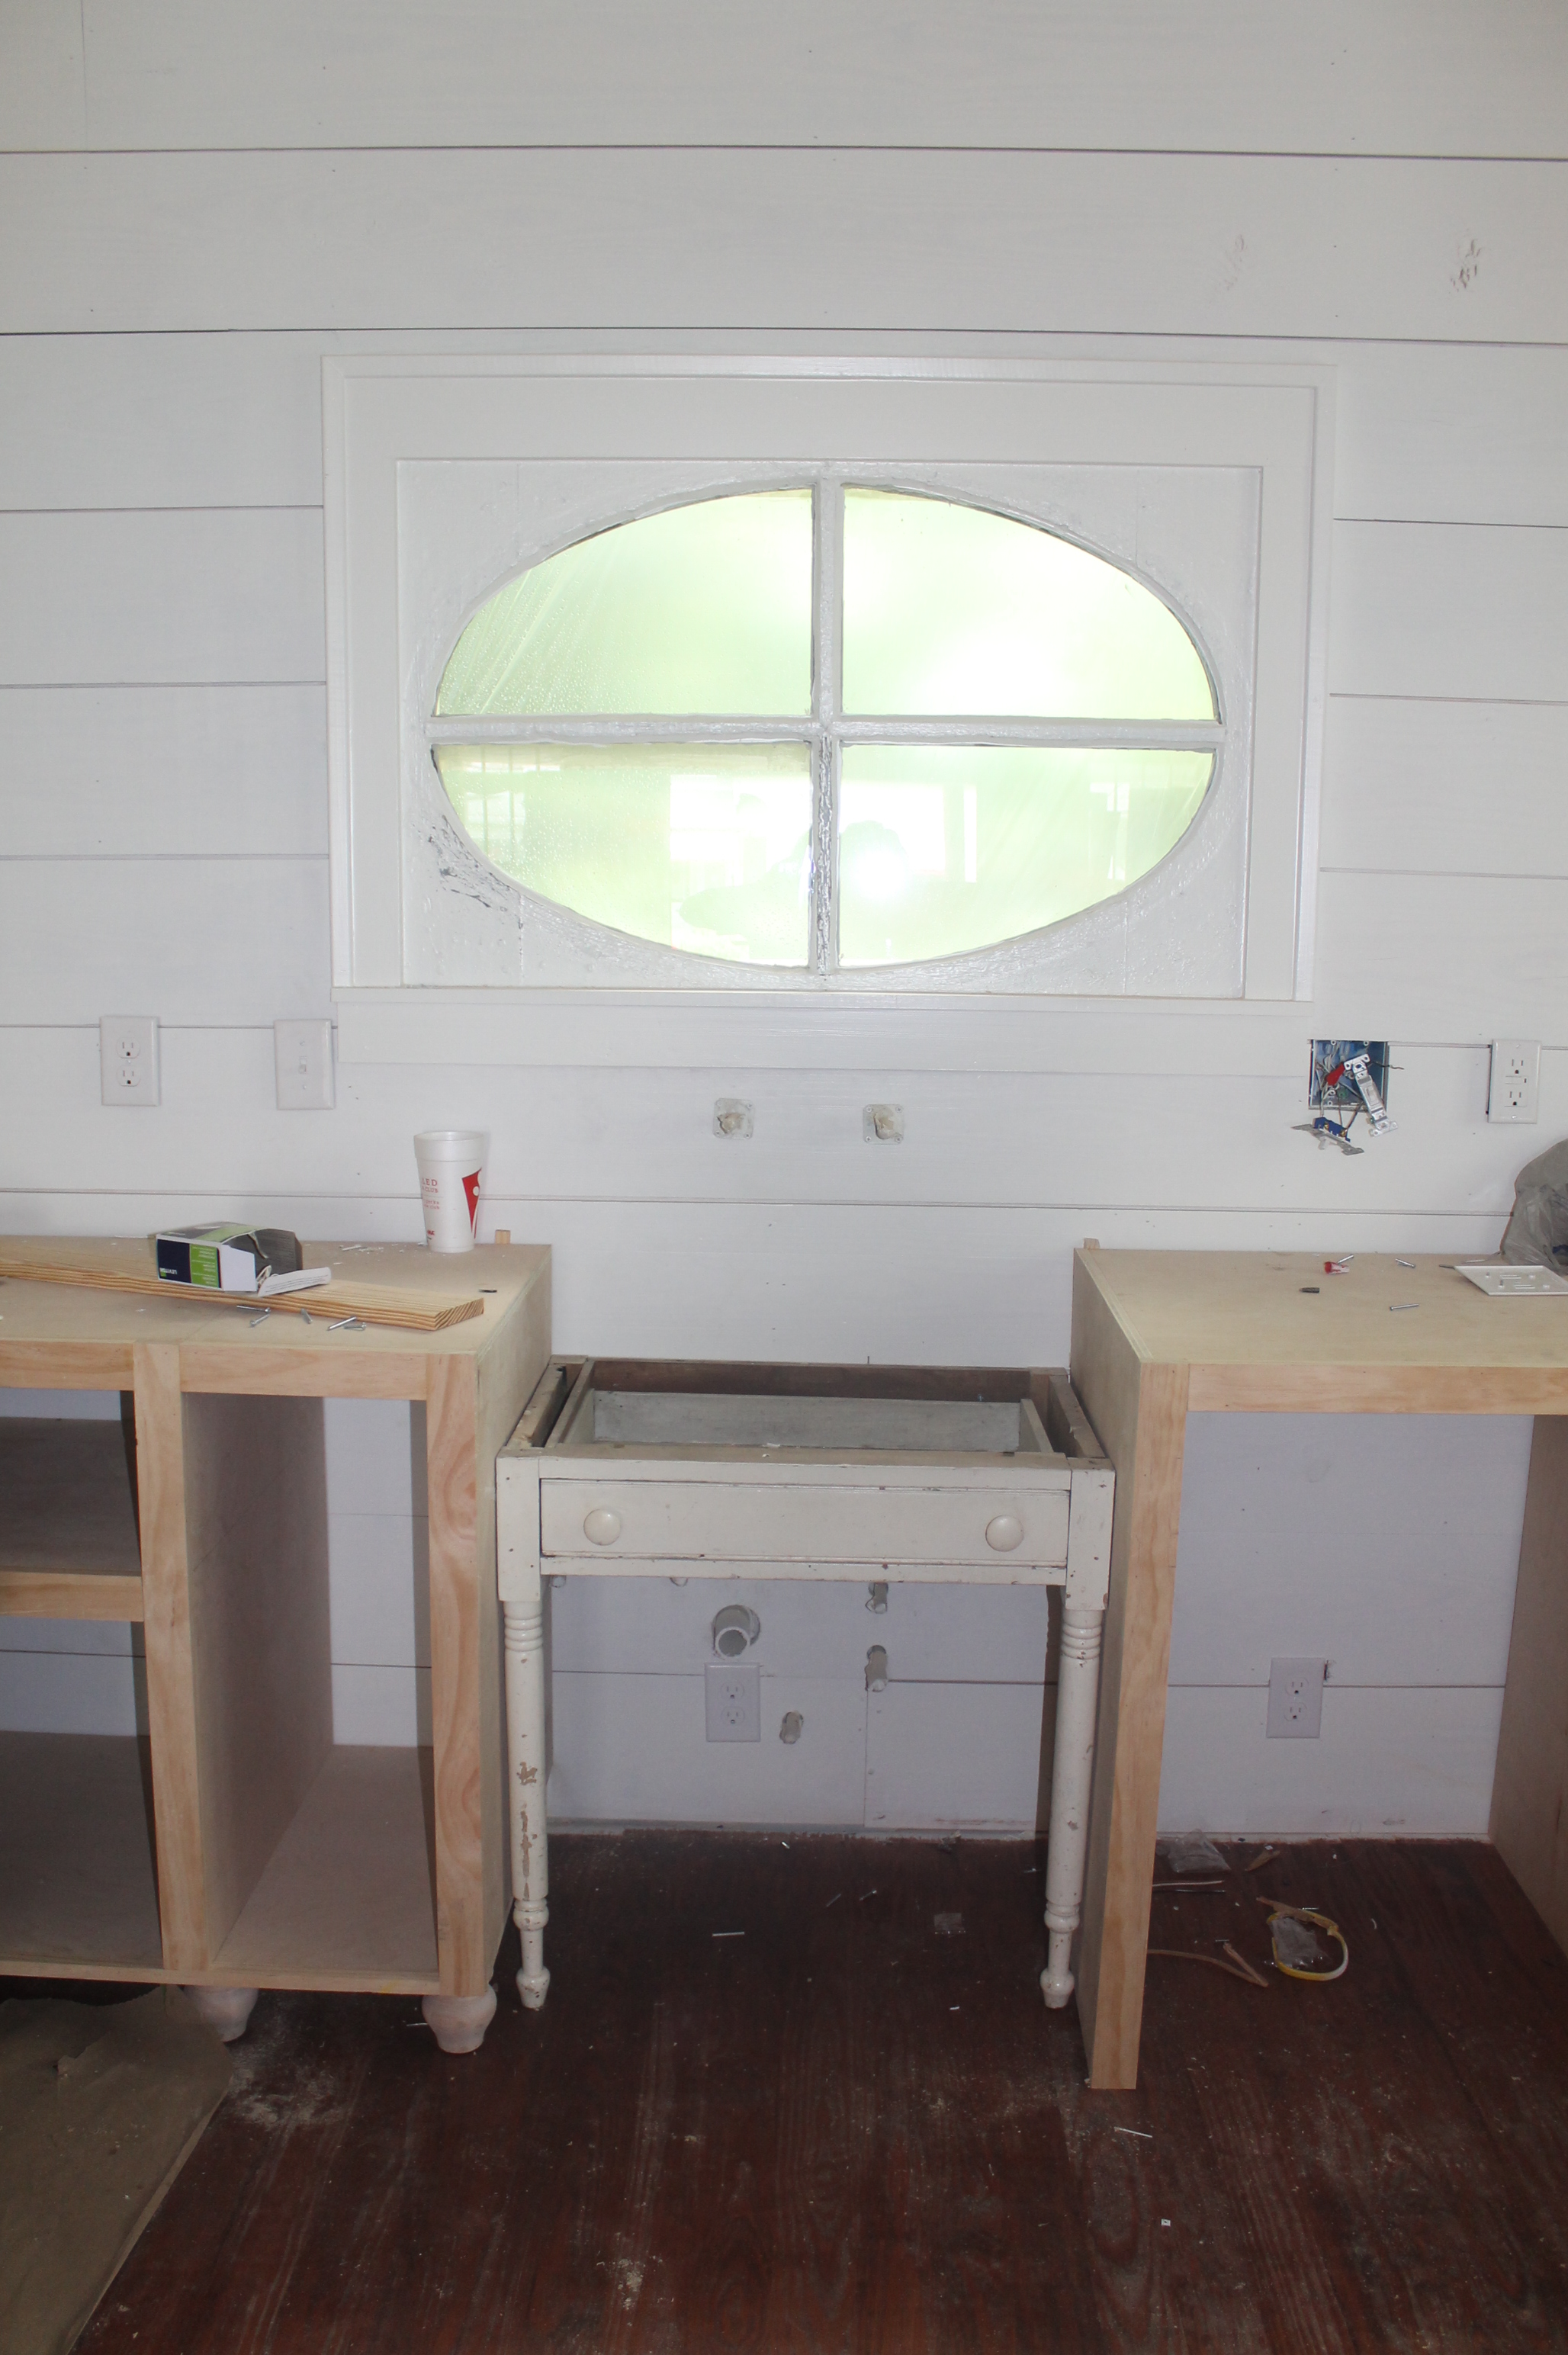
Newly built kitchen cabinets are lovely. We have used an antique piece as the base for the kitchen sink.
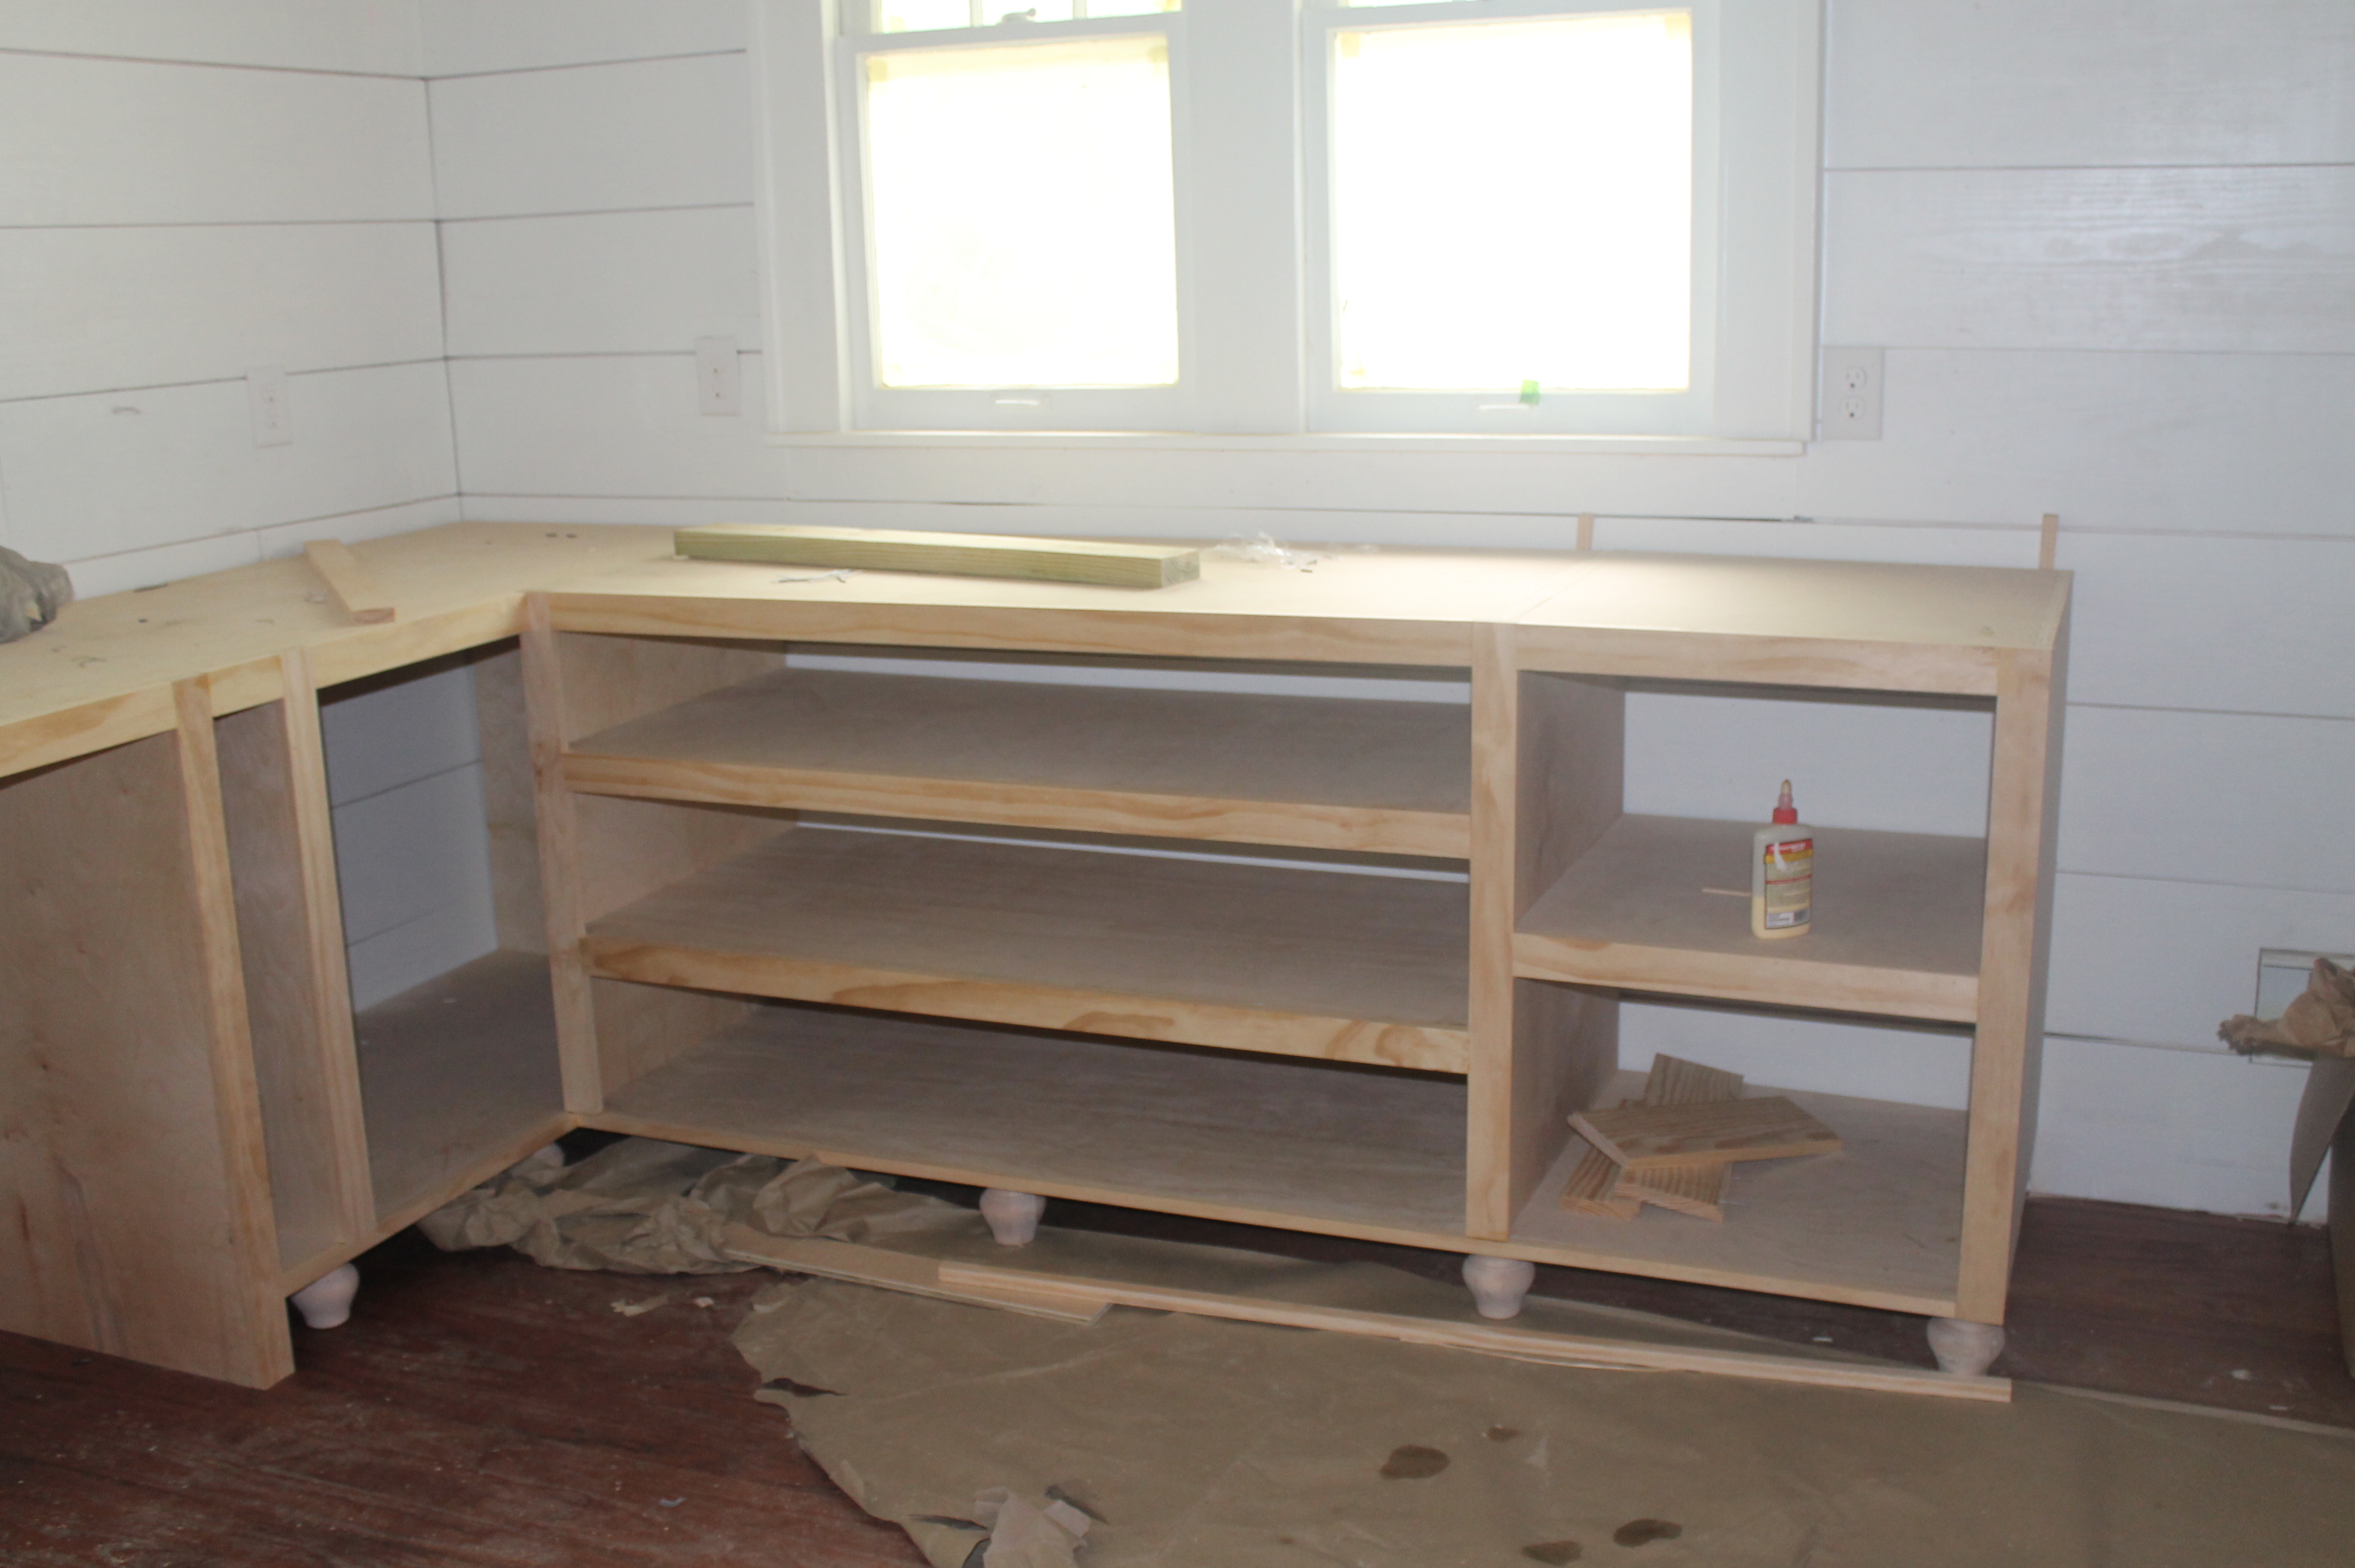
More kitchen cabinets. Note the bun feet instead of a toe kick.
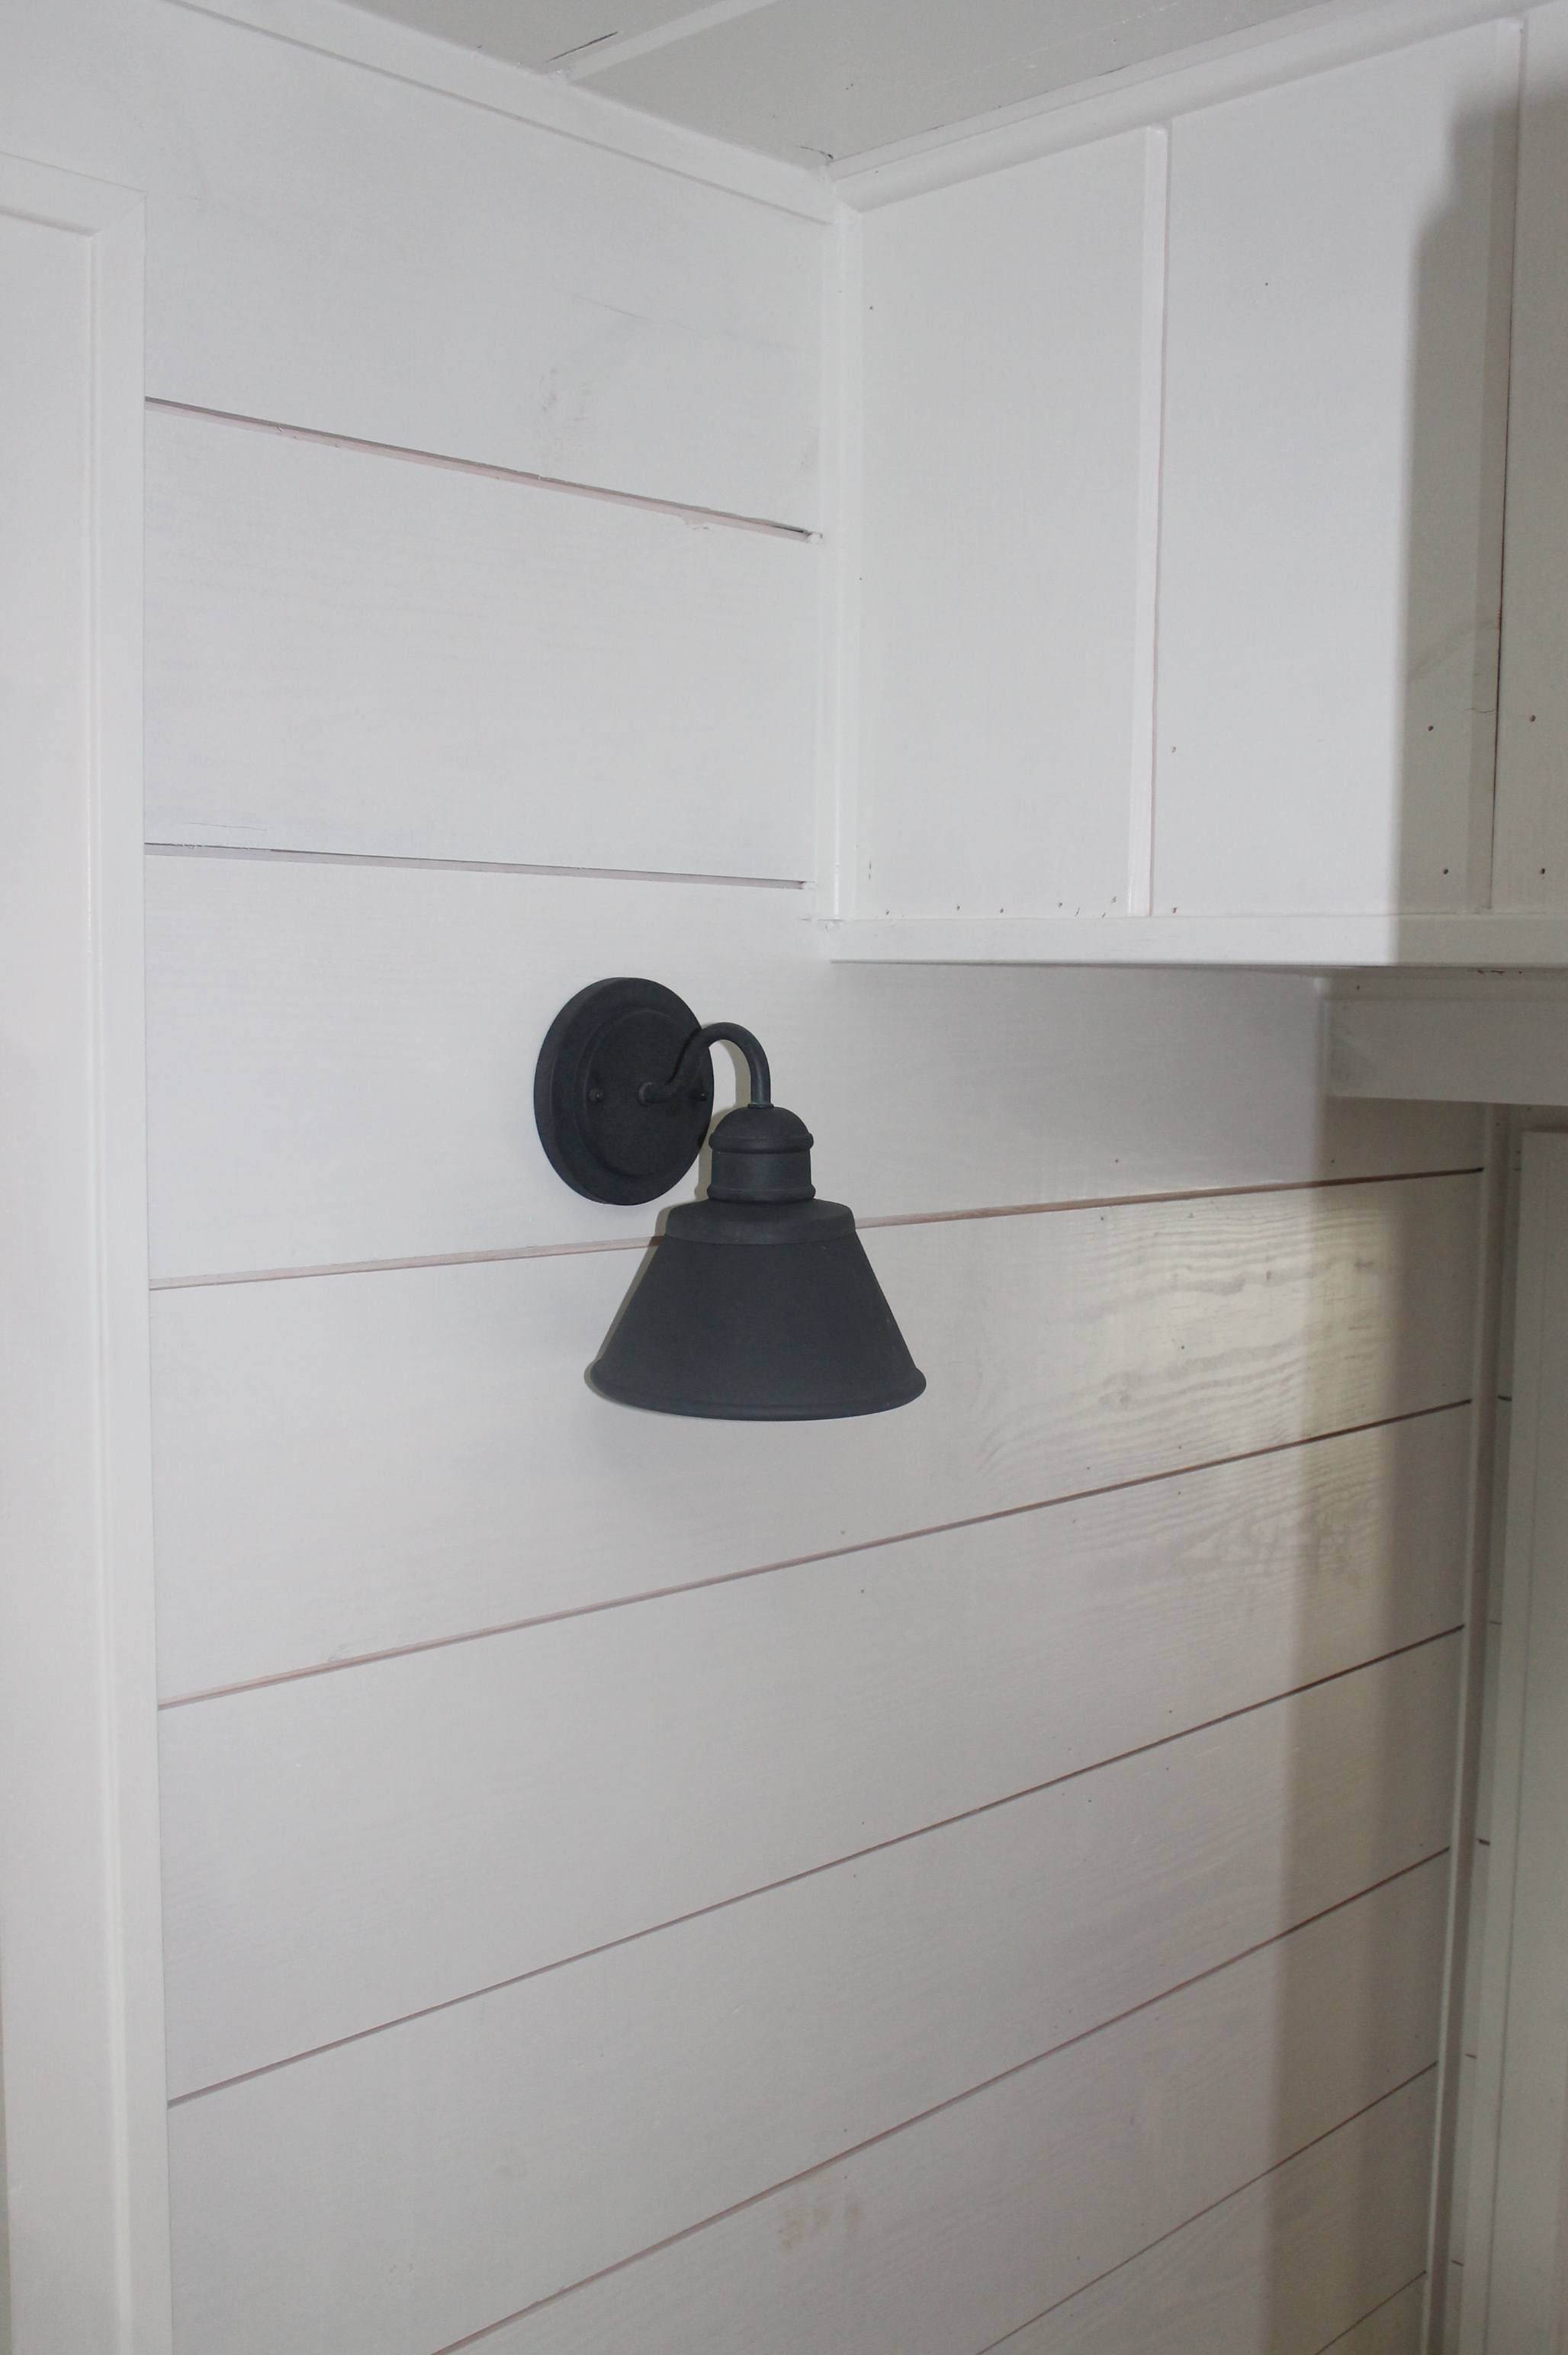
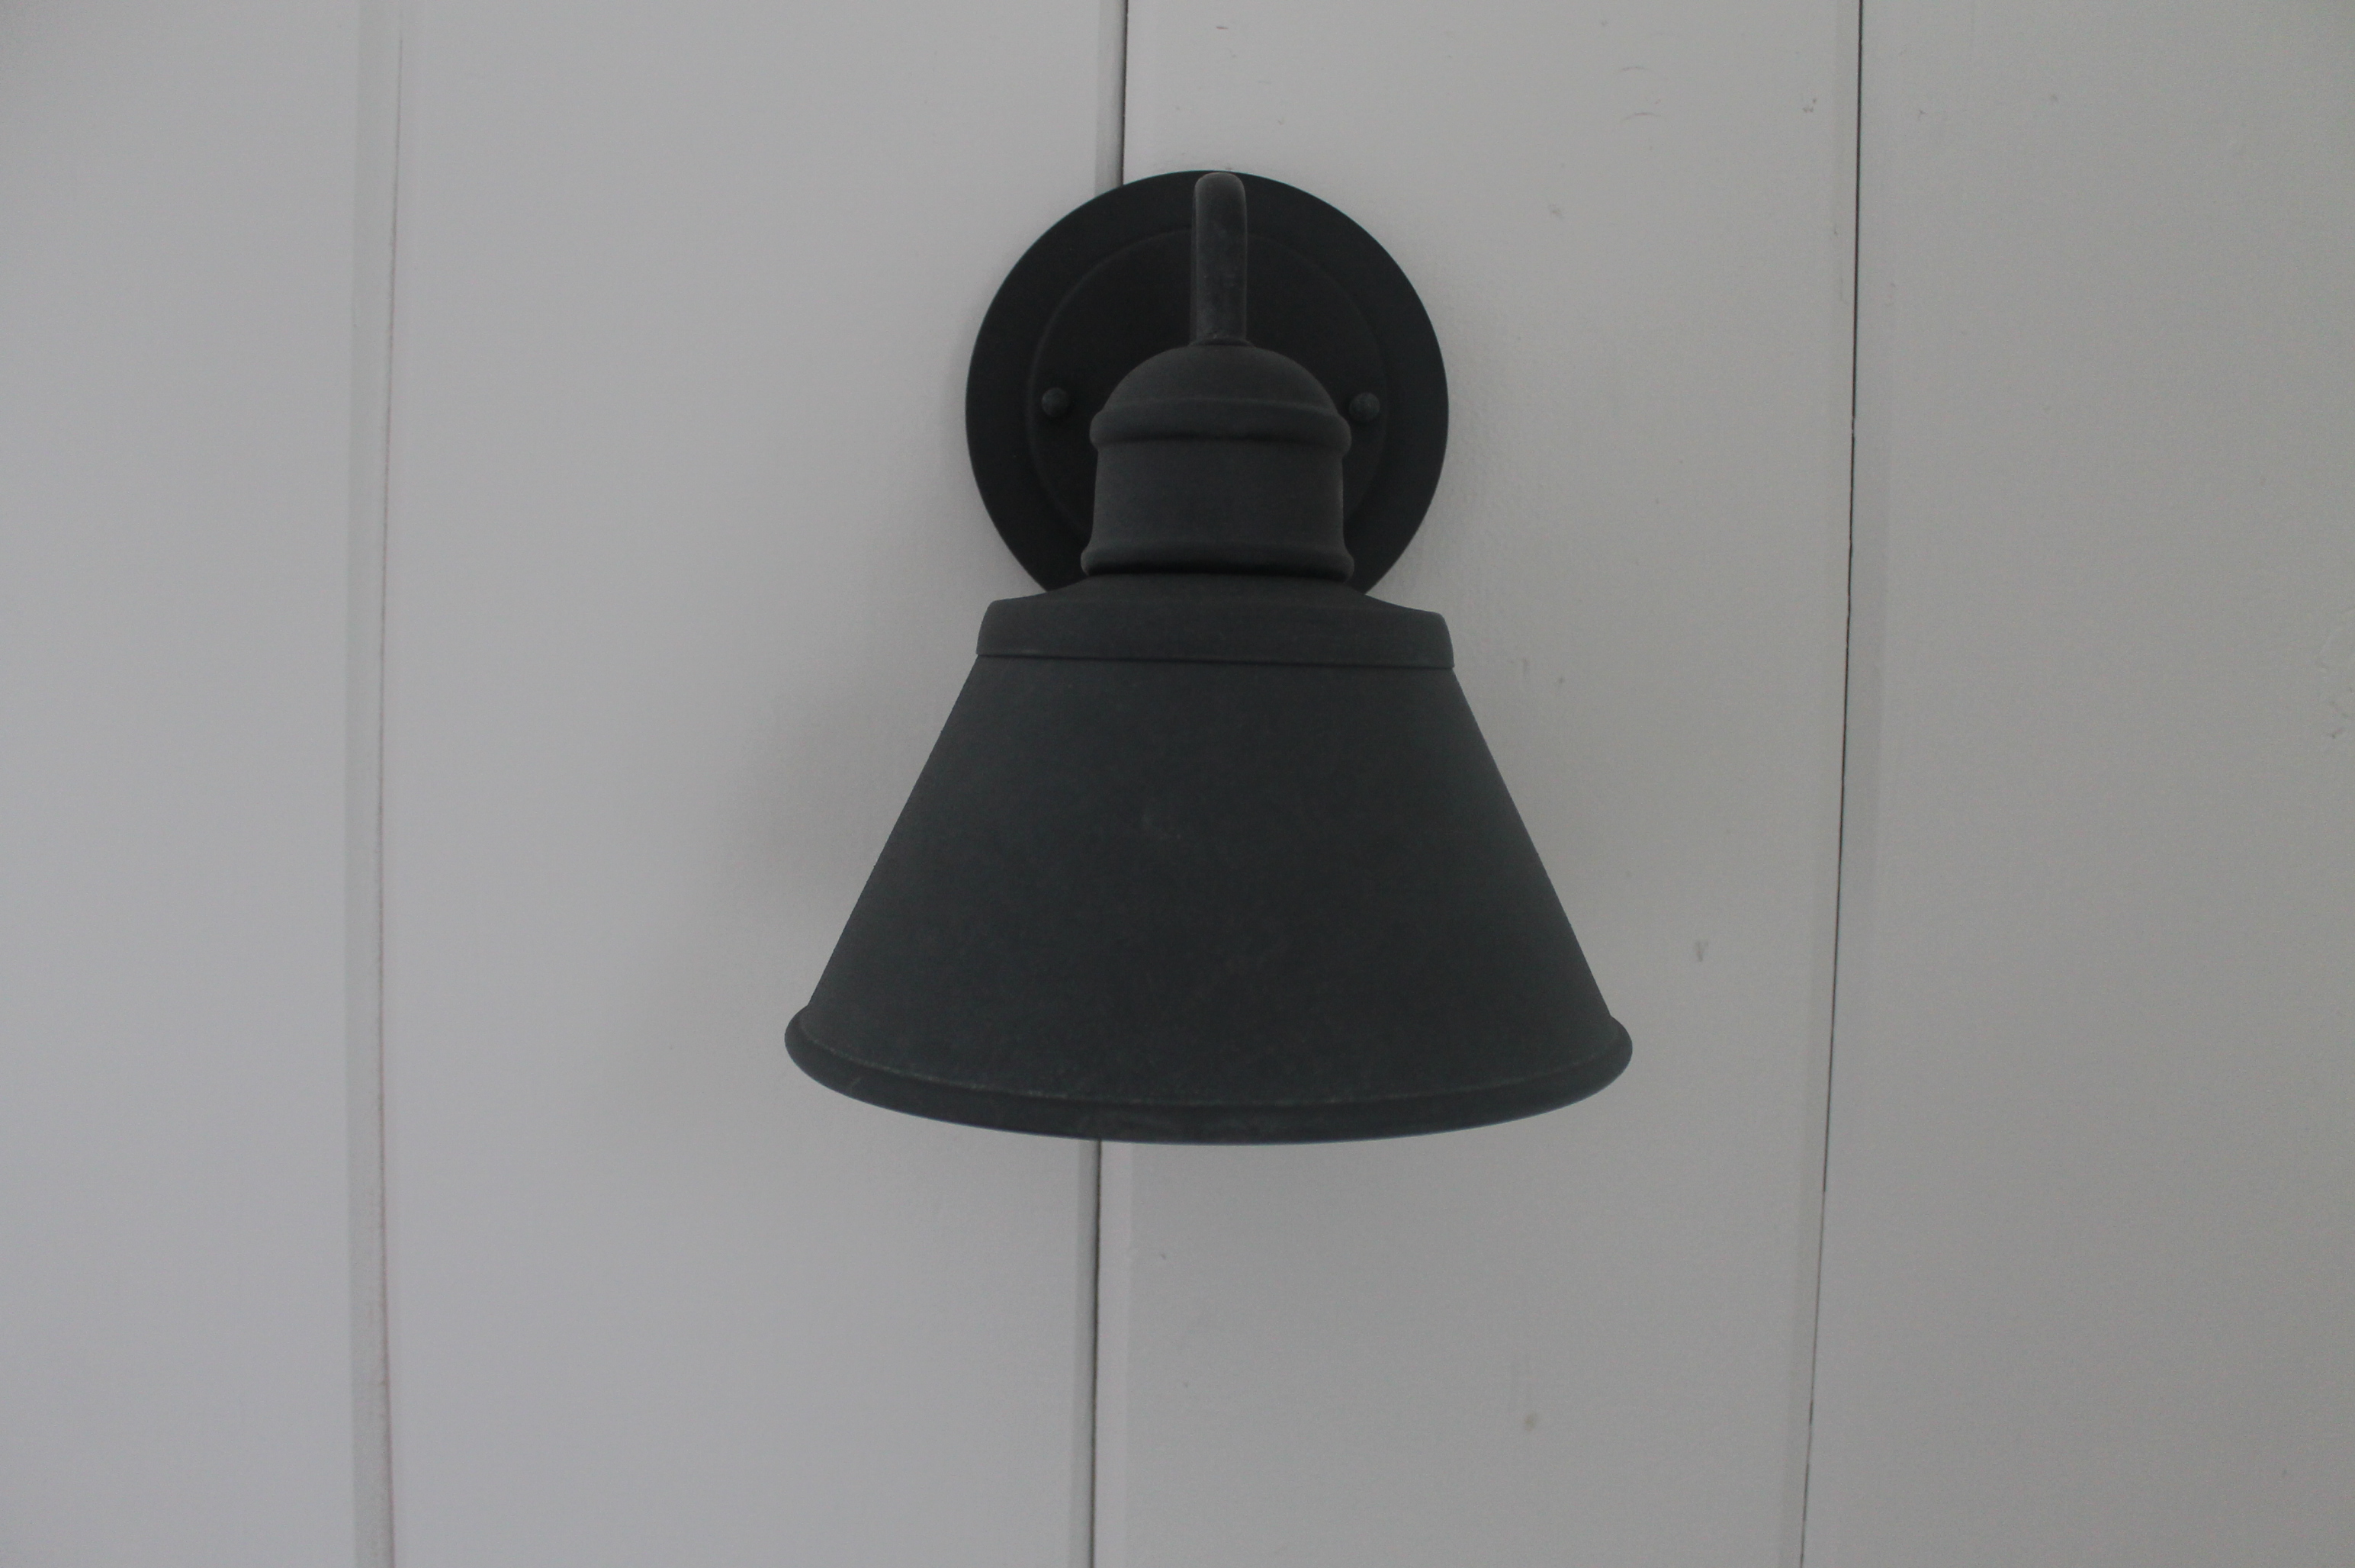
Exterior lighting used for interior lighting.
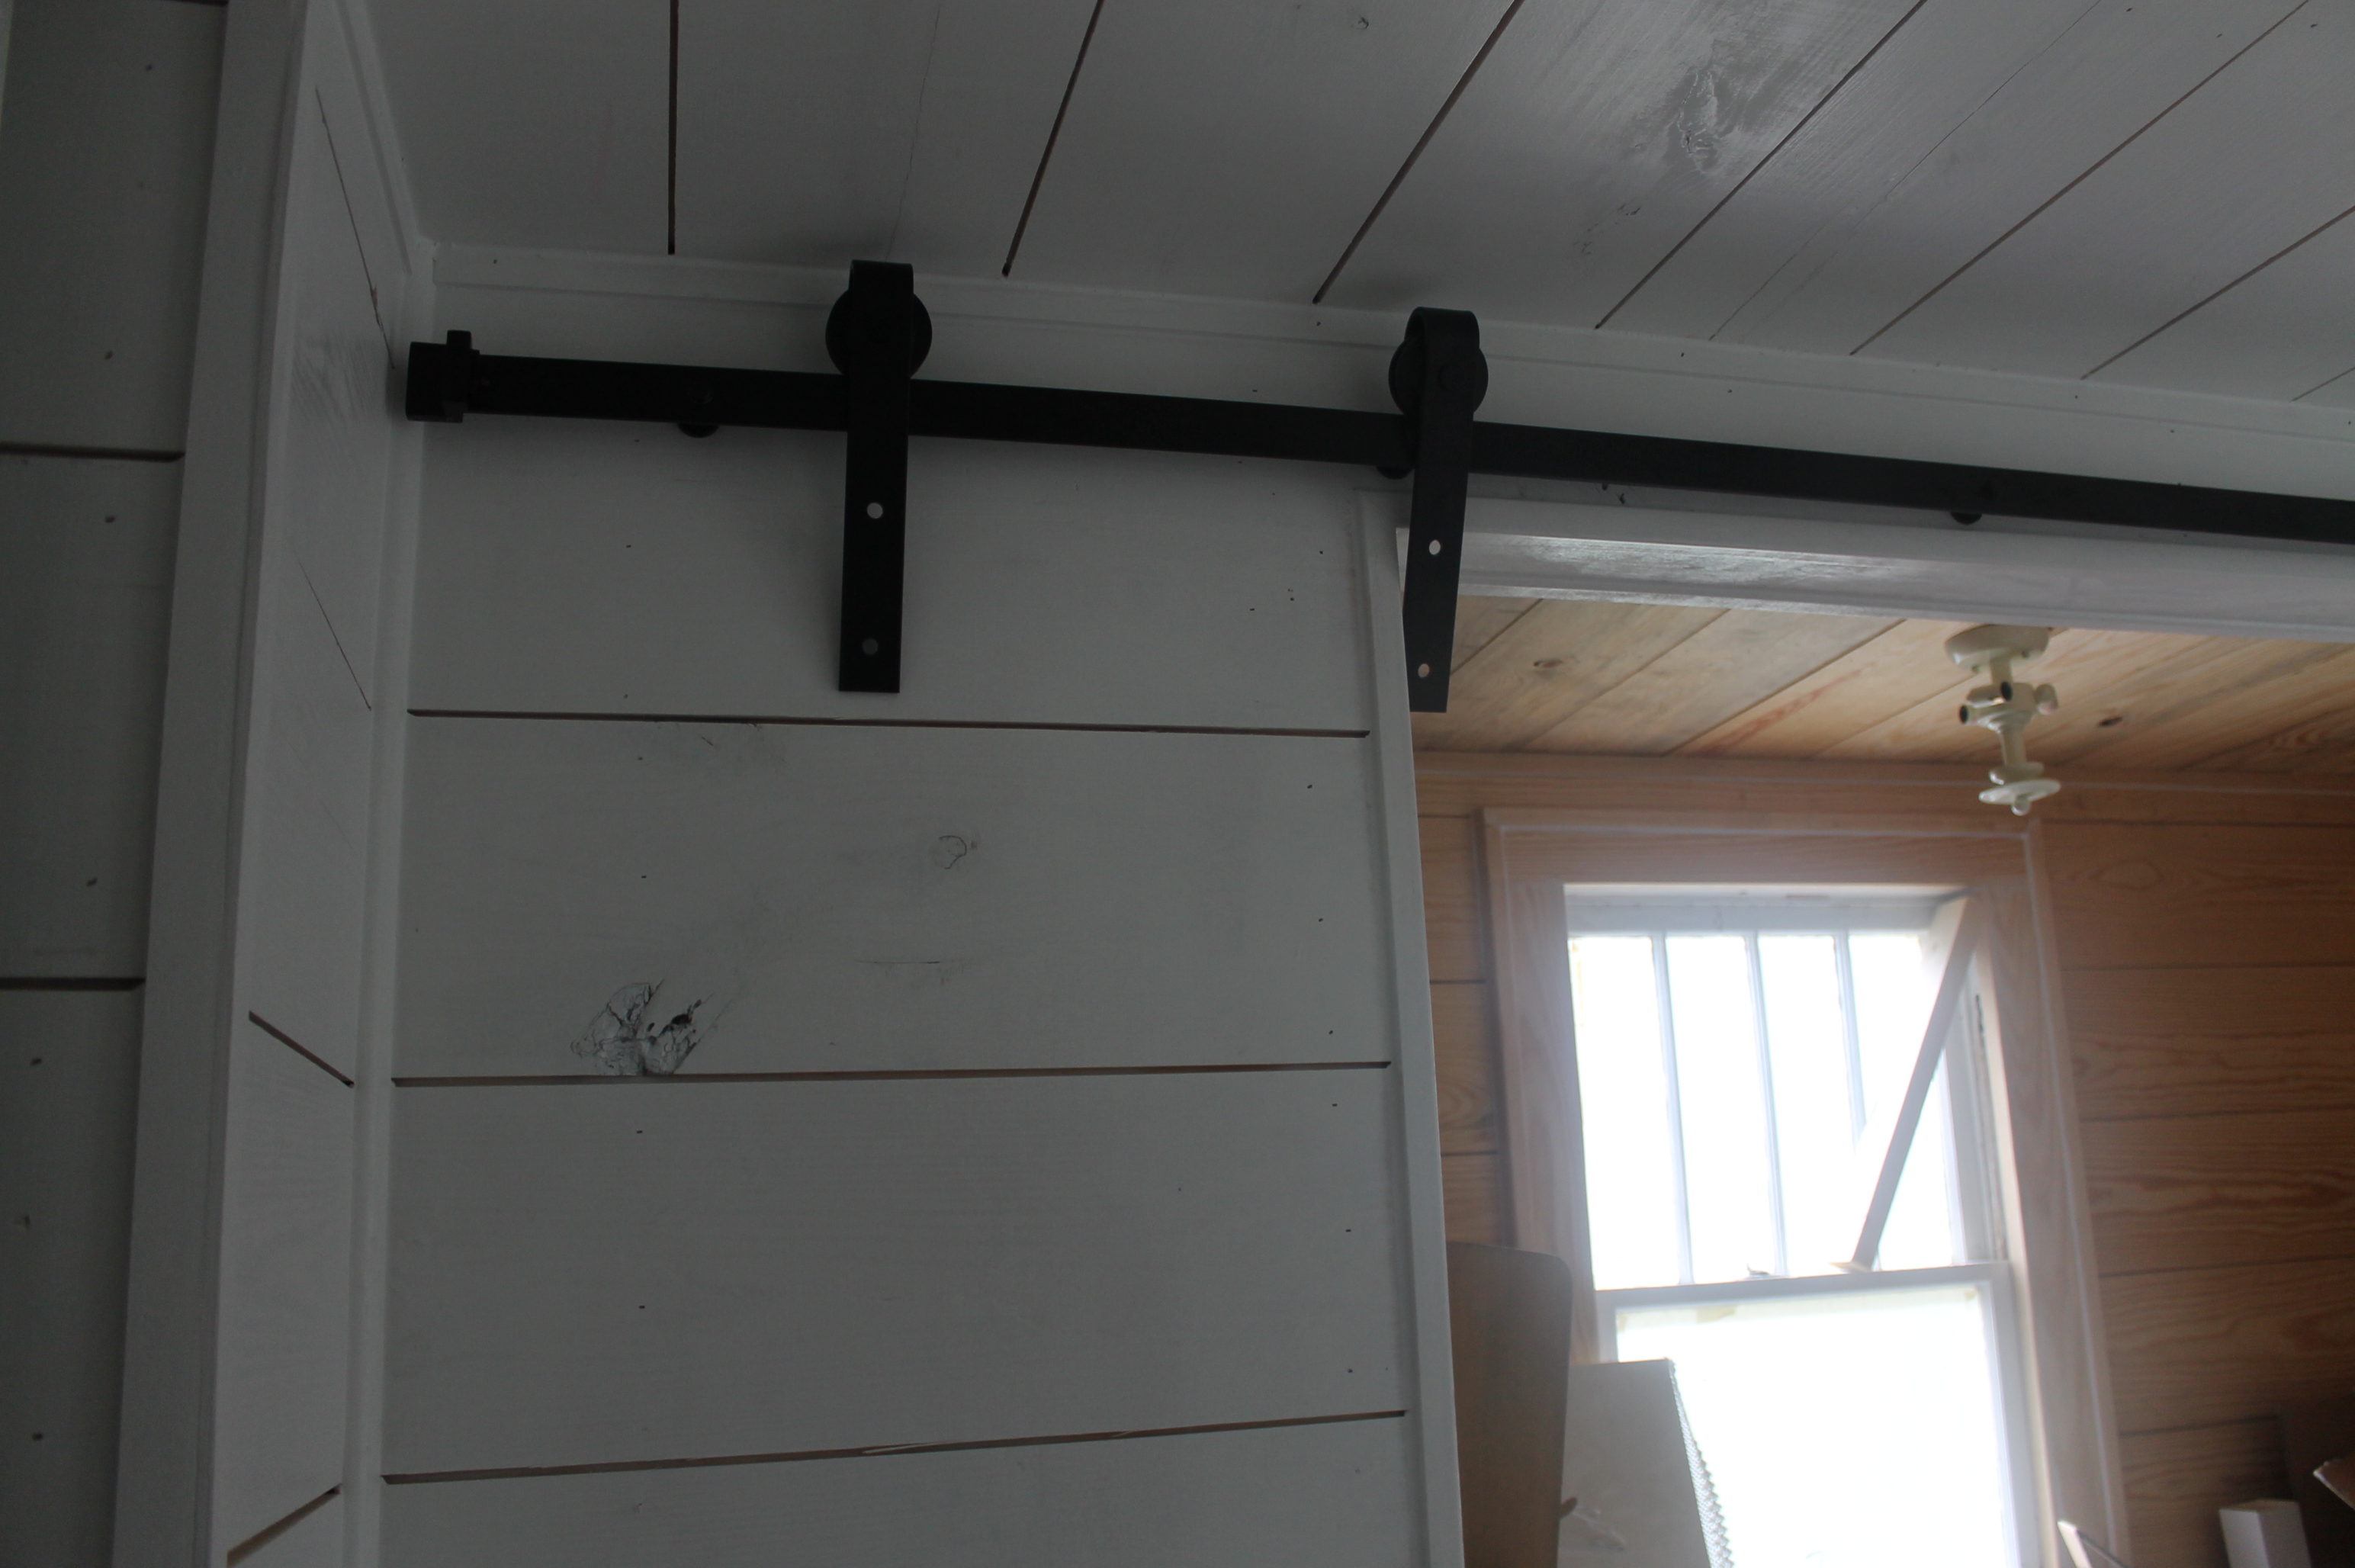
Barn door hardware to close off my very small office/work space
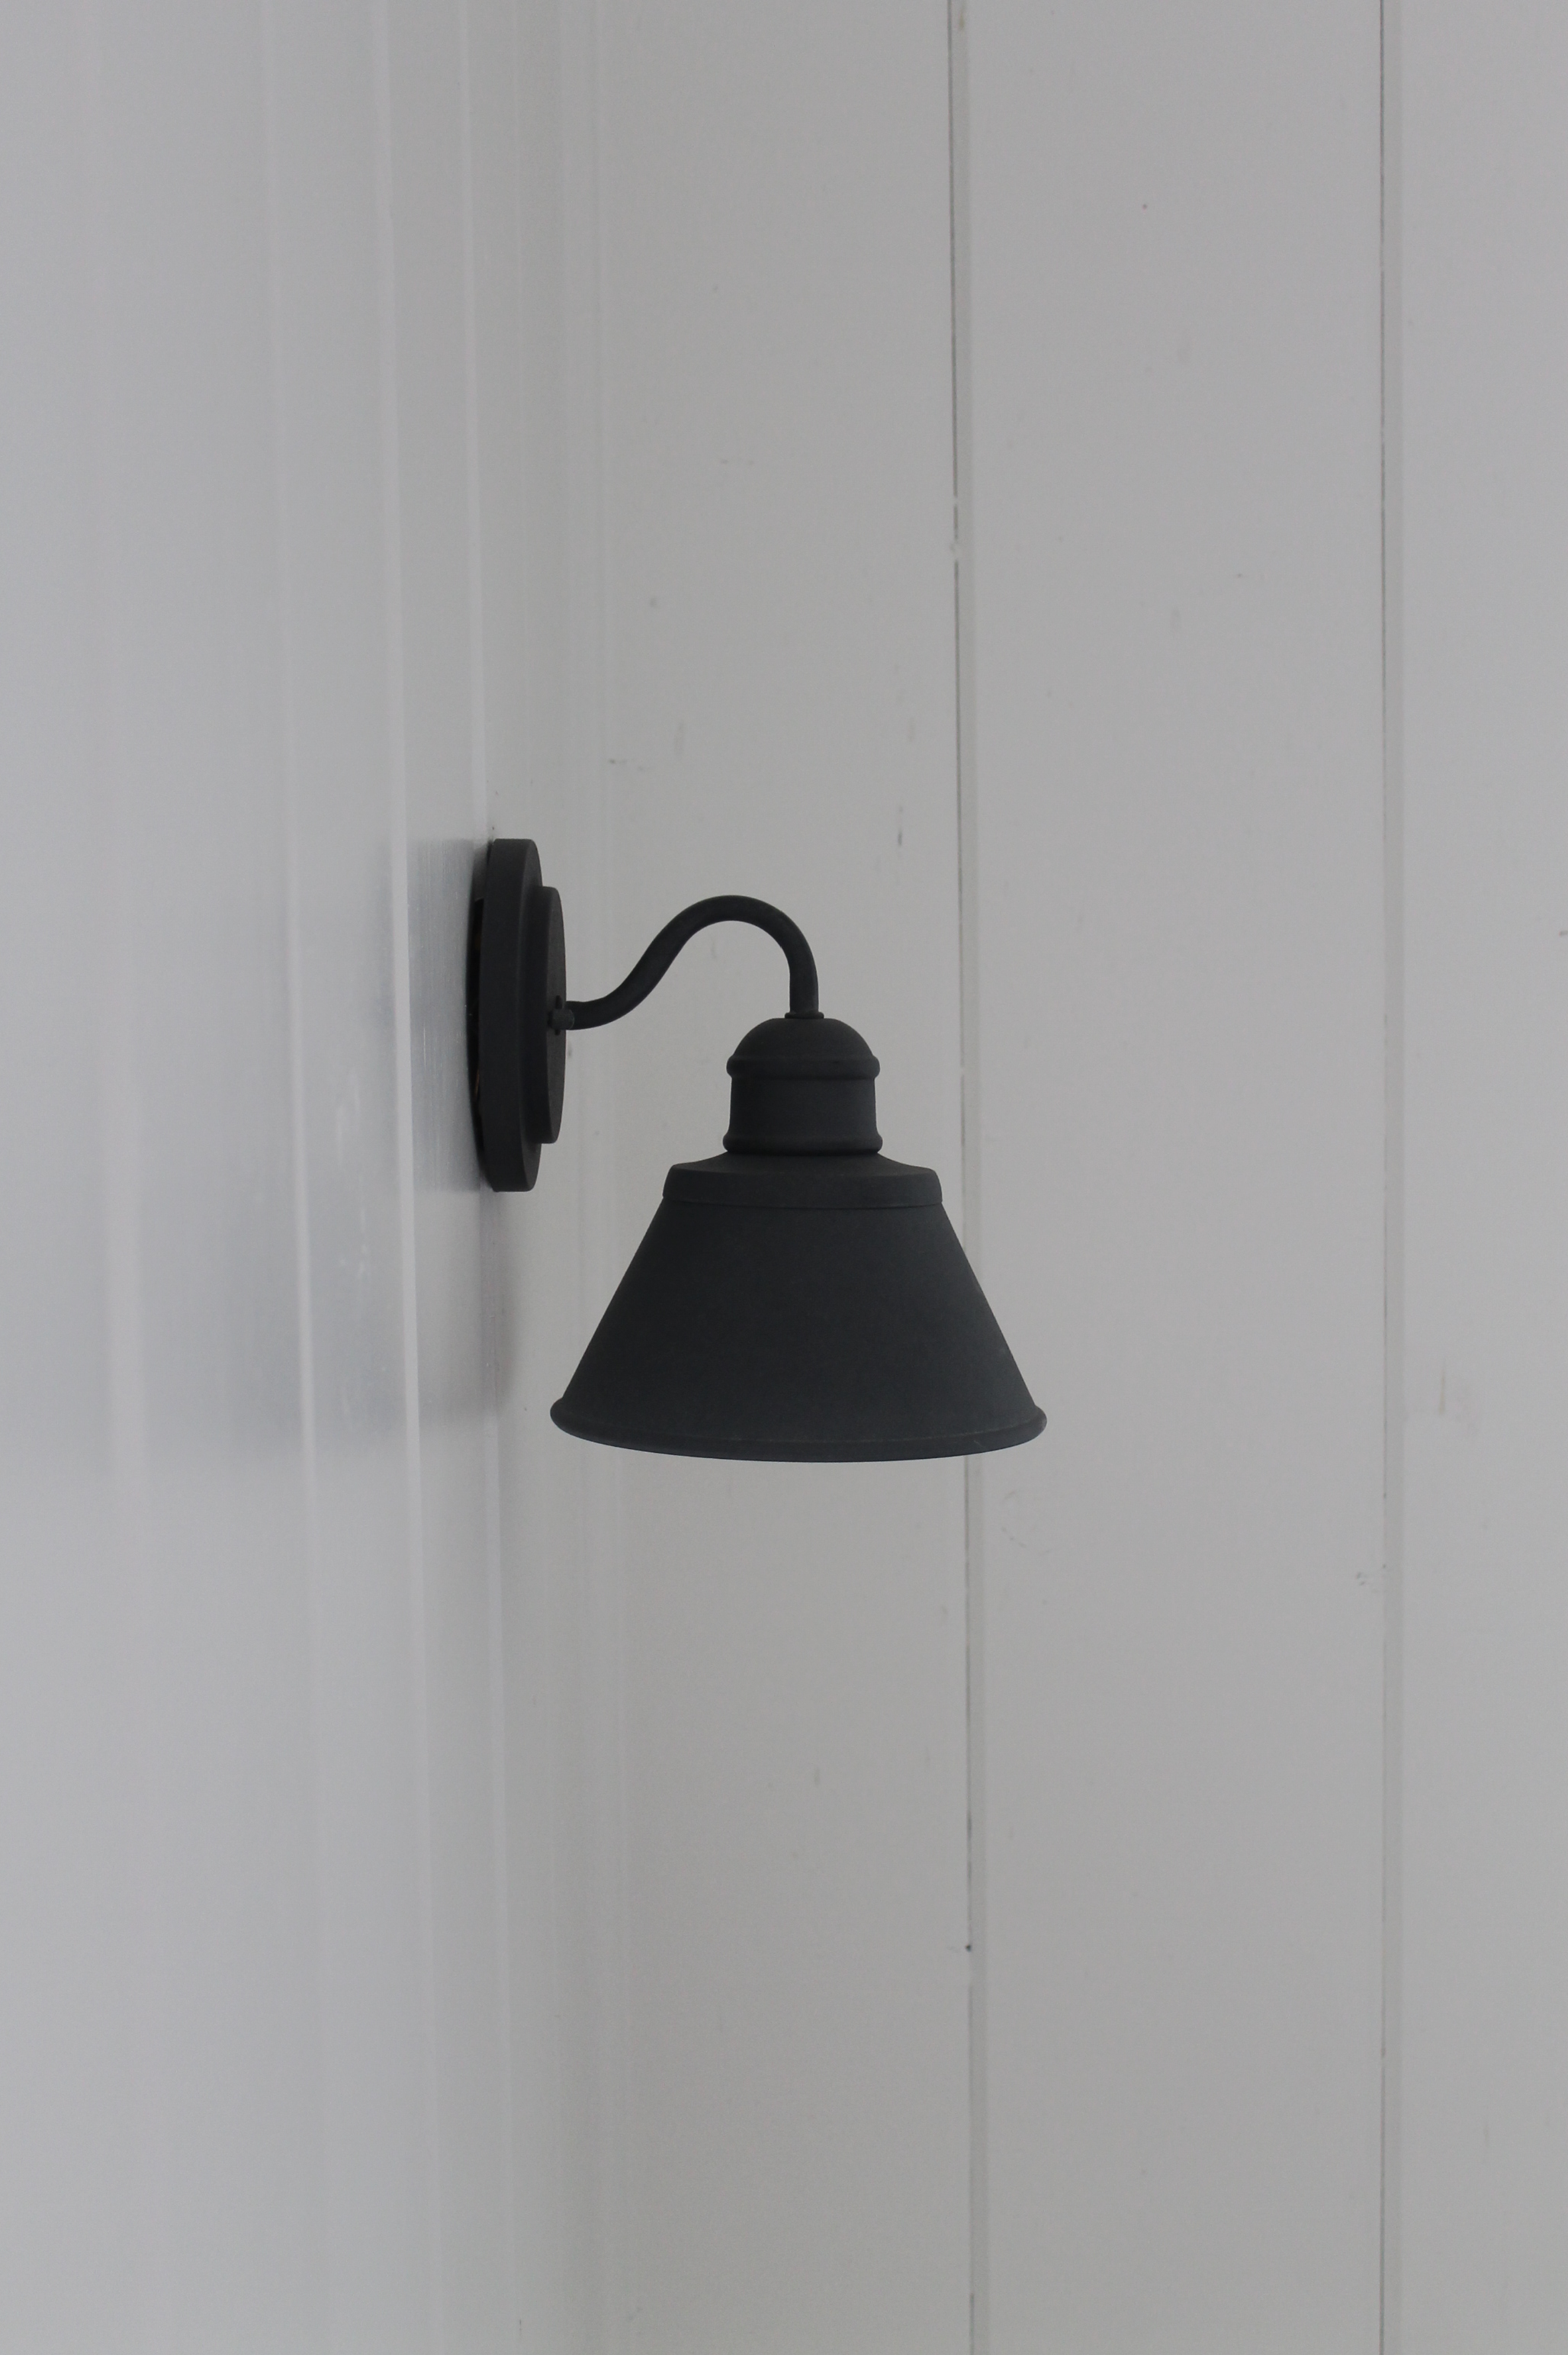
Stylish and budget friendly, these stock zinc light fixtures picked up at Home Depot

More kitchen cabinets
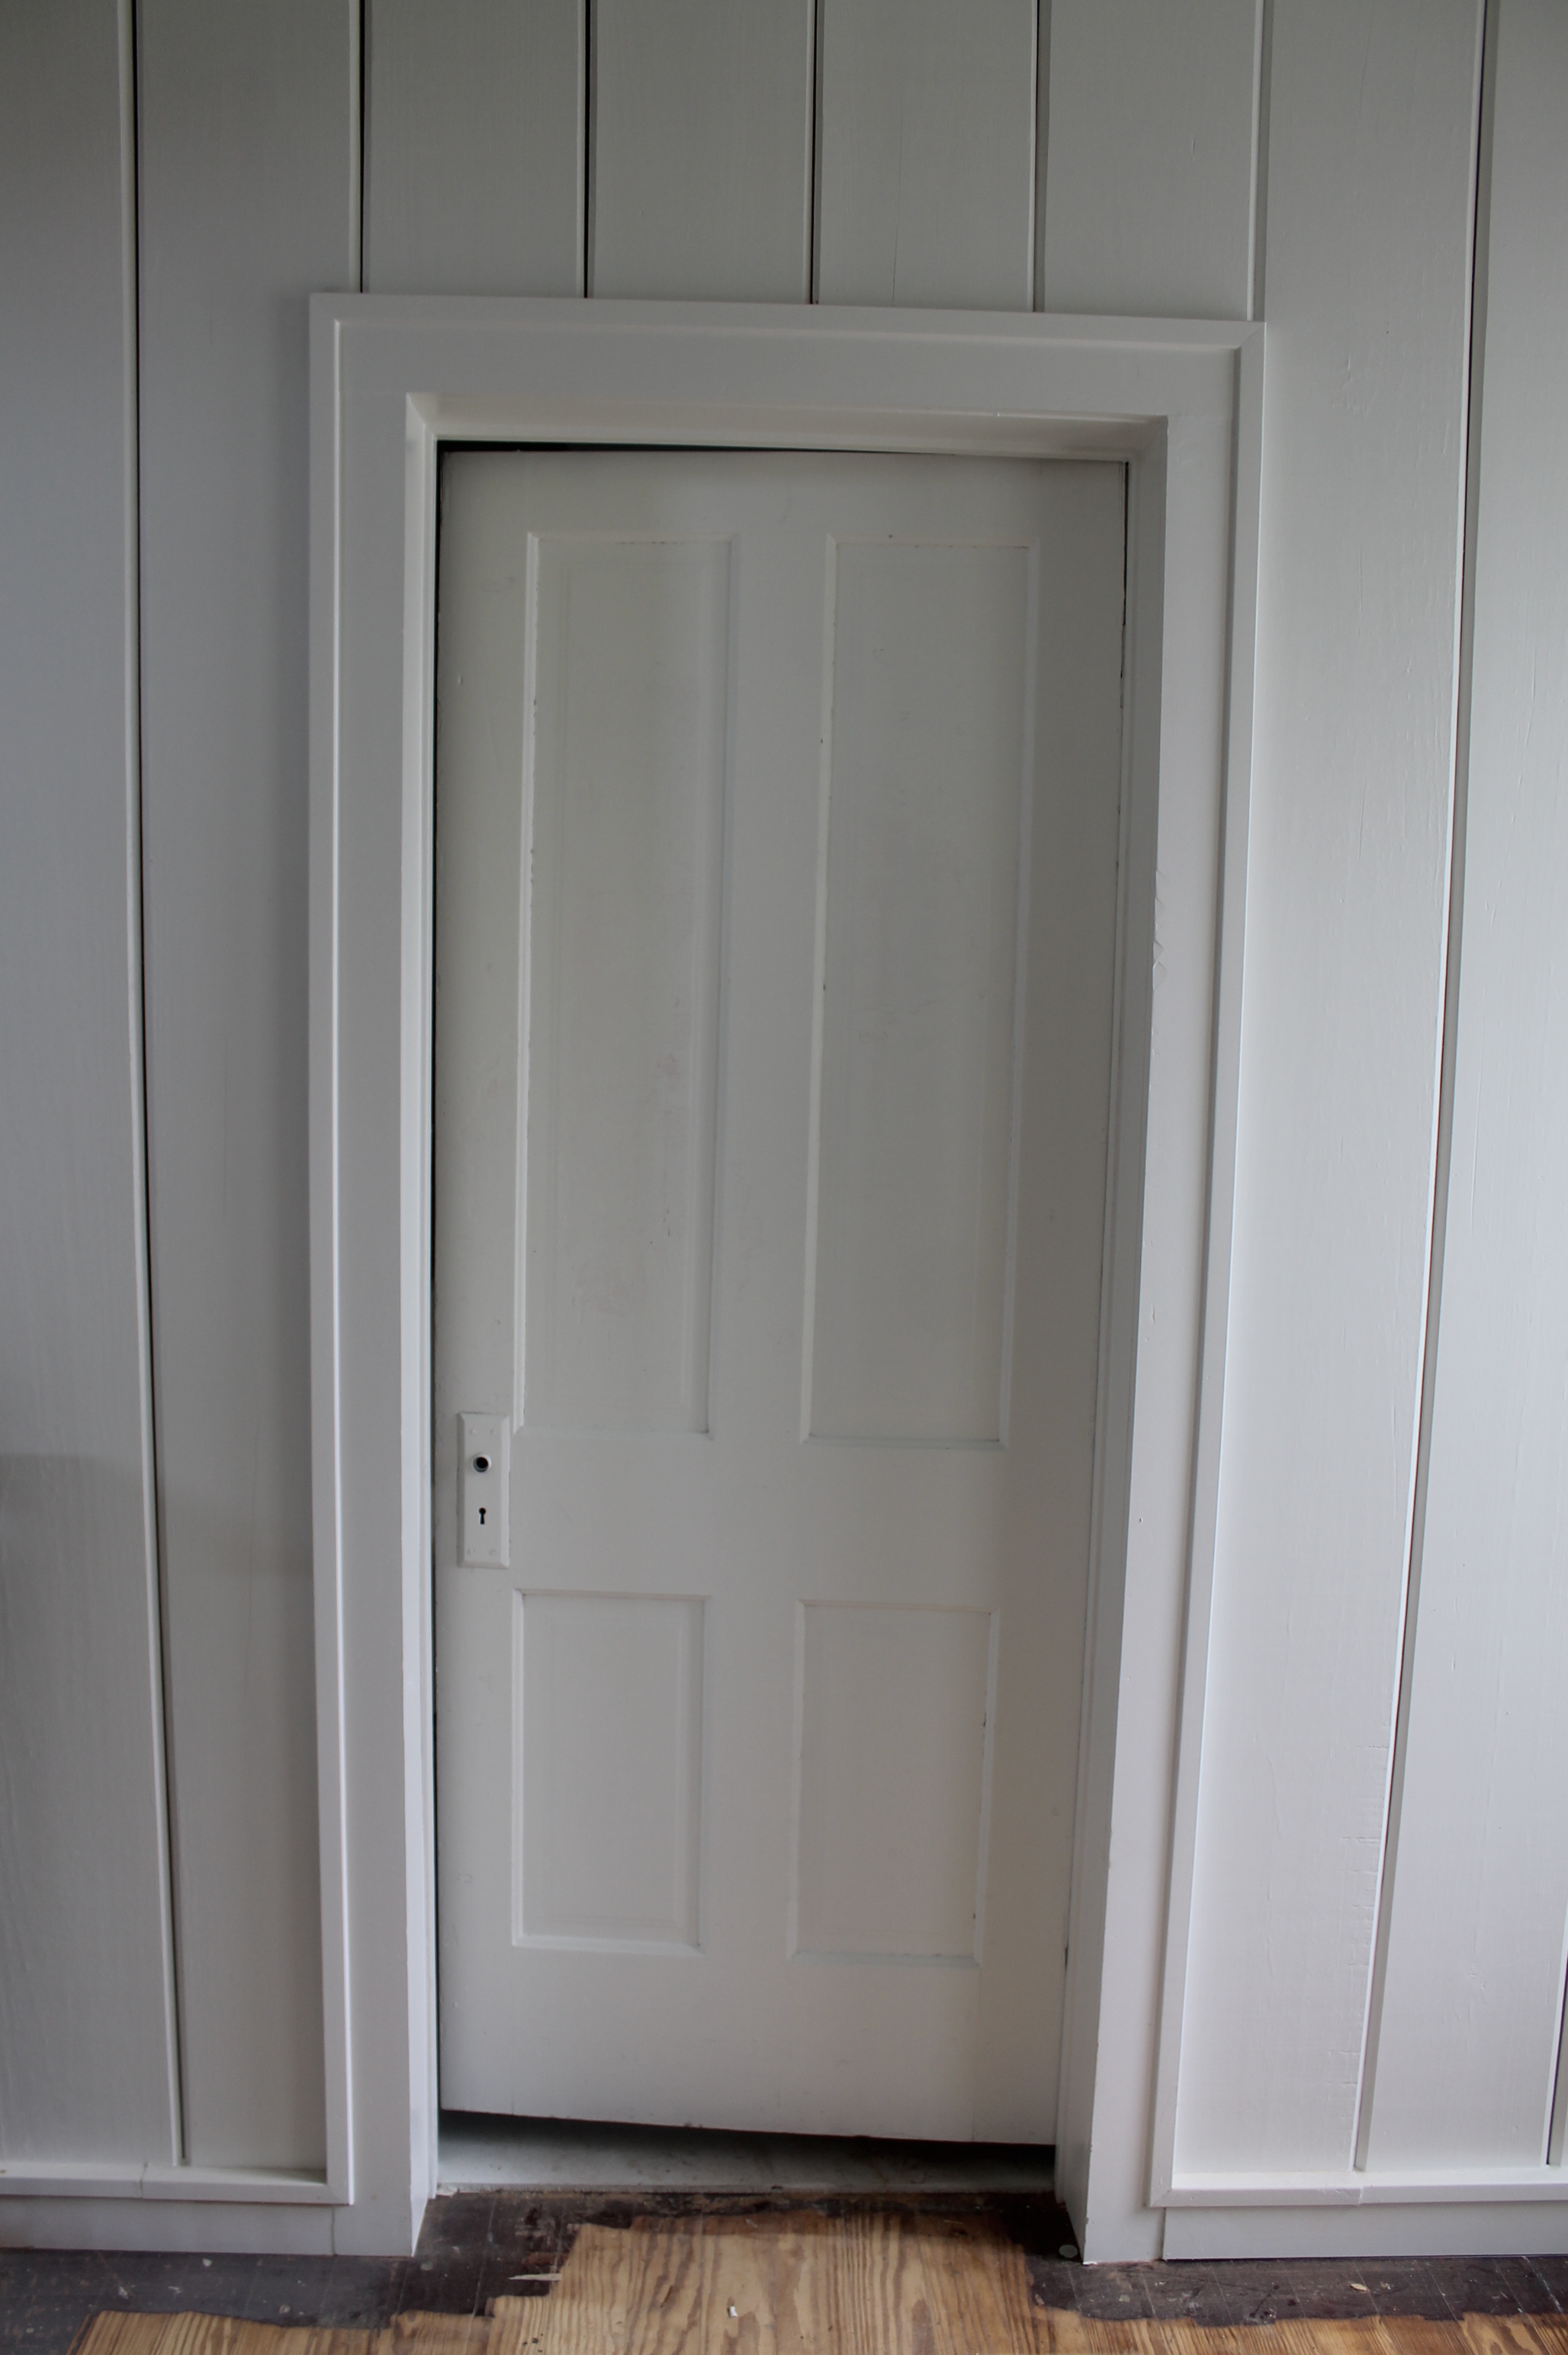
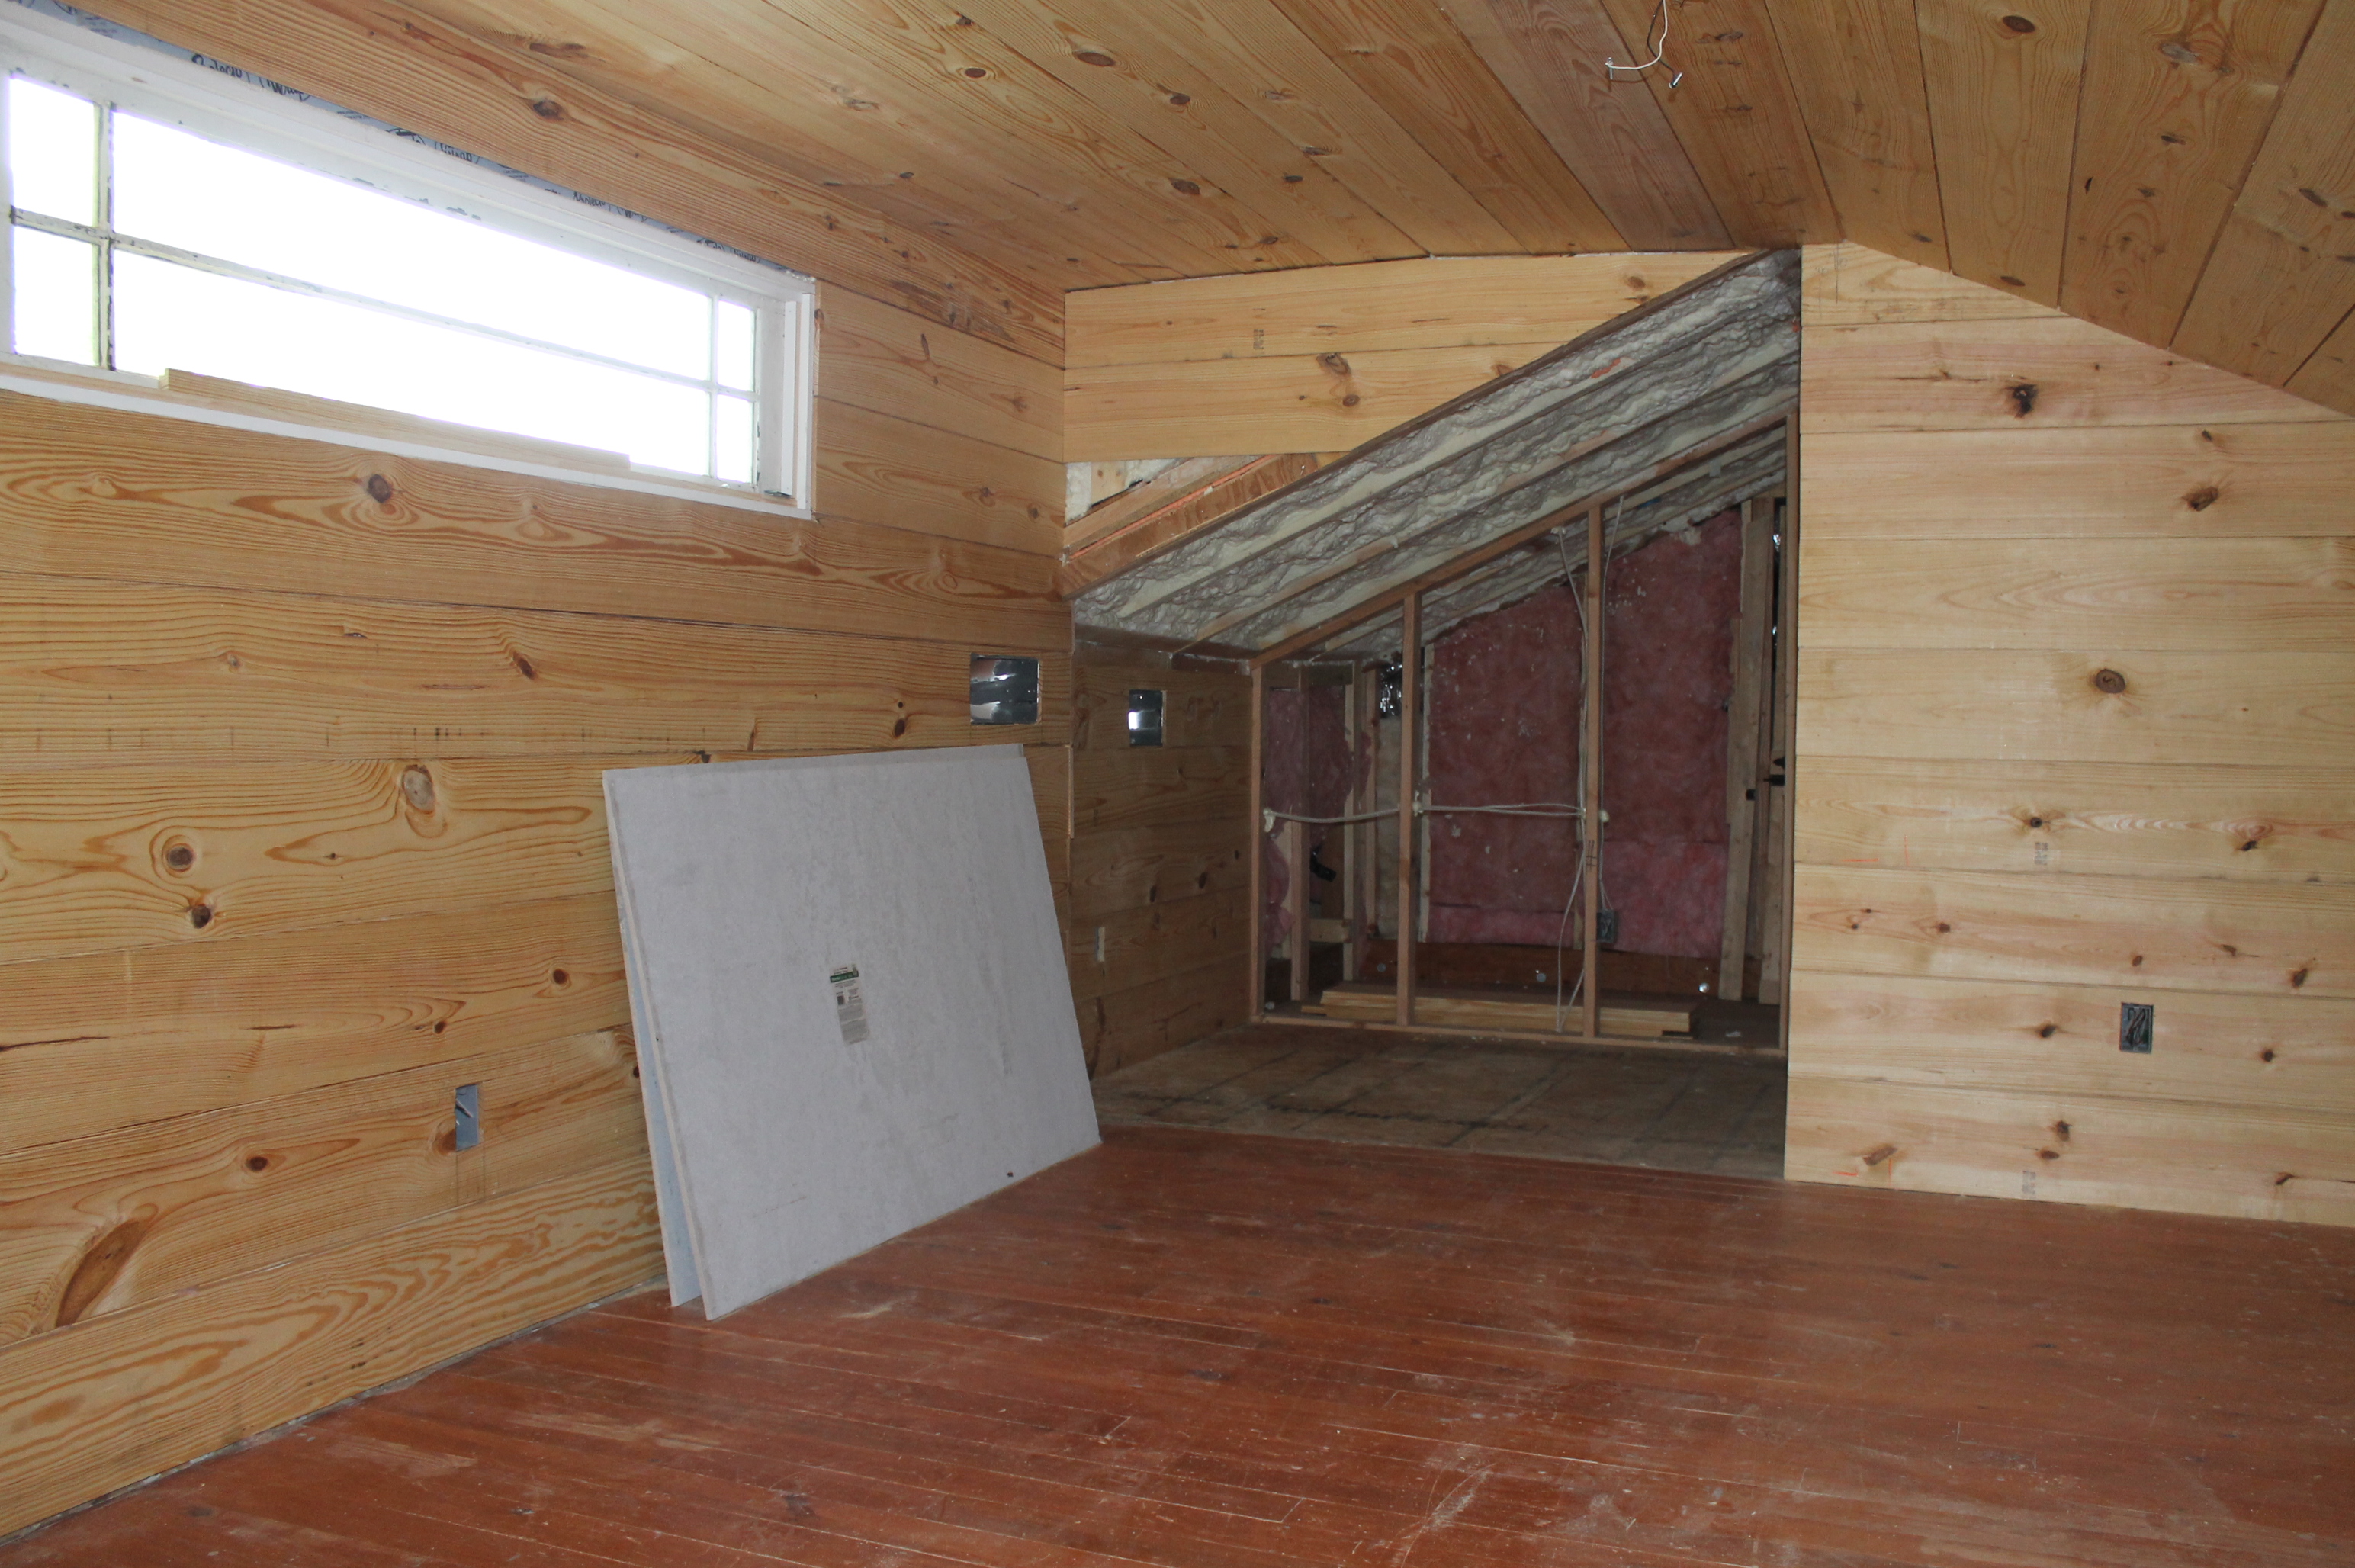
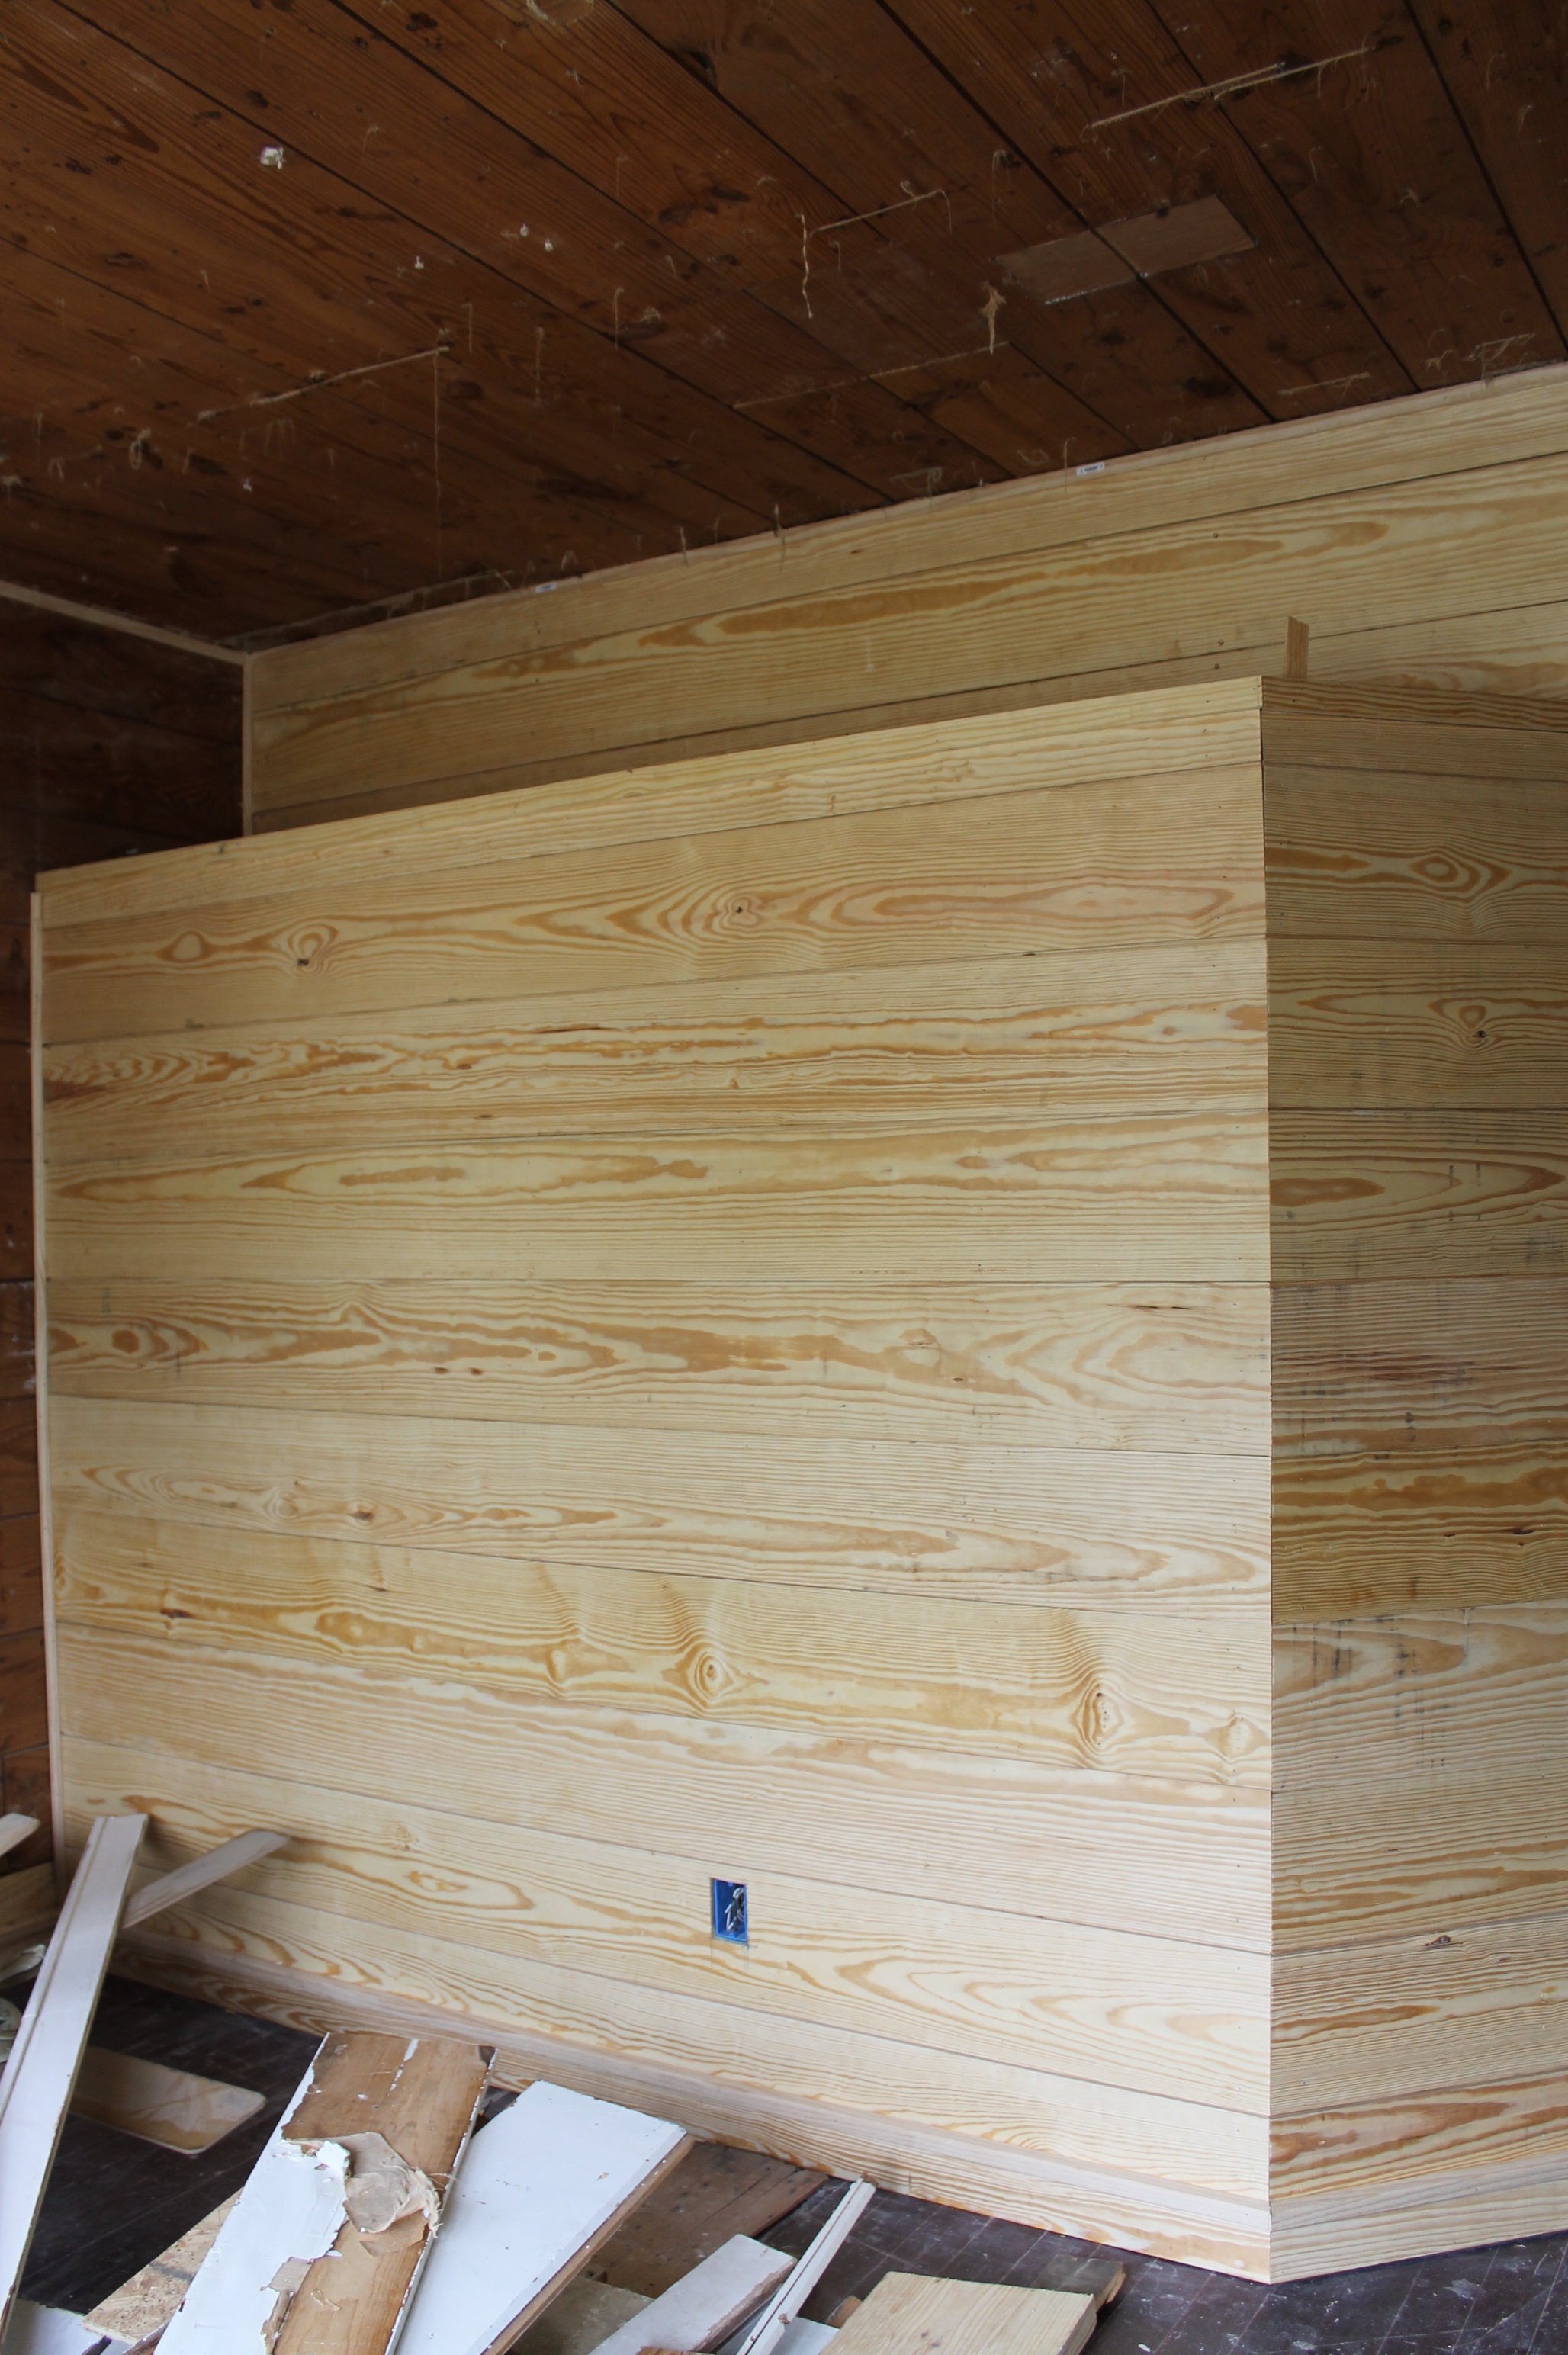
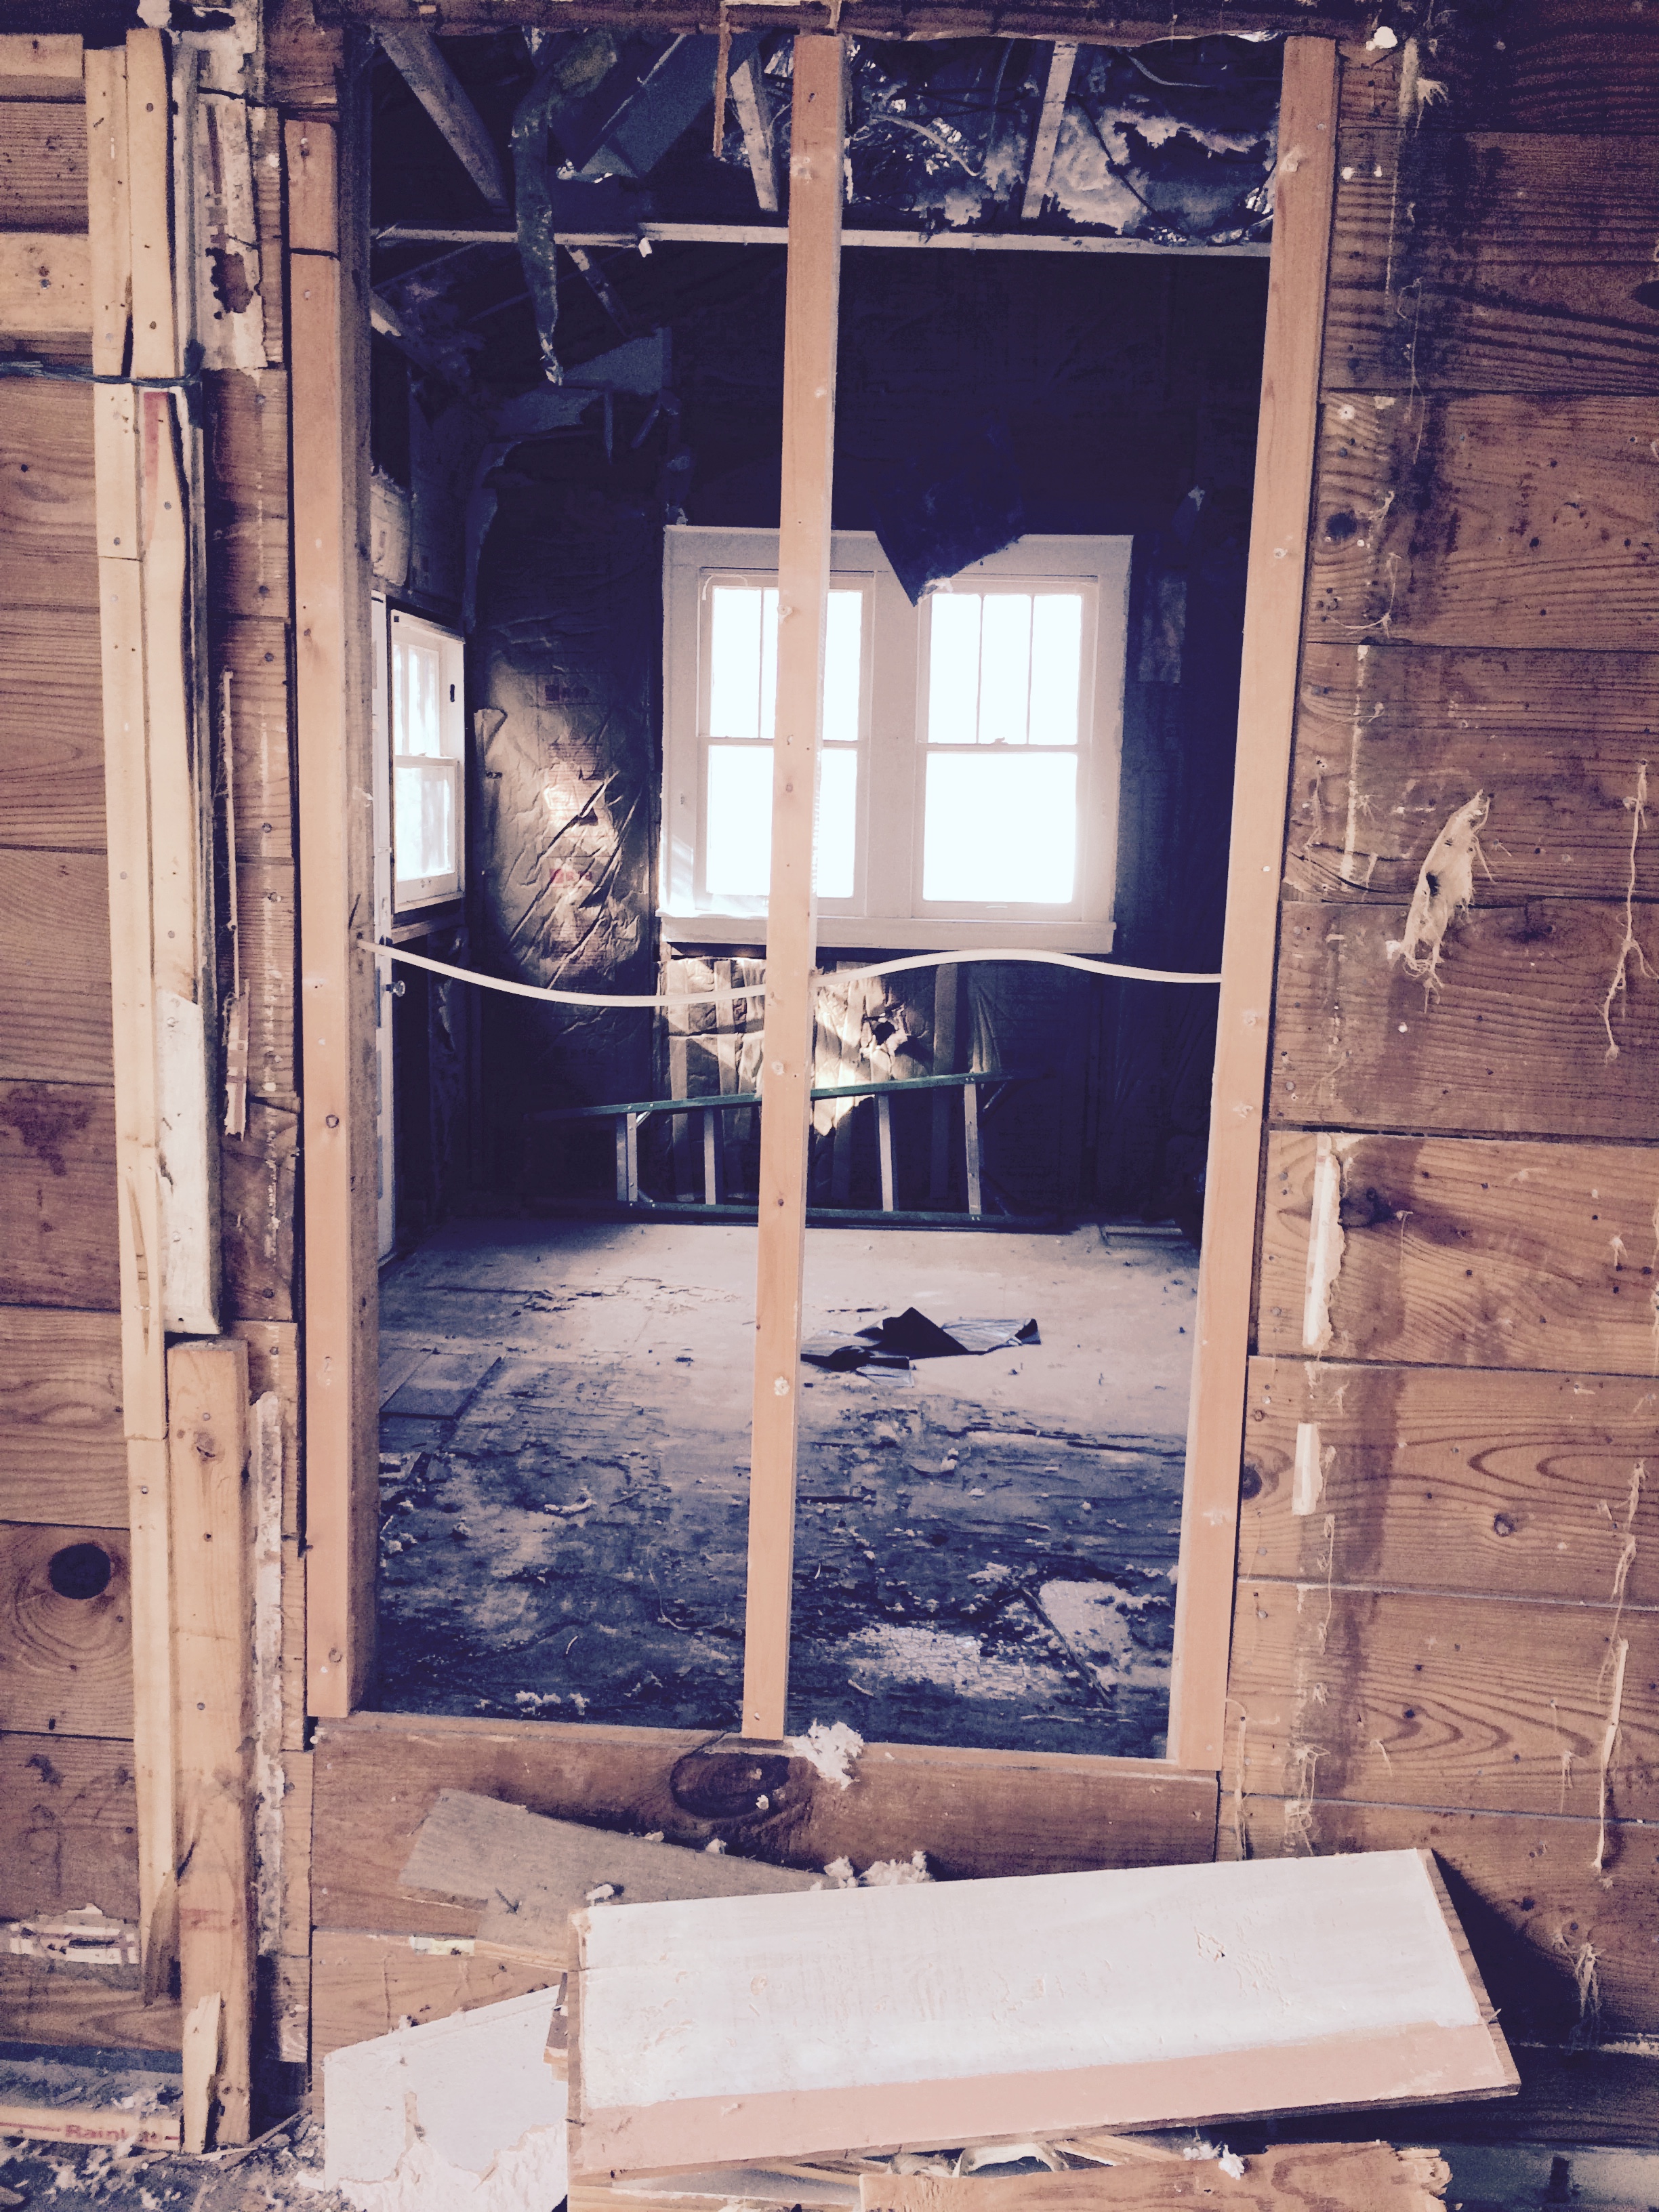
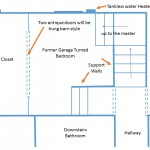
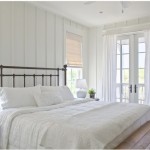
This wall/door didn’t exist before the renovation, but you would never know that. It looks like it is original to the house.
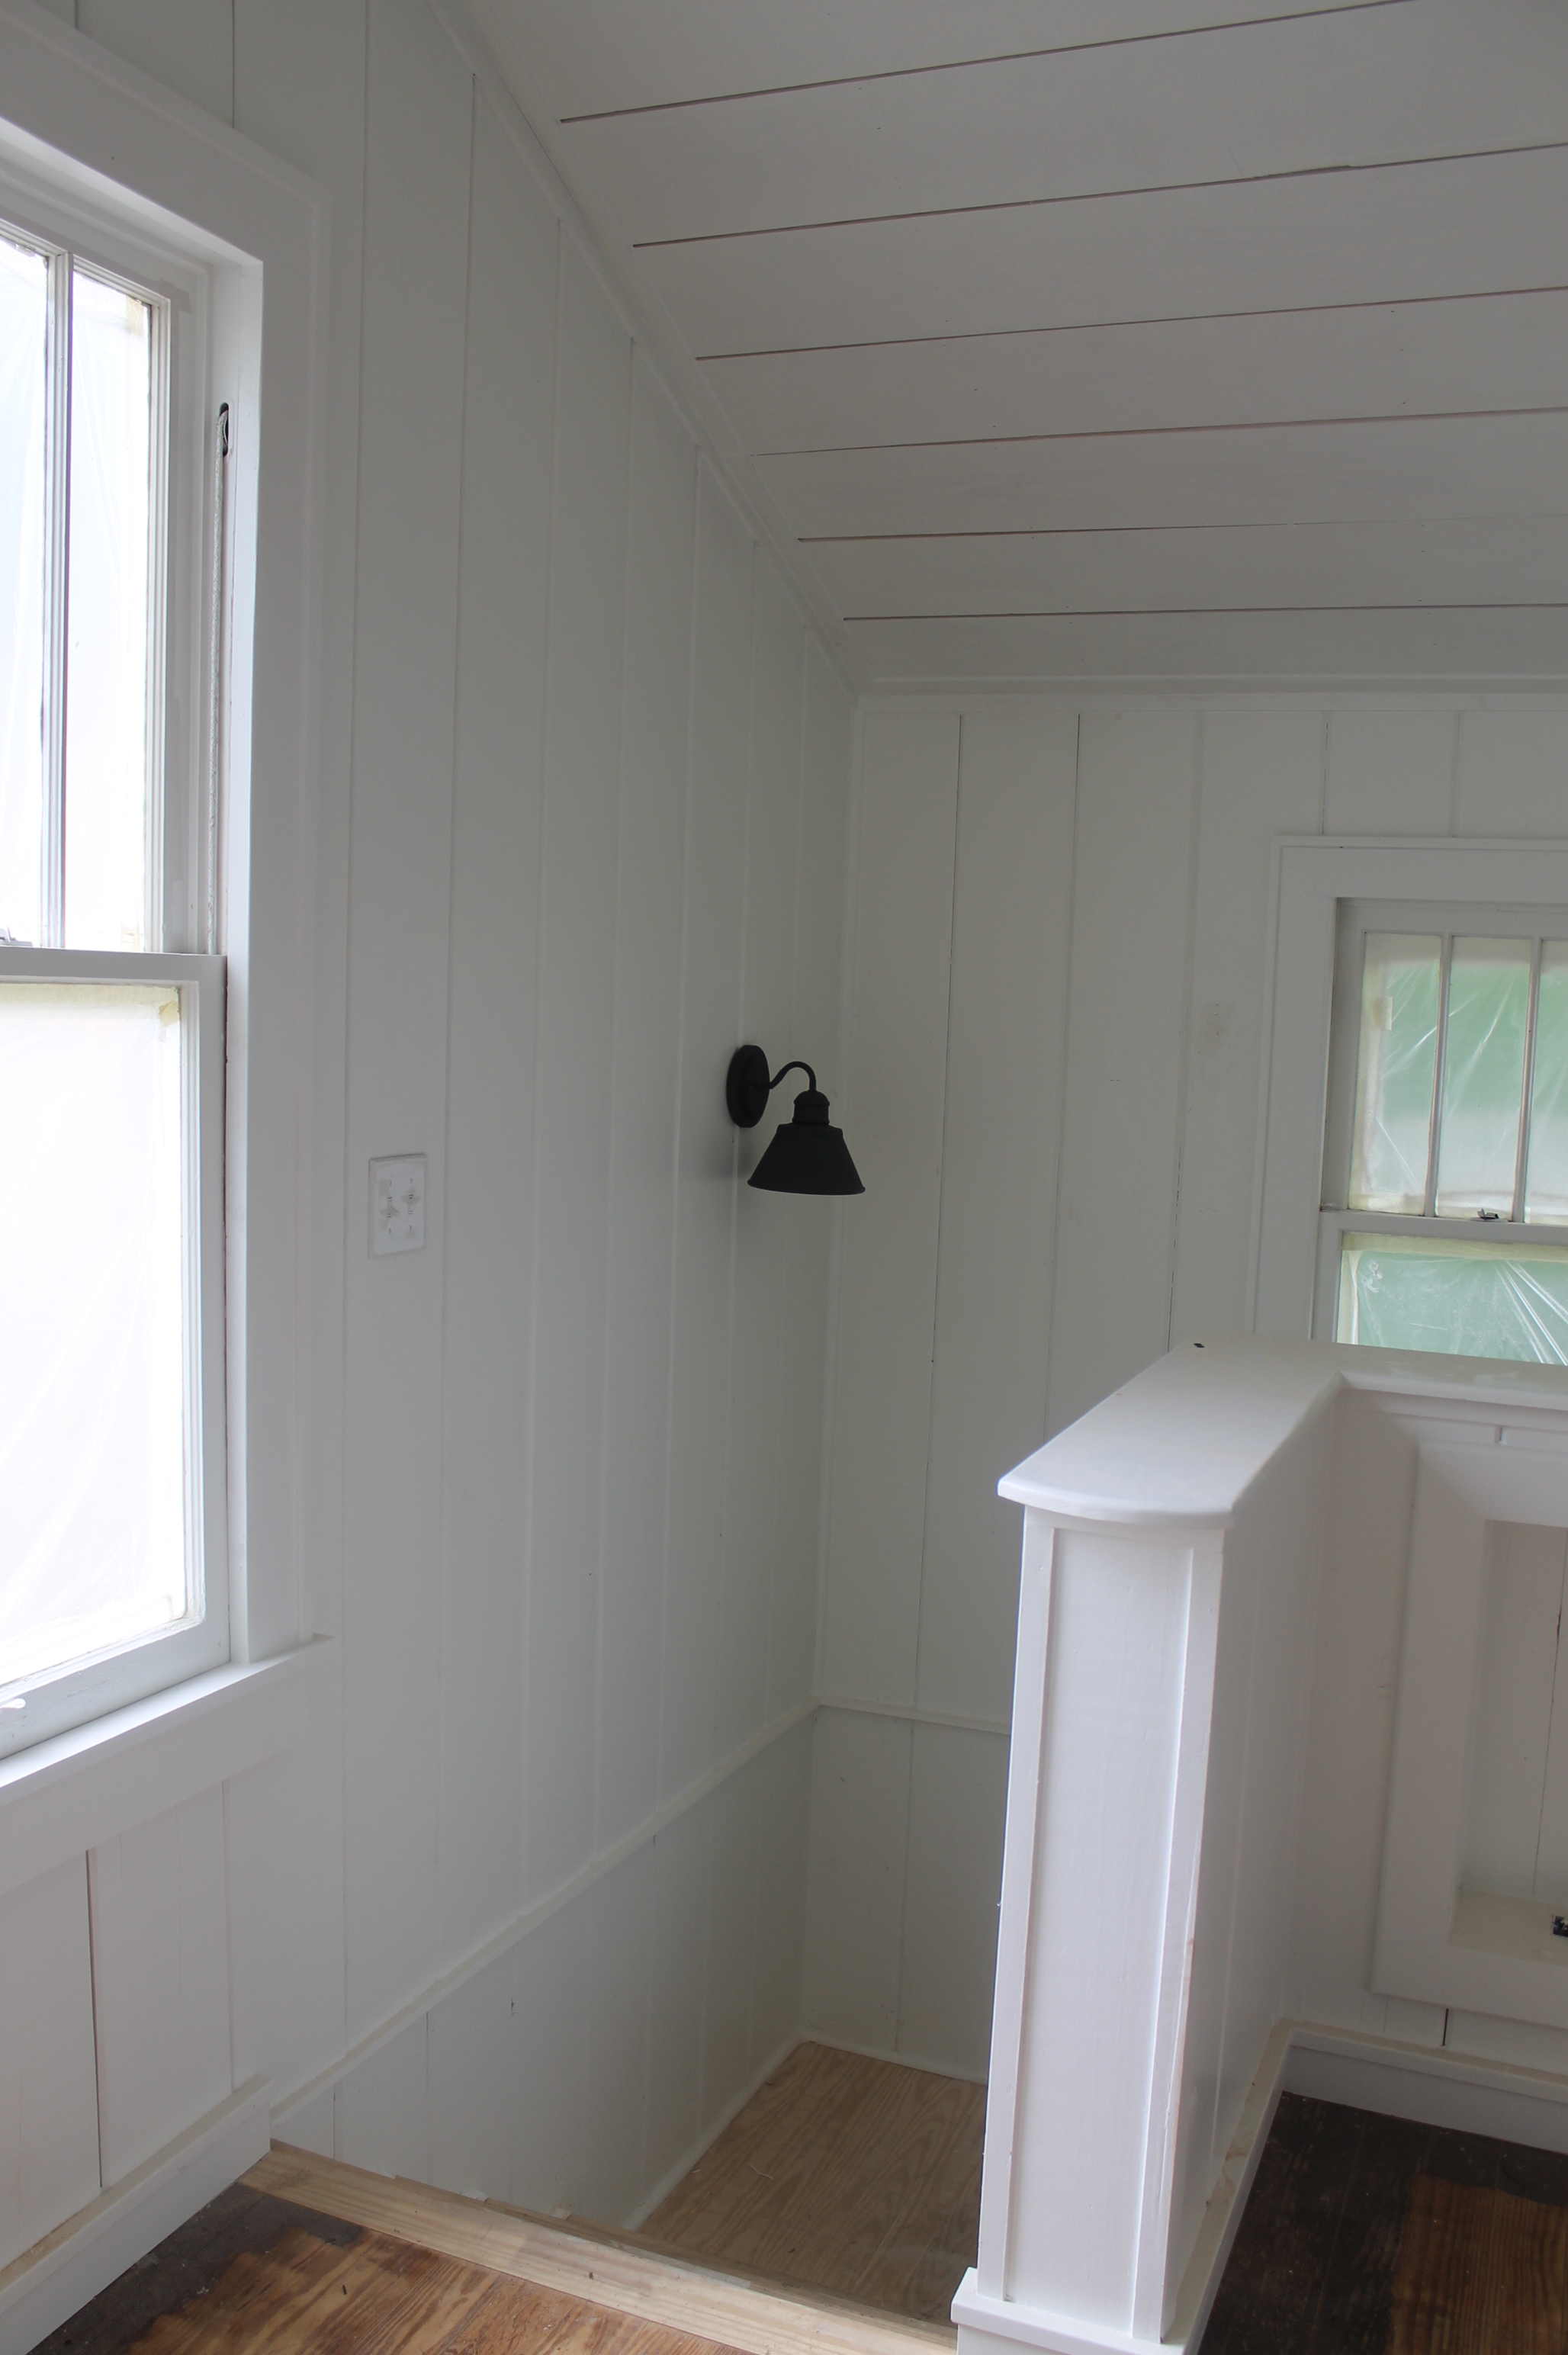
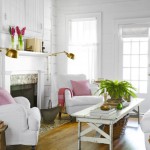
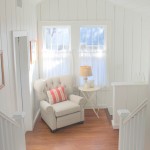
The interesting angles, windows and walls of an old house