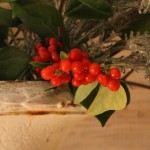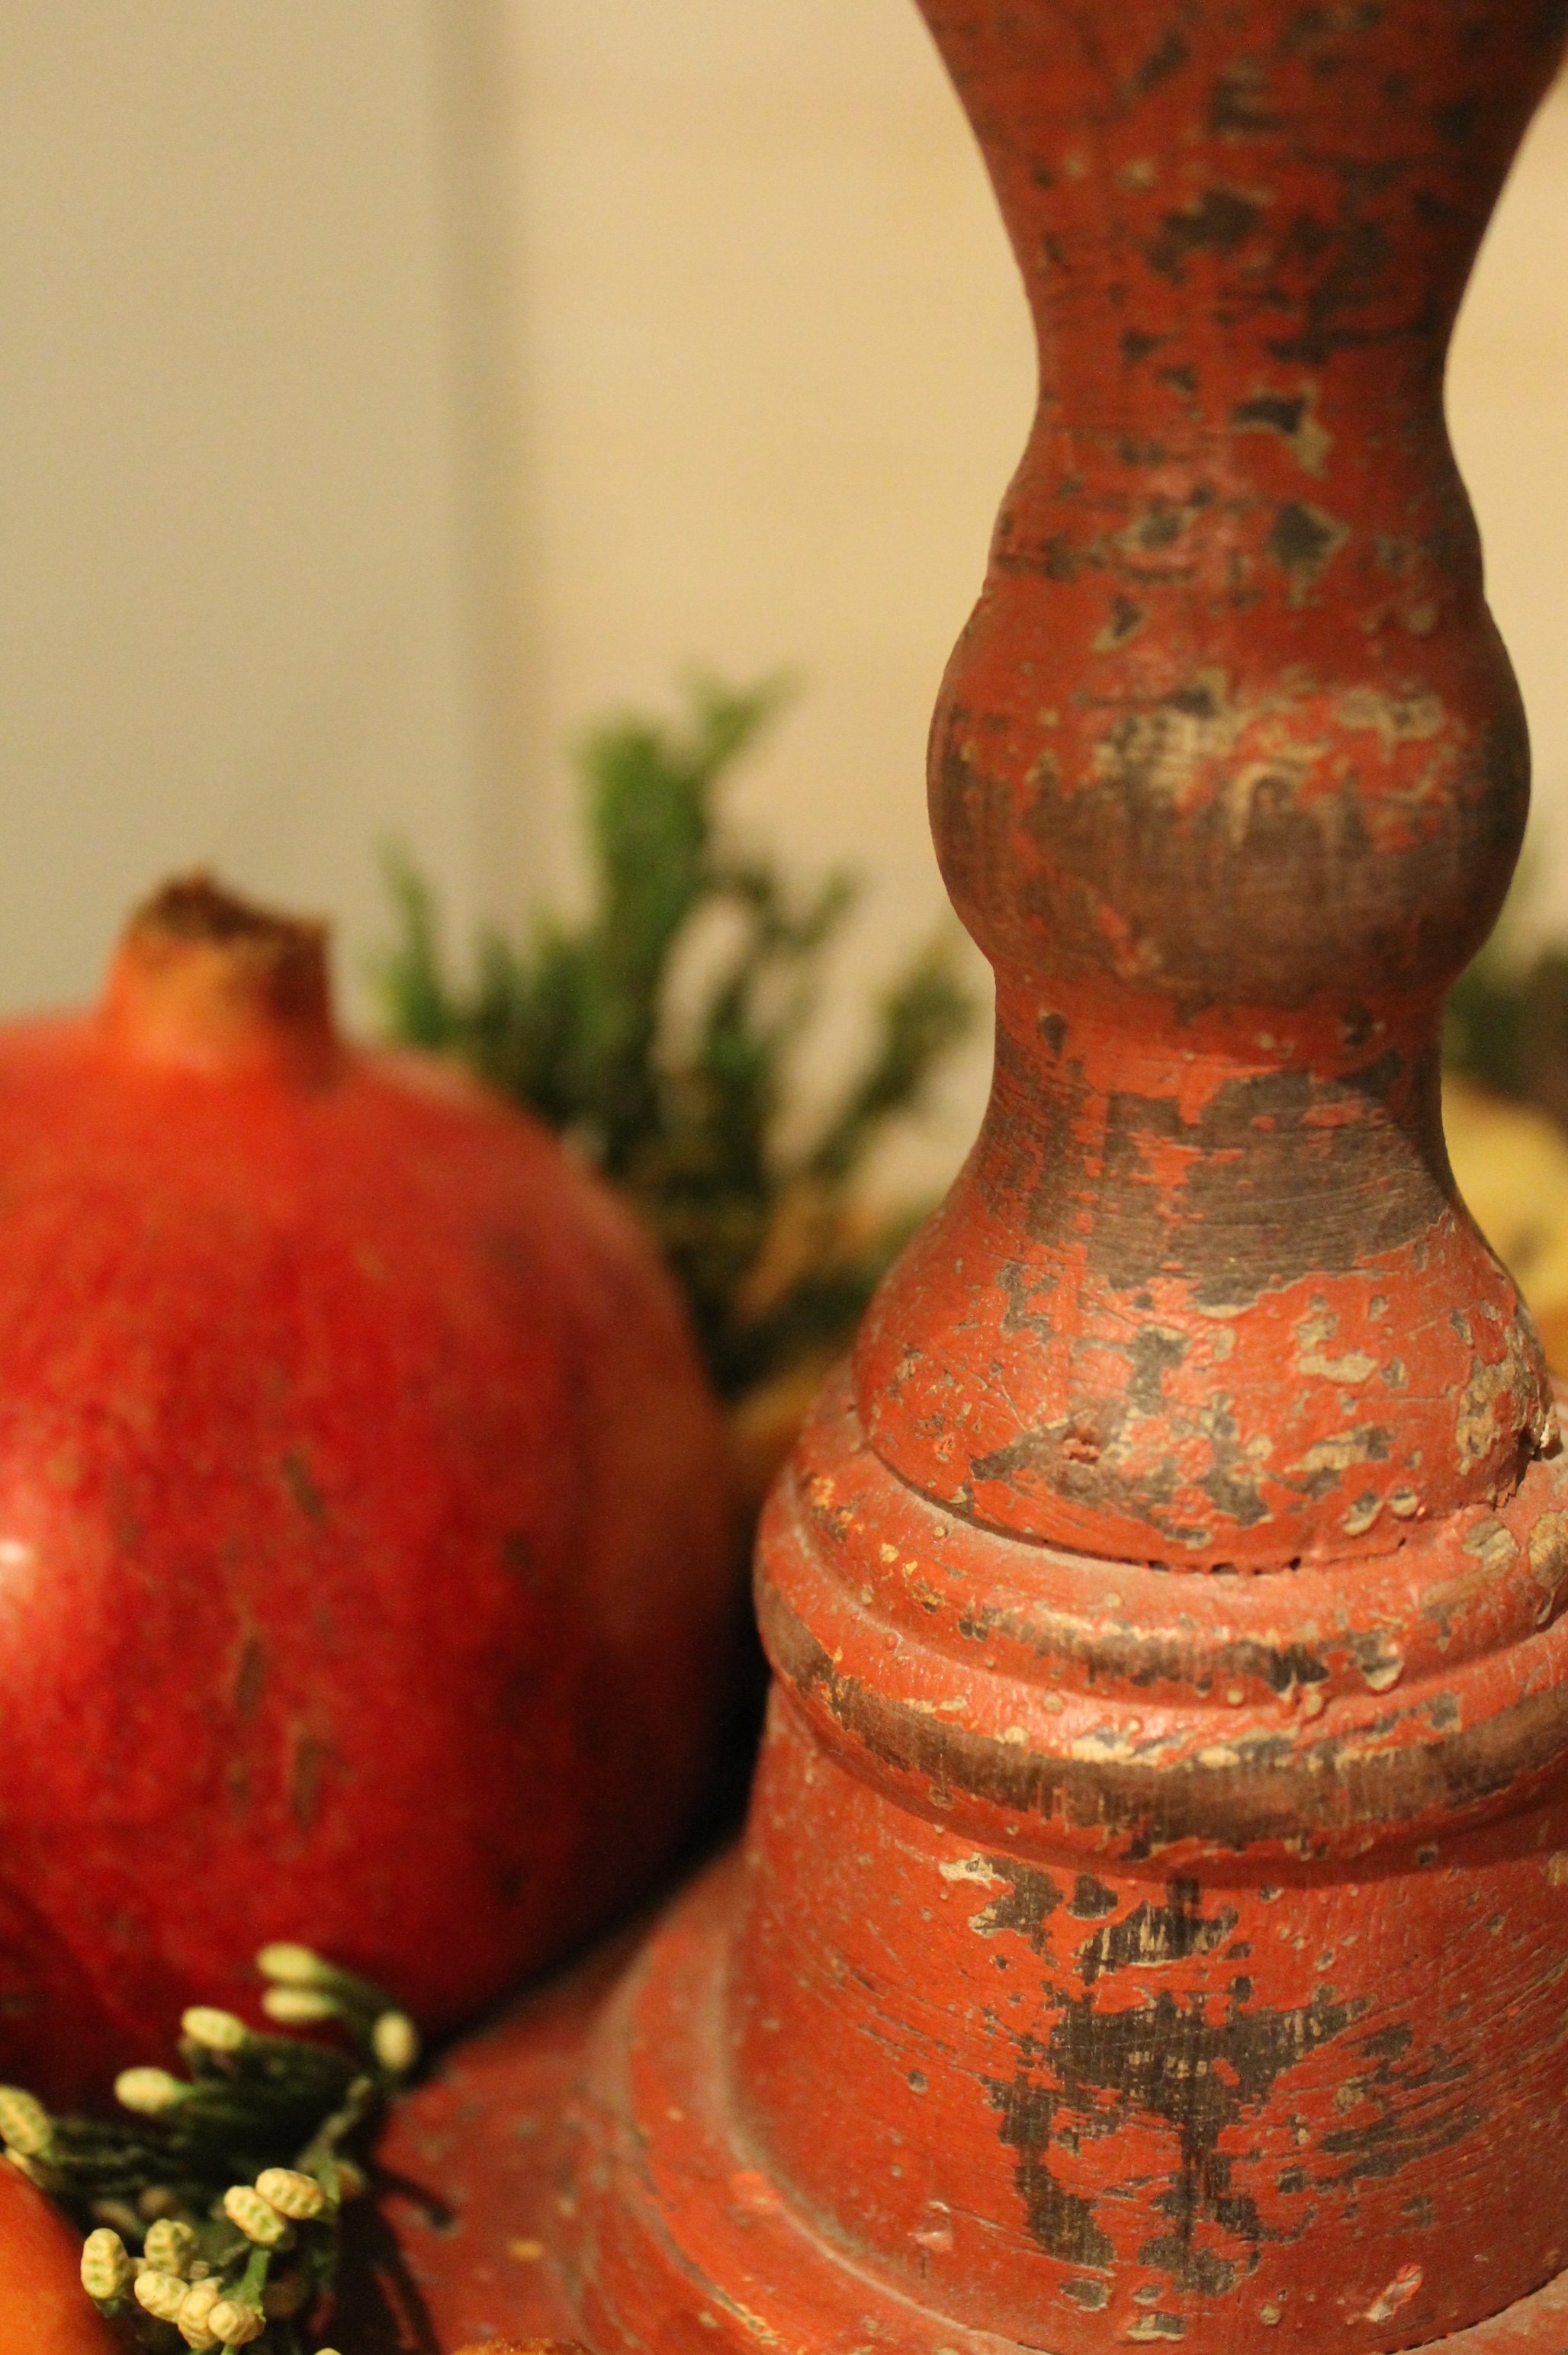
Distressed red is right at home for the holidays.
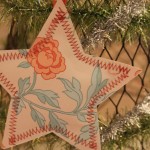
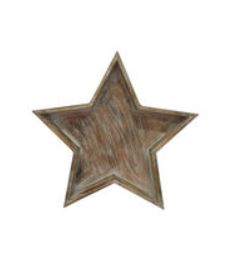
Stars are apparently my shape this year for Christmas. I found some furring strip stars at a local antique shop for my holiday kitchen. (see post here). I found some wood stars on my trip to the Round Top Antique show (see post here) that I will use to decorate. Lastly, I found some wood star shaped trays in graduated sizes that I thought would be great for a Christmas project.
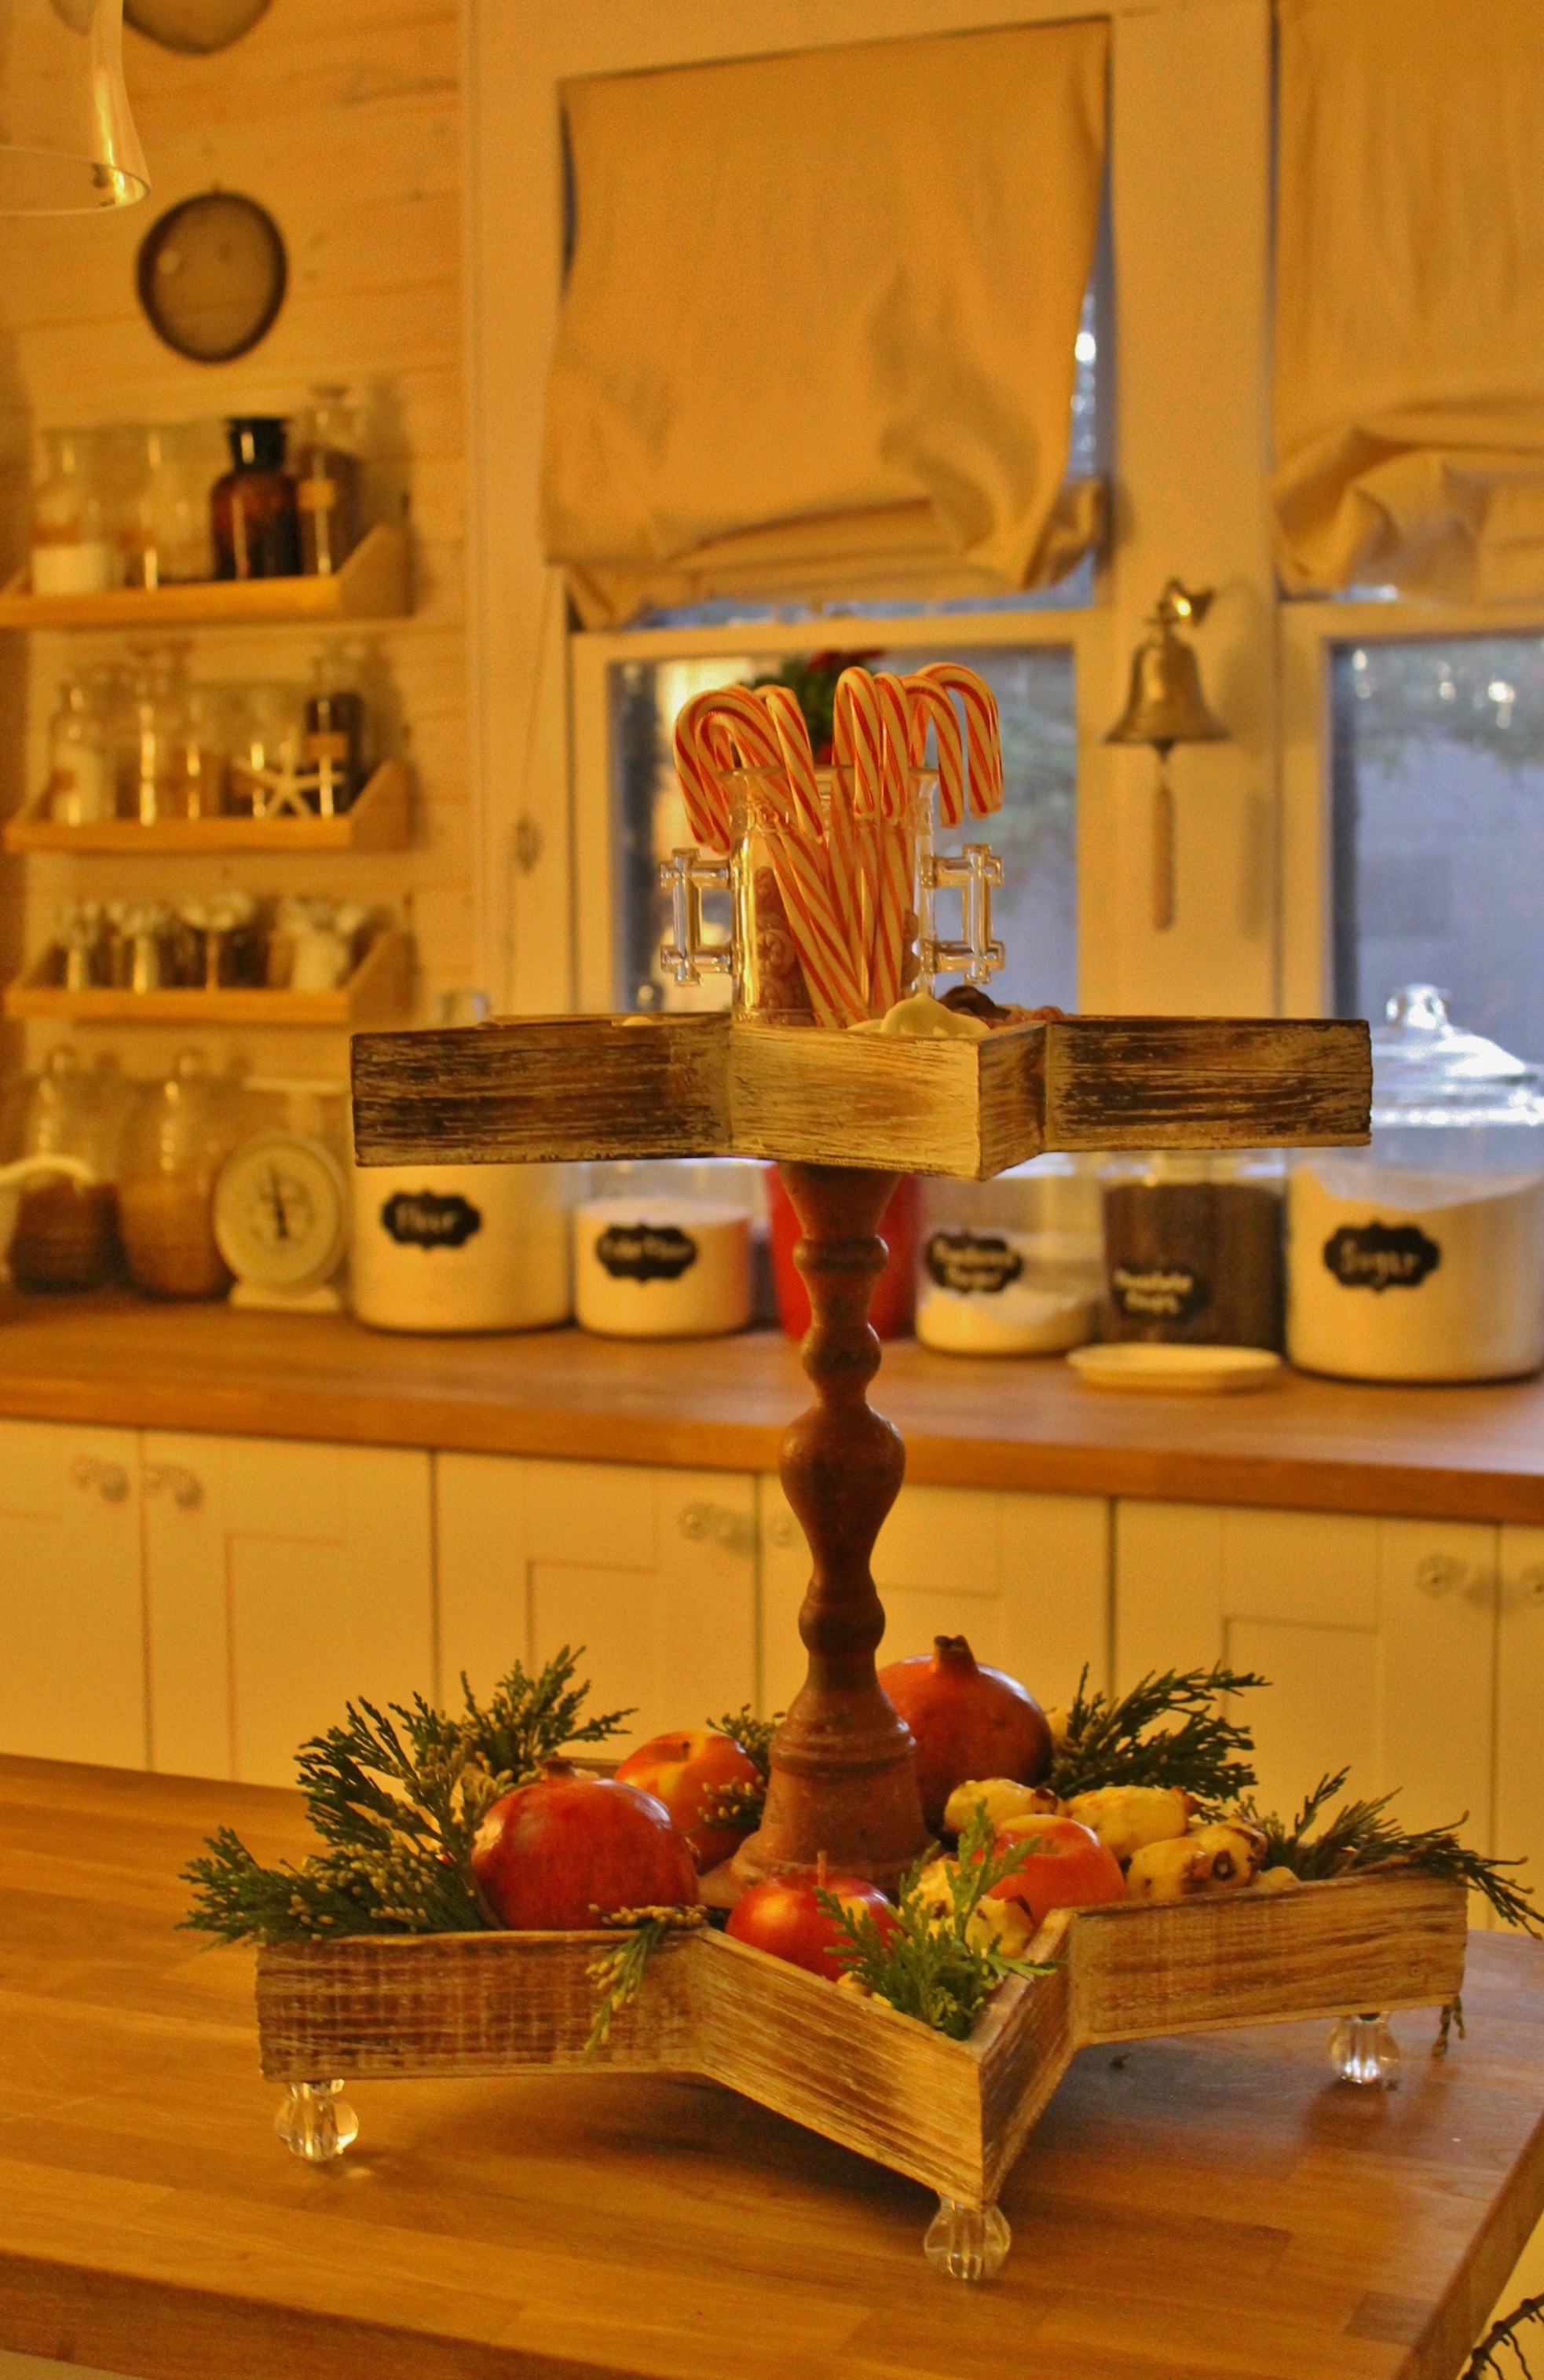
My project for this week is a tiered, star shaped tray. I imagine using it for every day display of seasonal fruits in my holiday kitchen or holding sweet treats and cookies for entertaining or perhaps holding silverware and napkin roll ups for a Christmas buffet. At any rate, a number of uses for the holiday and incredibly easy to make. It took less than fifteen minutes to make and that included the time needed for the epoxy to cure.
What you need:
medium and large star shaped trays from Joann.com
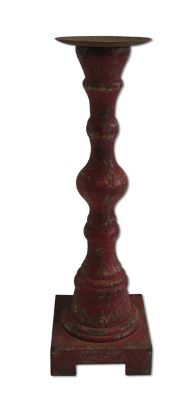
red, wood candle stick from Joann.com
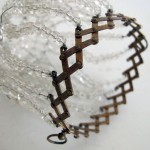
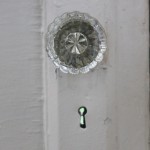
five vintage glass knobs (optional)
epoxy
From Joanns.com
From Joanns.com
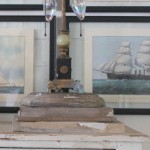
The assembly is pretty straight forward. I attached the candlestick to the smaller tray first and once the epoxy set, I attached the other end of the candlestick to the bottom, (or larger) tray and the vintage knobs for legs. I found that weighting everything down with a brick helps created a strong seal with the adhesive.
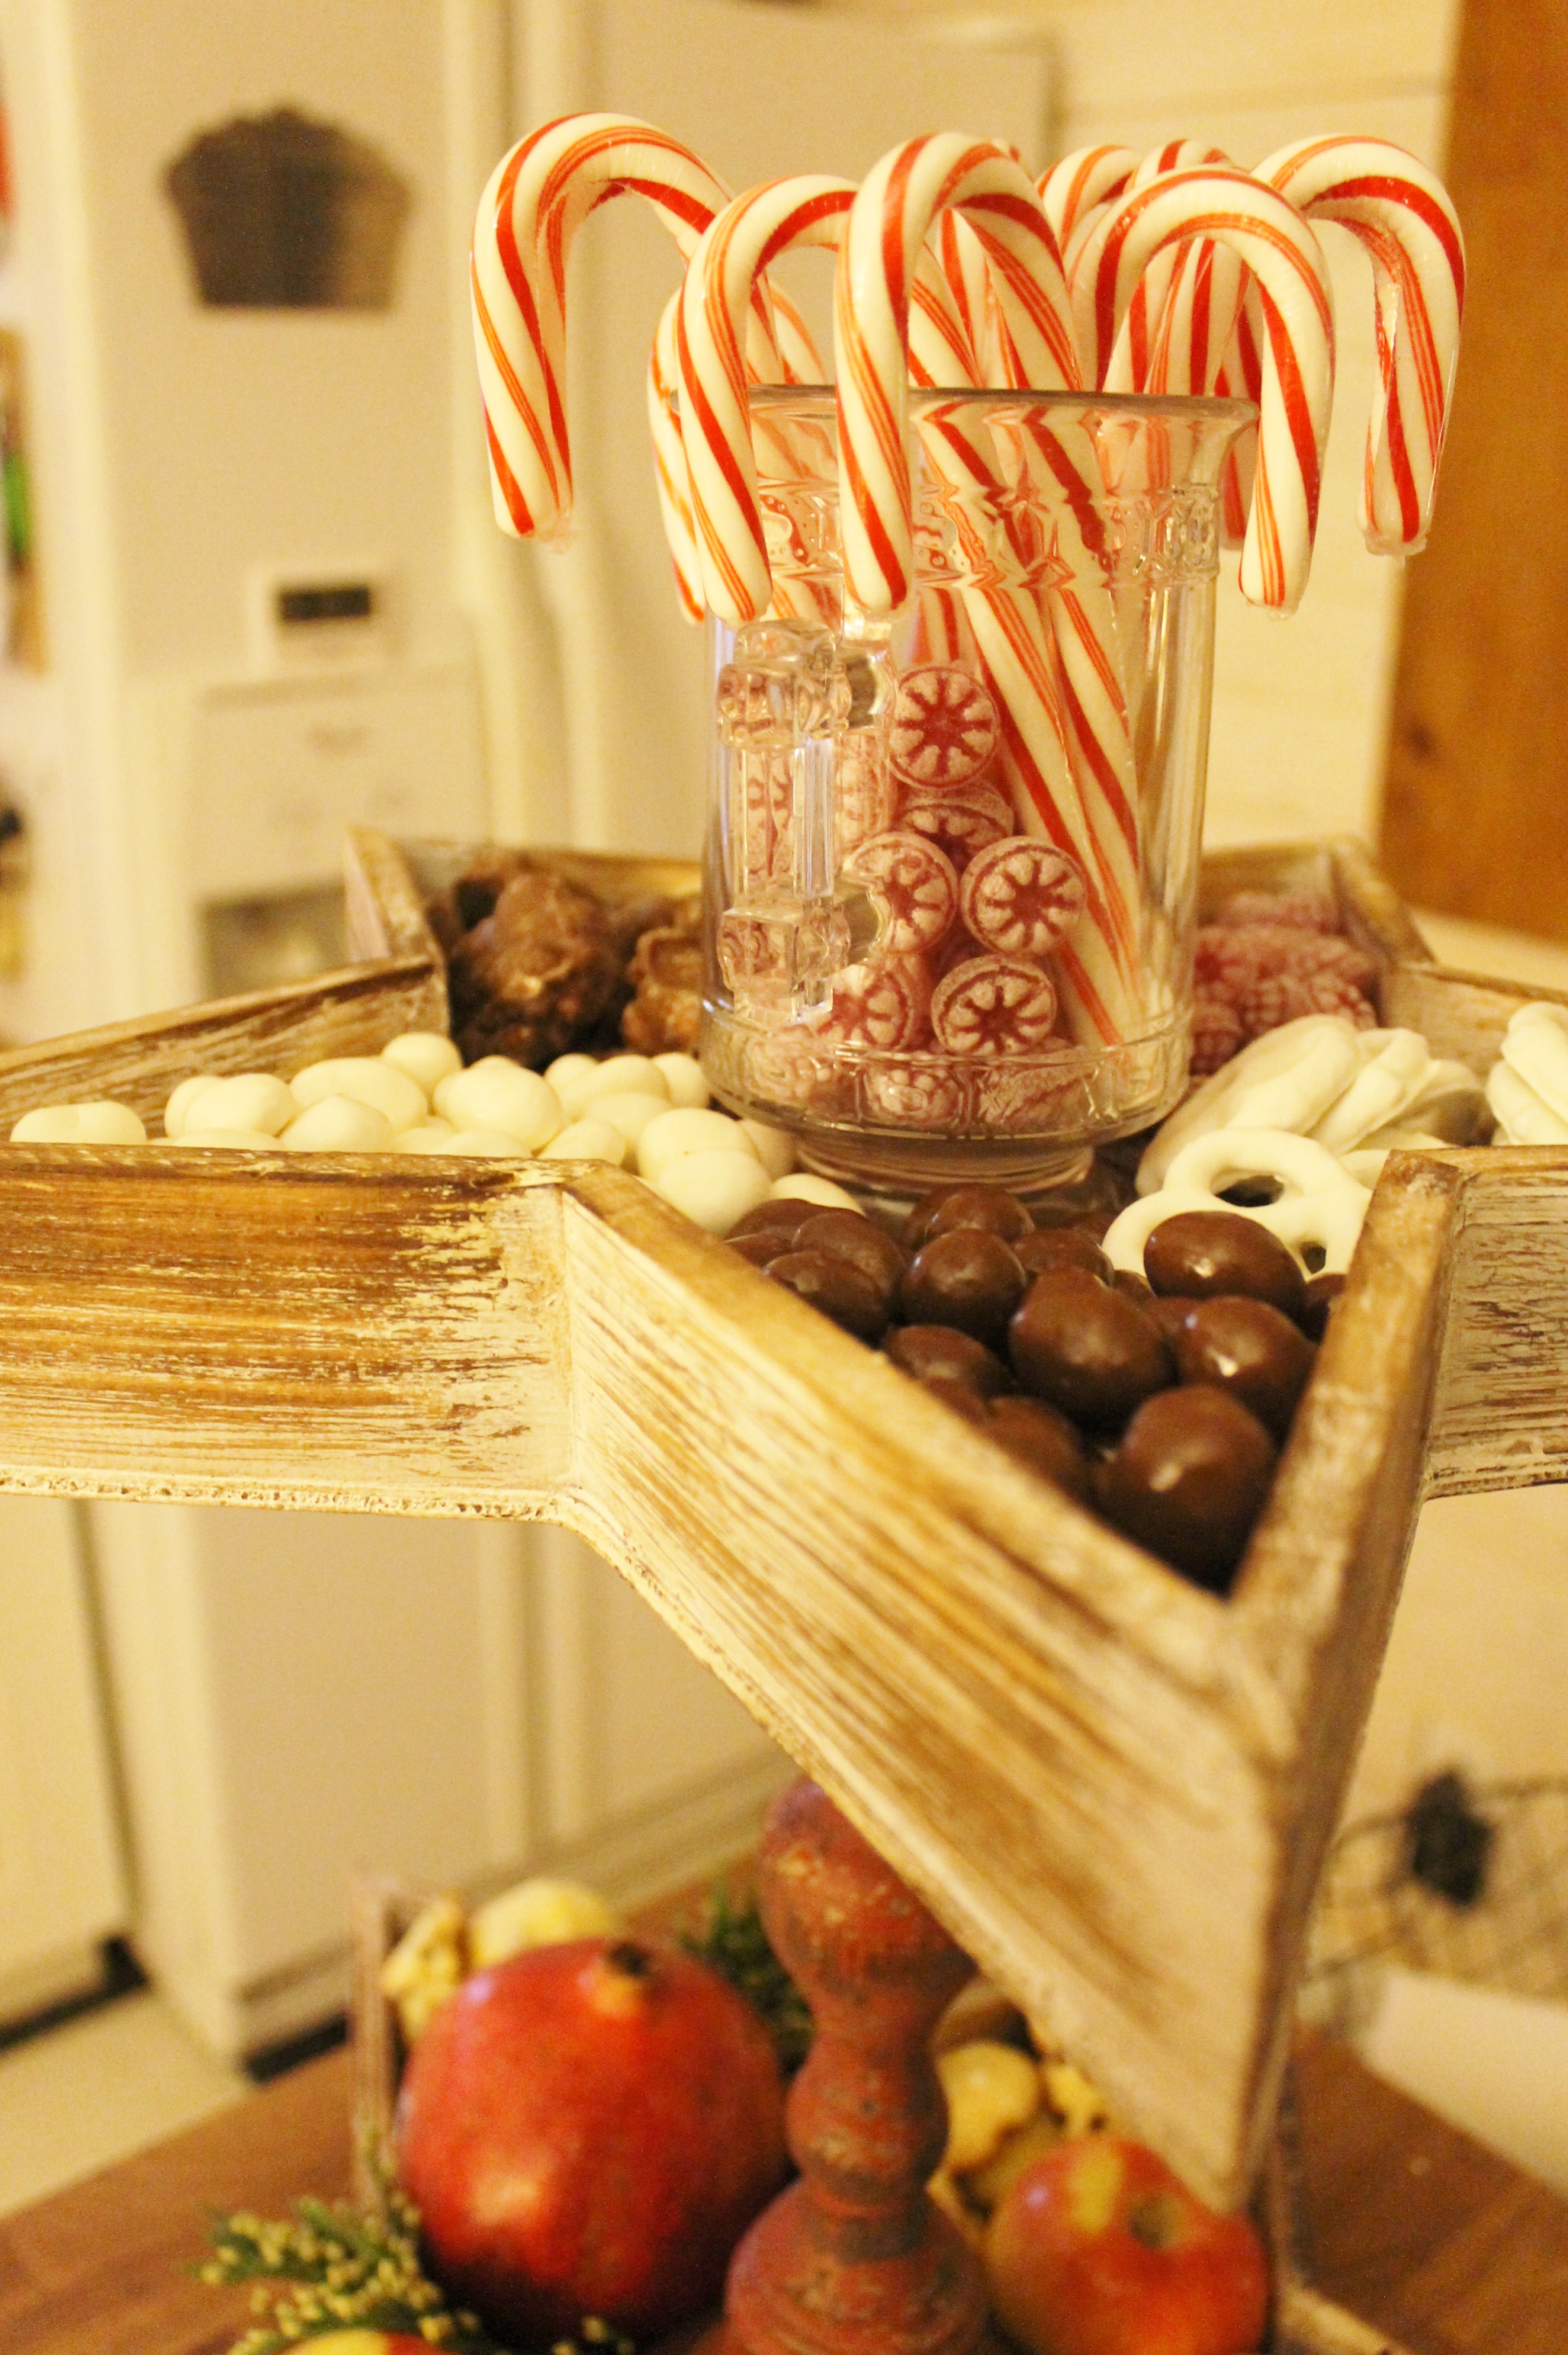
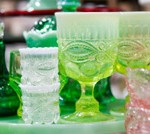
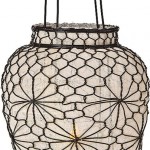
A vintage glass container helps top of the display with cheery candy canes.

Sweets are a natural choice to fill the Christmas Star Tiered tray.
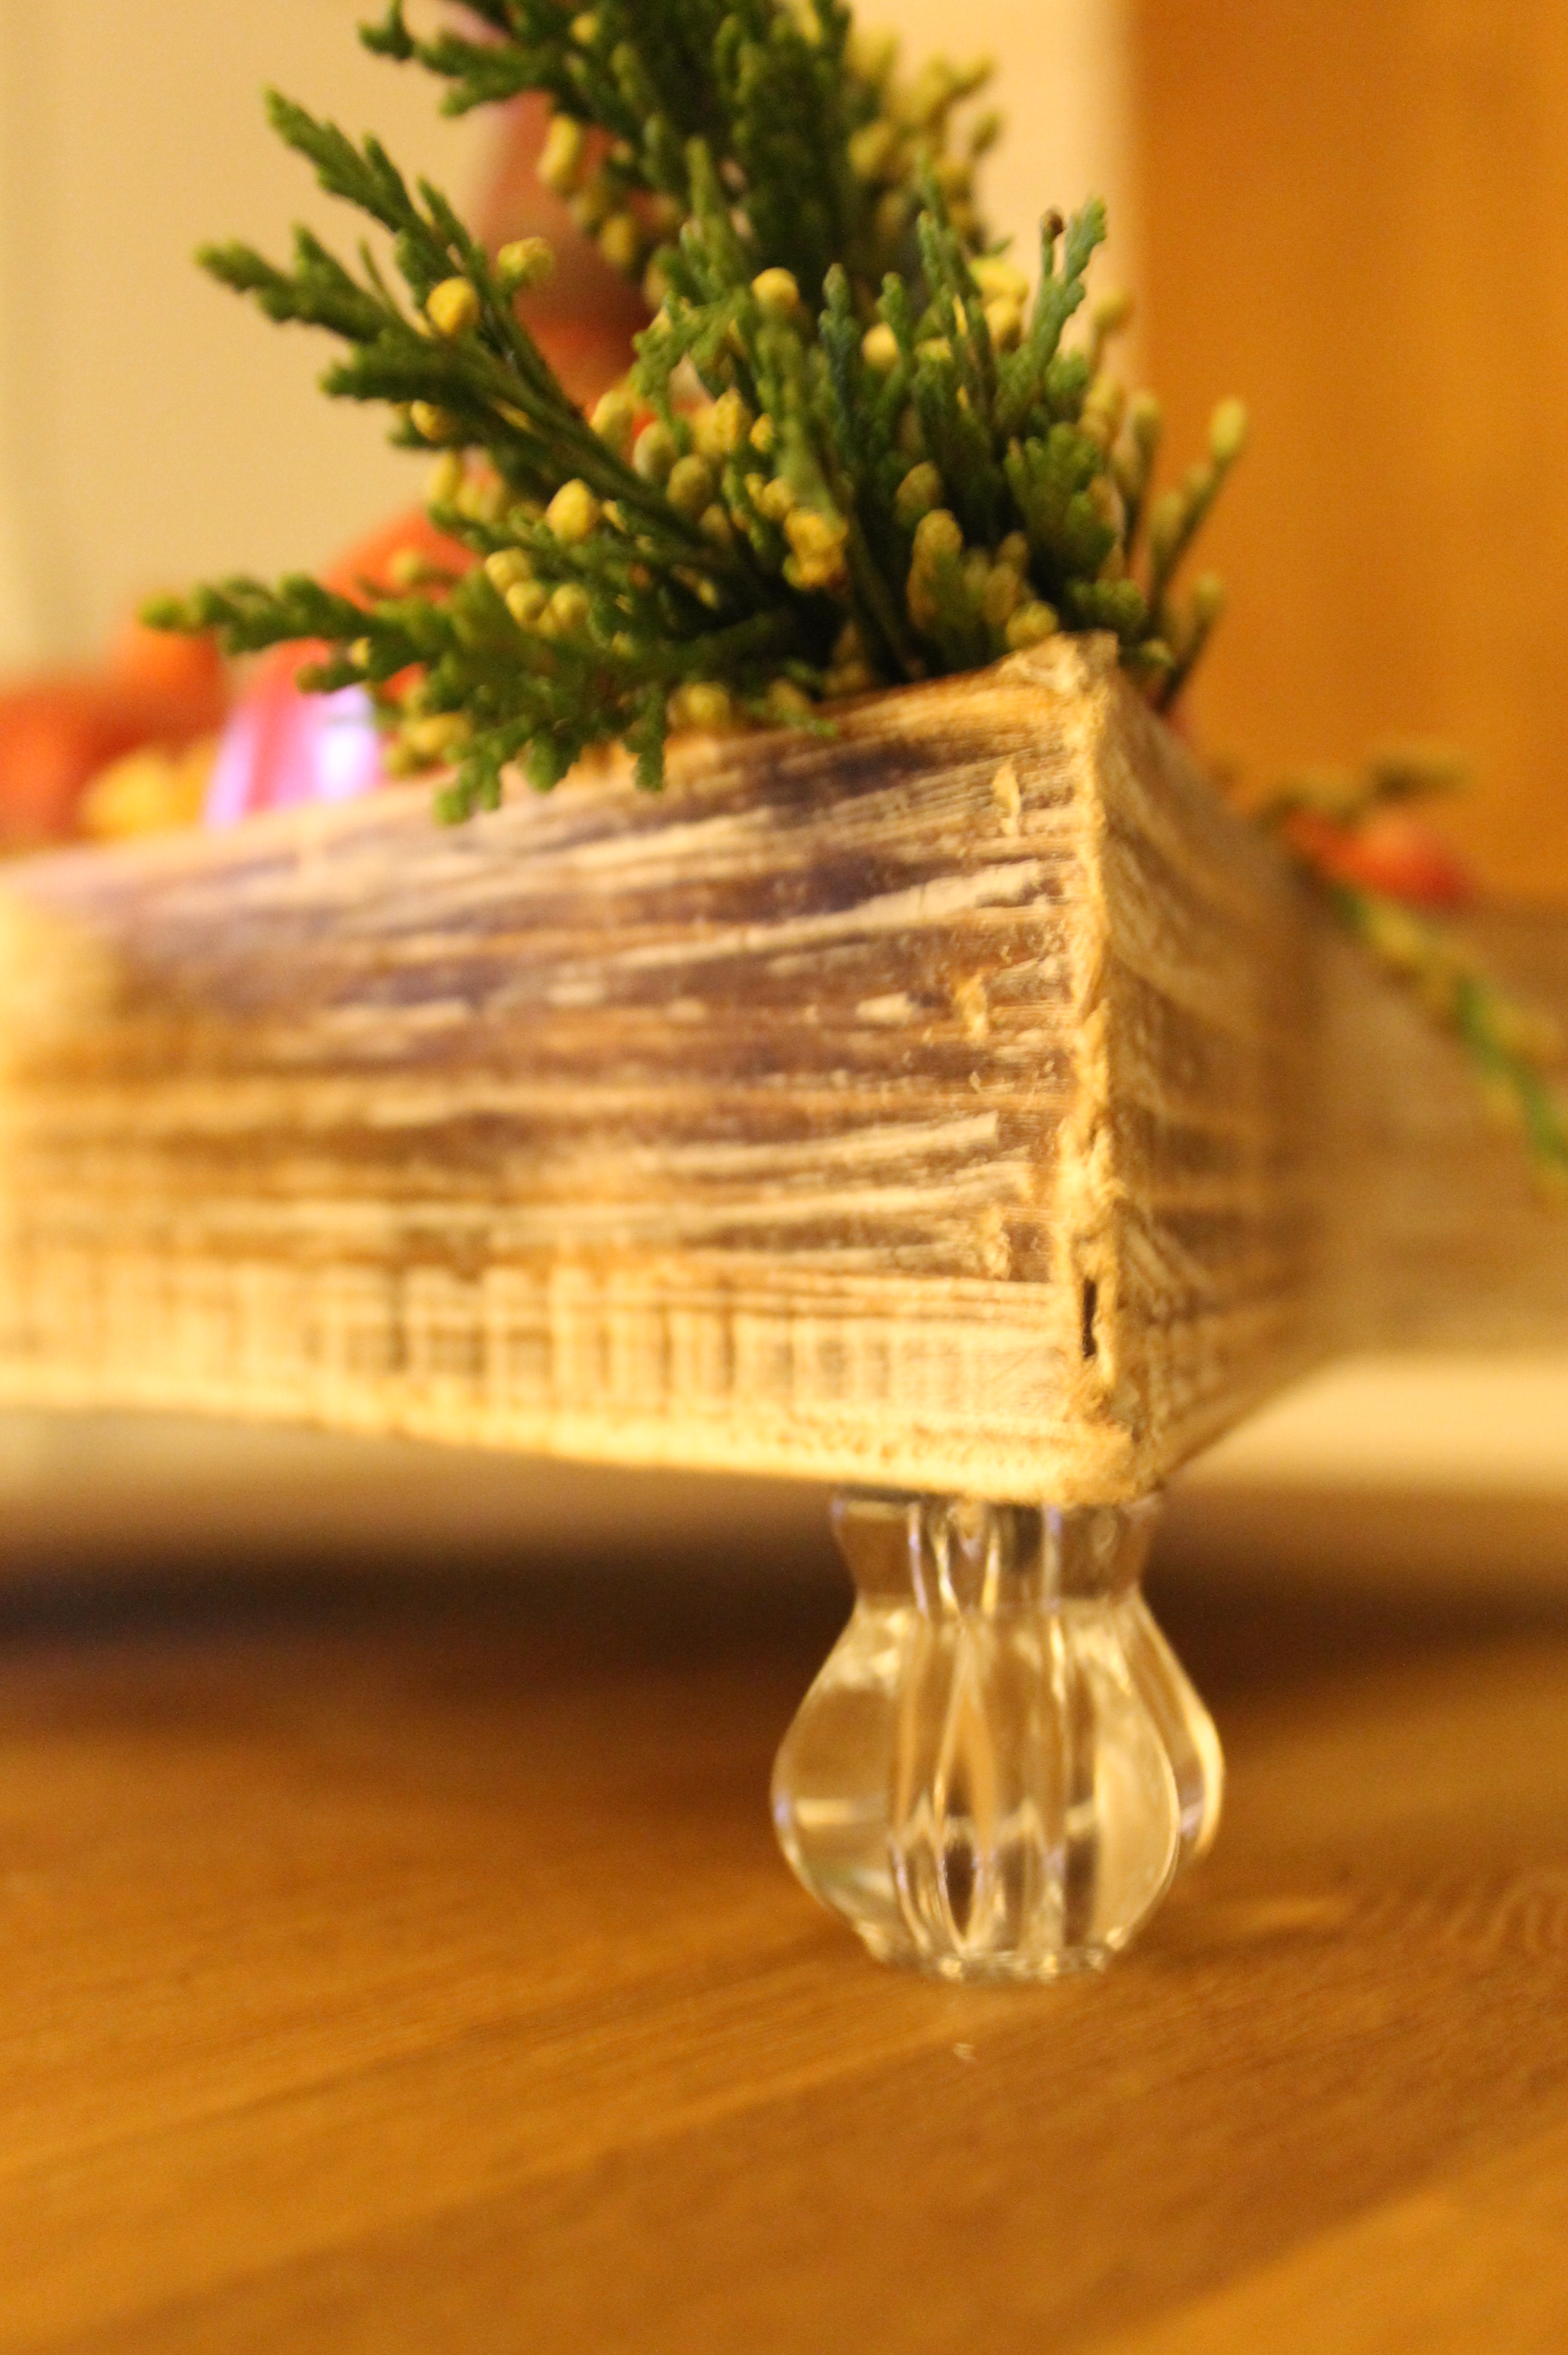
Although optional, the vintage glass knobs are a great way to finish and refine the project.
This easy project can be used a number of ways while entertaining for Christmas.