Cozy Niche.
I am a person who loves balance and symmetry. I am learning that one trick of design is getting balance through asymmetry. I am not quite good at it, but I am learning!
This re-design is really about one simple change that lent itself to an entire transformation….it has been staring at me for years and I missed it. It involved moving my dining room table from the middle of the room (symmetry) to one side of the room (asymmetry). By using two benches in a window seat fashion, it allowed me to tuck the table into the corner of the room and create a more open space, improve the traffic flow and have a more intimate and comfortable dining area.
Here is a rundown of what I did during this re-design:
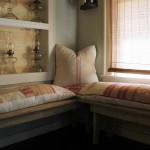
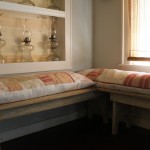
- Benches. The benches used for the window seat were handcrafted by a local artisan. I had them custom made to mimic the seat depth and height of a normal chair. The decision to build the benches with the same dimensions of a chair made all the difference in the world in making the benches very comfortable. (if you are interested in custom benches, please email me from the “contact me” page and I will give you the artisan’s contact information)
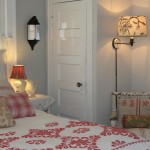
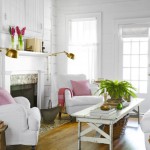
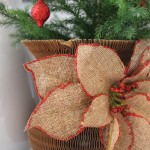
- Cushions. Another opportunity to add the vintage touch, I used old quilts for cushion covers and filled them with down. The cushions are very comfortable and along with the throw pillows, make the dining niche very comfy and cozy. They really invite you to linger and use the table for reading and computer work.
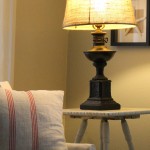
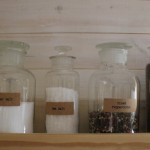
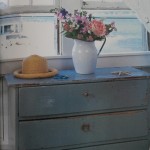
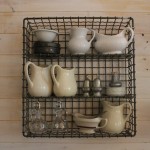
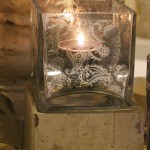
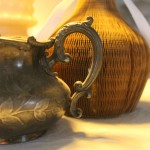
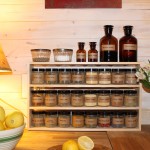
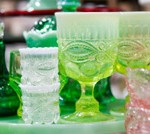
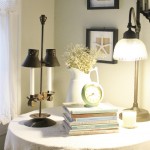
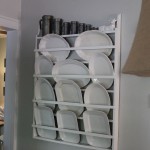
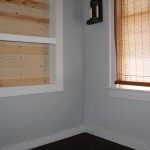
- Collections. A design trick is to group collections or use repetition to create impact. So I used the various built in shelves to showcase my antique oil lamp collection, vintage compotes and milk glass.
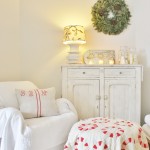
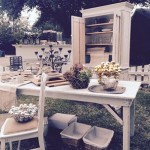
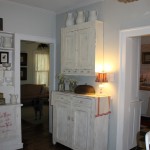
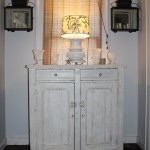
- Storage. I was able to add an antique wall cabinet that I had sitting in my garage for flair and extra storage.
- Cost. The total cost for this redesign was the cost for the benches, which was very, very reasonable. Other than the benches, everything else were items that I had: oil lamps, milk glass, pillows, wall cabinet, antique and vintage small wares and fabric and stuffing for bench cushions.
I hope you enjoy the transformation and find some inspiration for your space!
Always,
Cindy
Here are the pictures:
Remember to click twice to bigify!
-
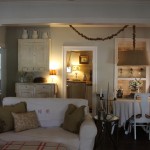
- Full View. Balance thru Asymetry.
-
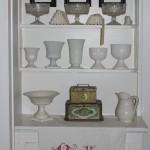
- Built In – After.
-
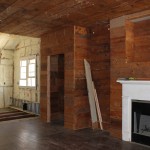
- Built In – Before.
-
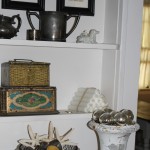
- Ironstone Display Area – After.
-
- Ironstone Display Area – Before.
-

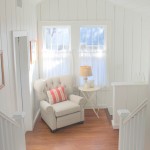
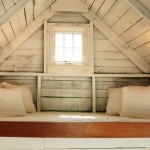
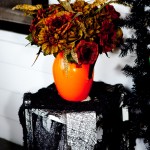
- Cozy Niche.
-
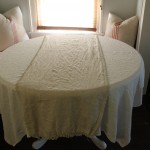
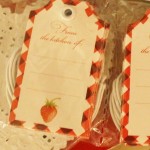
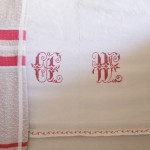
- Layering In – Family Heirloom Runner.
-
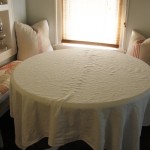
- Layering In – Vintage Table Cloth.
-
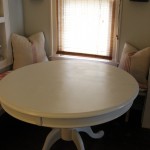
- Layering In – Table.
-
- Layering In – Vintage Pillows.
-
- Layering In – Cushions from Old Quilts.
-
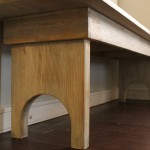
- Layering In – Bench.
-
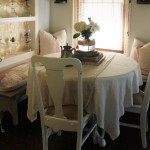
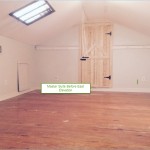
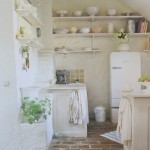
- New Dining Area – After.
-
- New Dining Corner.
-
- Dining Niche – Before.