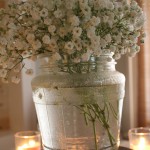
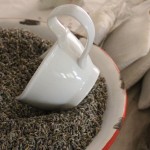
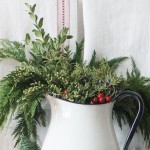
Fresh Greens in an Enamel Pitcher
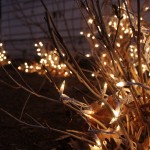
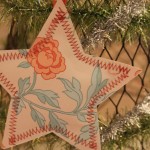
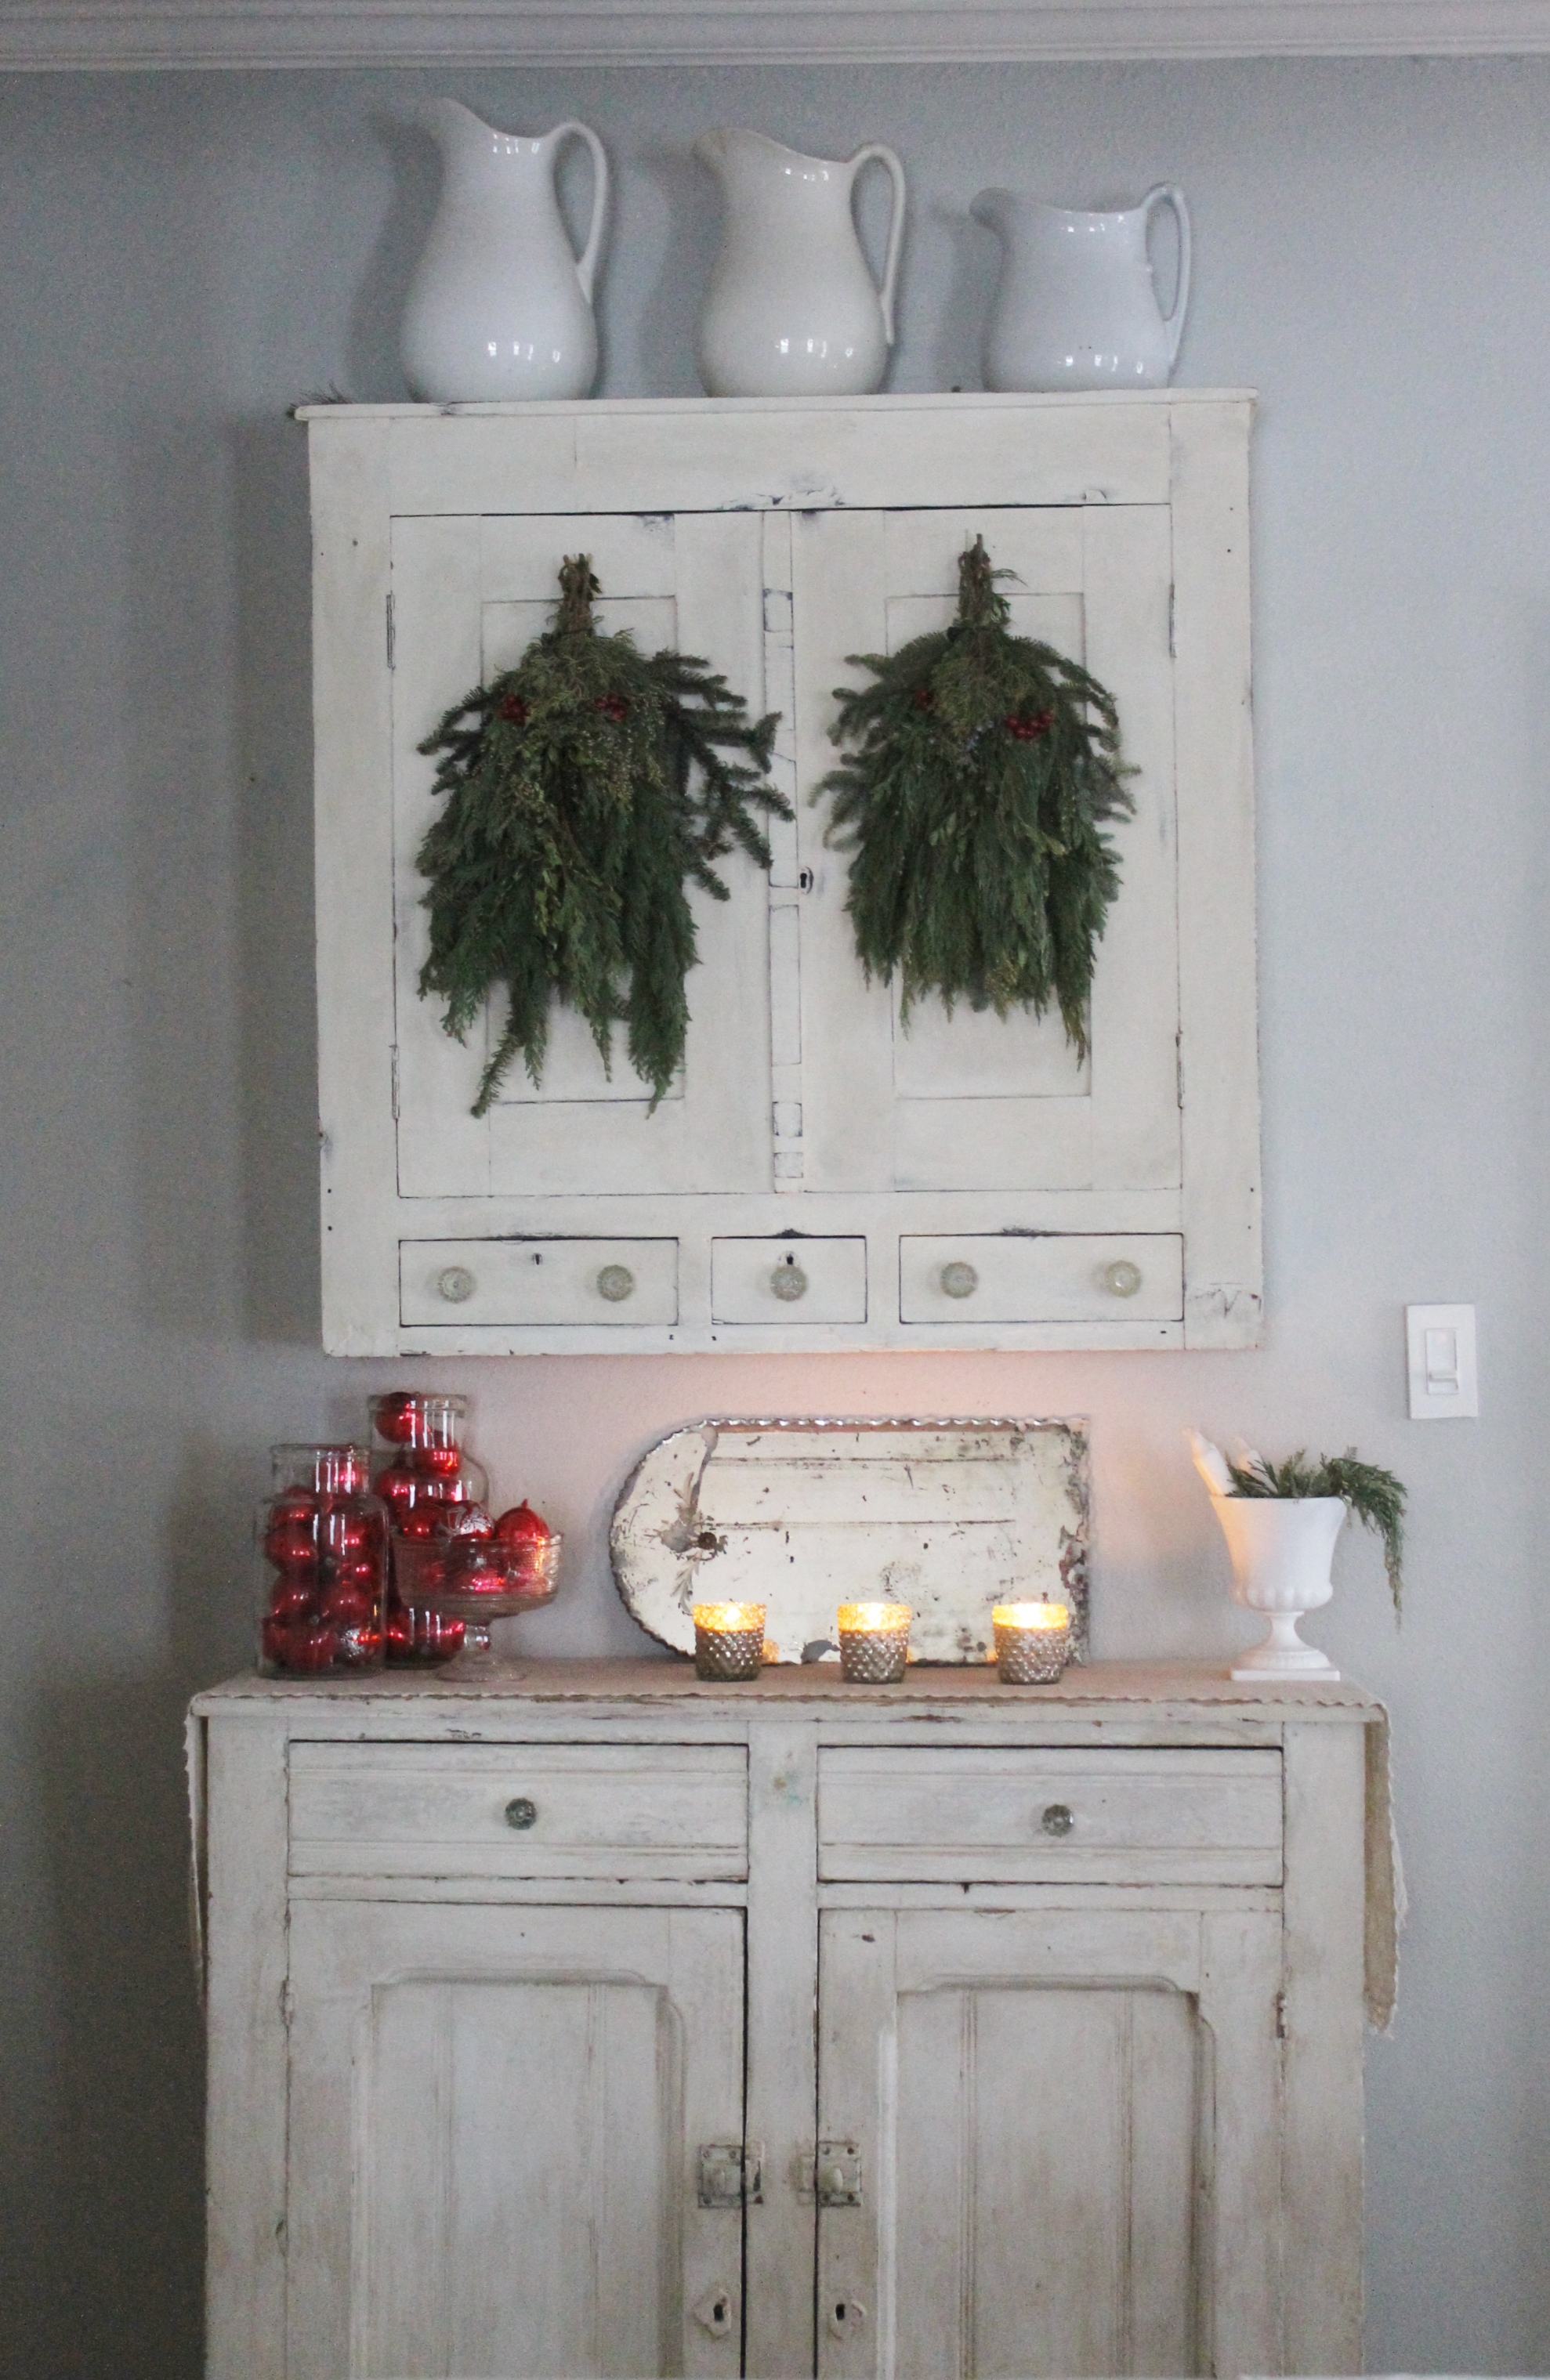
I make a promise to myself every year: I pick a weekend to do my decorating, inside and out and what doesn’t get done on that weekend, doesn’t get done. This was the first year I kept that promise and it is largely because I kept things simple: fresh greens tucked here and there, a smattering of twinkly lights, my favorite Trapp Holiday candles and a few groupings of my favorite vintage ornaments. I found it refreshingly stress free…and that really was the point of the plan. Now I can coast and focus on baking!
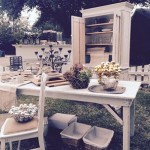
When the weather improves, I’ll share photos of the exterior. For now, here are some vignettes from inside my home.
I hope your find some inspiration.
Always,
Cindy
xoxo
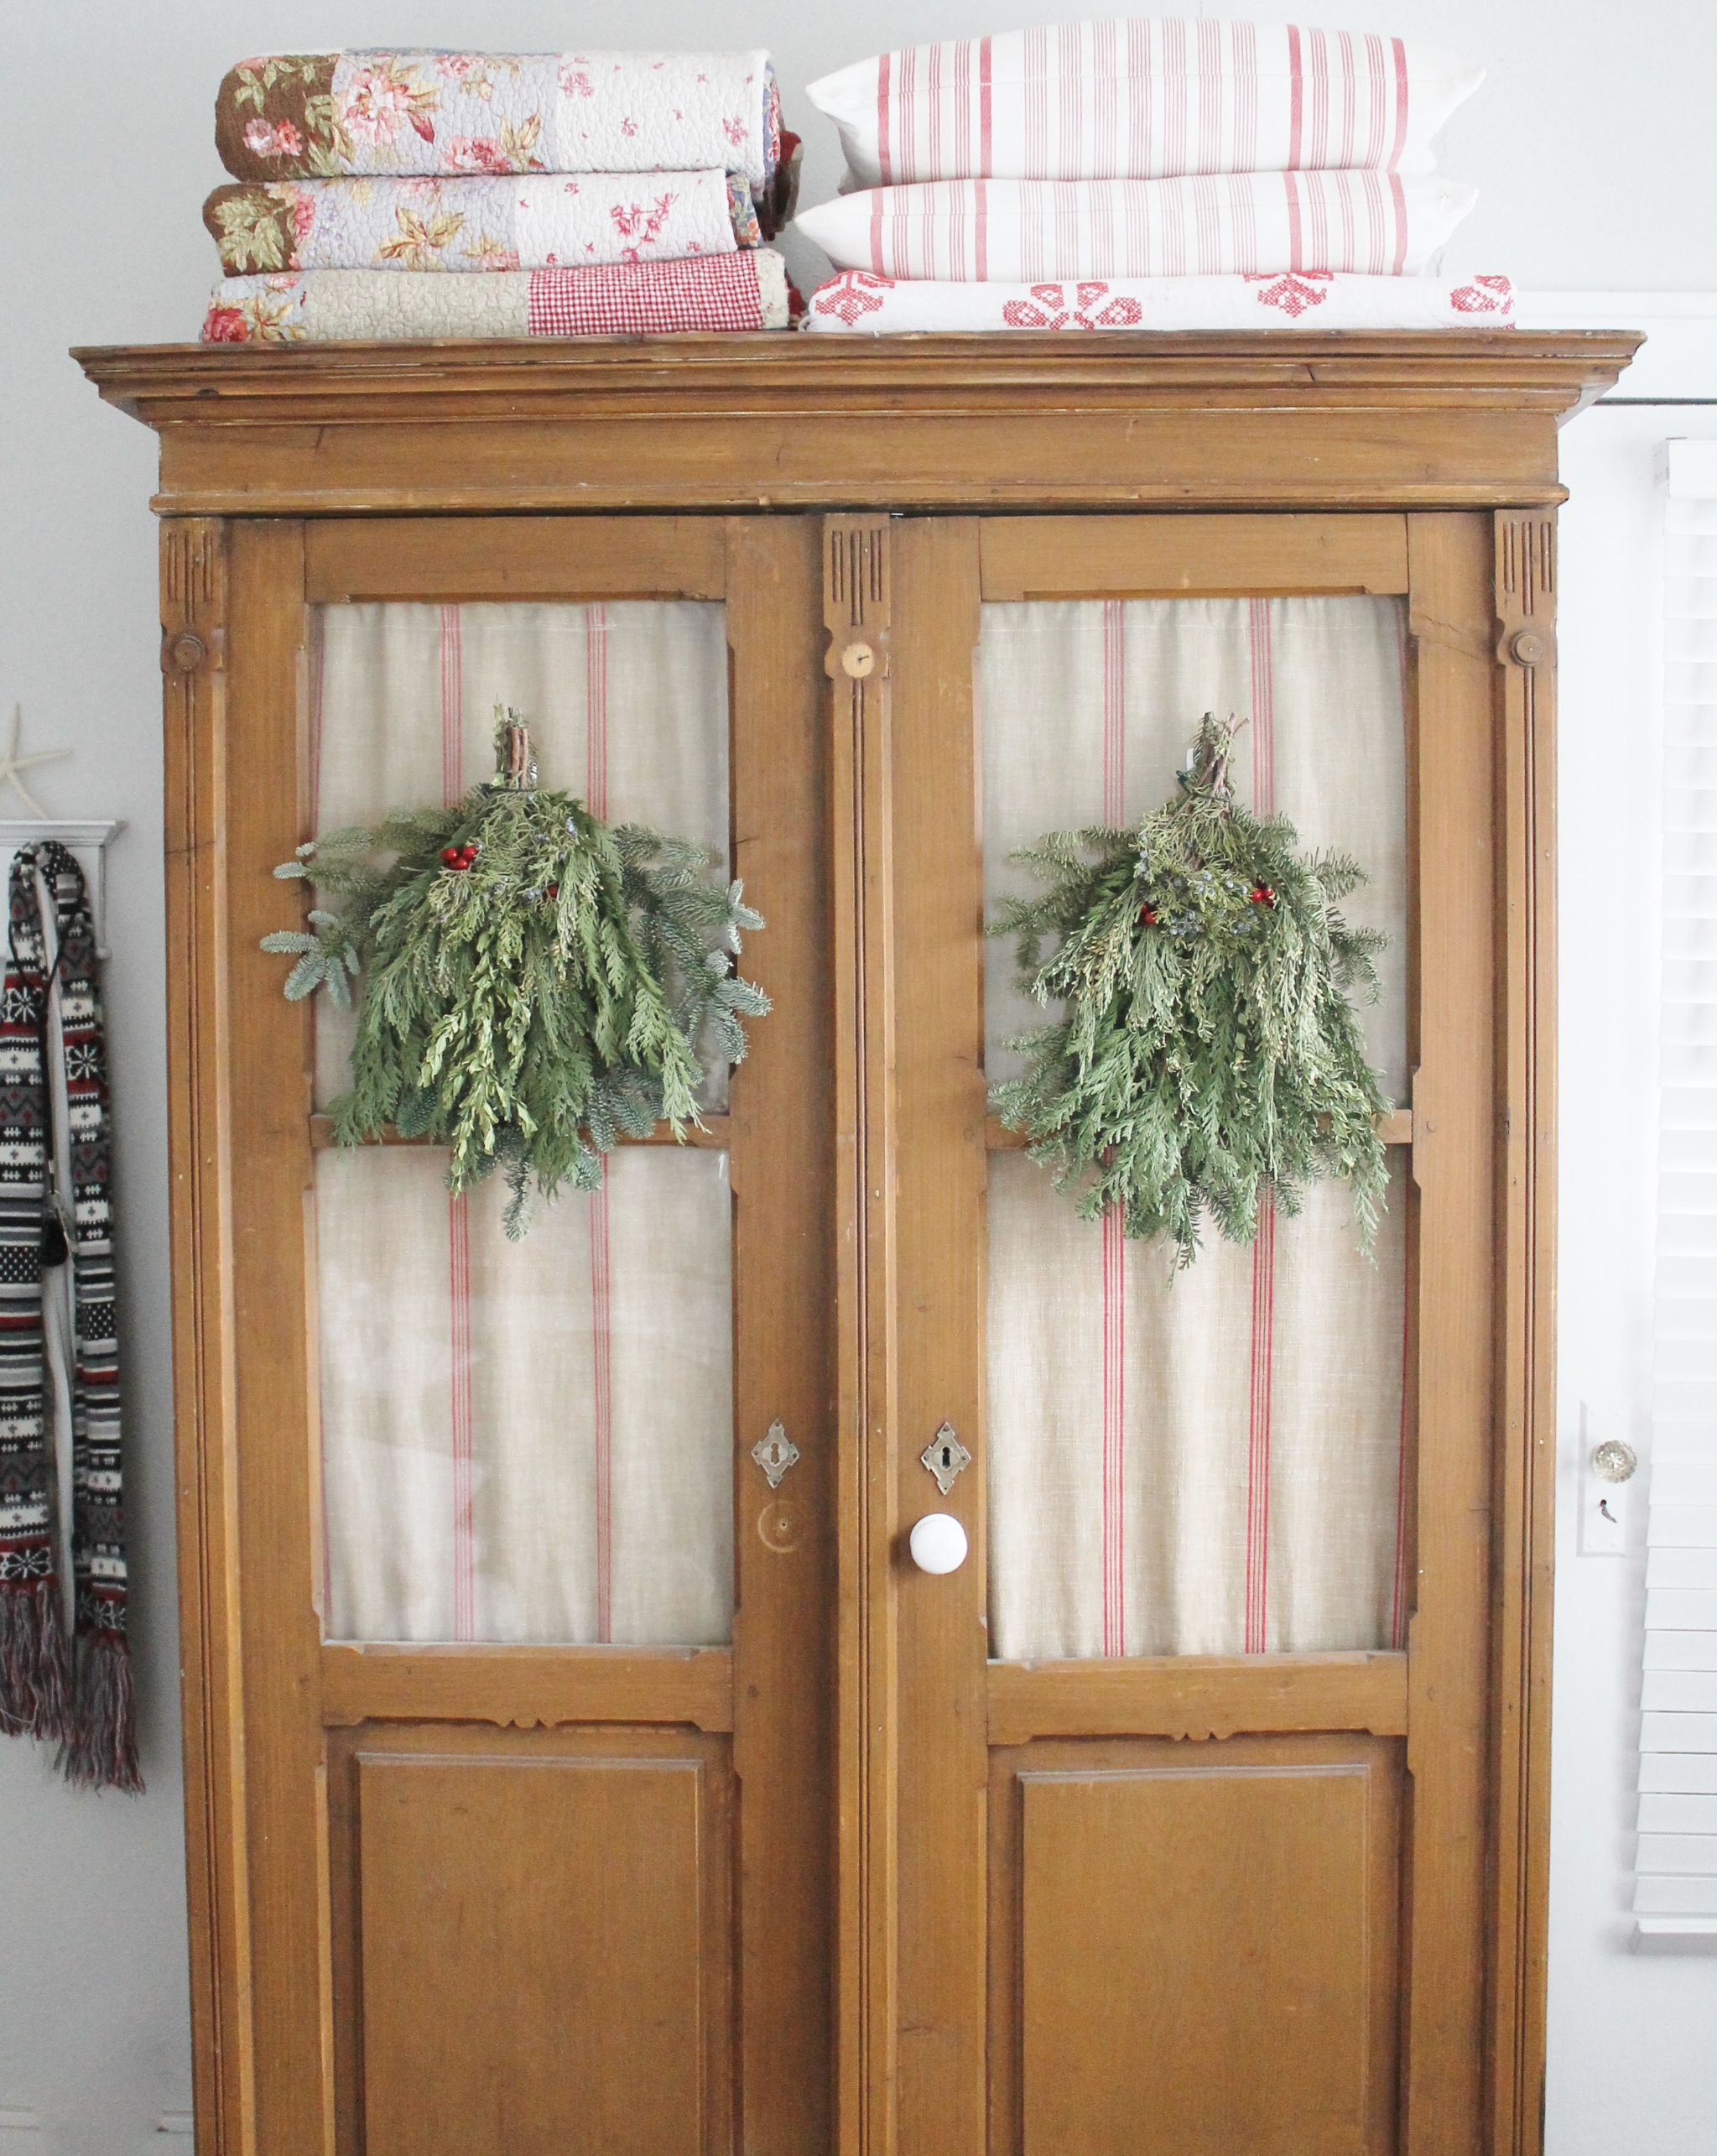
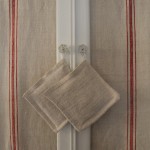
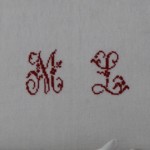
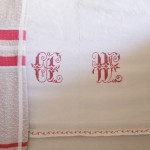
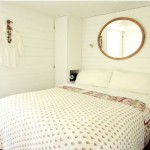
Winter quilts on the linen press are yummy!
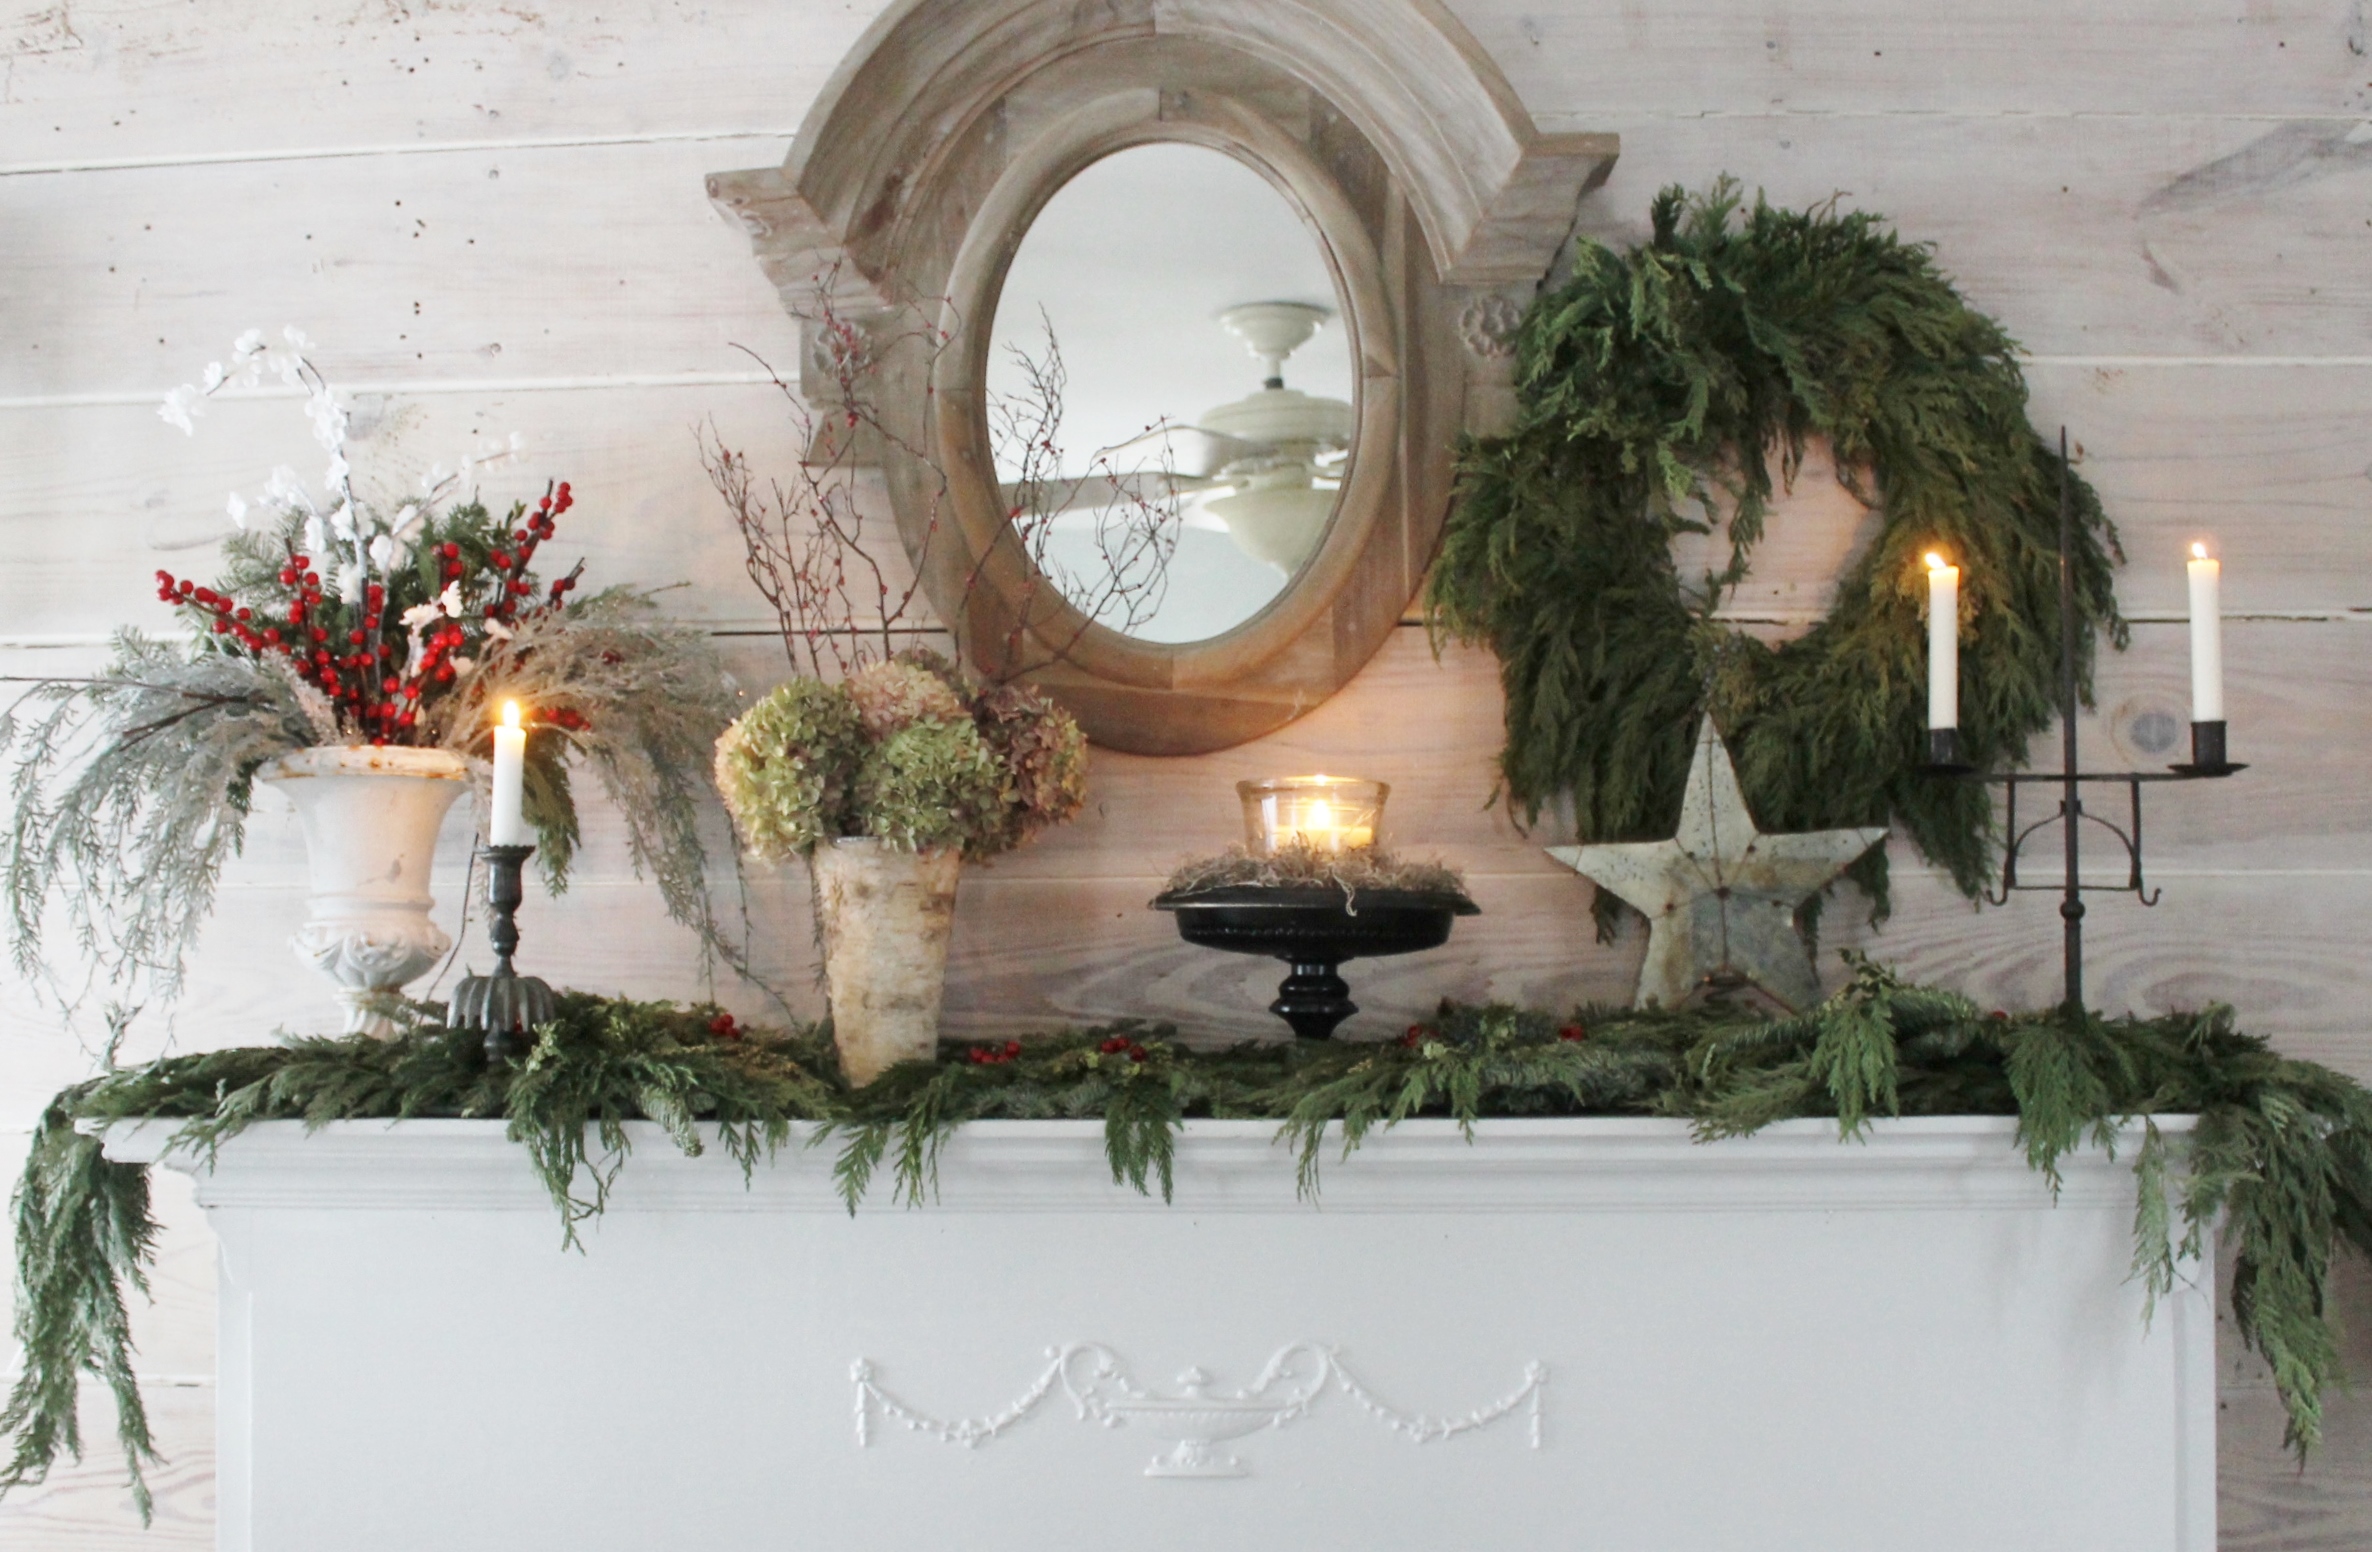
The Christmas Mantle

Samantha’s toy Lamb Chop

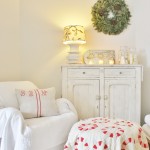
Quilts with pillow covers from Ikea wrapped like presents with green velvet ribbon.
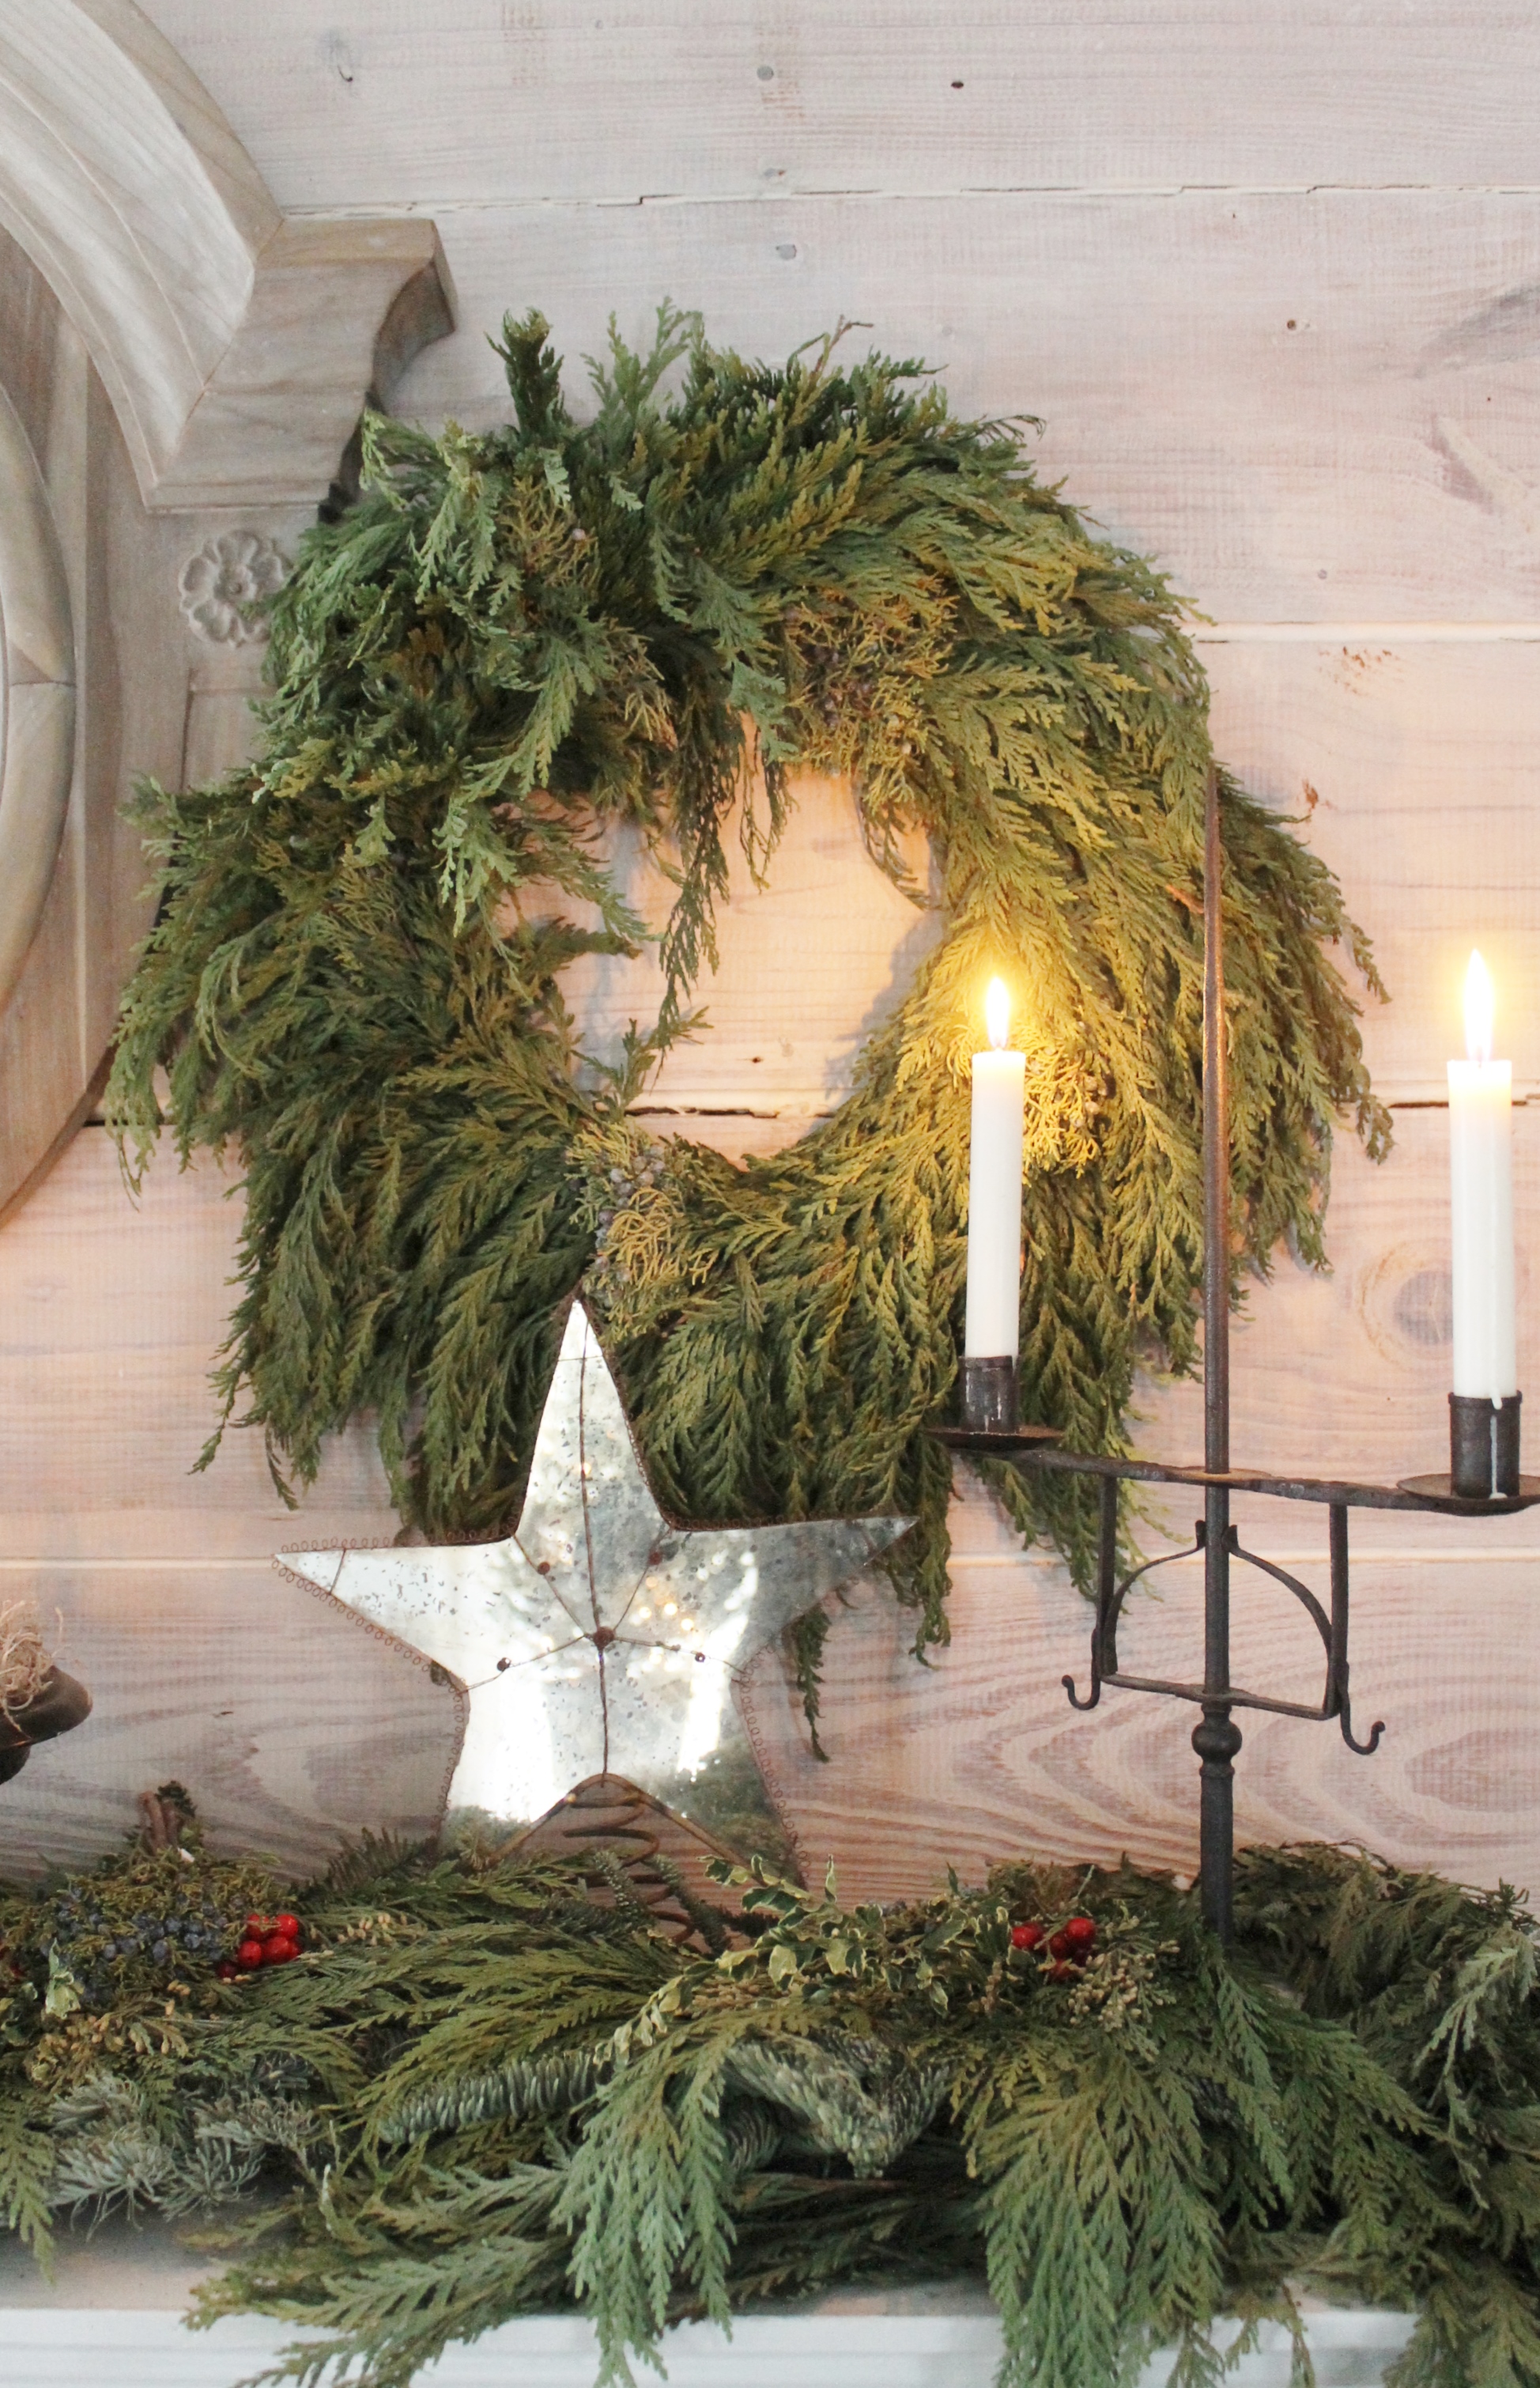
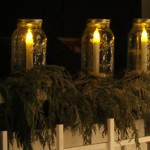
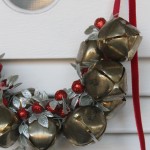
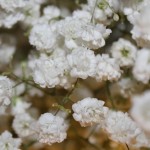
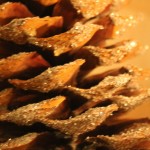
Plain cedar wreath with candle light.

Lovely Samantha
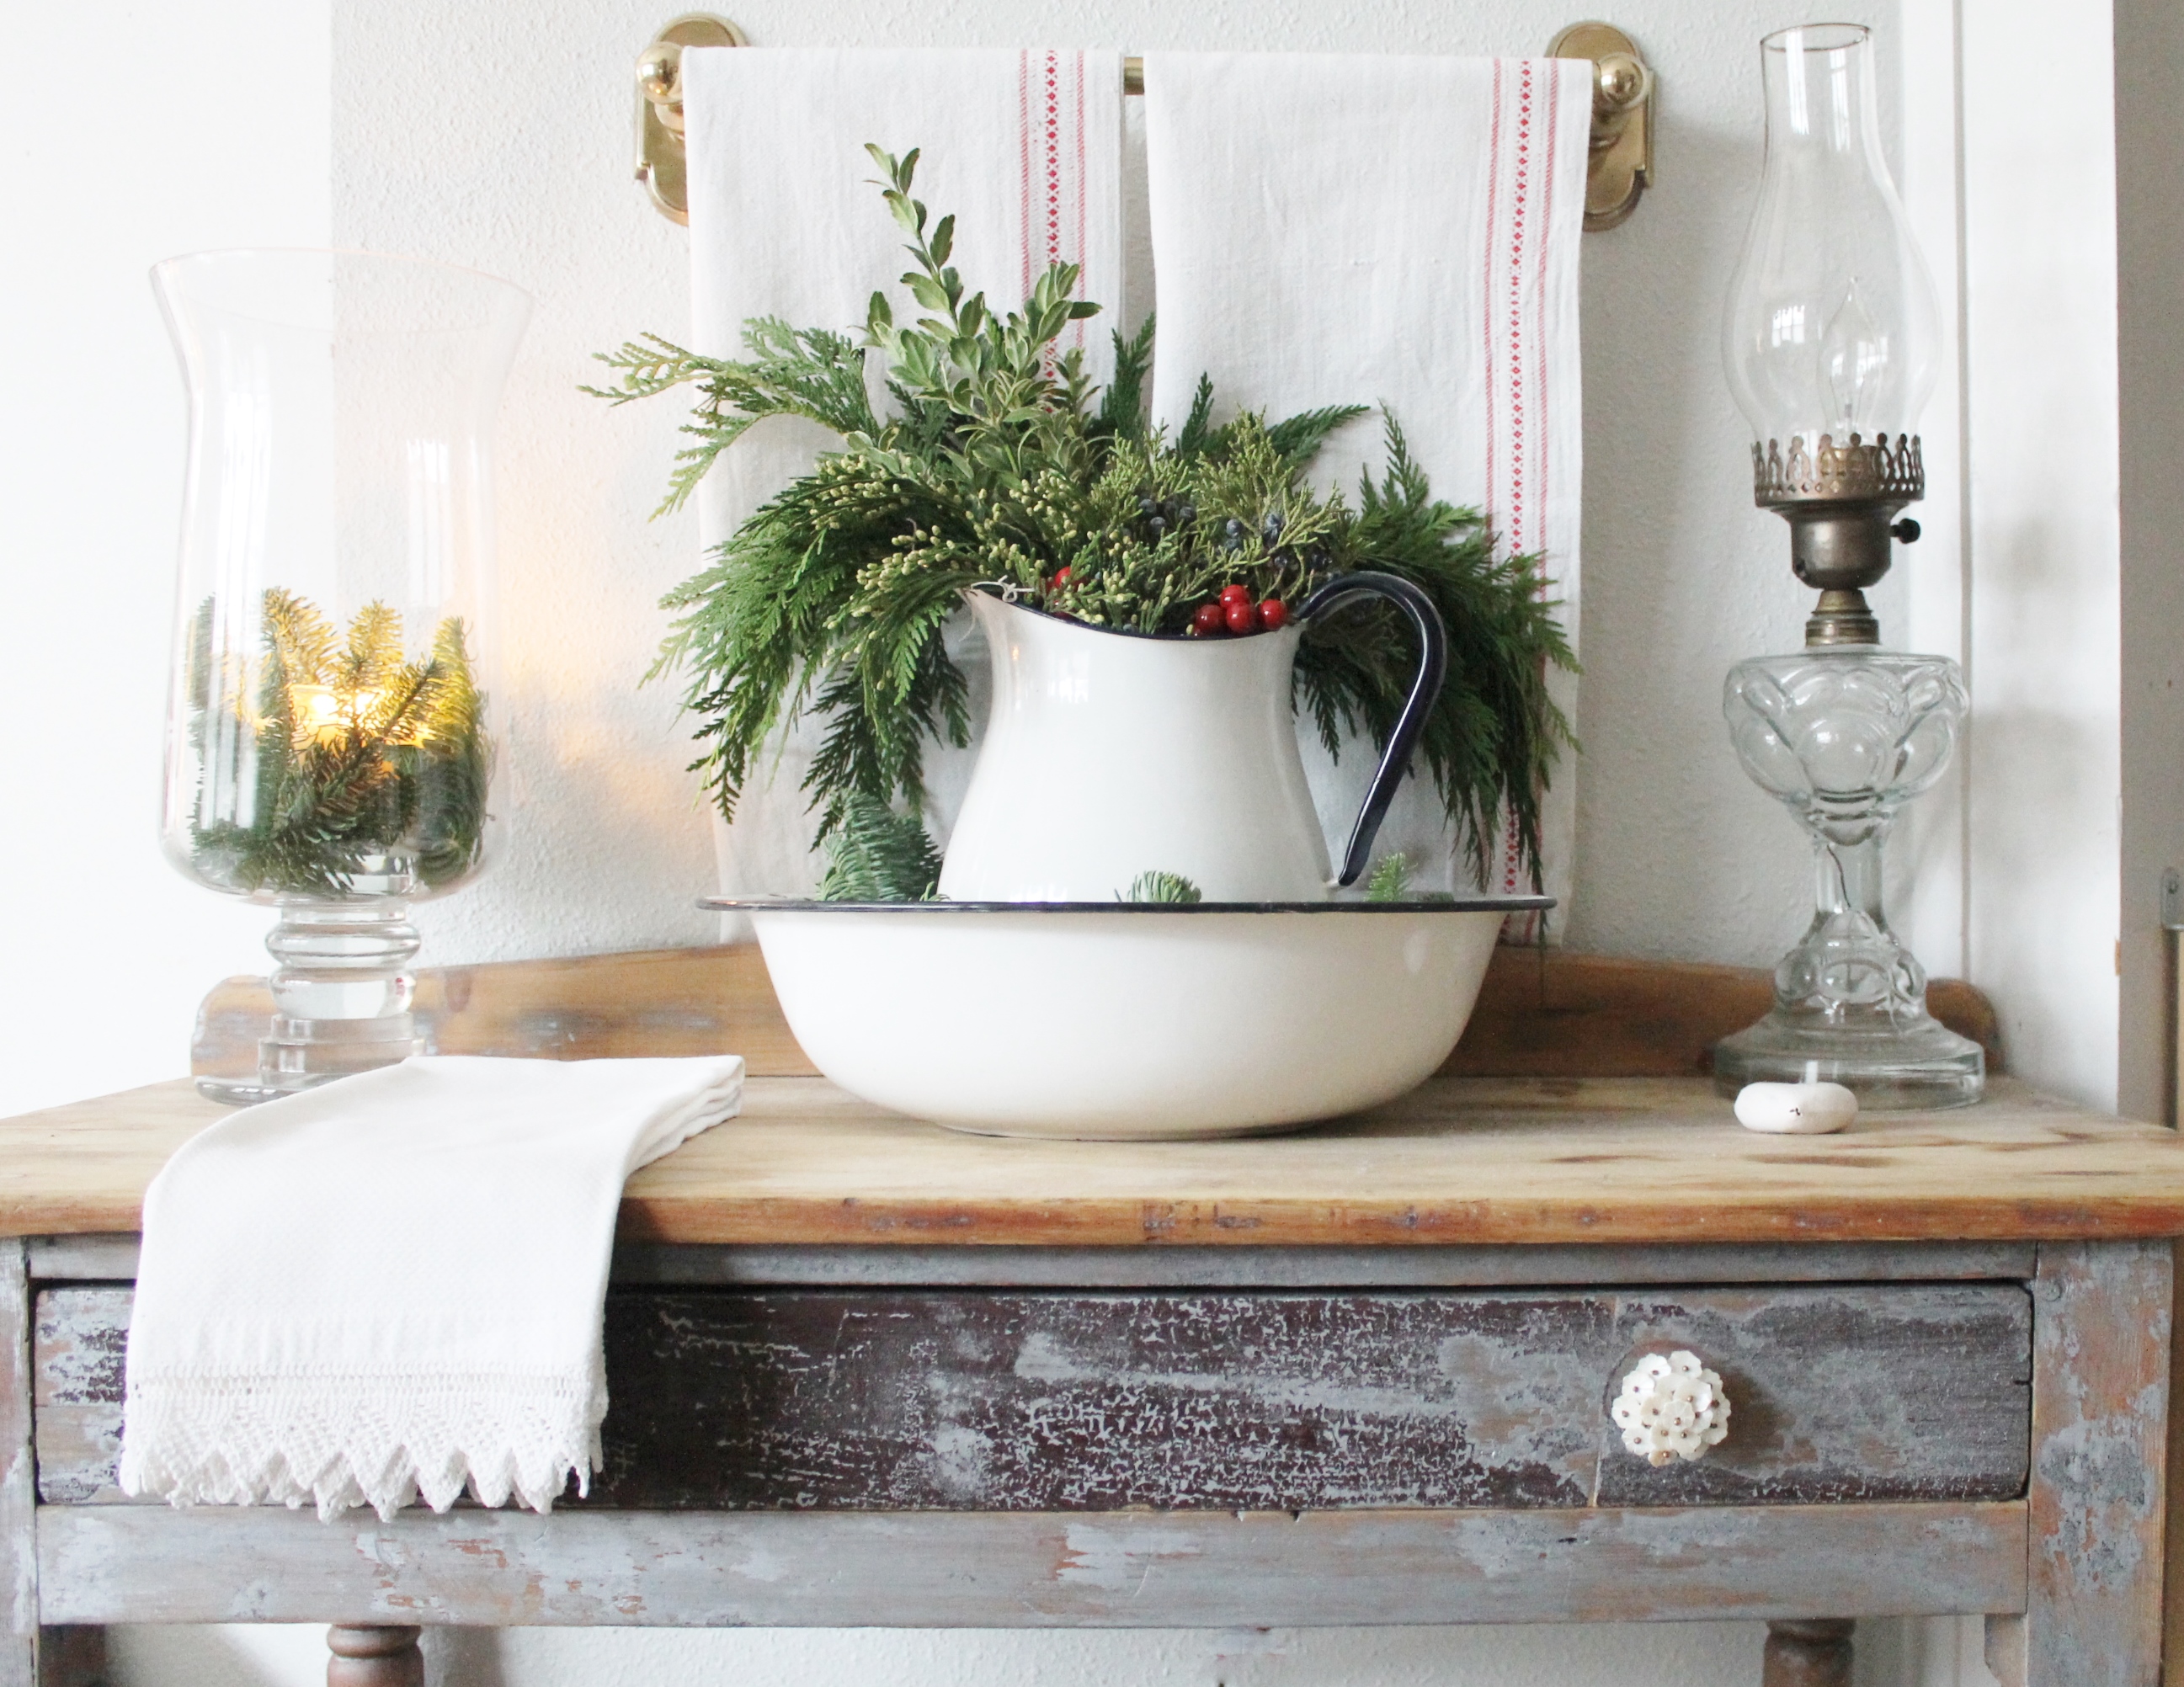
Guest room washstand ready for guests and ready for Christmas.
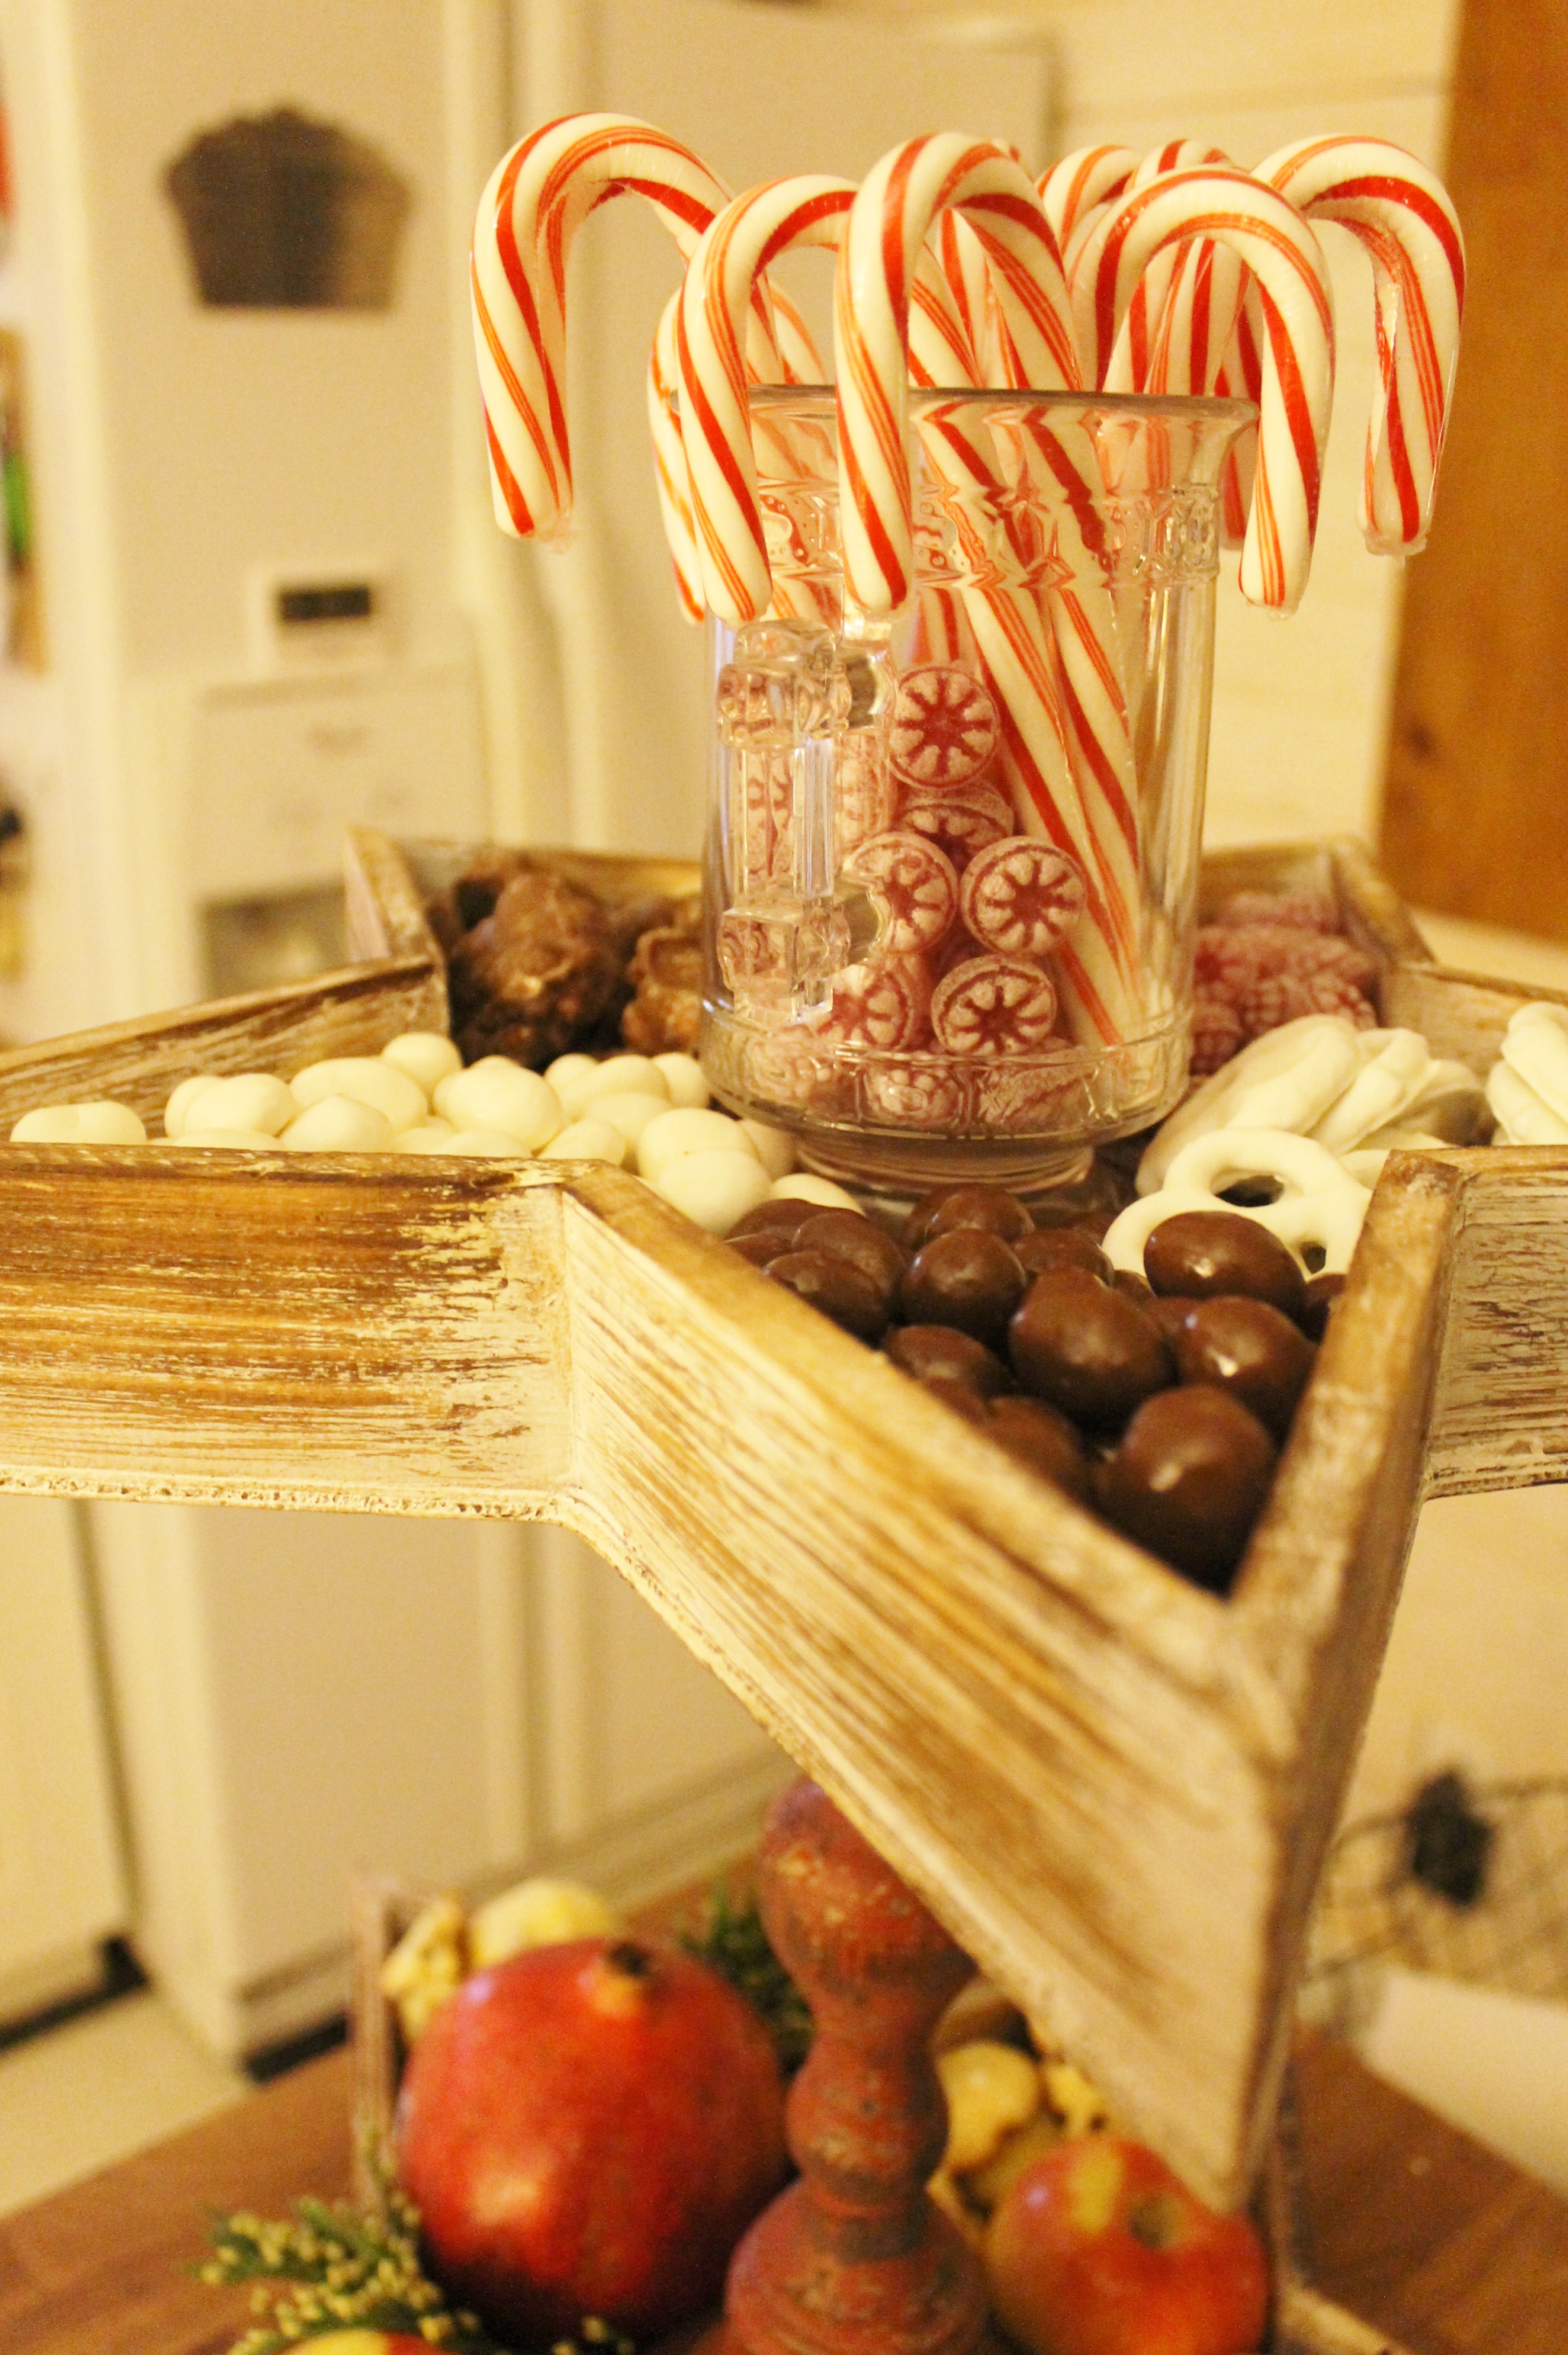
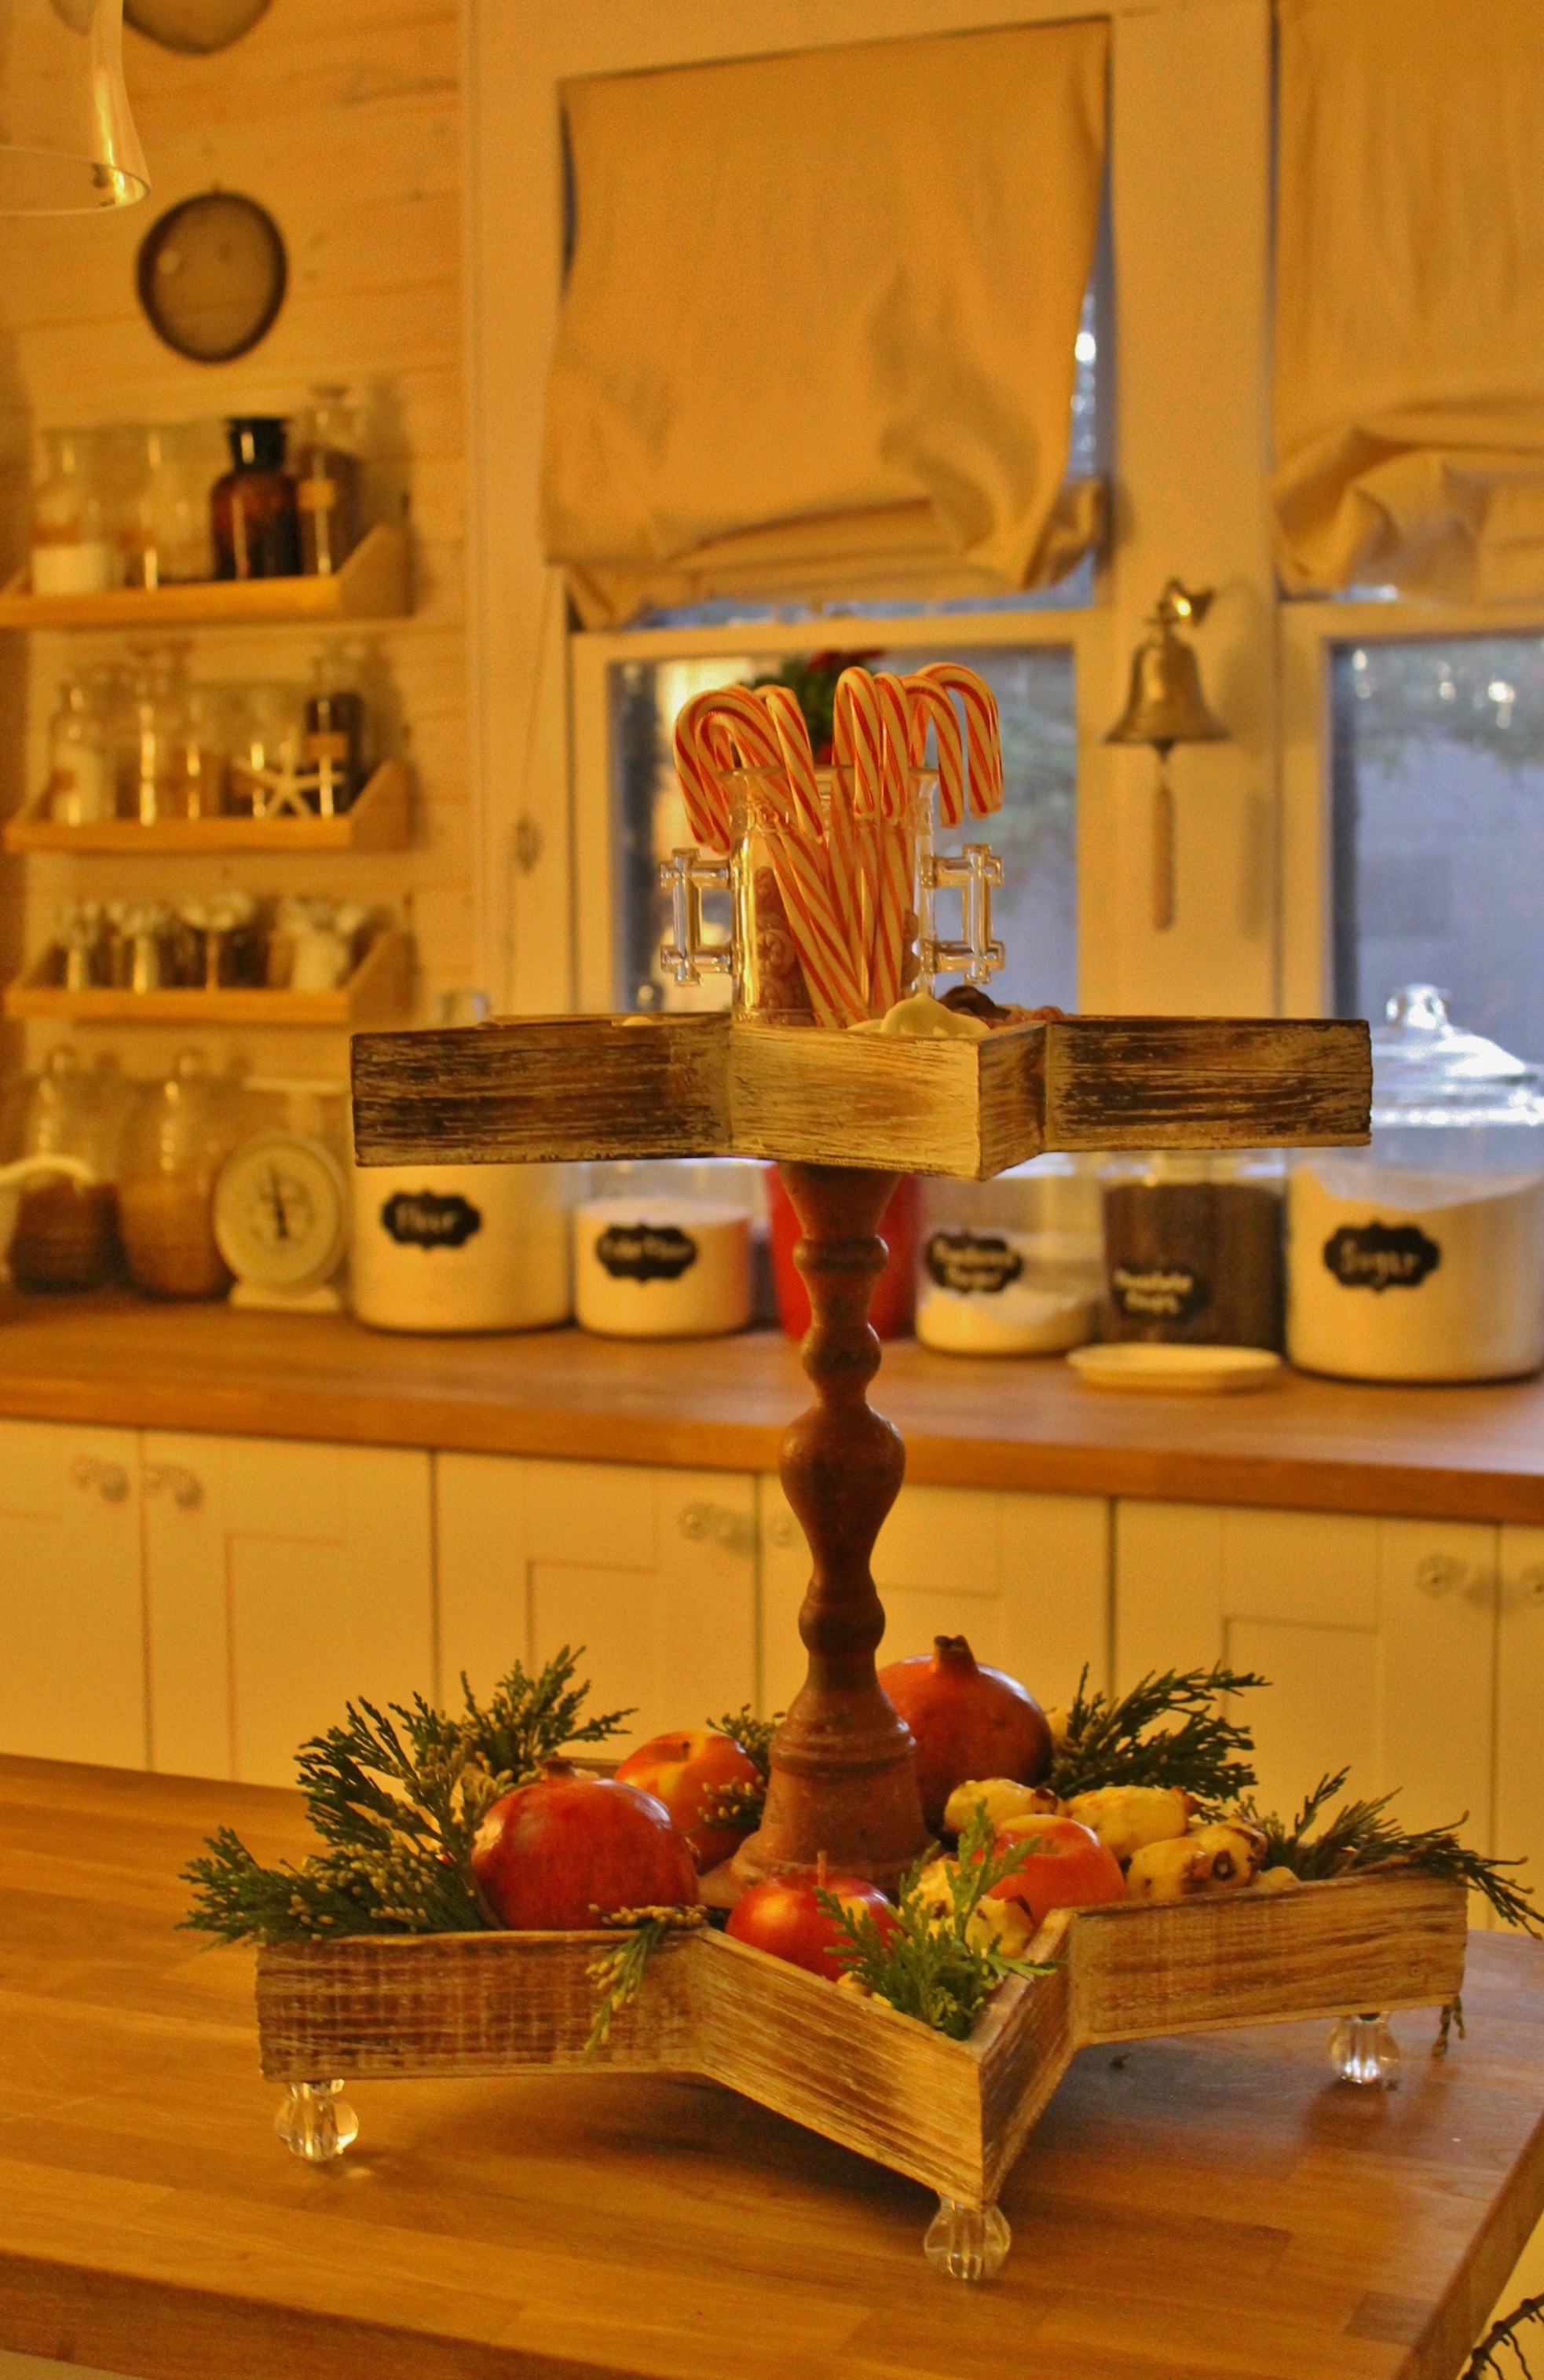
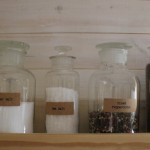
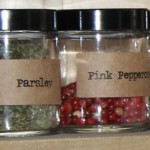
The Christmas Kitchen

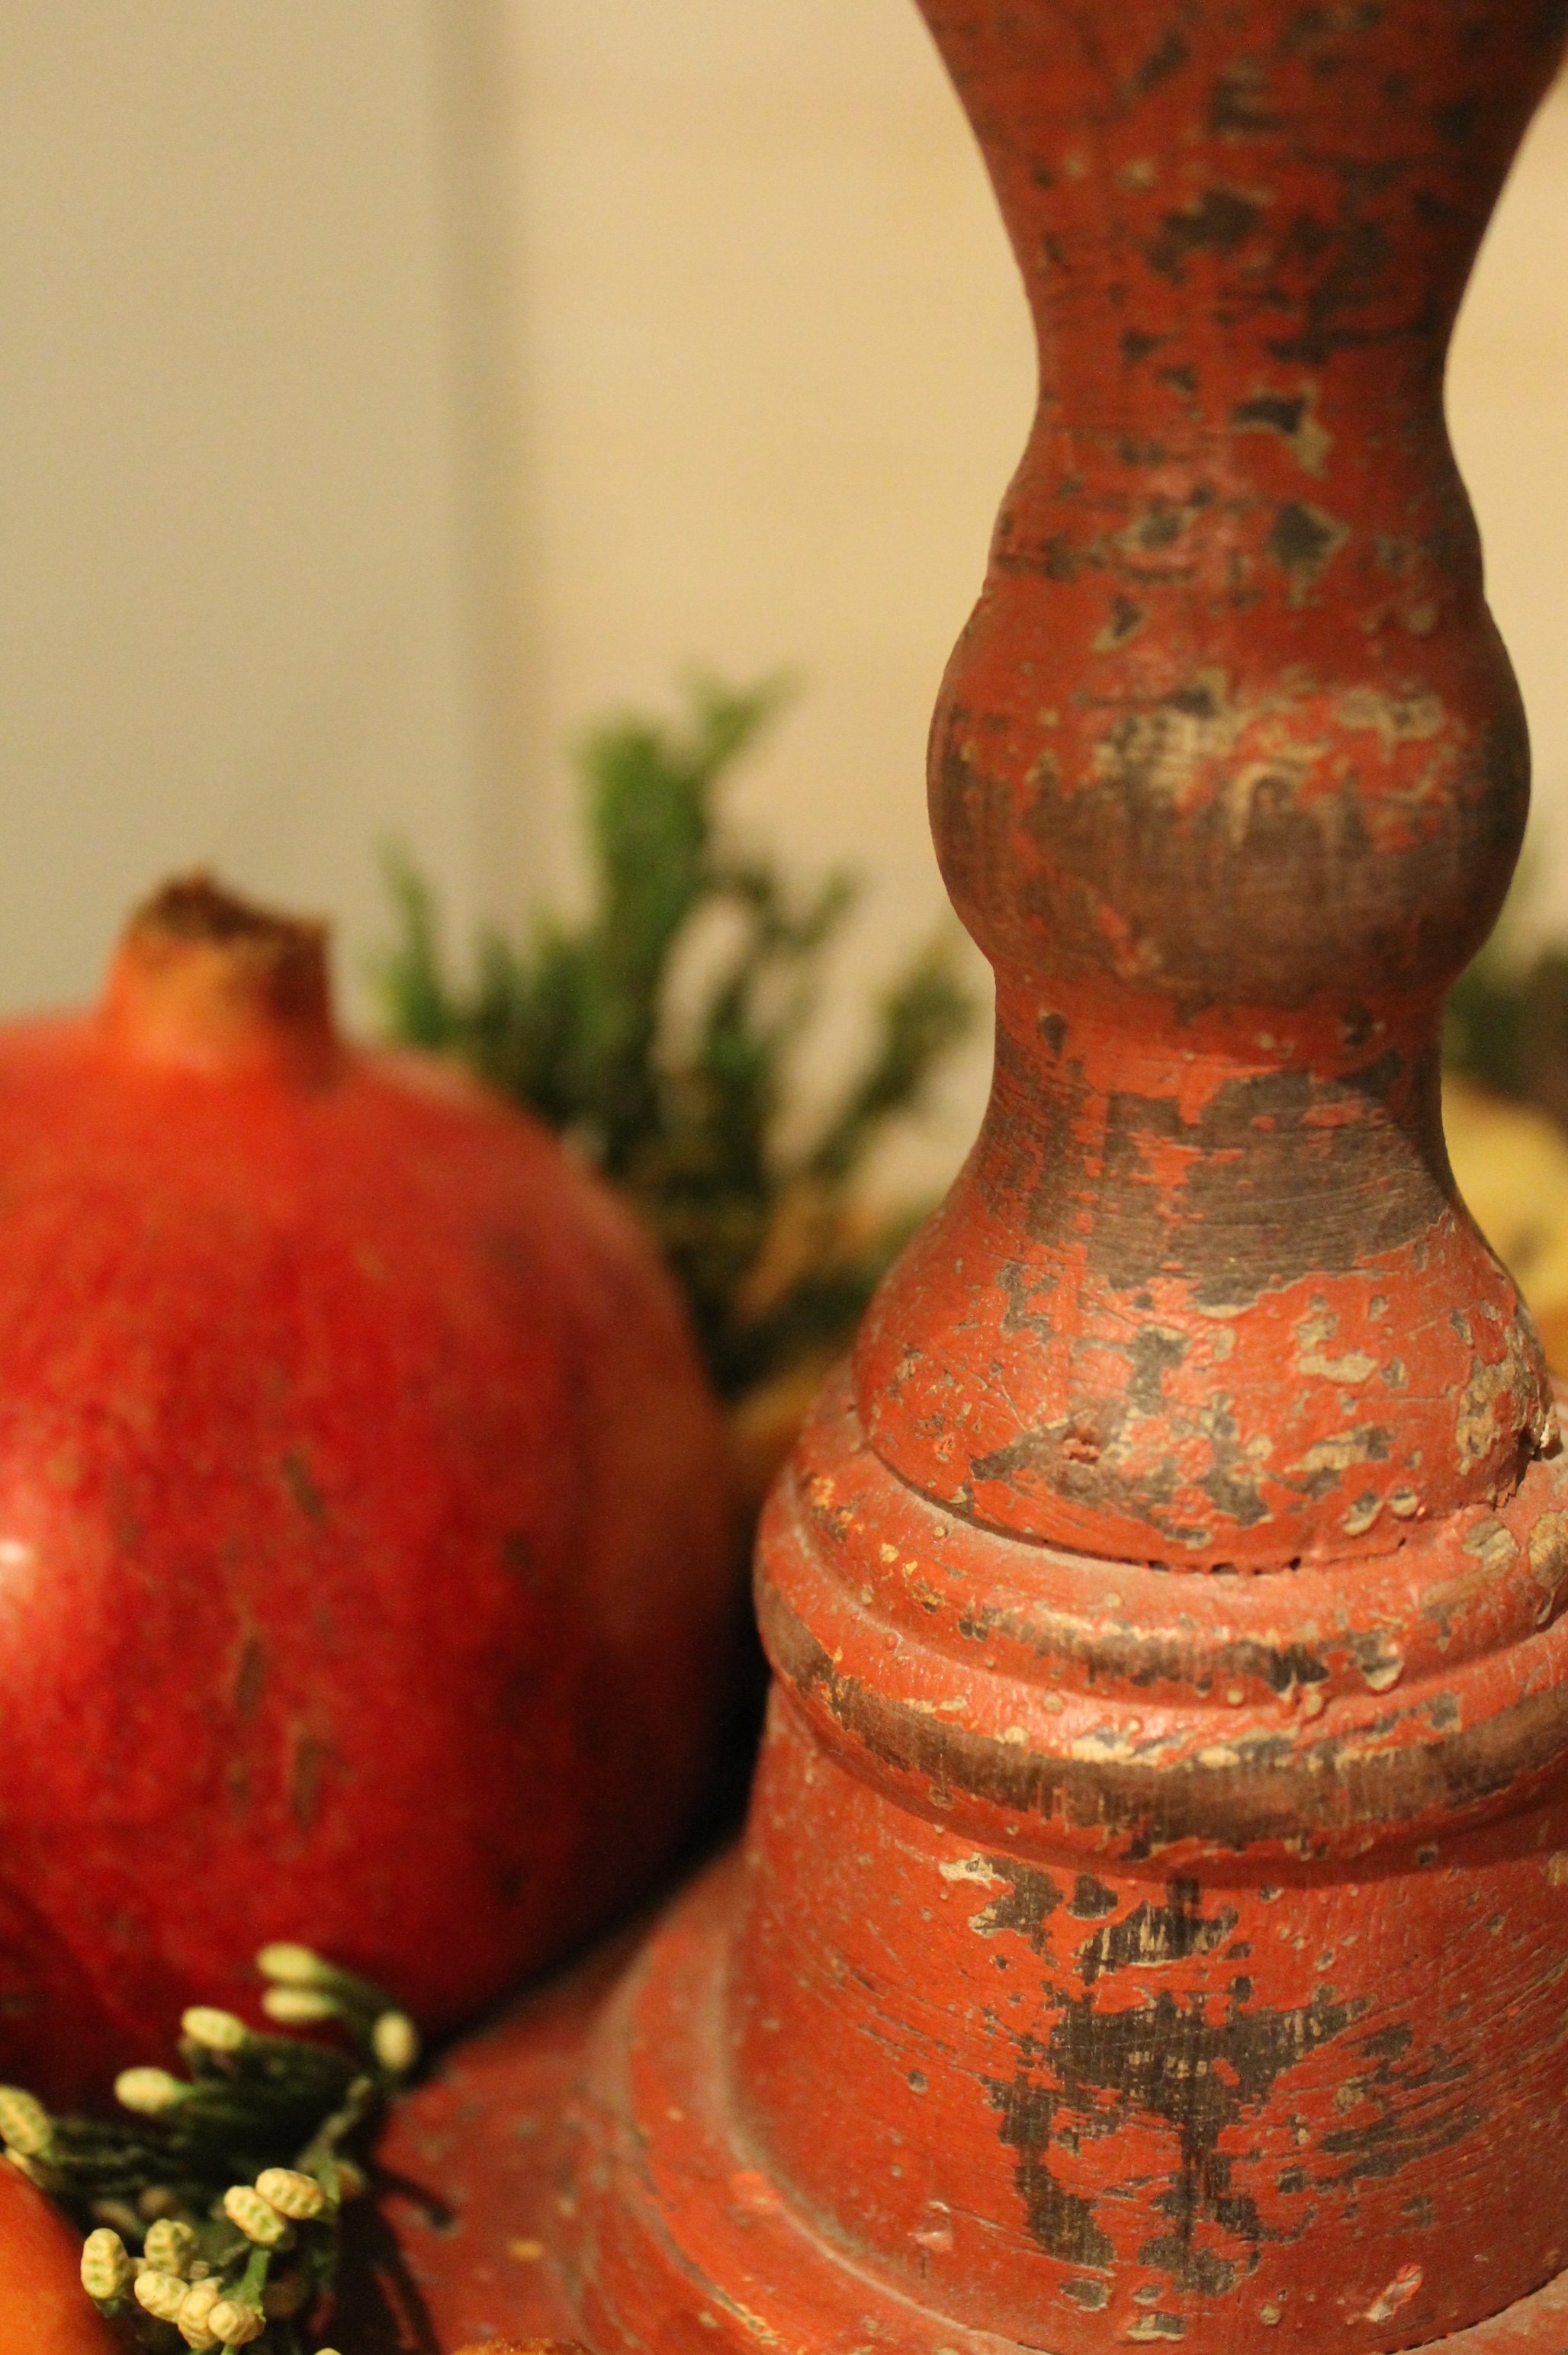
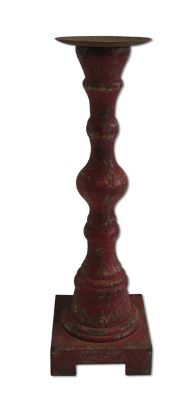
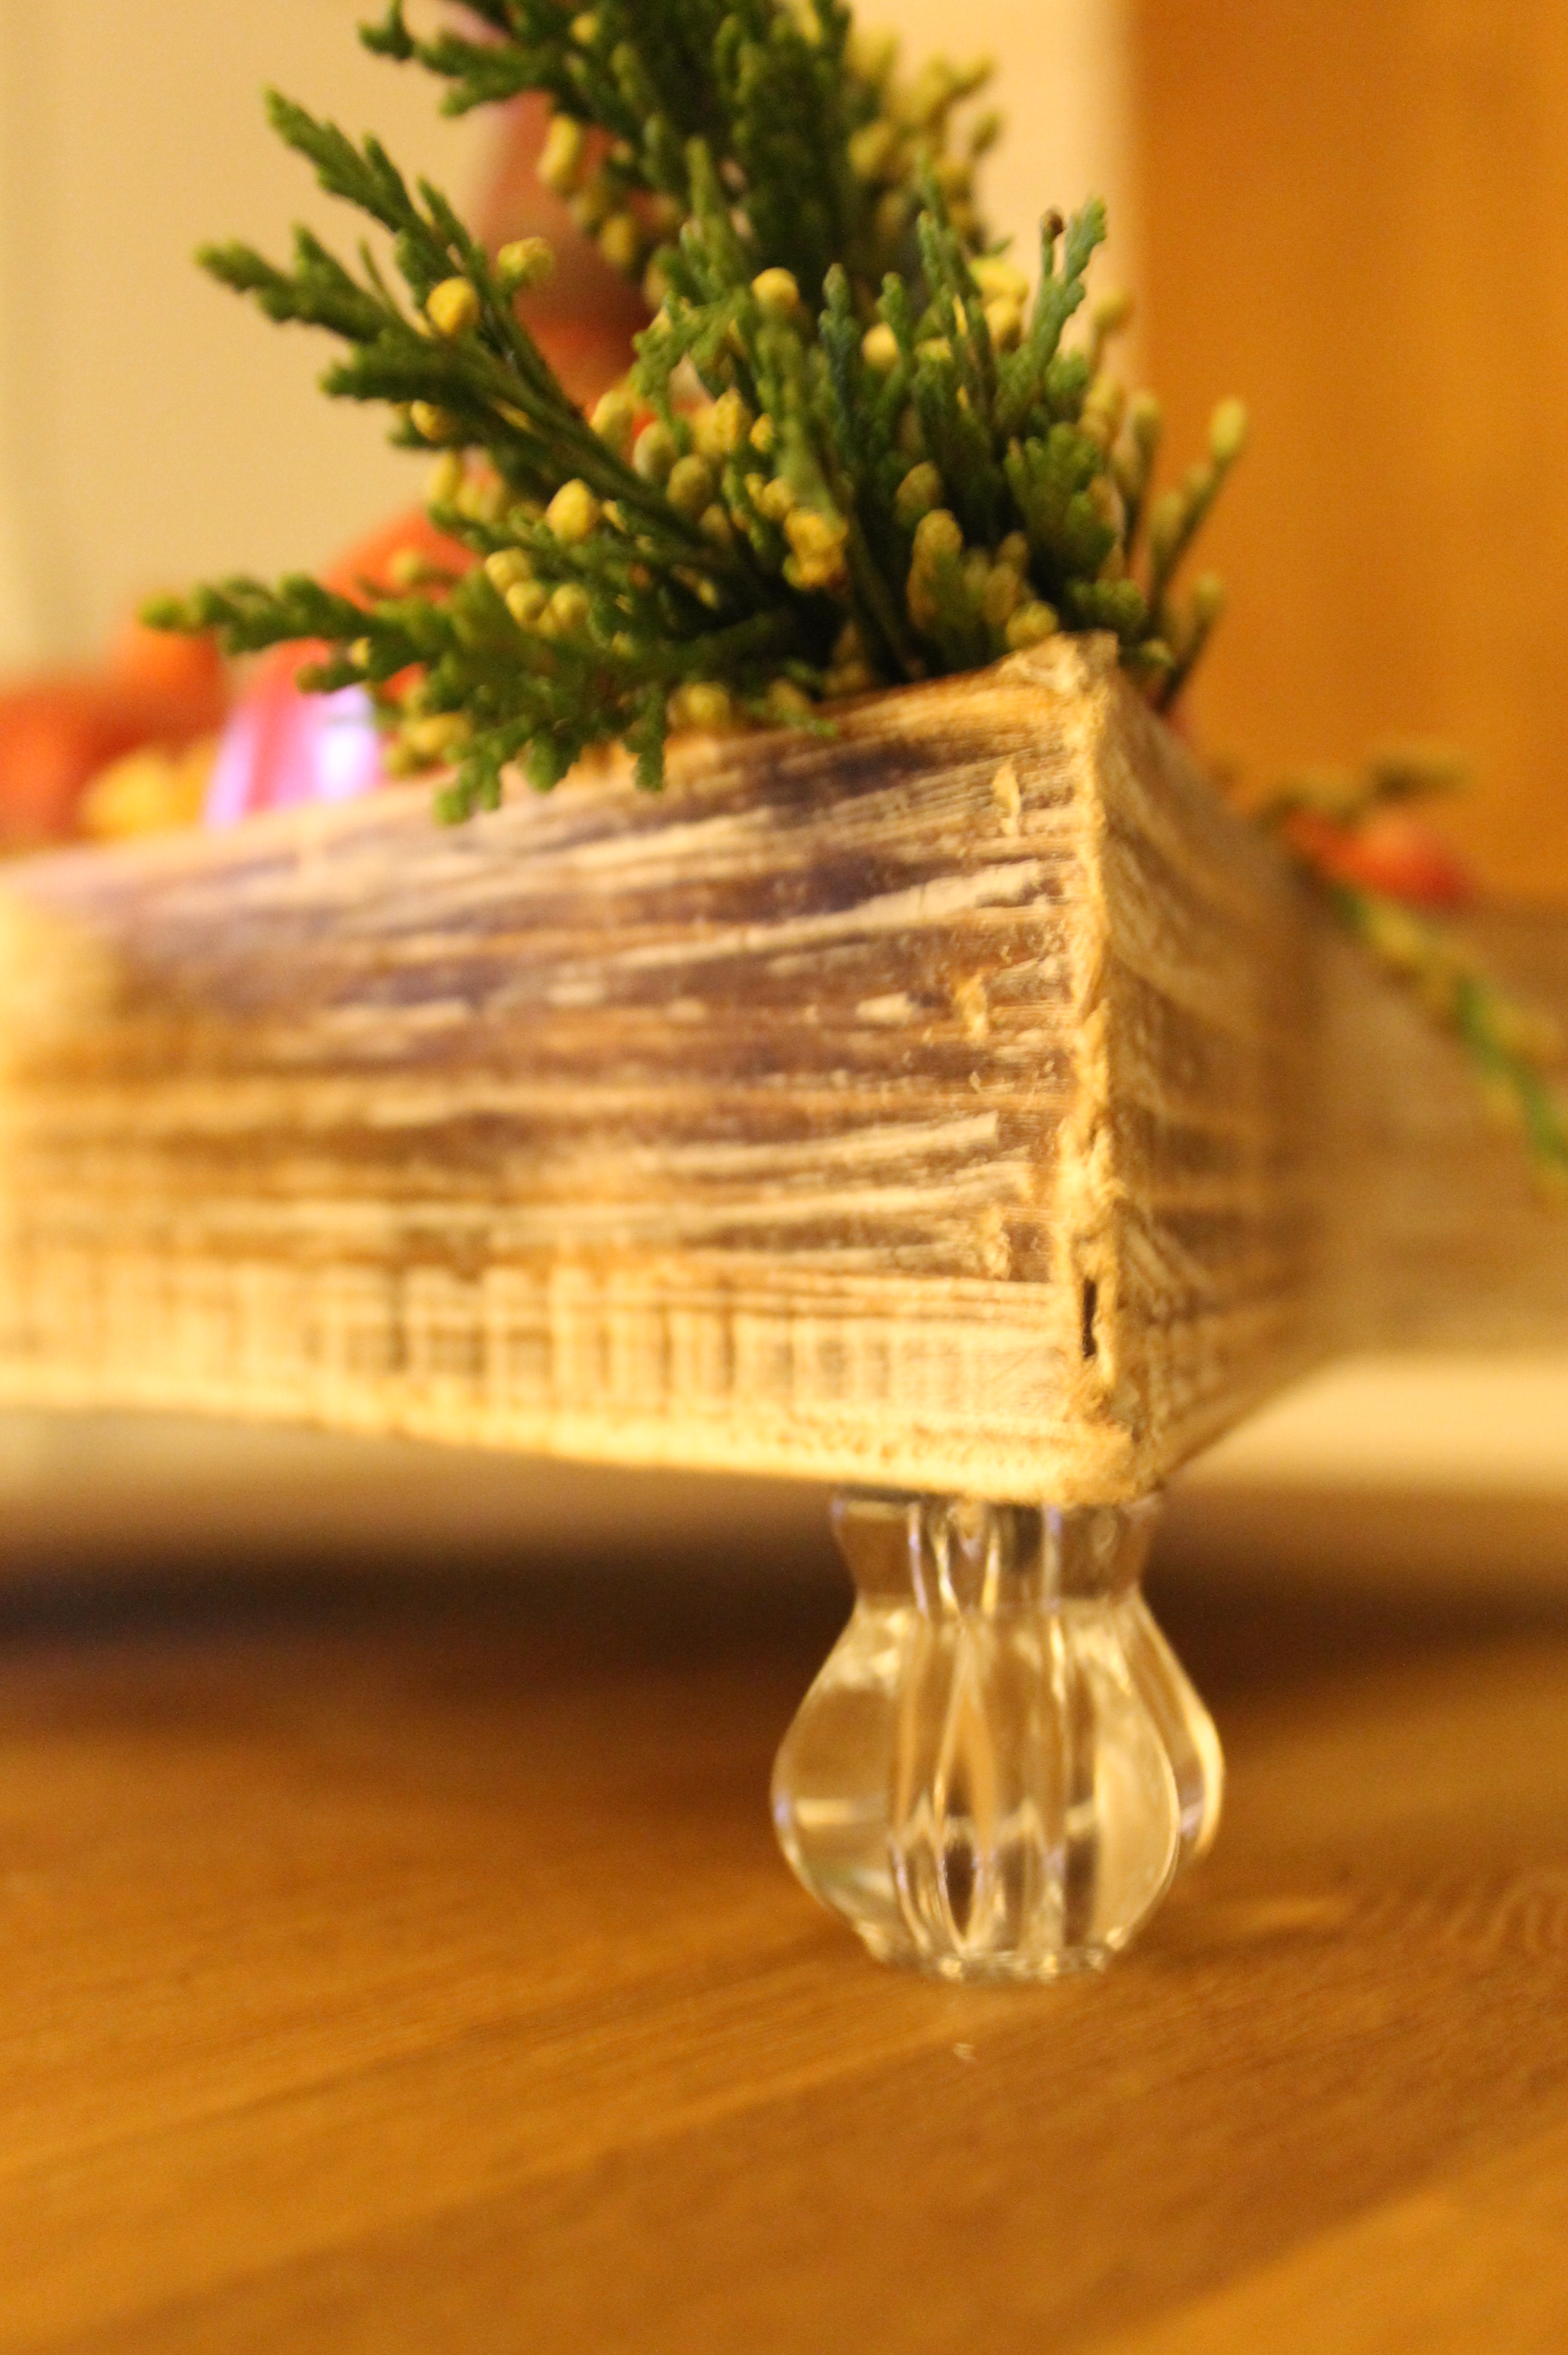
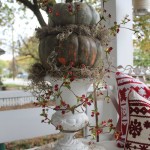
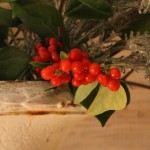
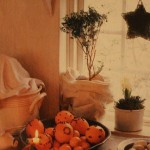
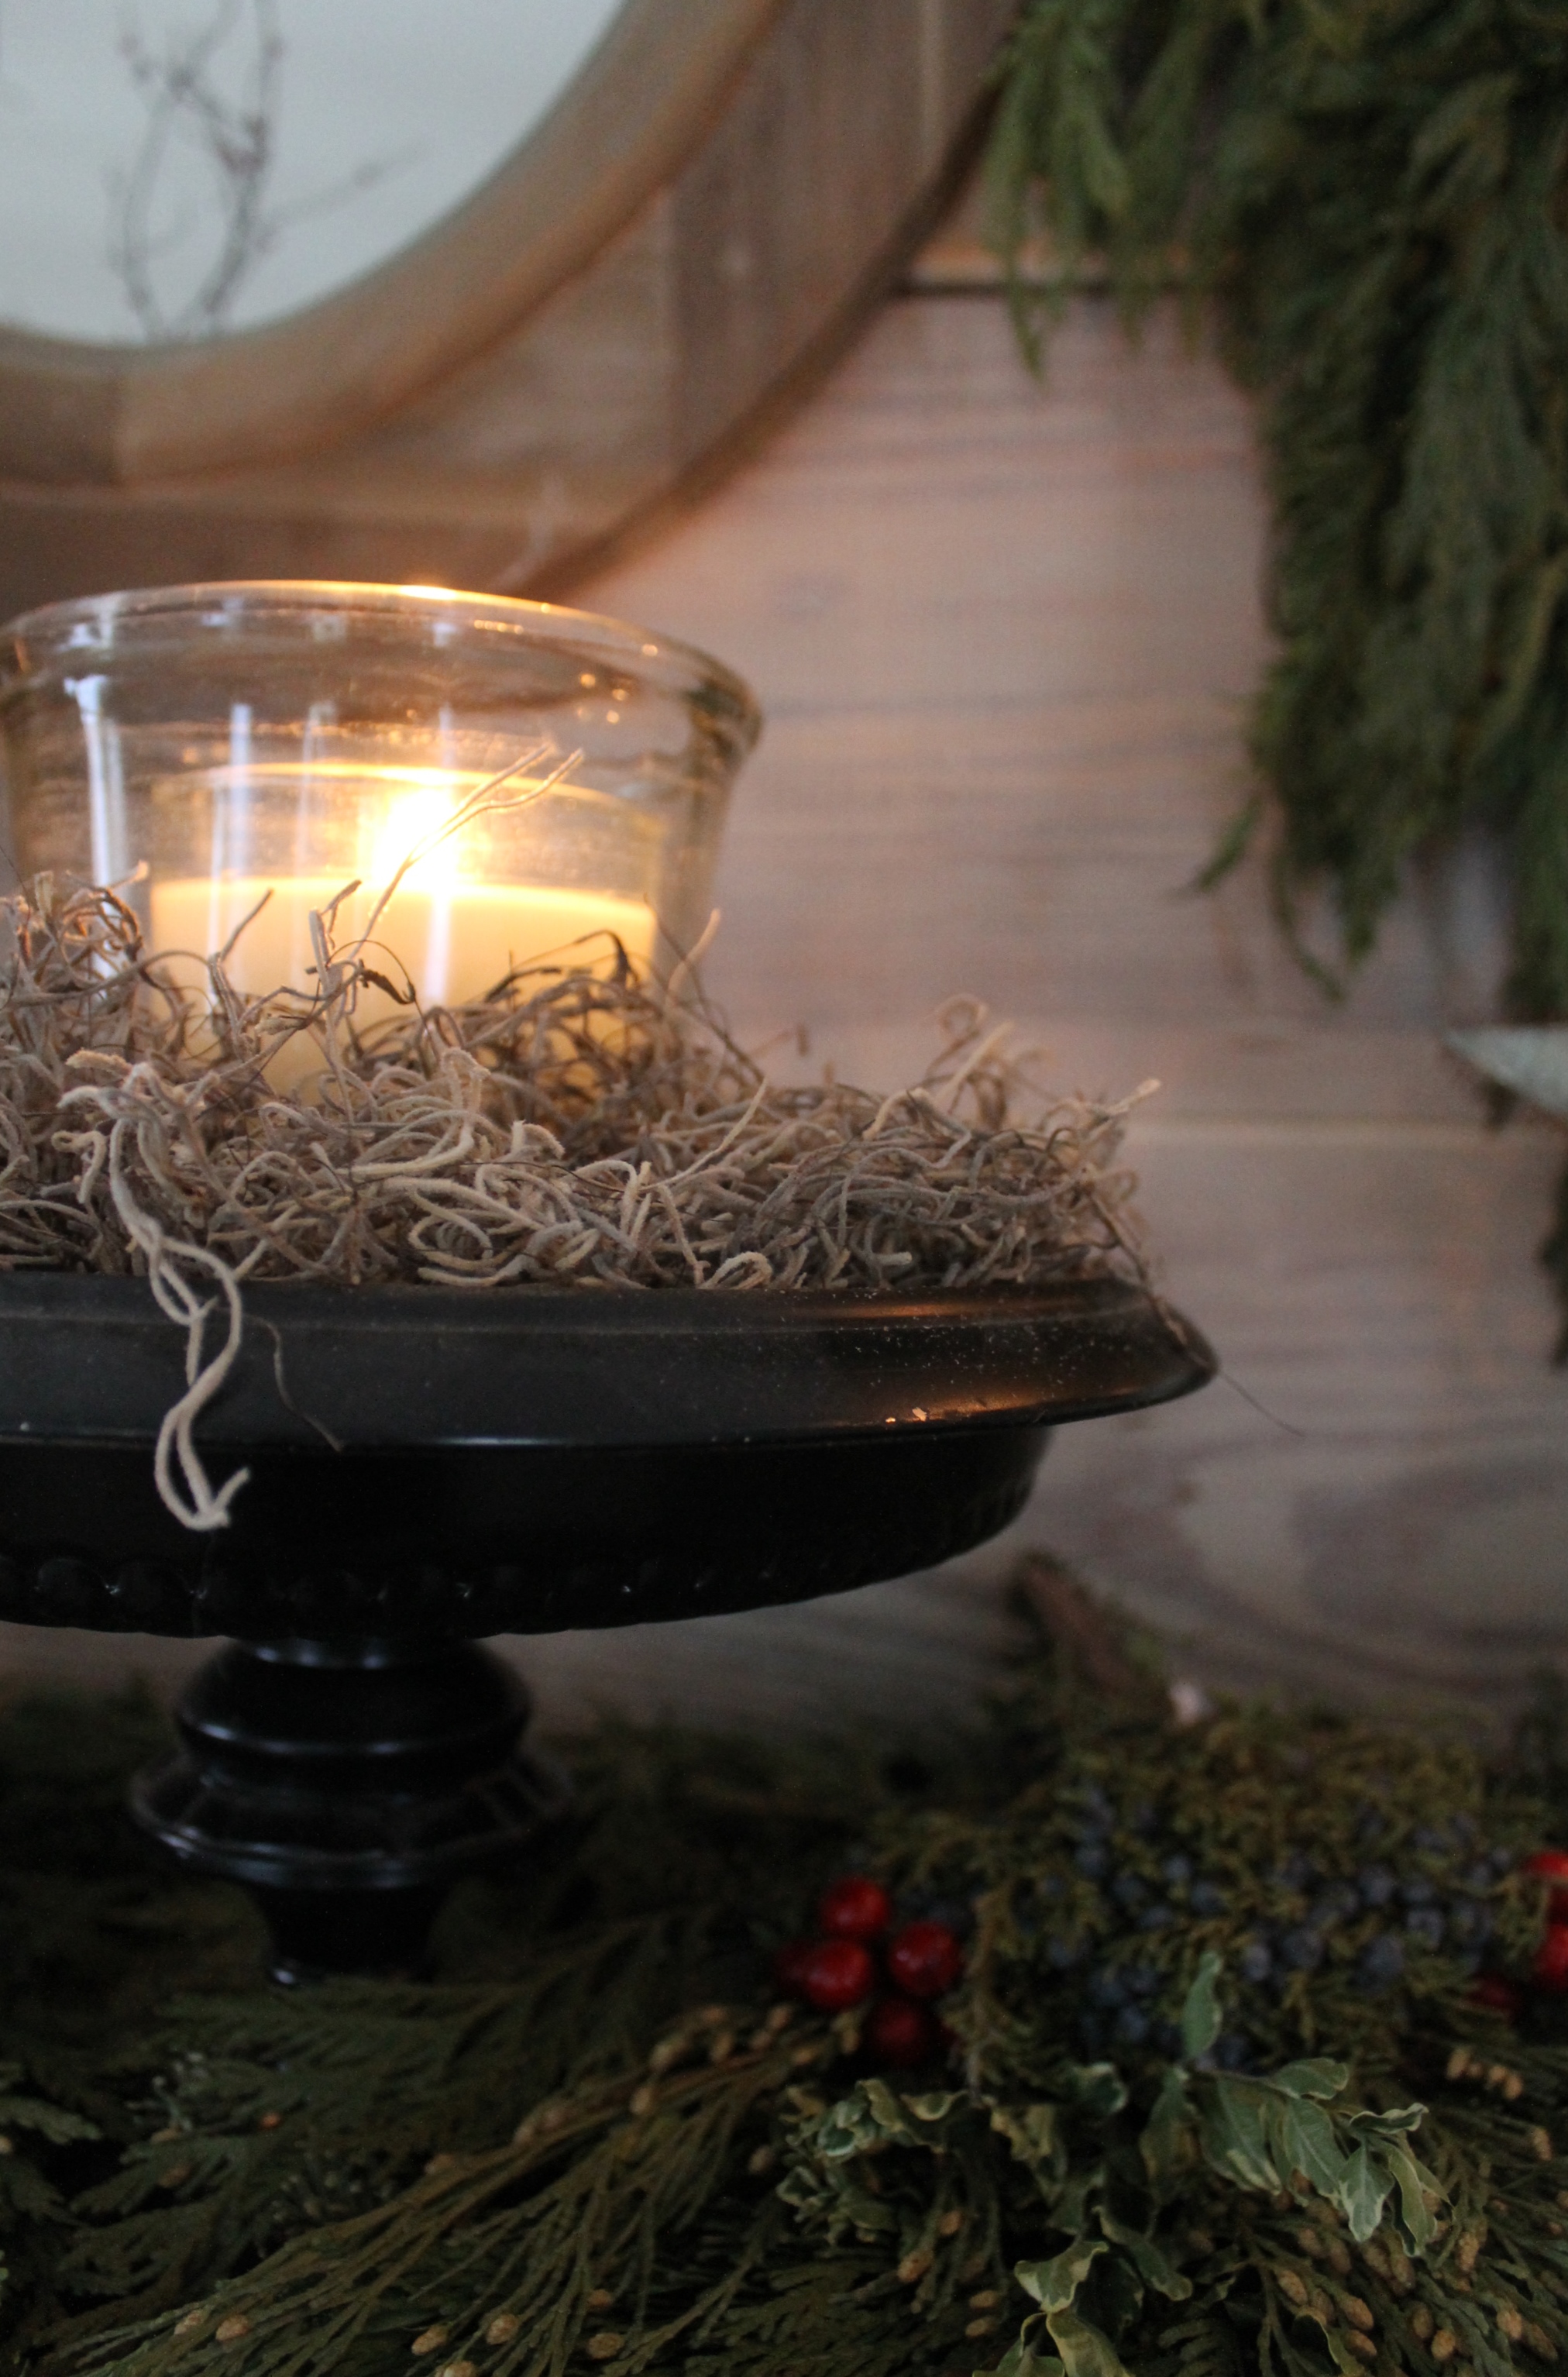
Christmas Centerpiece
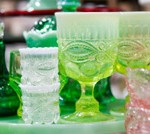
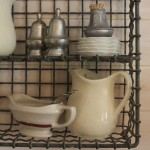
Antiques, ironstone, vintage glass and fresh greens
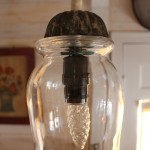
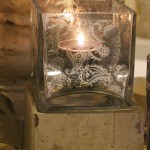
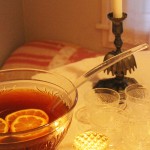
Lab beaker with thick glass that diffuses the candle flicker
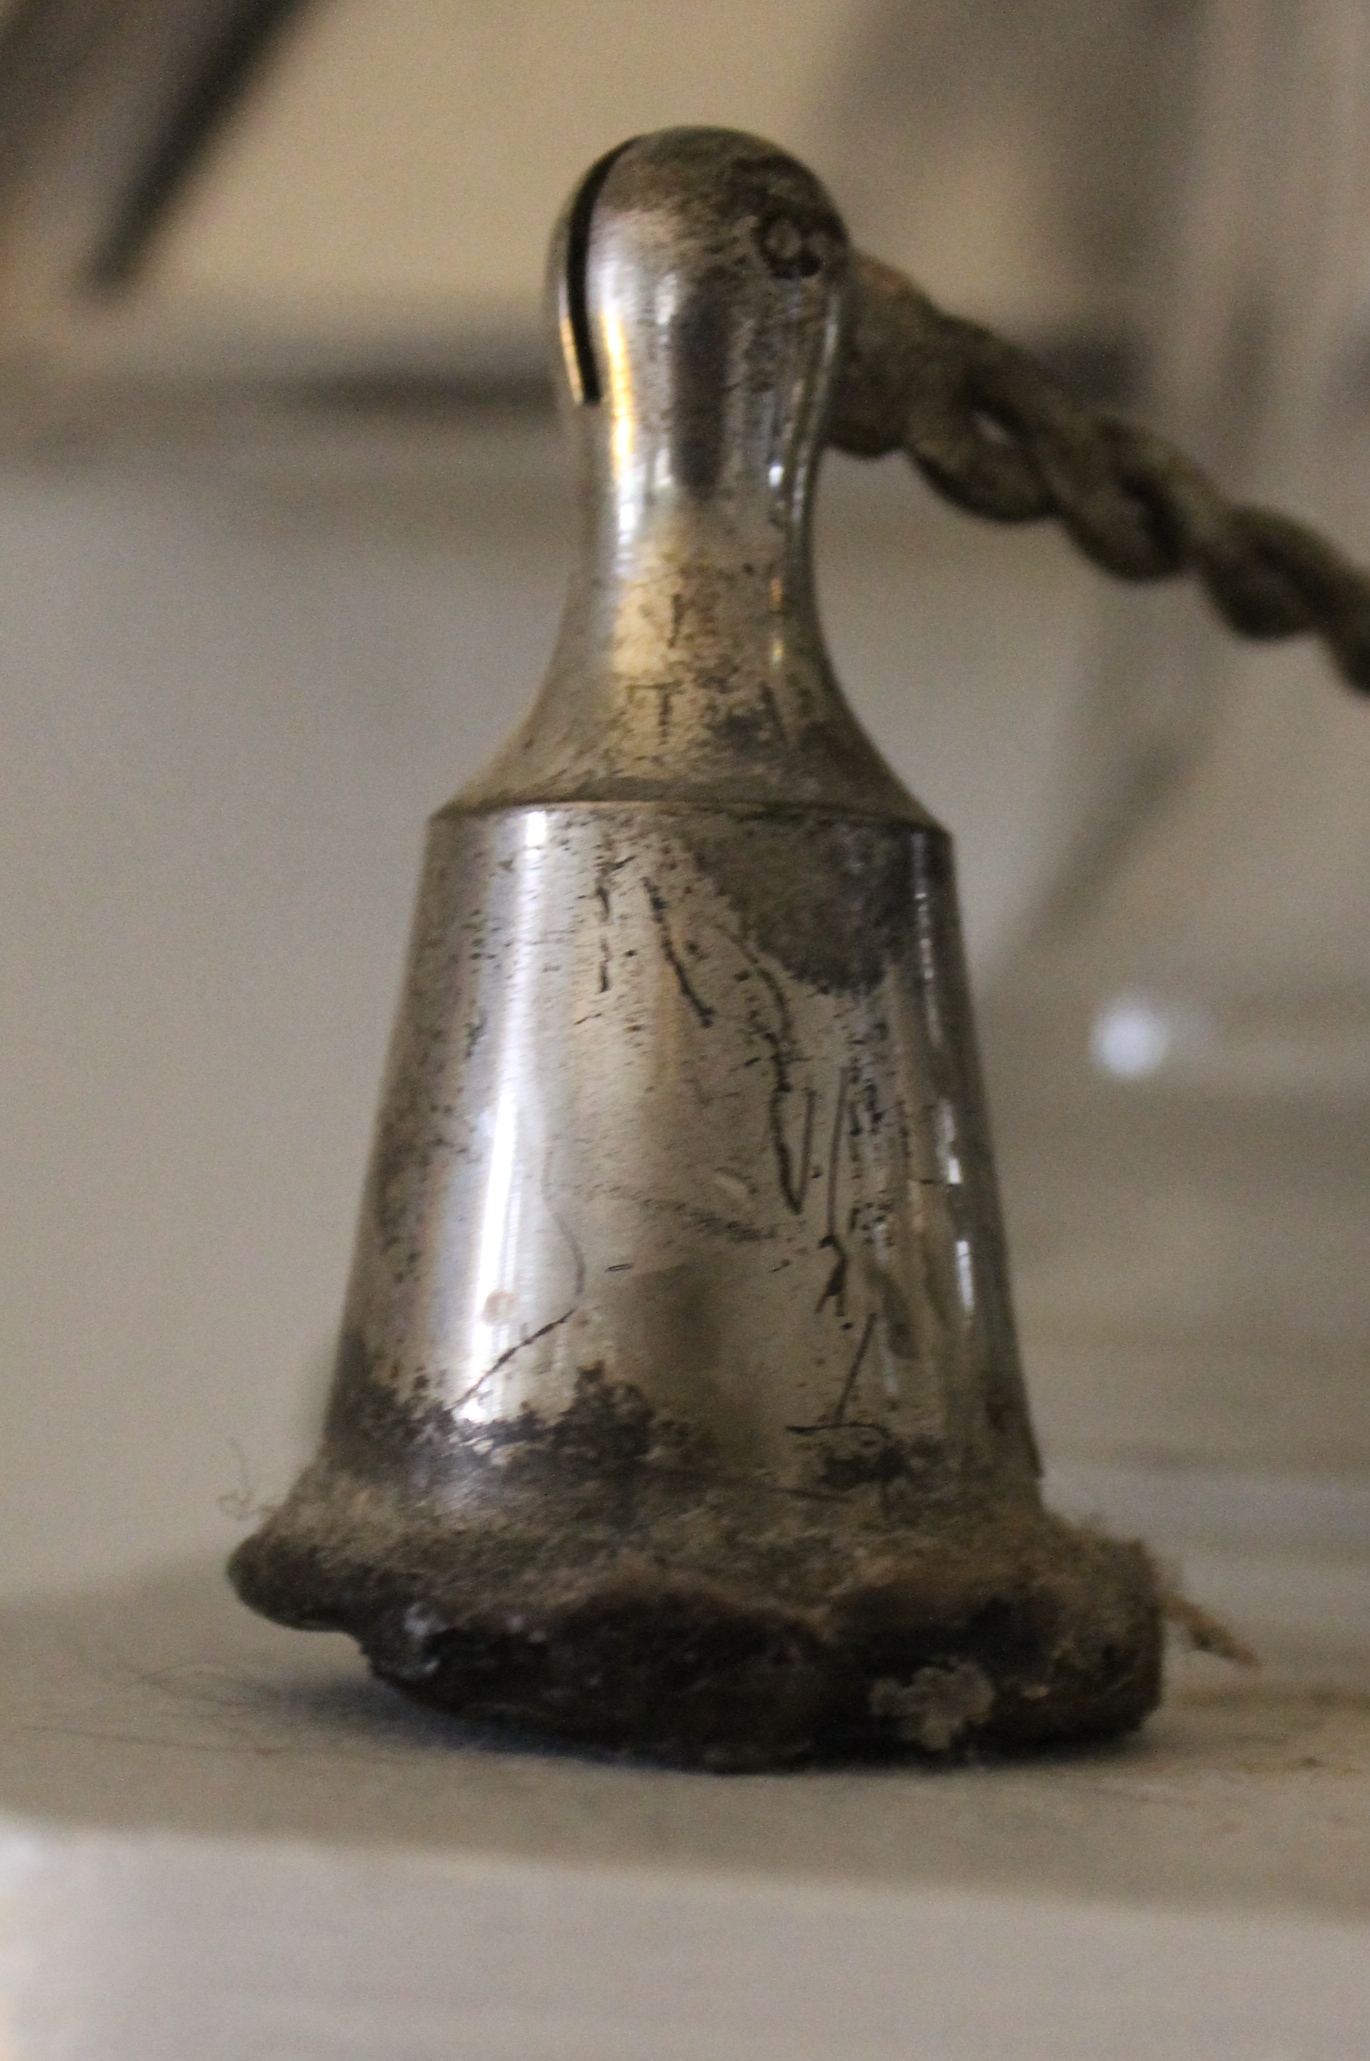
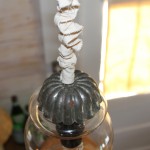
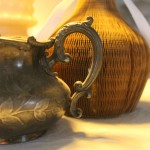
A well used antique candle snuffer.
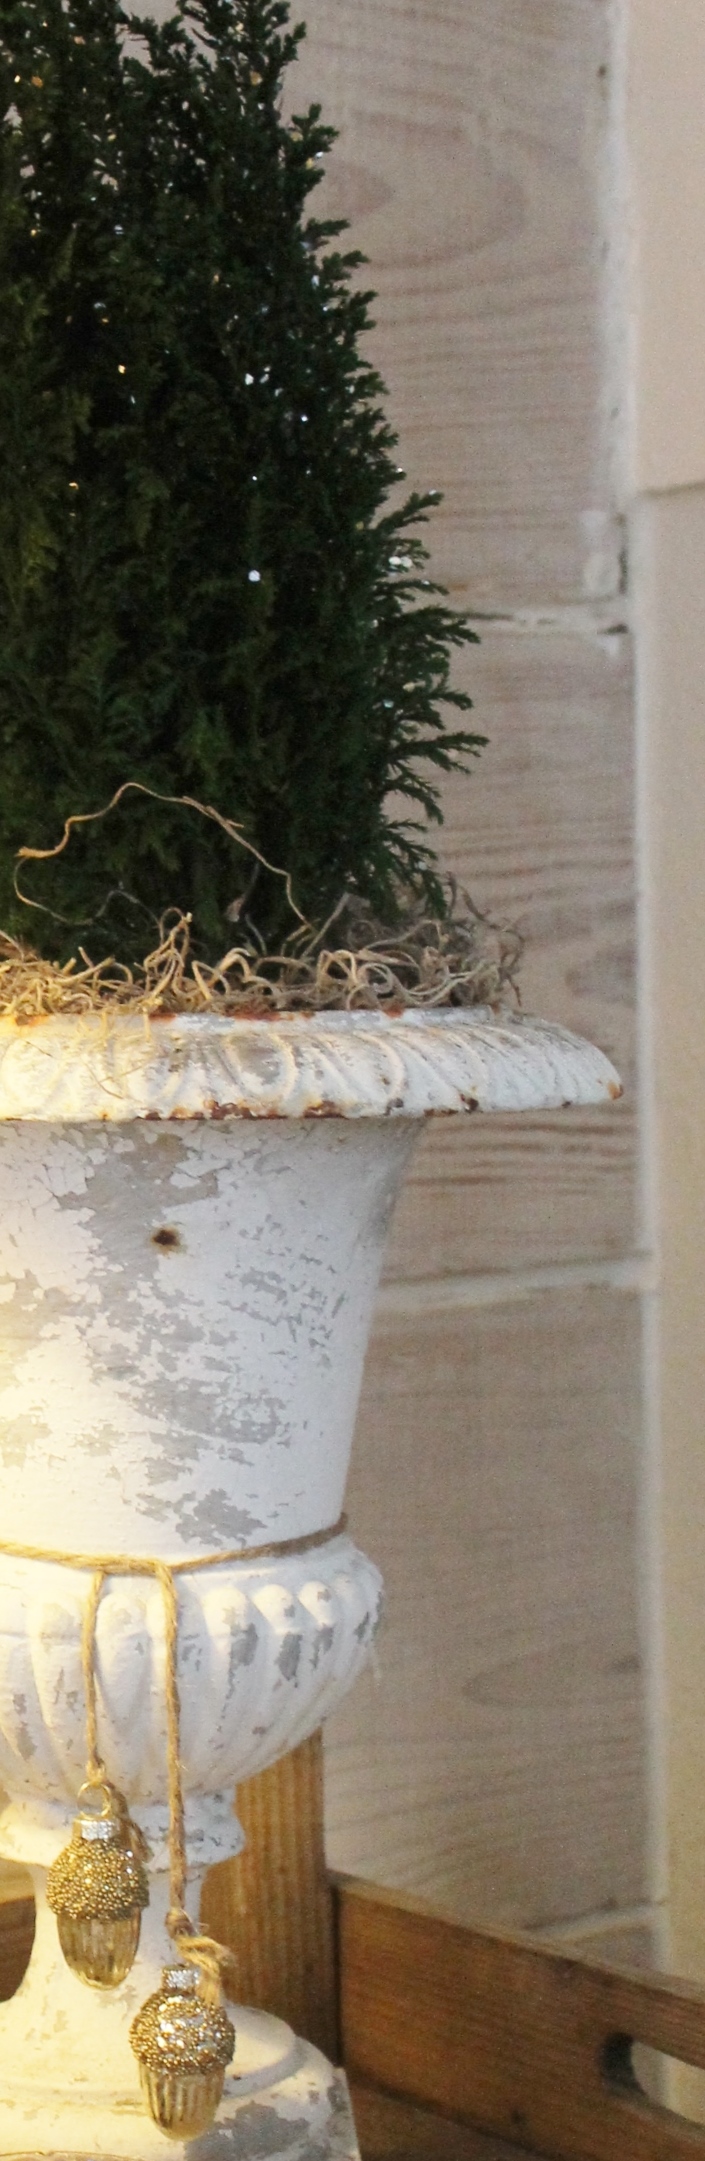
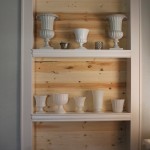
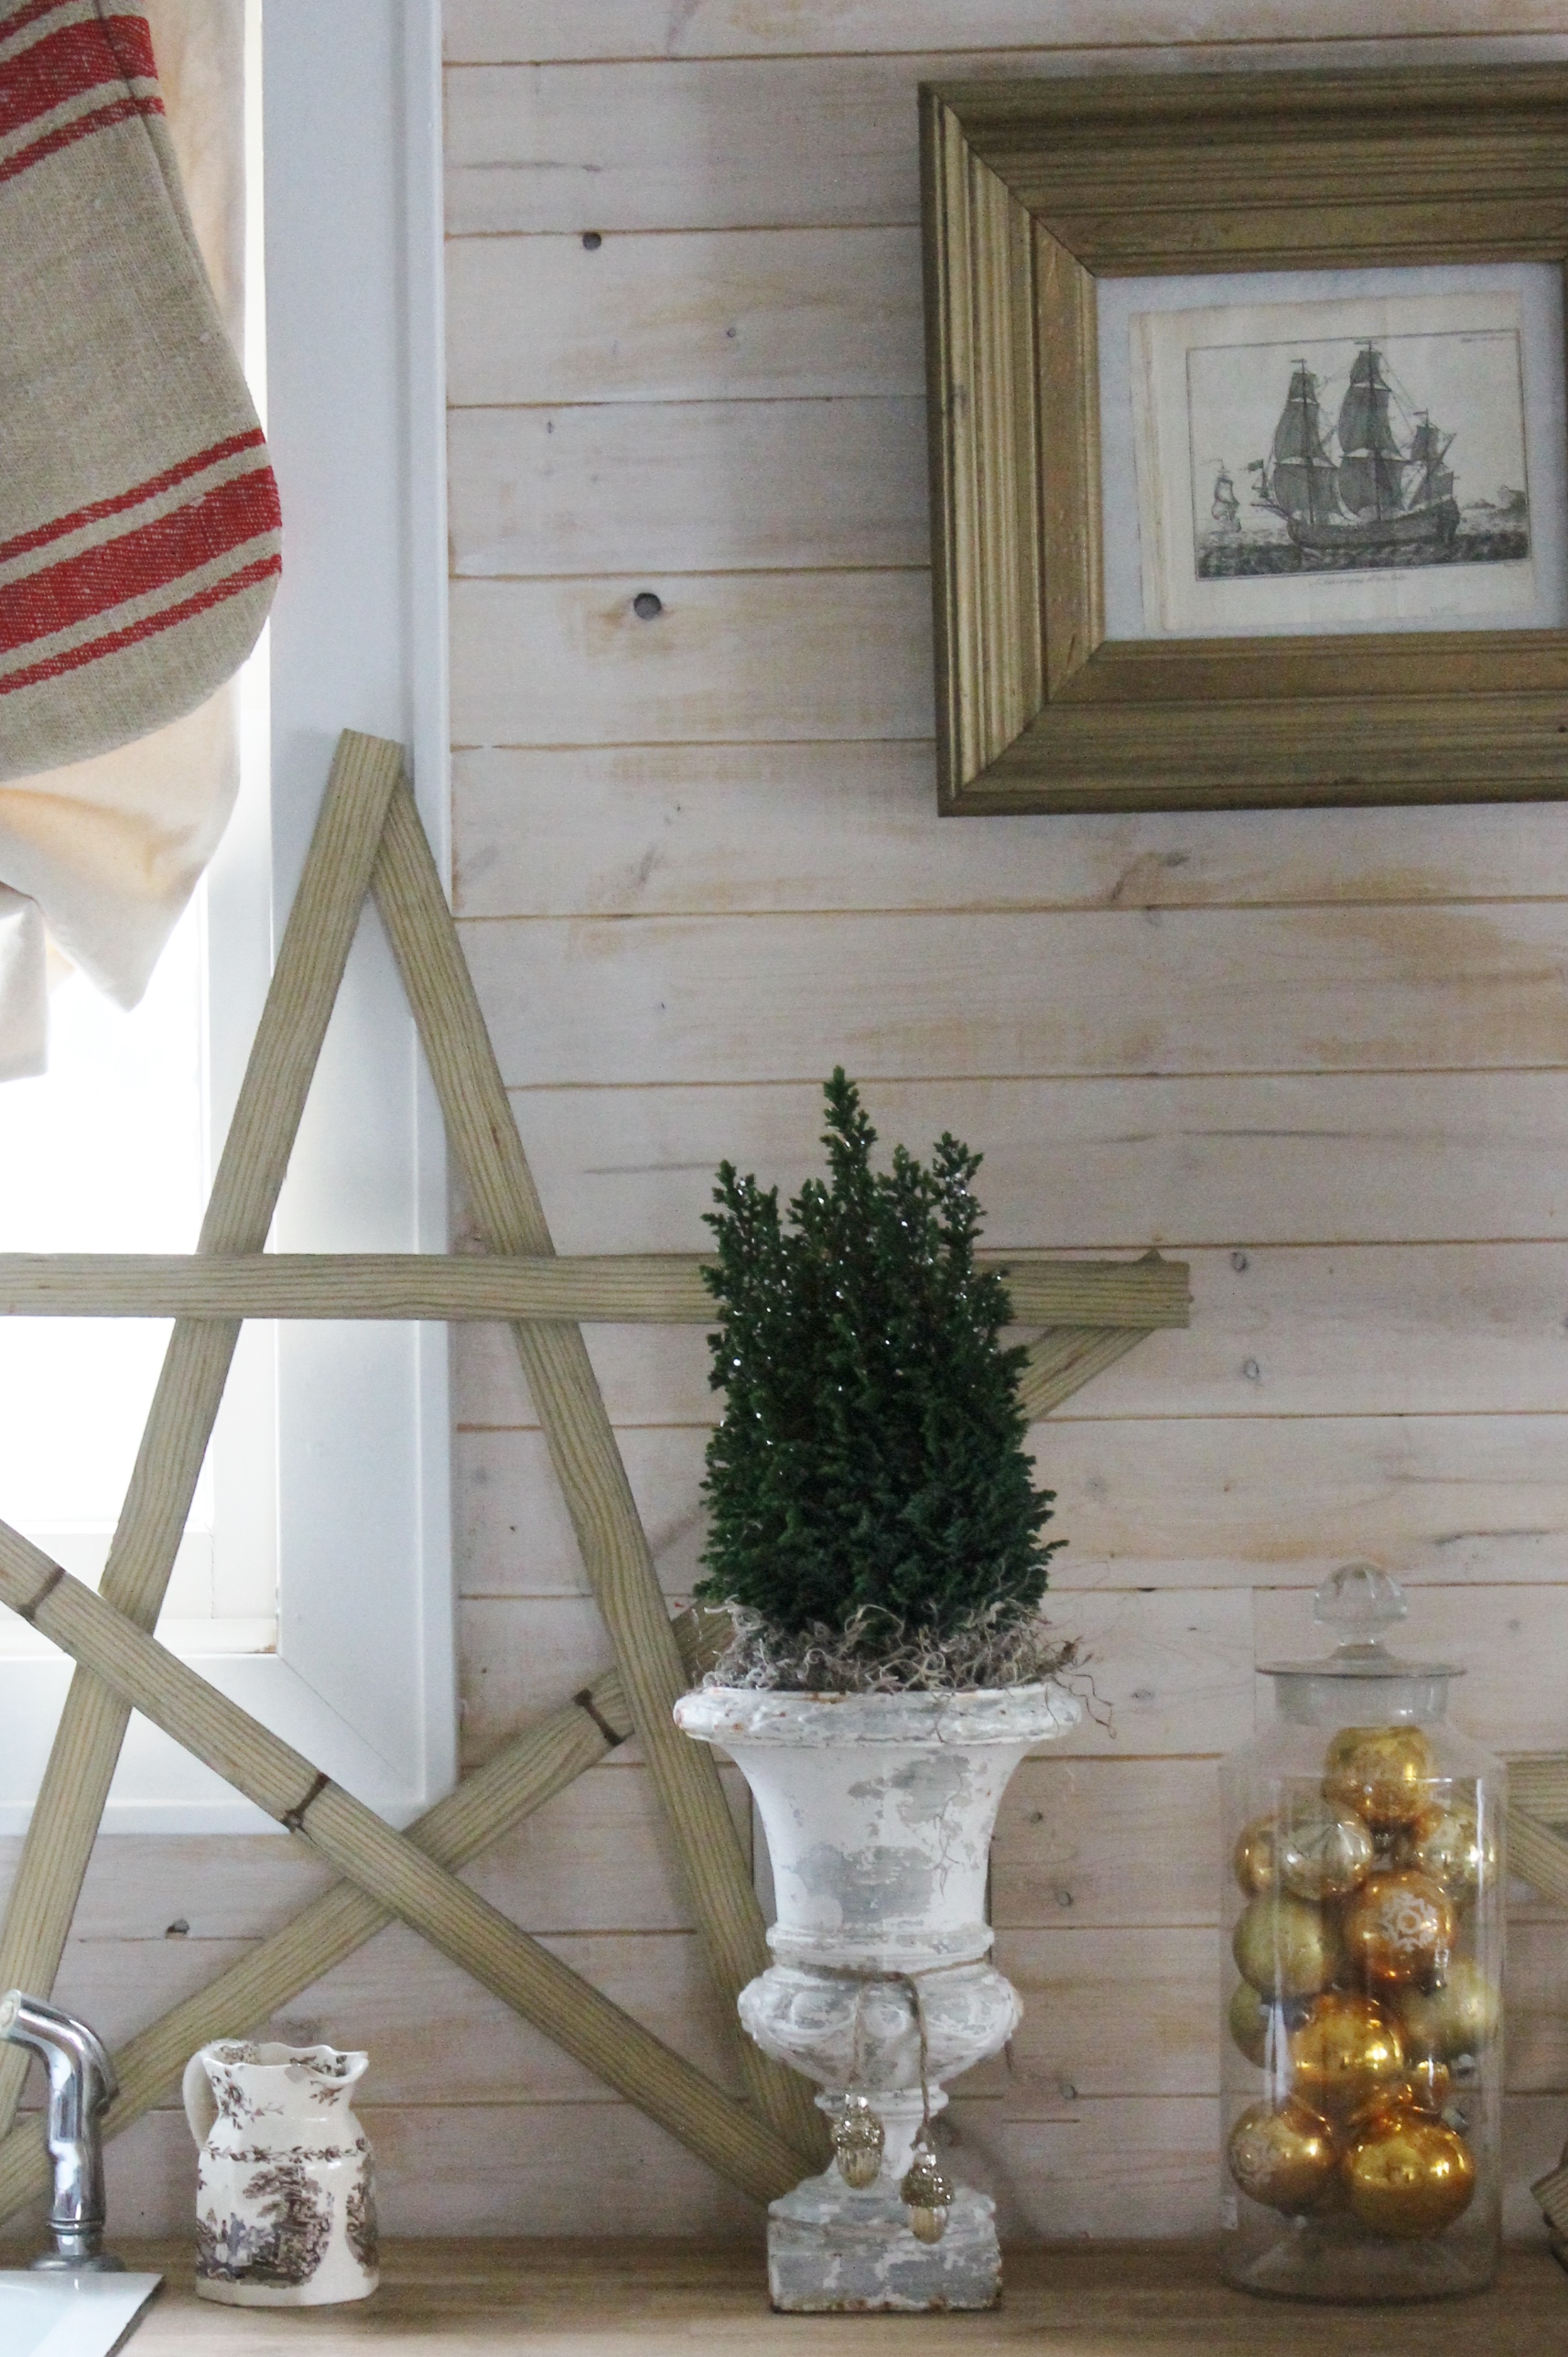
Evergreens in old urns.