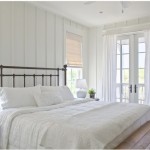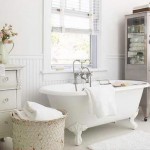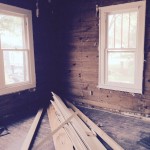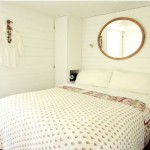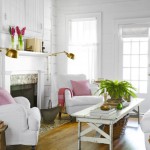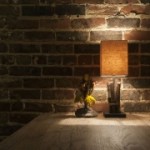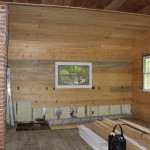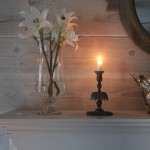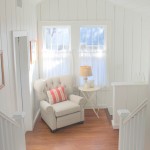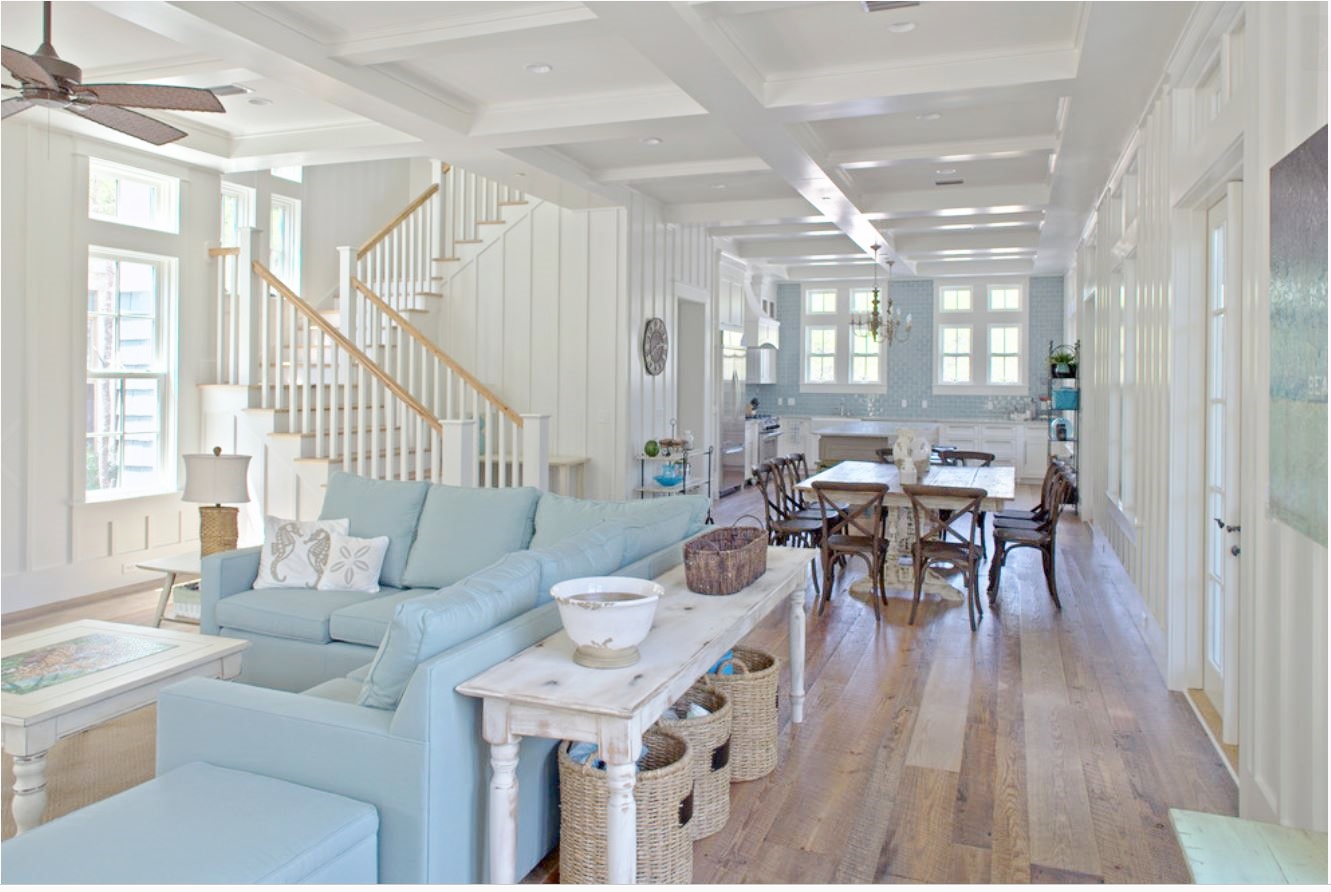
The Look. Besides the natural light…the most striking thing about this picture is the extraordinary use of the batten board walls. I will be using the batten board sheeted material which is generally used for exterior siding.
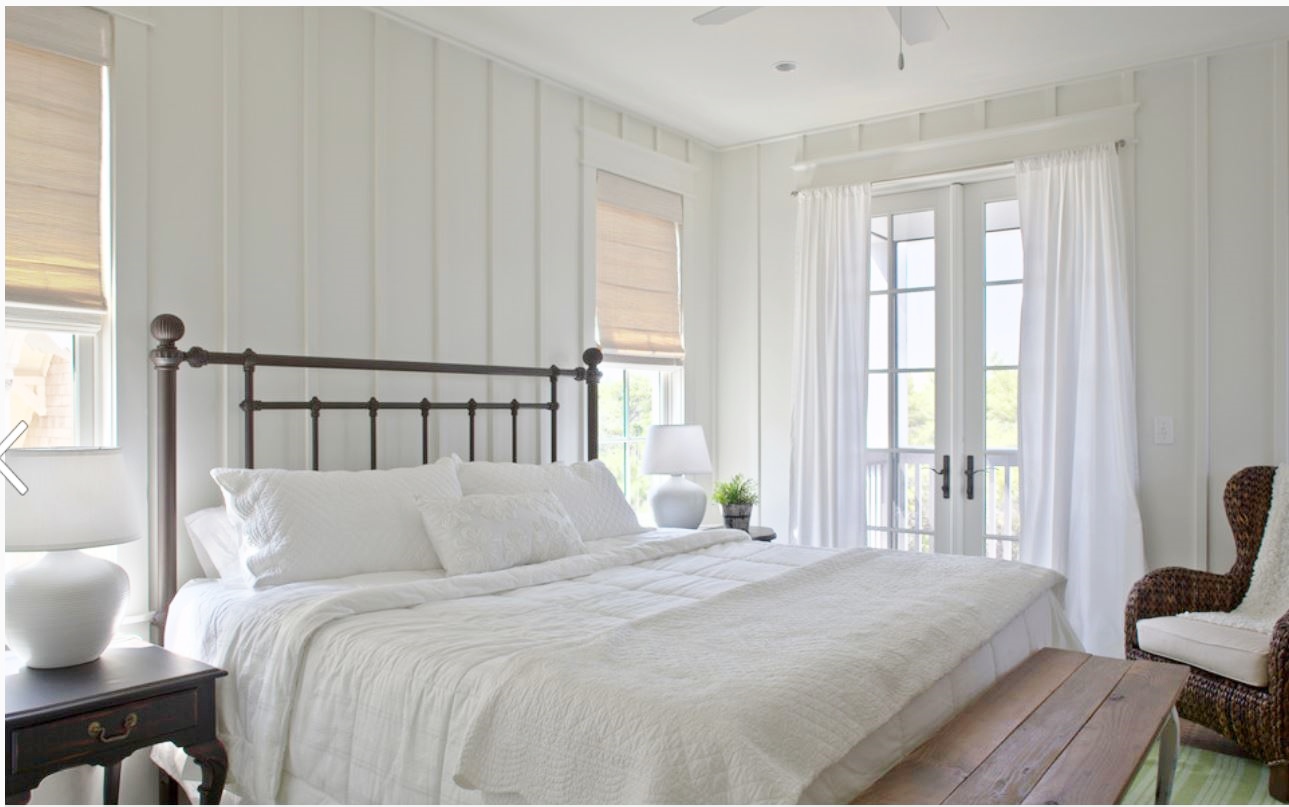
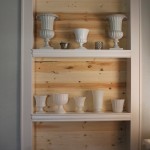
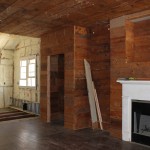
White and Light. While this design shows white walls and ceilings, my walls will be white but the ceilings and the floor will be anchored with raw pine. Much to think about!
Folks, my posting has been pretty spotty lately. It’s mostly because I have packed up a lot of my DIY tools and supplies in anticipation of my upcoming renovation. To that end, we have a ta-dah moment. We have two things: The Look and The Plans.
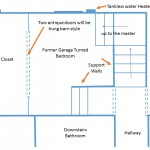
The Plans are completed and embedded below. My wish list is about a page and a half long, but here is a condensed version:
- Add a fireplace
- Change the front door from two French style doors to a single door
- Deck the back yard
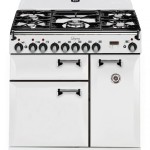
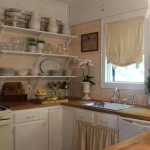
- Gut the kitchen
- Insulate all the exterior walls
- Update electrical
- Add a bathroom upstairs
- Add a dormer to the upstairs bedroom bringing it to code and allowing it to be counted as square footage
- Build out the garage
- Replace all sheetrock with horizontal wood planking
- Update bathroom fixtures in current bathroom
- Interior/Exterior Paint
- Etcetera, Etcetera, Etcetera
Thank you for stopping by. I hope you find some inspiration.
Always,
Cindy
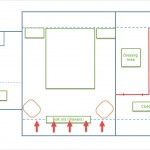
Here are the drawings:

Main Living Floor Plan

Second Level Floor Plan